How To: Make a giant bow headband
Sometimes a good looking accessory can be made by using simple things and a little bit of your own ingenuity. This video is a perfect example of the same.


Sometimes a good looking accessory can be made by using simple things and a little bit of your own ingenuity. This video is a perfect example of the same.
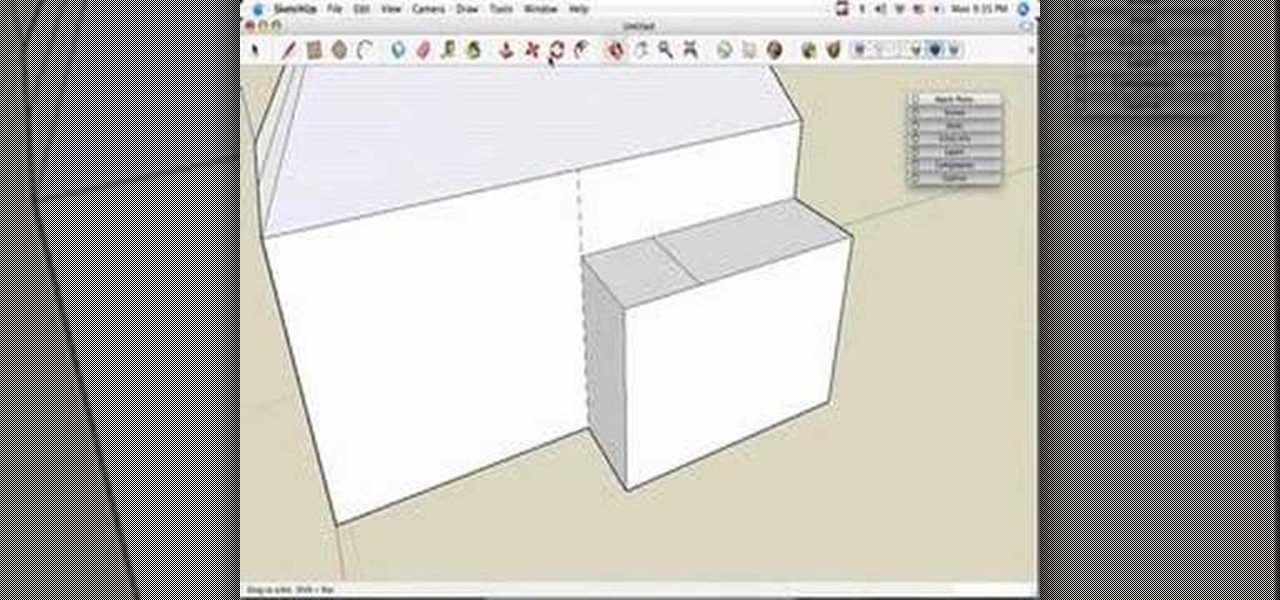
This video tutorial is in the Computers & Programming category which will show you how to build a simple house in SketchUp. Start with the floor plan, draw a rectangular main living space and attach a small extra room. Next you use the push pull tool and pull the house up to as high as you want. You can make it 21 feet. Now draw the roof line in the center of the house along the length and draw the lines for sloping part of the roof on either side. Now grab the center of the roof and lift it ...
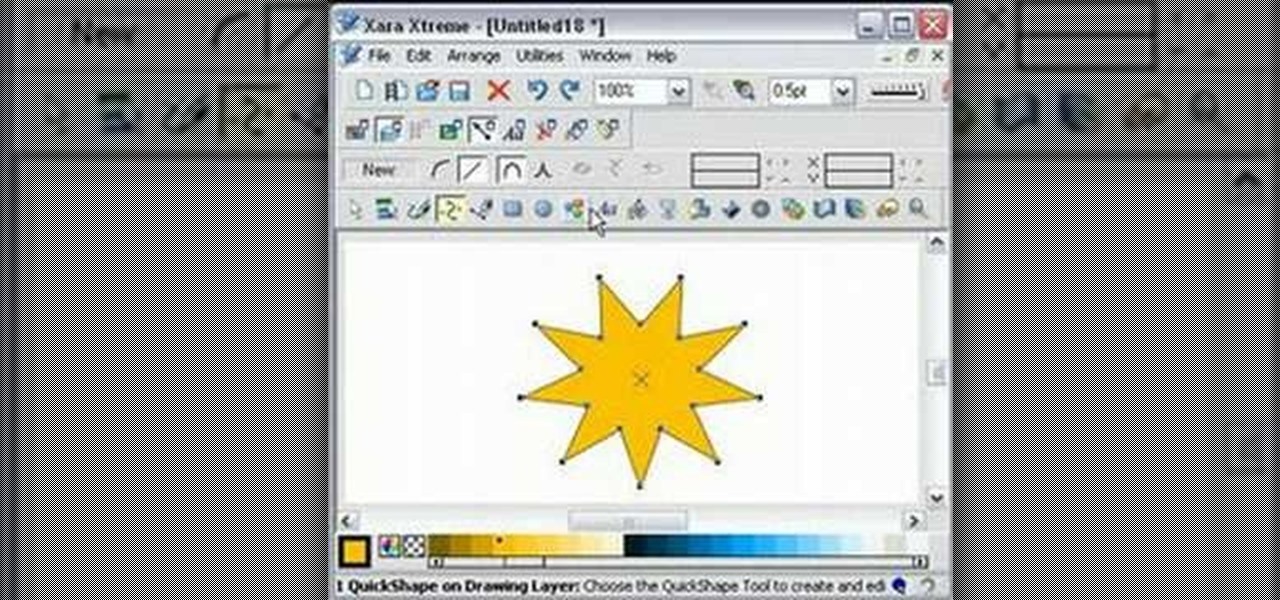
In this video, we learn how to edit quick shapes in Xara Xtreme. First, open up Xara Xtreme and select the quick shape option. From here, you will create the shape on your screen. Then, alter the number of spokes you see. You can hold down or select any nodes that you see. Pull these into the center and then it will create a thin star. Undo this and then hold down the control key while pulling in the center to create a twisting effect in the middle. All of these will look different and you ca...
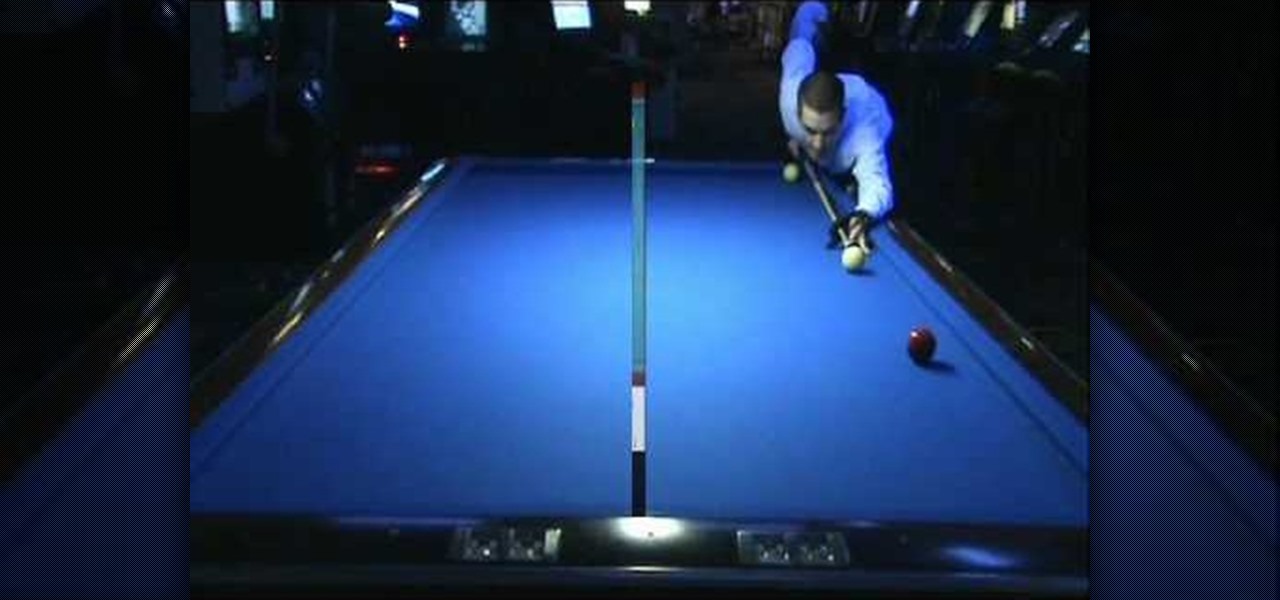
In this video, we learn how to play Straight Rail & understanding crowding patterns. All that is needed to score a point in straight rail is making contact with the other two balls in the same shot. If you can get all three balls close together in close position, the shooting player can score an indefinite number of points. First, strike the cue ball below center using right English and a moderate stroke. This will create a close crowding pattern with the two balls. You can also strike the ba...
Make a hematite bead ring
In this tutorial, we learn how to make a silicone mold of a toy figurine. First, roll out clay and press the bottom of the figurine into the center. Next, use a plastic bottle to create the mold box. Cut the bottom off of the bottle, then press the bottle into the clay to make sure the figurine is centered. Now, press the bottle down into the clay and make the silicone mixture. When you're done mixing, pour it into the bottle. Pour in a stream to avoid any bubbles inside of it. Let this sit o...

In this video tutorial, viewers learn how to fold a paper airplane. Begin by folding the paper vertically in half. Then open the fold and fold the 2 top corners to the center crease to form a triangle. Now fold the top point down so the it tucks underneath the fold to form a envelope shape. Then fold the 2 top corners to the center crease to form a triangle once again. Now fold it vertically in half and fold the wings down so that they are aligned with the bottom of the plane. This video will...

In this video tutorial, viewers learn how to put their iPod device into recovery mode using Z-Phone. The Z-phone application does not work on 1st generation iPod devices. Begin by unplugging the device from your computer. Then hold down the power and center button until the device\s screen goes completely black. Now hold the center button as you connect the device back to your computer. Finish by following the process in iTunes to restore the device. This video will benefit those viewers who ...
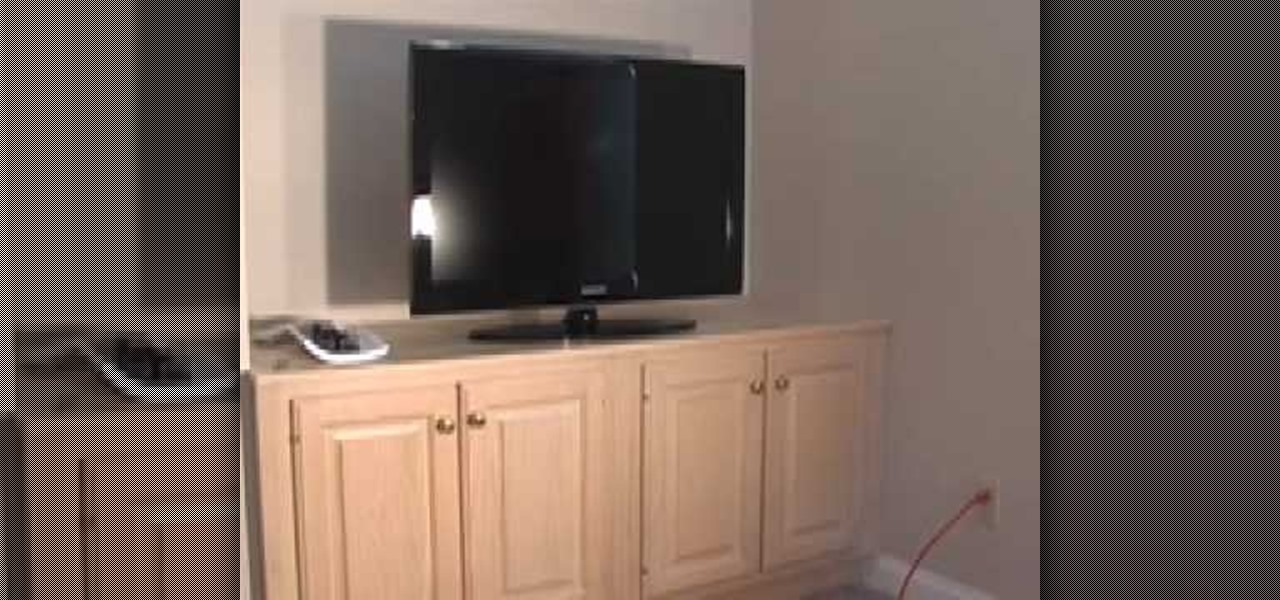
Bob Schmidt tells us how to set up cabinets for an entertainment center in this tutorial. First, make sure you set base cabinets next to your wires and put a hole in the back of them so you can cover the wires up, but still have easy access to them. You can easily make these holes by using a small saw to cut them out after measuring the correct sizes. Next, Set your counters so they fit perfectly inside of your wall space. If you need to, cut out your panels and replace with mesh ones that le...
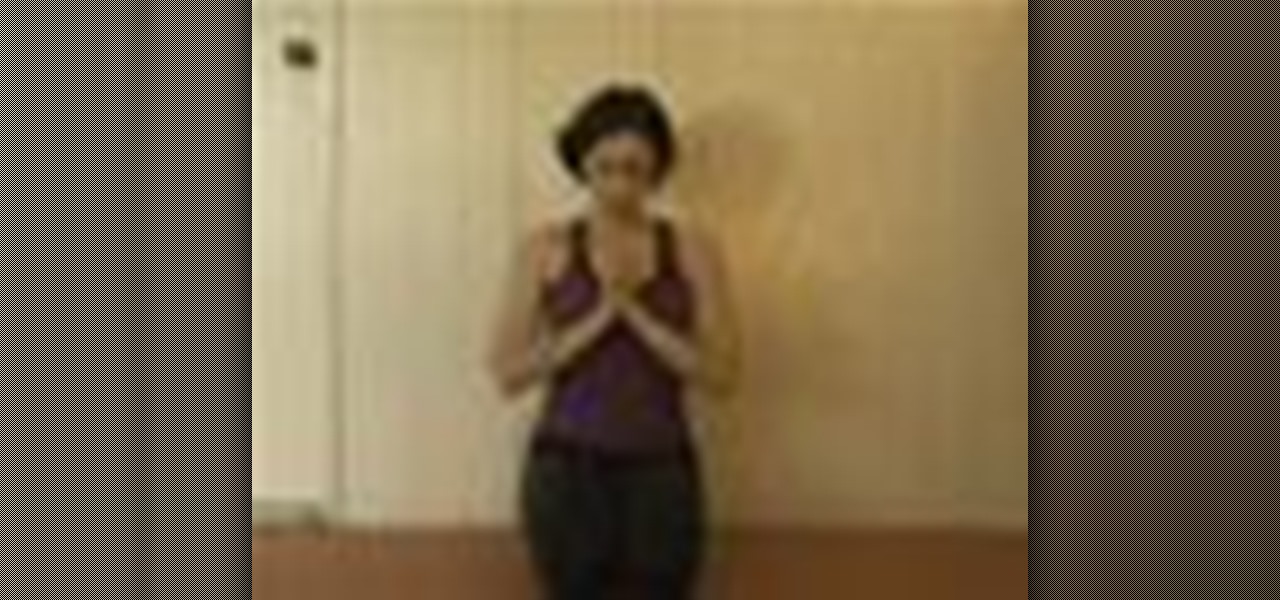
In this video tutorial, viewers learn how to do a mind centering yoga sequence. Begin by sitting back on your heels and brings your hands together in front of your chest. Inhale as you bring the arms out and above your head. Exhale as you place the right hand on the floor and extend the left foot out. Then as you inhale, reach upward with your left hand. Now exhale and return to the starting position. Do this on the opposite side as well. This video will benefit those viewers who are interest...
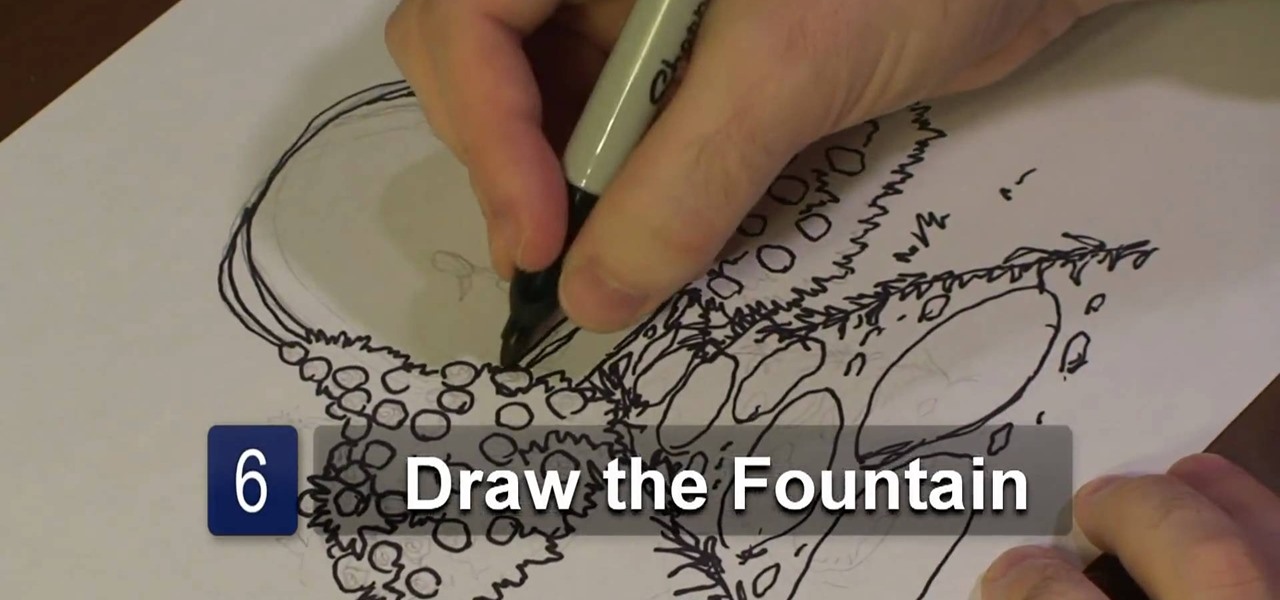
In this video tutorial, viewers learn how to draw a rose garden. Begin by marking the locations of the objects, such as the pathway and the arch. Then draw the rosebushes surrounding the path and arch. The bushes only need to be drawn with cross hatching or quick lines. They don't need too much detail. Then add some circular boxes into the bushes as the roses. Now draw some grass around the pathway and stones in the pathway. In the center of the arch, add the center fountain piece. Finish by ...
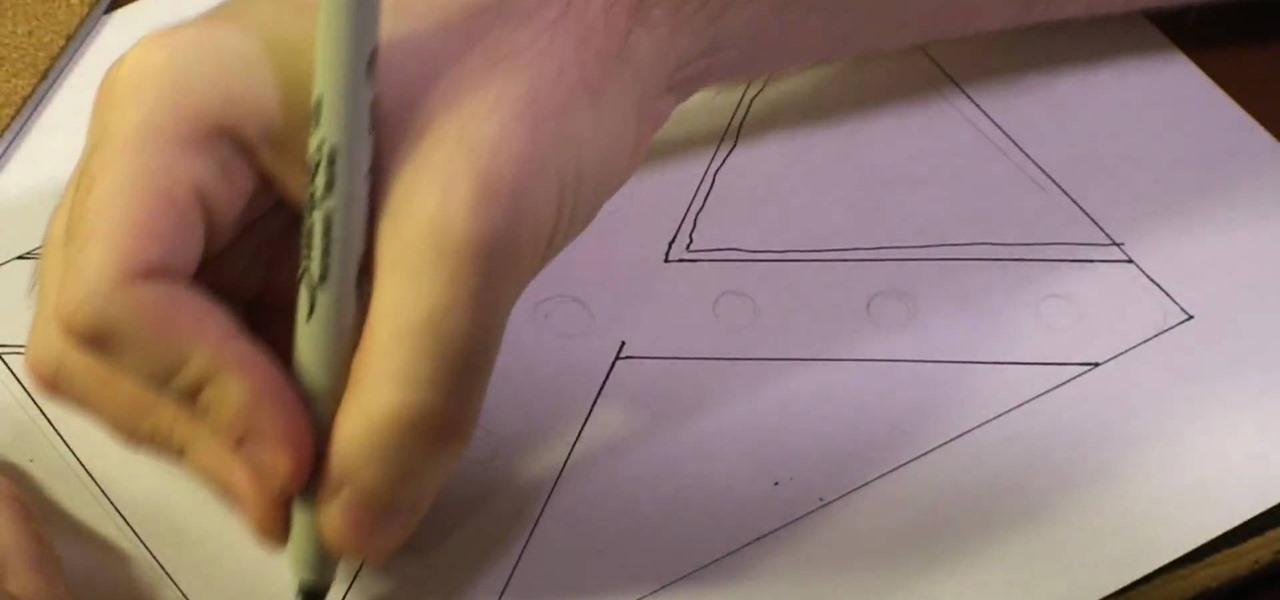
In this video tutorial, viewers learn how to draw a rebel flag. The materials needed are a ruler, sheet of paper and drawing utensil. Begin by using the ruler to draw a rectangle for the flag. Then draw an X in the center of the flag, going diagonally from the top corners to the bottom corners. Now draw outer lines on the X. Then draw the 13 stars on the flag, The first star is in the center of the X and add 3 stars on each side. This video will benefit those viewers who enjoy drawing, and wo...
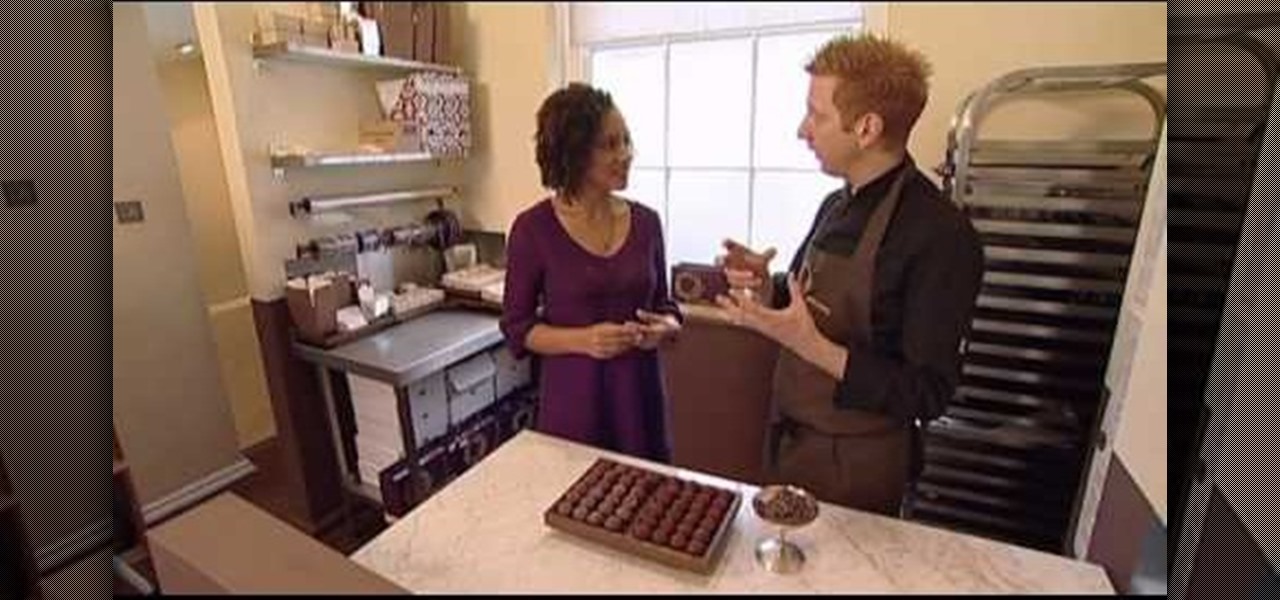
Kerri Newell introduces Chocolatier Paul Young who shows us how to make chocolate truffles. He explains that truffles are filled with ganache and chocolatiers sometimes call truffles ganaches, which is the smooth, creamy filling. These are usually for special occasions.

Chrysanthemums are a beautiful flower to have in your garden for color and for picking to take into the house. There are two very important factors with planting mums. One is that you must have the right kind of chrysanthemum and two you must plant it at the proper time. There are two types of mum plants. One is the garden center plant and the other is the mail order plant. Scott, on the video, recommends the mail order plant. The garden center plant will only last one season where the mail o...
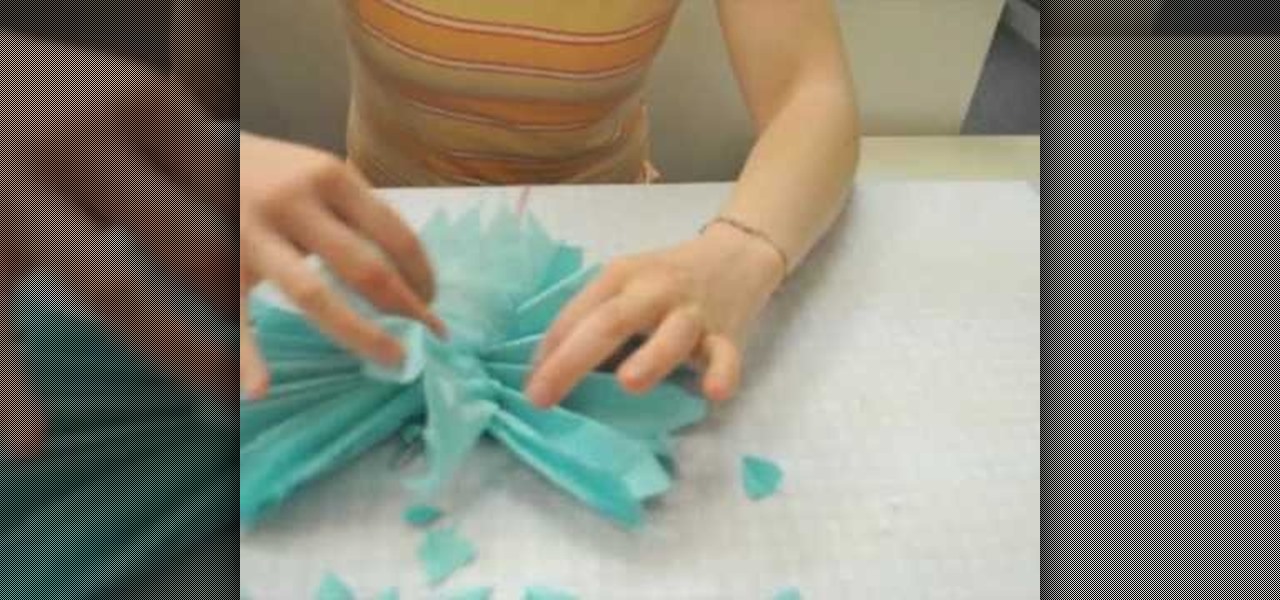
This video shows you how to make a puff flower ball using tissue paper.Spread out a tissue paper,of any colour,on a table.Keep one of the short ends of the paper,facing you and away from you.Then fold it back and forth,from one short to the other side until the whole of the tissue paper is used up.Fold this into half and release.Take a piece of ribbon and tie it on the center.Give the edges a pointed, partyish look by cutting them using a pair of scissors.Now take a single piece of tissue pap...
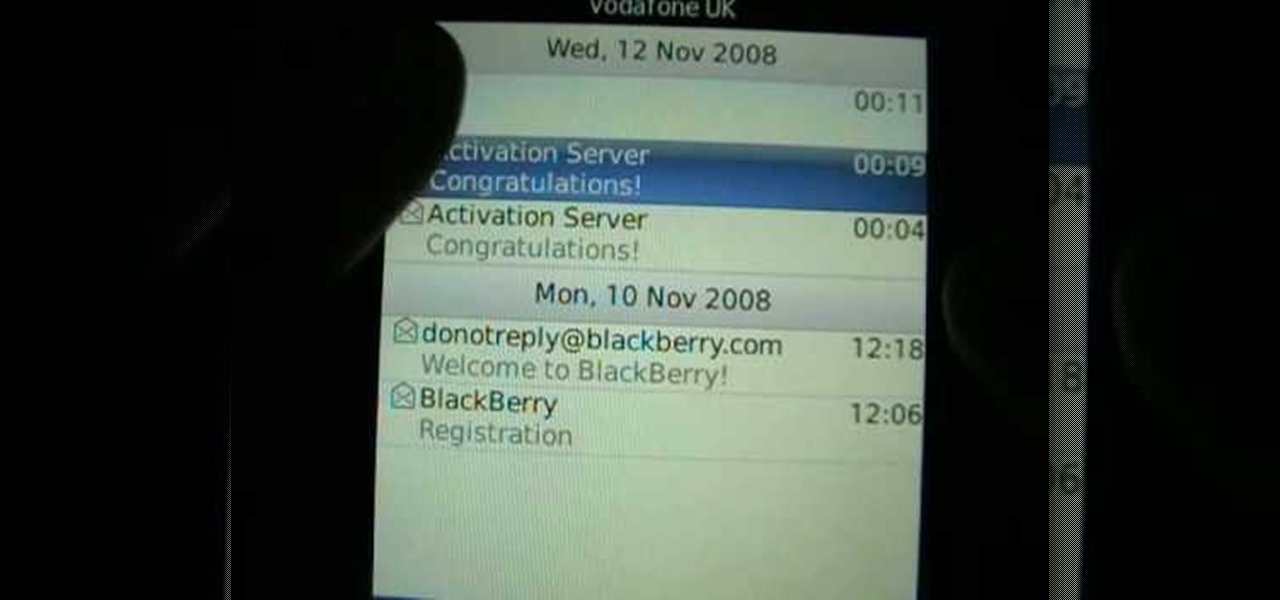
The Voda Phone Help Center's video provides you how to hints and tips to get your email onto your Blackberry Storm. This video will help you send and receive emails. To receive emails, click the main message button, which looks like an envelope, you will then see you inbox where all your messages are stored. Next if you wish to send a message, click the compose button in the lower left hand corner and select which type of message you want to send. Enter in the email address in the top box, wh...
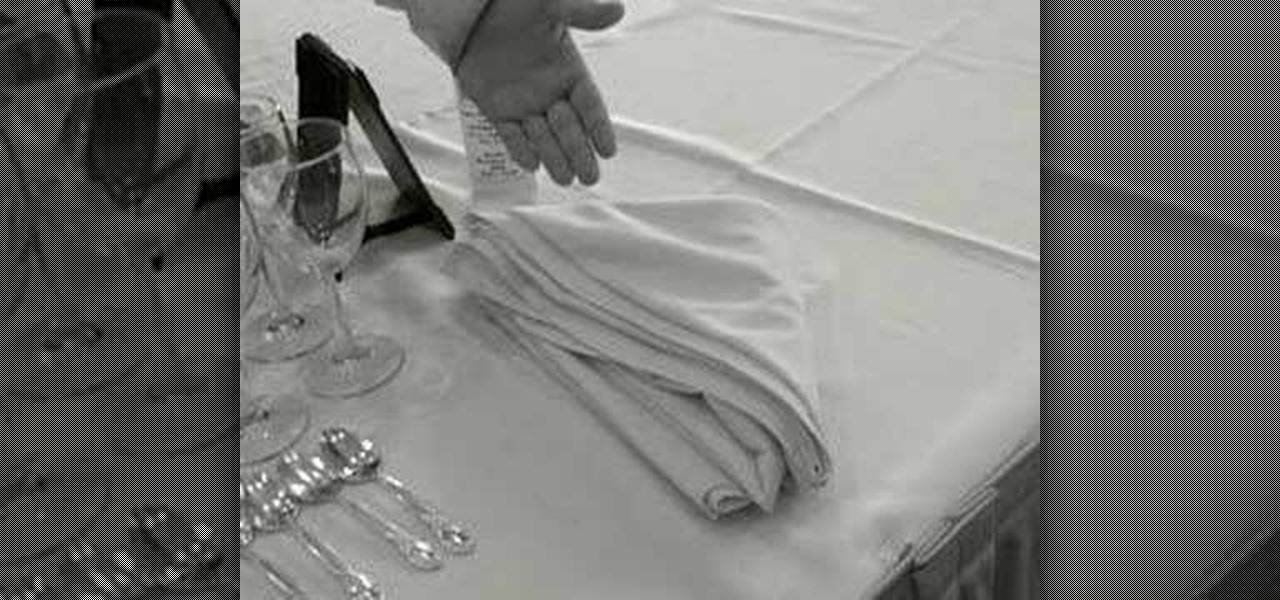
This video teaches us the way to properly set a table. You will require a couple of things for this purpose. These things include a table with a table cloth and napkins. These should be kept at one side of the table. Then take salad forks and dinner forks. Arrange these in the center. Take knives and spoons. Arrange these besides the forks on both the sides. Take bread and butter plates and arrange them above the salad and dinner forks. Put glasses above the spoons. Put bread and butter knive...
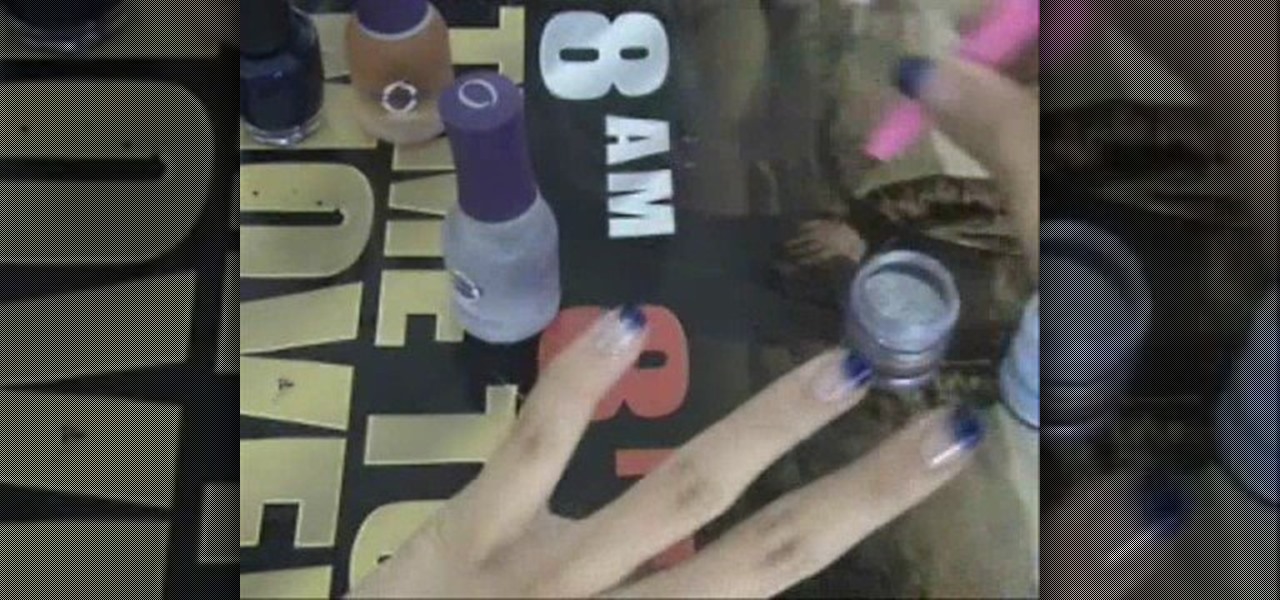
Kayden demonstrates how to do navy blue gradient French tips with silver glitter. For this you need a base coat, top coat, navy blue nail polish and some glitter.
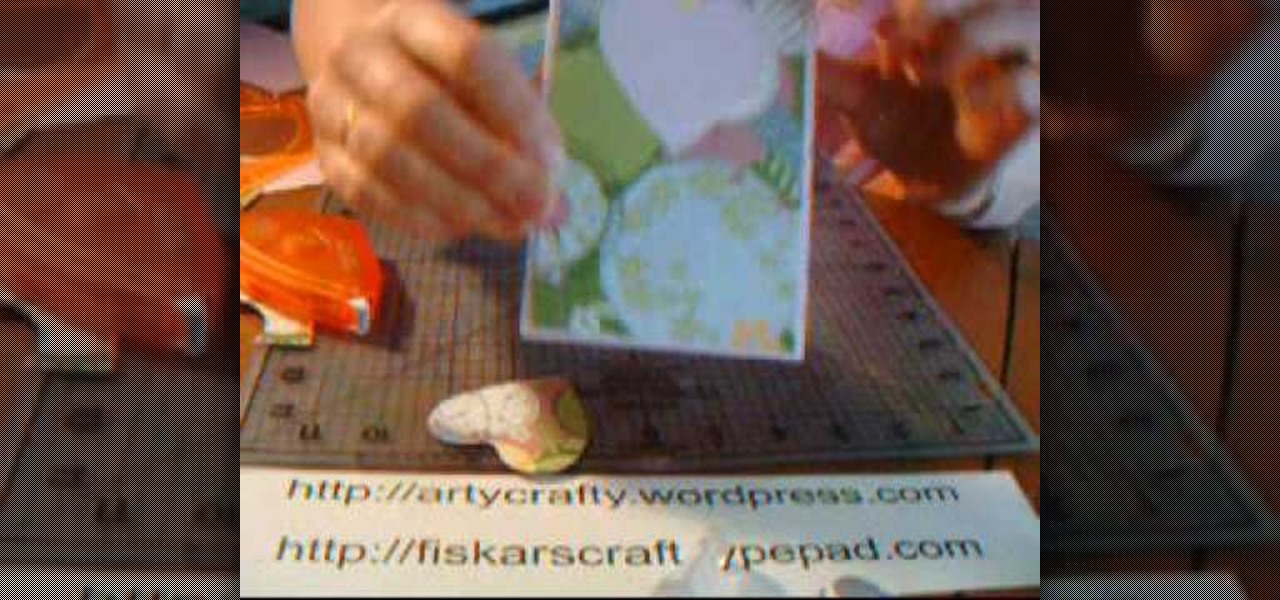
In this Arts & Crafts video tutorial you will learn how to make window cards. Supplies needed are trimmer with scoring blade, Fiskars templates, Fiskars ultra shape xpress, glitter, cardstock and embellishments. Take a 81/2 x 6 inch cardstock , score the center at 3‚Äù mark and fold it. Take a colored paper about ¬O‚Äù smaller than the card, cut out a 2.5 heart with the help of the template and glue it on the card. Then open the card and cut out a 1.5 heart from the center of the 2.5 heart. N...
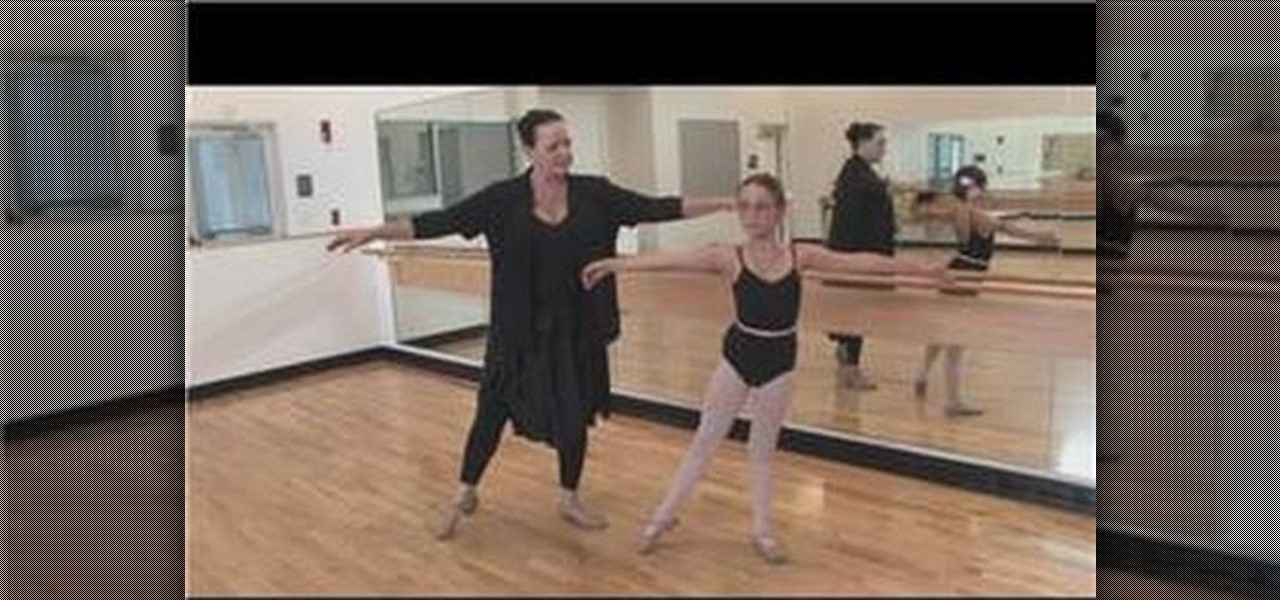
In this video, learn how to take exercises from the barre and take them to the center floor. Ballet dancing incorporates several positions and steps that combine to make interesting choreography. Learn a ballet routine from an expert: Lynda DeChane-Audette is the founding artistic director of the South Florida Ballet Theater and was born in Boston. Learn more ballet from this expert by searching WonderHowTo! You're only practice time away from ruling the dance floor!
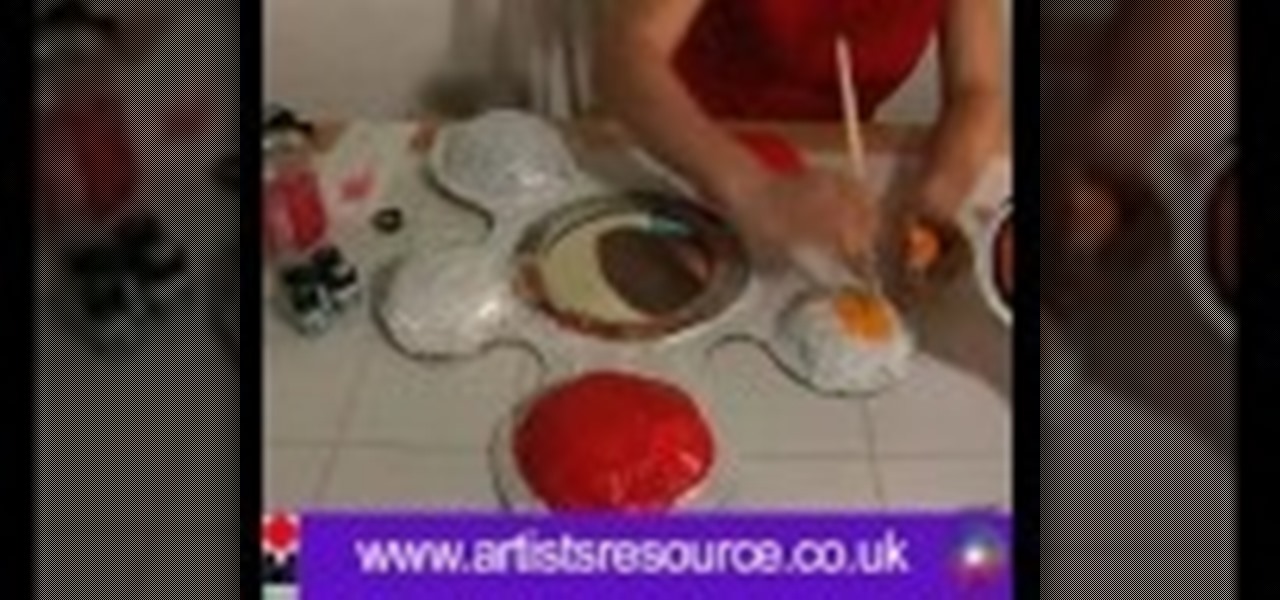
This illustrate us how to make paper mache mirror. Here are the following steps.Step 1:Take a piece of cardboard and make two circle on it with two different circumference.Step 2: Now cut through the outer circle as well as the inner circle to obtain the rim.Step 3 : Now take a sheet of cardboard and cut it in shape of a flower.Step 4: In the center of the sheet place the rim.Step 5: Now along the petals of the flower stick a pile of rounded newspaper.Step 6 : On this newspaper and cardboard ...
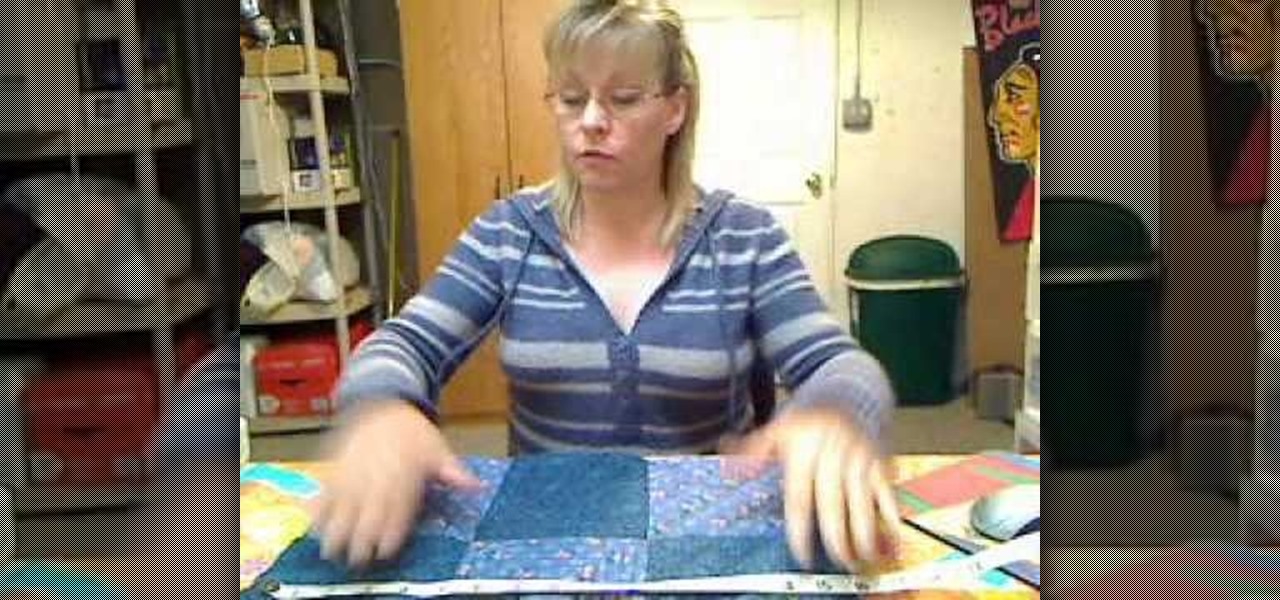
This is a great instructional video on how to measure a quilt for binding. This video teaches you about binding. First you have to get your quilt and tape measure. You need to know the size of your quilt. You have to be careful while measuring a quilt. You can measure the breadth with your measuring tape first. Then you can measure the breath as well accurately. You can take measurements down the center of the quilt. In some cases you can measure from one side, the center and the other side. ...

This video illustrate how to make Chinese paper lanterns with origami. here are the following steps.Step 1: Take a string for holding the lanterns.Step 2: Now take a square sheet of paper and fold it diagonally so that two diagonal intersecting crease are formed.Step 3: Now hold the crease together and push it upwards to form a triangle.Step 4: Now fold the triangle into two equal triangles, do the same with the other side also.Step 5: Now fold one triangle and crease it to the center, repeat...
This is a demonstration of how to make a harrier paper airplane. First fold the paper in half lengthwise, making sure the corners line up. Unfold it and fold the corner toward the center line. Fold the top triangle down almost to the bottom of the paper. Fold the top corner in to the center line again. Fold in the first point. Fold the plane in half lengthwise. He demonstrates how to fold the wings in the right place so that the plane looks like a harrier. The plane can be customized and deco...

This video illustrate how to fold a paper frog. Here are the following steps.Step 1: First of all take a sheet of paper and fold it into half diagonally forming a triangle.Step 2: Now roll back the paper and fold this triangle it into half so that a smaller triangle is formed..step 3: Now fold back the triangle and make it into two equal halves.Step 4: Now take the corners and fold them all to the center and open it from the center to the joined line.step 5: Hold back the triangles out of the...
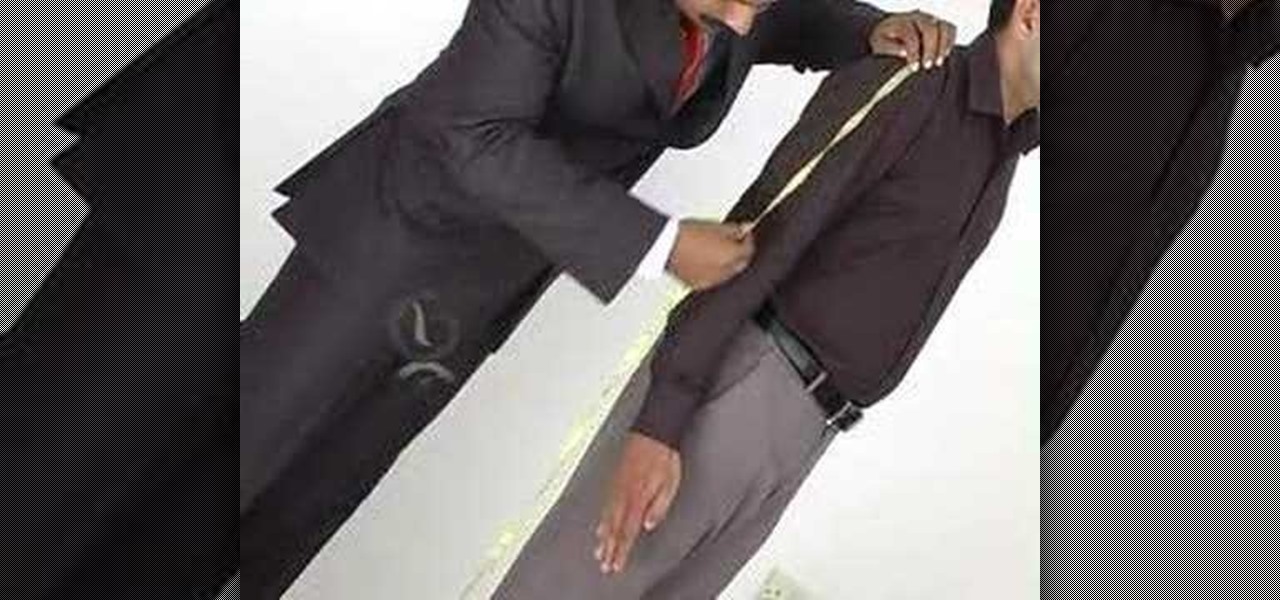
The Bespoke Center shows how to measure the right sleeve for a custom made men's suit. The Center recommends using a tape measure of course to do your measuring. These recommendations are easy and work well for custom made DIY projects. For this project the man will need to wear a shirt. Measure from where the seam on the shoulder meets and to the base of your thumb located at the wrist joint. The tailor also recommends that you do this so that you can decide where you want the sleeve to end....
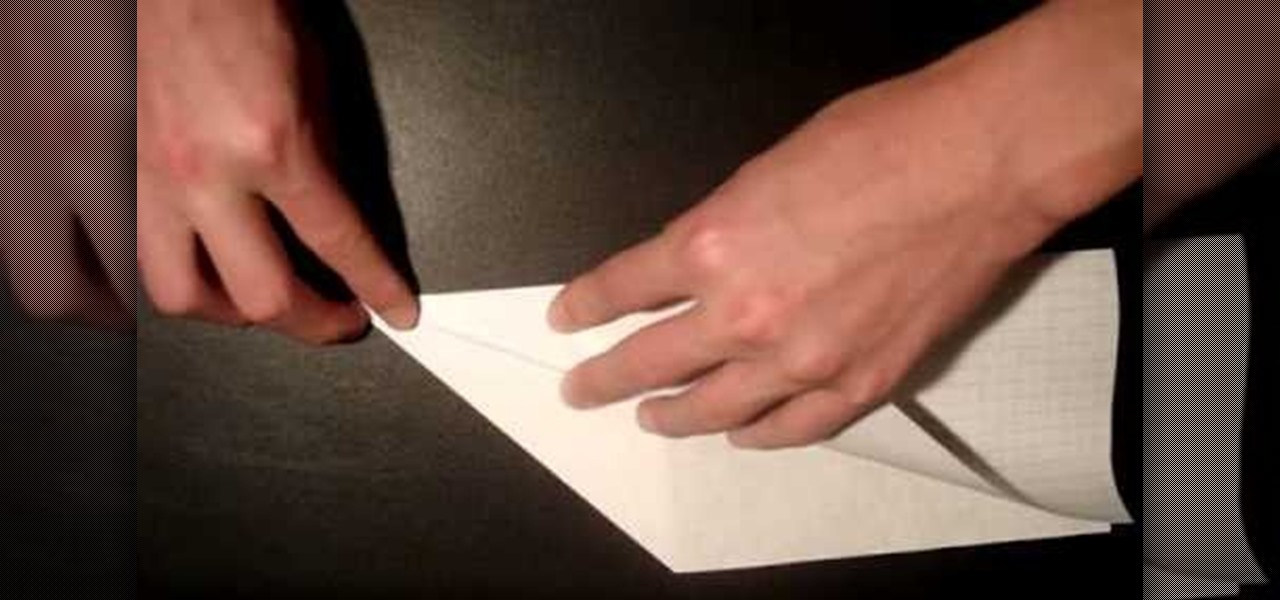
That Paper Guy shows you how to make a simple paper airplane. First, get a piece of paper 8 1/2" x 11" and fold it in half lengthwise. Then fold on one side a triangle. Flip to the other side and fold a triangle as well. Fold the corners down in the same direction on both sides, making sure the edges meet the center fold. Fold the corners down one more time on both sides, again in the same direction. Open up the finished airplane so that you're able to grab the center with your thumb and inde...

Madman McClinton demonstrates how to browse the internet on an Xbox 360 using the MCE browser. First, download the MCE browser by doing a Google search and clicking on the first link. Next, install the MCE browser on your system. Then, connect your Windows Media Center to your Xbox. Then, go to your Xbox and open up the Windows Media Center. Select the program library function from the online media option. Next, choose the MCE browser from the available choices. Enter your desired URL into th...

Learn how to make a unique rose from clay that can be given as a gift to your special someone. 1. Make about 20 tear-drop shapes out of the clay. 2. Flatten each of these to form petals. 3. Roll one of the petals up to form the center. 4. Curl each of the other petals around this center. 5. Stretch the base of the flower downward to form the stem. Add clay as needed to make the stem the desired length. 6. Form leaves with the remaining "petals" by creasing them and attaching them to the stem.
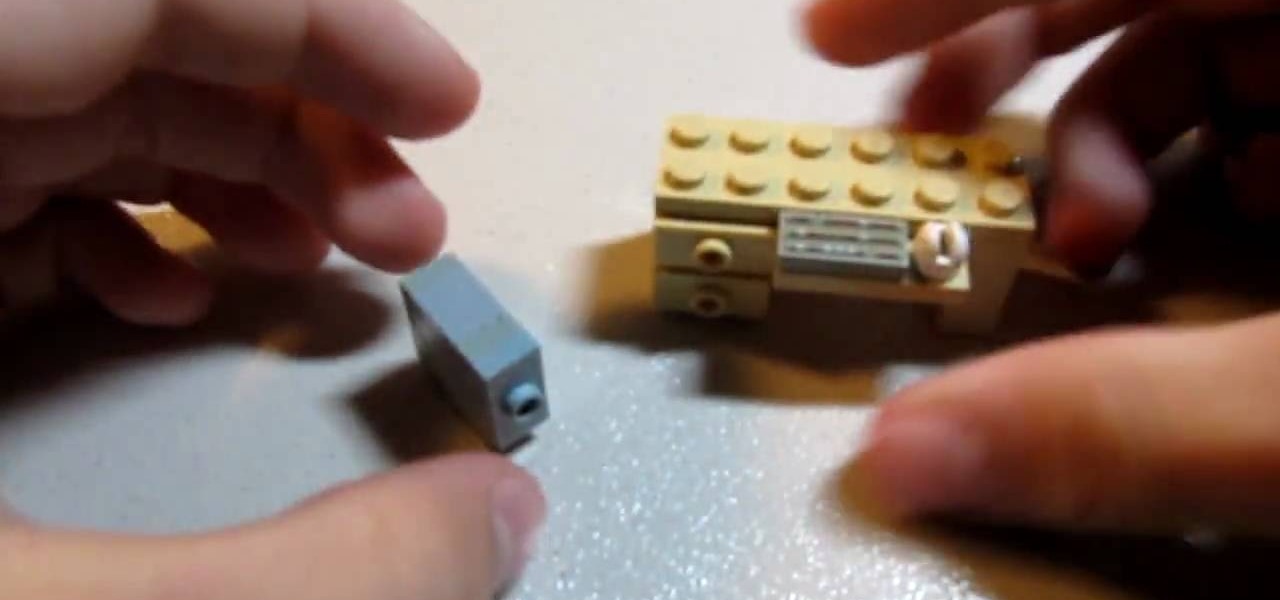
In order to construct a LEGO computer tower case, you will need 6 bricks: 2 1x2 smooths with the dot in the center, 2 1x2 thins, 1 1x1 chunky, and 1 1x1 with a hole in the middle. First, take both of your 1x2s and stick them on top of the 1x1s. You'll want the hole facing outwards on the side. Next take your other 1x1 and snap that on top. Now take the 1x2 with the dot in the center and attach that to the front. Then take your remaining 1x2 with the dot in the middle and connect it into the h...
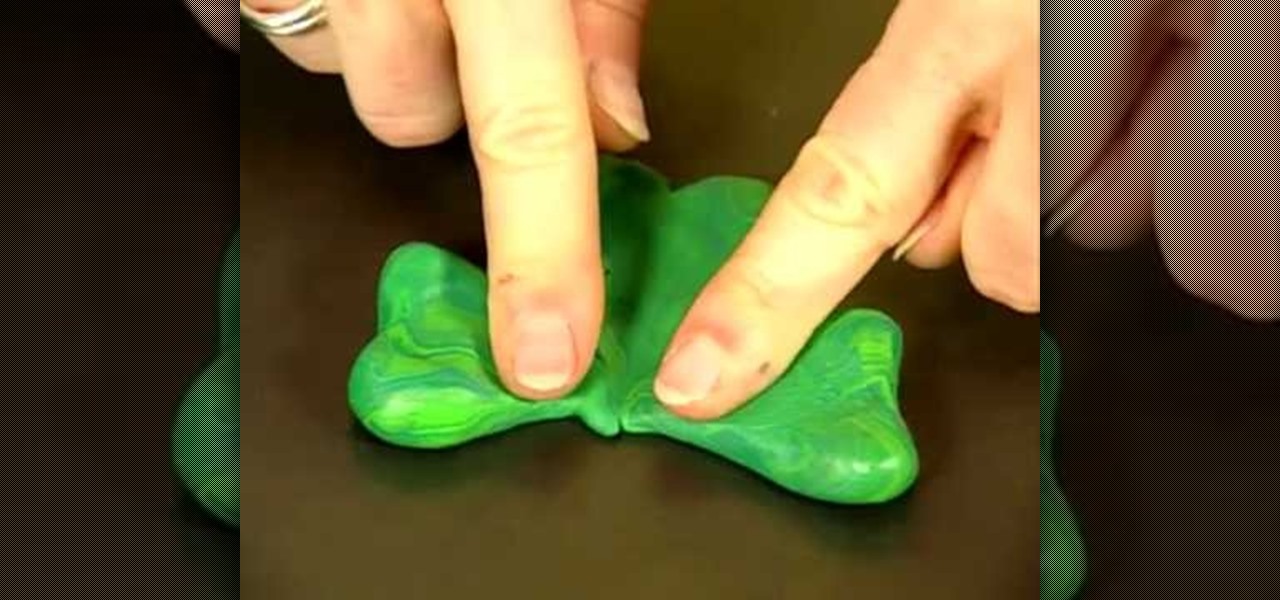
In this how-to video, you will learn how to create a lucky charm. It is a symbol of good luck among the Irish. You will need a baking sheet, green polymer clay, a paper clip, pencil, and a key ring. Roll three one inch balls from the clay. Shape them into the clover leaves. Next, put them on a baking sheet and stick the pointed ends together. Set a paper clip in the center and flatten a piece of clay to seal the paper clip in. Draw lines in the center of the leaves with the pencil. Bake it ac...
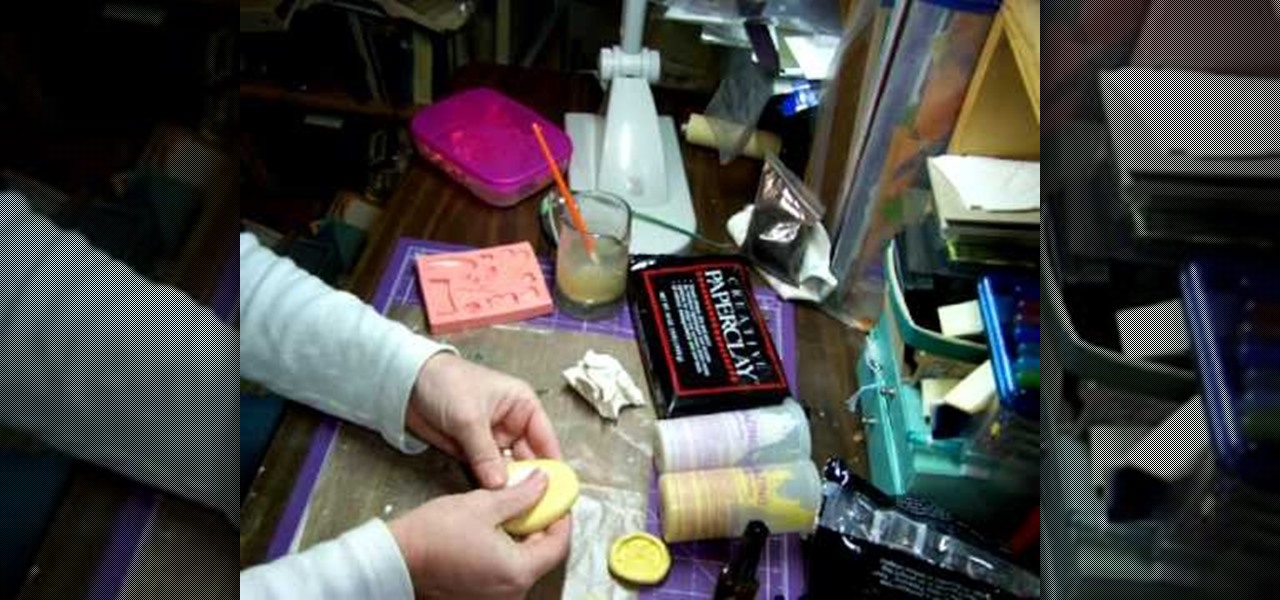
Terri Sproul shows you how to Work with Paperclay and Molds. Make a ball of paperclay and push it firmly into the center of the home-made or ready-made Mold. Make the surface of the Paperclay level with the surface of the Mold, adding more Paperclay if necessary, and removing any excess with your fingers. The molding putty that the Mold is made from is flexible, so hold the edges of the mold with your fingers and gently push the center of the Mold with your thumbs, this will push the molded P...
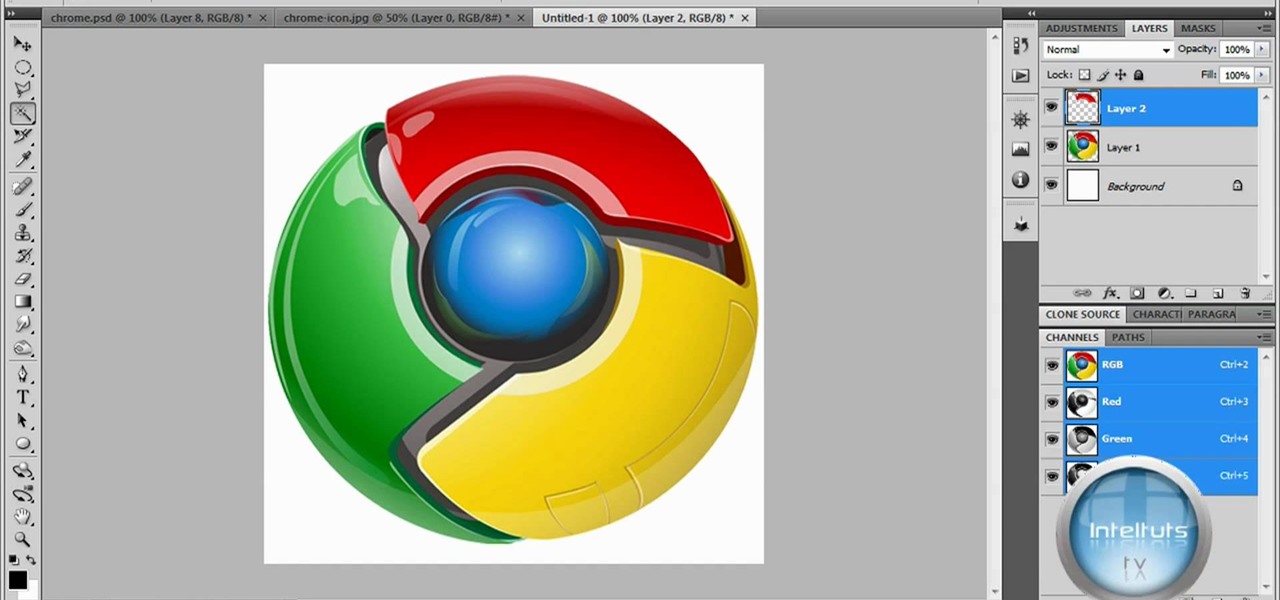
The tutorial shows you how to make a professionally looking Google Chrome logo in Photoshop CS4. To start, download the Google Chrome logo, as well as an Earth picture, in a Zip file from Inteltuts. Next, open the logo file in Photoshop CS4, turn the white background layer into transparent, and transform the logo by de-saturating the picture, but make sure you leave the blue center area untouched. The last step is to transform the Earth picture so that it fits right into the center of the des...

This video tutorial demonstrates how to make a simple vintage style button earring. Materials required are two pairs of vintage style buttons, a button shape remover or pliers, some earring poles and super glue
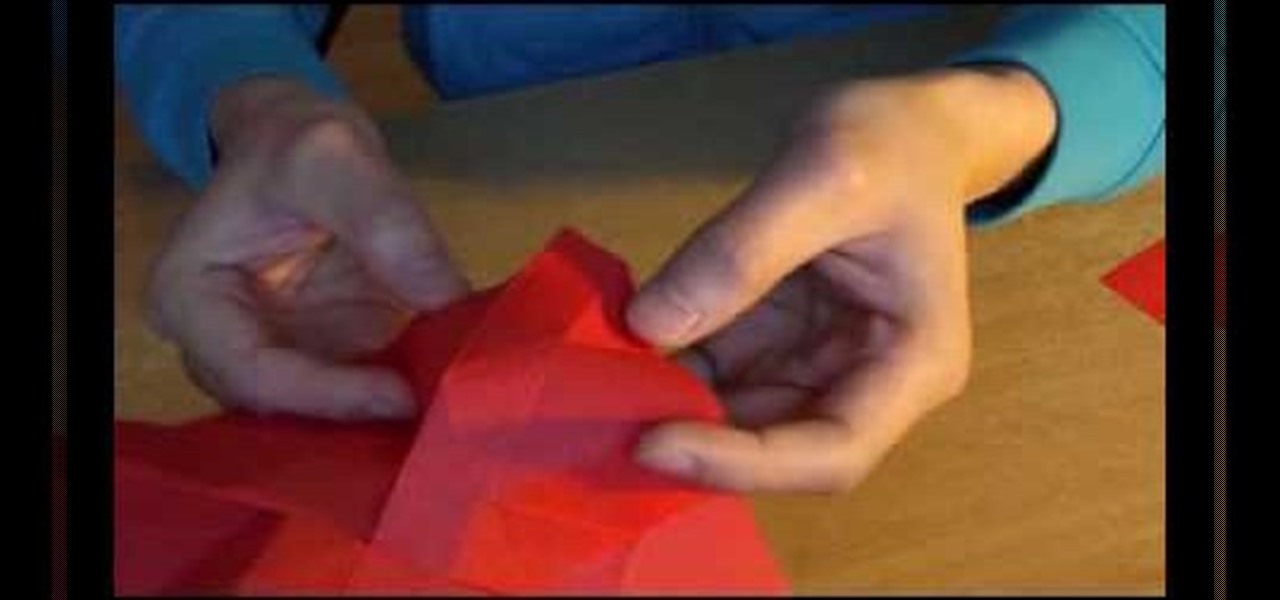
Make an origami rose for your love on Valentine's Day. This easy to follow video shows you how with romantic piano music to calm you while doing it! Start with a piece of red paper then make the initial guide line folds. You then start by folding in the corners then making more guide folds. Then the edges get folded in as you slowly start to see the flower develop. Then, you make a fold in the center and start to work your way around as the flower takes shape. A twist starts at the center the...
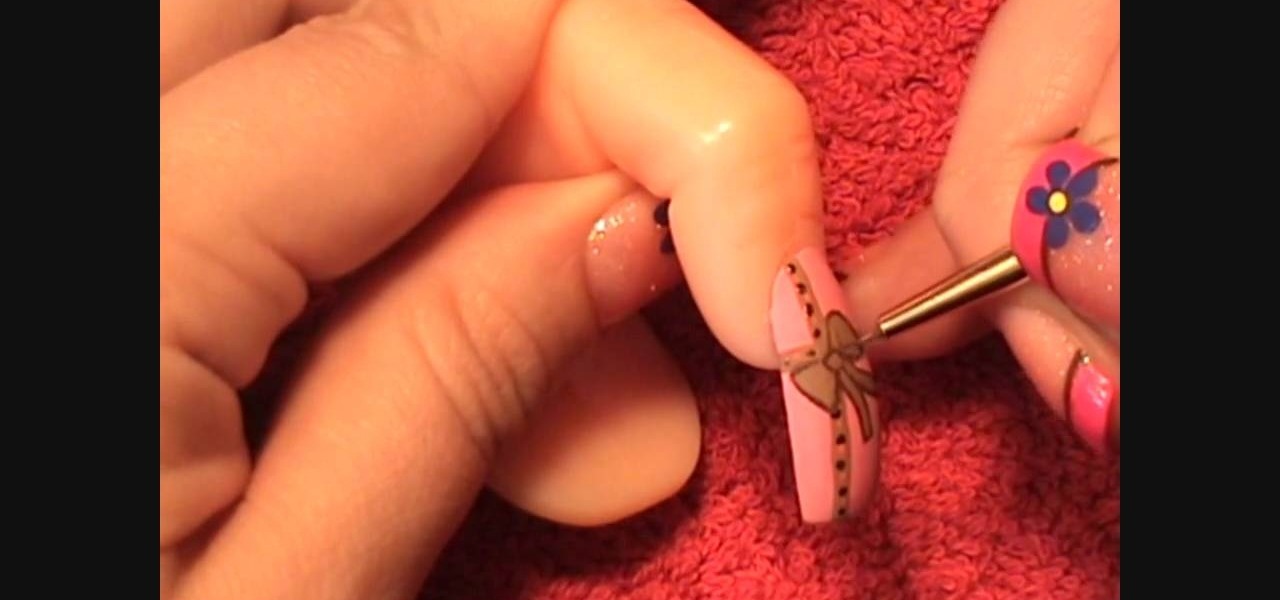
First, apply base coat to your nails. Then apply 2 coats of pink bubble gum acrylic paint to the nails. Then use a thin brush to draw an off centered cross on the nail with caramel candy acrylic paint. Using a dotting tool, apply hot pink and metallic antique copper acrylic paint in alternating dots along the cross. Then use the caramel candy color again and make a bow in the center of the cross and outline it with brown oxide paint. Let the paint dry and then apply a coat of base coat to sea...
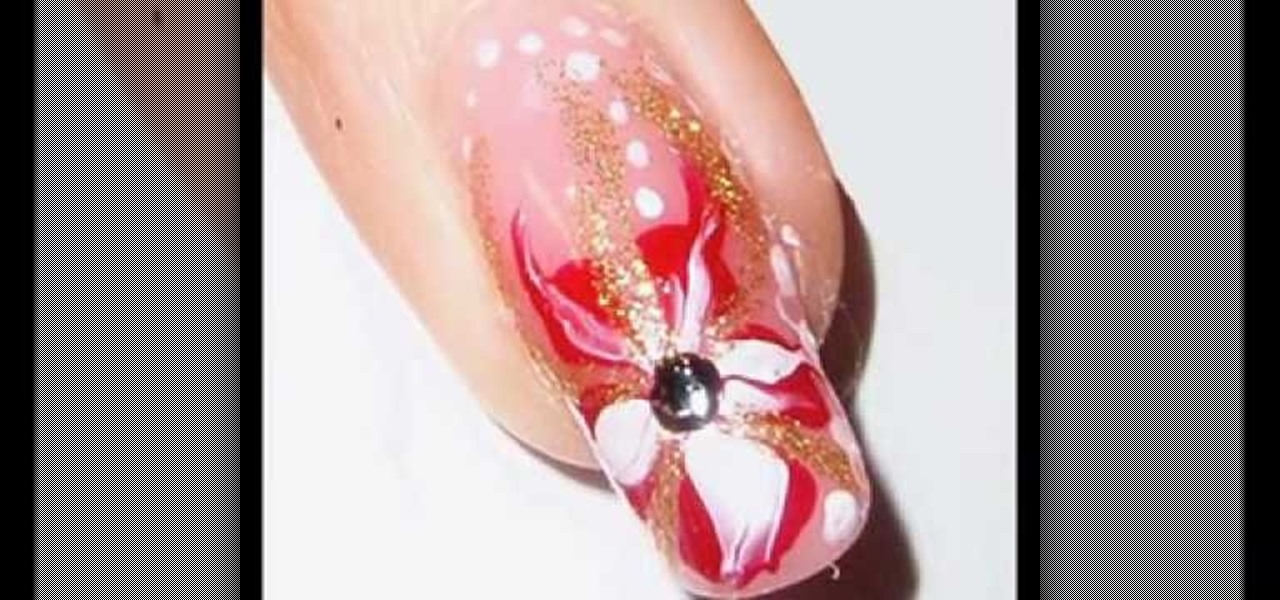
This is an interesting video presentation about "Flower Nail Art Tutorial". The steps are as follows, the first step is Apply a thick coat of clear polish on your nail and then apply 5 red dots in circle in the fourth finger and a white dot in the middle and then draw a line from the center through the red dots. After drawing each line, clean your brush and now draw lines from between the dots to the center and then draw golden strips between petals and draw a black dot in the middle and draw...
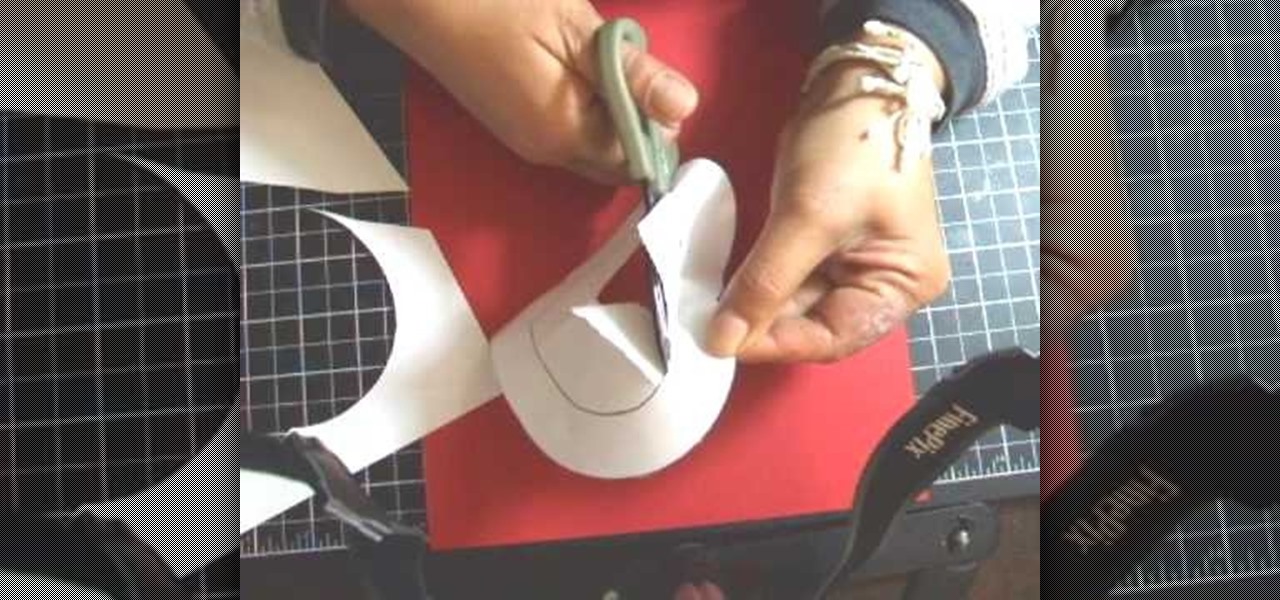
The template for this heart-shaped window card can be found at [www.stampininspirations.blogspot.com stampininspirations.blogspot.com]. You will need the template and cardstock and the other usual materials needed to make a card. You can re-size the template to about 5 1/2 inches across by about 5 1/2 inches high. Cut out the heart and remove the center heart as well. Take an 8 1/2 by 11 inch piece of red card stock and fold it in half, then trace the inside and outside of the heart-shaped te...

LoveMaegan teaches you how to style a full frontal French braid. First, you will separate the front strands of hair and braid them together as you would for a regular braid. To do this, pull the strand from the right under center piece, catch it under the center strand, weave over and then repeat until you get to the left side of the head. Here you will grab a strand of hair from the left side and bring it together with the strand from before. Grab the new strand from farther back in order to...
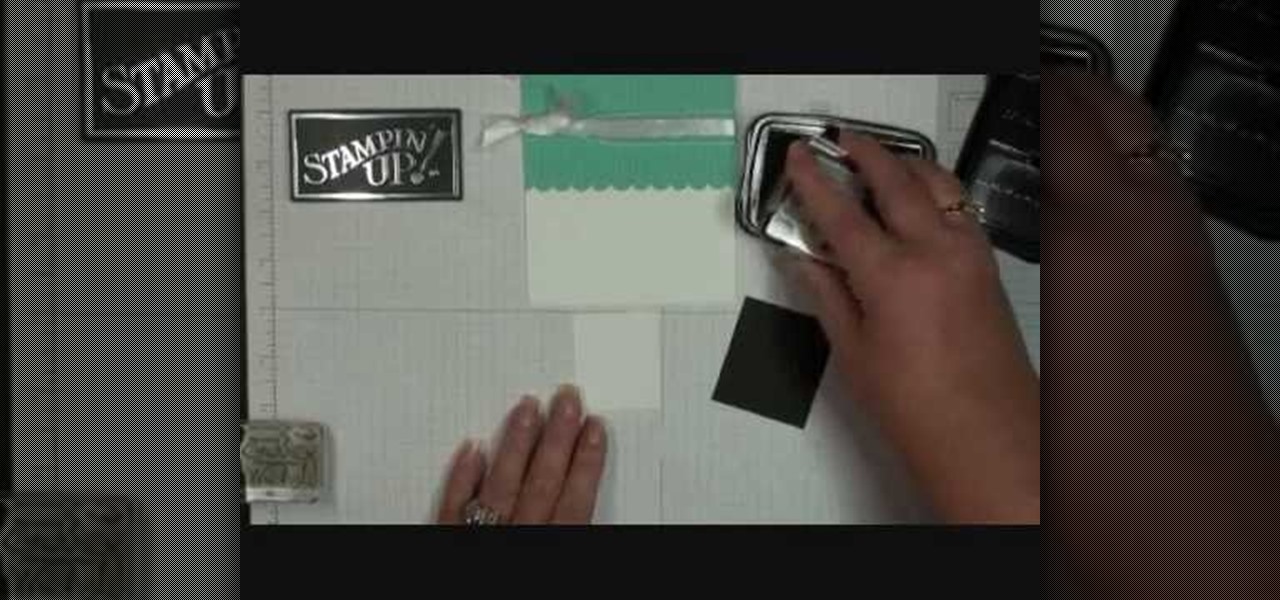
Demonstrator Dawn Griffith offers a short tutorial on how to make a simple and cute birthday card. First you will use white paper to make your base card. Then use a scallop edge punch to scallop some green designer paper, which you will glue to the top of your card. Tie some white ribbon around the top and trim for a clean look. Use a greeting stamp to stamp a message onto the bottom right front of your card. Create a center image by adhering white paper on black card stock, stamp the white p...