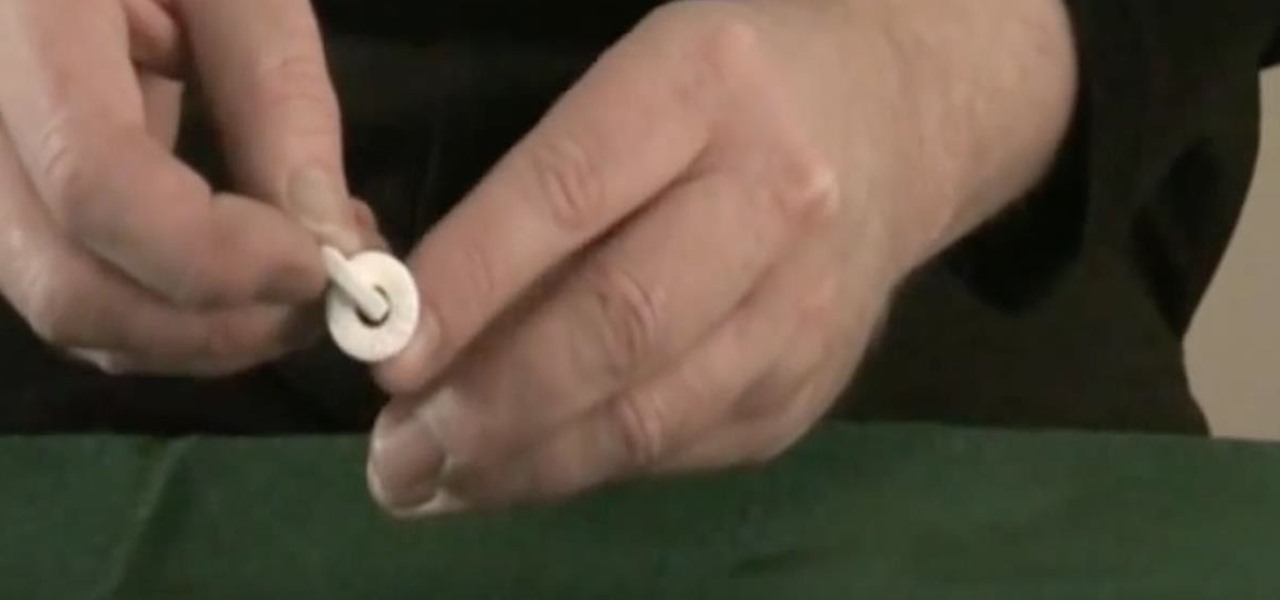
This video tutorial is in the Arts & Crafts category which will show you how to tie a decorative Door Knocker knot. Take a piece of rope and make a loop at the center with the left hand end of the rope over the right hand end. Now pass the right end above and through the loop to make a half knot. Twist the loop to make a figure of eight, pass the right hand end through the lower loop of the "8" and back through the upper loop. Repeat this once again. Now repeat these steps with the left hand ...

In this video tutorial, viewers learn how to use the auxiliary audio port in a 2010 Toyota Prius. This car is equipped with a mini plug auxiliary input port in the lower rear section of the center console, below the armrest. This will allow users to use personal playback devices such as an iPod. Simply plug the device into the mini plug socket and press the AUX button to listen through the car's audio system. This video will benefit those viewers who have a Toyota Prius car, and would like to...

In order to insert a movie into a PowerPoint 2007 presentation, you will need to create a placeholder for the insert, in your presentation. Click on the media center. A window will pop up, which will allow you to open your movie. If you have already have your presentation, but you haven't left a placeholder, you can add your movie by going to the point where you want to add the movie, in your presentation. Then, click Insert. Go to Media Clips group. Choose an option from the drop down menu t...

Having zippers on your clothes can be much better than having buttons or anything else. They're sturdy and can close up any gap with one swipe. If you plan on making your own clothes from scratch, it's important to know how to sew zippers onto your clothing.

In this Arts & Crafts video tutorial you will learn how to tie a Padlock style decorative knot. Padlock knot is a clever way to achieve the look and function of a padlock without having to bother about the key. Take a piece of rope, bend it in the center and make two loops on either side of the rope. Ensure the working end is over the rope in the left side loop and under the rope in the right side loop. Now overlap both the loops so that the left side loop is over the other loop. Now pass the...

In this Arts & Crafts video tutorial, Ana Maria, Origami artist, will show you how to fold an origami paper pyramid. For this you will need a square piece of paper; preferably colored. Fold the paper in half, open it up and fold in half in the other direction. Open up and fold all corners to the center point of the paper. Now fold it in half in both directions. Open up the last fold and fold one of the edges inwards. Open up again, unfold the adjacent flap and lock the flap down as shown in t...

Drugstore valentines? Pssh, why would you want to get the same cards every other kid is passing around on Valentine's Day when you can make your own?

If you are looking for a way to kill time while waiting in a restaurant, why not check out this magic trick?

In this how to video, you will learn how to make a hair bow. You will need a ribbon and a bobby pin. First, make a knot in the center of the ribbon. Next, pull it tight and make a bow shape in the ribbon. Make sure that it comes out evenly. if your ribbon is not double sided, one end may have no pattern. This means you have to twist it so that the printed side appears in the front. Next, take the bobby pin and slide one end through the loop in the middle. Make sure it is in the bottom area of...

In this video tutorial, viewers learn how to use the Sticky Keys feature in Microsoft Windows 7. To use the Sticky Keys, click on the Start menu and open Control Panel. In the Control Panel window, double-click on Ease of Access and click on Change how your keyboard works under the Ease of Access Center. Then click on Set up Stick Keys and check the option Turn on Sticky Keys. This video will benefit those viewers who have limited dexterity and find it difficult to use complex keyboard shortc...

First step in a free throw is when the ref passes you the ball. At this point you should step back and take a breath, this will slow you down and help you concentrate. You have 10 seconds to shoot so there is no rush. Next, approach the line. You will find a nail, dot, or spot of paint. This shows you where the center of the court is. Line your shoulders up with the dot, to prevent the ball from going to the left or right of the hoop. Next, you should use a routine you've established to get y...

Paul shows us how to make a gigantic three dimensional five-point star out of paper. First, glue A4 sized paper together to make a long strip. Make a U-shape on one end, cross the shorter end under the strip and make a knot by placing the end into the loop. The knot now looks like a pentagon. Flip the pentagon over and over until the end of the strip so that the paper strip is bundled into the pentagon shape. Stick the end of the strip to the pentagon shape. Press the centre on each side of t...

This video illustrates how to fold an origami angel with a wide wing span. Here are the following steps:

In this video tutorial, viewers learn how to use the Filter Key features on a Windows 7 computer. Begin by opening Control Panel and select Ease of Access. Under the Ease of Access Center, click on Change how your keyboard works and click on Set up Filter Keys, at the bottom of the window. Now check the box beside Turn on Filter Keys. Users are provided with several options for he Filter Keys such as: turn off the Filter key wen Shift is held or 8 seconds, display a warning message when turni...

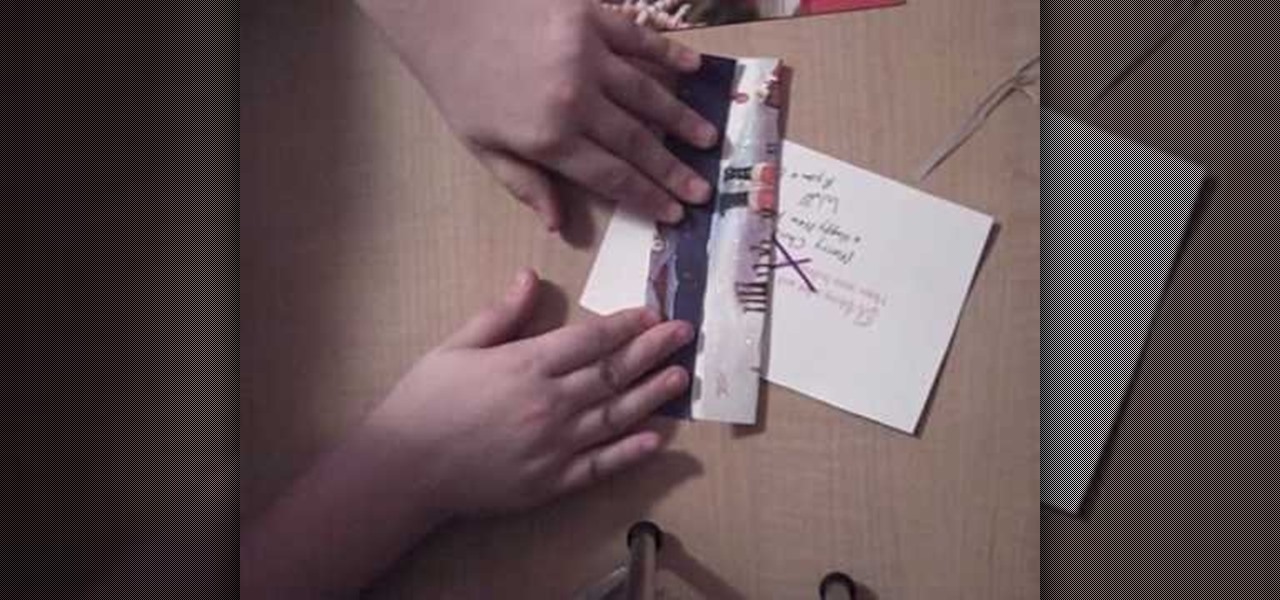
This video shows us how to make a homemade jewellery box out of a Christmas card.For that you need a pair of scissors,a tape,a christmas card,a marker and another card to draw your X with.First take the card and cut it straight down the middle into two pieces.Now take the back side piece of the card and cut off 1/4 of an inch from the left and the bottom portions.This will help to fit the cards together.Next use the extra card and trace an X on both sides of your card piece,in the middle.Take...

This video illustrate us how to make a light bulb oil lamp. Here are the following steps; Step 1: Take all the things required that is bulb, socks,adhesive tape,scissors,kerosene, rim with a hole in the center.

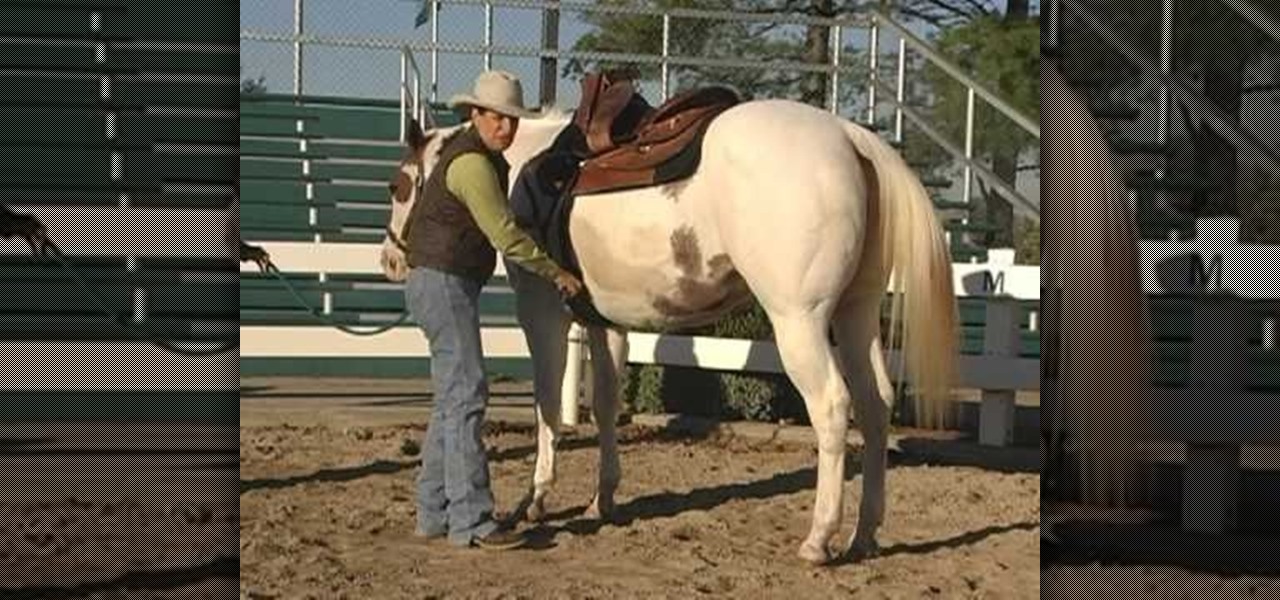
How to saddle your horse for riding

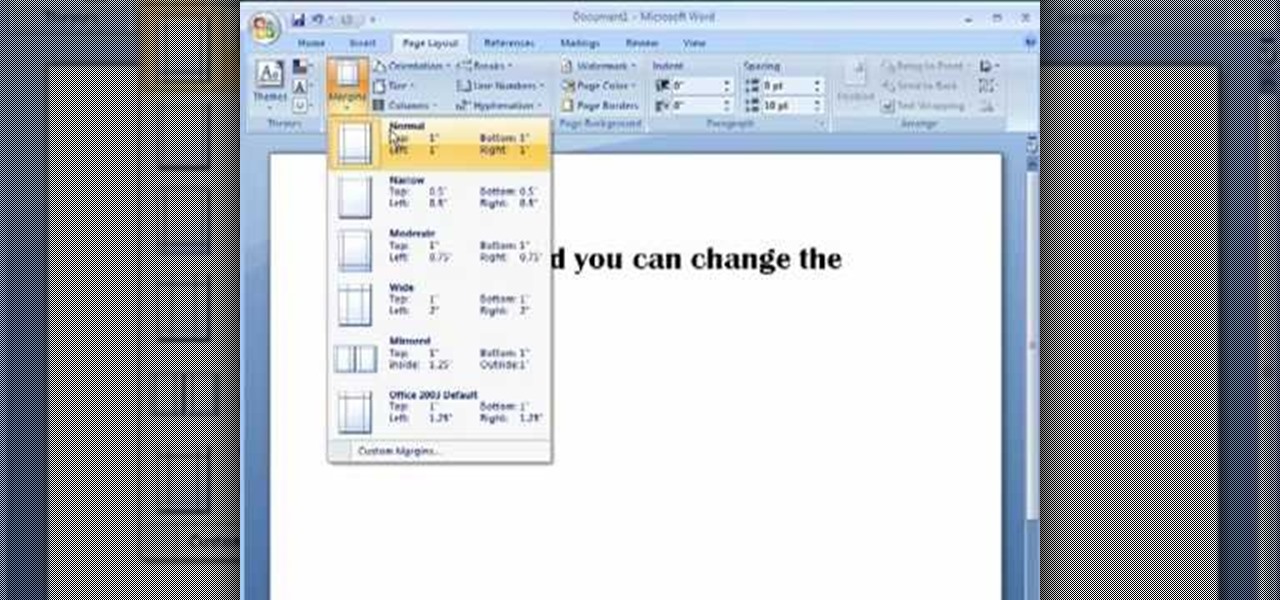
Mike Callahan aka Dr. Filefinder of Butterscotch explains how to adjust the margins in Microsoft Word 2007. While working on a document navigate your mouse to the 'Page Layout' tab at the top, center of the page. On the far left of the resulting page you will find 'Margins', click on that. A drop down window will display some default options that may suit your needs. If not, then click on the bottom option 'custom margins' to change the margin width to any size that you choose. You will now b...

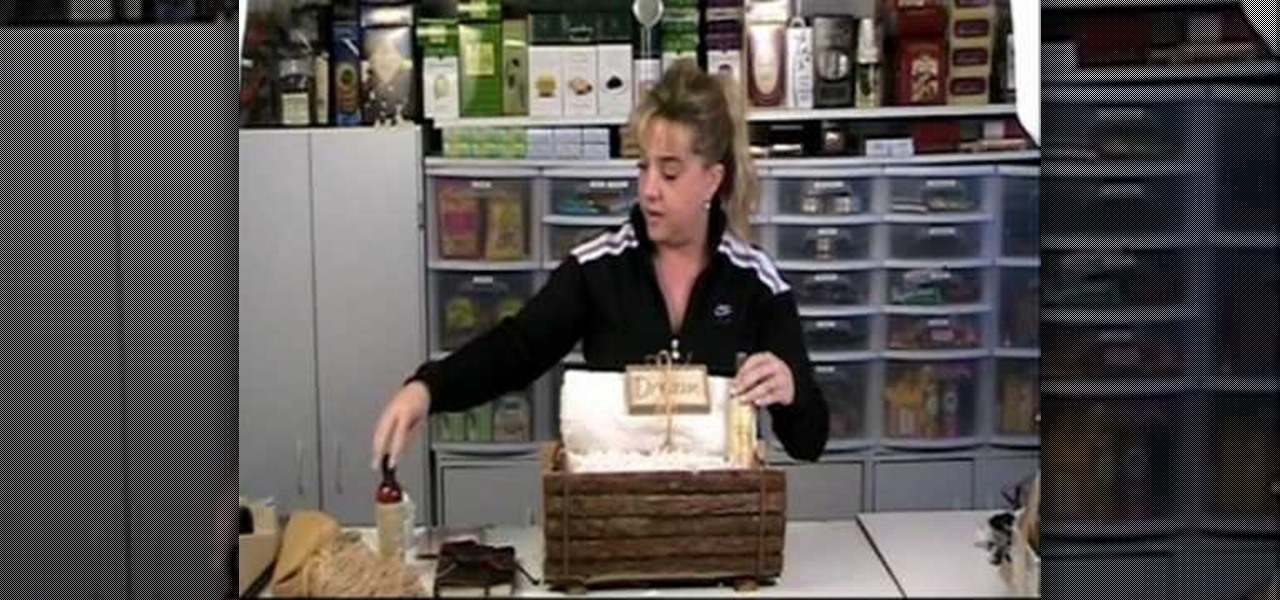
Debbie Quintata shows us how to make a gourmet spa gift basket. By starting with a planter as a gift basket container you can start filling it with your pamper spa items fit for friends, family, co-workers or anyone who deserves a gift basket. Suggestions to fill your basket include a high quality towel, body spray, relaxing music, linen, a simple white tea cup, box of relaxation tea, candle, body bar of soap, and a engraved rock. Very simple and a great gift for anyone, including yourself. S...

This video shows the way to make a paper balloon. A square paper is taken. Two perpendicular folds are made down the diagonals of the square. Then an isosceles triangle is made by folding one side of the square towards its opposite side and the other two sides are tucked in. Now there are four isosceles-right triangular flaps. The flaps are folded along its middle to resemble isosceles triangular flaps. The edge of the flaps is folded towards the center. The free end of the flap is tucked int...

In this how-to video, you will learn how to make a paper popper. First, fold the piece of paper up once. Crease the fold and fold up again. Crease and repeat. Next, fold it vertically. Now, take the thinner corner of the center and pull back so you have a triangular cone shape. Hold it in front of the tip. Once you are holding it, quickly raise your hand and slam it down in the air. This will create a loud popping noise with the paper. This video shows you an easy way to make a paper popper t...

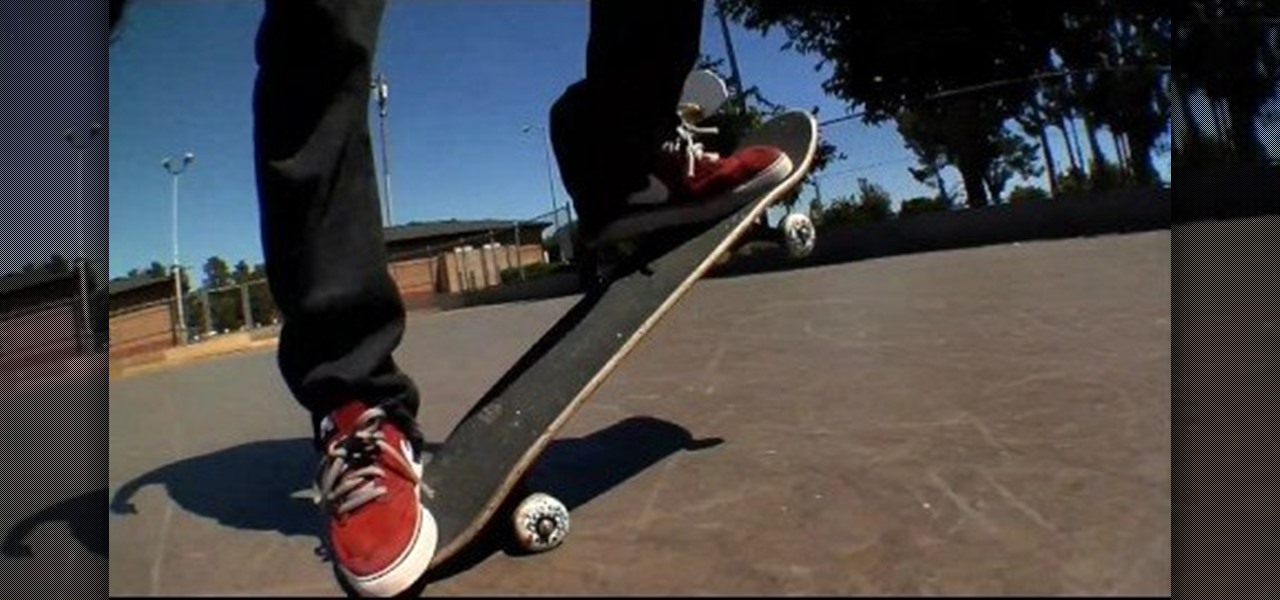
In this video tutorial, viewers learn how to do a fakie kick-flip on a skateboard. Users should first know how to do the kick-flip before attempting this trick. Begin in a kick-flip position, with the back foot on the tail and the front foot slightly above the center of the board. Bend your knees and pop the tail. Flick your front foot up and out off the board. Then catch in midair on both your feet. This video will benefit those viewers who are interested in skateboarding, and would like to ...

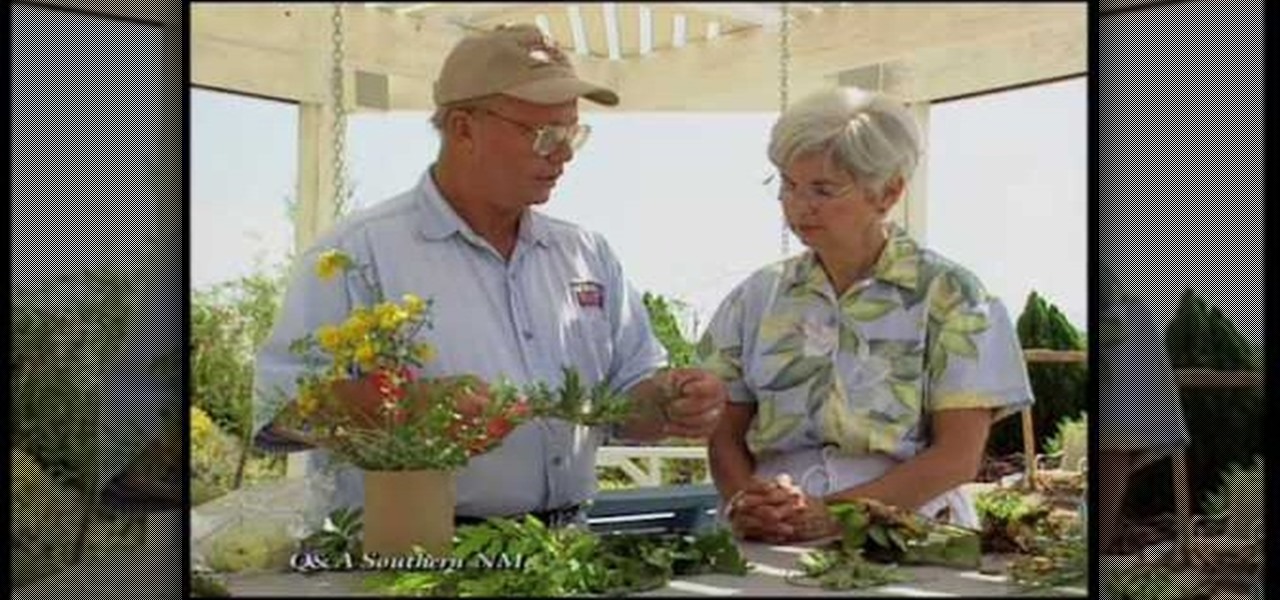
On Southwest Yard & Garden, John White, a Dona Ana County Extension Agent, gets together with Master Gardener Virginia Podmenik to discuss some common problems with typical garden plants. Having trouble getting your Wisteria or Bouganvia to bloom? John White has several solutions. Baffled when your Dianthus and Artemsia grow into beautiful green mounds, then split and turn brown in the center? John White will help you find out why and what you can do to help. Not sure if it’s the right time t...

If you have thinning or short hair and are looking for a change, you may want to try a wig. There are many types of wigs today, different styles made up of different materials. Watch this video to find out information on buying a wig or hair piece so that you don't wind up looking like you have an animal on your head.

Did you lose your key or forget the combination to you lock? This tutorial is here to help you with tips on how to pick just about any combination or padlock without breaking them. All you need is a few household items and a bit of patience and you will be on your way!

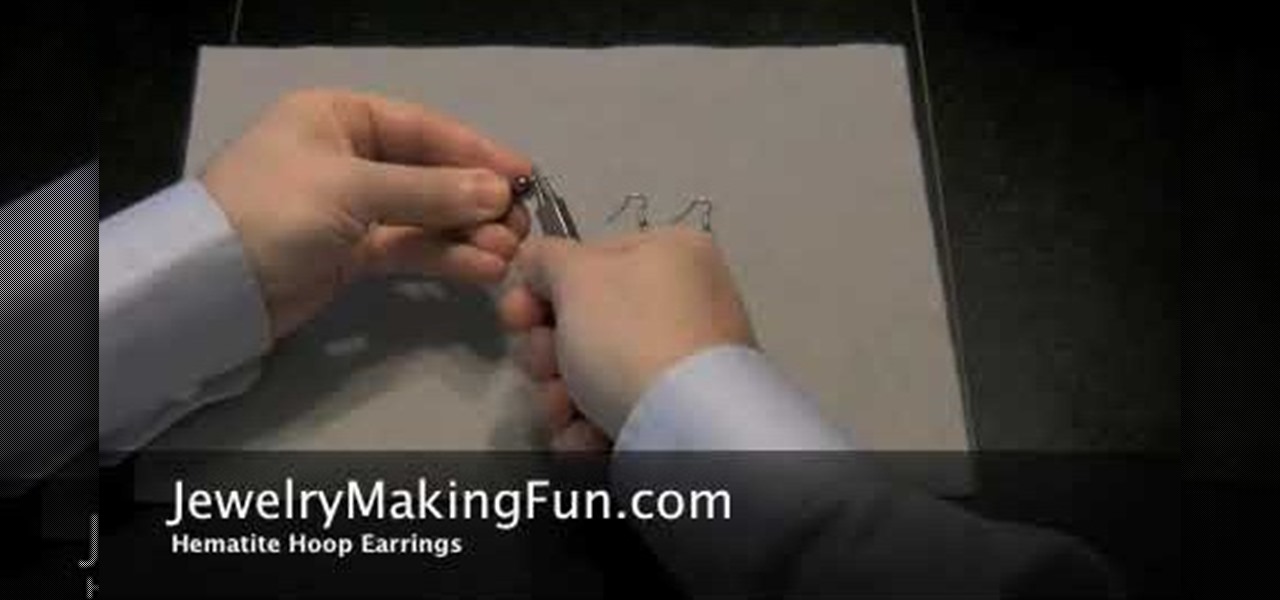
The first step in making a pair of hematite hoop earrings is to gather your supplies. You are going to need some needle nose pliers, two head pins, a hood bead, a small bead, a bigger bead, and two French earring hooks. First, take a head pin and insert it into one of the holes on the loop bead. Follow with the smaller bead and then the larger one. Then, taking your needle nose pliers, bead the remaining wire of the pin 45 degrees. After that, go above the bend about a quarter of an inch and ...

Confused by the equations in chemistry class? This tutorial is here to help! Clark College Tutoring and Writing Center tutors Kevin Martin and Joey Smokey explain how to balance chemical equations, providing examples and tips in this two part video series. You will definitely improve your test scores after watching this step by step program.

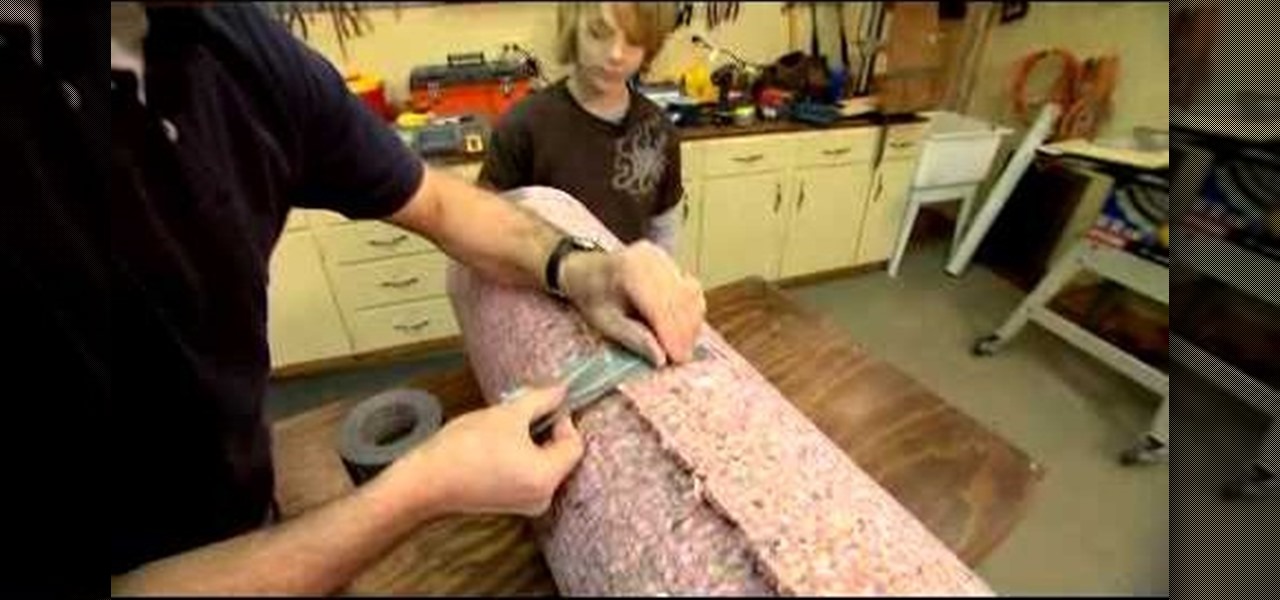
In this video, Danny Lipford will show you how to make a punching bag with trash found at a construction site. First, a circle of plywood is cut out about one foot in diameter (in this video, a bucket is traced in pencil over the plywood). This is for the base of the punching bag. A large piece of PVC pipe is used for the center of the punching bag, which carpet padding is wrapped around to makeup the main part of the bag. Finally, duct tape is wrapped around the whole thing. Out of these ver...

You want to start by determining what kind of charms and the size of the necklace. Most necklaces are about 16-20". If you wanted to make a choker or a bracelet, then measure out a smaller piece of cable chain. Using a ruler makes it easy to measure and later on to add the charms evenly. Using chain nose pliers and side cutters, you want to cut a jump ring and attach to the trigger clasp and then close the end with the pliers. Take the chain and center it on a ruler, find the middle and that'...

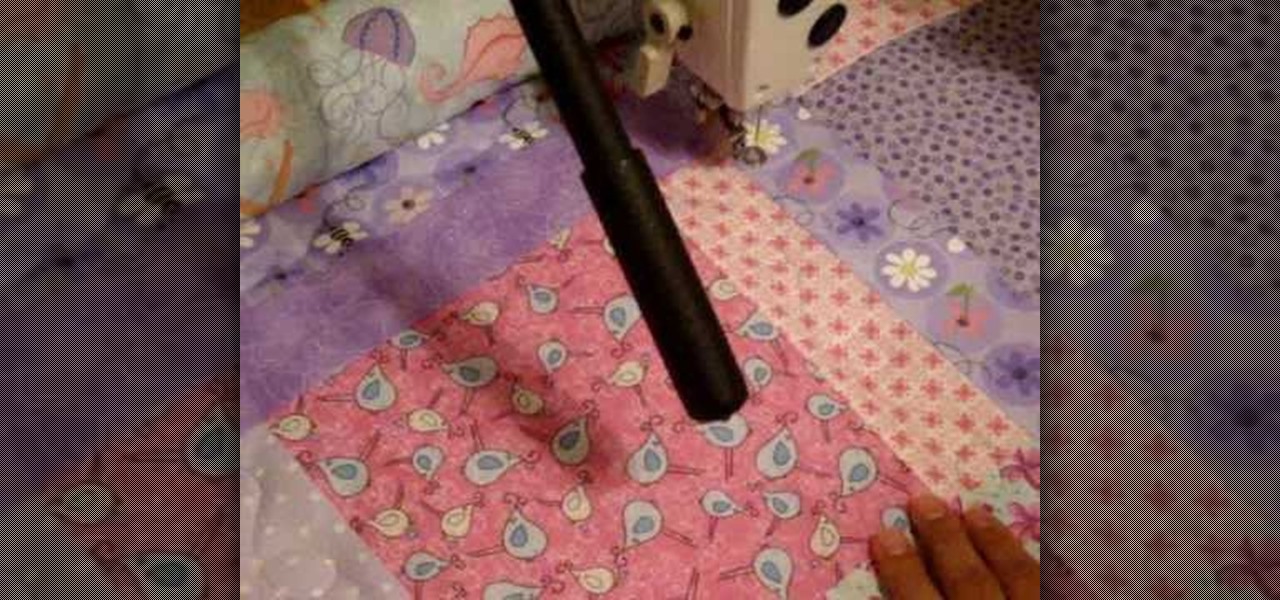
In this Arts & Crafts video tutorial you will learn how to baste a quilt for free-motion quilting patterns. This video is presented by craftygemini. This method of loading your quilt onto your quilting frame is known as floating where the quilt top and the batting are floated. Neither the top nor the batting are rolled and pinned onto leaders like a backing fabric. First go to the top center point of the quilt top, put the pressure foot down and take a stitch. Bring the bottom thread up, hold...

Kick up your look by adding dresses you make yourself to your wardrobe. It's simple to create a patter and sew a dress that will fit your exact measurements. You'll be amazed at the differene of having a drees you made yourself makes.

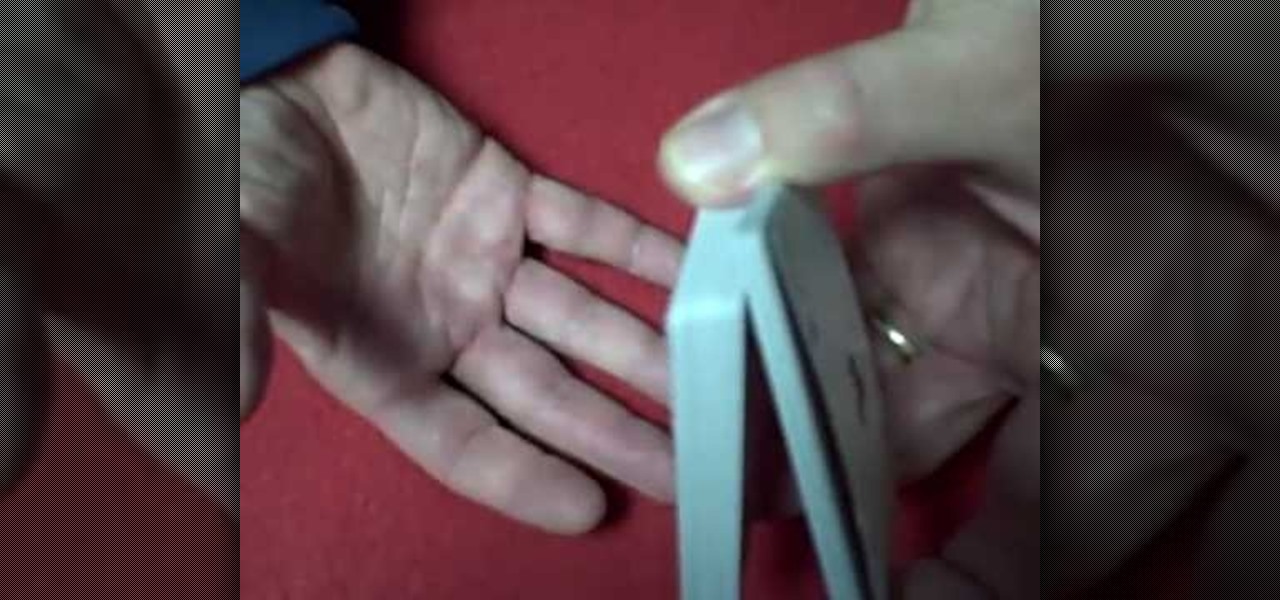
In this video tutorial, viewers learn how to do the swing false cut card trick. This cut makes it seem like the magician actually shuffled the deck. Hold the deck with one hand and cut a portion of it. Then lock the packet with your other hand's thumb and cut another portion of the decking, forming 3 packets. Put the top pack at the bottom as you pull out the center pack. Then swivel the packet on top to the other hand and drop the final pack on top. This video will benefit those viewers who ...

This video instructs the viewer on how to do a powerful Driven Free kick for soccer. First, you will need to come on to the ball and strike it with your in-step. Your in step is the inner part of your foot that is right next to the laces. The most important tip is that when you do strike the ball, come through the ball and not around it! Finish with a hop at the end which will create more power! You'll want to kick the ball just under the center for proper height and maximum power. Kick the b...

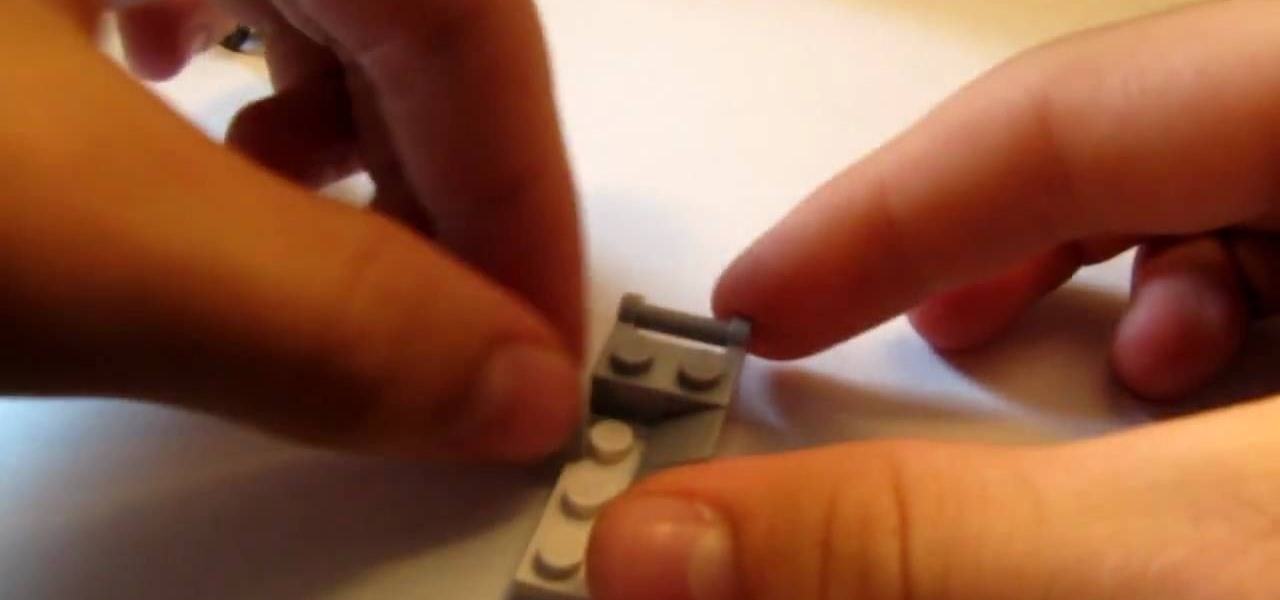
In this video you will learn how to build a LEGO stroller. The materials you will need are 4 of the small slanted bricks, one two by four thin brick, 3 two by 1 thick bricks, 2 one by one thin bricks, 2 one by one by four studded bricks, a small smooth brick, two odd angled smoothed bricks, 4 wheels, one one by two with dot in center bricks, and one one by two handle bricks. Then after carefully assembling the bricks as shown he will show you a example of what it will look like when you're fi...

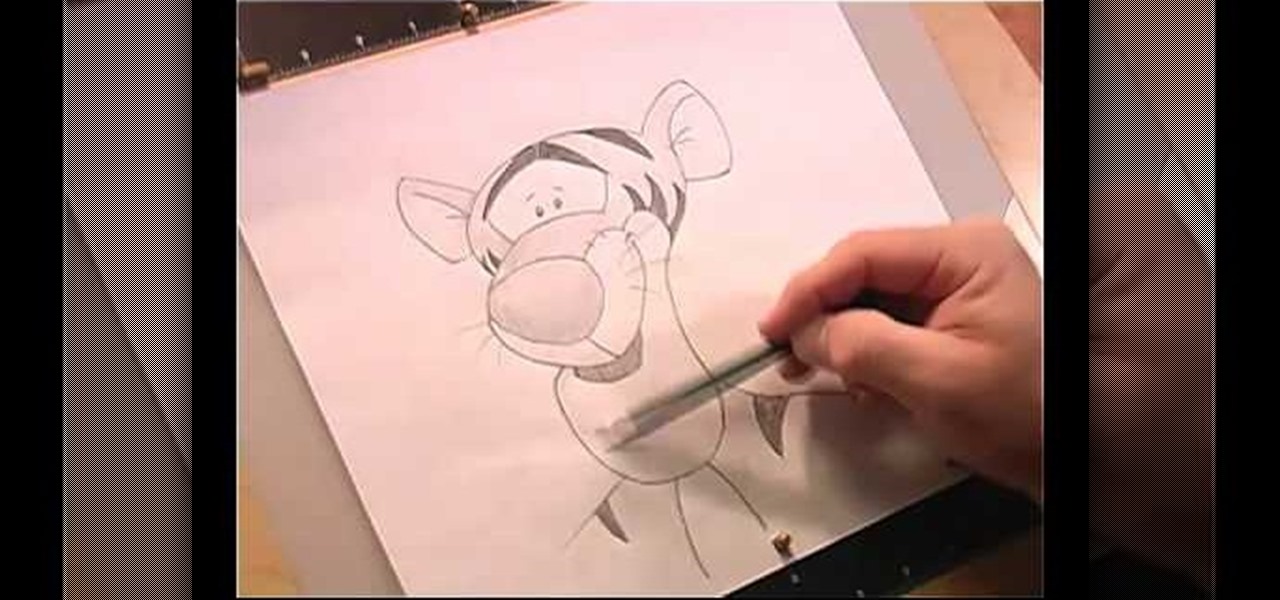
This video is describing the steps needed to draw Tigger from Winnie the Pooh. The first step is to draw an oval on your black paper. Draw diving lines, and make sure that one is a little bit below center. Next draw in his muzzle by lining up the top part of his muzzle with the bottom part of his eye. Next draw his chin. You can draw the bottom by taking the distance of the head and putting the same amount of distance between the head and the muzzle that there is between the muzzle and the ch...

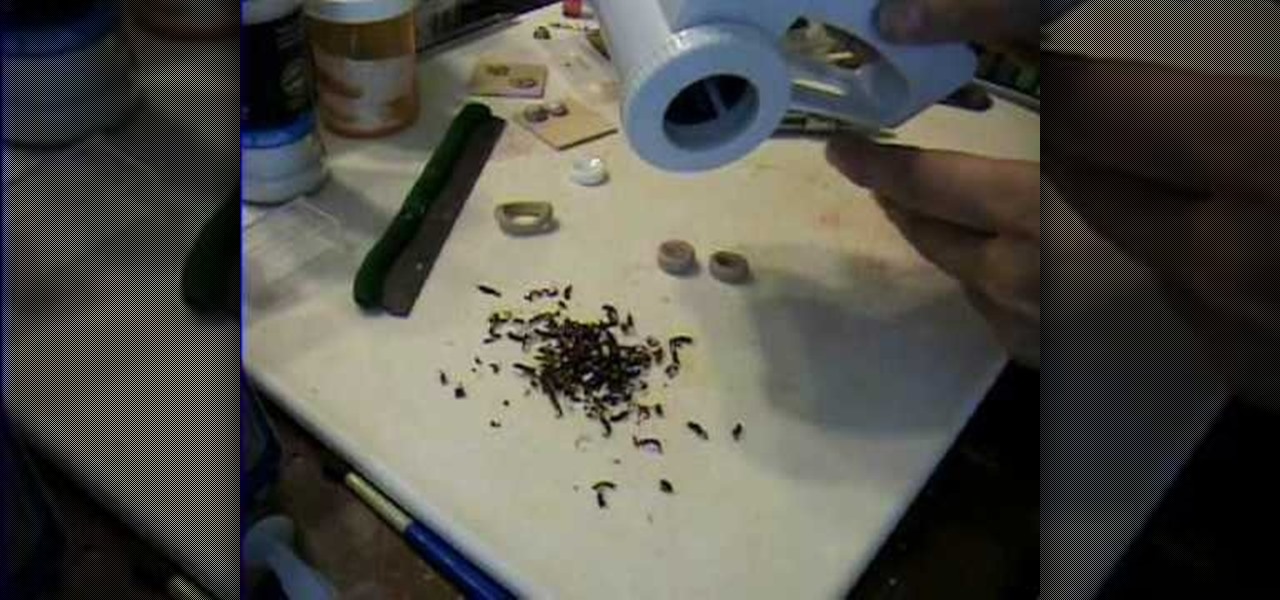
Why buy something when you can just make it yourself? Instead of a store bought mini dog/cat bowl, you can easily make it for yourself. Buy some polymore clay and roll it into a very small ball. Now take your finger, and press it down on the clay until its flat, not too thin although. Next take a marker and with the bottom of it, press down so you have the bottom of it, make sure you don't go right through it. Next center a circle cutter around the pen and cut straight down and through the cl...

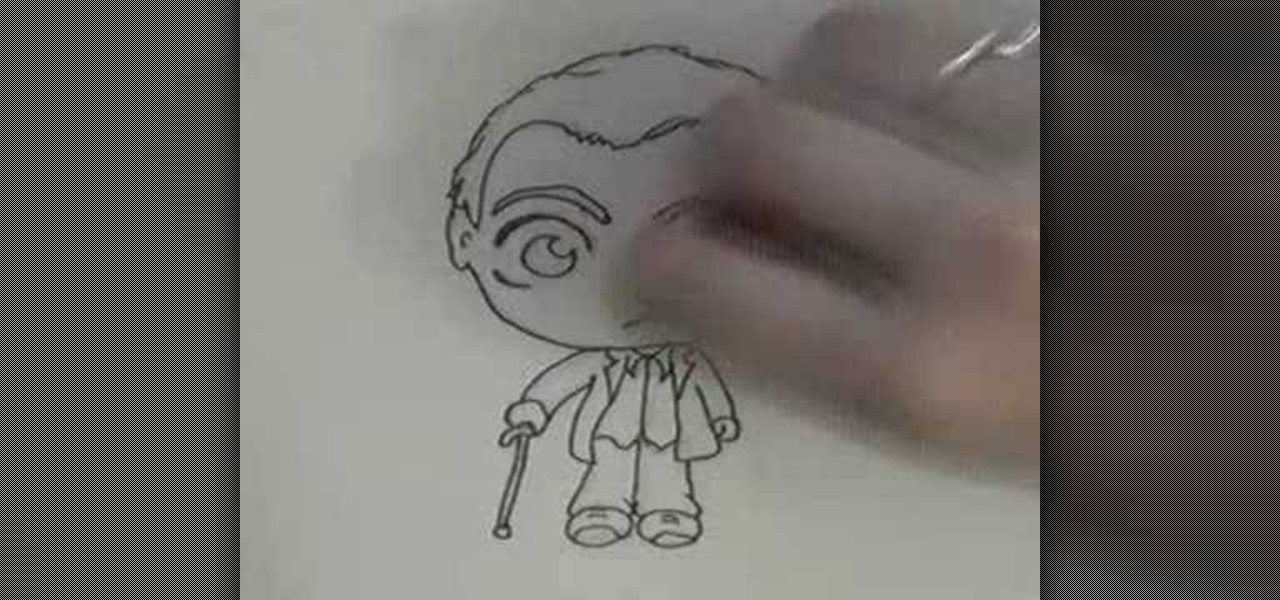
Want to draw a male chibi? This video will show you how. First, draw a circle. Second, draw a tiny triangle underneath the circle. This will be the body of the chibi. Then, draw two little circles for eyes in the center of your face. Next, draw four little ovular rectangles for the limbs of the creature. Now you must give definition to your chibi's eyes by emphasizing them with dark shading. Lastly, add the rest of the clothes on depending upon your preference. The author takes the opportunit...

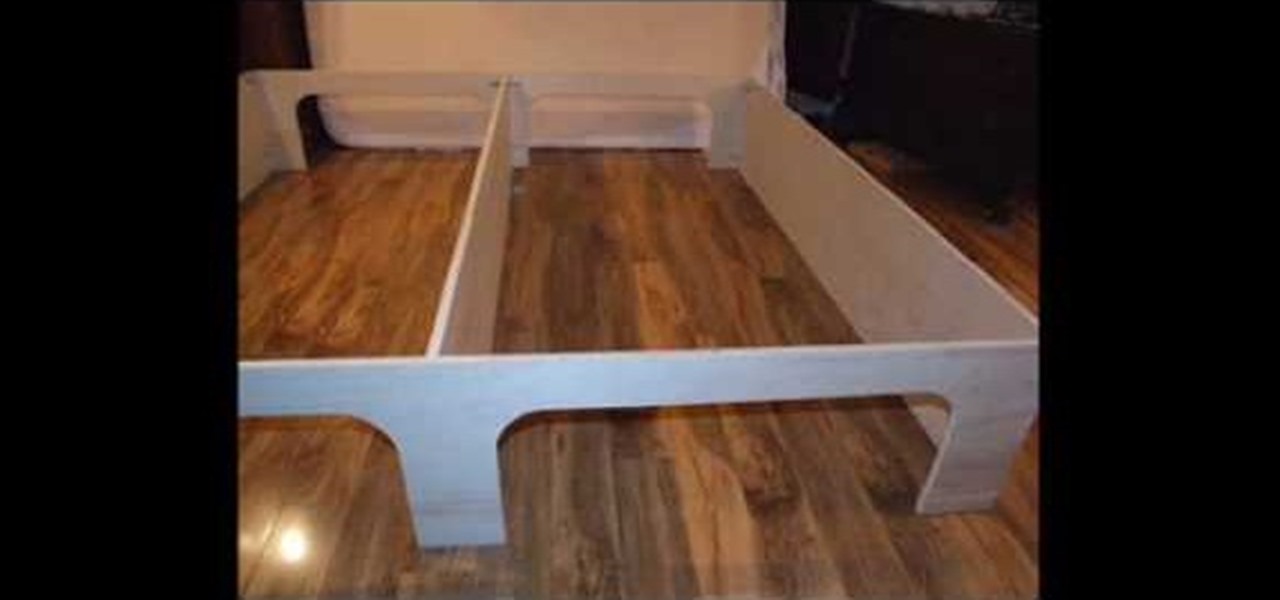
Following are the steps to describe how-to build a platform storage bed at a low cost: 1. All you need are the following materials: (Say a bed size of 16. 5 inch)4 sheets of plywood, 3 (1x4x8) plywood, 20 2-inch corner braces, 1 (1/4-inch) drywall screw, few nails.

Makeoversession demonstrates how to twist flip your long pony tail. A variety of hair styles reflects personality. Long hair hanging loosely around your face is one style, but it detracts from your accessories such as your earrings. To create a long flip ponytail start by brushing your hair out. The first suggestion is to brush the sides of your hair into a ponytail, leaving the back hair long beneath the tail. Wrap a hair band to hold the ponytail. From beneath the ponytail, create a hole in...

Rather than throwing out your old furniture, learn how to give your old dresser a modern makeover by following this video tutorial. To begin, pull off all of the old drawers and other pieces that do not work. You will need to sand down the frame of the dresser and then replace all of the problematic parts. You may also need to rebuild the center supports so that your dresser drawers slide in and out easily. Wipe down the dresser with a cloth and then coat it with a latex primer. The primer is...


