In this how to video, you will learn how to make the finishing edges on pieces of ribbons. The hardest part is getting the spikes even on both sides. Fold up the ribbon so the two ends meet. If the spike is just a single angle, tape the edges at the top. If the spike has a center to it, bring the ends together and fold it in half. Take a piece of tape and place it around the ribbon ends. This will hold them in place for when you make the cut. If you want to make an angle cut, take your scisso...
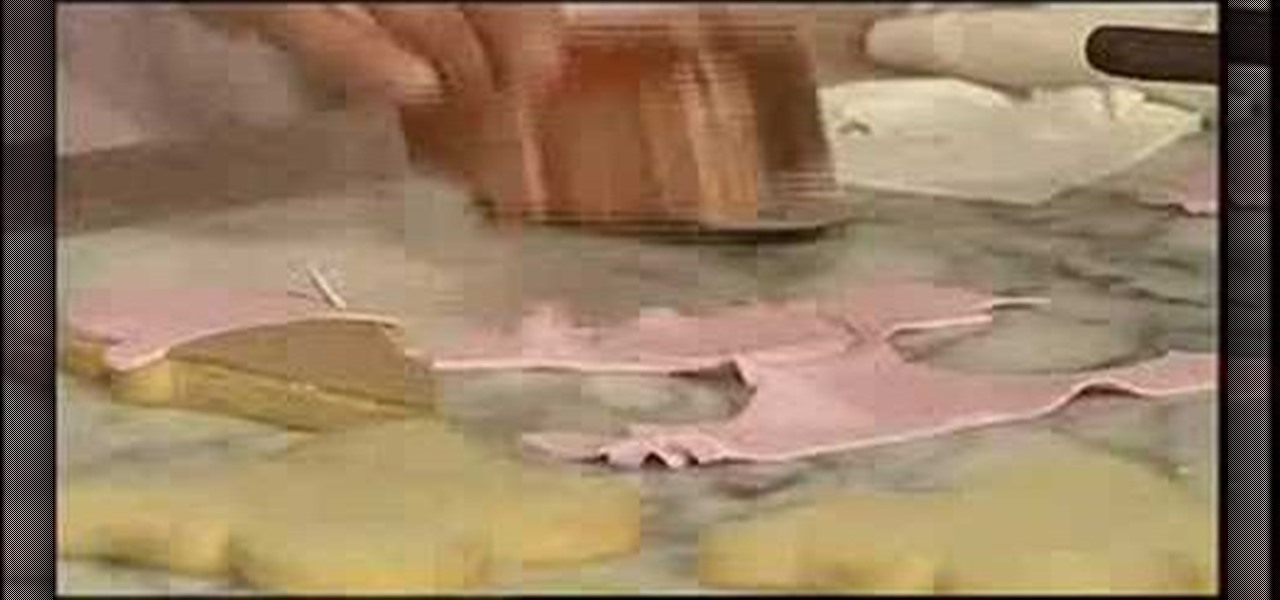
This video is a demonstration of how to decorate cut-out cookies to make pretty butterflies and ice cream cones. Use any cut-out cookie recipe that holds its shape well. First spread a little buttercream frosting on the cookie. This will serve as a glue for rolled fondant. Use the same cookie cutter that you used to cut the cookie out, and cut out a piece of rolled fondant and place it on the cookie. For the ice cream cone cookies, she uses different colors for the cone and the ice cream, and...
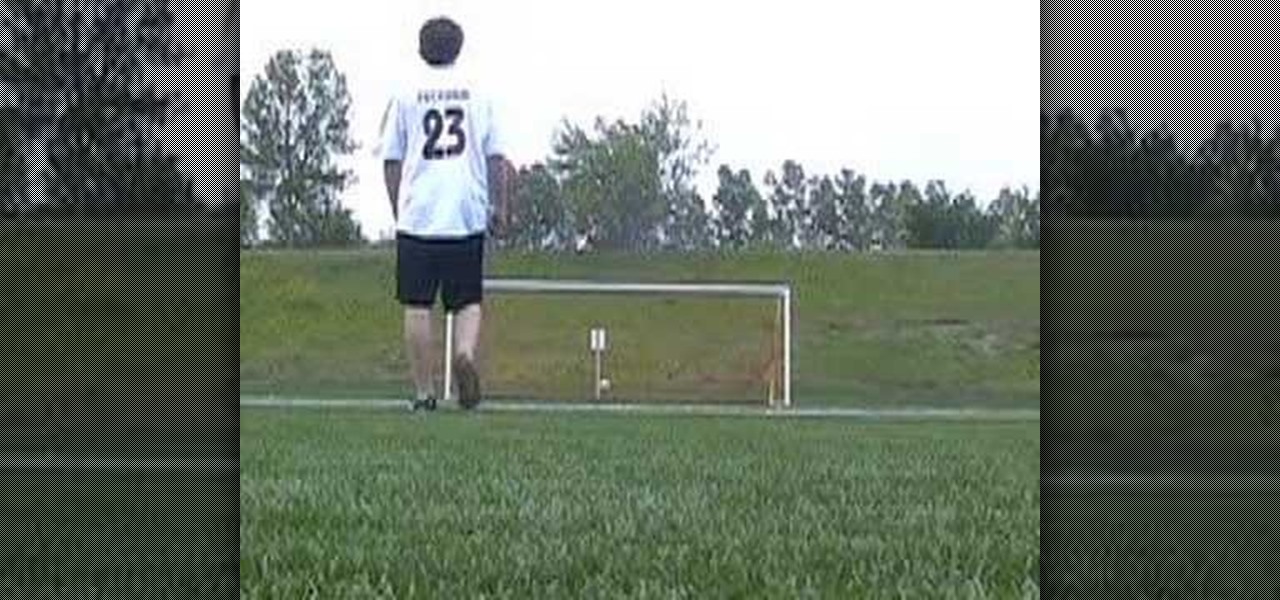
In this how to video, you will learn how to curve a soccer ball. First, you will need to know how to shoot a ball. To shoot, line up striaght with the ball and keep your knee over it. Strike it with your toe pointed down and on the center of the ball. To curve the ball, line up with the side of the ball. Kick the ball so that the inside of the foot hits the ball on the side. When you follow through your kicking foot, your arm should swing across your body. This causes the ball to spin which m...
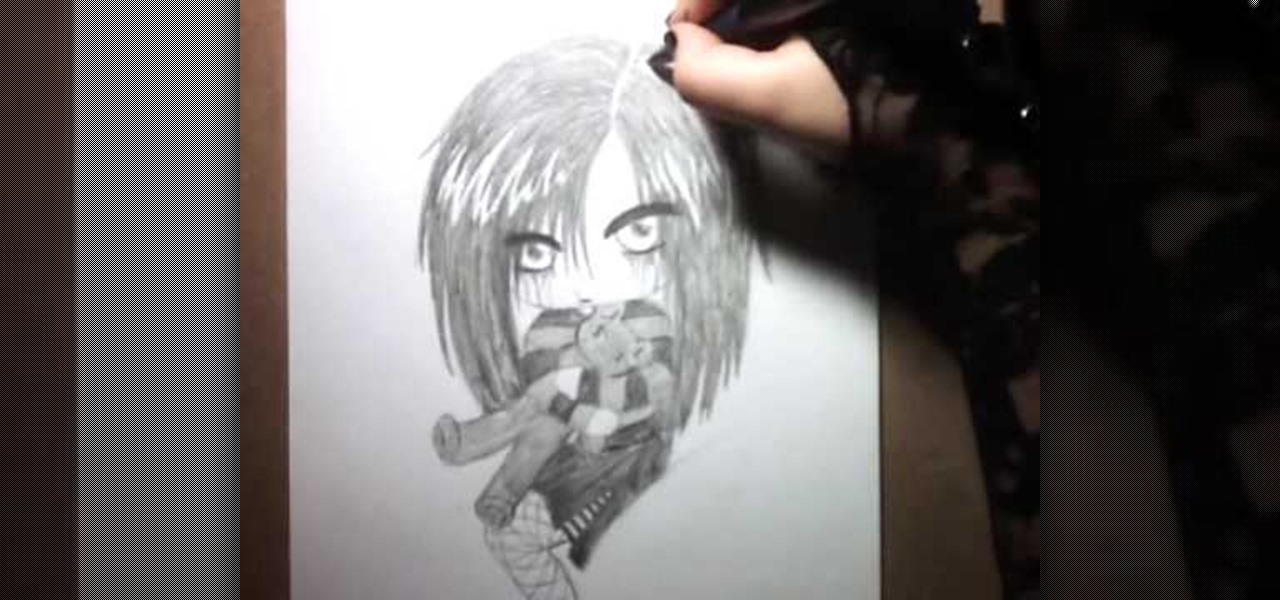
This video describes how to draw an emo-angel chibi. First draw eyebrows, make sure they are dark and thick, then draw half circles going down from them- these are the eyes. Then draw in the eyeballs centered in the middle of the eye. Next draw dark around the bottom of the eyes. Draw lines drooping coming from the darkness around the bottom of the eye, on both eyes. Next draw other dark lines coming down the forhead. Next draw a line coming down from both eyes, and curve them to make small c...

John Campbell instructs the audience on using the hand drill method of starting a friction fires. First, you can use a piece of cottonwood as your fire-board (in his opinion, cottonwood is the best). You need to carve a small round hole about a quarter of an inch away from the edge on the fire-board. Then, you get the spindle going (take a sturdy stick and rub between your hands, scraping the stick across the board). This helps you create a good indention, where you can carve a deep notch int...
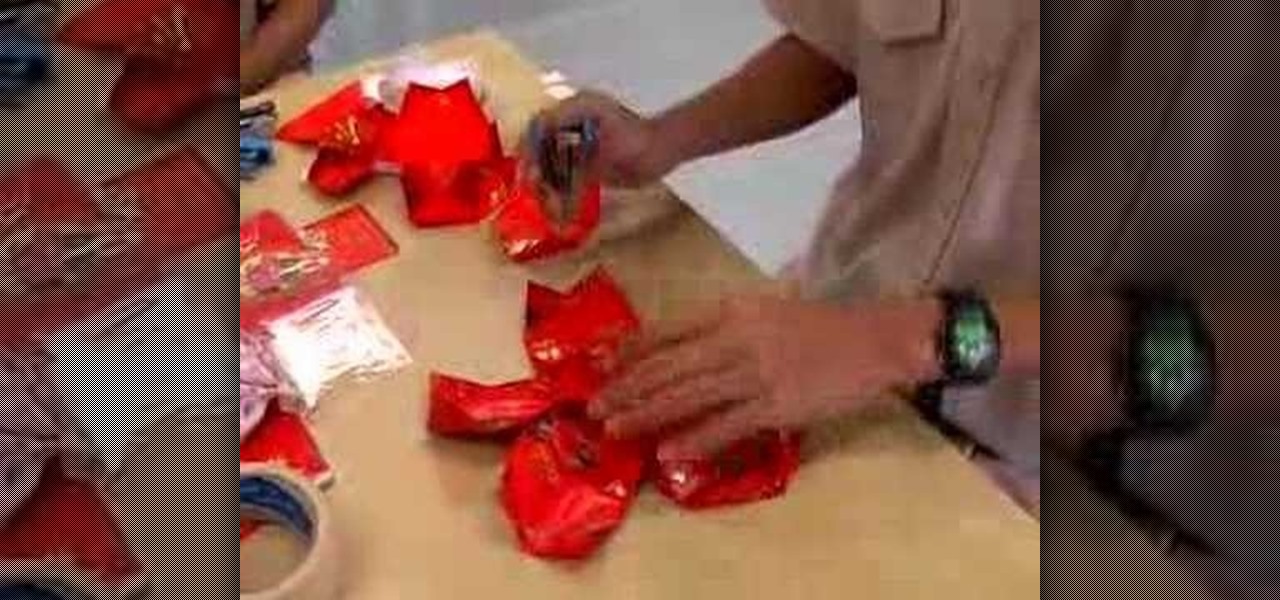
Supplies1.20-35 square papers (all the same size)2.stapler

First of all you have to go to Photobucket. In the search option you have to type in '3d gif''. Now click 'search'. You shall get a number of photos and you can select the image that has red color moving screen. It is better to get image this way without a virus. Now you have to right click on the image and save as '3d image animation wallpaper' and click save and then save it on your desktop. Now right click on your desktop and click on the properties. Now go to the desktop and then select ‘...

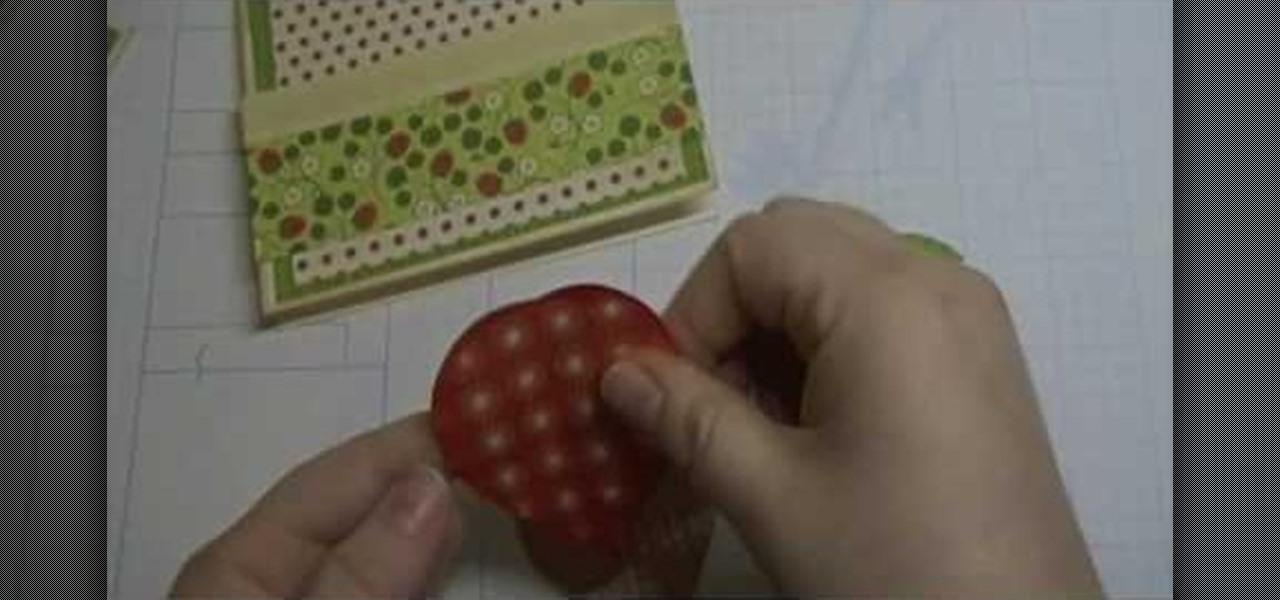
Simple Card Monday teaches viewers how to make a berry-themed card using Preserves Cricut! You'll want to use the Garden Variety Cricket Preserves paper for this berry-theme project. First, you should start off with an A-2 sized 5.5 inches by 4 inches sheet paper. Ink this using chamomile ink on all of the edges of the card. Next, add green onto the top of the card. It should leave a tiny border around. Now stick this strawberry paper with ribbon onto the polka dot paper. Cut your strawberry ...

To create an origami buckyball, you must start with a piece of paper cut into a triangle with each side about two inches long. Fold the corner of each side into the middle of the opposite side and then unfold to create creases that will be your guide. Next, fold a side up to the midpoint of the creases and repeat on all sides. This will create a star-like shape. Now, fold two sides in and pinch out the extreme, outer corner and repeat on all sides. This will create a small star inside your pa...

Michael Weisner, a 2D illustrator and graphic designer teaches us how to draw a majestic Eagle on a waving American flag. To start, you should box in the area for the flag. It should be roughly centered on the page, add a bit of a wave to box to simulate the wind on a flag. Complete the rough outline with the flag pole on the left side. Now you can begin with the Eagle. Use an oval to draw the chest of the Eagle and allow you to easily place the wings and other important features. You should ...

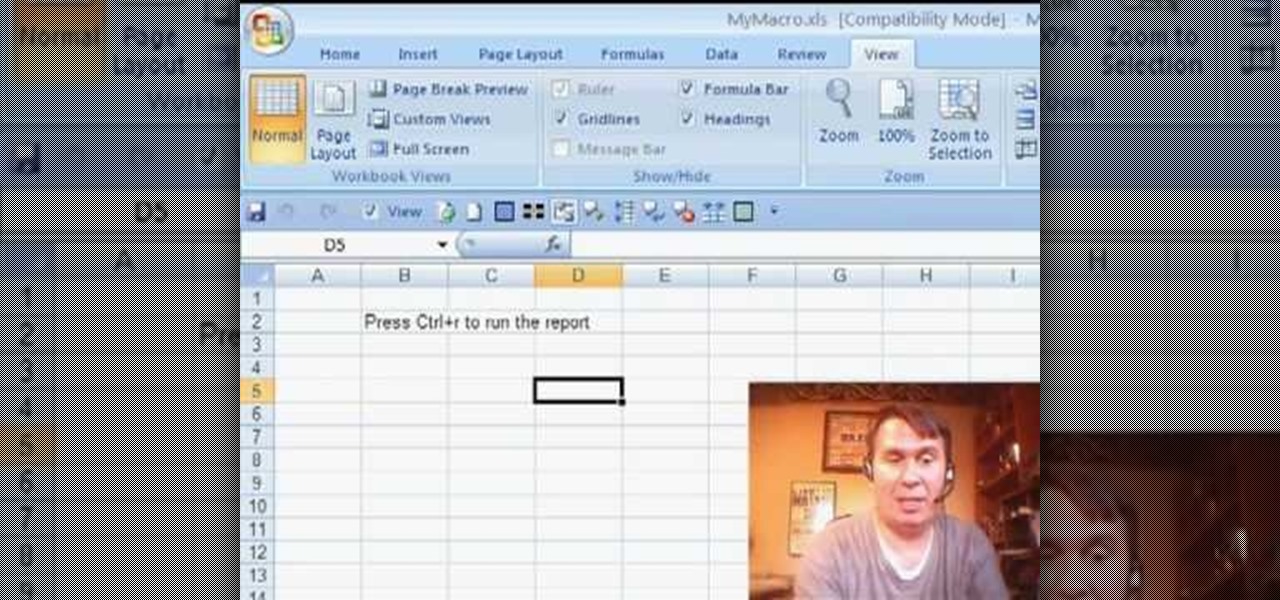
Some times when you upgrade your Microsoft Excel software to Excel 2007 your old macros may stop working. Some times this may be due to the settings and by enabling the macros you can get your old macros to work. Macros are turn off by default in Excel 2007. You can turn this on from the macro security settings. But the settings option is it self completely hidden. You cannot find it in any of the tabs present on the top of the program. Even the macros option present in the view tab has no se...

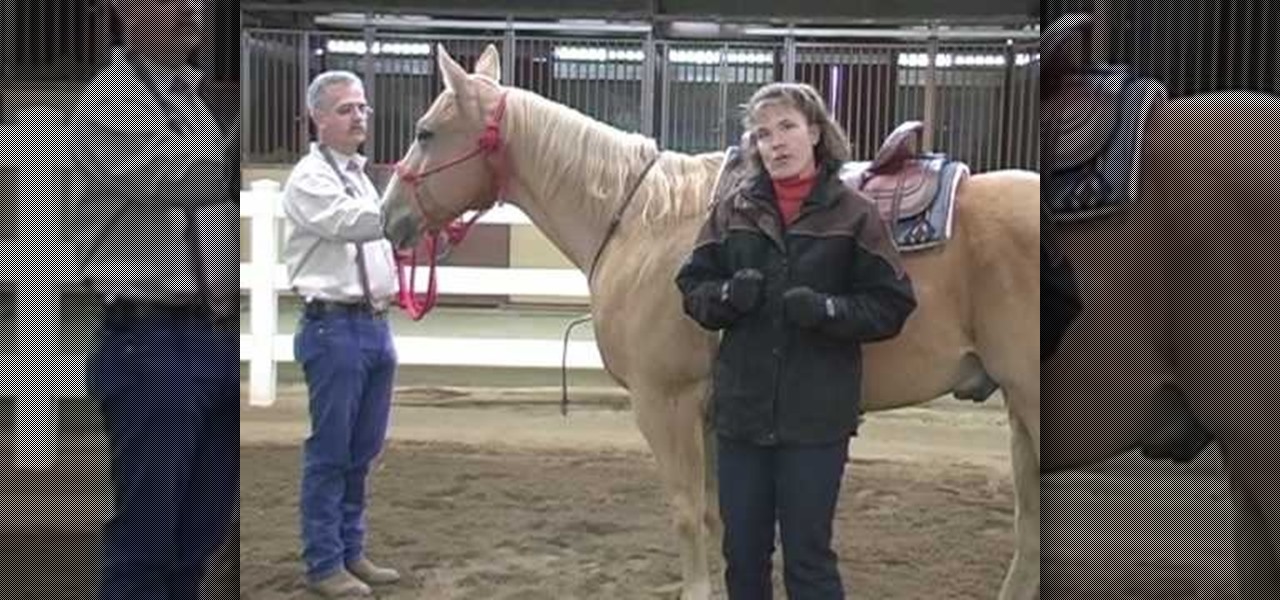
First of all you need to know that there are different types of Martingale Fit. In this tutorial you are first shown a running Martingale Fit. It is attached around the neck by wrapping it. You have to make sure to wrap it around the neck in such a way that it fits to come exactly in the middle of the horse’s chest. Here you have to make the connections. Now you have to go underneath the legs and attach it to the girth. You shall notice two rings hanging over from the chest. You have to attac...

Awakening the sixth chakra – known as the third eye – also awakens your sixth sense, and unlocks psychic potential. In this tutorial, learn how to harness your spirituality and get in touch with your third eye.

A Mandala is a sacred part of meditation. Instead of searching everywhere to purchase one, this tutorial will show you how to make your own, and feel spiritually closer to your creation.

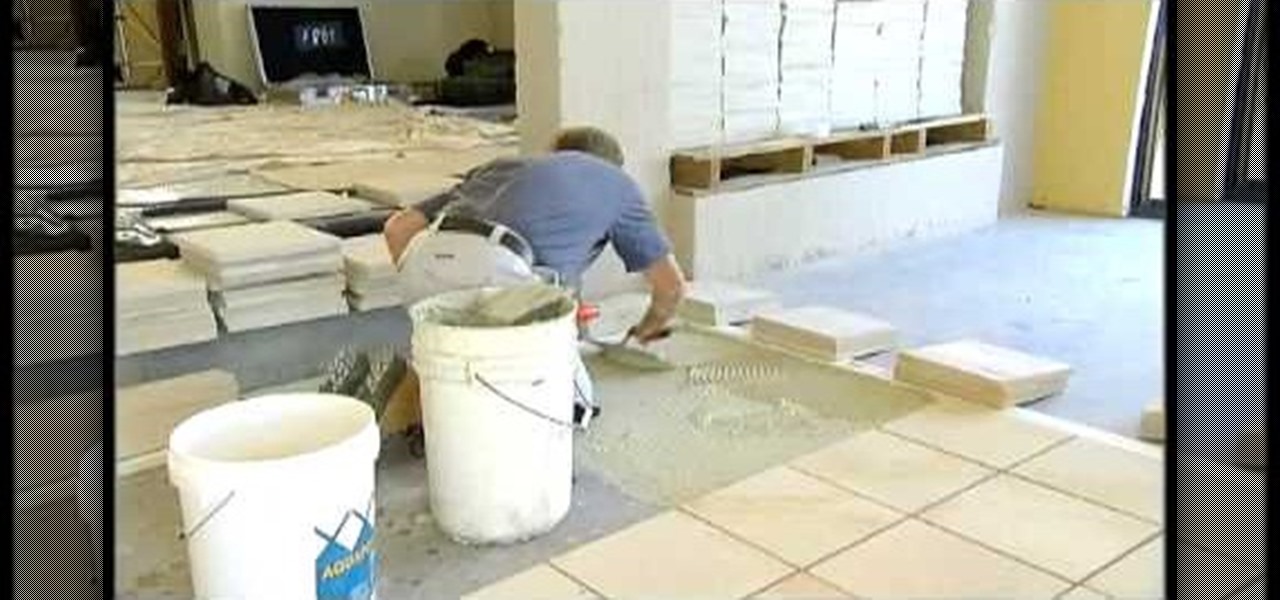
Nuts and Bolts present how to lay a west Australian natural stone. When beginning the laying of any tile or stone, it is very important to make sure the first stone is perfectly straight. So, the first step is to measure from two walls and get the dead center of the room. They use a straight edge to make sure the tile is laid straight. Then, they cover the floor with a light adhesive to ensure the placement of the tile. He uses a saw with a guide to make sure all his cuts are straight. He lay...

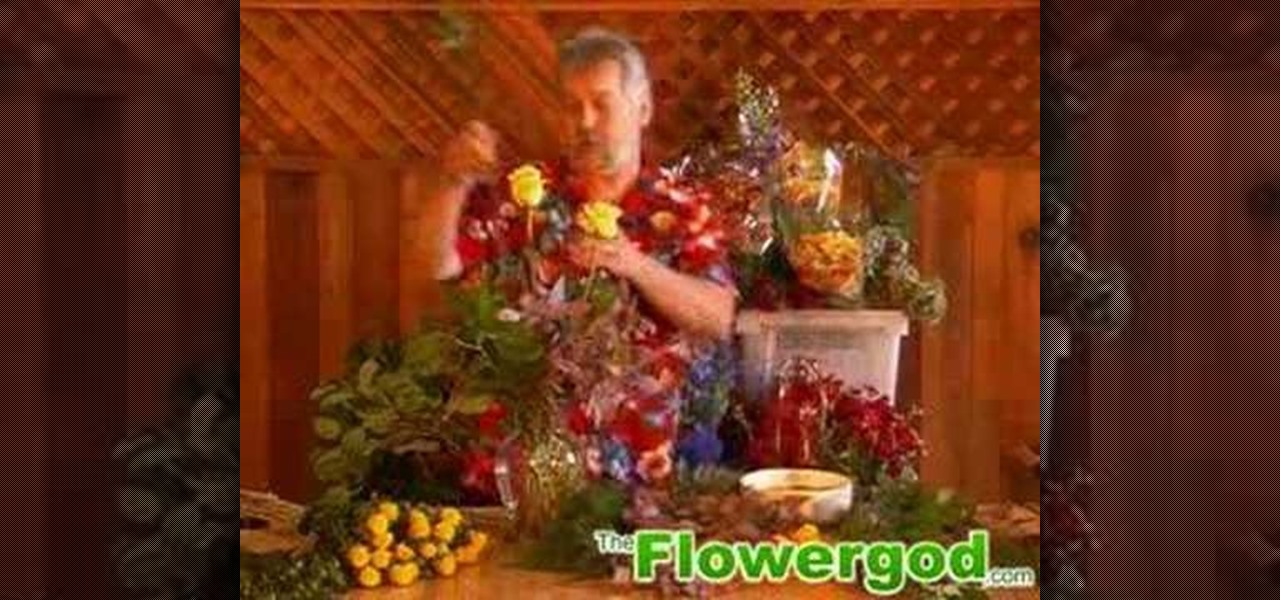
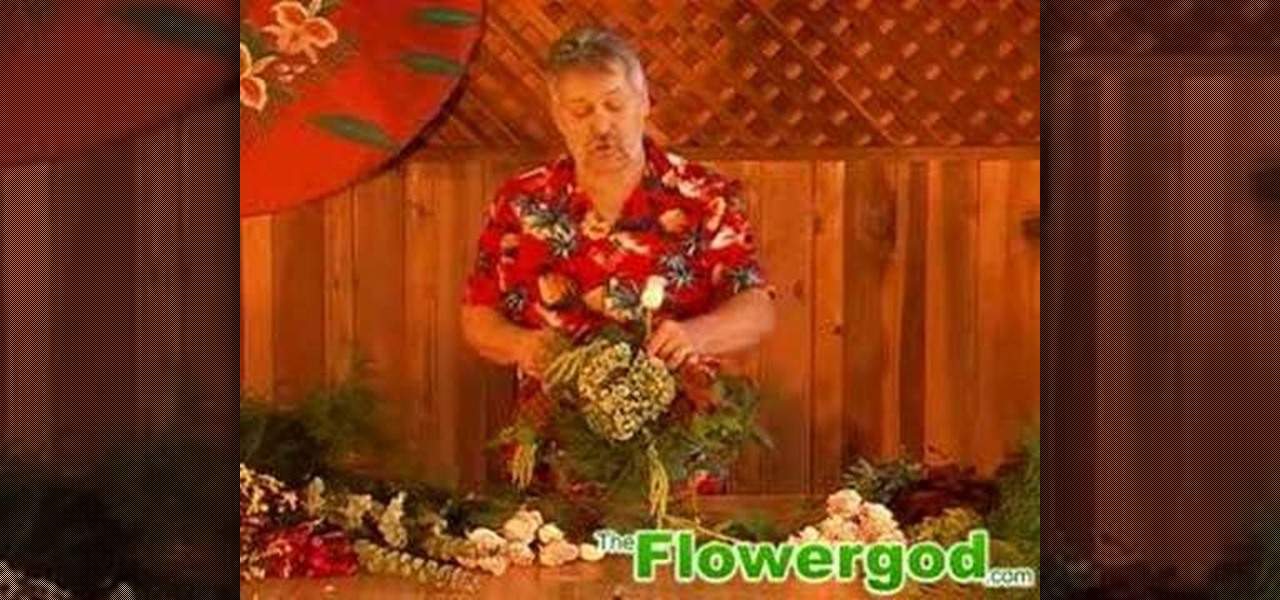
The flower god demonstrates how to arrange a beautiful rose arrangement for your fall table. A dozen yellow roses, greenery and safflower are used to construct this masterpiece. To begin you need a vase filled with fresh clean water. The flower god shows how to lace the stems of the greenery in and out of one another. The laced stems are then placed in vase and eucalyptus is placed throughout vase giving a cascading effect. Next it is time to prepare the roses. Thorns need to be removed off t...

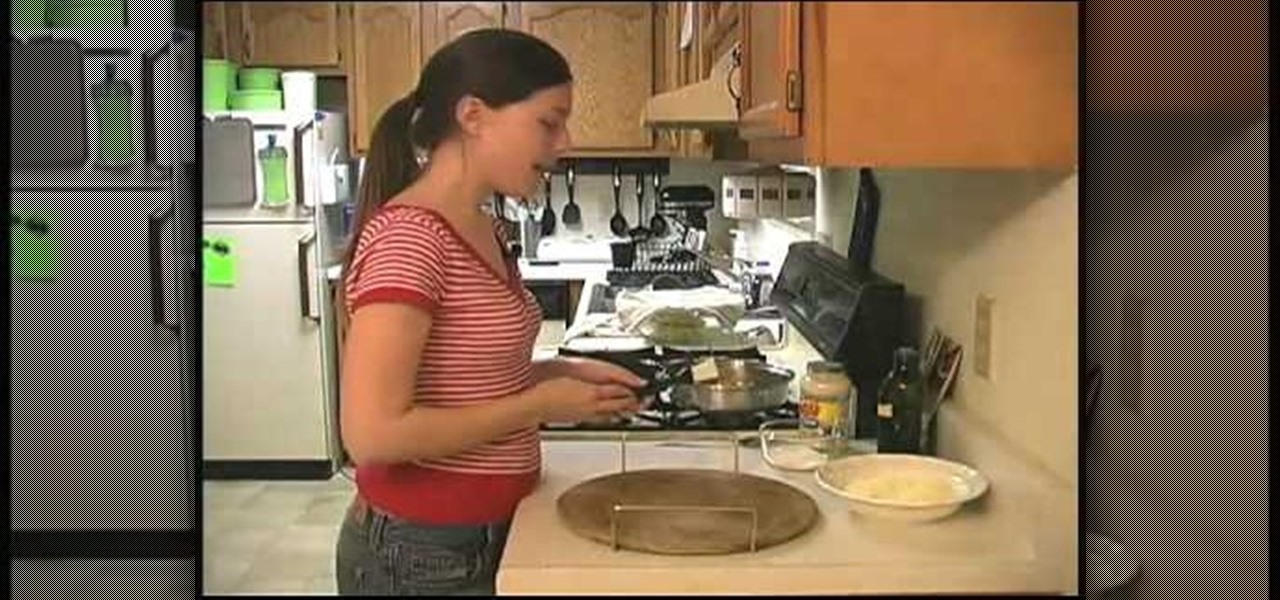
In this video you will learn how to make a chicken Alfredo for pizza for under five dollars. First take a cup of warm water and mix it with a packet of dry yeast. Then pour in a half a teaspoon of salt, two teaspoons of olive oil, then two and a half cups of all purpose flour. Then mix them in your mixer, you want them to mix together until the dough clinks to the dough hook. Then add another half cup of flour and continue mixing them. Then prepare a bowl to let it rise in it needs to rise fo...

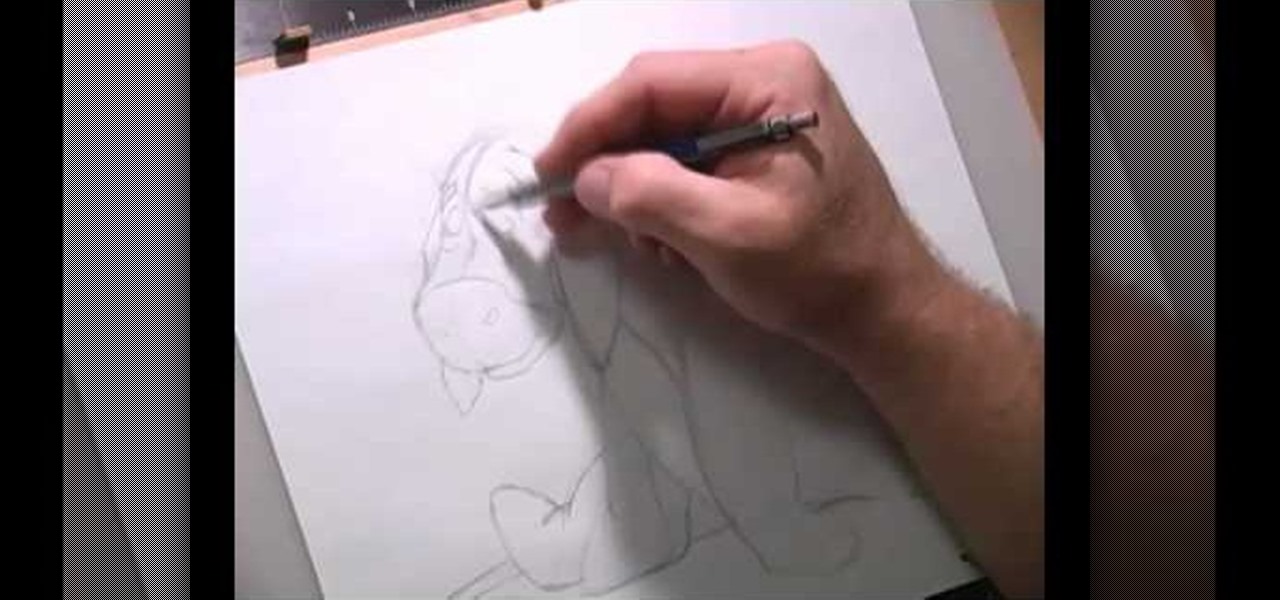
The user demonstrates how to draw Disney's Eeyore in this video. The first step is to draw a circle about the size of a 50 cent piece for his head and add construction lines to it, including one across the lower part of the circle to use as a reference. The user also suggests creating a mark below the "head" to mark where the end of Eeyore's jaw will be. Then, starting at the bottom cross line, he begins drawing the rounded area of his snout. Next, he draws a straight line from the other side...

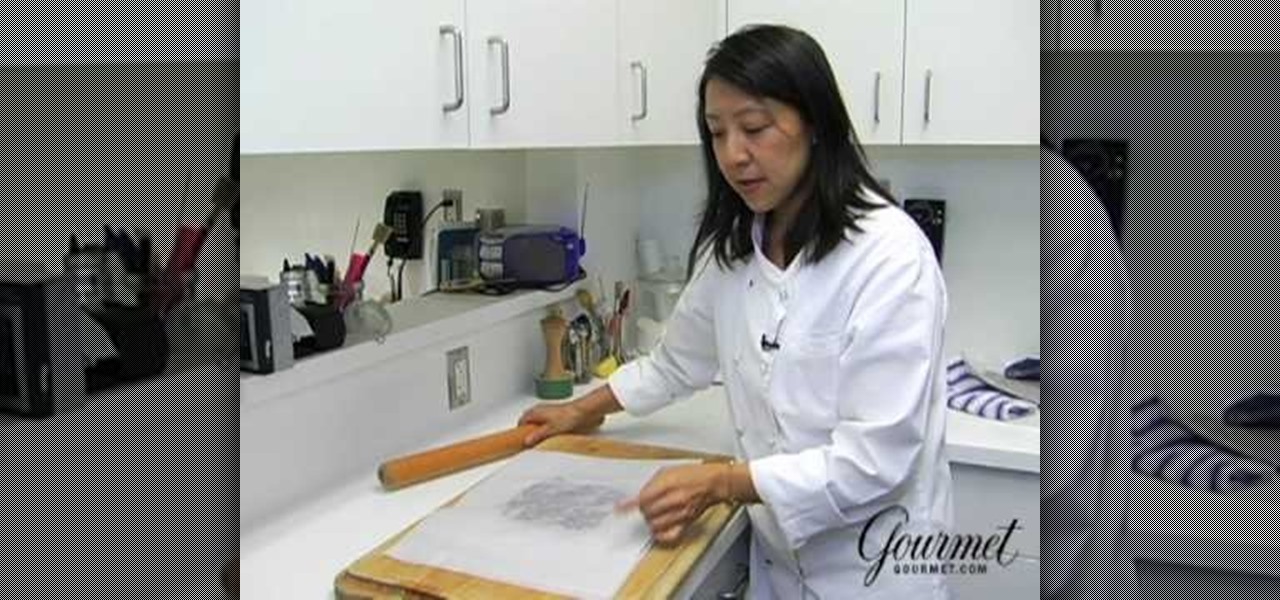
Food editor Lillian Chou shares a tip for rolling out extra-thin cookie dough with no mess and no extra flour. Follow along and learn how you can do this too.

Robert Steinken fro California, of ModernMom, instructs the viewer how to do a quick and easy Half-up half-down hairstyle! First, brush all of the hair back. Make sure all of the hair is brushed off the face and behind the shoulders. Next, you will want to section the hair by taking a section of hair just about the top of the ear. Go up to the crown of the head in the center of the hair. hold the hair at the top and pull the rest to the bottom. At this point, you will have the front section a...

Garden of Imagination demonstrates very simple method of how to make miniature doughnuts from polymer clay. There are three varieties of doughnuts made sprinkled, glace and chocolate covered. These are very simple round doughnut. For this we need a plastic clay measure which has balls of different size. We have to start off with a little piece of clay, put in size E of the clay measure. Always put some extra and slice it off. Take it out. Make it into the size of a ball with your hands. Now m...

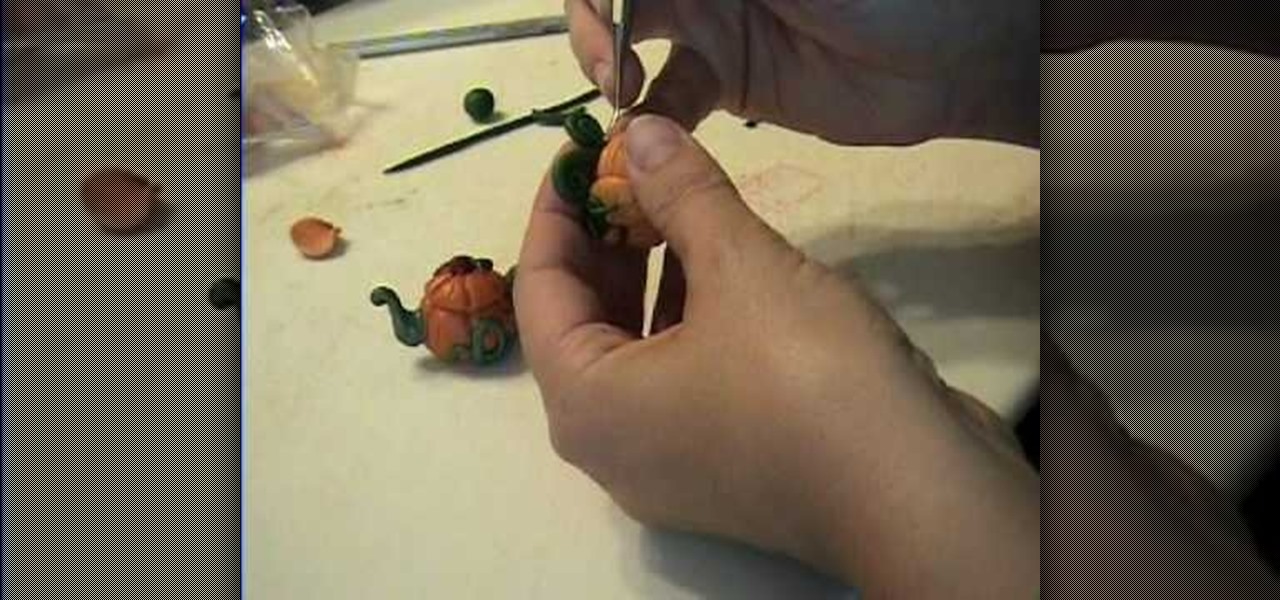
The person in this video is teaching us how to make toys with the help of polymer clay. As you can see the video you can say that the person there is a girl. This lady is teaching to make a teapot to her daughter. Her hand is focusing the camera. First she makes a little ball with the help of polymer clay. Then she made few lines on that ball and press that ball slightly on the top. Then she takes another piece of clay and presses it but that one is too small. Then she use another on quit big...

Making a rose arrangement is not difficult, but there is some skill to it. In this video tutorial from Fresh Flower Ideas, learn the tips and tricks of creating an arrangement with a dozen red roses for Valentine's Day. In this tutorial, a dozen red Freedom roses are used, but you can use whatever grade and type you want. You will also need sprigs of babies breath, leather leaf, and tree fern. To begin, clean off the stems and the rest of each rose. Add once piece of leather at an angle in th...

Pineapple and bananas make a great complimentary dish to go along with pork or shrimp or many other items you are cooking. First you want to make a rum glaze. Start by melting down some butter. Add some dark rum, pepper, and some brown sugar to the butter. Then stir it up and set it aside. Take some bananas and cut off both ends of the banana leaving the skin on. Then cut the bananas in half length ways. Put them skin side down on a baking pan. Next take a pineapple and cut the top and bottom...

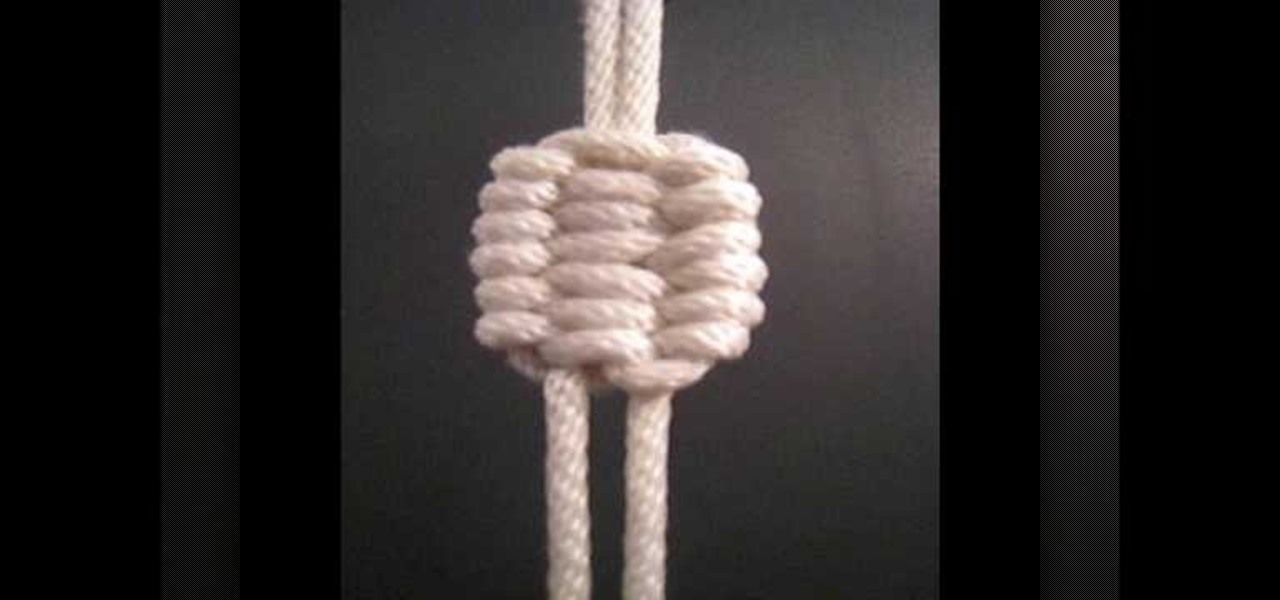
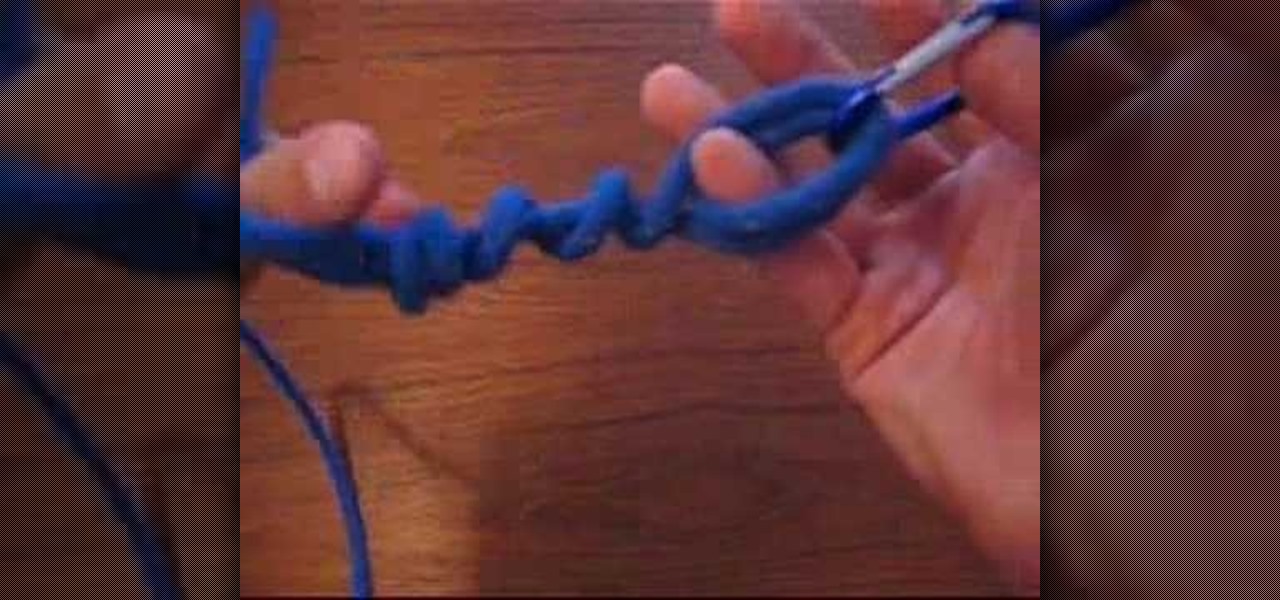
Learn the right way of tying the ‘Decorative Trilobite Knot’, by watching this video. Take a rope and form two bends, as shown. Now pass each bend over a hook to form two loops at the center, resembling number eight. The free end of the rope on the right side is then passed over the lower loop of the eight, to the left. The free end of the rope on the left side is then passed under the rope, just passed from the right. Thereafter, it is passed under the lower loop of the eight, and pulled thr...

He says that he is soling to make some foliage, flowers and leaves draping out of the vase so that it gives you a feeling that you are in Greece when seen from the balconies of houses in the hillside or something. He first puts some lemon leaves to cover sides of the vase making them drape out, them he puts some comatose leaves on the sides along with the lemon leaves and asks you to make them hang outside from the sides of the vase so that it gives a real delicate look. He says that all thes...

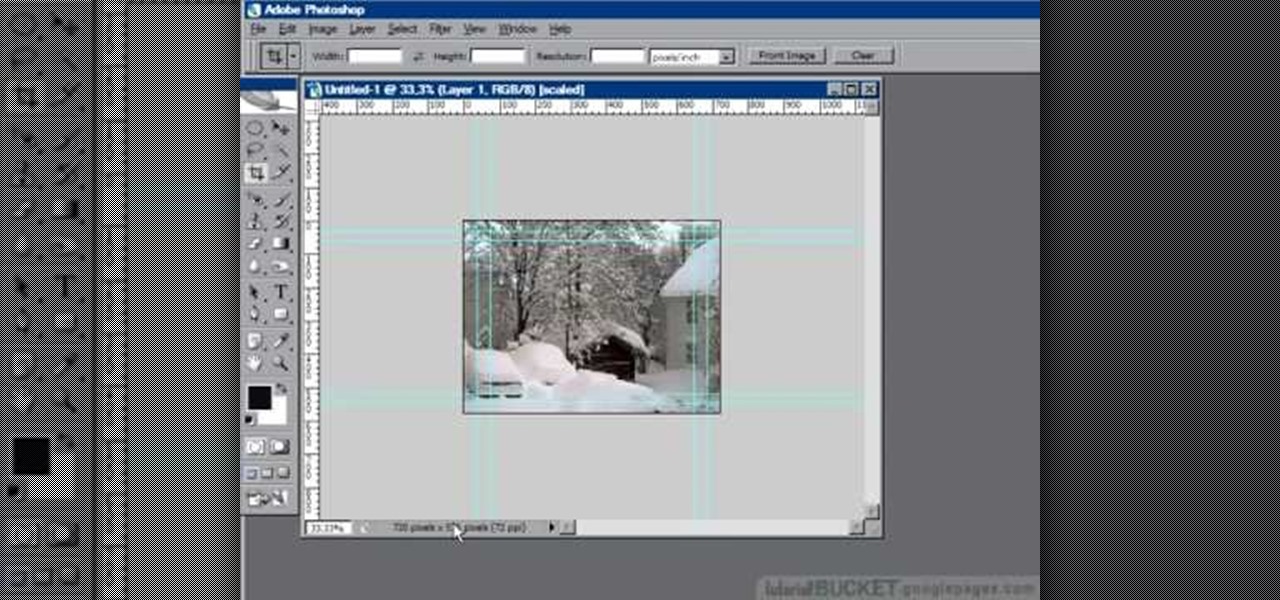
In this Adobe Photoshop tutorial the instructor shows how to prepare pan and scan images. To prepare an image by panning and scanning is quite different than preparing an image normally for using in your video. These images should be extra sized as you would perform special effects on the image in your video. This is also called as "Ken Burns" effect. Now go to the file, new menu and select the video format that you want to use according to your requirement. Enable the correct pixel aspect ra...

Learn to draw Pokémon Oddish with these simple and quick steps. Start your drawing project by placing the Pokémon Oddish name somewhere on the page. Oddish is a round or onion shaped object. Place this basic shape in the center of your space. Add the feet which are shaped like little shovels at the bottom of the Oddish body. Go to the lower central area of the body and add a triangular shaped tongue. For the eyes, use little circles placed proportionately in the upper central area. Place seve...

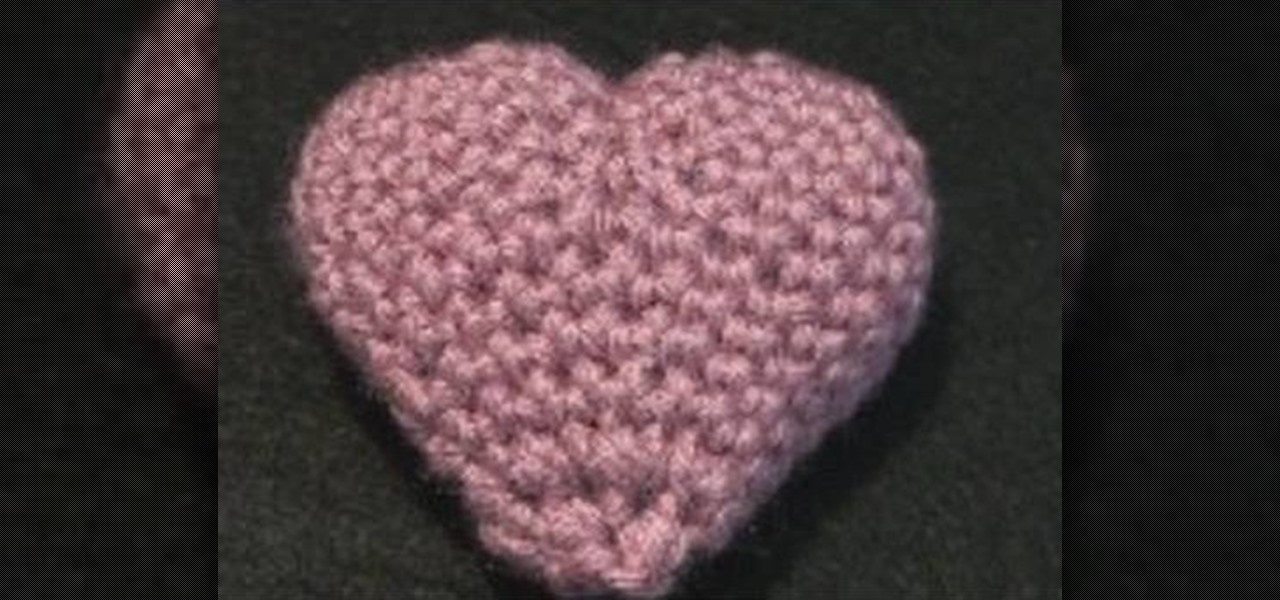
This video shows how to make a small woven puffy heart. It Measures approximately 3 inches of yarn and 8 inches across. Use sufficient yarn and a size G crosha. Make a knot and attach the knot with the crosha. Make a chain of 3. Twin with the beginning chain to form a loop. Now make 9 rings with the center of the loop. This completes round 1. Now round 2 will have 18 rings around round 1. This completes round 2. Likewise work for two more rounds with 12 or 18 rings. Further round 4 will have ...

This video shows you how to make a yummy Boston cream pie. This video focuses on the pastry cream and the icing. The ingredients are 3 eggs, 1/4 of a cup of sugar, 1/4 of a cup of corn starch and whisk in a large bowl until it's fluffy and a lemon color. Put in a medium size pot 1 cup of cream, 1/2 of a cup of milk, and 1 tablespoon of butter. Bring it to a boil. Turn the heat to low and pour your egg mixture into the pan with the cream mixture. Whisk and cook for 1 minute. Turn off and strai...

The Trilene knot is a multi-purpose knot that can be used in fishing to attach hooks, swivels and lures. This is a great knot because it resists slips and failures.

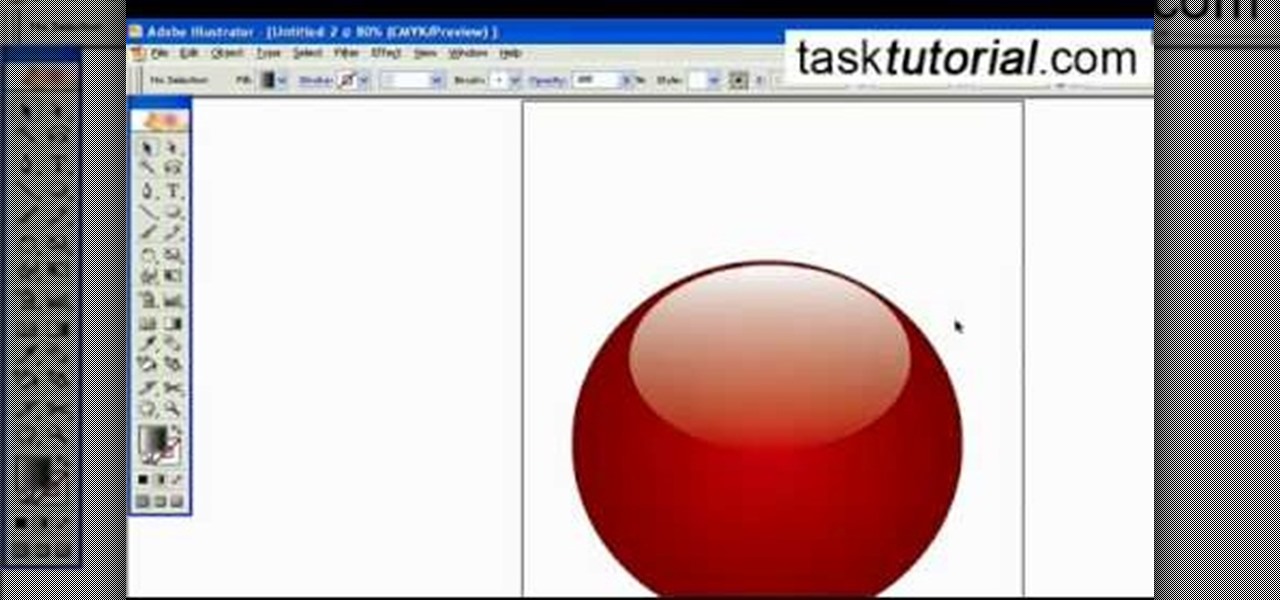
To create a Christmas ornament in Illustrator is very simple if you follow the steps below. Before starting the process one should ensure that all project files used in the tutorial is available. First by holding the shift key draw an oval, then go to gradient and create a new gradient which is at right side of the window. Now select red color and make it darker, then select 'Radiant' from the tool and switch the color positions. Select the ellipse tool once again and create a new shape on to...

This is a video that demonstrates how to make a homemade birthday cake. He uses a springform pan and brushes the entire inside with butter and dusts it with flour. He mixes flour and corn flour and puts them through a sieve. Using a mixer, he mixes eggs and then adds sugar, whisking it for about two minutes until it's light and airy. He adds flour and uses his bare hand to fold the flour into the batter. He pours the batter into the cake pan and puts it into the oven, along with another pan o...

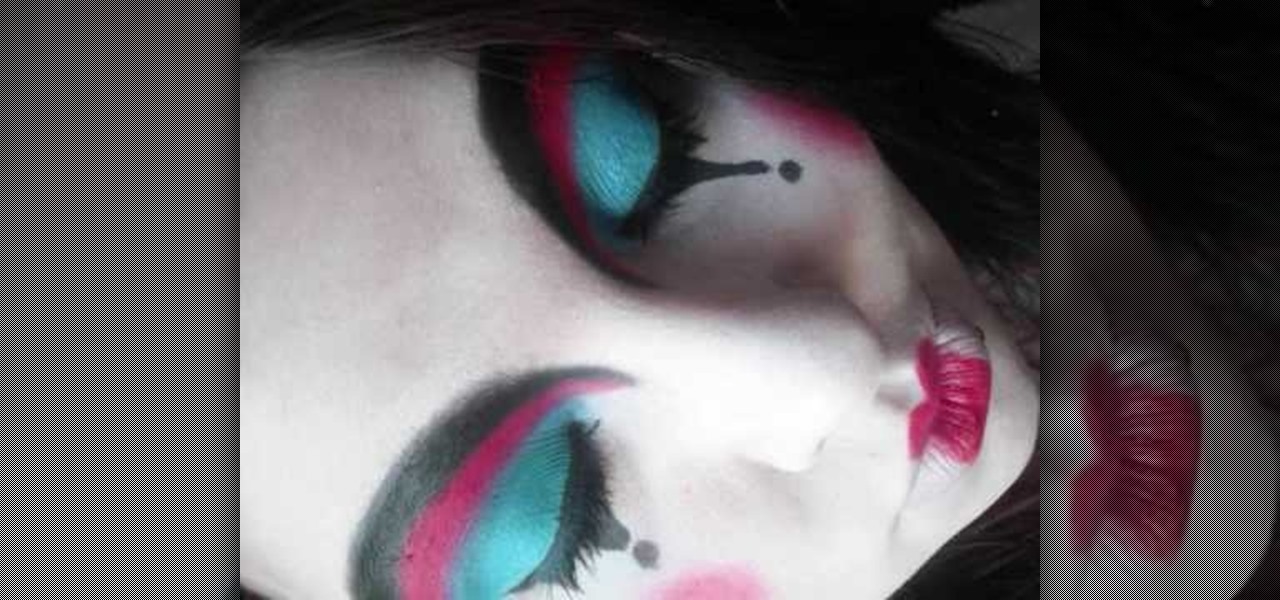
This tutorial is great if you want to apply porcelain theatre clown makeup. First white out your face and then with colored eye liner, trace out where you want the color to go. Apply a blue colored base on the lid and blend it just above the crease. The video uses a red Mufe flash color and applied it over the blue bringing the color onto the side of the nose. Using Nyx jumbo eye pencil in Black Sheep being filling in the remaining space on the brow. Using shimmery blue, a matte red, and a ma...

This level is jammed with eleven verses for the Xbox 360 game Bayonetta. In Chapter 10 - Paradiso - A Sea of Stars, get ready for the Gates of Hell. In verse one, defeat the minor enemies here and you'll find three walls you can combo. Each wall will give you one gear for the machine in the center of the area. When you get the third gear you will have to fight Grace and Glory. Kill them to end the verse. For more info, watch the whole gameplay.

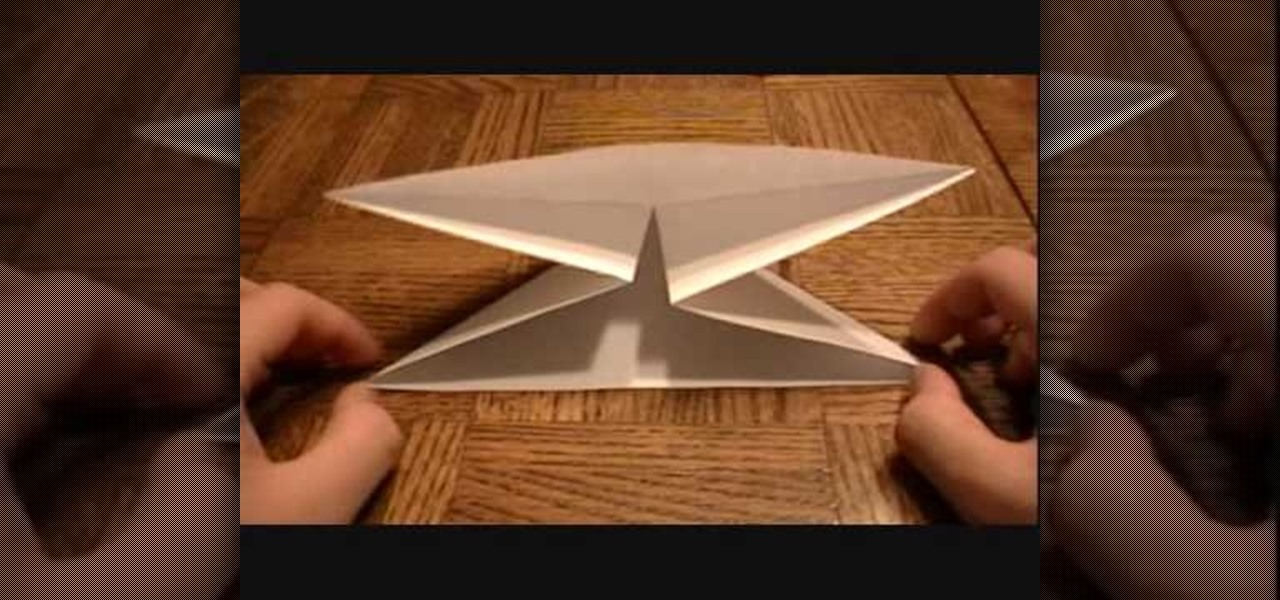
This origami video tutorial shows you how to fold an origami 3D box. 1. Prepare a square paper. 2. Fold from 1 corner to opposite corner. Make a "x" on the folded line of the paper.

This video shows you how to make Great Depression-era baked apples. This is healthy for you. You will enjoy it. This is a really old recipe.

Cutting the moon and making the shape perfectly round is simple. Usually we have problems drawing a circle free-hand.

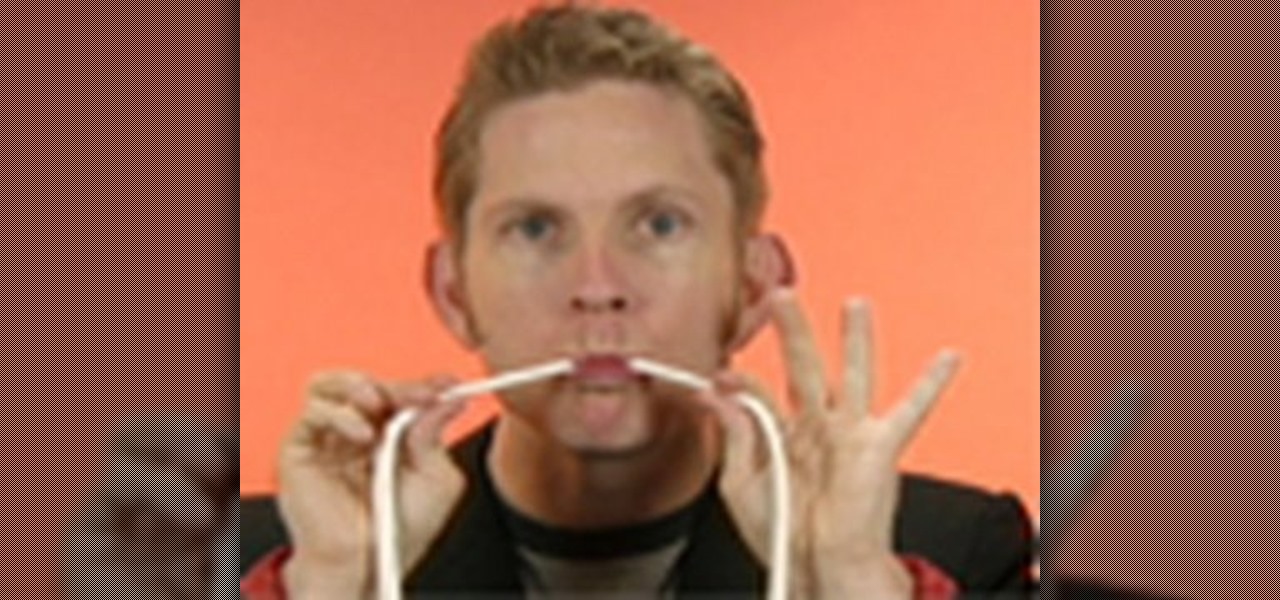
This trick will show how to magically diffuse two pieces of dental floss together. The magic trick works like this: Take two pieces of dental floss. Put the ends in your mouth. When you take them out the two pieces have magically become one.

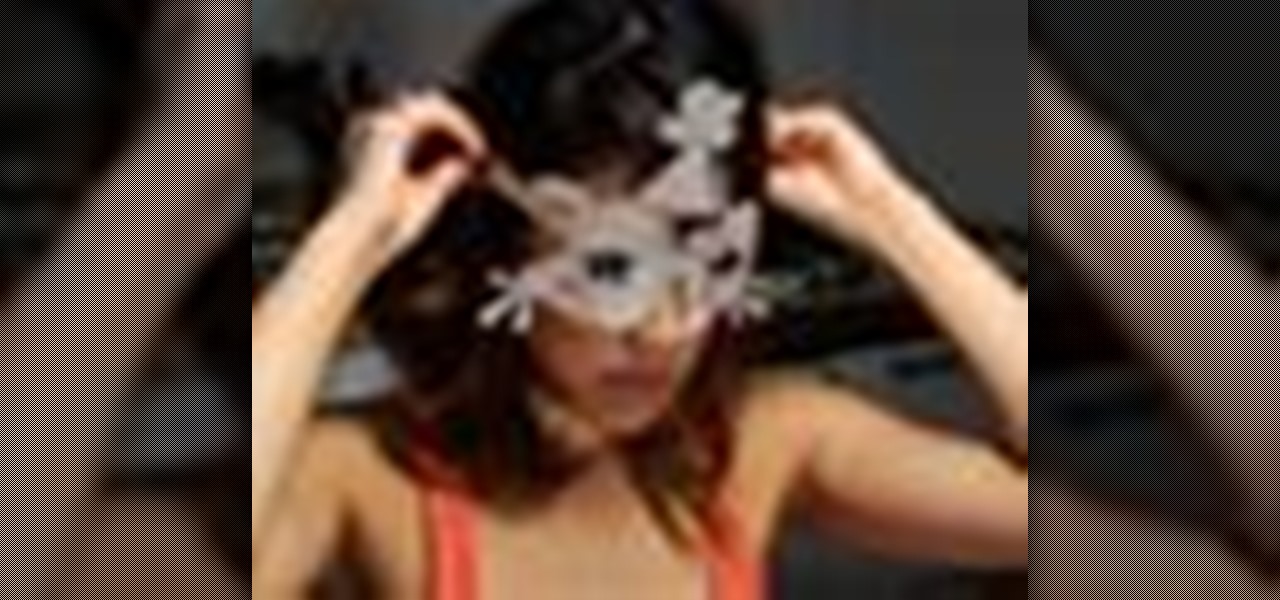
Add a party favor to your next hosted New Year's Eve bash. Ring in the New Year wearing personalized party glasses! It's a fun project for kids and adults.


