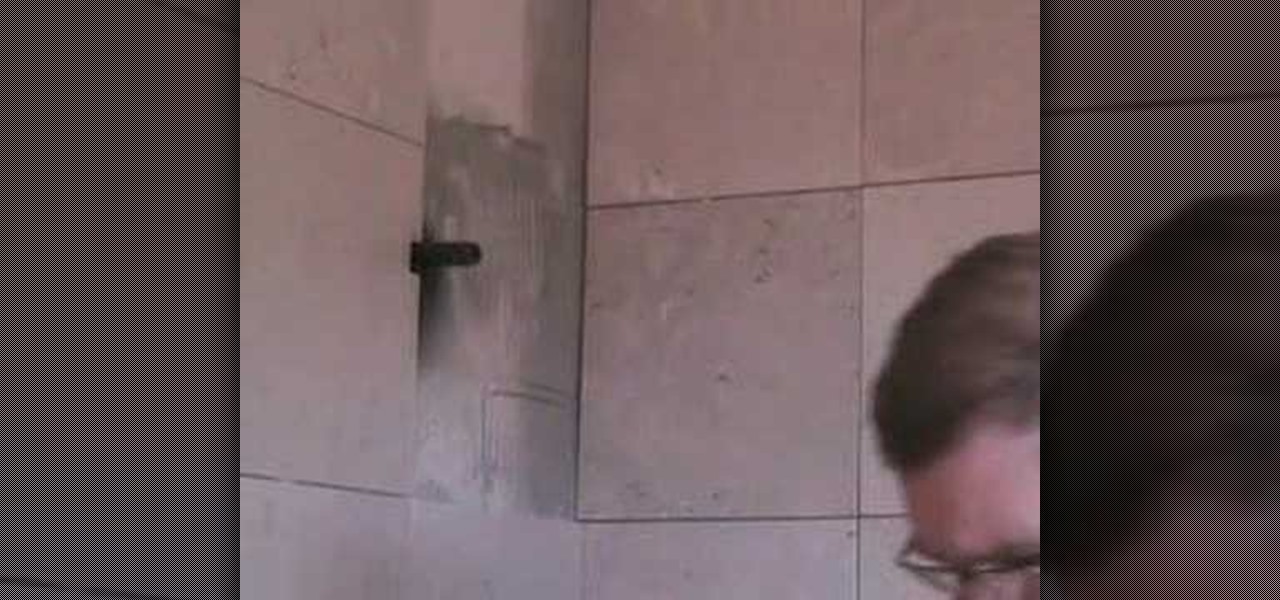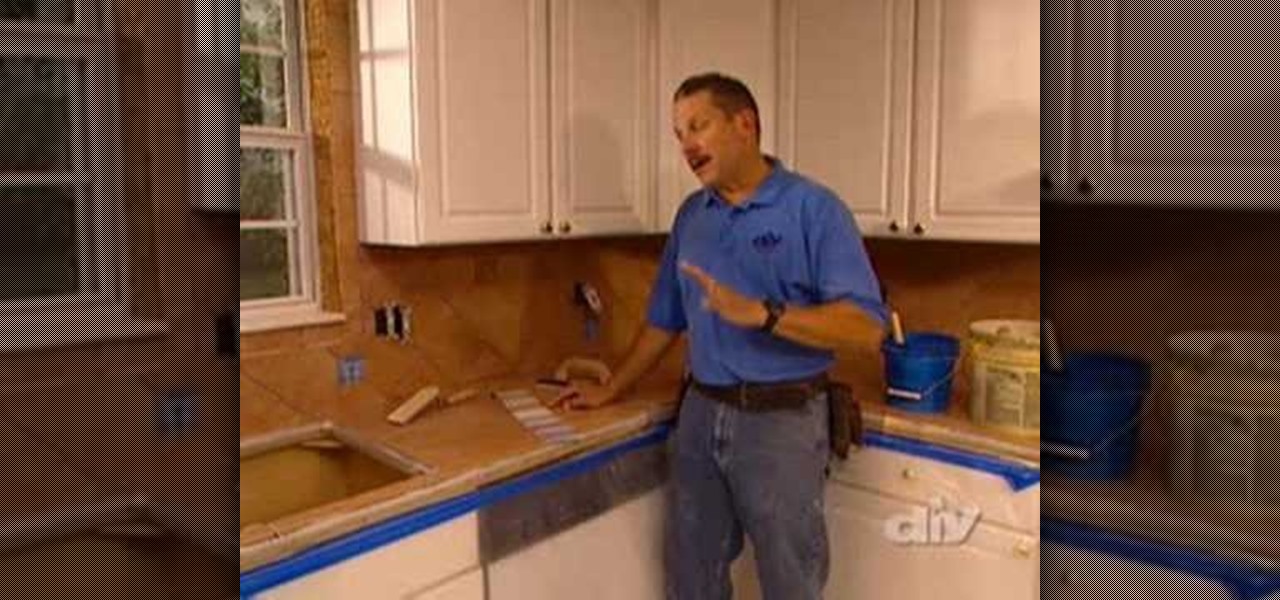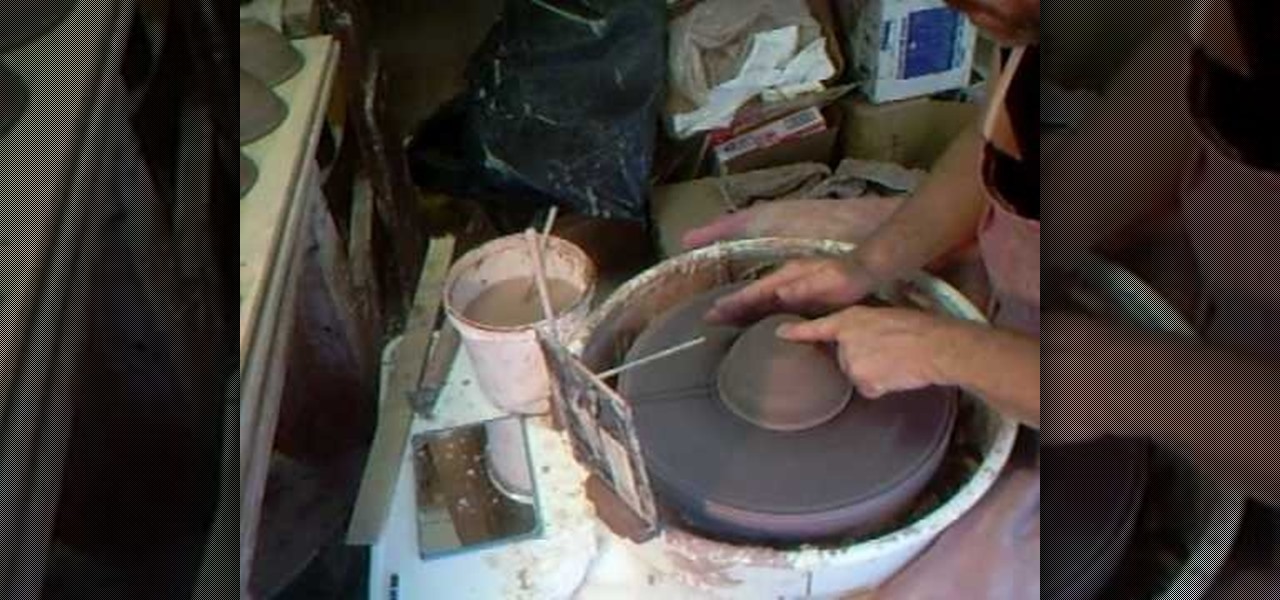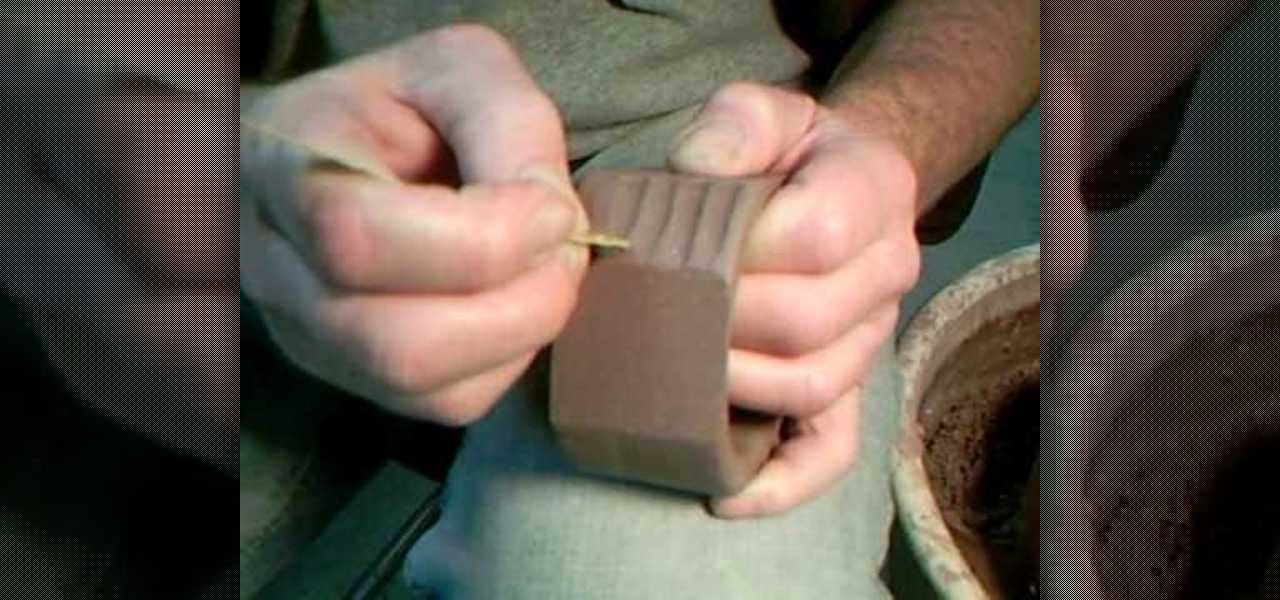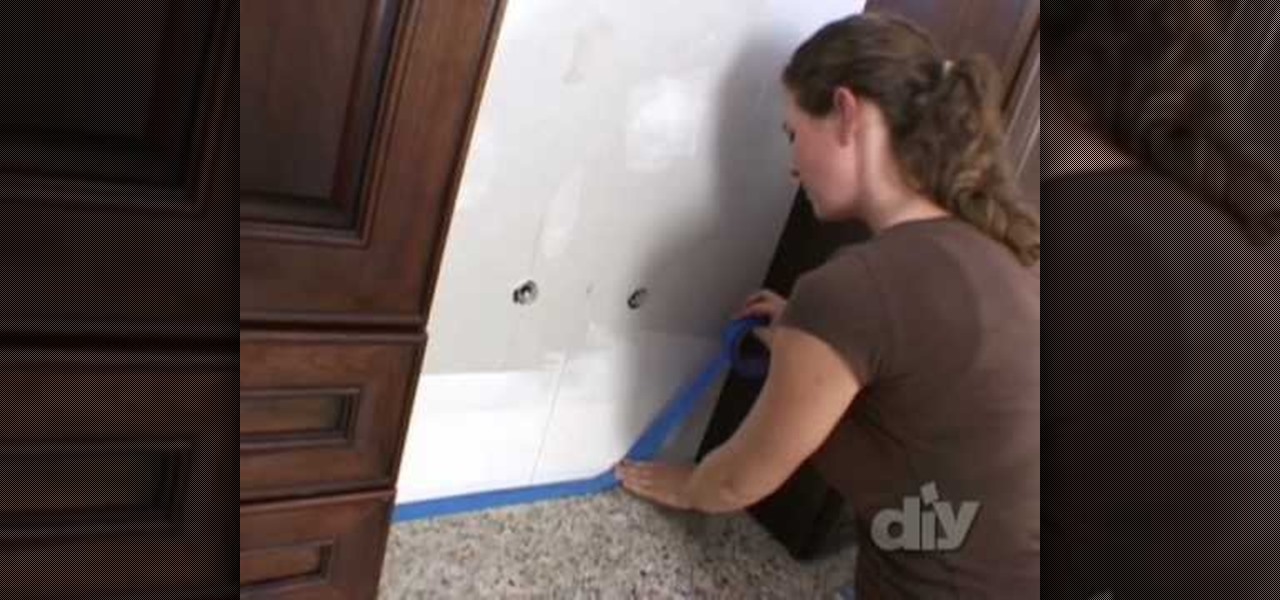
This video is to show how to install a glass tile backsplash. Because installing glass is a little different then installing ceramic, knowing what to do is important. Use painter's tape to protect your surroundings wherever you are installing your glass and use only a white thin set mortar recommended from the glass manufacturer to adhere your tiles. Since the glass is see through, unlike ceramic tiles, you need to make sure there is no discoloration and smooth out the ridges on the mortar fo...
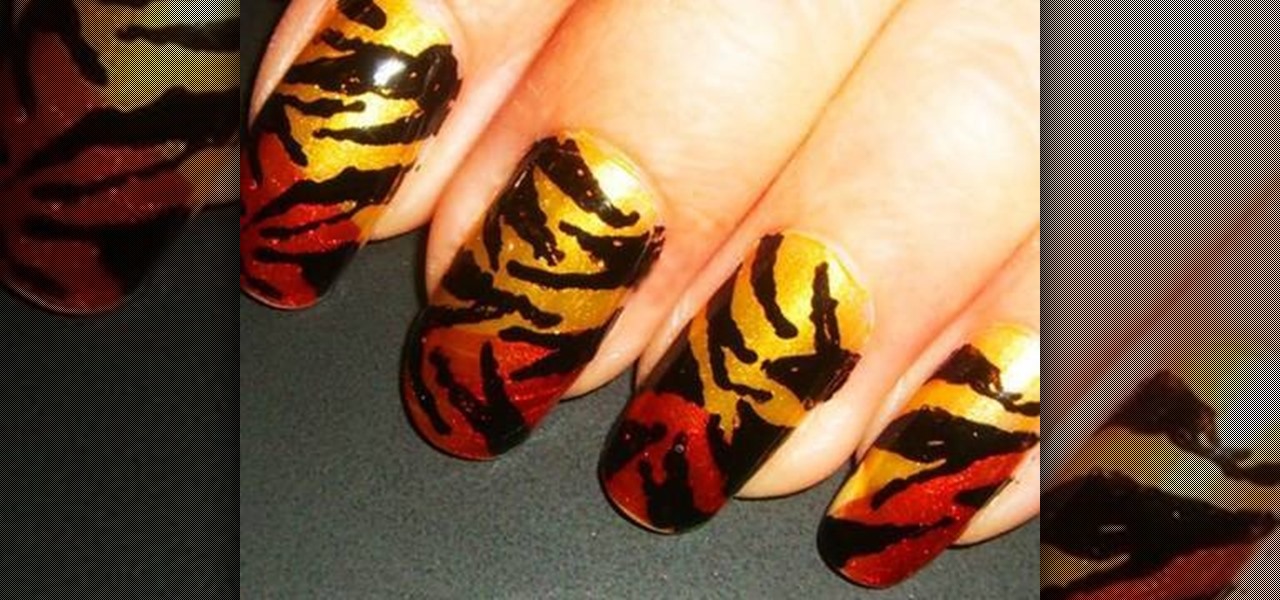
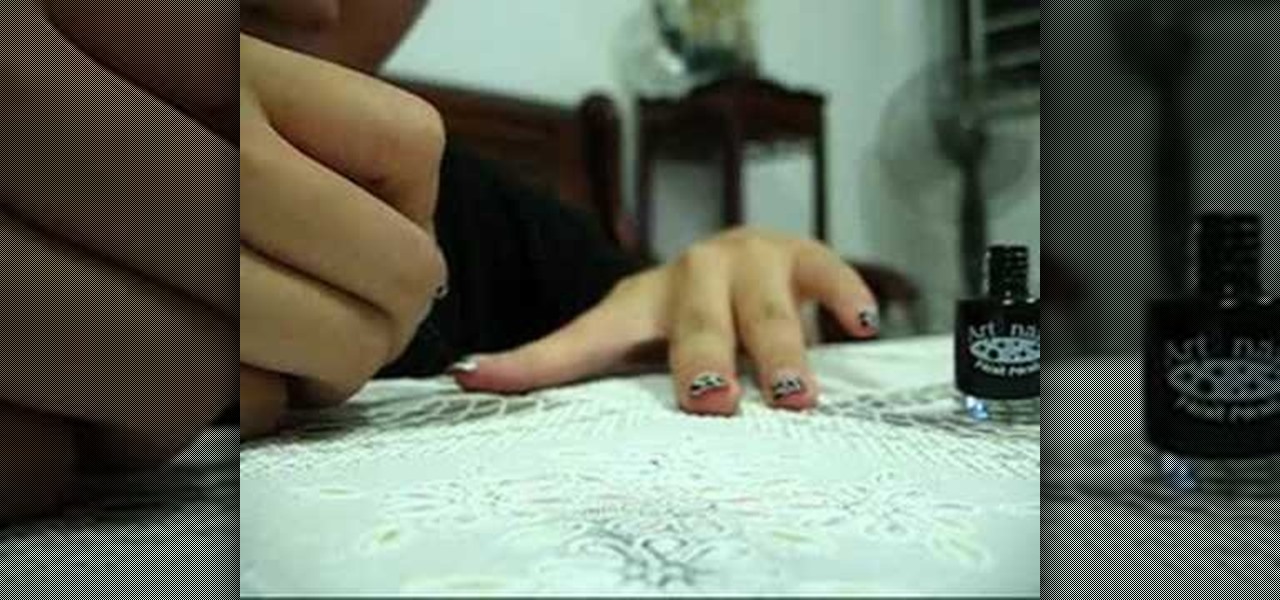
Julie teaches the secrets of creating tiger print nails inspired by Rihanna. You will need: a base coat, top coat, nail polish of gold, black and copper colors. First apply a base coat of your choice to the nails and let it dry. Now apply a gold color nail polish on the base coat. Use a copper color nail polish and fill in the tip of your nails as shown. Now use a black color nail polish to draw the tiger stripes. Start drawing a triangle and end up with a line in crooked directions to get ti...

Keep your favorite pet cozy this winter season by making them a dog coat! This tutorial shows you how to follow a crochet pattern for a Bernat dog coat that will fit a medium sized dog (like a terrier or beagle).
Rather than throwing out your old furniture, learn how to give your old dresser a modern makeover by following this video tutorial. To begin, pull off all of the old drawers and other pieces that do not work. You will need to sand down the frame of the dresser and then replace all of the problematic parts. You may also need to rebuild the center supports so that your dresser drawers slide in and out easily. Wipe down the dresser with a cloth and then coat it with a latex primer. The primer is...
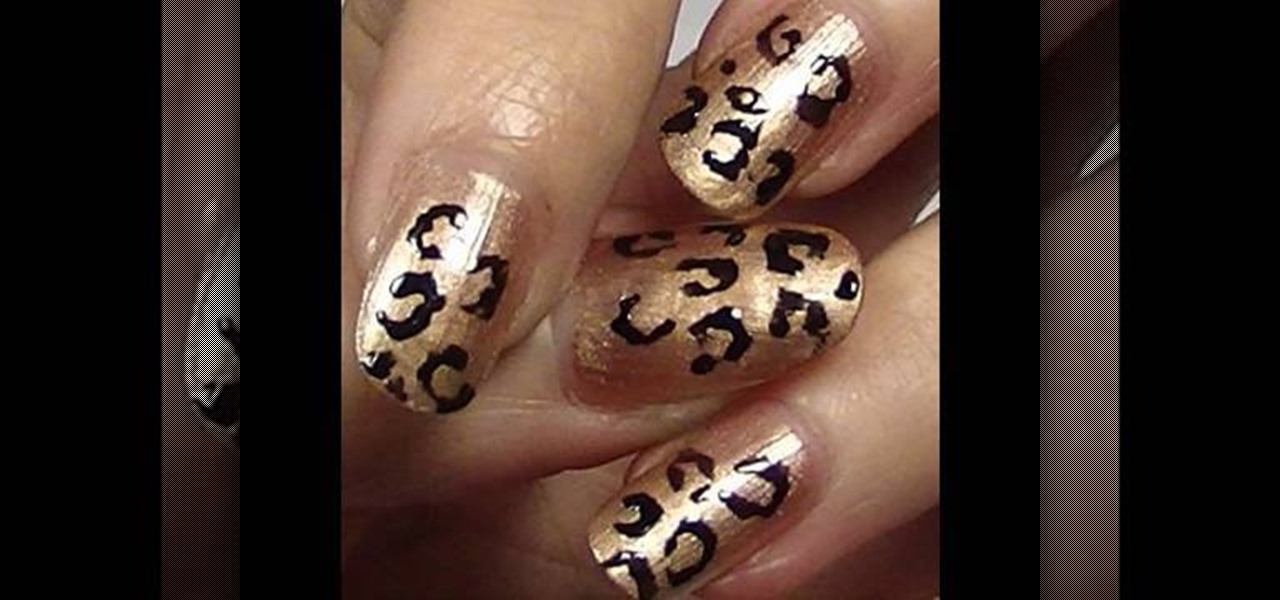
Pixie Litt, from Mama Do Nails helps us learn how to get a leopard printed nails. Firstly, using a E.L.F nail varnish in 'Blush', give a gentle coat on the nails starting from the tip of the nails go down to as close to the cuticle as possible leaving some edge space. Now, for the second coat use the brush in the same way but here you will be going down just half way so that it gives a more prominent look for the nails. Now for the leopard print, just use an ordinary black color nail polish f...
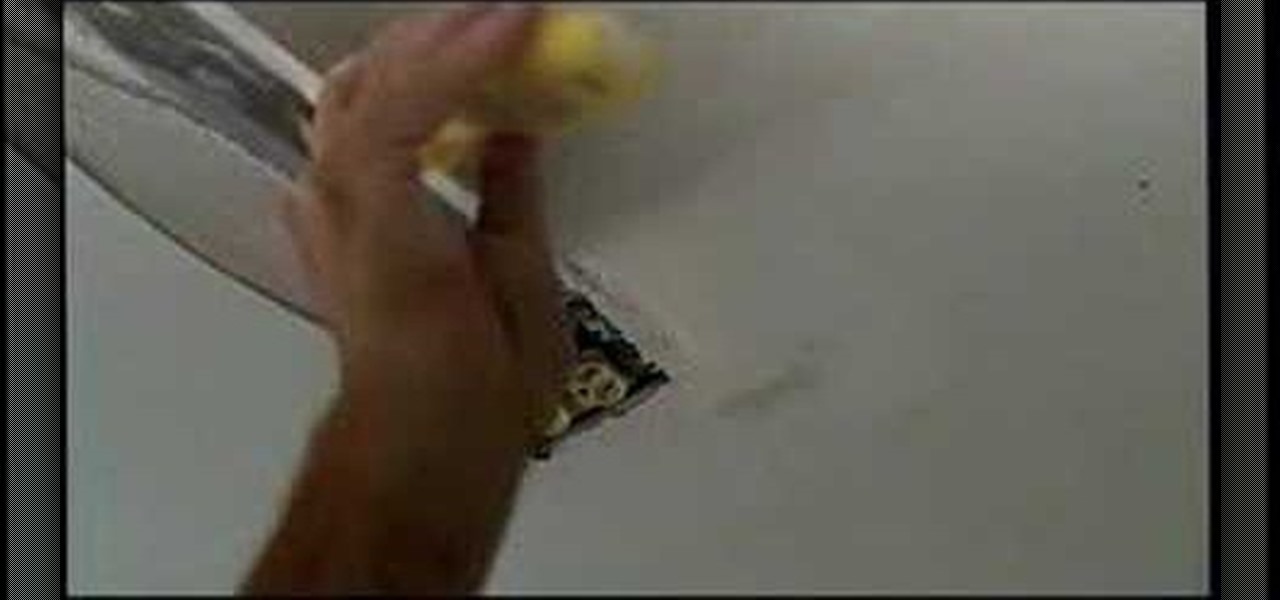
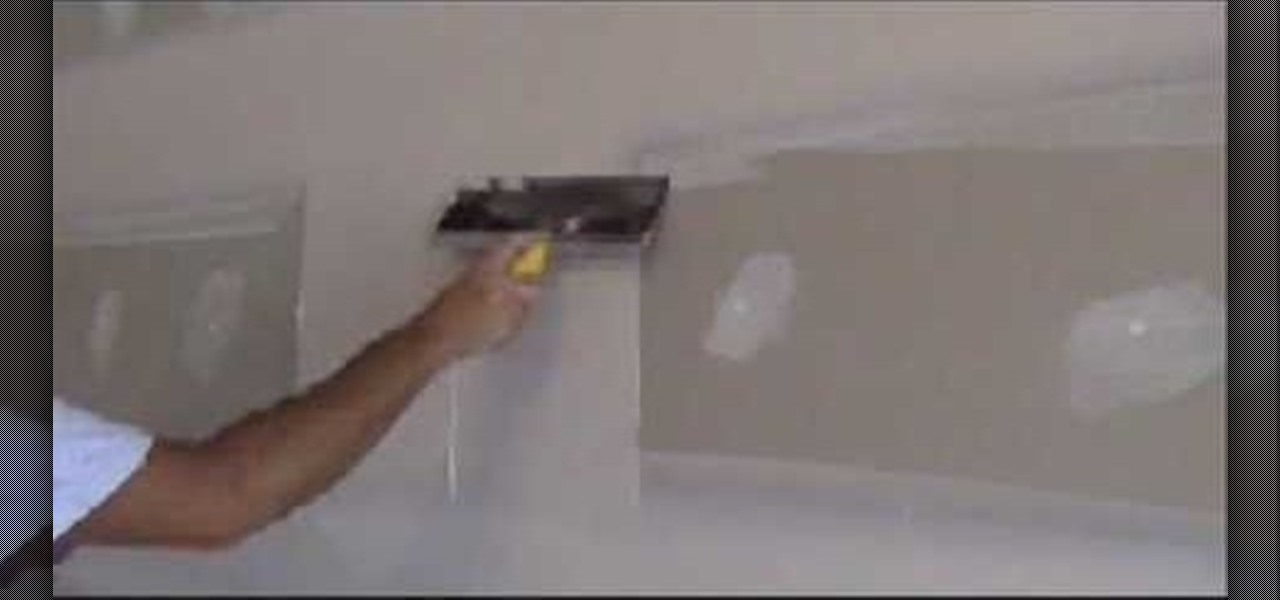
Watch this instructional video on how to coat detail work around boxes and pipes with joint compound. Spackling drywall is a delicate art, but anyone can create a perfectly smooth surface with a metal putty knife and a fresh bucket of spackle. Learn how to lay dow thin coats of putty around details and box shapes to avoid heavy sanding in the second stage of prepping a room for painting.

Watch this instructional video on how to coat butt joints with joint compound. Spackling is a delicate art, but anyone can create a perfectly smooth surface with a metal putty knife and a fresh bucket of spackle. Rock the putty knife back and forth to coat a butt joint with joint compound. Once you are ready, try out to bonus trick for spackling masters.

This is a video demonstration on how to coat cornerbeads with join compound. Spackling is a delicate art, but anyone can create a perfectly smooth surface with a metal putty knife and a bucket of fresh joint compound. Learn how to spackle a corner in thin coats to avoid heavy sanding in the second stage of prepping a room for painting.

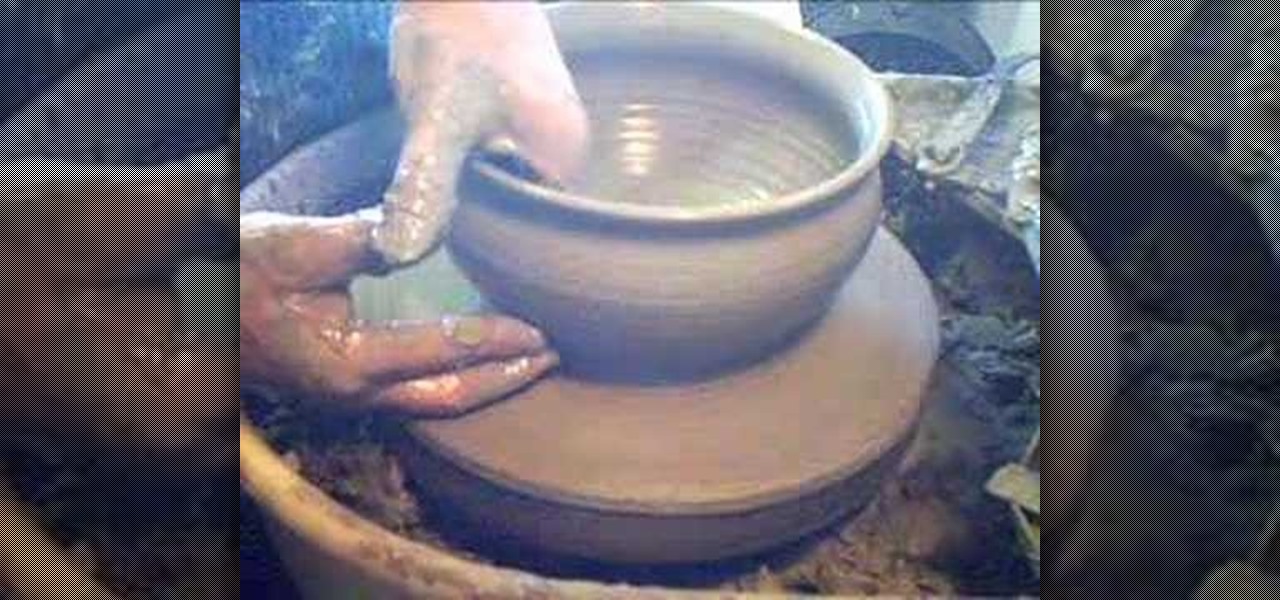
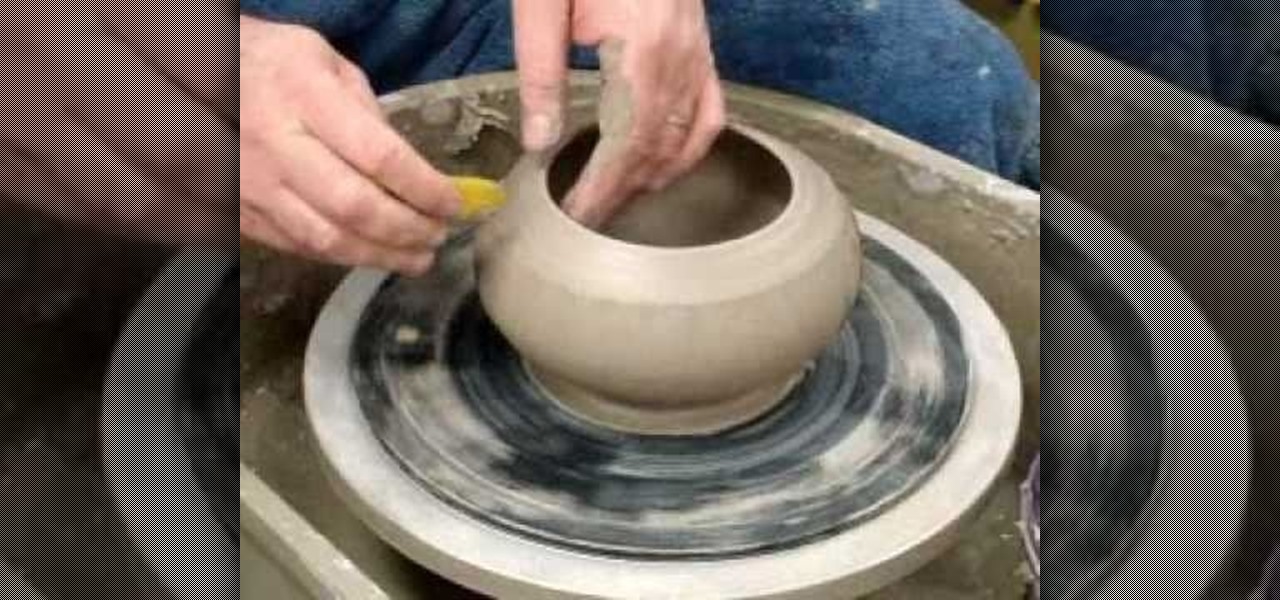
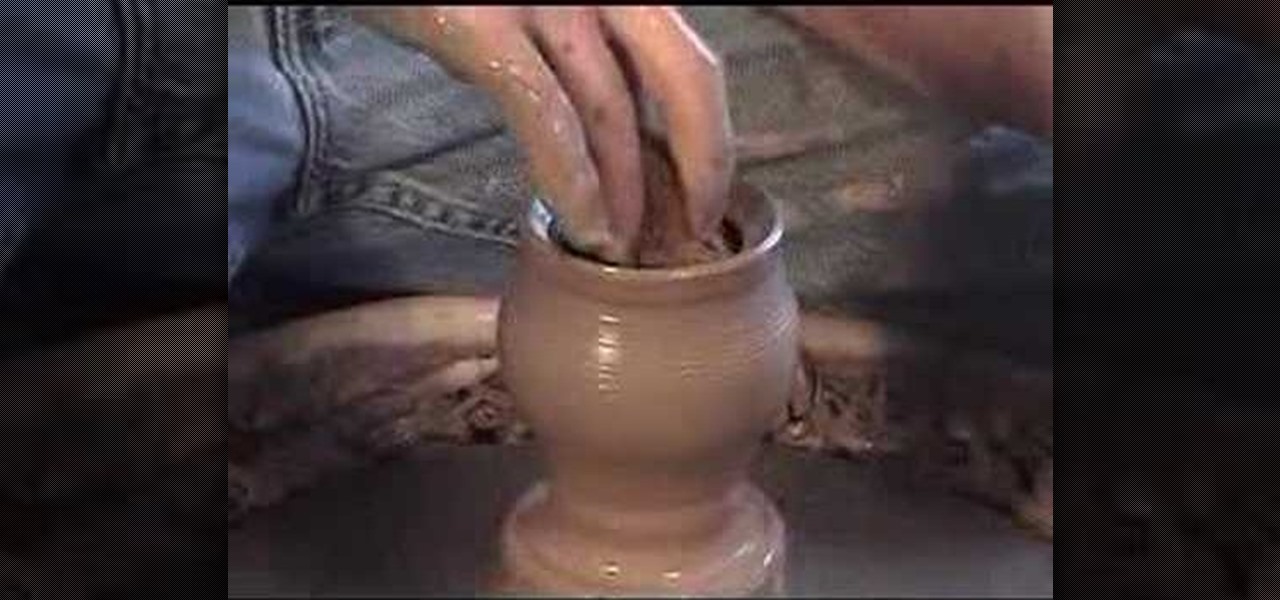
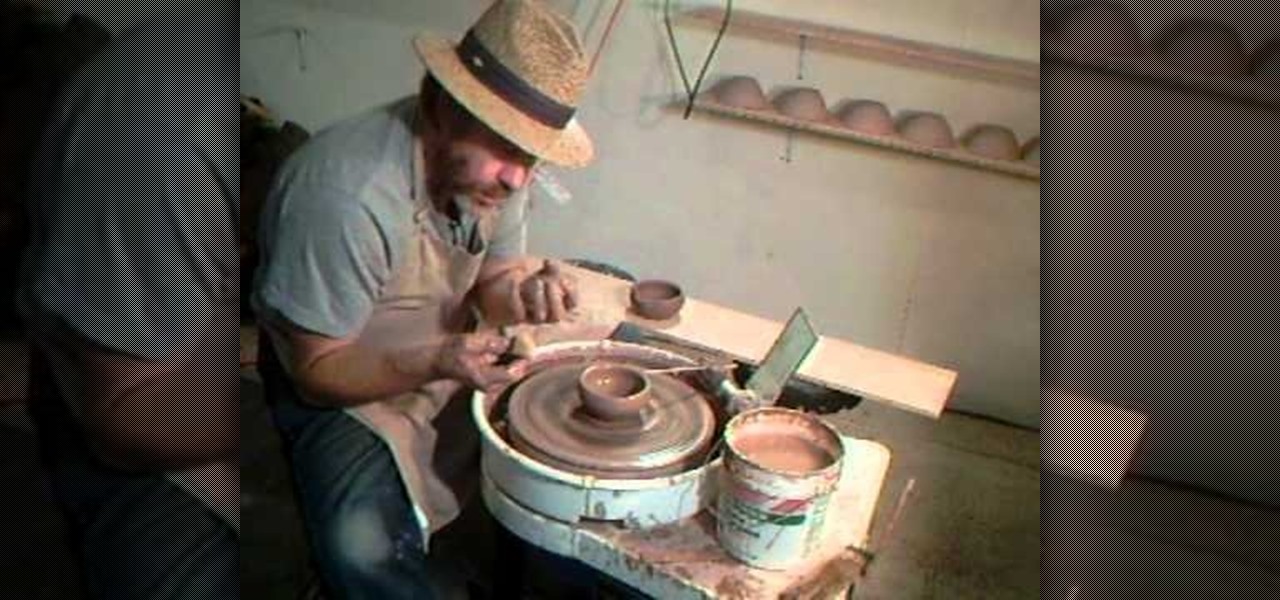
Simon Leach demonstrates on the pottery wheel how to throw a casserole dish, and a casserole lid, in this series of videos.

Check out this cool ceramics video to see how to male a ceramic mask from a pinched bowl.

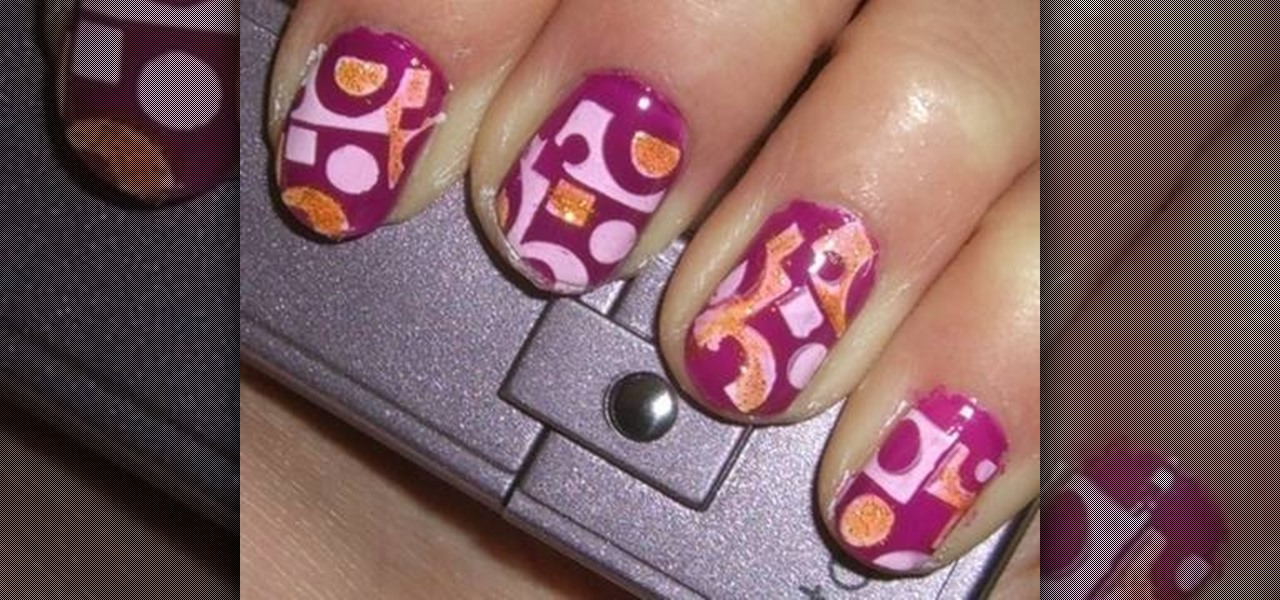
In order to paint nails with funky hot pink design, you will need the following: a base coat, a purple nail polish, a nail plate, stamping nail polish, a stamp, a top coat, gold glitter nail color, and a scraper.

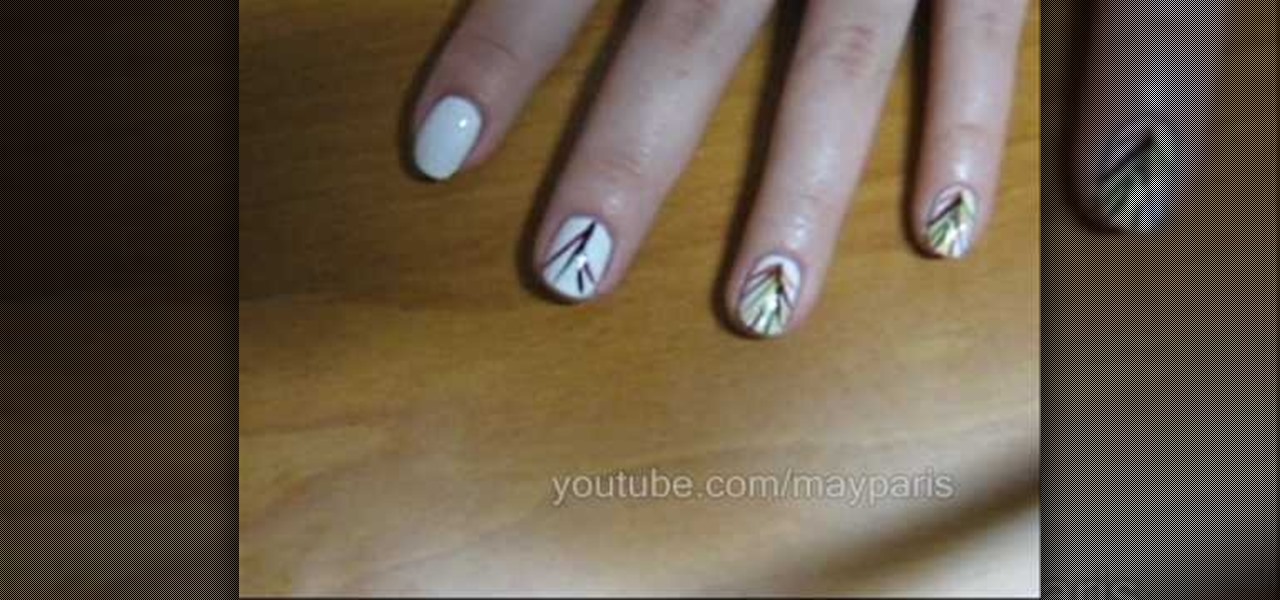
In order to paint palm trees on your nails, you will need the following: white matte base nail polish and a variety of other colors. You will need toothpicks, if you do not have fine brushes in your polish.

There are lots of techniques you can use to throw a pot and to sculpt and mold it, but when you get a big order for a batch of pots, the best technique you can use is the technique that will produce the largest quantity in the least amount of time.

This video is a home remedy for thicker hair. Doctors do not recommend it nor does it have proven scientific basis. If you want thicker hair, it might be fun trying.

In this how-to video, you will learn how to paint on your ceramic dinner plates. You will need a ceramic paint kit, a soft pencil, masking tape, a porcelain painter pen, scrap paper, scissors, scrap paper, tracing paper, Celtic patterns, and a jar of water. Place the tracing paper over the copy of the Celtic patterns. Tape both down to the surface with the tape. Trace the pattern onto the tracing paper using the pencil. Clean the plate and stick tracing paper over the plate. Trace over the pa...

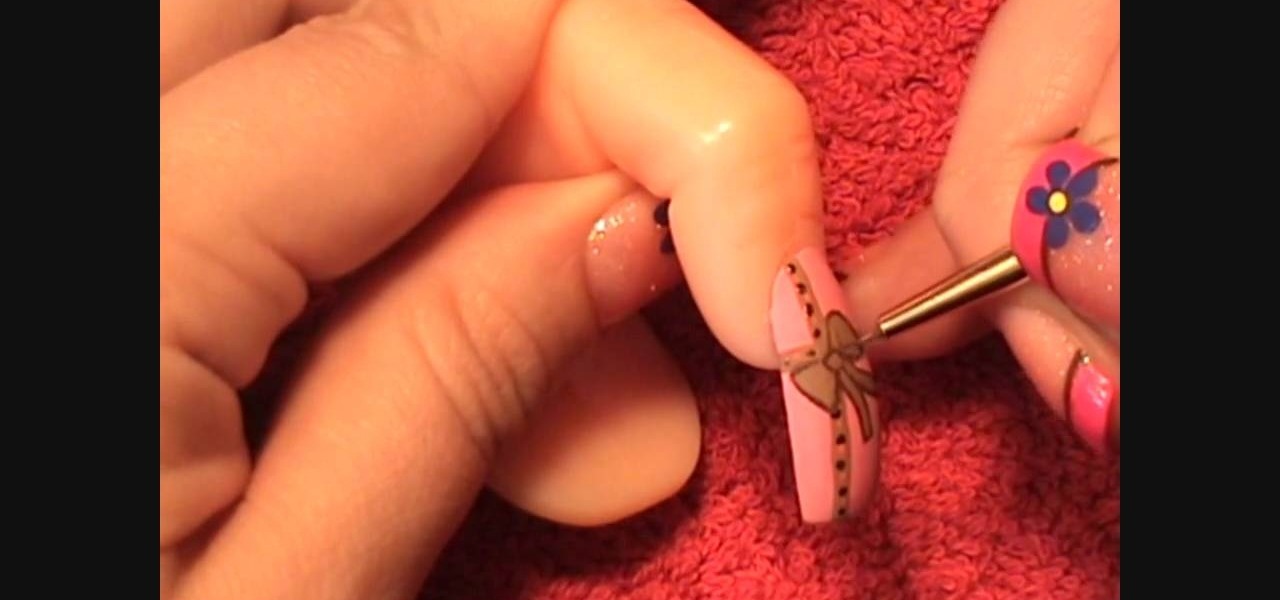
First, apply base coat to your nails. Then apply 2 coats of pink bubble gum acrylic paint to the nails. Then use a thin brush to draw an off centered cross on the nail with caramel candy acrylic paint. Using a dotting tool, apply hot pink and metallic antique copper acrylic paint in alternating dots along the cross. Then use the caramel candy color again and make a bow in the center of the cross and outline it with brown oxide paint. Let the paint dry and then apply a coat of base coat to sea...

Need a change from your boring French manicure? Learn how you can paint this glittery leopard print nail art with this tutorial. You will need a base coat (Orly calcium base coat,) normal plain transparent tape or you can use those premade french manicure nail stickers, white nail polish, black nail art polish

Want to get a salon quality French manicure at home? This tutorial teaches you how you can get a perfect French manicure with regular clear tape. You will need base coat (Orly - calcium base coat,) tape or you can use those pre-made French manicure stickers, white polish, top coat. The trick to a perfect manicure is to wait for the white polish to DRY before applying top coat to prevent smudging. With this how to video you will be able to paint your nails in a perfect French manicure.

Watch this helpful ceramics video to learn how to throw a few types of lids for wheel thrown pots. Our guide forms a gallery lid, using calipers to measure the inside distance of the rim of the pot. The calipers can then be used to adjust the width of the lid piece.

A mortar and pestle is a pair of tools that has been used since antiquity for grinding spices. This tutorial shows you how to turn some raw clay into a ceramic mortar and pestle on a pottery wheel. Make sure to glaze it using non-toxic glaze!

In this tutorial, we learn how to make simple pot stands. Start with your clay on the table and use water and your hands to start to shape it. Press down on the ball until it forms into a low bowl shape. Then, start to add more clay and water to the sides of the pot so that it's thicker on the edges. After this, place the pot stand onto a ceramic drying area, then you will be able to glaze it and fire it. Clean off your spinning table after you are finished, then enjoy your pot and pot stand!

Simon Leach is an online pottery instruction legend, and in this three-part video, he instructs us in a procedure somewhat outside his normal area of expertise by creating a homemade plaster bat, which is basically a flat plaster block used for drying wet clay. For the hardcore at-home ceramics whiz this could be a very fun and rewarding project. Just make sure you are comfortable working with both plaster and clay!

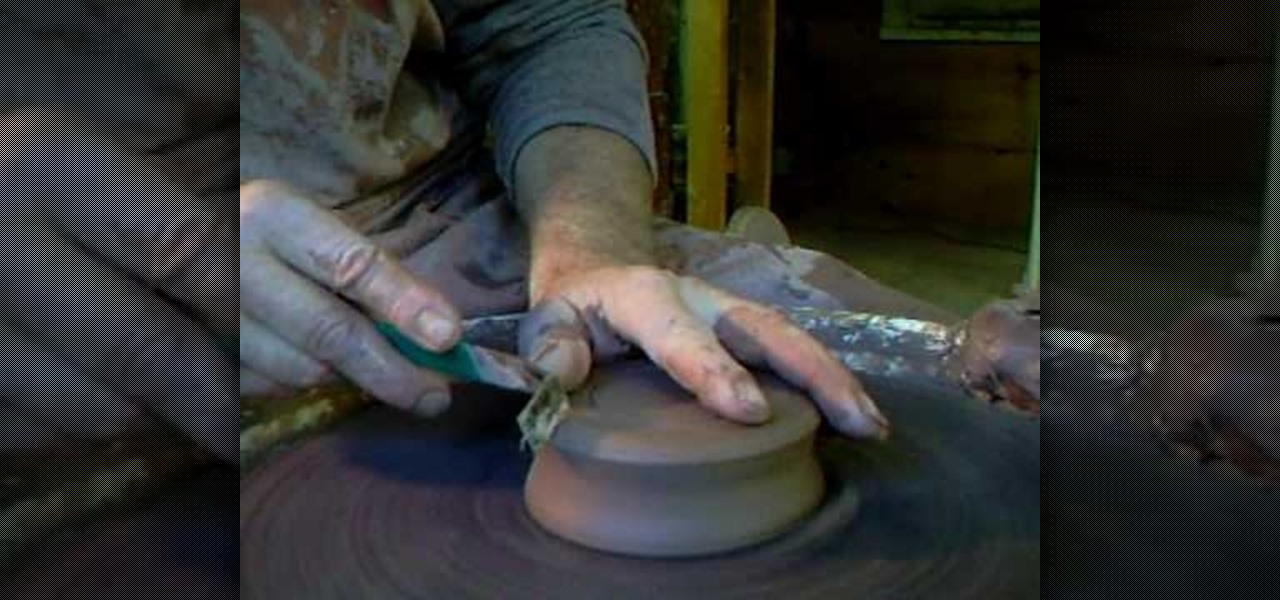
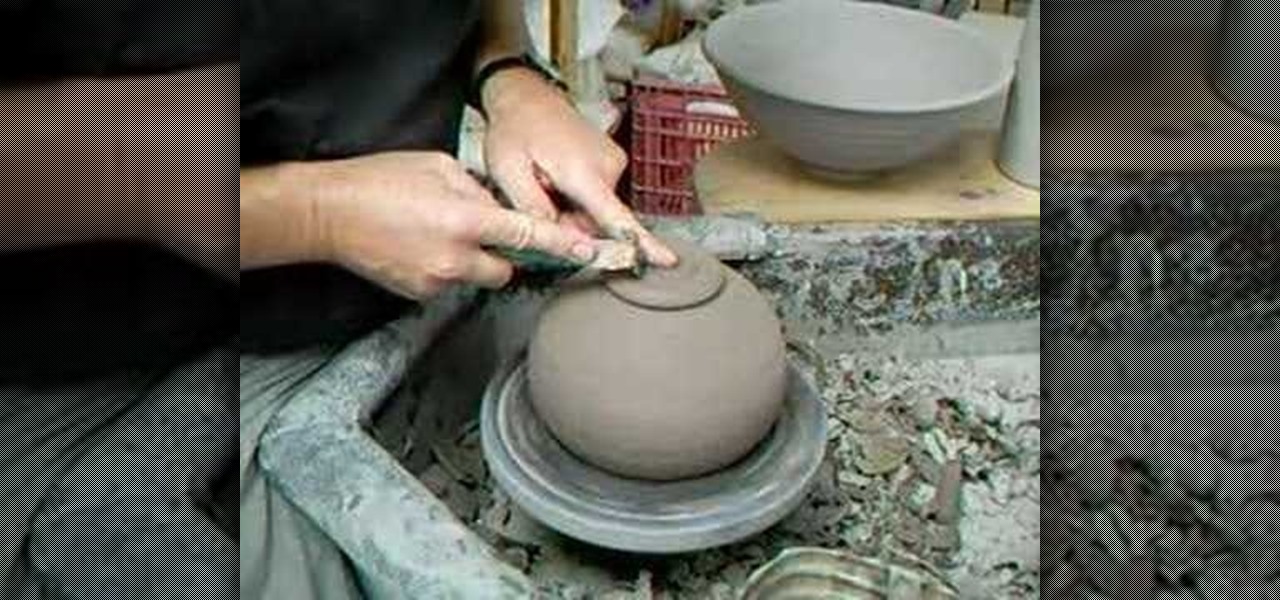
This instructional ceramics video shows you how to trim a round bowl. It is much easier of you have a centered pot to begin with. It is also helpful to leave a bit of extra clay in the base so that one can trim more freely. Once the clay is semi-dry, you can begin trimming. After trimming, smooth the trimming marks out using a rubber rib. A touch of water on the rim will re-elevate the rim after trimming your round pot.

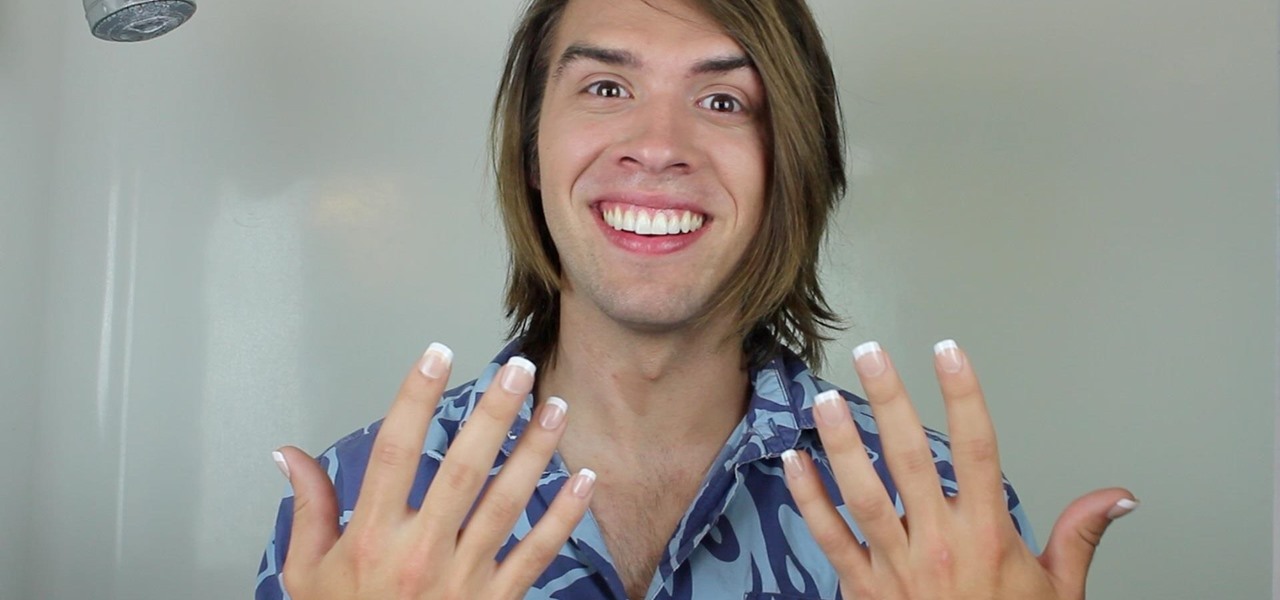
This article is for anyone wanting to learn how to do gel nails at home. Although it is easy. It is time consuming, so be prepared to have at least 30 minutes to do all the steps. We chose to do gel nails with a french press tip.

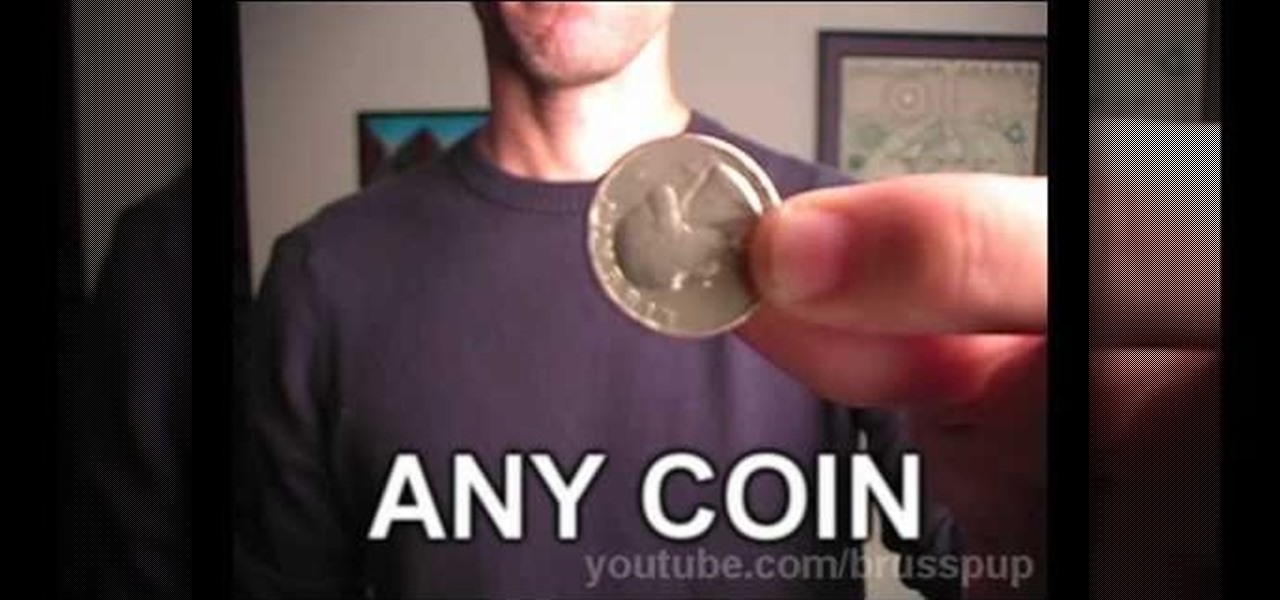
This magic trick is really not so much a feat of illusion as a dizzying demonstration of physics. This video will show you how to do this easy trick with only a humble coin and coat hanger as props that will dazzle your audience for about 20 seconds with practice.

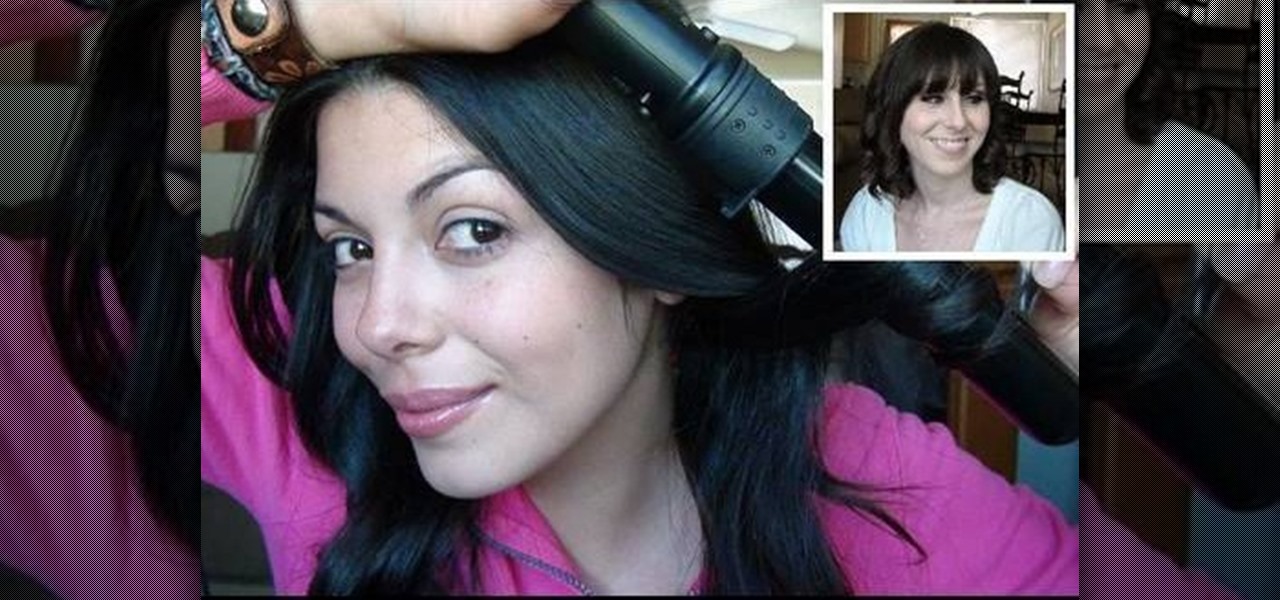
Victoria's Secret Angels sport really long, luxuriously curled and teased hair during their annual fashion show, but you don't need seriously long locks to recreate the Angels' signature barrel curls and sexy sheen!

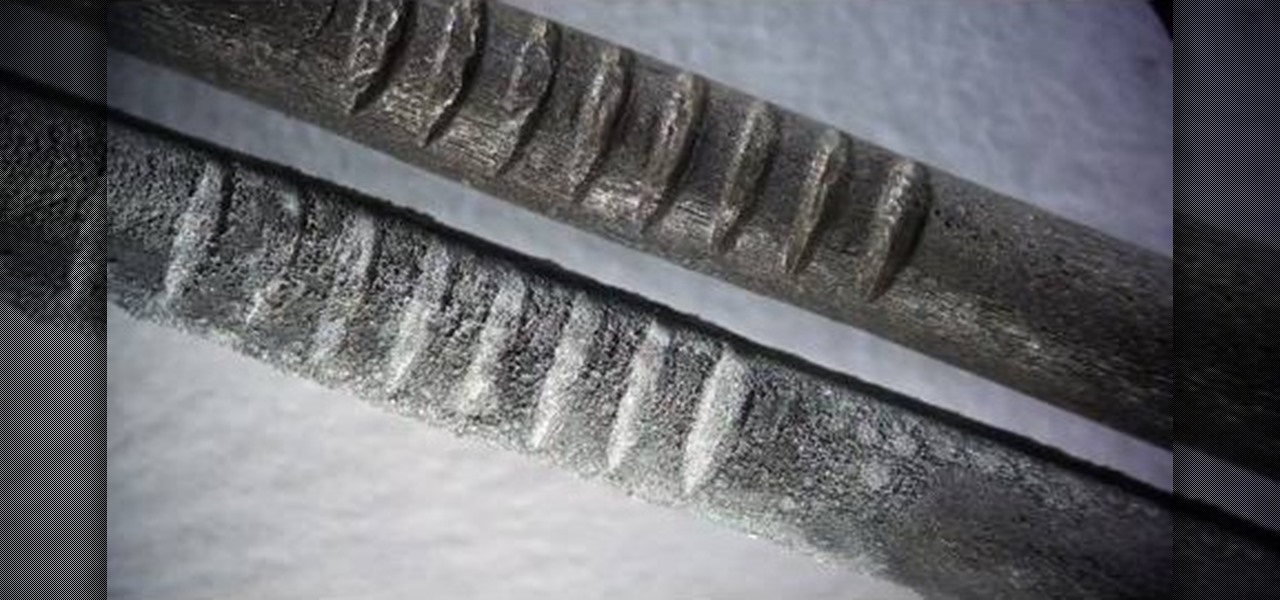
Rust protection doesn't have to cost a fortune. With a little zinc and some electricity, you can protect your precious metals from rust by galvanization. When you galvanize something, you're giving it a protective coating, and in this case, it's a zinc coating.

Straight hair seems like the easiest type of hairstyle to style, right? Wrong. If you happened to be born with curly or frizzy hair, then you know how difficult it is - and how long it takes before school in the morning - to tame those tumbleweed frizzies into pin-straight locks.

This video shows us how to install a ceramic soap dish in our bathroom shower. In this demonstration the instructor already had a slot in the shower tiles for the soap dish to go. Attach a long strip of masking tape on the edge of the soap dish. Mix some grout and place this on the part of the soap dish you are attaching. Be generous with the amount so you know it will stay. Place the soap dish in the slots and use the tape that you attached to be extra security that your dish will not fall. ...

In this Home & Garden video tutorial you will learn how to install kitchen tile and apply grout. Take measurement of the area that is to be tiled. If you want to make a mosaic with the tiles, cut the tiles as per the design and layout the mosaic on a flat surface. Apply setting compound on the surface and fix the tiles as per the design. If there are diagonal cut, use a speed square to establish 45 degree angle. To bridge the thickness difference between glass and ceramic tiles, use the lamin...

When it comes to ceramics and mastering throwing, master potter Simon Leach belives that "spaced repetition" is a great way of learning.

Making a round clay vase on a wheel that will hang properly in a corner may sound like a challenge, but with Simon Leach to teach you, even an amateur at-home potter should be able to complete this ceramics project. If you want to avoid griping like he does throughout this video, make sure not to use a plastic bat!

In this video, ceramic artist Simon Leach demonstrates and shows you two different faceting techniques, when potting. The first technique is complete shaving to add more dimension to, your ashtray or small bowl. The second is a half way shave, for a different yet fun look to your pots.

Learn how to glaze pottery with ceramic glaze in this free video series of glazing techniques. Part 1 of 5 - How to Get pottery glazing techniques.

Watch this ceramics tutorial video to learn how to make your own butter dish. If you don't use butter, you can follow the same process to make a slightly bigger dish for cheese. This project is easy enough for beginners. The tips in this helpful how-to video will have you making your own butter dish in no time.

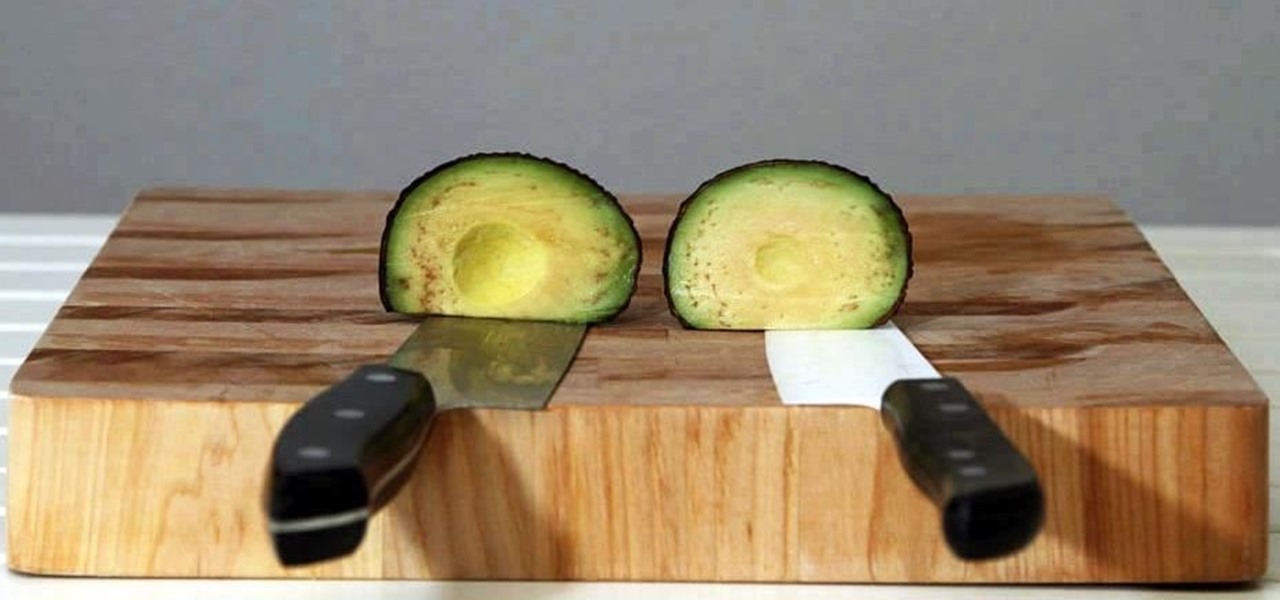
Keeping apples or avocados from browning after being cut is impossible; within minutes of being exposed to air, these fruits (yes, avocado is a fruit) begin to brown. No matter what you try—adding lemon juice, keeping the pits in place, immediately sealing the produce in an airtight bag—brown discoloration always occurs. However, air is not the only reason that foods like apples, avocados, and lettuce brown: it's also due to the knife you're using.

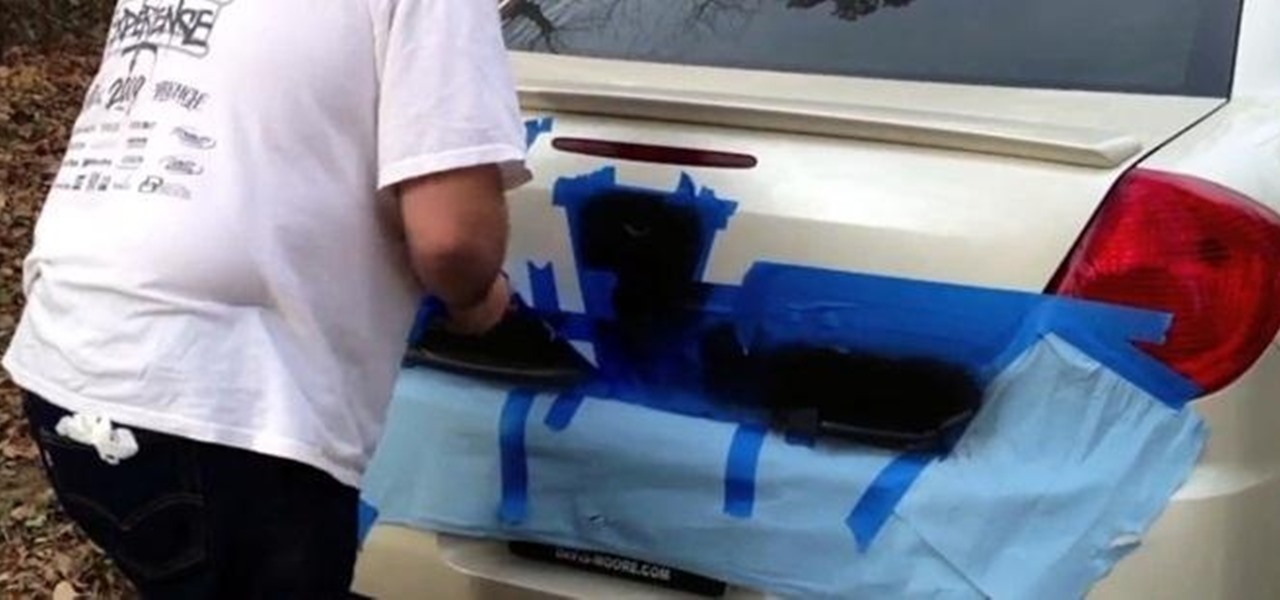
Plasti Dip coating is a rubber like coating that can be dipped or sprayed on. I first remember the coating available as a dip years ago. It was first introduced as a coating used to dip tool handles in to provide a grip. However, since then, the coating has became available in a spray can. It has also became popular on car parts, such as wheels, emblems, and even entire cars.

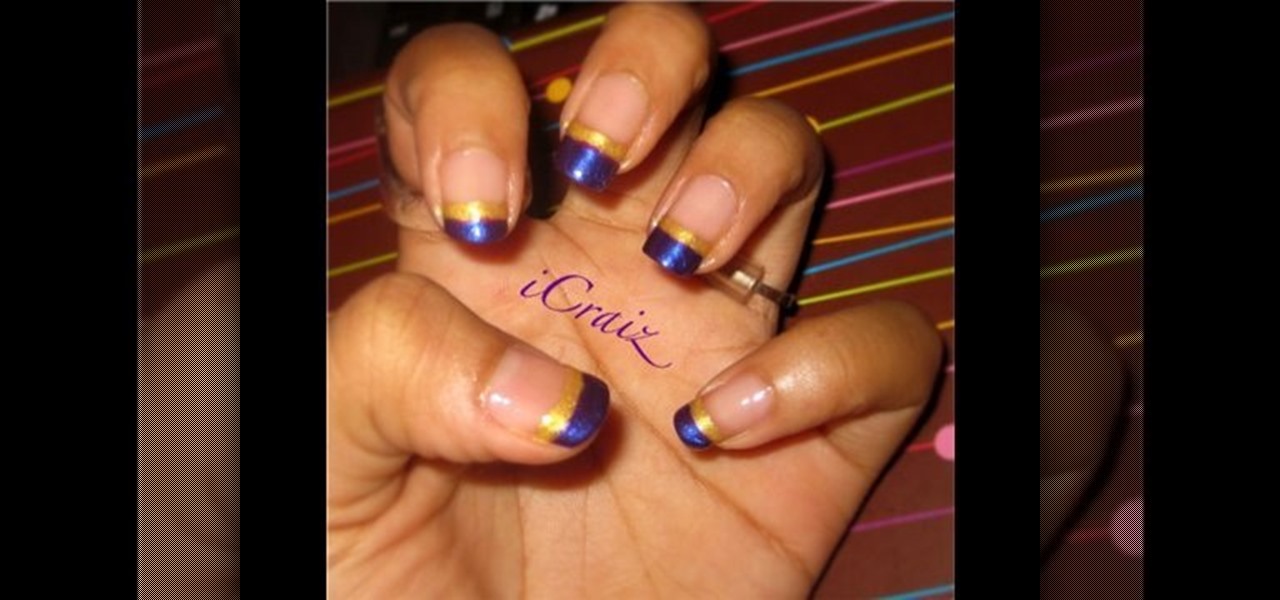
In this video, they show you how to do French nails with purple and gold tips. The nail polish used for the gold color is Ooh La La. The nail polish used for the purple color is N.Y.C. You also need a clear nail polish for a base coat as well as a skinny brush in order to paint the French nails with it. The base coat used is a Maybelline nail polish. You first apply a base of clear nail polish. Then you apply the purple nail polish to the tips. Using the brush, you apply the gold stripes. Fin...

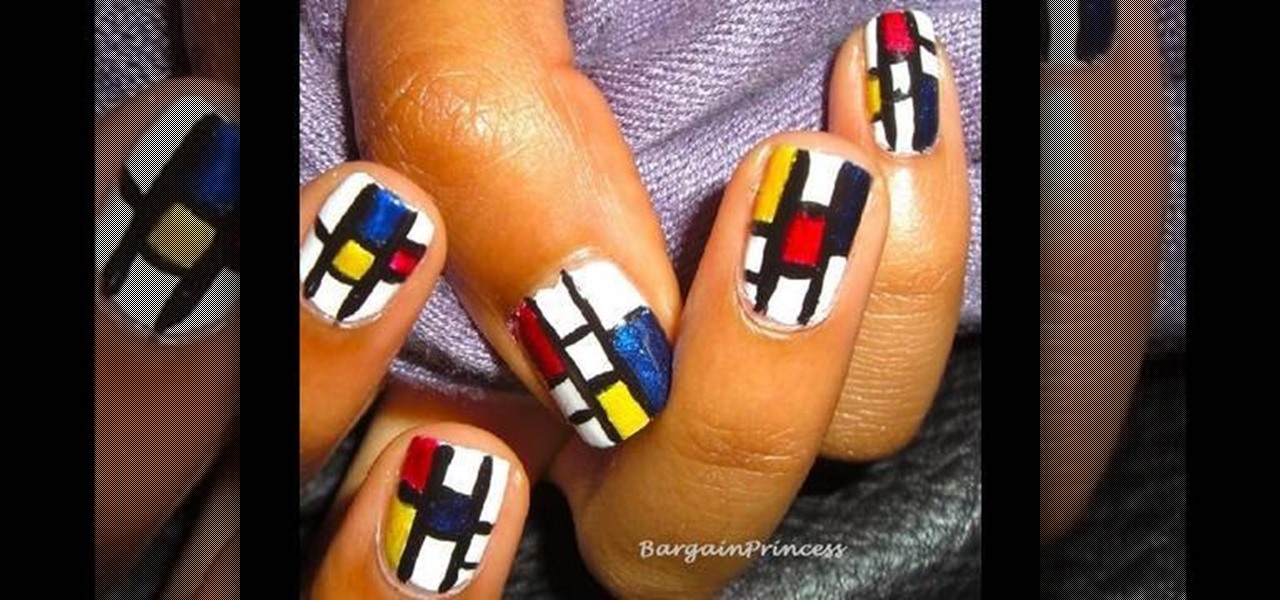
This video shows how to paint Piet Mondrian inspired block print nails yourself. Apply a white base coat and top coat. Use black nail art paint because of the thin brush. Paint two black lines the length of your nails. Then paint black lines going across the width of the nails to make random size boxes. Dab the color of paint you are going to use on a piece of paper and use the nail art brush to get the paint off of the paper and apply the different color paint to the boxes. Wait about 10 min...

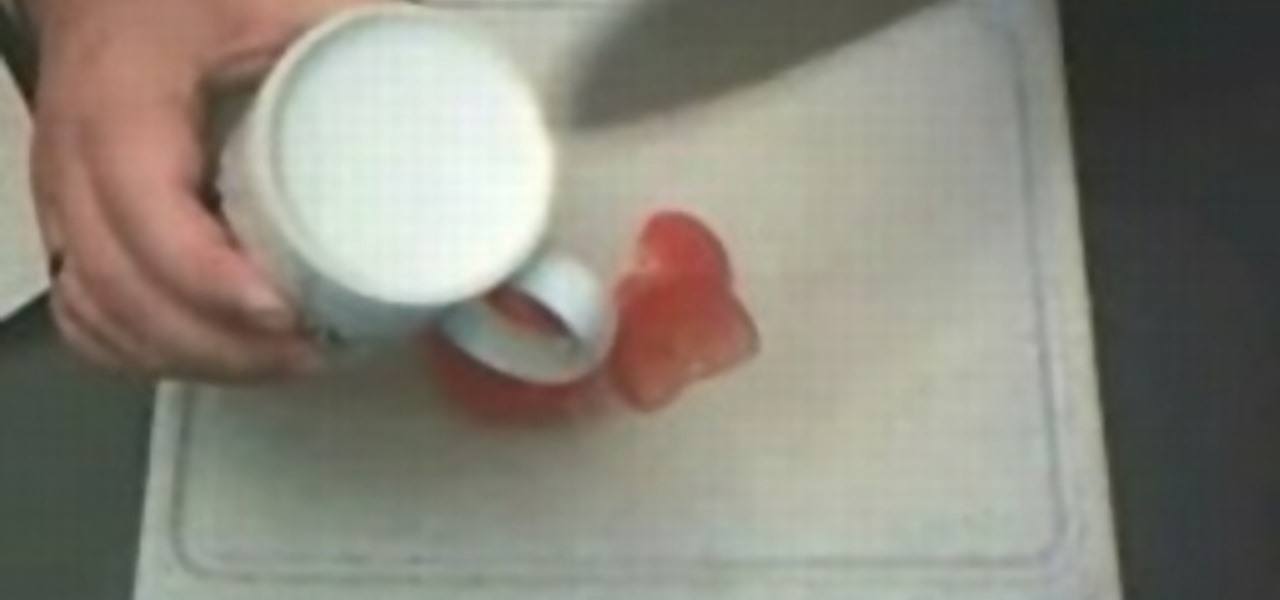
Learn this great trick for getting the sharpest knife. You don't need a sharpener. All you need is a coffee mug. It must be ceramic coffee cup to work. This is how to sharpen your knife using cup! What a magical kitchen trick!


