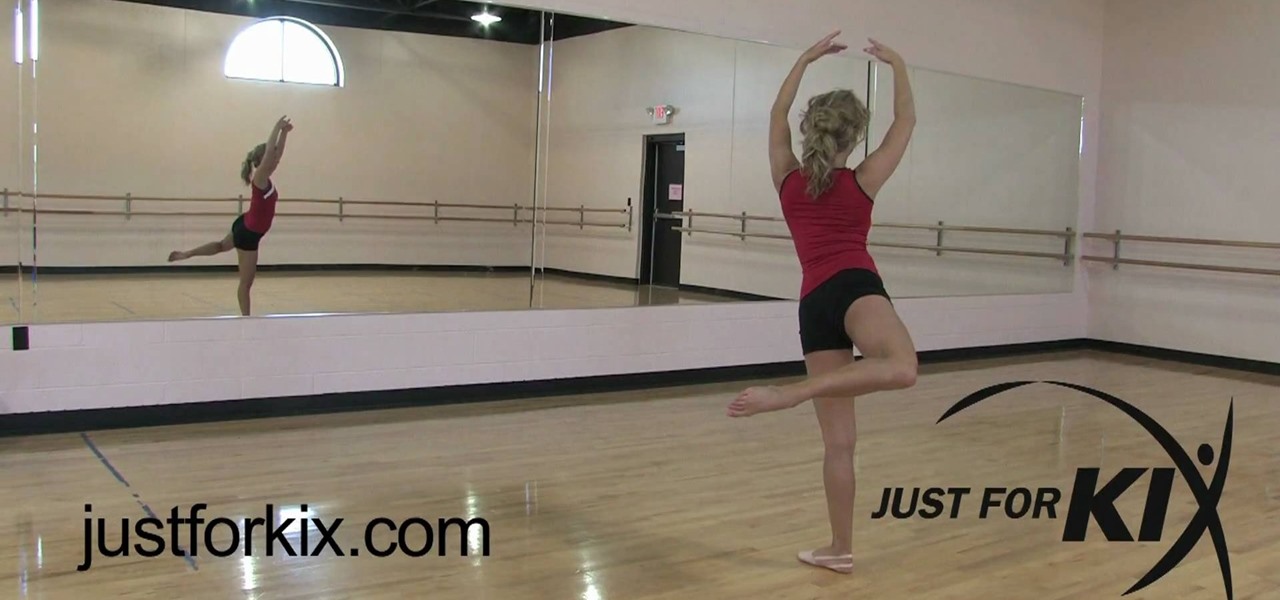
In this tutorial, we learn how to do changing spot combo pirouettes. First, prepare for the turn facing the front left corner. Do a triple pirouette, then forte the leg around and change your spot to the right front corner. After this, land behind. Do this in counts of eight, then plea and land. This may be difficult to understand at first, if you have no experience doing dance moves. Just keep practicing, and pretty soon you will have these moves down! Changing spots is an easy move to get d...

The great thing about braids is that they're so incredibly versatile. Spin a single braid through the crown of your hair and let the rest of your locks loose and you've got a pretty Lauren Conrad, girl next door look going on. Or add a few curls using a curling iron and tie your hair up into an updo to create an elegant look befitting of a formal affair.

Michael Weisner teaches us how to draw an adorable little puppy in this tutorial. Start out by drawing the outline of the dog, drawing in all the details as well as the body. After you have the base done, grab a Sharpie and start to draw the top of the head and the ears. Make lines on the top to make it look like the dog has fur and don't forgot the eyes and nose on the face. After this, trace out the rest of the body, including the front and back paws. Make sure to add in any shading you fee...

In this tutorial, we learn how to draw the anime character Tobi. Start off by using light pencil markings to outline the face and the head. After this, use a marker to draw in the eyes and pupils. Next, draw in the eyebrows over the eyes, then make a small mark for the nose. Draw in a line for the mouth, then make one of the eyes a diagonal line, like the character is winking. Start to outline the chin, then draw in the ears and start making the hair. The hair should be spiked and going down ...
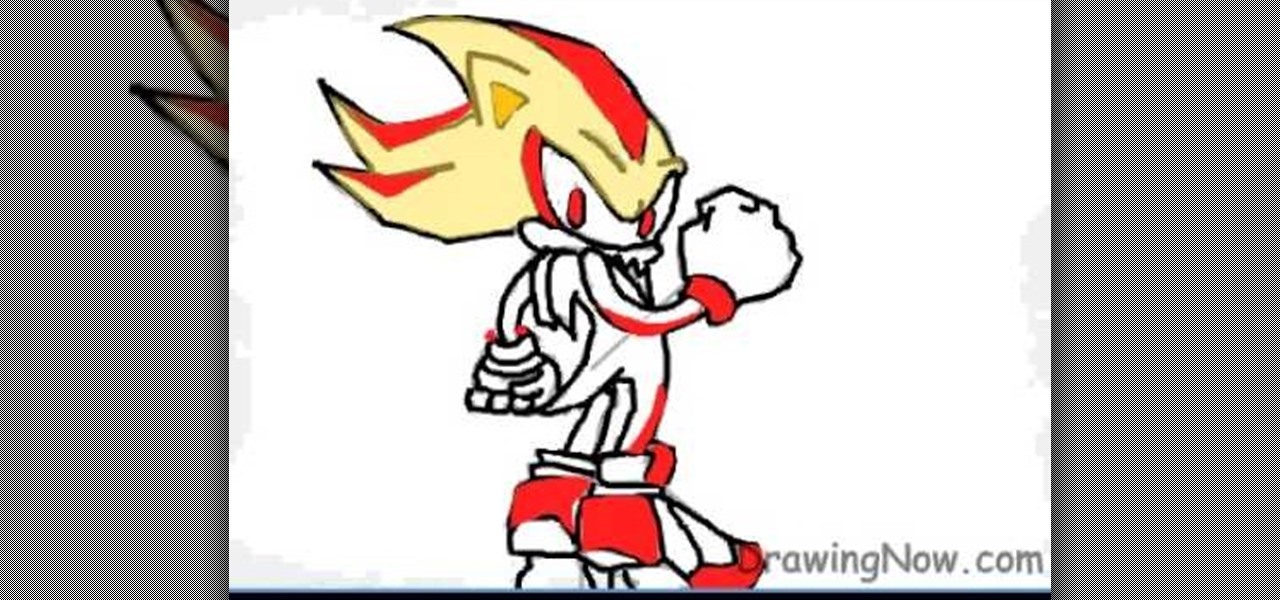
In this tutorial, we learn how to draw Super Shadow from Sonic the Hedgehog. Start off by drawing the spikes for the hair, then draw the ears and the eyes on the face. After this, draw the arms, upper body, lower body, and legs. When you are finished with this, use a dark pen to outline the cartoon character and draw in any additional details. Next, you will add in colors to the character, using reds on the outside of the hair and legs, then orange and tan on the inside. Finish this off with ...

In this video, we learn how to do the choreography for Ke$ha's "Take it off". Start off on the ground doing a count of eight while moving your hands up your body, then pop up and move back down. After this, you want to twist your head around and then move to the side while walking and placing your hands over your face. Make sure to count in steps of eight, then walk back while shaking your body and clap with your wrists. After this, move your arms to the music and act like you are in a car wh...

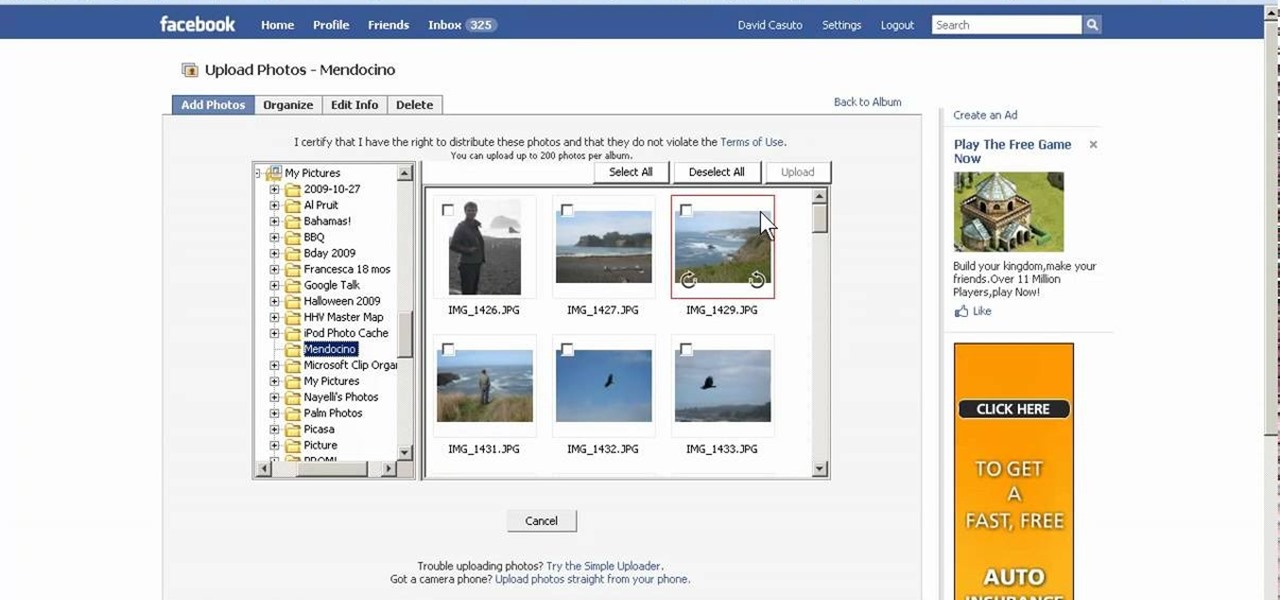
In this video, we learn how to create a photo album and tag photos in Facebook. First, log onto your account and then view your profile. Next, you will see a tab that says "photos", click on this. Now you will see a link that says "create a photo album". Click on this, then you will be able to make a name for your album, then write in a location, description, and choose your privacy settings. After this, upload the pictures that you wish and wait for the site to load. After this, add in capti...

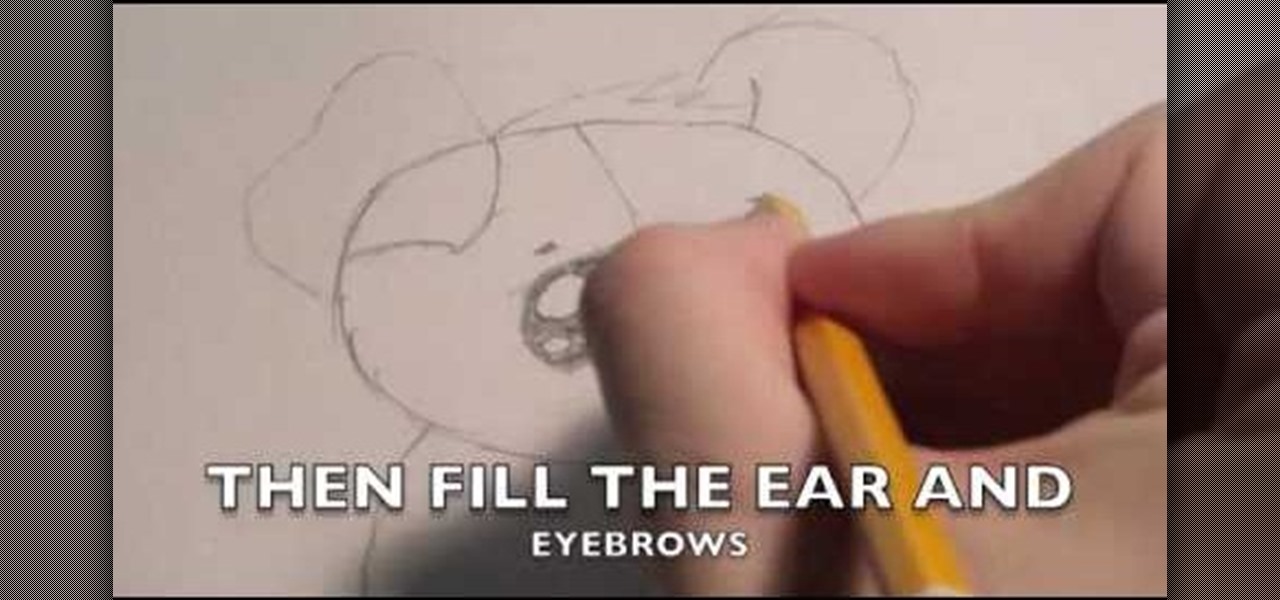
In this tutorial, we learn how to draw a cute puppy. First, you will use a pencil to draw the outline of the body of the puppy. After this, start to draw the details of the face and add in the ears and details for the hair. Next, draw in the pupils of the eyes and then draw in the nose and the mouth. After this, draw in the details on the body and add in lines and shadowing. After this, add details to the paws and then erase any lines that you don't need. When finished, color this in or leave...

In this video, we learn how to thin and layer hair for a spiky look. To do this, start off in front of the mirror with sharp scissors and a razor over the sink. Grab the scissors first and brush your hair to the front of your face. Start off cutting different layers into your hair, making some longer and some shorter. Next, take a razor and run it through your hair to create a think layering of all the hair. After you are done cutting it to your desired length, add in hair gel or wax to your ...

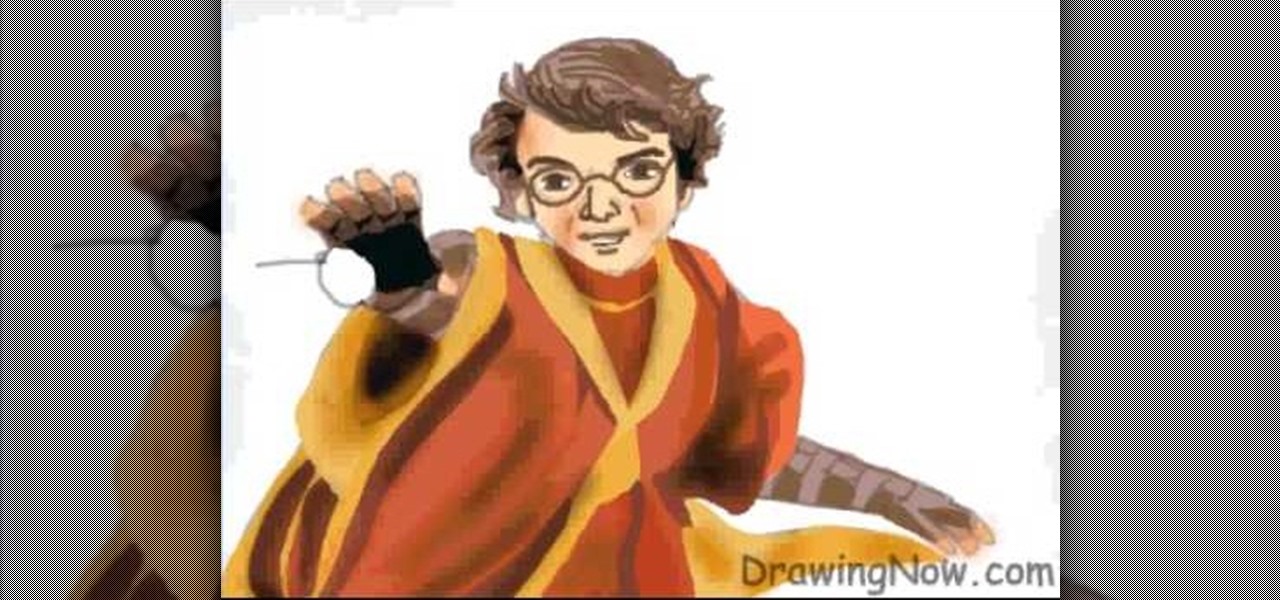
In this tutorial, we learn how to draw Harry Potter. Start out by drawing Harry's face, adding in all the details, such as: his hair, eyes, glasses, nose, and mouth. After this, start to draw his upper body wearing his Quidditch robes, and draw his arms. One arm should be reaching in the air for the ball and the other should be to his side to balance him out. After this, start to add colors to the picture. Add in his skin color, then add in his brown hair and gold and red for his sports robes...

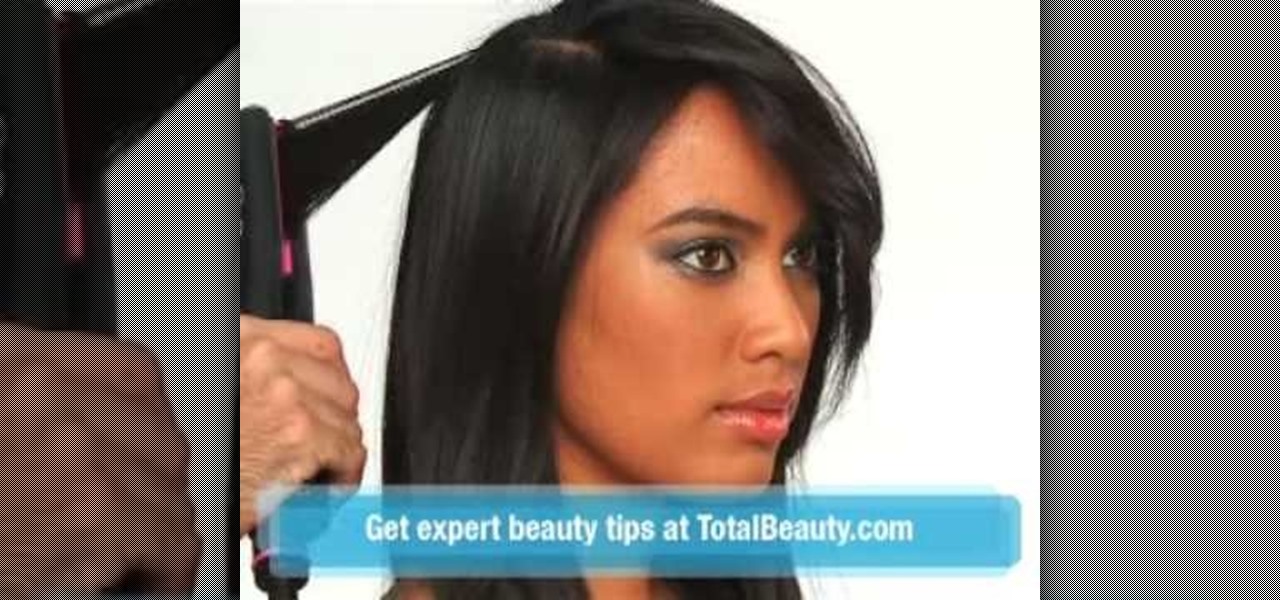
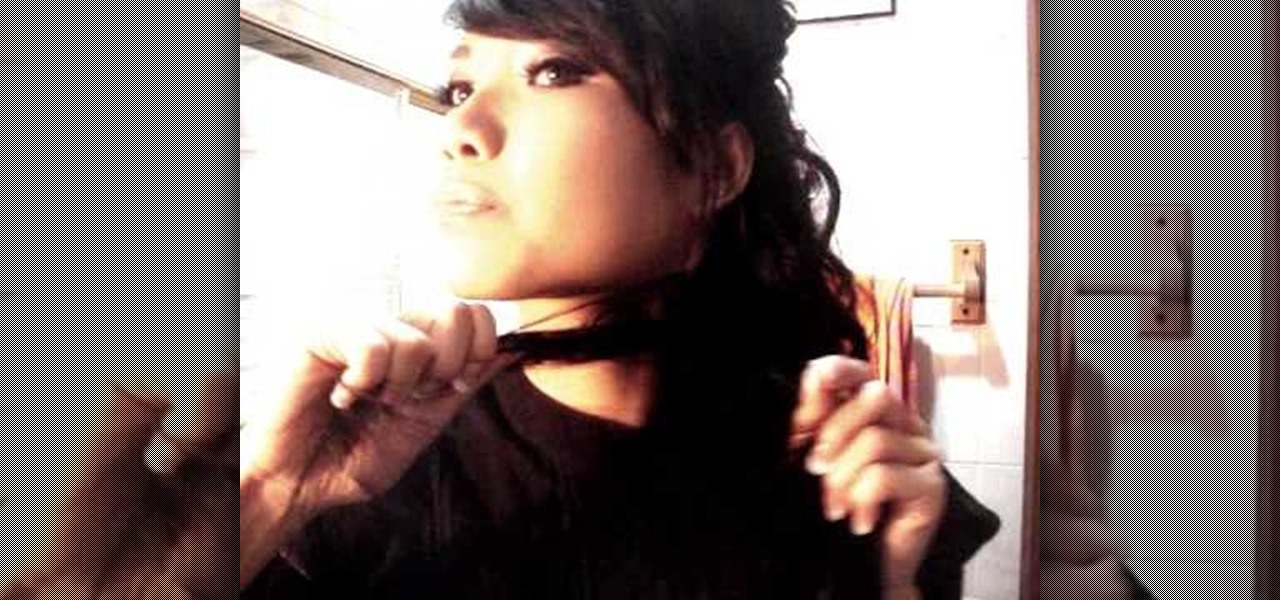
In this tutorial, we learn how to rock an emo hairstyle. First, blow dry your hair with a round brush, then place the top section down and to the side of your hair. Next, take small sections and spray your hair with heat protector. Now, straighten your hair in each of the different sections until it's pin straight. next, take heavy gloss and work it through the ends of the hair to add texture. Make sure the bangs are covering the front of the face, and the hair looks messy. This will give you...

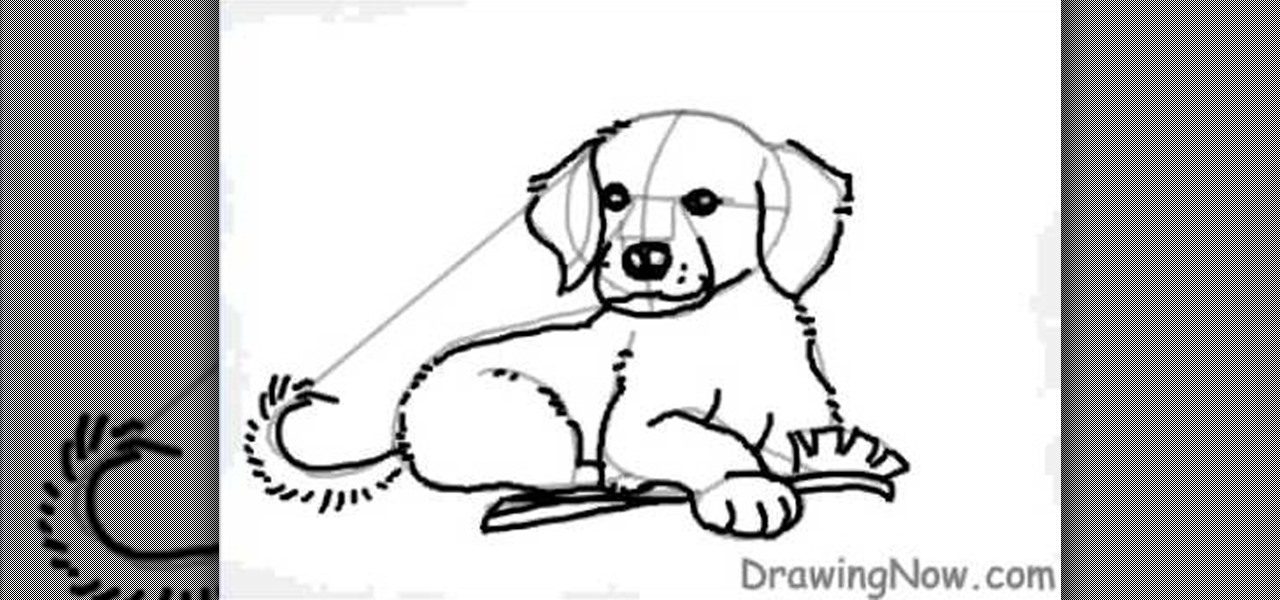
In this tutorial, we learn how to draw a cartoon golden retriever puppy dog. Start off by drawing the face with intersecting lines on it so you know where the nose, eyes and mouth go. Then, keep outlining the rest of the body including the legs and tail. Next, use a darker brush to go over the lines and make more of a detailed outline, including fur and eyes. Make sure to use lines on the side of the dog to make the hair look more realistic. After this, paint the inside of the dog using a lig...

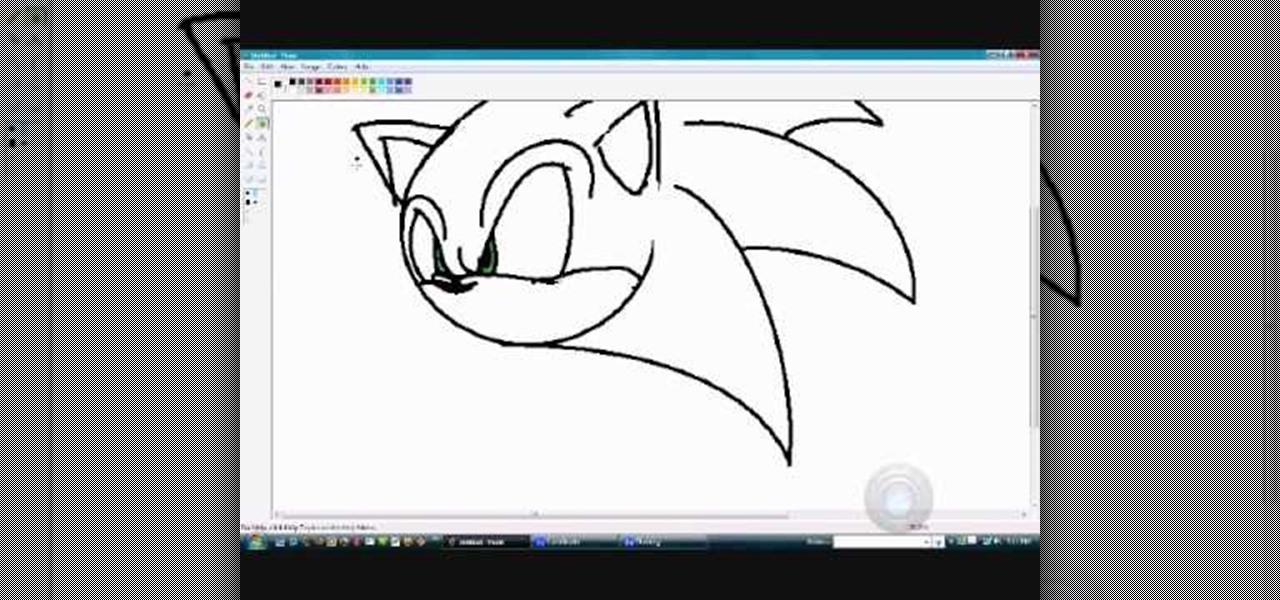
In this video, we learn how to quickly draw Sonic the Hedgehog. Start off by drawing the eyes and eyebrows. Next, draw the ears on the side and connect the head around it. After this, start going to the side to draw the three spikes for the hair. After this, draw in the nose, mouth, pupils, and inside of the ears. Add in shading where appropriate and add highlights to the top of the head. Use a black paintbrush to draw the outline of Sonic darker. After this, finish the picture by coloring it...

In this video, we learn how to draw a realistic skull. Start off by using a pencil to draw out the basic outline of the skull. After this, add in further details, such as shading on the side of the head to show that it is hollow. Also add in the sockets for the eyes and show where the nose is at. Draw in the jaw bone as well as the teeth and the jaw line around it. Draw on cracks to the face at different places to make it look more realistic. Add in shading and darker lines where you feel nec...

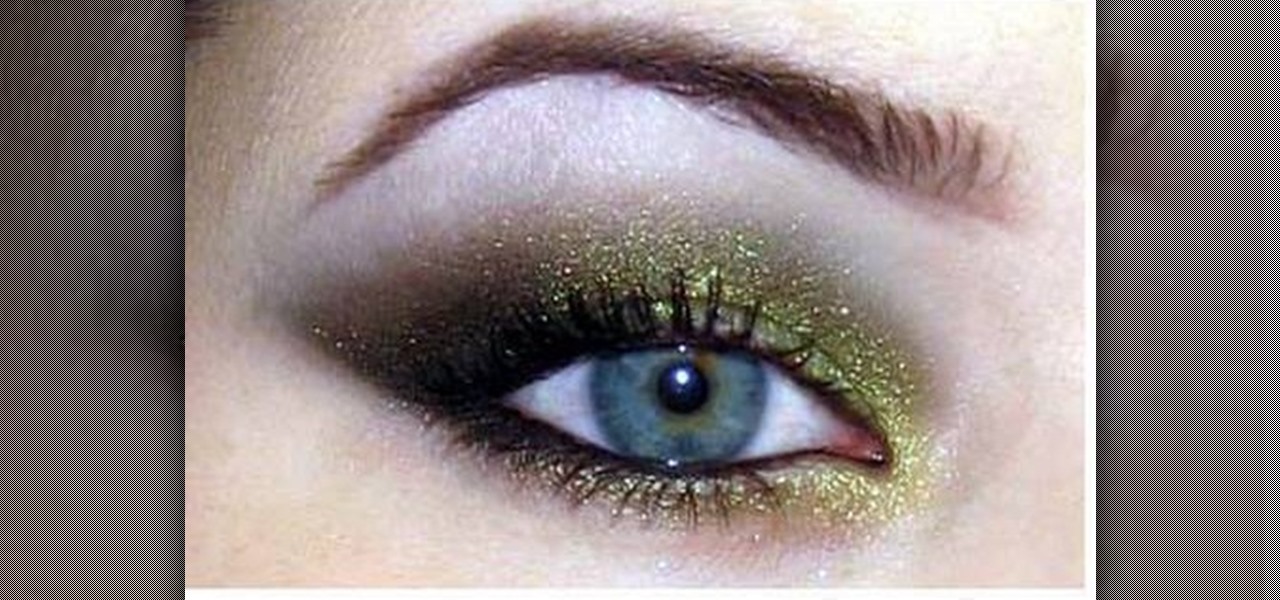
In this tutorial, we learn how to get a baby doll inspired makeup look. First, apply primer to the eyes, then outline your eyes with white eyeliner in the shape you want your eyes to be. Next, use black liner to outline around the white that you just applied, then a brush to blend it out. After this, use a shimmery white color to highlight underneath the brows, then brush a purple over the black liner to make it a softer color. Next, apply more white to the areas that you originally drew the ...

In this tutorial, we learn how to do an elegant french braid. Start off by grabbing the top section of your hair and splitting it up into three sections. After this, start to braid your hair by grabbing hair from each side and gathering it into the braid as you are going down. Once you reach the bottom of the hair, just do a normal braid and then tie it at the bottom. After you do this, you can hair spray your bangs back and tease them, or you can let them hang loose on the front of your face...

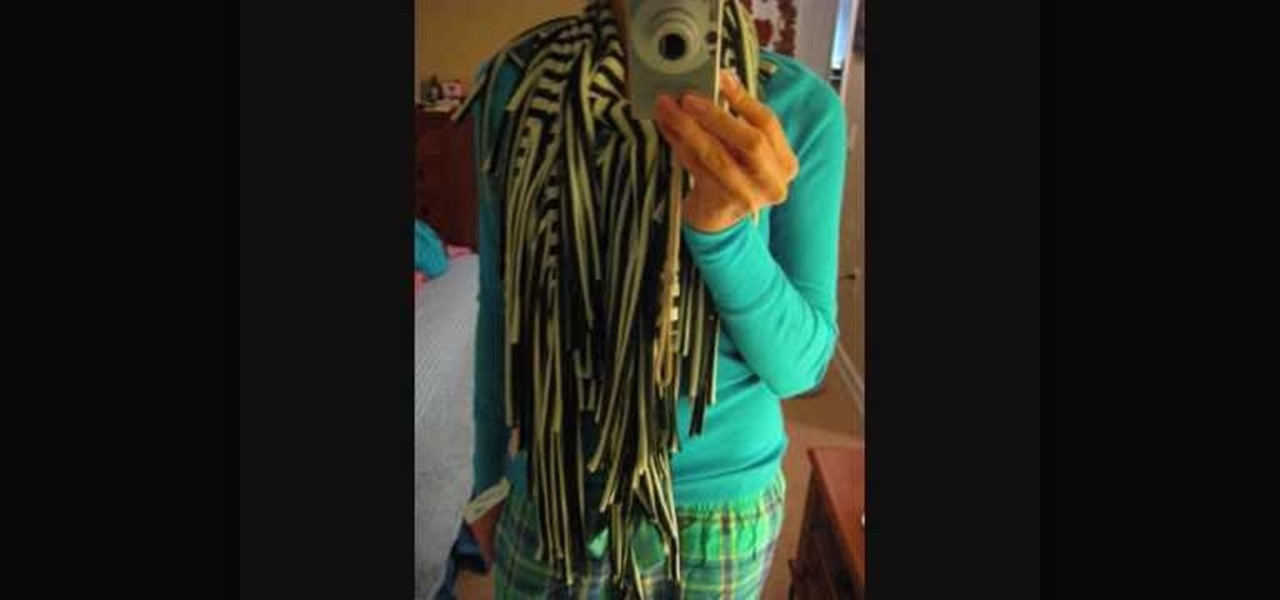
In this tutorial, we learn how to make a fringy scarf. You will first need 1 yard of fabric, then fold it with the right sides facing each other. Next, measure 19" down, then start to cut. After this, measure 7" down, draw a line from across. Now, start to cut towards that line, making fringe on the ends of the scarf. After this, you will be done with your scarf! The great thing about this is that you can use it in so many different ways. You can pair it with a casual outfit, or as a going ou...

In this video, we learn how to draw a cartoon fish with scales. First draw a circle for the body of the fish, followed by the details of the face and then the fins and tail. After this, color the background to look like the color of the sea. Now, take a black paintbrush and outline the details and body of the fish. Start to add in scales around the body that are small and colored red. After this, draw bubbles coming out of the fish's mouth. Color the fins and tail yellow, then color the eye b...

In this tutorial, we learn how to get rid of pimples and zits with aspirin. First, you will take the aspirin you have (uncoated is better) and place it into a clear bowl. After this, crush it up with the bottom of the pill bottle. Next, take a dropper and drop a couple drops of water inside. After this, swirl the mixture around with your finger, until you have a thick paste. Next, you will want to take the mixture and put it on your pimple. Dab it on thick, and leave it on until it dries. Thi...

Fake nails can be such a pain in the butt. Yeah, they look good when they're on (they're one of the few things that look perfect when we wake up, unlike our face and hair), but removing them inevitably leaves nail scratches, stubby, ugly nails, and causes pain.

Out in Bon Temps, the town in which "True Blood" takes place, everything you thought couldn't exist comes alive. Vampires and werewolves roam the town, so is it any surprise that the Bon Temps swamp is a character all its own? While not a living and breathing character, the swamp provides a murky, dark backdrop for the show's most harrowing scenes. And in that sense, it tells you a lot more about the characters than you'd get just out of their performance.

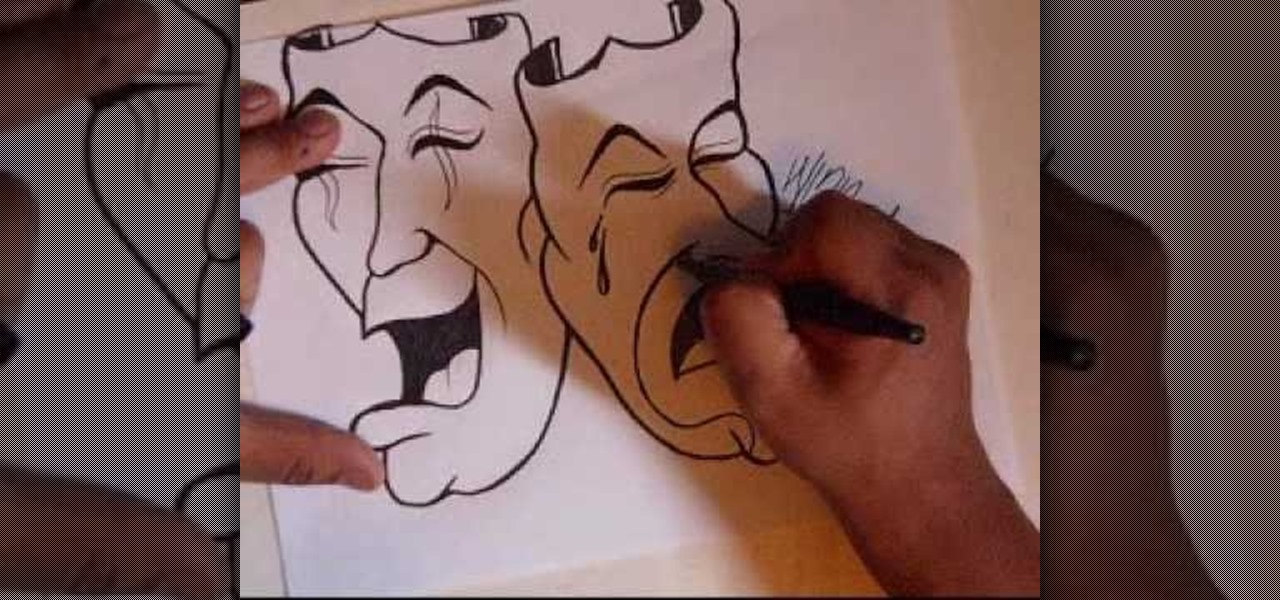
In this tutorial, we learn how to draw smile now cry later clowns. Start off by drawing a large laughing mouth with the tongue inside of it. Next, draw the eyes and then the nose and chin. Draw the eyebrows on the clown so it looks like a clown, with makeup on the eyes and face. After this, add details to the tongue and fill in the back of the mouth with black shading. After this, draw neighboring clowns the same way as the first, just changing up facial features to make them different. This ...

In this tutorial, we learn how to do a messy fishtail braid. First separate your hair so the bottom layer is exposed, then place on volumizing mousse and hair spray to this layer. Now, expose the rest of the hair and add the mousse and hair spray to this layer. Next, curl your hair with a 3/4" to curl the hair away from your face. When finished, section your hair so the upper half is in the back of your head, then clip this securely. Next, start doing a fishtail braid by braiding the outer si...

In this tutorial, we learn how to remove a scar in Photoshop. First, select the magnifying glass to zoom in on the area you are working on. Next, select the paperclip icon, the select the second brush. Now, come to the edge of the scar and drag across the around the entire scar. Come back around, then the scar will be highlighted. Now click down and hold the image highlighted, and you can smooth out the skin and it will disappear. Next, do this on the other side of the face to remove the rest...

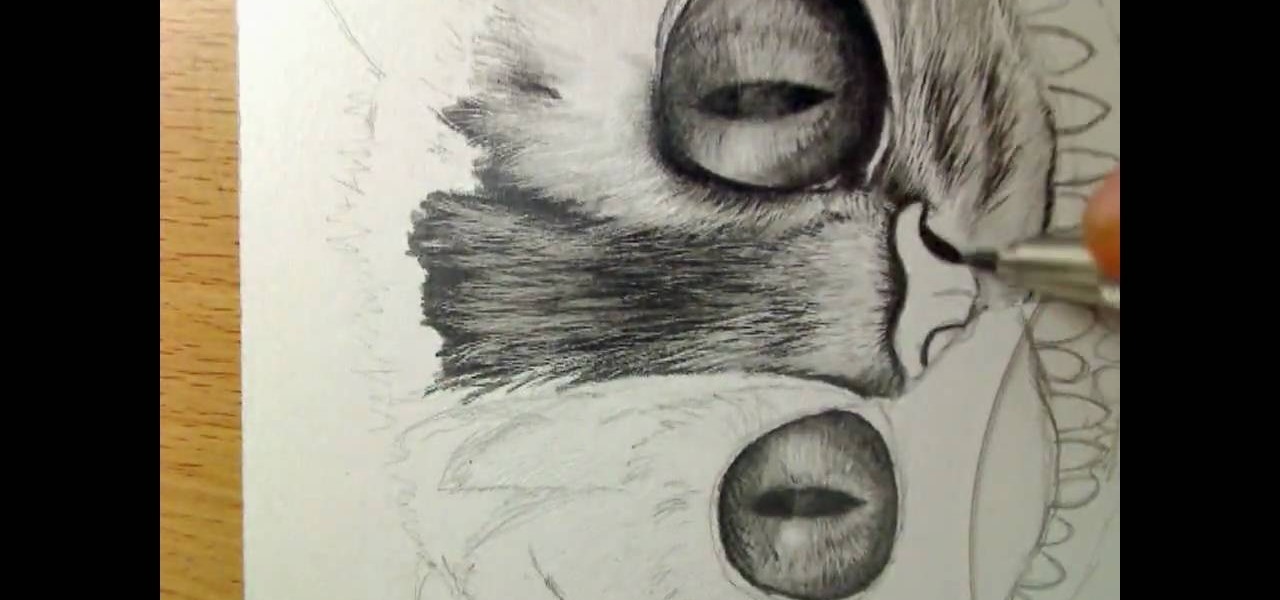
In this tutorial, we learn how to draw Cheshire cat in Tim Burton's Alice in Wonderland. Start out by drawing the large eyes, then drawing in the nose and face around the cat. Add in the many teeth, then draw on the ears of the cat. Shade in the eyes and make the pupils diamond shapes for a more realistic cat look. After this, shade in areas and make it look as though there is hair on the cat. After this, shade in the nose and add hair around the outside of the cat. To make this look more rea...

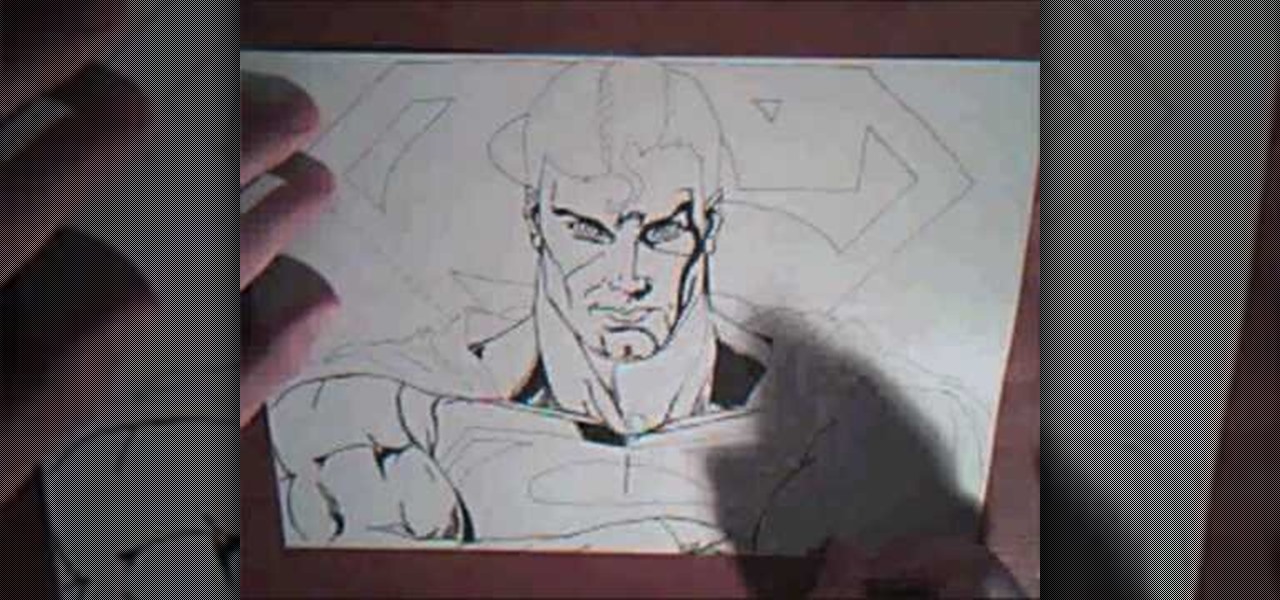
In this tutorial, we learn how to draw superman from DC comics. Start off by drawing the head and adding in the hair on top. Give the character a strong jaw line and eyes that look serious and focused. Continue drawing down, outlining the lips and nose, then making broad shoulders. Draw a cape over the shoulders and continue down making a line where the neck and breast plane connect. Draw the "s" sign on the costume, then continue by drawing the Superman logo behind the character. Now, star t...

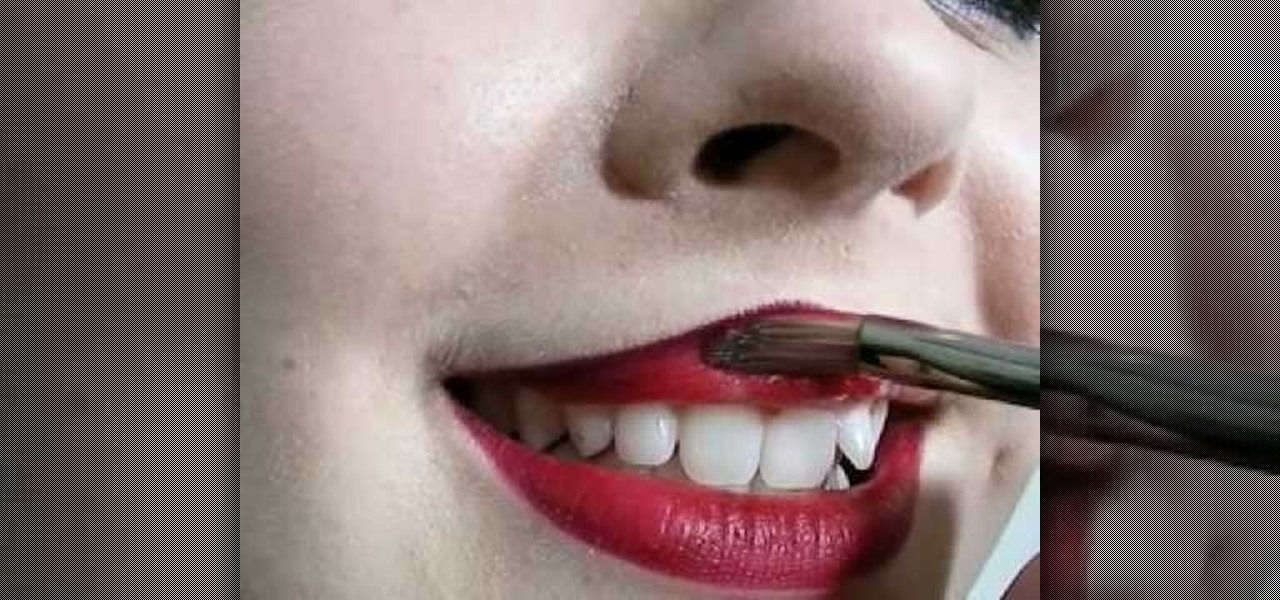
In this tutorial, we learn how to apply sexy red lipstick. Start by applying dark red lip liner to the top lip, using an exact line where your lip goes. Next, draw the line on the bottom of your lip line up to where the crease of your lips meet. After this, smile while you paint on red lipstick with a makeup brush. Apply several coats and move the brush slowly so you don't mark your face. Apply the lipstick to both of your lips and make sure it blends in well with the lip liner you applied ea...

This video tutorial is in the Electronics category where you will learn how to enable Emoji icons on your iPhone. These icons are the yellow faces with emotions that you use in any internet messenger program. On your iPhone search for a program called spell number. Tap on the program and download the Spell Number Emoji. It's free. After it is downloaded, tap on it and type in 9876543.21 to unlock the Emoji icons on the key board. Now go to general > keyboards > international keyboards > Japan...

In this video, we learn how to do sit ups to lose love handles. First you will need to lay down facing the ceiling and cross your arms over your chest. Raise your body up using your stomach and try to touch your elbows to your knees. Continue to do this and remember to breathe while you are doing this. Do as many crunches as you can, and try to do different variations to change things up. When you are finished, do more exercises and stretch your body out. Doing these every day can help you lo...

In this tutorial, we learn how to hygienically pierce your lip at home. First, you will need a sharp needle that is cleaned with rubbing alcohol. Next, draw a line on your face where you want to pierce your lip. Next, grab your lip so it's taut, then place the needle into your lip. Go slower so you feel less pain while it is being inserted. When you get to the other side, insert the jewelry where the needle was, so it goes inside seamlessly. Once you get the jewelry to the other side, place t...

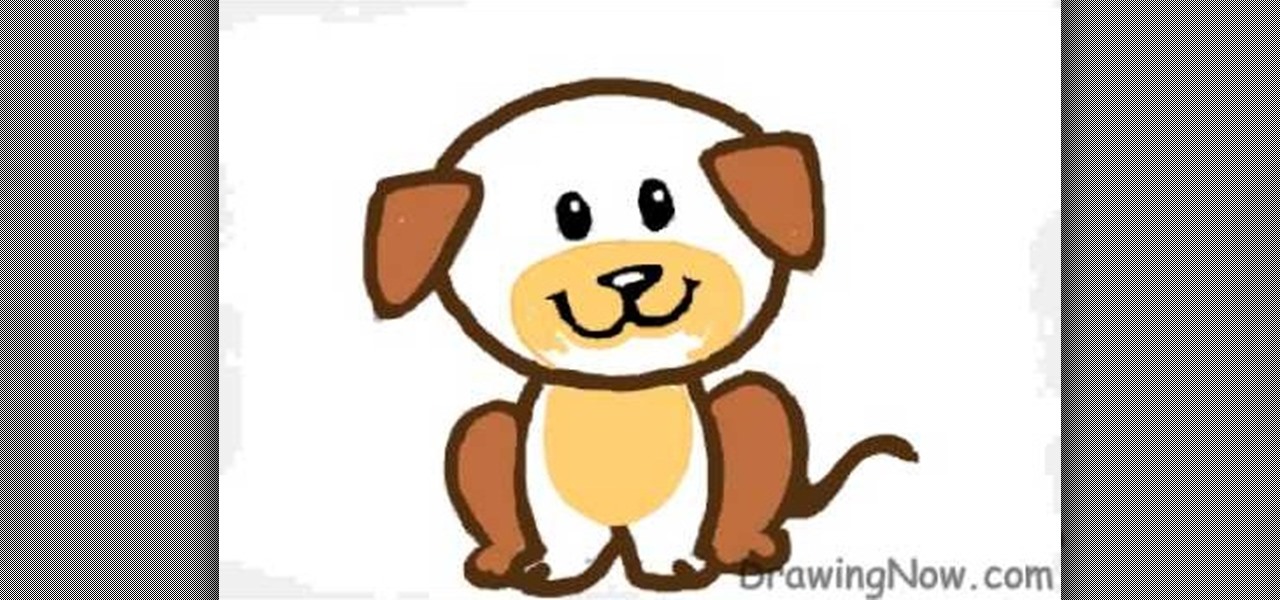
In this tutorial, we learn how to draw a cartoon puppy First, draw the oval head, followed by triangles for ears. next, draw the body underneath with four legs coming out of the bottom like the dog is sitting down. Add on a squiggly line for the tail next to the leg. Now, color the ears and back legs light brown, then add eyes, a nose, and a mouth onto the face. Draw a circle around the nose and mouth, then color in with lighter brown/tan color. Now, color the rest of the dog a darker shade o...

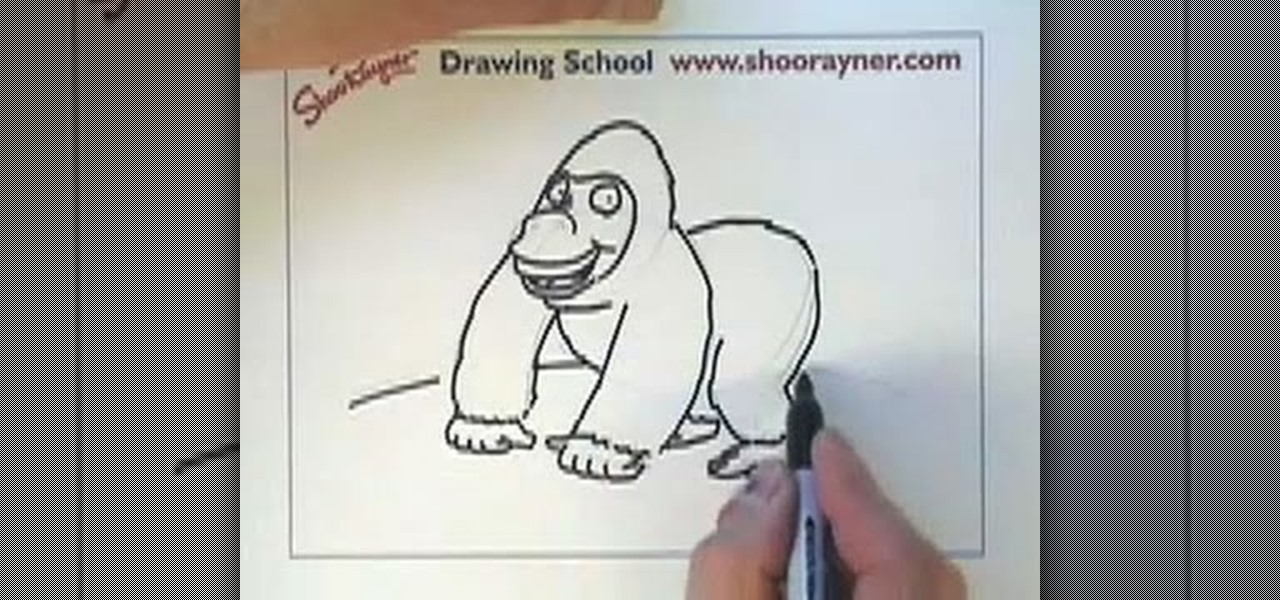
In this tutorial, we learn how to draw a gorilla. Depending on what type of gorilla you want to draw, there are various ways to change the look easily. To start, draw a bean shape that will be the body. Next, draw a smaller bean shape for the head on the side of the other shape. Now, draw the middle of the face, making eyes in the middle underneath the brow bone. Now, make the nose and mouth of the gorilla. After this, continue back down on the rest of the body and draw arms and legs for the ...

In this tutorial, we learn how to draw Blair from Soul Eater. Start off by drawing the head, hat, and body with a light pencil. Next, draw an arm going down from the body. These will be basic construction lines that you will draw over with a thicker pen later on. Start to establish the eyes and eyebrows, as well as the nose, mouth, and chin. Add details into the picture, then start going over your lines with a darker pen or pencil. Start to add in details that you feel make the character look...

In this tutorial, we learn how to draw Chowder. Start off by drawing the ears, then start drawing in the head underneath. Make sure the face is wide, then draw in large eyes, a nose, and a large smile. Make sure to add the tongue inside the mouth. After this, draw the arms, making sure to add in layers of fat to the upper body. Then, draw in the stomach and the legs to this character. Draw in shorts, then add on a t-shirt as well. Finish this off by adding in a tail, and any more details you ...

In this video, we learn how to weld an oil pan. Make sure you are wearing protective gear on your face before you do this. Take your welder to your oil pan, then start to weld it while you are underneath it or you have the car pushed up all the way. Place a patch for welding over the part of the oil pan that is leaking. After this, use your welder to connect the patch together with the pan. This ill take several minutes to weld together, and when you are done you can let this cool and fill yo...

In this tutorial, we learn how to draw Ryo Bakura Yu Gi Oh style. Start off by drawing the head, making a pointy nose on the front of the face. Next, draw in the eyes making eyebrows in and pupils. Also draw in the shapes on the head, then start to draw in the hair. Make two sides of the hair pointy spikes on both sides. Start to draw the neck and shoulders going down to the very bottom of the paper. Place a collared shirt, then start to add in shading on the picture. Draw in lines, then add ...

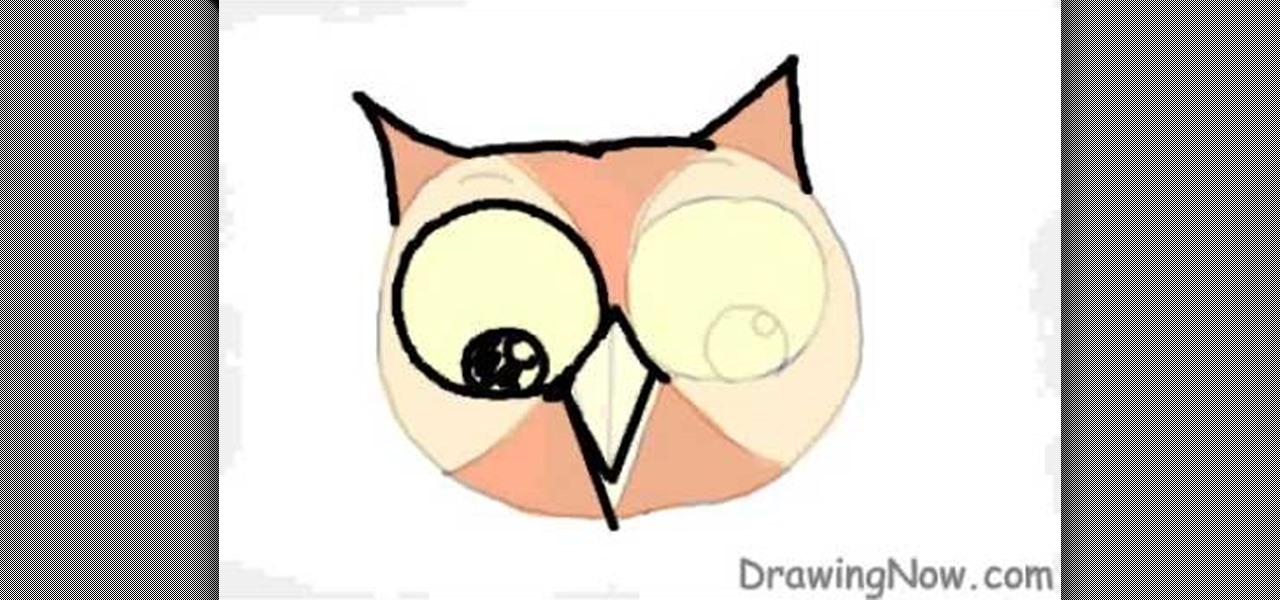
In this video, we learn how to draw an owl on a computer. First, draw a circle, then two small triangles on both sides of the top of the head. Next, draw two very large circles in the middle of the face, separated by an upside down triangle and two large triangles on either side of that. Next, add pupils to the eyes, and add a line in the beak. Outline the eyes, beak, and eyebrows after this. Color in the owl brown and light brown, then add small black lines to the sides to make it appear lik...

In this tutorial, we learn how to draw a husky puppy. Start off by drawing the head, don't use a straight line at the top, make it look like it has hair. After this, continue and draw teeth and a tongue hanging out of the dog if you want it to look happy. Next, add ears to the top of the head and eyes to the face. Give the dog markings and pupils on the eyes. Then, add the nose on with a button shape at the top. Draw out the collar and chest of the dog, then add on the two front feet, the bel...

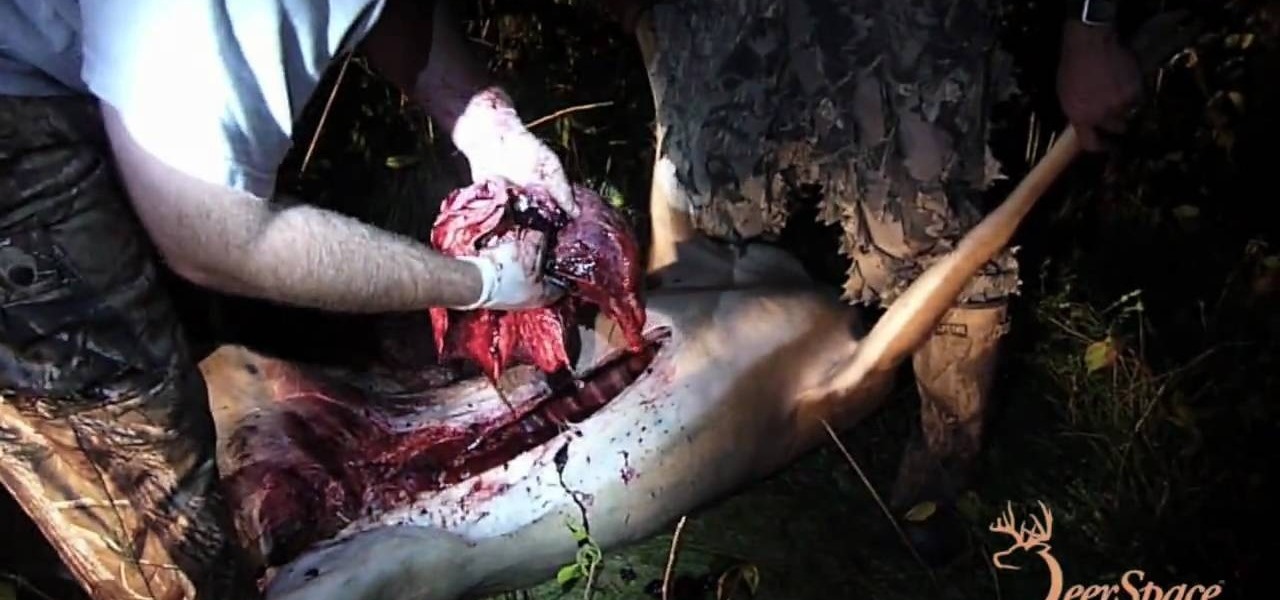
In this video, you'll learn how to field dress a deer. Put on gloves. Use Ozark trail hunting knife for dressing the deer. Place deer on its back, head facing away from you. Starting from the anus, split the deer up the middle to the chest. Use left had to prevent cutting or nicking the internal organs. Stretch the cavity open. Loosen organs from cavity wall. Cut out the entrails and all organs. Make an anal incision. Use the butt tool to remove the butt/final portion of intestine. Saw the pe...

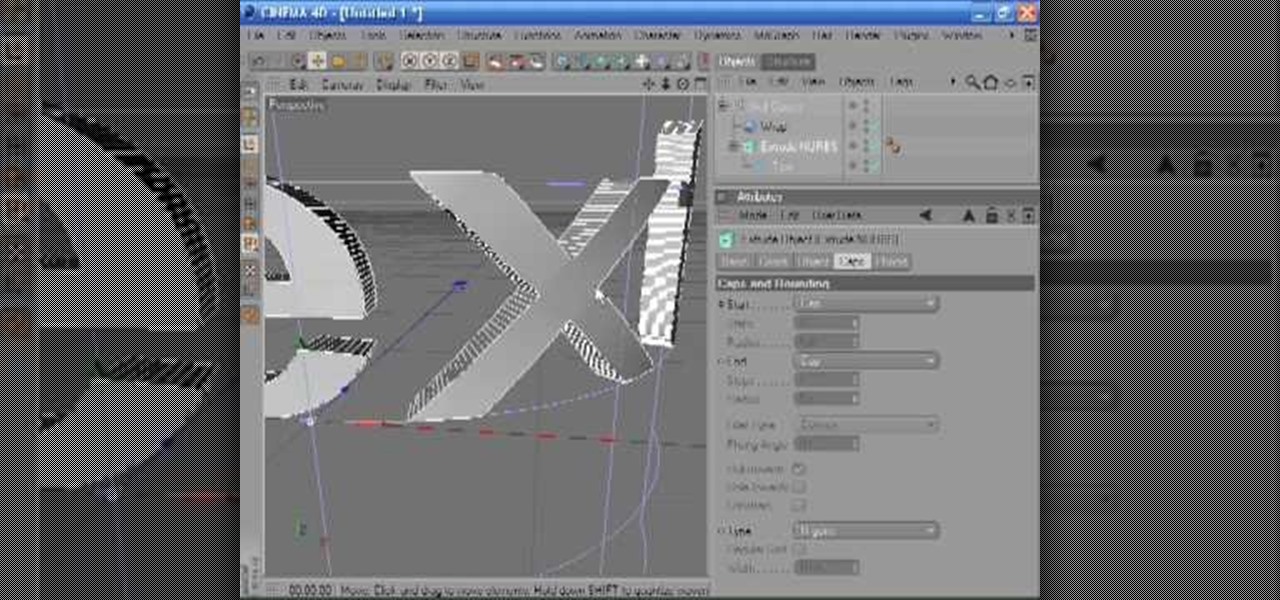
Occasionally you can run into problems when you try to wrap, bend or twist 3D text. This is usually because the faces or sides of the text need more segments so that the text can be deformed cleanly. This tutorial shows you the main controls for getting clean text every time. Whether you're new to MAXON's popular 3D modeling application or are just looking to get better acquainted with Cinema 4D and its various features and functions, you're sure to enjoy this free video software tutorial. Fo...


