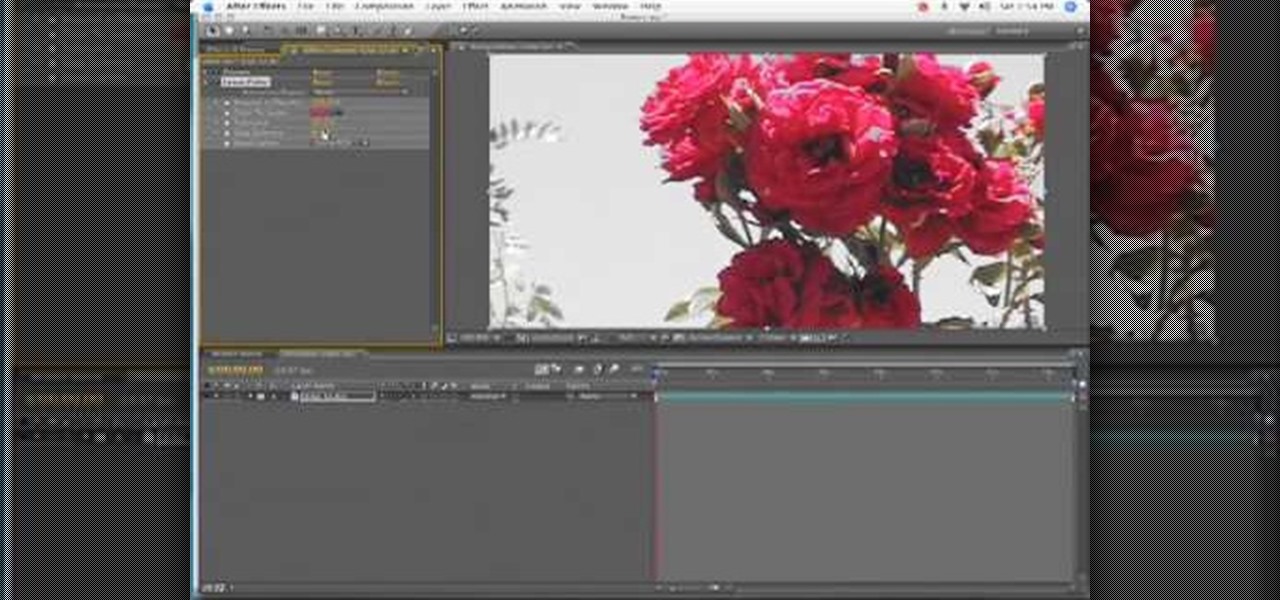
If you've seen Sin City, what you probably remember most is the way color isolation was used throughout the film to reveal single colors in otherwise black-and-white scenes. This video will show you how to create the same effect for your own film in After Effects. Using this beautiful bunch of roses an an example, you will learn how to apply color isolation to film and maybe, just maybe, give Robert Rodriguez a run for his money.
Mr. O shows his audience in this video how to make oobleck, a slime-like substance which has a variety of unique properties. For this project, you will need a mixing bowl, food coloring, corn starch, a measuring cup, and water. First, color the water with food coloring to a color which is much darker than the color you would like. You will need the correct ratio of water to cornstarch, in a 1 to 2 ratio. Add some water to the bowl and add the cornstarch, then add the rest of the water. Finall...
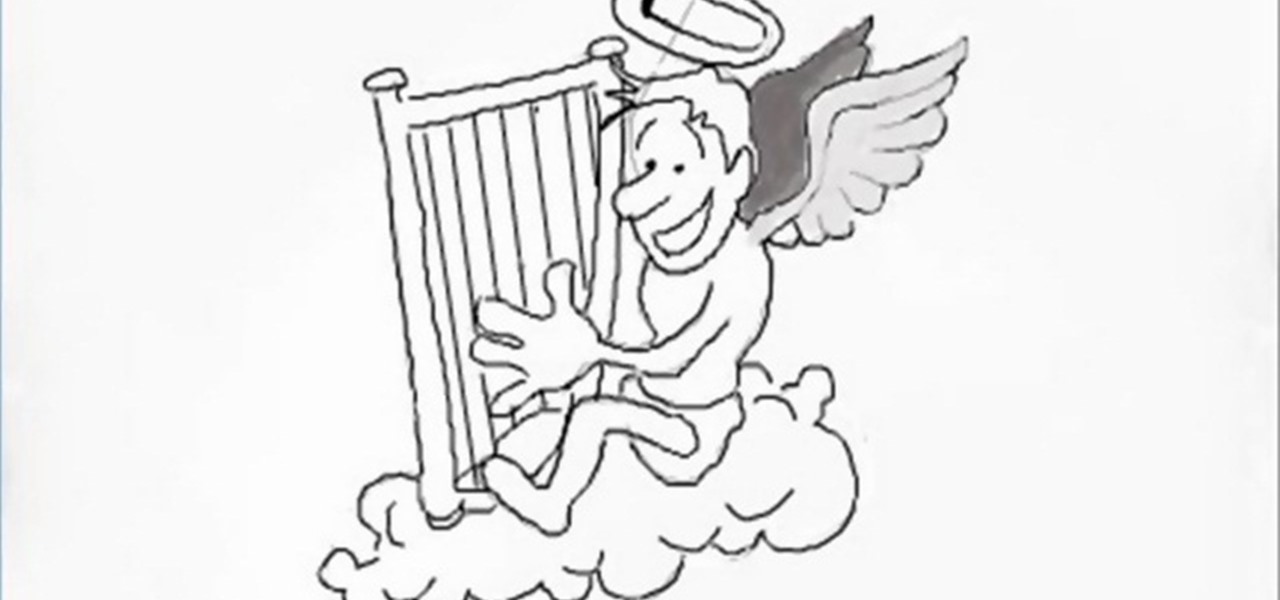
In this how to video, you will learn how to draw an angel. First, draw the circles for the body and head. Add a leg and arm, as it will be drawn from a side view. Draw a rectangular shape for the harp and a circle for the halo. Lastly, draw the cloud below the body and wings. From here, you can fill in a detailed outline over the basic shapes drawn. This includes the fluff lines of the cloud, the feather lines of the wings, the mouth and hair of the angel, and the strings inside the harp. Onc...
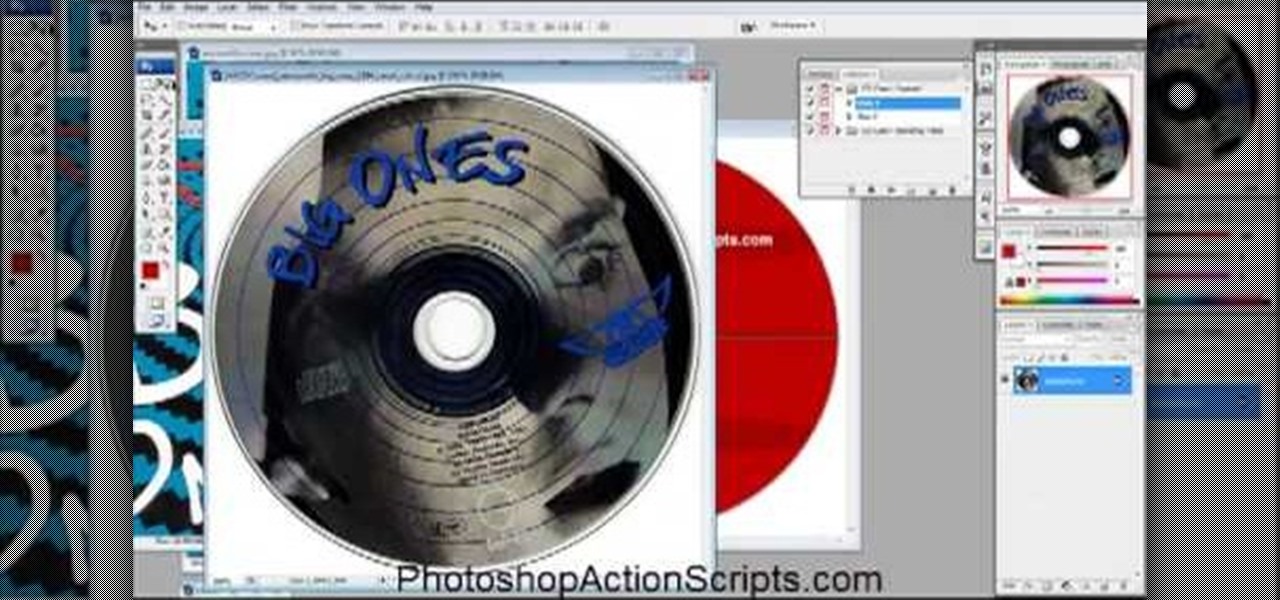
This video is about how to make a CD cover. First, open up the image that you have. Then, you need an action script. Click on the action's palette and pick which CD cover you want to do. Then you click step one which will run a template for you to set everything up and place your graphic in. The next thing to do is to slide the graphic image on to the template through the select tool. Then, click free transform found on the edit toolbar and just double click the image. The next step is to edi...
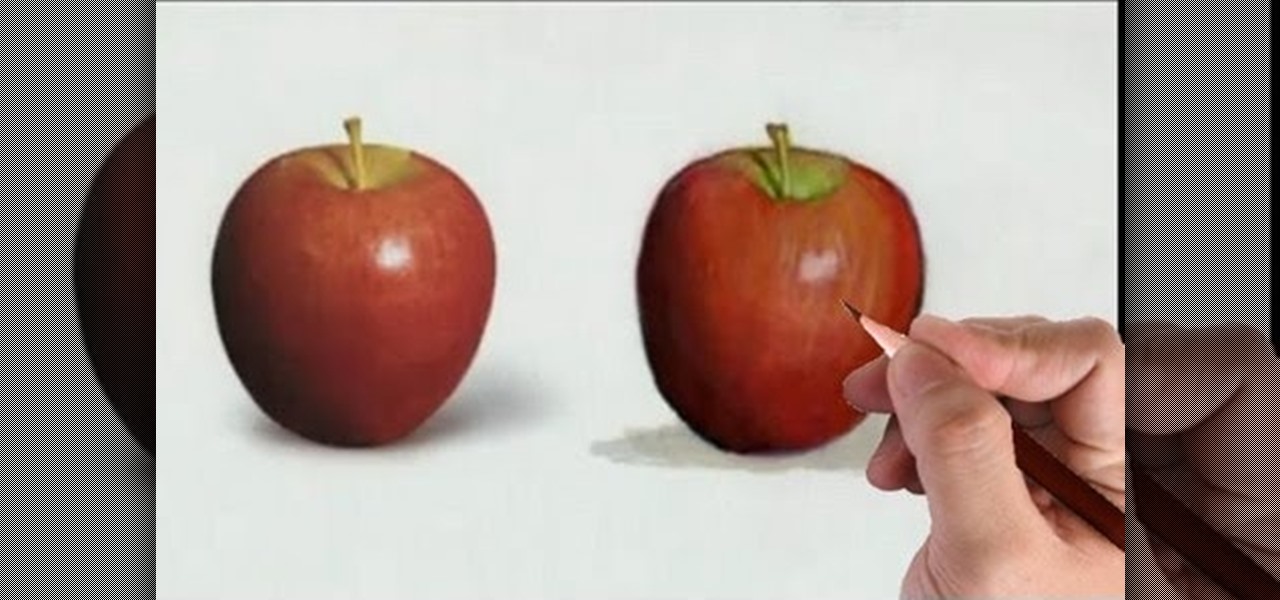
Watch this fine art video tutorial to learn how to illustrate with markers and colored pencils. "This video shows my process for making an illustration (non tradigital). I use illustration markers (usually prismacolor) and color pencils (usually prisma once again) and a wax blending stick. I make my illustrations in two steps:
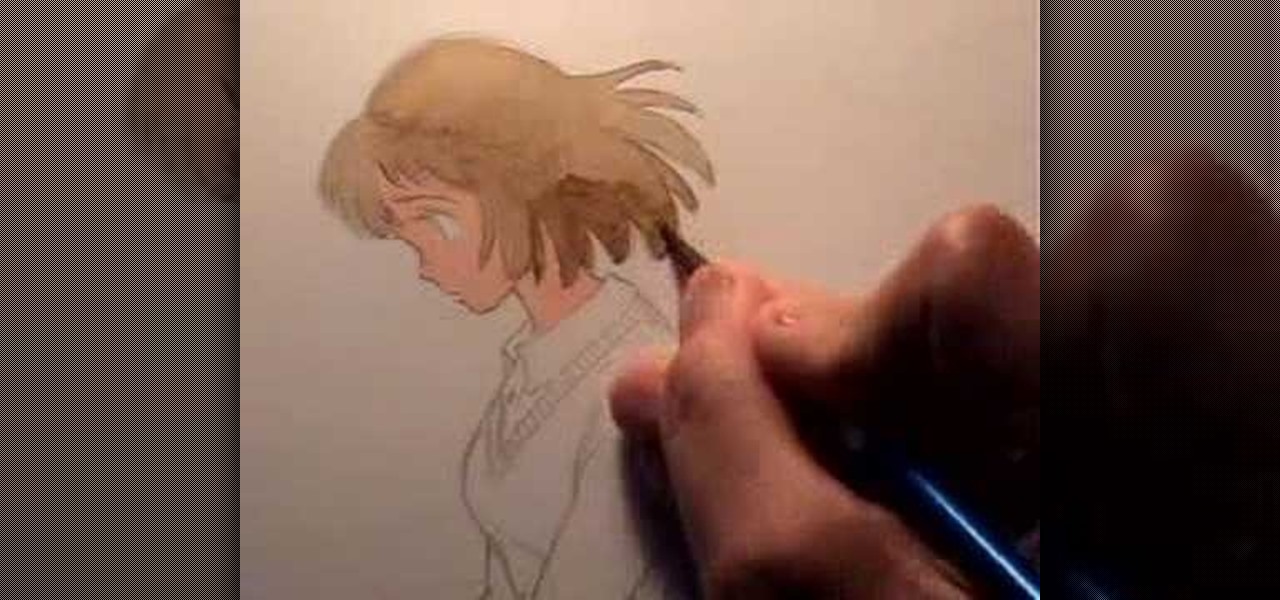
'Miki Falls' manga creator Mark Crilley presents the first half of his 'How to Color' video. The focus of this segment is demonstrating the application of watercolors.

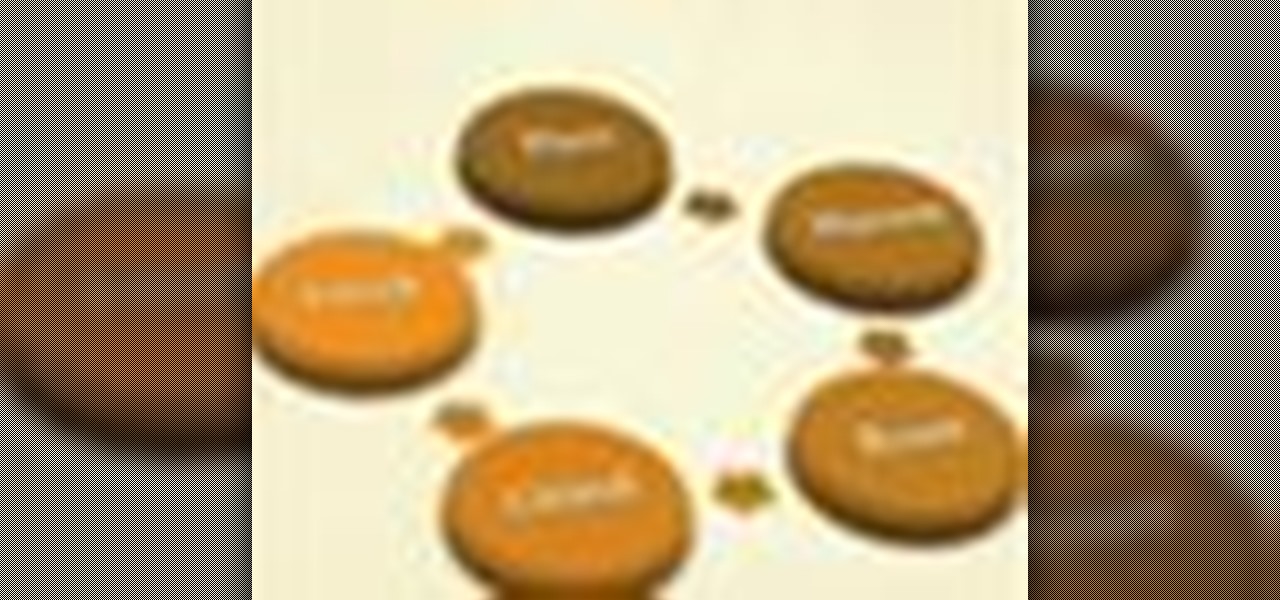
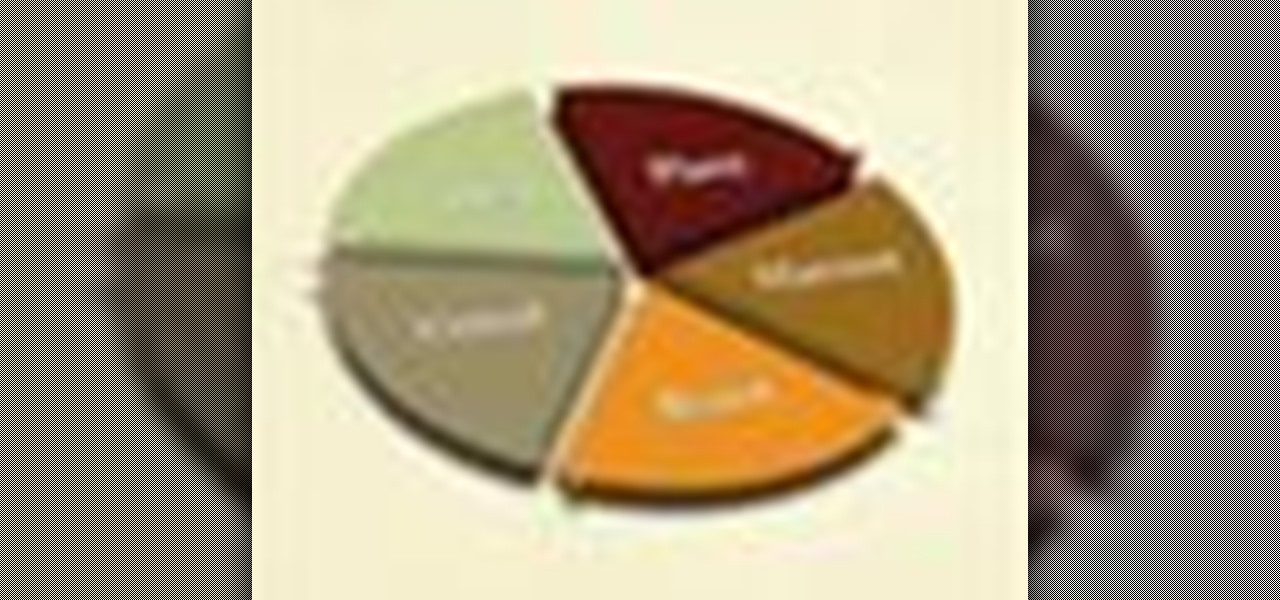
PowerPoint 2008 for Mac can help you turn boring old bulleted lists into something nobody would forget. With SmartArt graphics in PowerPoint you can now make your bullet lists pop using pre-formatted charts, graphs, and more. The Microsoft Office for Mac team shows you just how to make a bulleted list more visual in this how-to video.

Dull and drab bulleted lists are no longer necessary with the help of PowerPoint 2008 for Mac. When you make a bullet list in PowerPoint, you can now transform those boring text charts with actual visual charts and graphs and more. The Microsoft Office for Mac team shows you just how to convert text to a SmartArt graphic in this how-to video.

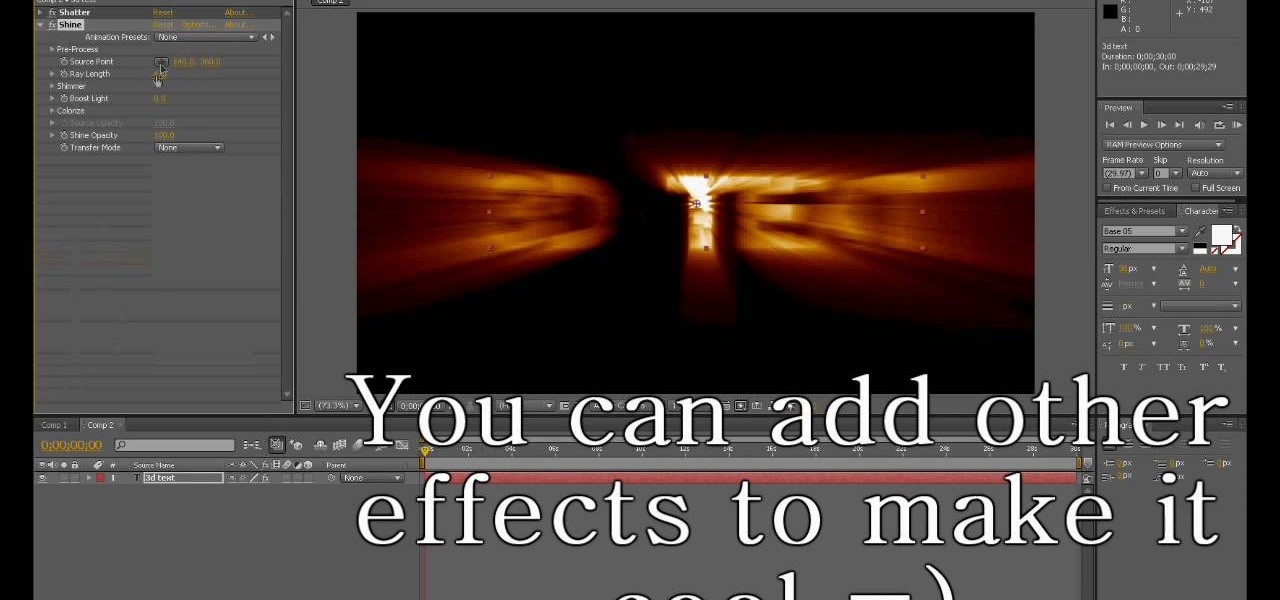
In this tutorial, we learn how to create basic 3D text in After Effects. First, make a new composition and then create a text layer. After this, write in your text that you want in 3D. Then, add shatter to the drawing and select rendered. From here, change the pattern to custom and shape to text 1. Then, put all the strength and gravity to 0. Then, frame the text into the position that you want it to be in by rotating it around. Change the color if you would like to, then when you are done sa...

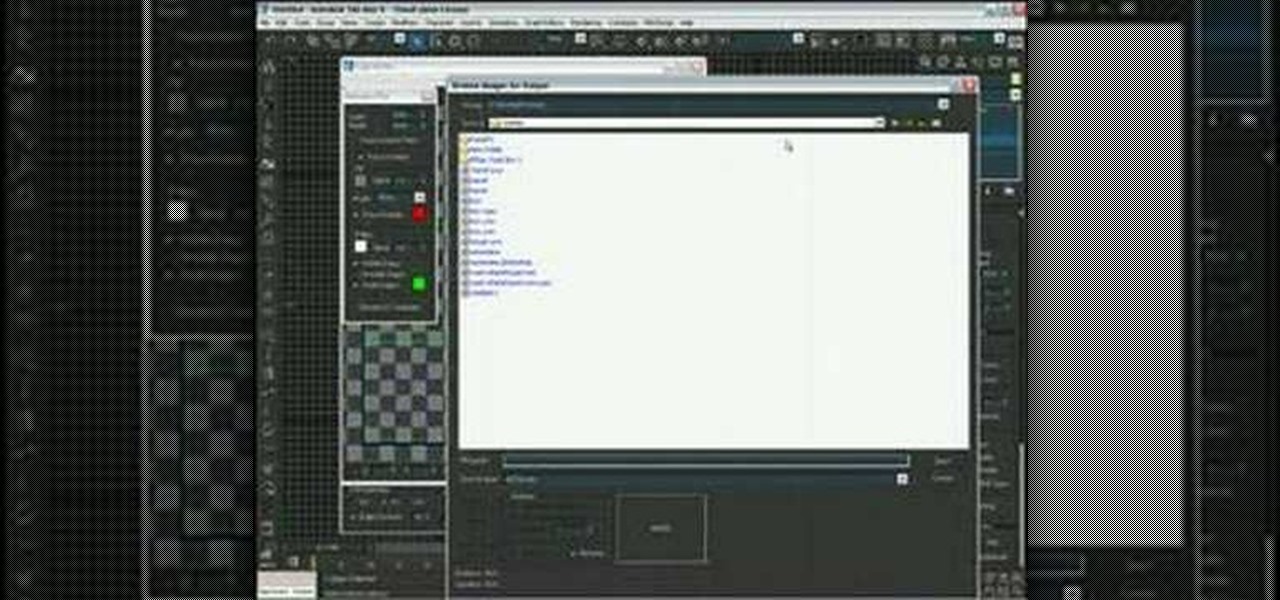
In this video, we learn how to use the UVW unwrap function in 3D Studio Max. First, go to the UV modifier wrap and select all the faces. Once here, edit the parameters and then go to the mapping menu. After this, you will be able to change the object as you would like. After you are finished with this, save your object to your computer in a spot you won't forget it. You can create several different layers and change the colors as you prefer. You can completely customize your experience on thi...

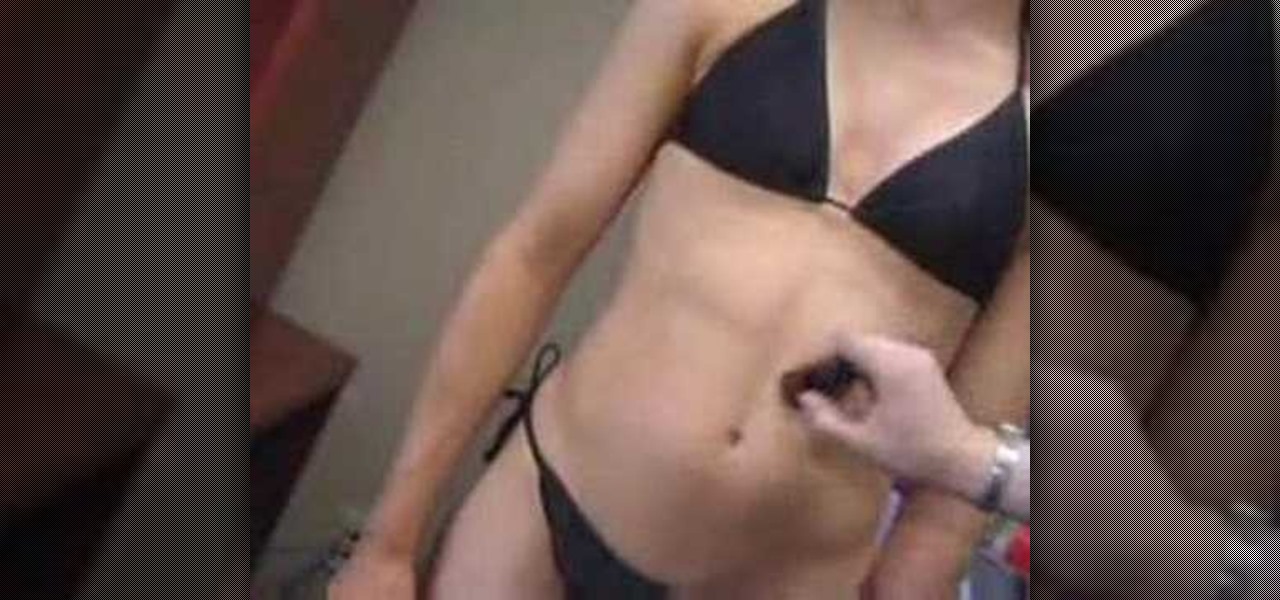
In this tutorial, we learn how to change your body features with makeup. To enhance the cleavage, you can purchase a product called Beautiful Breasts. You will first take the matte color and start to define where the breasts and cleavage are. Make the angles natural and make sure the makeup is blended so it's undetectable. Apply shimmer to the collar bone and shoulders to give a glow as well. The products work for any size and any shape and will give you extra enhancement. There is also a pro...

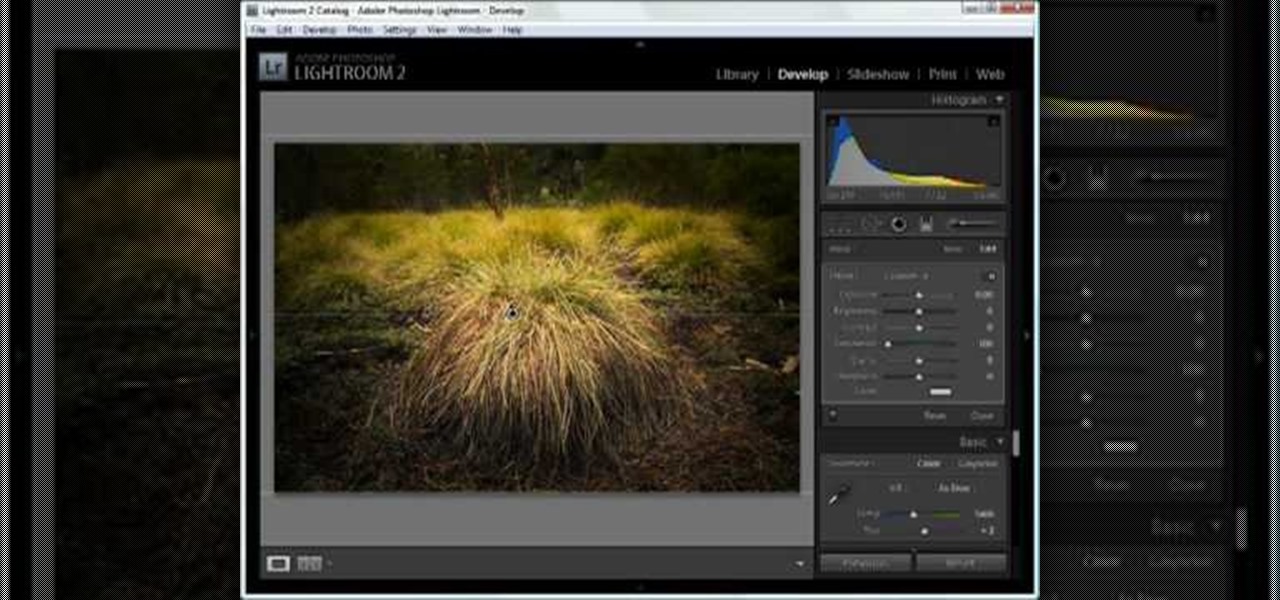
In this tutorial, we learn how to dodge and burn in Lightroom 2. First, open up your image in Lightroom 2 and use the brushes to change the saturation and the colors in the image. You can also use the graduated filter which you can use to apply effects across the image itself. Next, you can add a tint onto the picture and apply a second filter to make the top of the image darker, then make the middle of it brighter. Change the exposure and saturation to make the picture look more realistic. U...

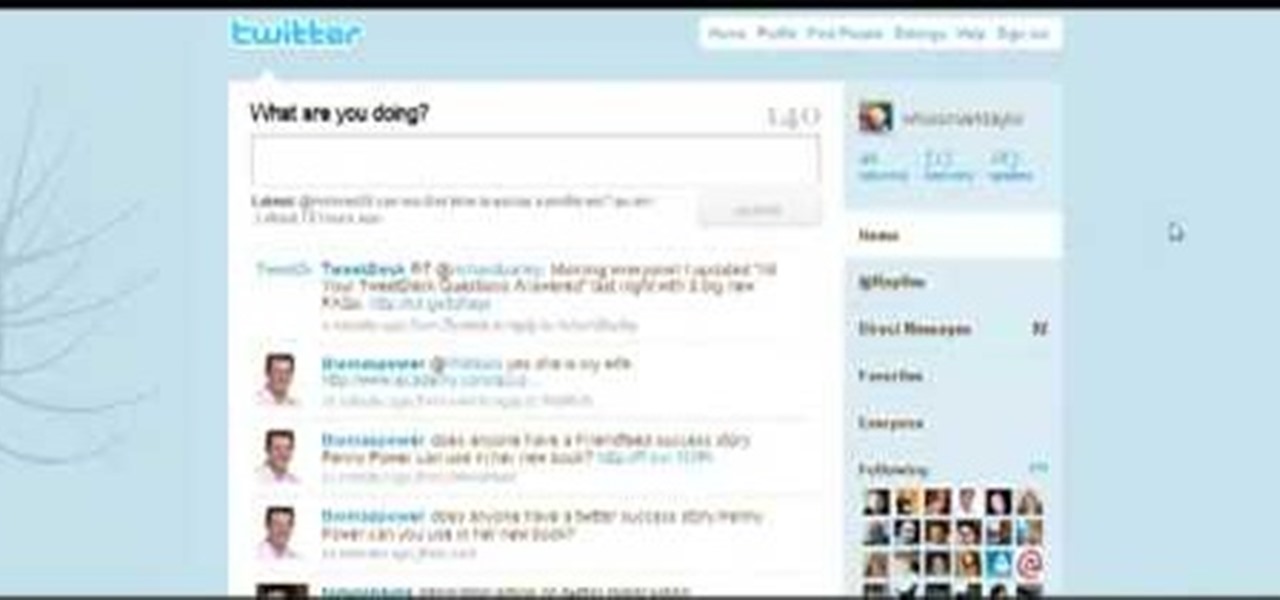
In this tutorial, we learn how to establish an account on Twitter. First, log onto Twitter. After you get onto the website, click on the sign up button, then enter your screen name and other personal information in. When you are finished signing up, you will be able to change your settings and import friends from your e-mail addresses. Under your settings, you will be able to change the background and colors on your page, as well as your icon picture. Next, start to follow people on Twitter, ...

In this tutorial, we learn how to set up a Tumblr blog. First, log onto the Tumblr website by clicking the sign up button. Enter your email address, a password, and the URL you want your Tumblr website to be at. After this, click the sign up button. Now, you will be brought to a welcome page and start changing your settings. Click on customize, then add a title, description, and upload a picture. You can also click on the theme, colors, and feeds tab to change more preferences. When you are f...

In order to insert Word Art, into your document, using Microsoft Word 2007, you will need to begin by opening your document. Next, find "Insert", at the top of your screen. Click on it. This will take you to the Insert Tool Bar. Find Word Art. Choose the style that you would like to use, from any of the styles in the style gallery. When the window opens, you can choose your font style at the top, if you want to change from the default setting. You can also change the font size. Write the word...

There are so many ways to enhance your photos in Photoshop these days, it is amazing we need actual models at all! In this video, learn how to add or change the makeup on your model. If you have changed your artistic idea after shooting, or feel like your subject could just use a little something, check out this tutorial and learn how to add color to your photos.

In this video, we learn how to put eyeshadow onto a picture using PhotoShop. First, open up the program and open your picture. Click on layer then new the click layer again.On the new layer put as blend mode "multiply". Make the opacity 50% and choose a color. Then select the brush that is the right size for your picture. Next, you will be able to brush the mouse over the eyelid and put eyeshadow onto the lid of the eye. You can change the intensity of the eyeshadow by changing the opacity hi...

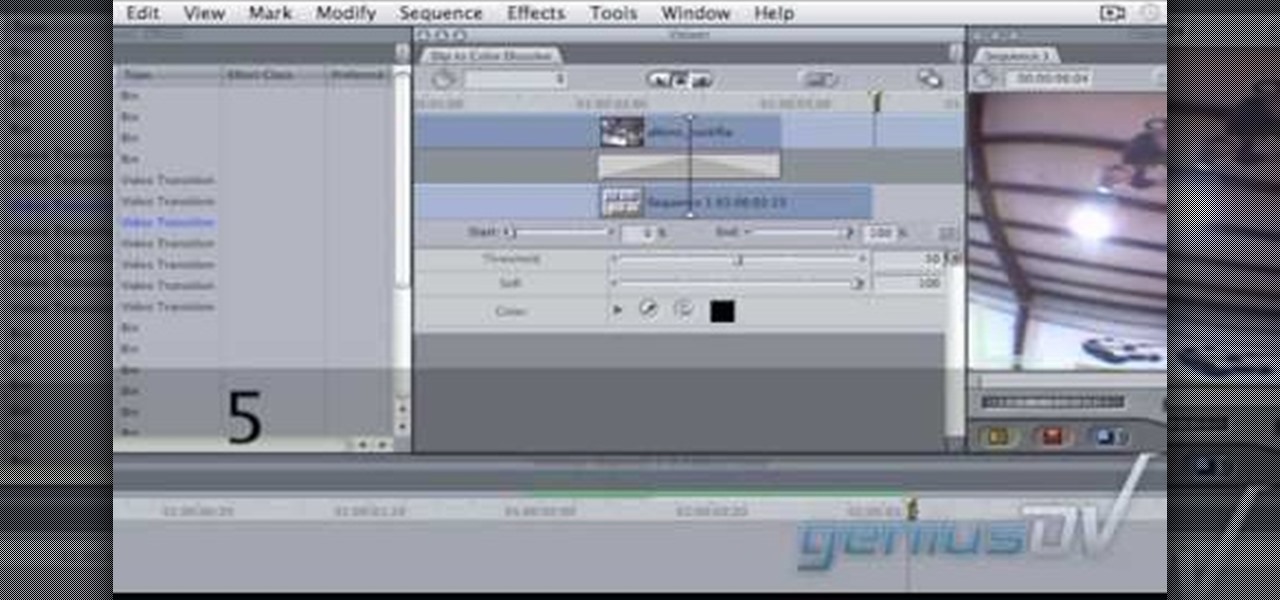
In this video tutorial, viewers learn how to create a freeze-frame effect in Adobe Final Cut Pro. Begin by placing the time line indicator to where you would like to place your freeze-frame. Press Shift and N to create the freeze-frame. The default user preference is 10 seconds. To change it, change the time and click on the insert button to splice the new freeze-frame time into the time line. Now click on the Effects tab and select the Dip to Color Dissolve under Video Transitions and Dissol...

This video not only gives us a good fashion tip, but it’s just plain fun to watch. The young woman has four small children, all boys and all clamoring for her attention. One of her favorite shirts looks like a maternity top but she’s had enough of that look. Her simple solution is to add a wide belt to the shirt in a coordinating color. The belt can be adjusted up or down according to the look you want. This works especially well with tops that are empire-waisted or even for maternity tops th...

This is another HelpVids video on technology. In this segment we will learn how to set appearances and themes in the Microsoft Windows XP operating system. The videos starts by right-clicking on a blank area of the desktop, then selecting ‘Properties’. The presenter then clicks on the ‘Appearance’ tab. Clicking on ‘Advance’ will open some very detailed options such as changing the font in a title bar window. You can also change the size of the fonts in this window. The options are truly endle...

Metacafe user bigcaj0nes shows you several easy steps to making a neon sign simply using Adobe Photoshop. Whether you want to use the sign to display for business or just for fun, this video guides you step by step on how to make a neon sign. He shows you how to change your text, how to change the way the text bends, the glow and color or the sign, and the various effects that you can use on the sign. This sign will attract people in a matter of minutes.

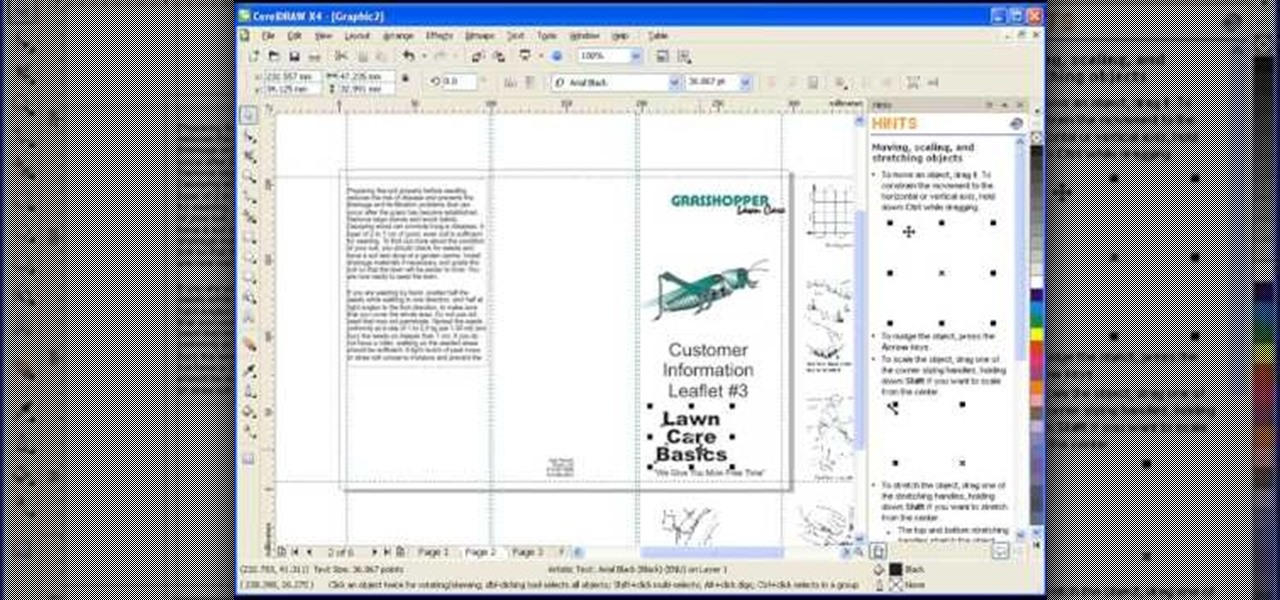
Roger Wam will show you how to creating a brochure in CorelDRAW graphics suite X4. Begin by changing your page to A4 and the view to landscape. Create a page frame and then divide it to thirds. Add a second page for a double sided print job. Remember to number pages. Cleaner brochures look better, don't change fonts all over page, and use color. Import your file to CorelDraw. After files are imported start laying them out on your brochure. Just by using a few simple tools you have created a b...

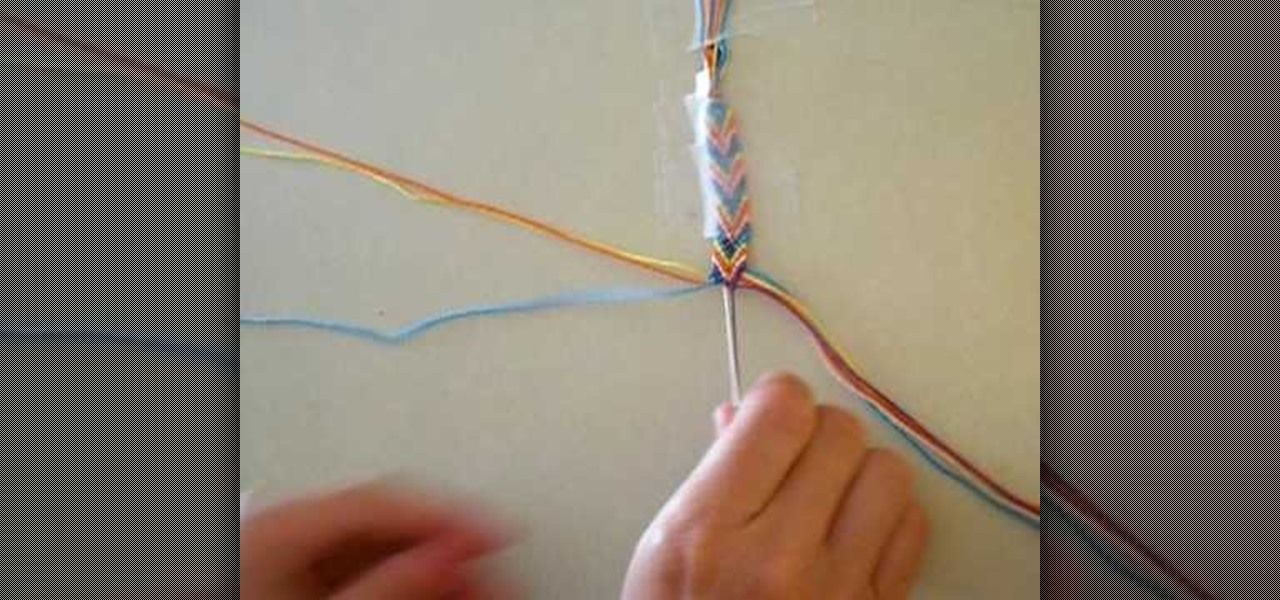
This video teaches you how to make an arrowhead friendship bracelet. The first step is to pick five colors of string. Then cut 2 pieces of string of each color. All 10 strings should be of the same length. Lay out strings adjacent to each other on the table in this color 1, color 2, color 3, color 4, color 5 and then repeat in the same order. Then knot the strings evenly. Now tape the knot onto a hard surface. Separate the strings into two sections, each section should contain 1 of each color...

Need to lighten or darken up a digital picture? You can make most of your lightening and darkening adjustments, even before you learn more complex Photoshop features like curves and levels; It's easy. Here's how.

Do you want your house to look dull or colorful? If the latter, then be sure to check out this video to learn how to best utilize the color theory.

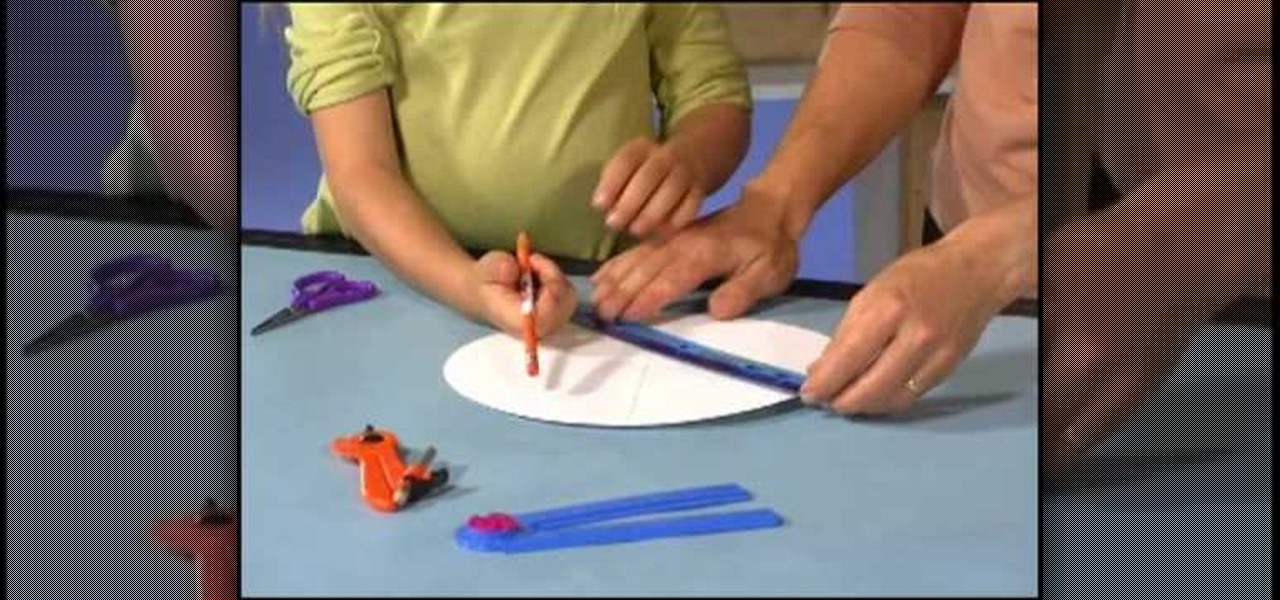
Bring all of the colors of the rainbow together with this cool color spinner. You and your child will learn how to mix colors to make new colors with this fun arts and crafts project from Crayola. You will need white poster board, a paper plate, a circle maker or compass, scissors, a ruler, markers, crayons, colored pencils, and tape. With this how to video you can teach your child about colors and science with this paper color spinner.

Sometimes getting a stain on finished leather can mean the end of having a nice garment or piece of furniture, but not always.

In this tutorial, we learn how to use a round brush for multi-colored scroll work. First, dampen your brush and grab some bright colors. Take and lay the brush into one color at first. Then, turn the brush over and pick up another color. Now, you will push down and lift the brush up as you are twisting around. Next, reload the brush and do the same process over again. Use more of certain colors, then you will have gorgeous mixes of different colors. You can also add in another color at the ti...

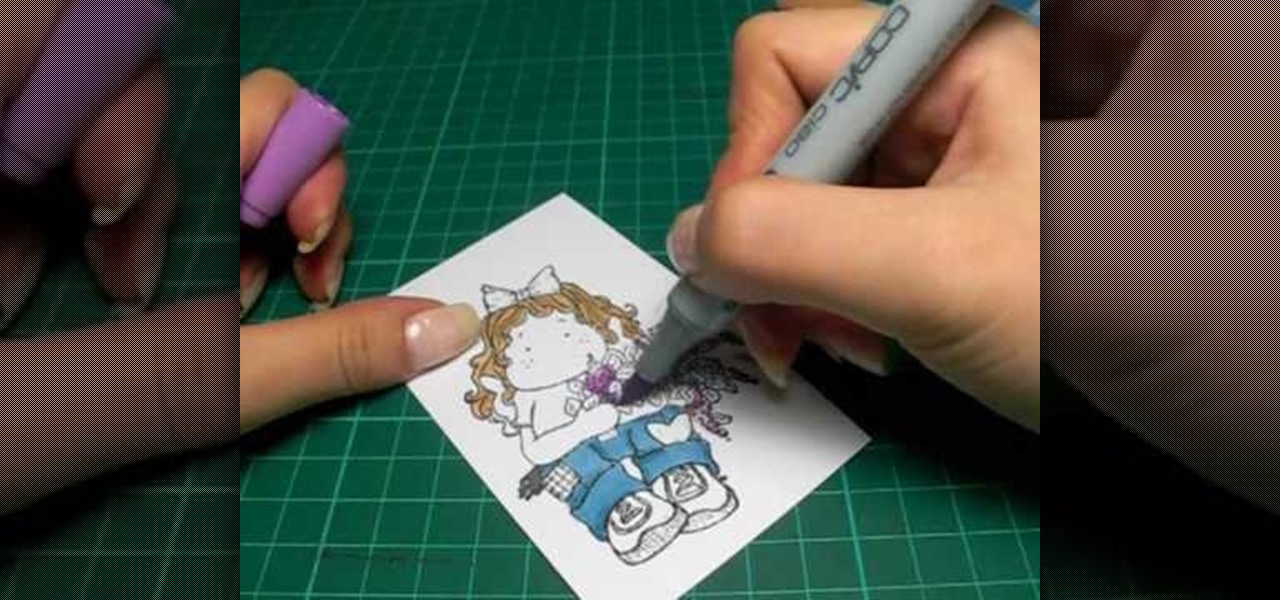
In this tutorial, we learn how to color with Copic pens. First, grab a picture that you want to color with your pens. After this, start to color in the picture with your different colored pens. After you fill in the colors, use a darker colored pen to add in shading and make the lines darker along the sides. Continue to color in your picture, adding shading where you prefer. Add in different colors and make the lines darker when you want them to look more bold. Make sure to add in highlights ...

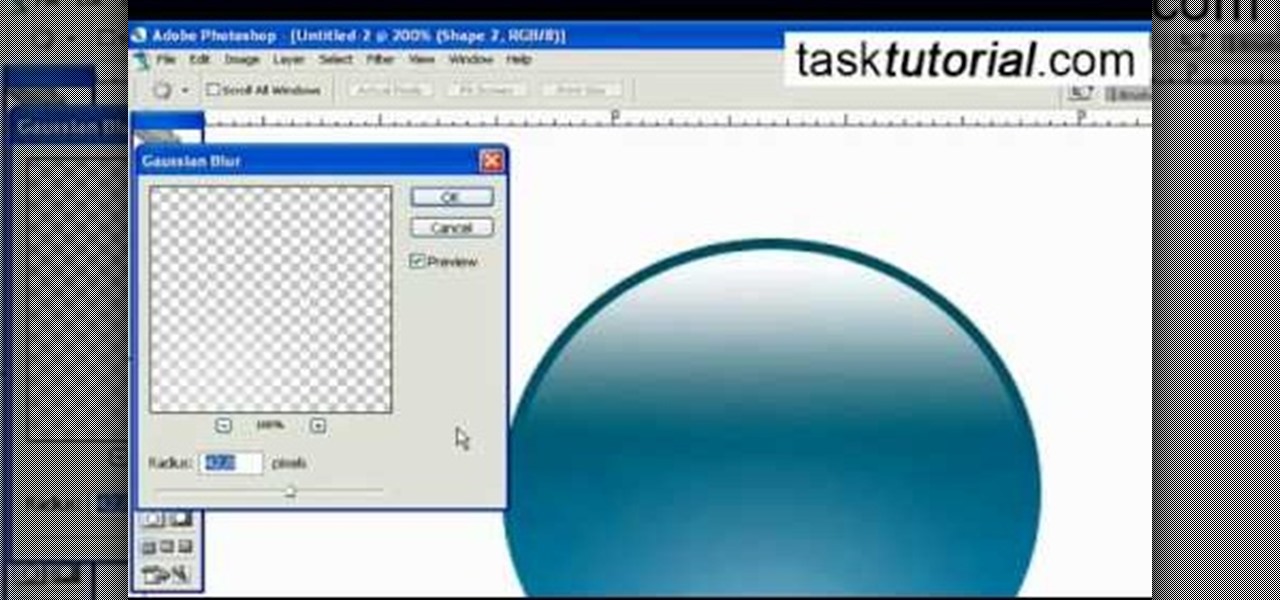
This video describes how to create an easy glossy button in Photoshop. This is done by "simpleretouch.com" website. First select the "Ellipse Tool" from the Photoshop tool bar and then drag it on the layer; it will give the ellipse shape in the layer. Select the "Blending options" from the "Layers" Menu by double click on the layer which is right below corner. From the blending options choose only the "Gradient Overlay" and in that we can choose color and its gradient as your wish. Now take a...

Bejeweled Blitz is a Facebook game. Learn how to hack Bejeweled Blitz with tricks, cheats, hacks. Watch this video tutorial to learn how to cheat on facebook's Bejeweled Blitz (07/27/09).

Check out this video from Sessions on using the color wheel. Better understand color relationships, color schemes and color theory. This is a great lesson for designers, artists, stylists and decorators. Create color harmony using the color wheel. Tutorial video from Sessions Online Schools of Art & Design's "Color Theory" course. Part of Sessions' Graphic, Web, Digital Arts, Marketing, and Multimedia Arts Design certificate programs.

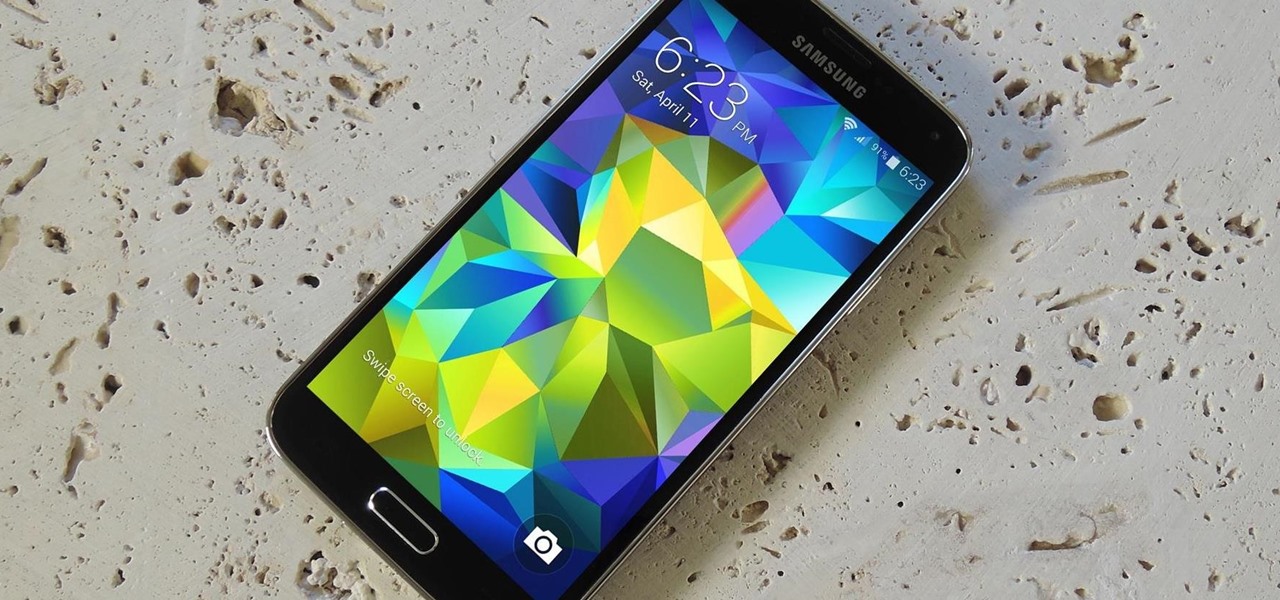
While millions eagerly await the arrival of the Galaxy S9 and all the new features it has to offer, we can actually get a glimpse of its capabilities right now — if we know where to look. The S9's home screen, in particular, is one such area that has new features we can preview now.

Many OEMs create skins that run on top of Android to differentiate themselves from their competitors. One example is the LG UX 6.0+ found in the new LG V30, which is Android at its core, but improved upon by the addition of unique features. One such feature is the ability to change the buttons at the bottom of your screen.

Google made an entirely new launcher for its Pixel devices, and it's got a lot of cool features such as a swipe gesture to open your app drawer and an entire home screen page dedicated to Google search. We've already shown you how to get this so-called Pixel Launcher on other devices, but there was always one feature that was missing.

Apple is planning to completely overhaul its Apple Music streaming service this summer, and is expected to unveil the changes at its Worldwide Developers Conference in June, according to reports from Bloomberg and 9to5Mac.

One of the many additions that appear on Android 5.0 Lollipop is a handy menu that lets users correct for or simulate different types of color blindness. While Google didn't flip the switch on this new feature until Lollipop was released, it turns out they had been working on it for quite some time.

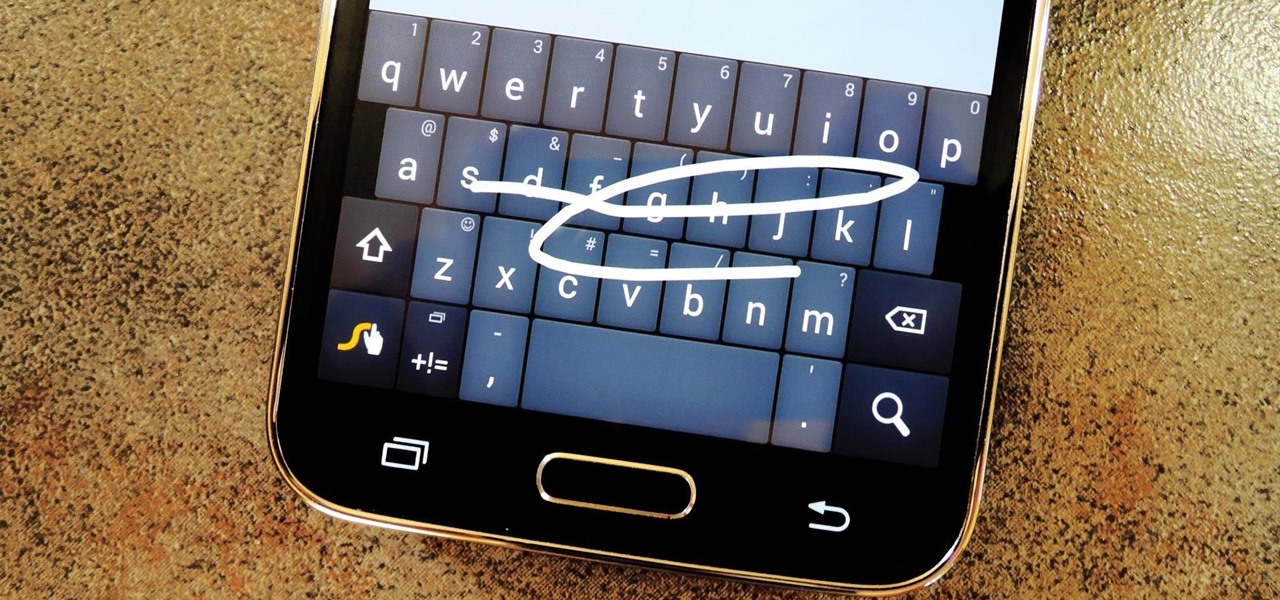
Most variants of the Galaxy S5 come with the gesture-based Swype keyboard preinstalled. If you're into gesture typing, you probably already switched to this input method from the default Samsung keyboard (whose gesture service is nice, but it's no Swype).

Resflux is an Xposed mod developed by Julian Paolo Dayag, aka WisdomSky, that provides users with a straightforward and functional way to customize and theme almost every aspect of the packages (apps and system components) installed on their Android device.

There were some pretty amazing things included in the Android 4.4 KitKat update, but unfortunately, most of them were left inactive on our Nexus 7 tablets. Some, like full-screen immersive mode and the hidden battery percentage status bar icon, could be enabled on rooted devices, but not everyone wants to root.


