
How To: Perform Daniel Madison's "color change" card trick
Need a little help with your magic card skills? Check out this video tutorial to learn how to perform Daniel Madison's "color change" card trick.


Need a little help with your magic card skills? Check out this video tutorial to learn how to perform Daniel Madison's "color change" card trick.

Aspiring card shark? Sink your pearly whites into this easy, impressive card illusion. In this free video magic lesson from YouTube user experthowto, you'll learn how to perform the simple "twirl" color change card trick using sleight of hand. For more information, including a step-by-step breakdown of the trick, watch this prestidigitator's guide.

Learn a beginner's method for the Color-Changing Aces trick in which you make the two black and red aces switch places from inside and outside of a card case.
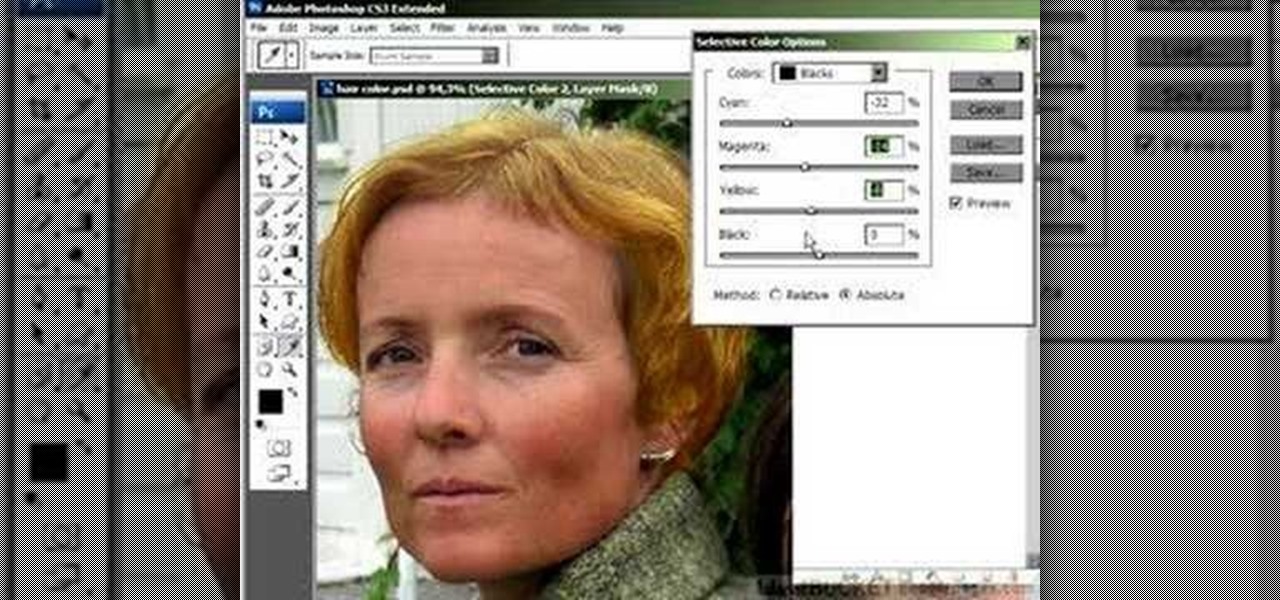
In this Photoshop tutorial the instructor shows how to change the dark hair color to blond. To get this accomplished you need to use a couple of very special techniques. First use the selective adjustment layer and select the outline of the hair. Now use the selective color option and change cyan and magenta settings to about minus forty. Now changing the other yellow color to achieve saturation and black colors to achieve the effect with shadows. Now next change the colors of black so that t...
Pixel Perfect is the "perfect" show to help you with your Photoshop skills. Be amazed and learn as master digital artist Bert Monroy takes a stylus and a digital pad and treats it as Monet and Picasso do with oil and canvas. Learn the tips and tricks you need to whip those digital pictures into shape with Adobe Photoshop and Illustrator. In this episode, Ben shows you how to use color correction in Photoshop.

In this tutorial, we learn how to enhance the color of your lips and eyes with GIMP. To change the eyes, use the ellipse tool to highlight each individual eye, then change the contrast of the eye as well as the color and highlights. Do this for both eyes, then save. To change the lips, use the lasso tool to highlight the outside and inside of the lips, then go to "select", "from path", and then change the color balance as you did on the eyes. Change it until it's the desired color you want, t...
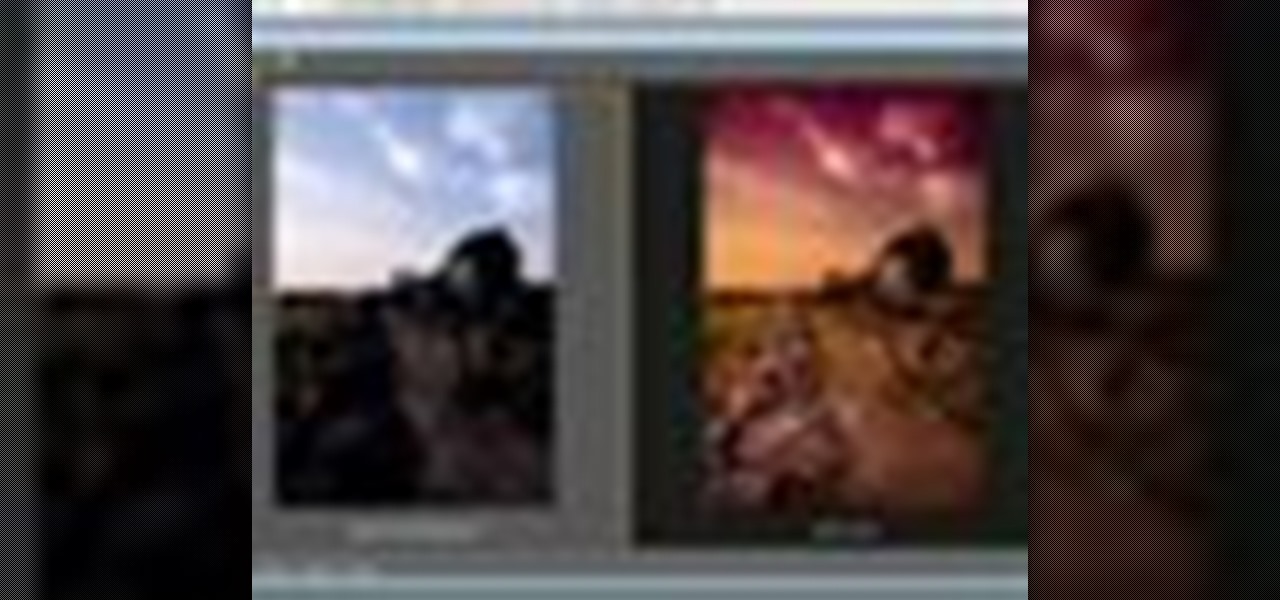
This video tutorial speaks about how to create a dramatic effect to an image using only Camera Raw in the Bridge program of Photoshop. In this example, the picture was first brought into the program and the fill light was turned upwards in order to lighten up the dark foreground. The white balance of the picture was changed to cloudy to add a nice effect and the color temperature was changed to make the picture appear warmer. The various parts of the picture can then be changed individually b...
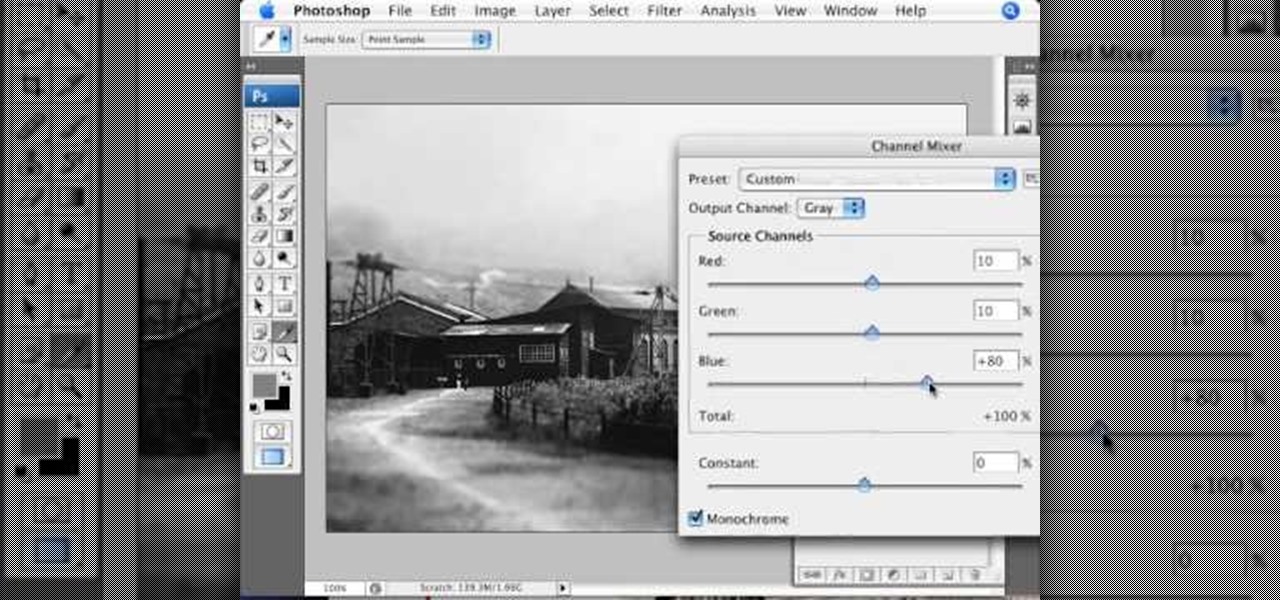
This video demonstrates the split tone effect in Photoshop. A split tone effect makes a picture look more rustic by changing the tones. First, add an adjustment layer to the picture by opening the channel mixer window. Select Monochrome and adjust the RGB values to create a black and white image to your own personal preference. Next, add another layer by opening the color balance window. Here you can change the colors of the light areas by selecting Highlights and changing the color sliders, ...
This video will walk you through the process of creating your very own icon to use for your email by using Adobe Photoshop. Photoshop is a great tool to use for a variety of purposes and in this instance can make the perfect icon in just minutes.
This video will discuss how to implement color changes in Photoshop editing. This step by step approach will tutor the novice Photoshop user how to utilize the various tools and applications to achieve, colorization in photos, swap select and hue, colors and backgrounds of photos, describes layering using saturation and blend techniques. This video tutorial will describe and demonstrate the correct settings and tool usage for easy application of each editing and color manipulation.
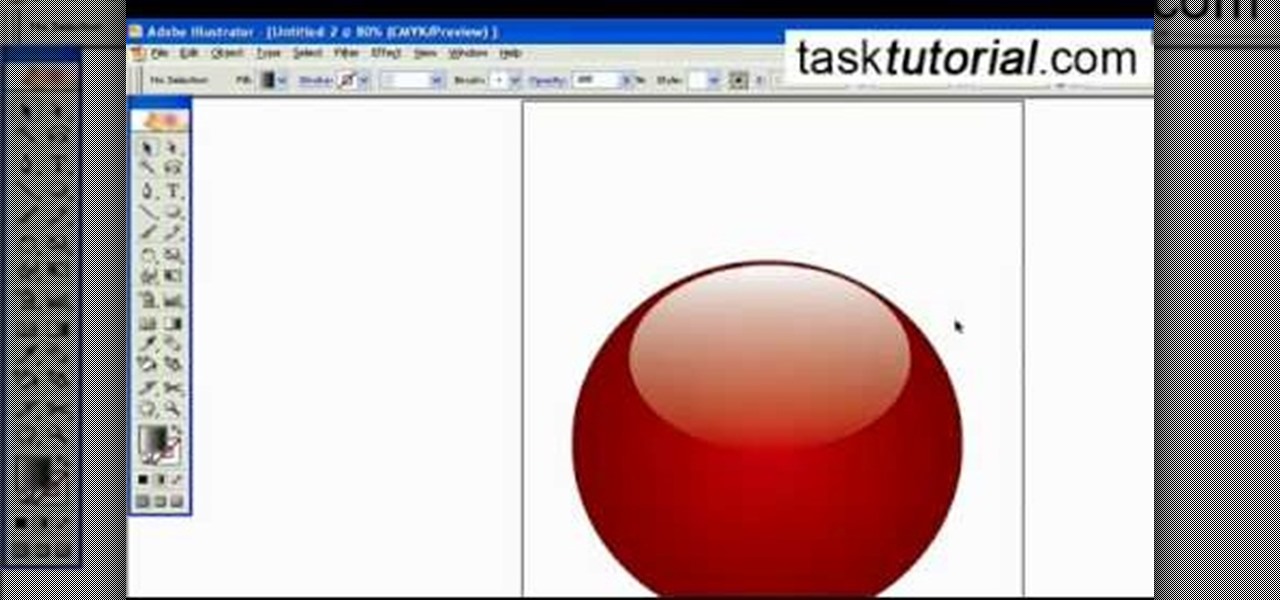
To create a Christmas ornament in Illustrator is very simple if you follow the steps below. Before starting the process one should ensure that all project files used in the tutorial is available. First by holding the shift key draw an oval, then go to gradient and create a new gradient which is at right side of the window. Now select red color and make it darker, then select 'Radiant' from the tool and switch the color positions. Select the ellipse tool once again and create a new shape on to...
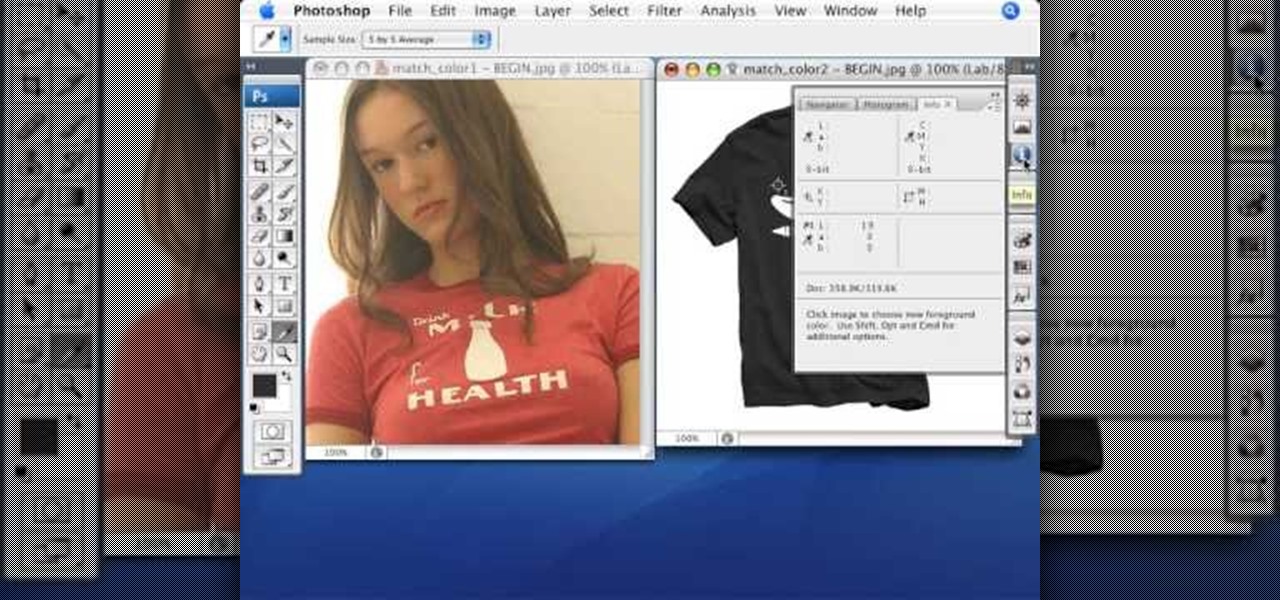
Match the color of objects on Photoshop. Take a picture of your self of one shirt that the shirt is on different color mean while choose the black tea shirt because it the traditionally one of the harder colors, change the image mode to the lab color for both images then use eyedropper tool and expose the info pallet select the neutral part of the image i.e. red. Hold down shift then we can see the icon changes then add contrast to it by hue saturation present in the layer pallet.

This Adobe Photoshop tutorial teaches you how to change the color in different images with a variety of colorization methods. Bert shows us how to change colors on shirts, on cars and in our lives, through colorization in Photoshop.
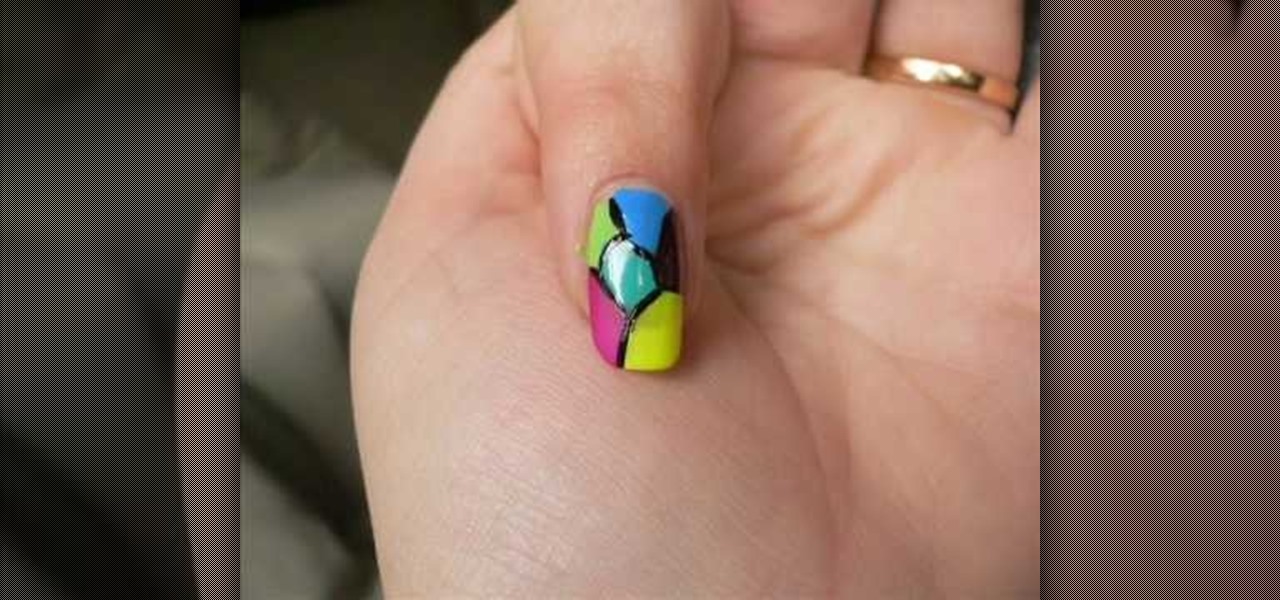
This video relates to Neon Mosaic Nail Tutorial. This video teaches how to make the nails good looking and also pleasing. In this video she teaches how to select the colors of nail polish and also she teaches the steps to be followed regarding which color nail polish to be applied first and also to create a mosaic by using multiple colors. She also add some border line to create and pleasing look. She also narrates to change the colors in applying to each nail. She also teaches how to create ...
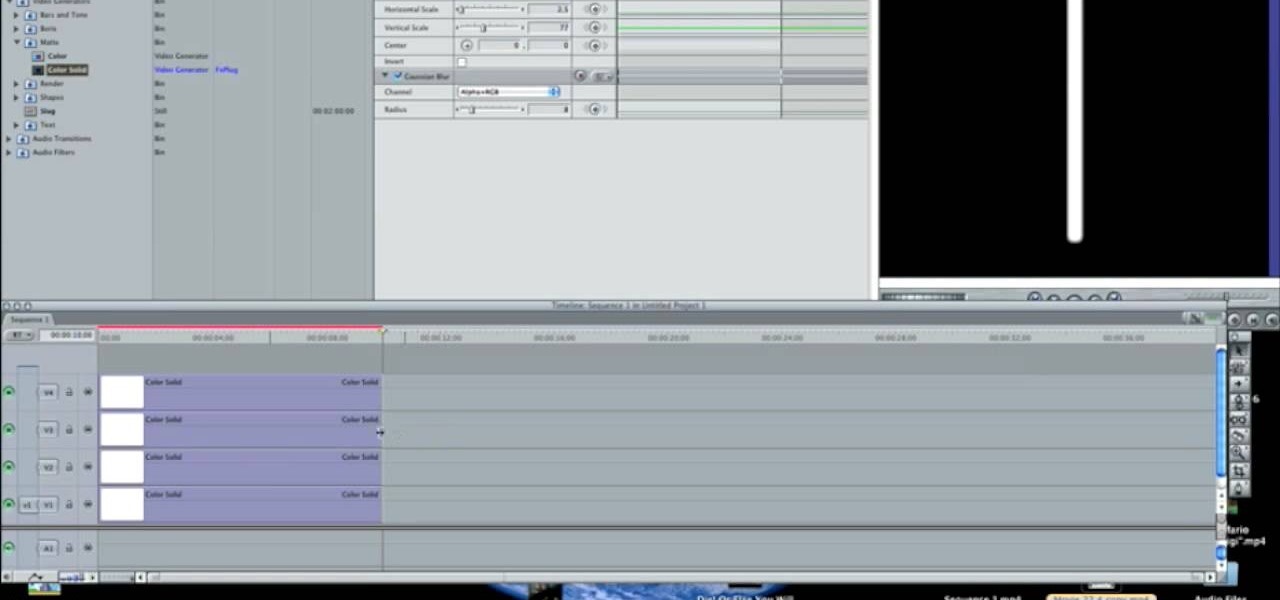
In this how-to video, you will learn how to make a light saber or similar image in the Final Cut Express program. First, go to the effects tab and go to video generators and select color solid. Drag this to the viewer. Go to the control tab and select the blue color. Now drag it to the time line. Double effect the color solid and go to mask shape. Select filters and change the effects settings to 2.5 horizontal scale. For the vertical scale, select 75 to 85. Go to the effects, video effects, ...
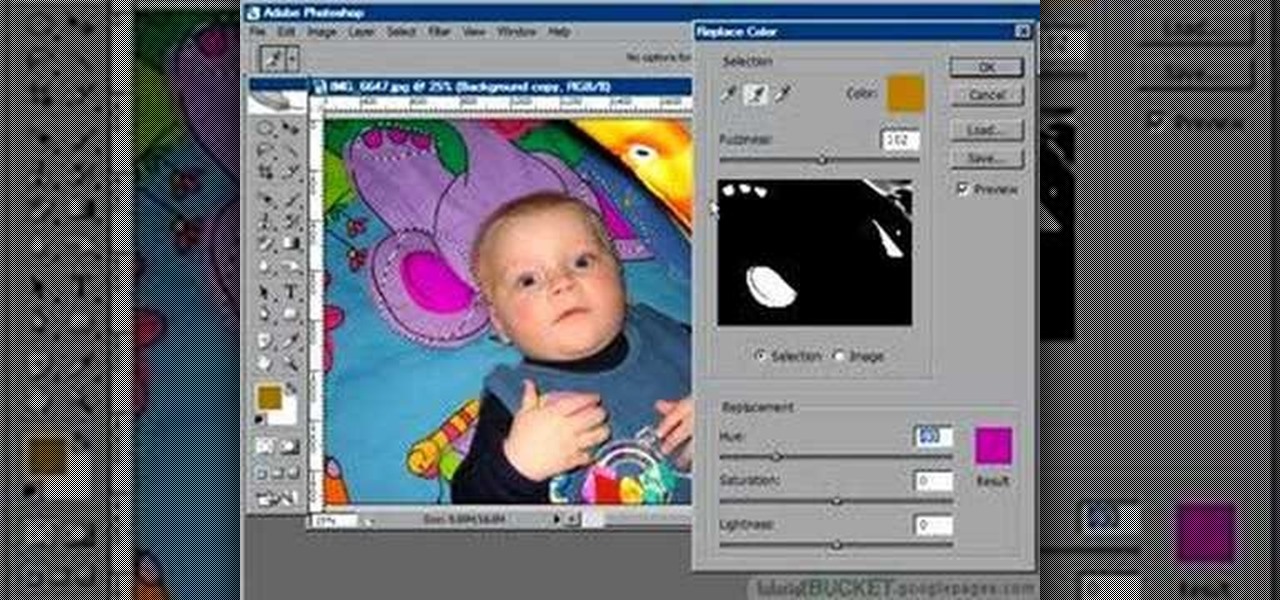
The replace color command is a nifty tool in Photoshop that enables you to change a color in an imagine very quickly and effectively. The tool requires that you make a copy of the original layer, as the replace color command is a destructive function. It requires parts that you want replacing to be selected first, to change the color of the desired areas. The result is a very realistically edited image, that is extremely fast and easy to accomplish.

In this Photoshop tutorial the instructor shows how to fix colors. It looks bad to have dull colors in your images. Now open the image in the Photoshop and go to image adjustments. Go to curves and start playing around with the curves in the RGB mode. When you change the curve you can see the change in the original images. Now adjusting the colors in the curves tool play around with the colors and this will get the colors brightened up. There are no stead fast rules but you need to play aroun...
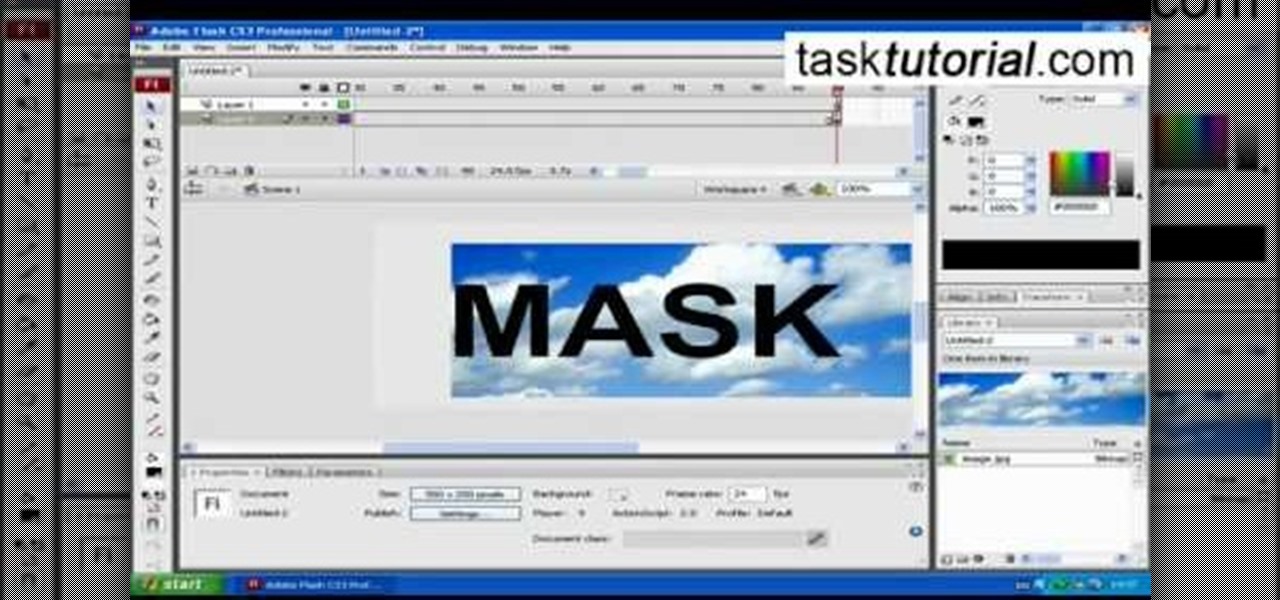
clipping mask Sponsored by SimpleRetouch.com Start by creating a task with the name Mask, then Choose a color and a font size.
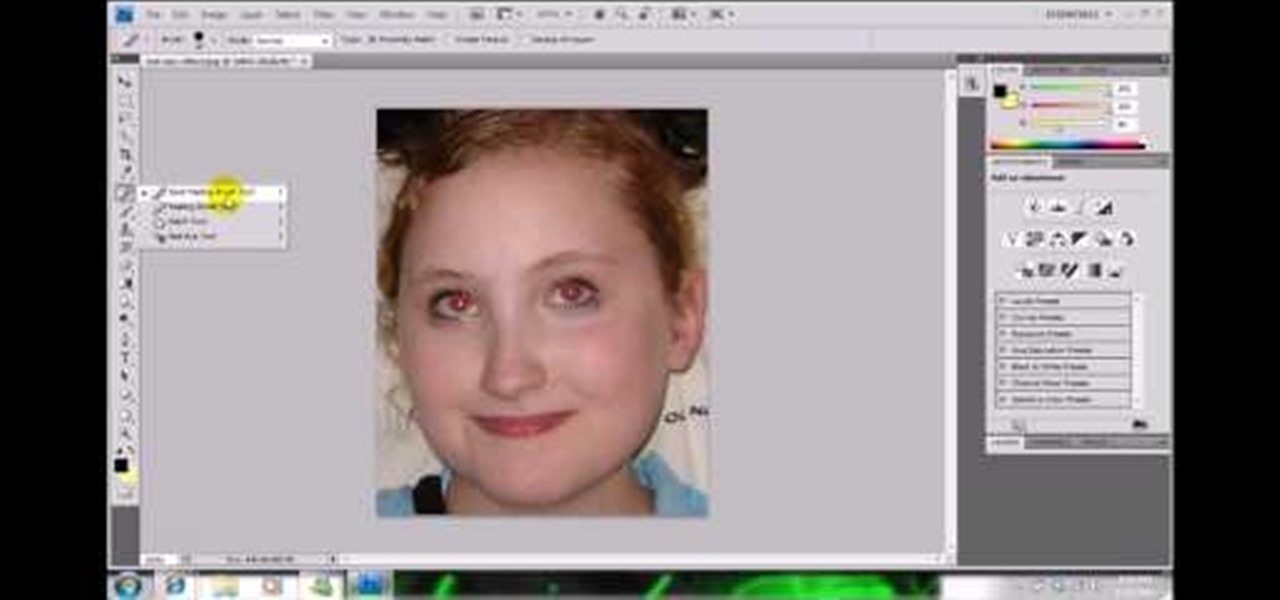
In this video, we learn how to get rid of red eyes while using Photoshop. Make sure you have Photoshop open with your picture up and you're ready to go. First, on the left hand side you will find a "healing brush" tool (which is 7 tools down from the top), click on that and then click "red eye tool". Next, you will click on each of the red eyes in your photo. After this, it will change the color of your red eye to the normal color. If the photo needs changed, you can also change the contrast ...

In this video, we learn how to repaint your car in Photoshop CS4. First, open up Photoshop and open up the car you want to change. Now go to image, adjustments, then hue/saturation. After this, choose a yellow hue and click on different areas to change the colors that you are seeing. You can choose a different color if your vehicle is blue, brown, black, etc. After this, move the bar on the hue lever and you can change the entire color of the car. You can change it from purple to pink to neon...

In this tutorial, learn just how easy it is to enhance your subject by changing their backdrop. By changing the background of a photo you can place your subject in new and exciting places, and enhance the color of their skin and eyes with the right color pallette.
In this Software video tutorial you will learn how to create a cool color blast effect using Photoshop CS4. Open a new document of 700 x 700 pixels. Press ‘D’ on the keyboard and set the color palette to black on top and white at the bottom. Go to filter > render > clouds. Then go to filter > render > difference clouds. Press ‘F’ a few times to change how the color looks and select the one you like. Then go to filter > pixelate > color halftone. Here you set radius to ‘ pixels and c...
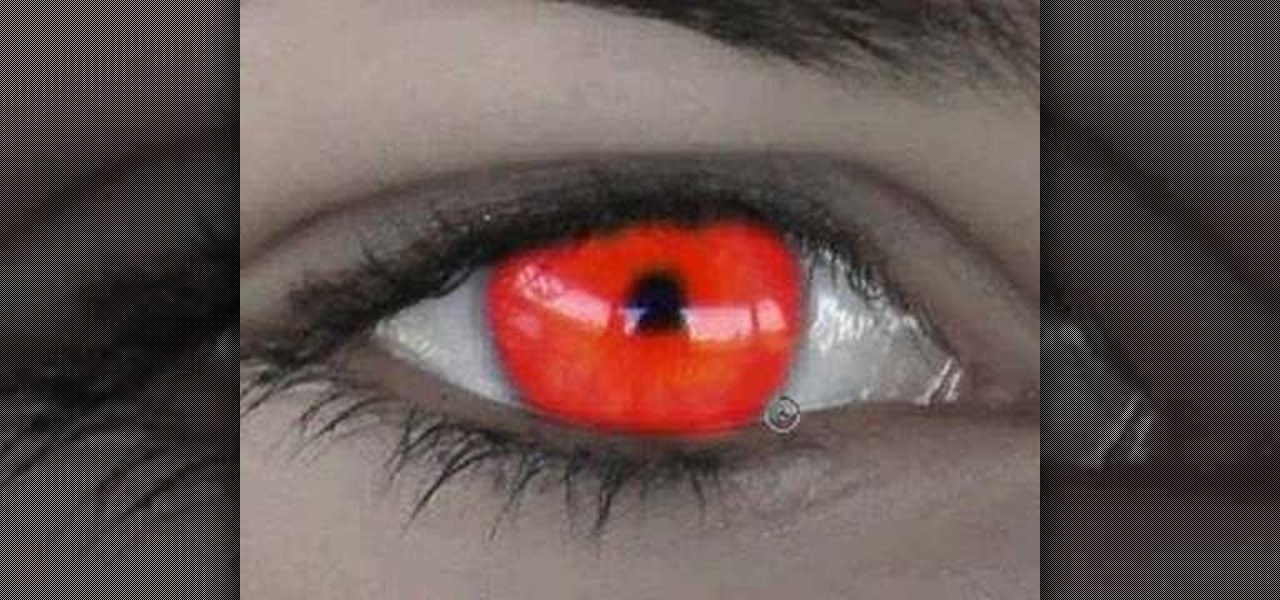
This video is about how you can change someone's eye color. The first thing to do is to load up a picture in which you want the eye color to change. The next step is to zoom in the eye that you're interested in working on. Just simply press "D" button on the keyboard and draw a rectangular shape on the eye. Now that you've zoomed in, make a selection of the iris, the part that we want to change the color on. The first thing is, you need to set up colors found on the lower left of the window. ...

This video guides you through a process you can use in Adobe Photoshop CS3 or CS4 in order to change a persons eye color. The computer user shows how to first select only the iris of the eye by guiding you through which tool bar buttons to use. You should then zoom in close to the eye in order to very accurately select just the iris. Once the iris is selected you will go to the select menu then click "New Fill Layer" then "Solid Color..." When the dialogue opens up you will change the Mode to...
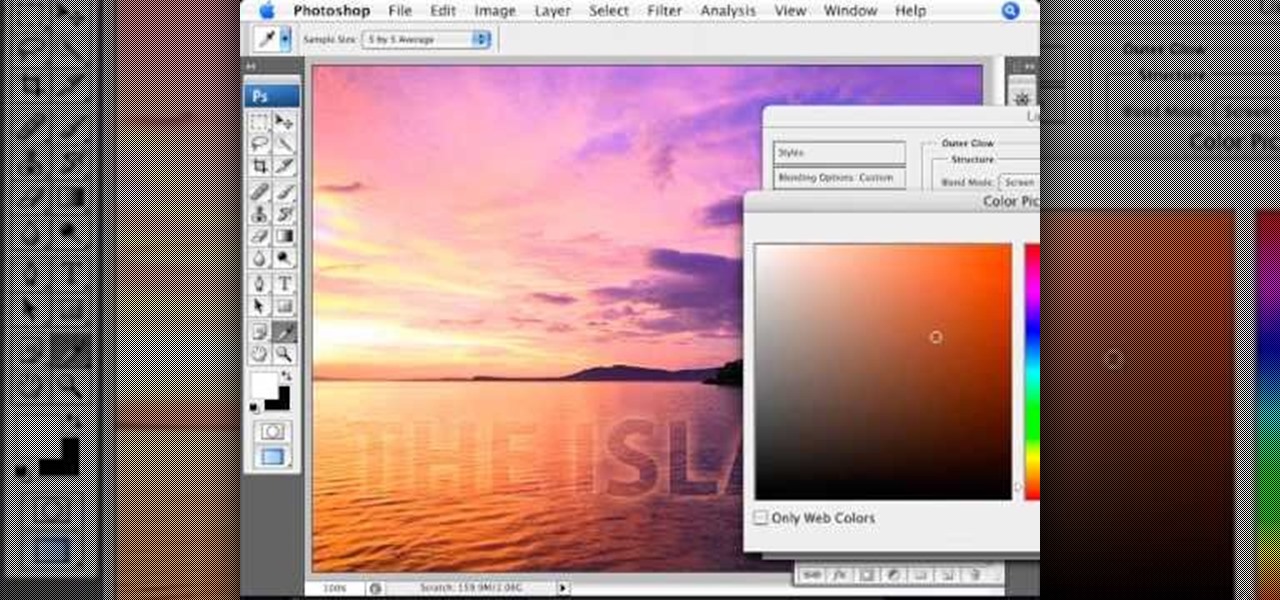
Learn how to create glowing text in Photoshop with this awesome video! 1. Write any text using text button T on the selected image as a background. Write a suitable text and place it somewhere. 2.Select the text and make it Bold. 3. right click and set Opacity and Fill options. Opacity changes the color of the text as well as its effect. Whereas Fill changes the color only . If you have set it to 0% then you can't see the text if its exist also. Set Opacity to 100%. 4. For glowing text select...
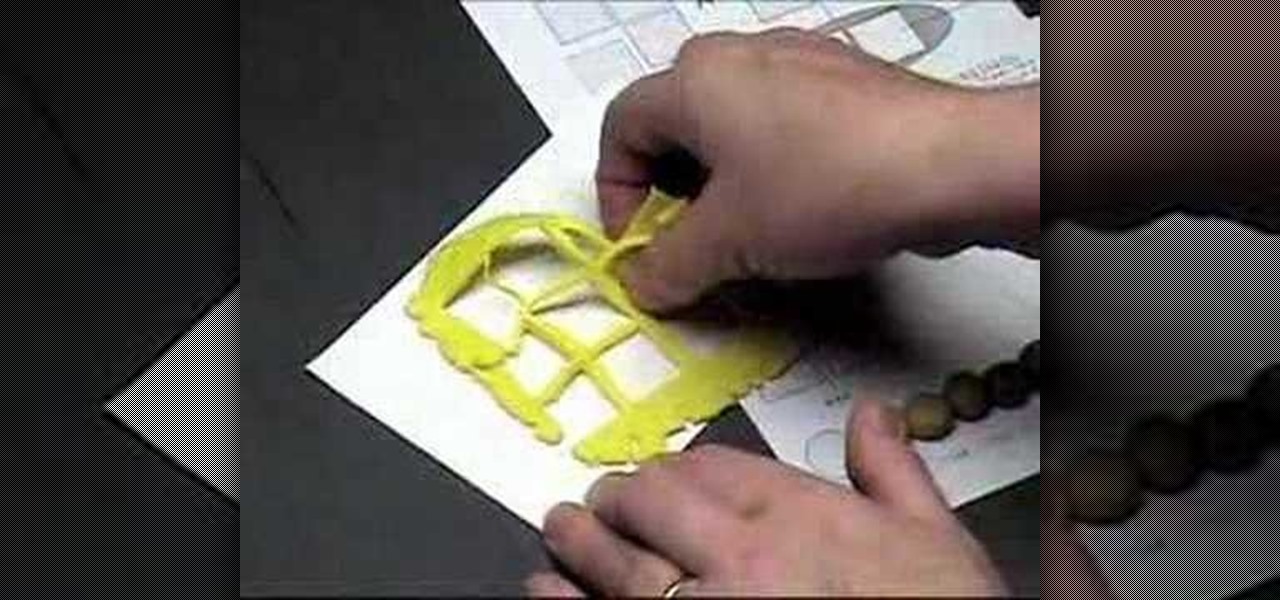
Color scales are important to learning the subtle changes and variations in colors that result from mixing. Polymer clay is an excellent medium to create these color scales, and the beads don't need to remain prototypes of colors, but can be used in jewelry. Watch this video crafting tutorial and learn how to make a color scale out of polymer clay beads.
Aperture's color adjustment lets you make selective changes to hues within your image.

Photoshop's hue & saturation tool is great for tweaking the colors of an image en masse but what if it's only one particular color that you'd like to enhance or change? Then, my friend, you use the color replacement tool. This video tutorial will show you how to use it in Adobe Photoshop CS4.
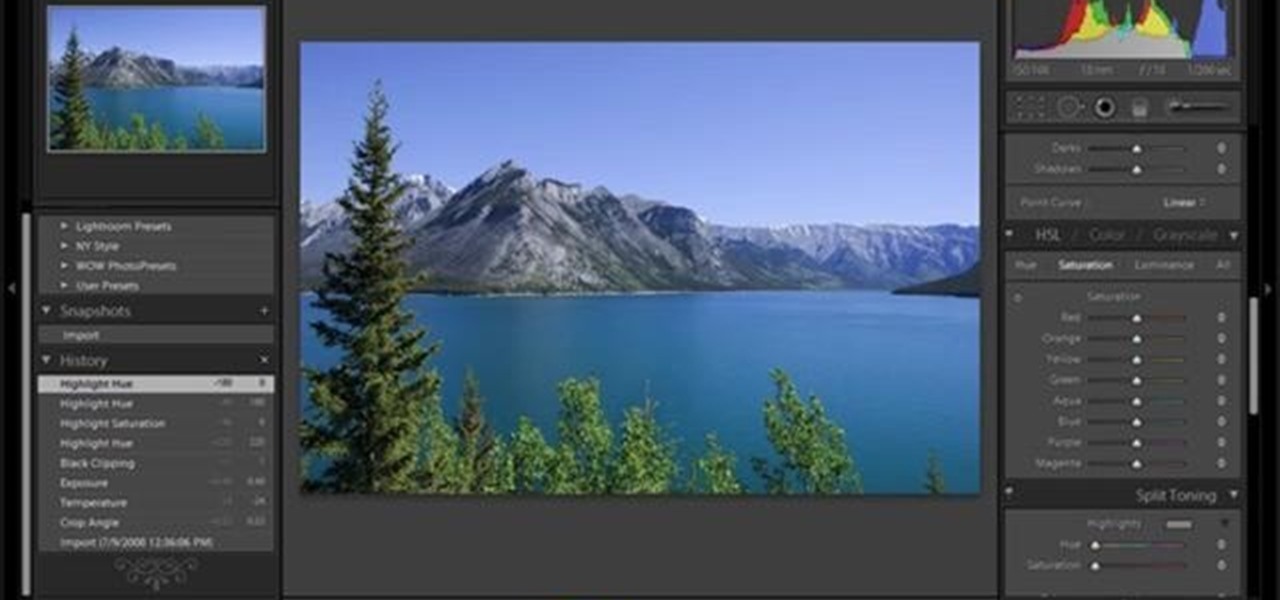
This video shows the method to split tone in Lightroom. Firstly, go to the 'Grayscale' button to change the photo into black & white. Go to the split toning section and change the tint into the color you want using the 'hue' option. You can also use the 'Highlights' option to select the color and see the preview. Bring the saturation down to get the right color. Repeat the same procedure with the shadows. Choose the right tint for shadows. Hold the 'Alt' key down to see the effect of change i...
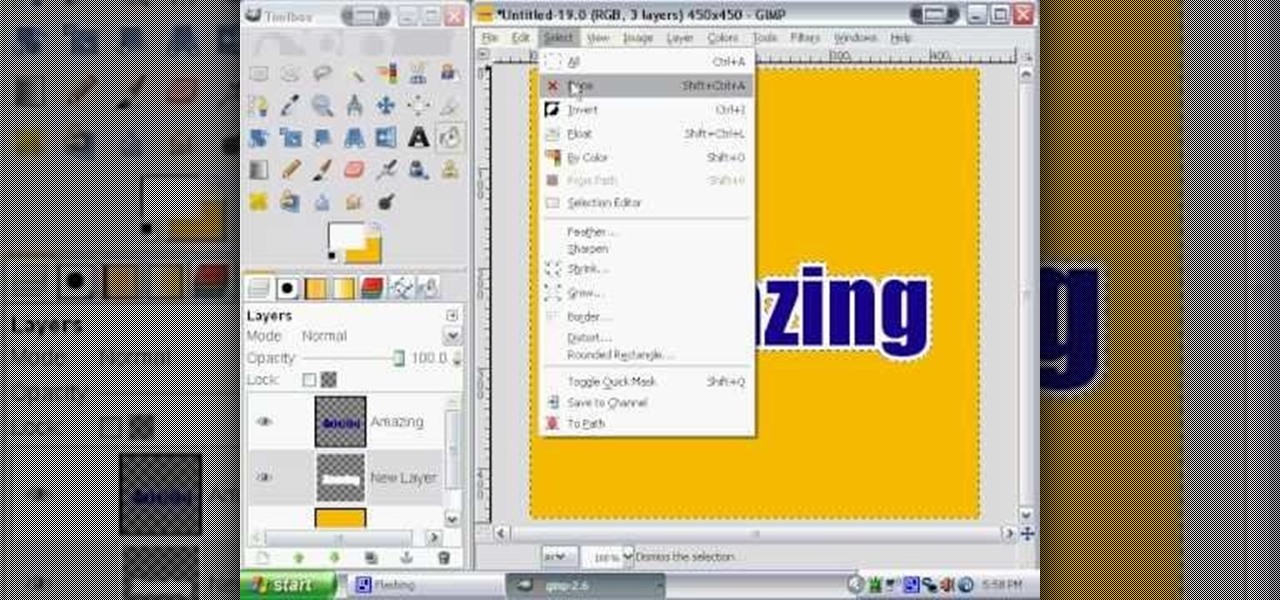
Click in File and New to create a new document, press OK and select the text tool and click once on your file and write something, then close the window. Click in move the active layer to make easier to move the text. Go again to the text tool and click on the Color to change the text color. Press Crtl+O, select the background layer and change the color to the one you want, now select the bucket tool and click on the background to paint it with the color you have selected. Go back to the text...
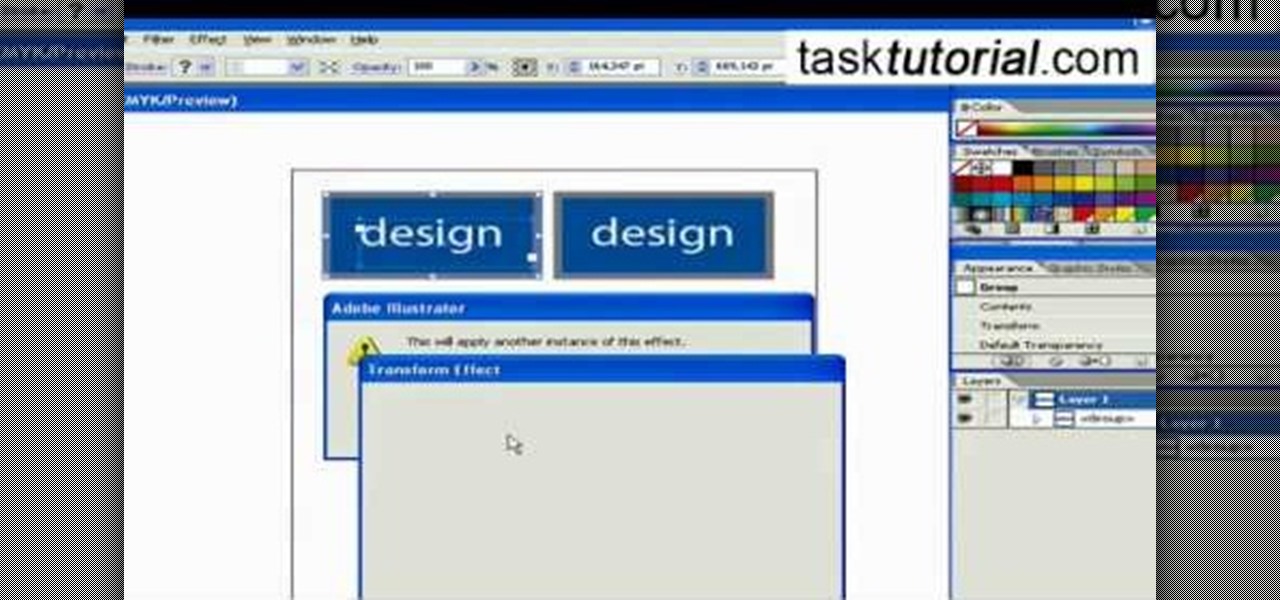
This video takes us through the procedure of creating a transform effect in Illustrator. First, choose a rectangular box and fill color in it. Input some text inside the box. The font and the color of the text can also be changed. Then position the text properly. Make a group of the shape and text. Now go to effect and choose transform. Transform is a very powerful effect which lets us create duplicates. Now select the number of copies, for example, one copy. Select preview. Now set the point...
Anna Saccone shows which colors to wear if you are a brunette, pale, with cool undertones, having any eye color. She explains about some basic colors such as white, cream, and mint green, which work best with your skin undertones and hair color to best accentuate your features and look. Anna gives this general guide as a good base, though depending on specifics that work for you, may change a little since each person is different.
We realize that celebrities change their hair color a lot, and oftentimes without consideration as to their skin tone. But that's because they're frequently gearing up for movie role that require a certain shade of hair color.

In this video tutorial we are going to take a look at how we can change the color of an object that is in a photograph in two different ways using Photoshop. We will also convert a black and white photo and color it.
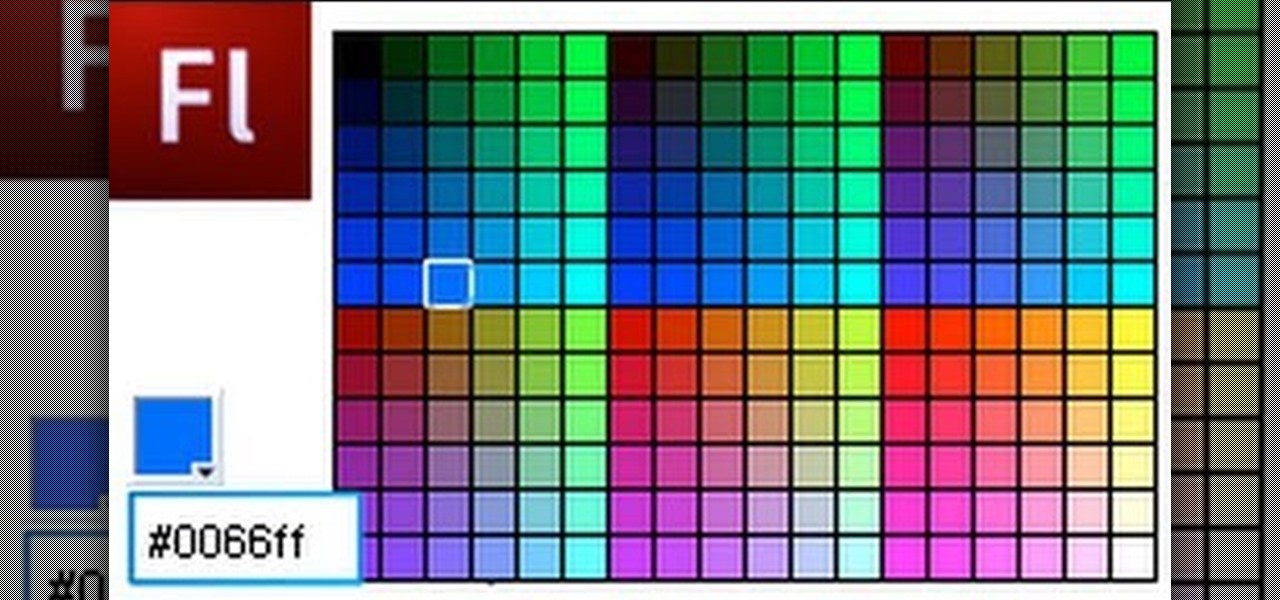
The Color Picker component lets users change colors of a designated item - like choosing red lilies or white lilies in a Flash-based game. This tutorial demonstrates how to construct your items in ActionScript 3 and then attach them to the Color Picker function in Adobe Flash.
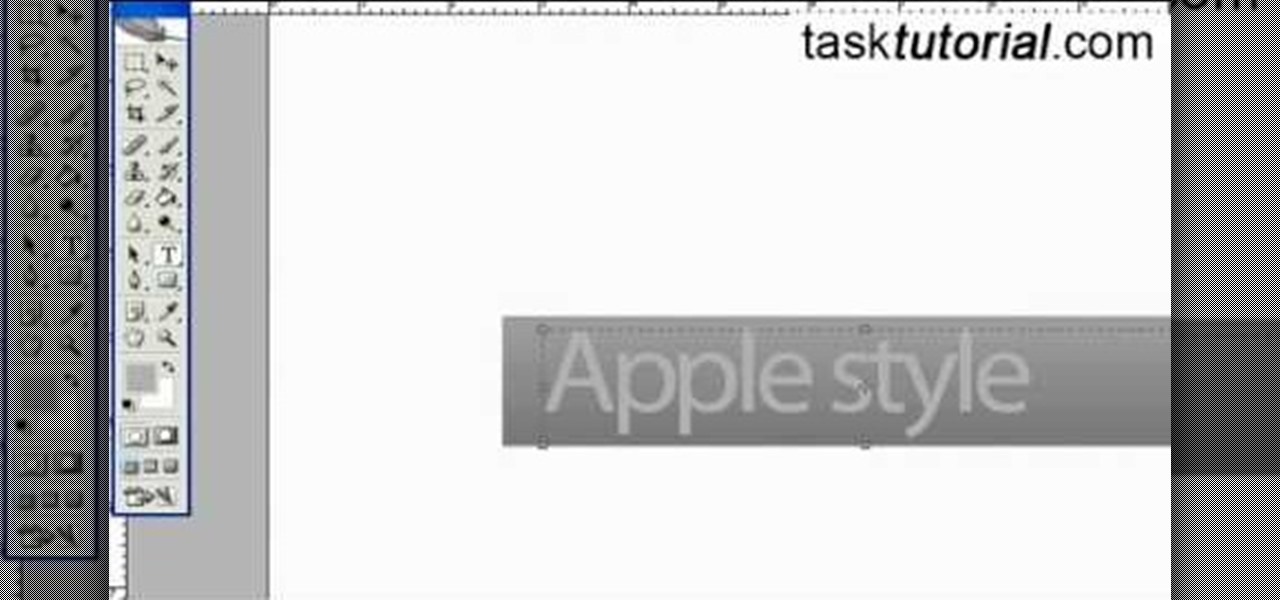
First select the rectangle tool and draw the bar. Now you have to open up the layer style and choose gradient overlay. Now you need to edit the colors as showing in the video and then go to drop shadow option, you have to change the opacity of it to 20%, distance to 2 and click ok. Now type "Apple style" in new layer as showing in the video, set the size of text to 72pt. Now open layer style for the text and choose color overlay and set its color to dark grey, go to drop shadow and choose nor...
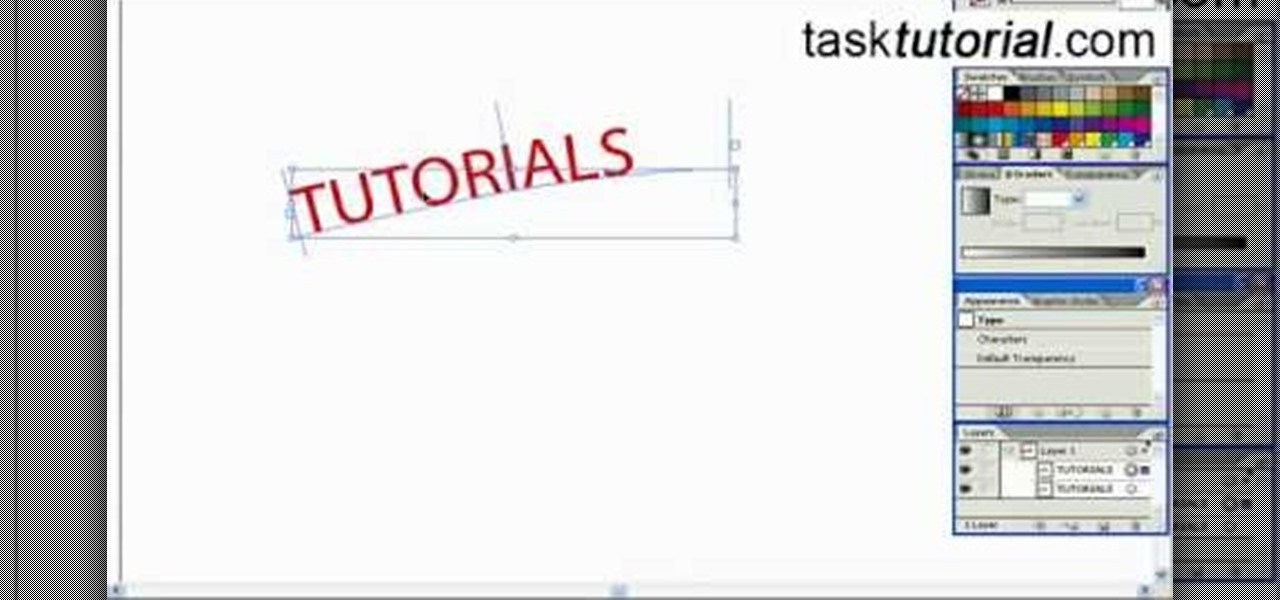
In this tutorial, we learn how to create a cool blend text effect in Illustrator. First, open up Illustrator and draw a path, then change the color to black. After this, click on the line and type in your desired text. Increase the font size to 36 points, then select the red color. After this, copy your path and select the duplicate button. Now, move the duplicated path and change the background color to yellow. Now, scale the path and resize, then place on to of the red path. When finished, ...
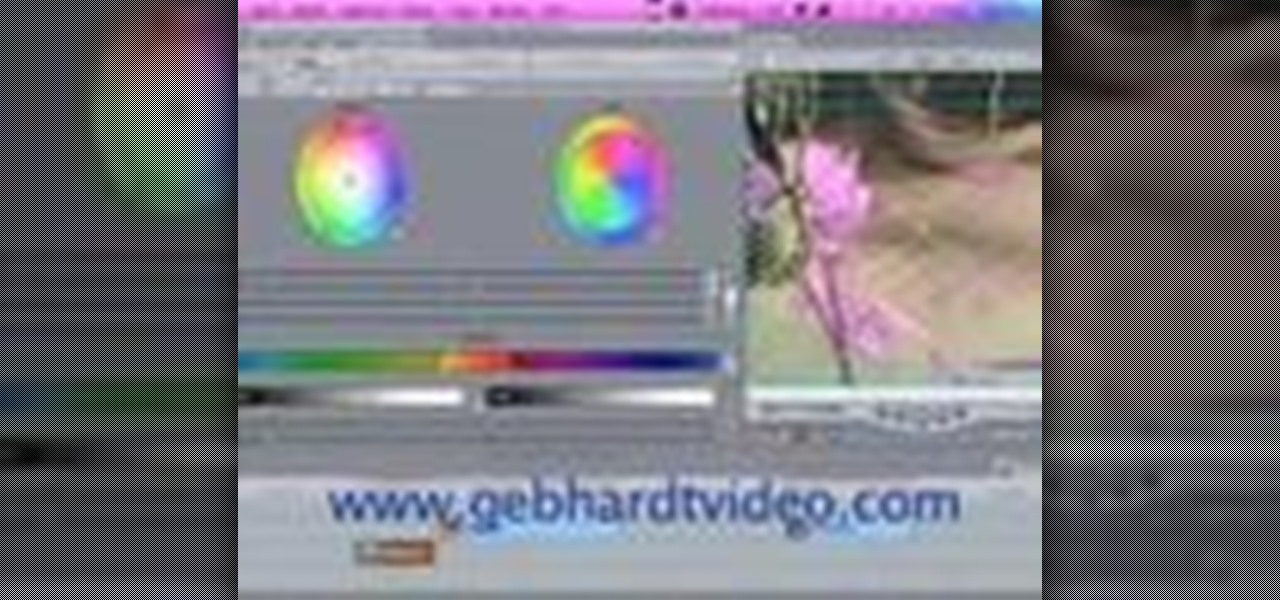
This video tutorial is in the Software category which will show you how to color balance in Final Cut Pro. Open a video clip in which you want to do color balance. Double click on it, click effects > video filters > color correction > color corrector 3-way. Click the "color corrector 3-way' tab and find something in the video that is supposed to be white. In the color tray you will see 'whites' written. Now click the eye dropper tool and just click the white object, and you have done the colo...

Are you bored with the limited color options available for your pets by default in the Facebook game Wild Ones? Brighten your life by hacking! This two-part video will teach you how to hack Wild Ones using Cheat Engine to change the main and detail color of your pets to any color that you can find the HTML color code for.

In this video you will learn how to change eye color or removing red eye in Adobe Photoshop. First, to change the eye color you must enter in Adobe Photoshop, open a photo, select the zoom tool and zoom in near the eye. We will use the first tool and make a circle of the eye. By holding shift key remove the areas you don't want to paint. Now go to layer, then new ant the layer you want to copy. Now select hue/saturation. Now slide hue until you are happy with the color, then hit ok and that's...