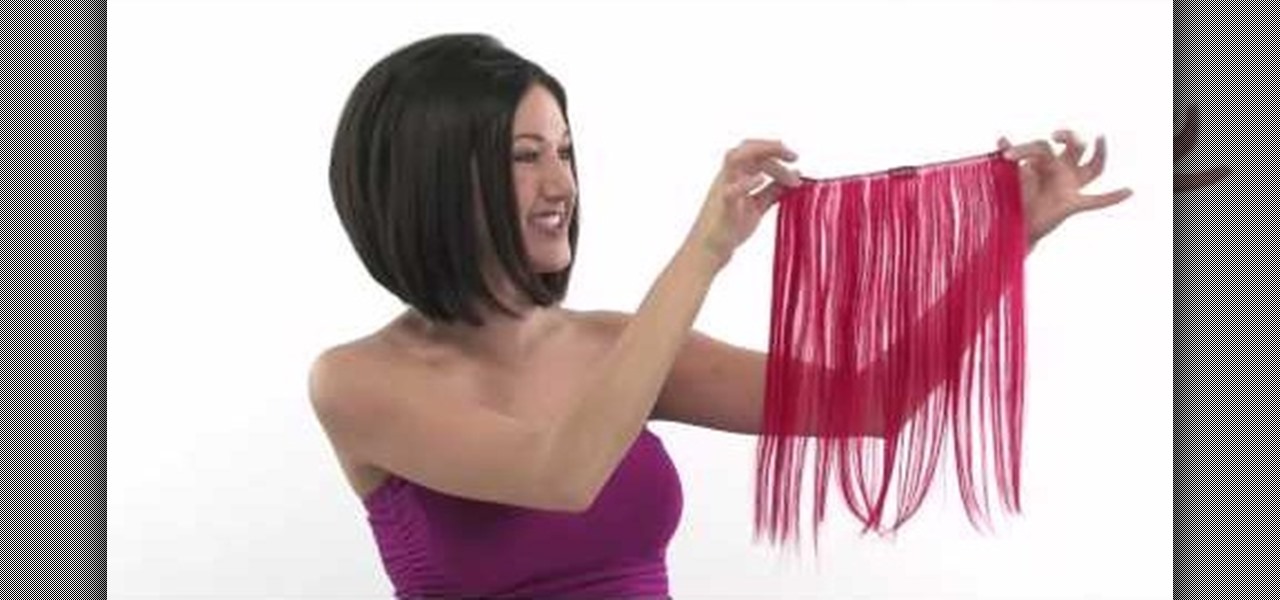
Hairtalk TV demonstrates how to instantly get color highlights with hair extensions. Put On Pieces offers Clip In Color which is a very thin, nine inch wide, sixteen inches long weft of hair that clips into your hair to give you highlights, low lights or bright, fun colors. The weft contains three pressure sensitive clips which slide into your own hair without causing damage. Unlike permanent coloring, Clip in Color causes no damage to your hair, does not fade over time and provides the versa...
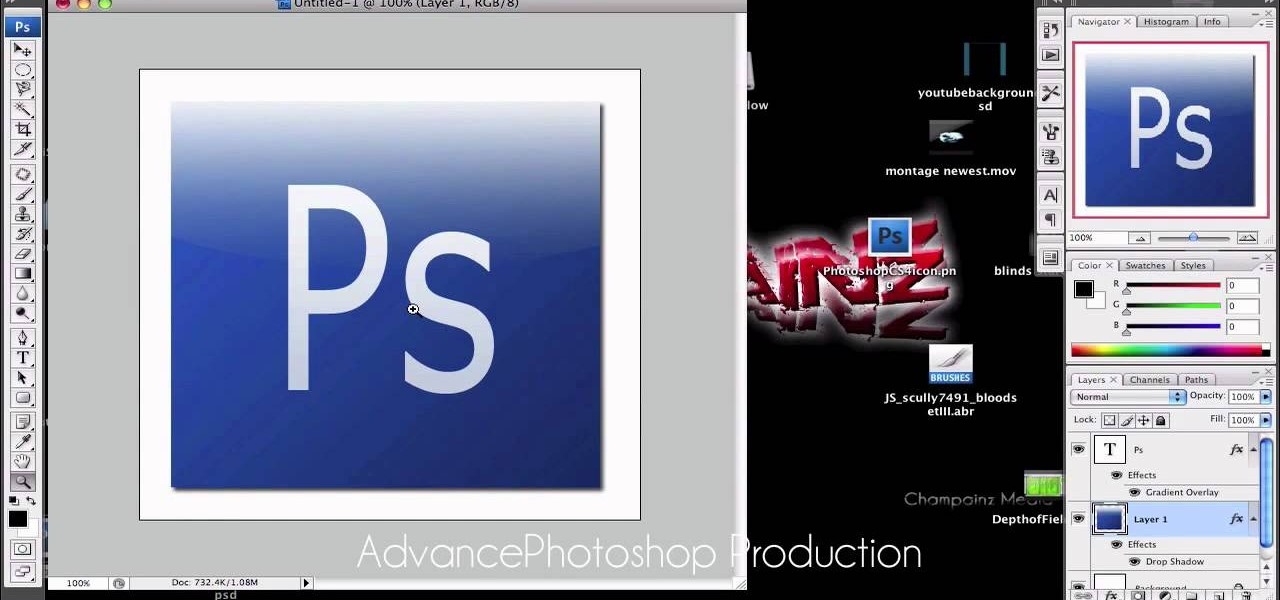
Advance Photoshop shows viewers how to make the Photoshop CS3 icon in Photoshop. First in Photoshop go to File and then click New. Make a new blank at 500 x 500 pixels. Go to your layer button and create a new layer. Next, go to your rectangular marquee tool, hold down shift, and make the rectangle slightly smaller than the canvas itself. Set it from foreground to background and change the background color to a dark blue, enter 15396F for the color. Click on foreground color and enter 3070CA ...
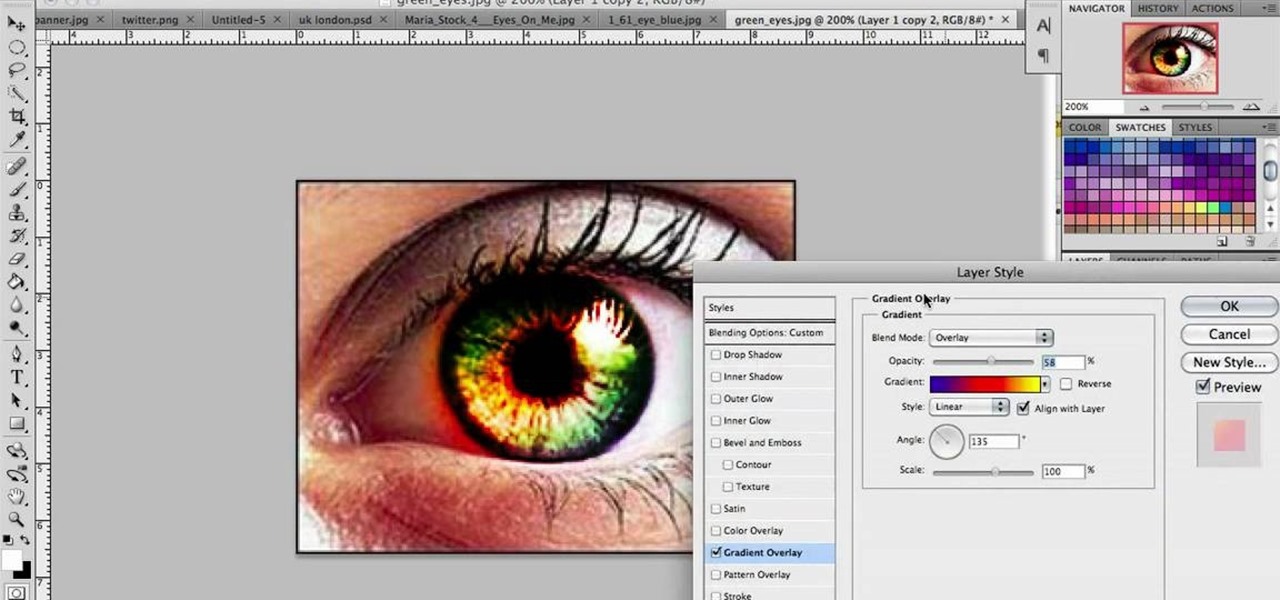
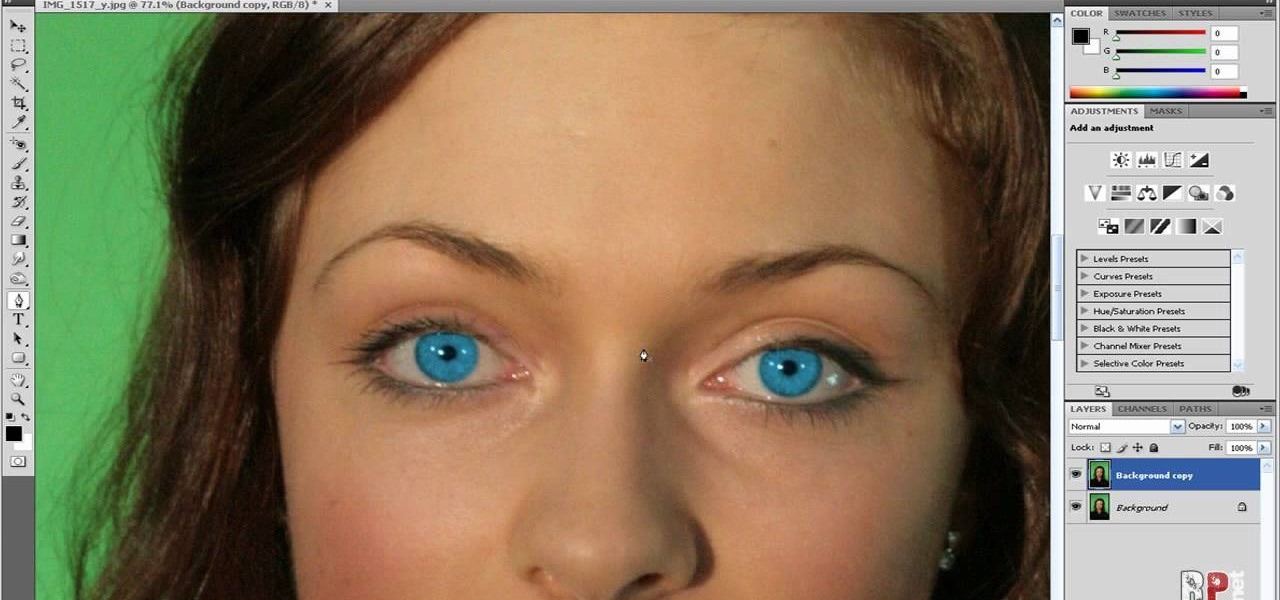
In this video we learn to make green eyes in Photoshop. According to this video, it is very simple to change the color of eyes and make beautiful eyes. First, we zoom in on the eye and with the help of the pencil tool. We select the border of the eye. Then we right click on the selected portion and select "make selection," then using Ctrl + C we copy the selected portion and use Ctrl + v. We can paste the selection on the right hand side. Then, on copied layer we select the gradient. After, o...
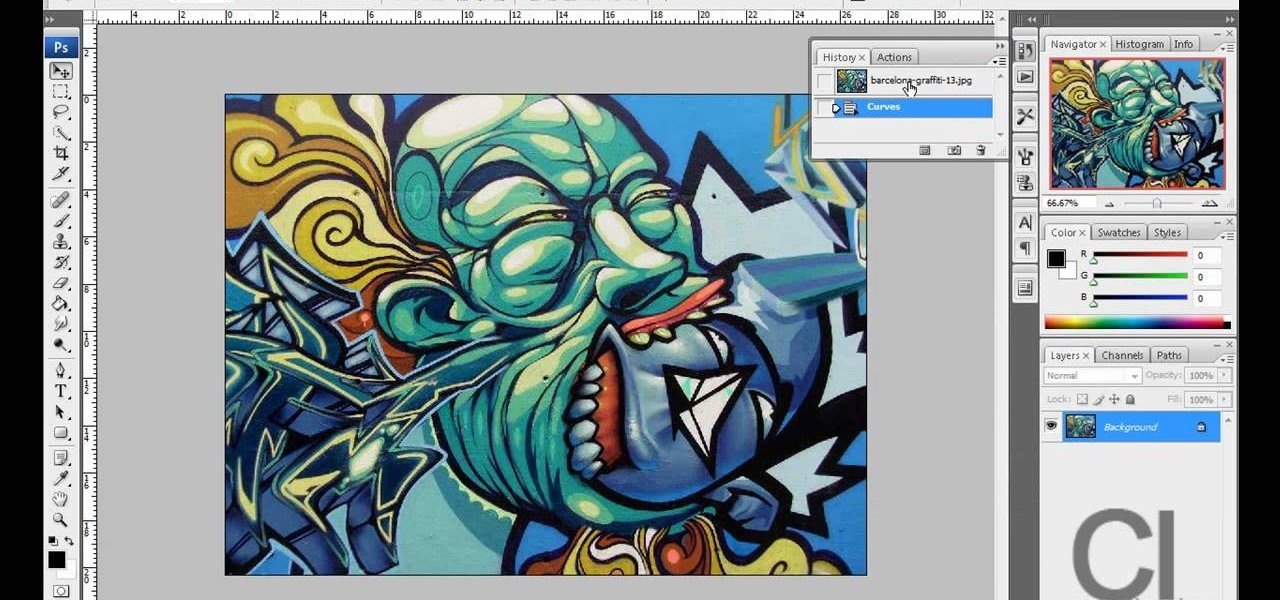
This video demonstrates a way to use the lomo effect on pictures in Photoshop. The effect makes colors stand out more, thus making the picture stand out more. The first step in adding the lomo effect is to change the color curve levels of the picture by going to Image > Adjustment > Curves in Photoshop. They should be changed very slightly, from a straight line to a slight "s" shape curve. After this, the gradient map should be changed to a black to white gradient. Finally, the mode of the ne...
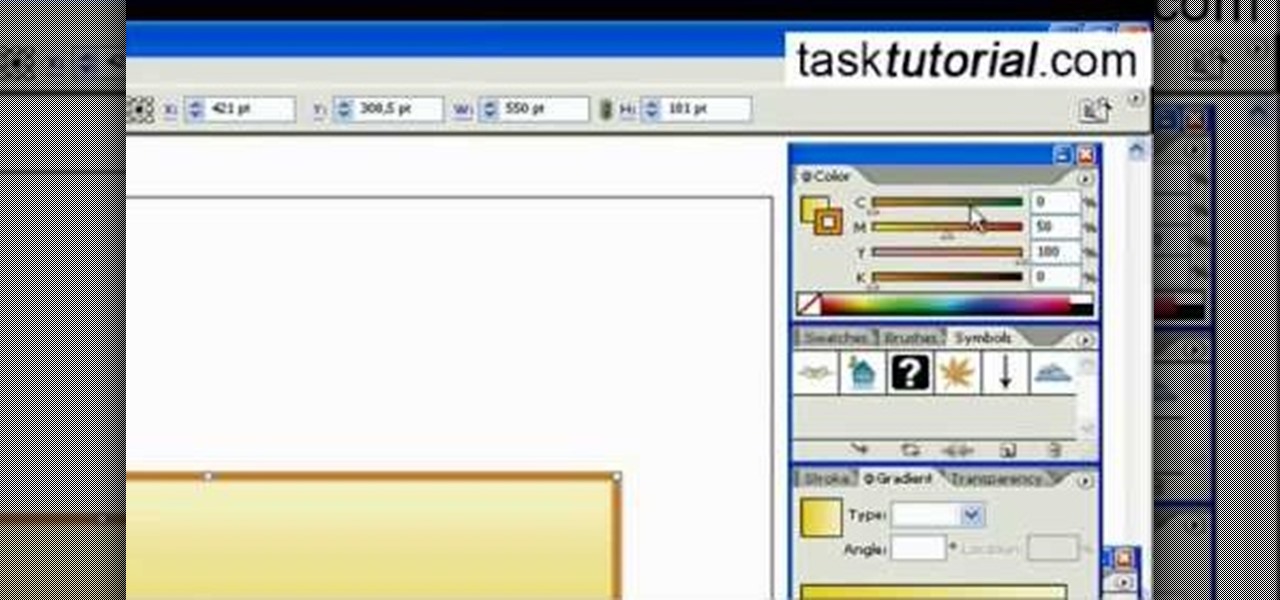
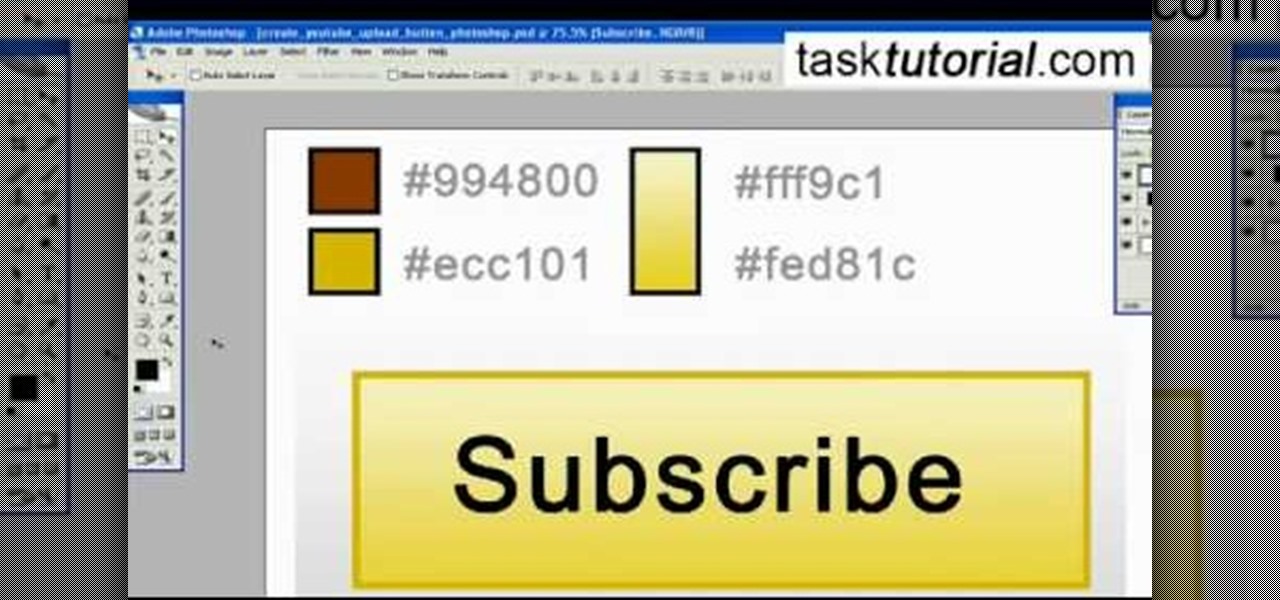
In this video tutorial by Task Tutorial we learn how to create a YouTube subscribe button using Adobe Illustrator. The first step to creating a button is to select the rectangle tool and draw a bar and then select a gradient fill. Next create the first color in the gradient and then the second color in the gradient. After that you'll want to change the gradient angle and also change the stroke width. Then you'll want to edit the stroke color to 9.6%. Then select the text tool and create your ...

This video tutorial by Tasktutorial shows you how to create a simple swatch in illustrator. Select the star tool, draw a star and select the path and scale it down as shown. Change the fill color to white, the stroke color to black and the stroke weight to 2 points as indicated. Select the rectangle tool and draw a background for the star, bring to back, change the fill color to blue and de-select the stroke as directed. Align the shapes using the align tool and select both paths and bring in...

Are you bored with the similar font styles? Open Adobe Illustrator, click the text tool. Select Arial font, bold & italic and a size of 48. Type some text and give its fill color-white and stroke color-black. Duplicate the layer text by going into layers. Then change the duplicated path's color to black. Then create a new background with some different color and keep it below all layers. You can change the opacity of the text for a shadow effect. This will help in bringing innovative presenta...

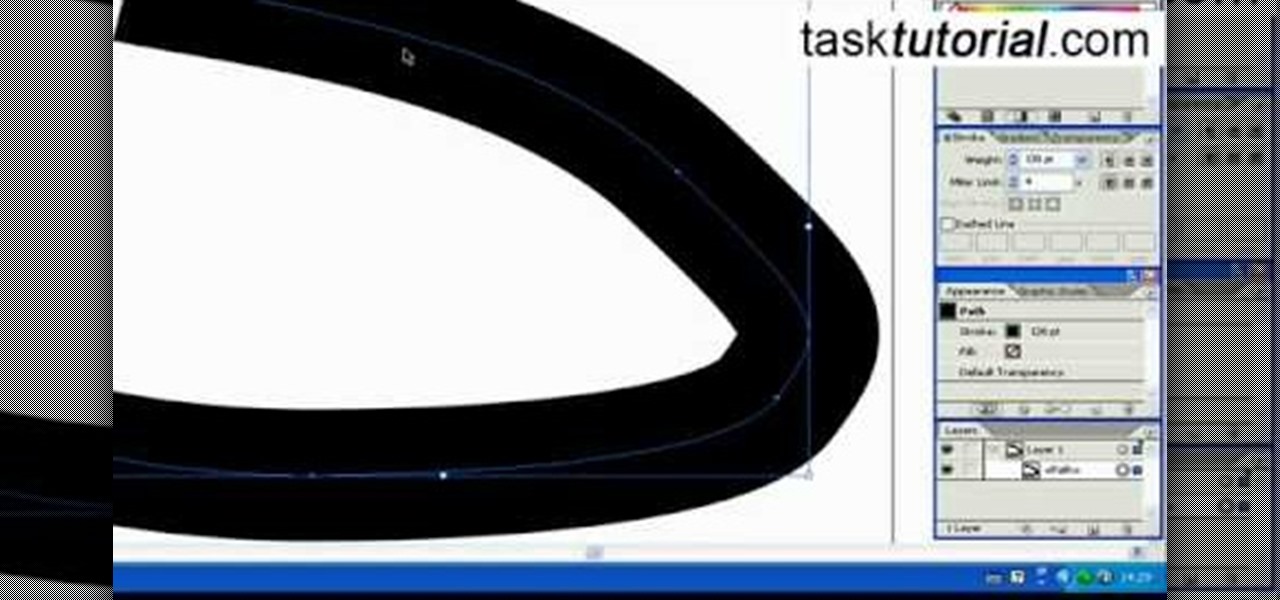
Illustrator denotes how to create a road. First select the pen and draw a path. Now go to stroke. It depend 130. Deselect dash line. Now move our path a little bit upper. Now select our path. Now duplicate of our path several times. Now turn off the new layers. Focus on our first path. Turn on the second path. Change the stroke weight value to 125 and change the color to gray. Now go to the next path. Select our path and change the stroke weight value to 115 and leave the black color. Now go ...

I'm all about customizing my iPhone and making it as different as possible from everyone else's. While it's easy to change the wallpaper, swap keyboards, and hide apps on your home screen, there's not much else you can do aesthetically without jailbreaking, especially when it comes to the status bar and app icons.

In this tutorial, we learn how to create an everyday contoured look. First, apply a full coverage foundation to your face. Mac is recommended, using a color that is a match to your skin. Blend this on the face using a foundation brush. Next, apply a loose powder over your skin with a brush to settle the foundation onto your skin. After this, you will brush a bronzer of your choice onto the cheek bones, followed by a blush brushed onto your cheekbones. After this, you can also brush the bronze...

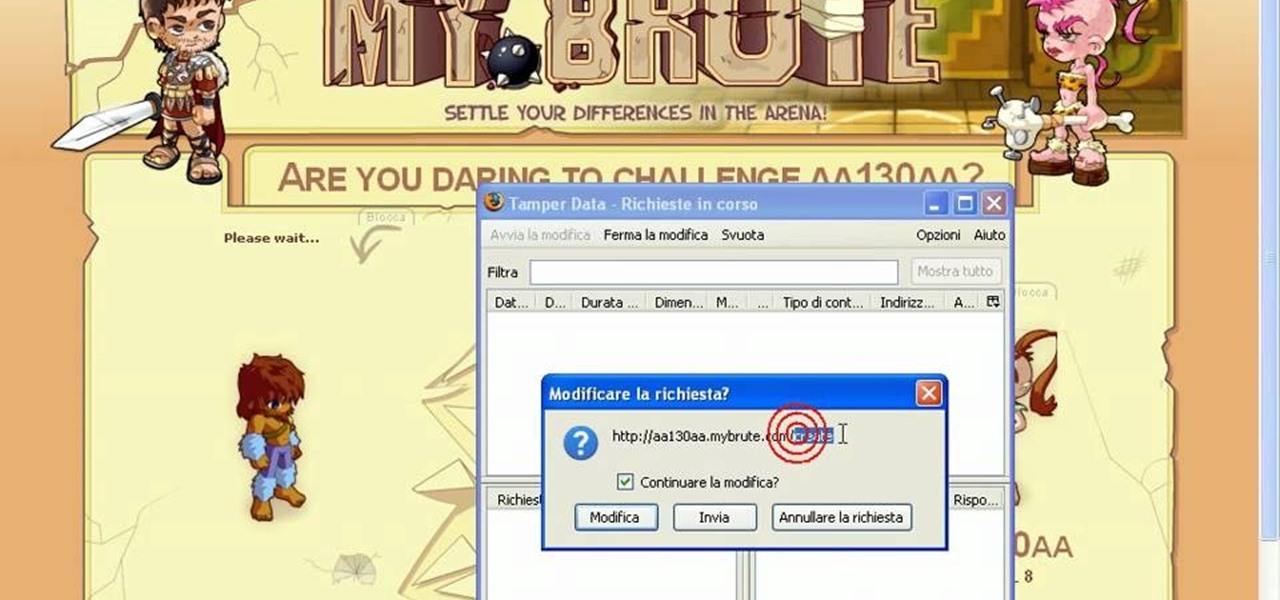
Hack mybrute with this mybrute cheat. MyBrute hacks, cheats, tricks. Watch this video tutorial to learn how to cheat MyBrute for a bear (05/08/09). This is the easiest way to get a bear!

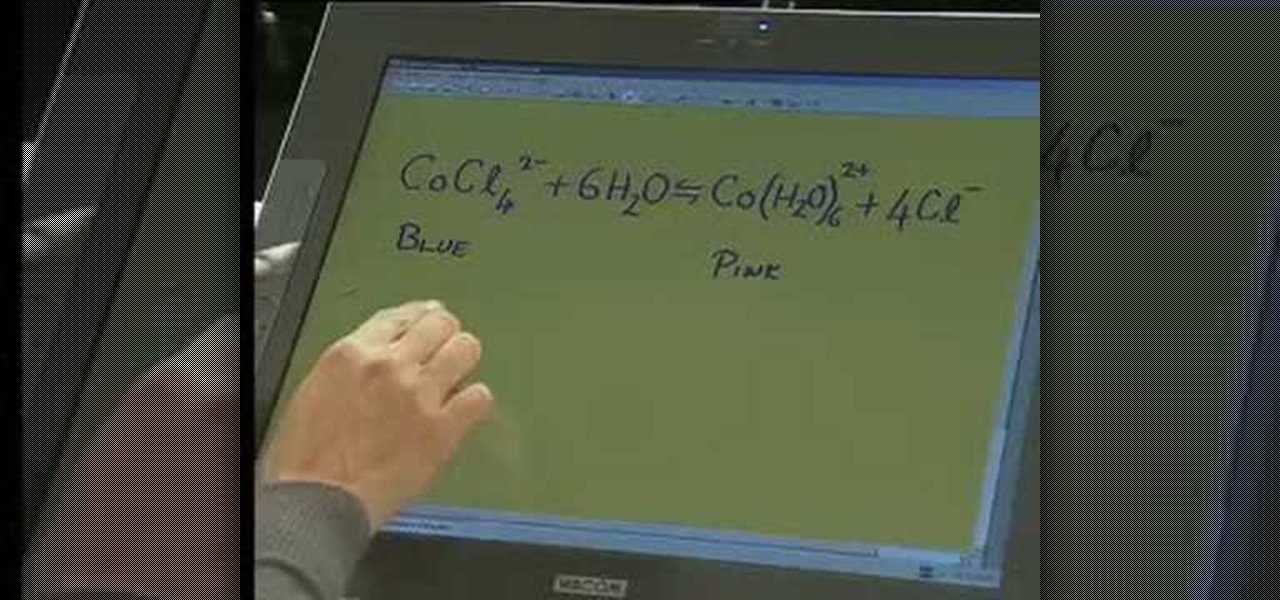
A video which shows a reaction in which cobalt chloride reacts with water to form a hydrated form of cobalt and chloride ions.

In this tutorial, we learn how to set up and light an inexpensive green screen. First, use the backdrop with anything that is a lime green color. You can use anything from a green colored wall to a green blanket. Put one light on both sides of the screen, then place blue color over the lights. Place the camera in front of the green screen and look at the lighting to make sure the lighting is right in the area. When you are ready, use software to change the background to different places. When...

JakeWright.net shows viewers how to make and avatar for the internet. In order to do this, you need to first go to Yahoo.com. Here at Yahoo you should go to Yahoo Avatars. Here you can customize everything about you. You can choose your hairstyle, color, eye color and your clothes color! You can also even change extra things such as accessories and the background of your avatar. You can also change the size of everything you pick! There are so many various options that you can choose from. On...

One of the things you can do to manipulate your images in Photoshop CS3 is to change and replace colors. You can use this tool to edit your photos to your liking and enhance their appearance.

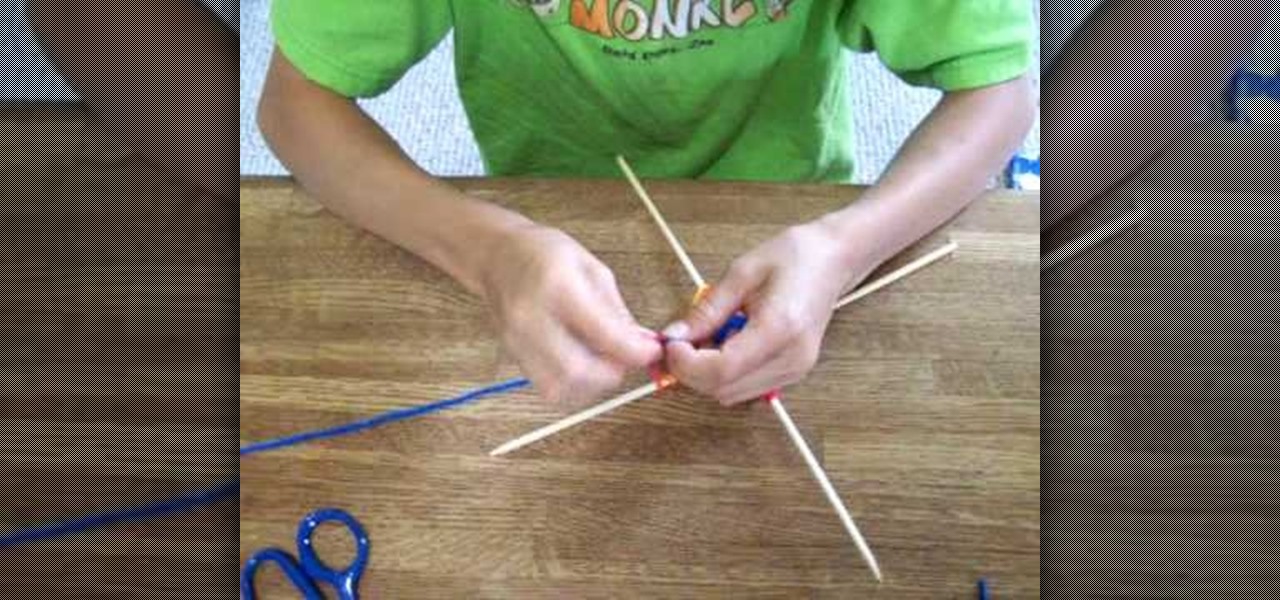
In this video and boy and a woman are showing you the steps to create a "God's Eye" or "Evil Eye". The materials that you will need are 2 sticks, yarn of your selected colors, and scissors. First, you take 2 sticks and use the yarn to knot around the middle wrapping diagonally to form a "t" shape. Then you take another piece of yarn, hold the end in the middle, and start wrapping around each stick going over one and under the next. Continue this pattern until you are done or unless you decide...

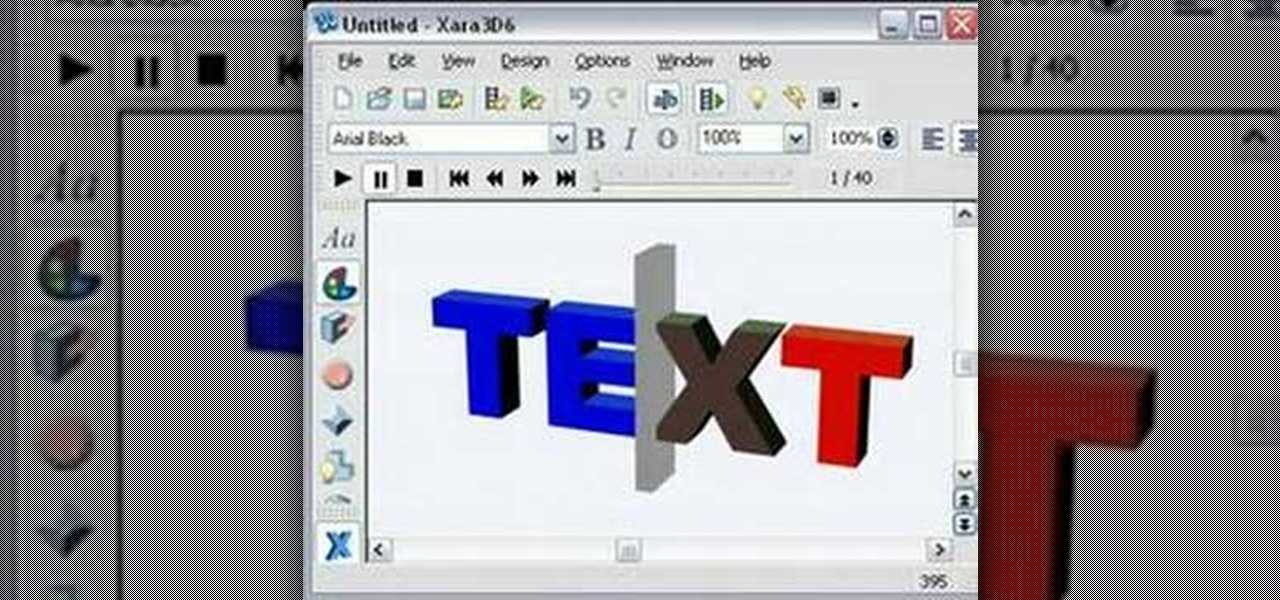
Do you want to know how to create multicolored text in Xara3D? Watch this video and be guided through the process. You can actually see the application window as the presenter shows the process. First, he guides you through the steps of bringing up the color options, selecting the text to be changed, and then changing it. In addition to that, he shows how to make text fatter or thinner by using the extrusions menu. Last, he shows the use of the bevel menu. So, to make your text more interesti...

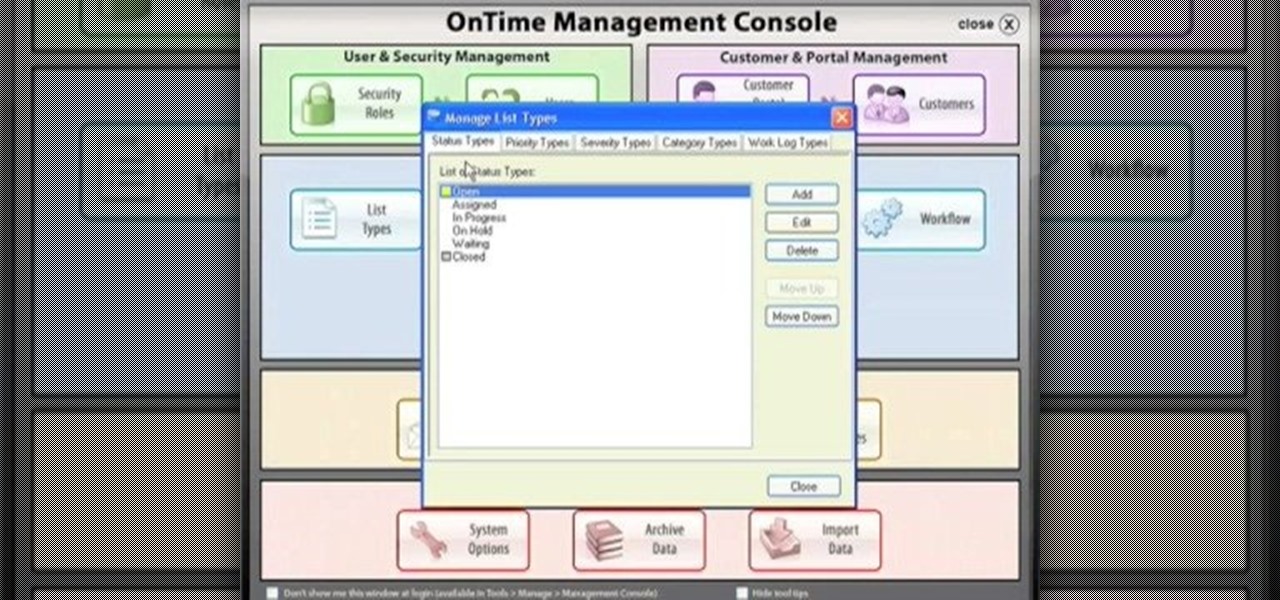
One great feature of OnTime 8.1 is the ability to add color schemes to the main grids of OnTime Windows and OnTime Web. This installment from Axosoft's own series of video tutorials on the OnTime Project Management Suite covers how to activate this functionality to allow color changes for items based on their Priority, Status, Severity, and Workflow.

This tutorial shows you how to use the replace color adjustment tool in Photoshop. This is used to change an entire certain group of color.

In this how-to video, you will learn how to make a rainbow in an image. First, open the program. Make a new layer and go to the gradient tool. Change the style to the one that looks like a rainbow. From here, change the sliders that you have the colors of the rainbow selected. Once this is done, slide the rest of the sliders near the last color, which should be red. Save the gradient and click okay. Now, go to the bottom left hand corner until a plus sign shows. Click and drag until you get t...

This video shows you how to change the background color and watermark in your Word 2007 document. Both settings are found on the Page Layout tab. The background color can be chosen from a wide palette. The most frequently used colors are immediately applied to the current page as a preview. You can also choose to add a fill effect, like a color gradient, by clicking the Fill Effects item in the Page Color list. The watermark feature allows you to add either a predefined notice, an image or a ...

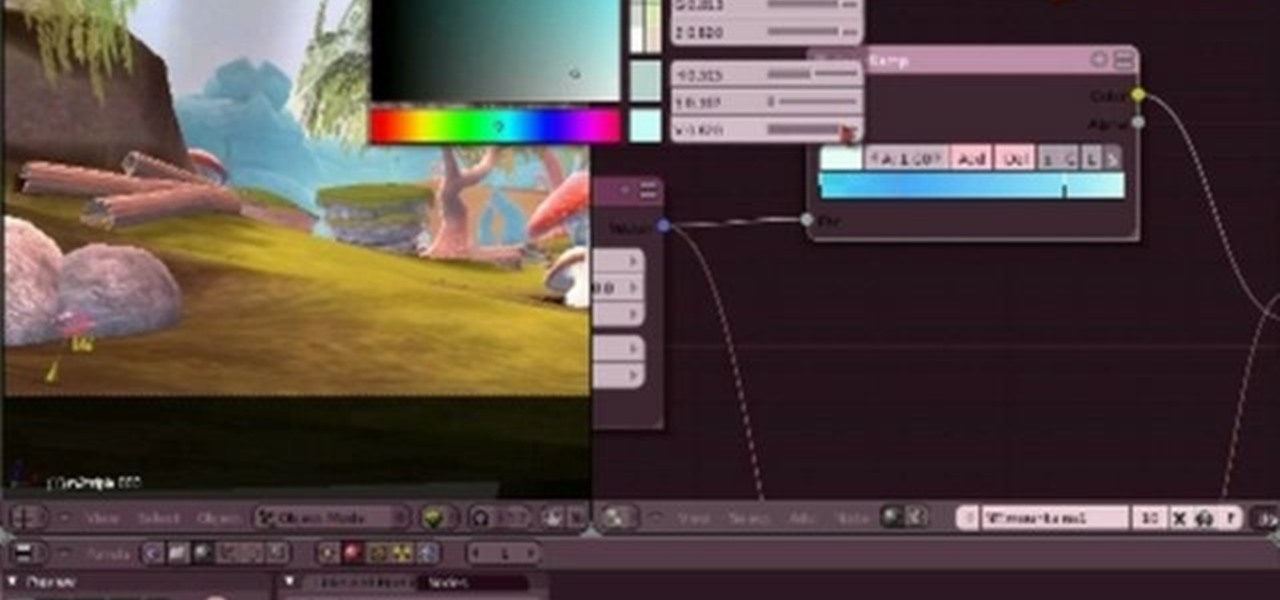
This clip presents a guide on changing the mood and feel of a level by adjusting its ambient colors via GLSL in Blender. Whether you're new to the Blender Foundation's popular open-source 3D computer graphics application or are a seasoned digital artist merely on the lookout for new tips and tricks, you're sure to be well served by this free video software tutorial. For more information, including step-by-step instructions, take a look!

Slack recently released a dark mode for its Android and iOS apps, and for the most part, it works great. Super dark gray backgrounds and light gray fonts, which is much easier on the eyes than blinding white backgrounds and black text. But there's one thing that is not affected by the new night mode setting — your sidebar.

No downloads or extra programs needed! This video is pure cheat codes, all for playing on Poptropica! You can do fun things like change your skin color, change your hair color and even get the elusive pumpkin hat to wear!

In this video, we learn how to take better digital pics using color and white balance. Color is one of the most powerful elements in any photograph. This can be powerful enough to be the subject of any photograph. Consider the colors and see how you can make them be the main object in the photo. Use your white balance on your flash to get the photo to show the color or the lack of color a lot better. The camera has to know what kind of light it's in to reproduce this correctly. Just change th...

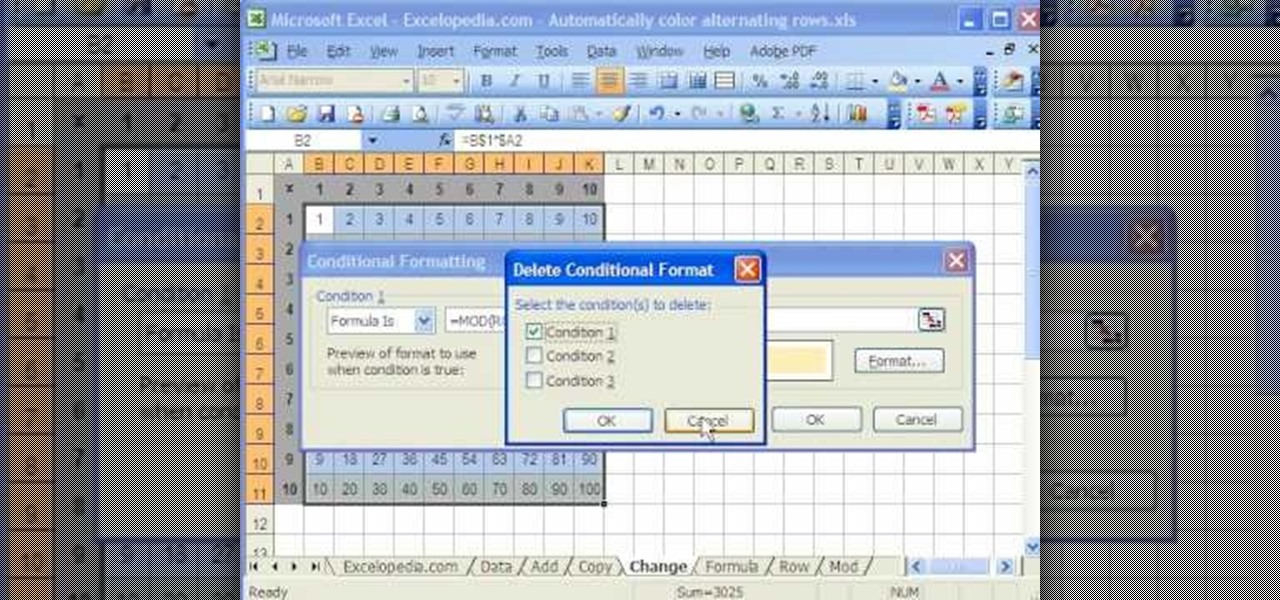
This video is a tutorial on using the Conditional Formatting function of Excel to automatically color alternating rows, which helps your eye to follow across the row. This can be done manually with the “Fill Color” button, but if you add or delete rows after applying the shading, the whole purpose is defeated.

In this how-to video, you will learn how to change eye colors using Adobe Photoshop. First, open the image, Duplicate the background image. Zoom in to one of the eyes and select the pen tool. Set it to paths. Now, go around the iris of the eye. This does not have to be perfect. Click and drag to the other eye and select the other iris as well. Once these are both selected, right click into one of the selections and set the feather radius to about three pixels. Go to Image and Adjustments and ...

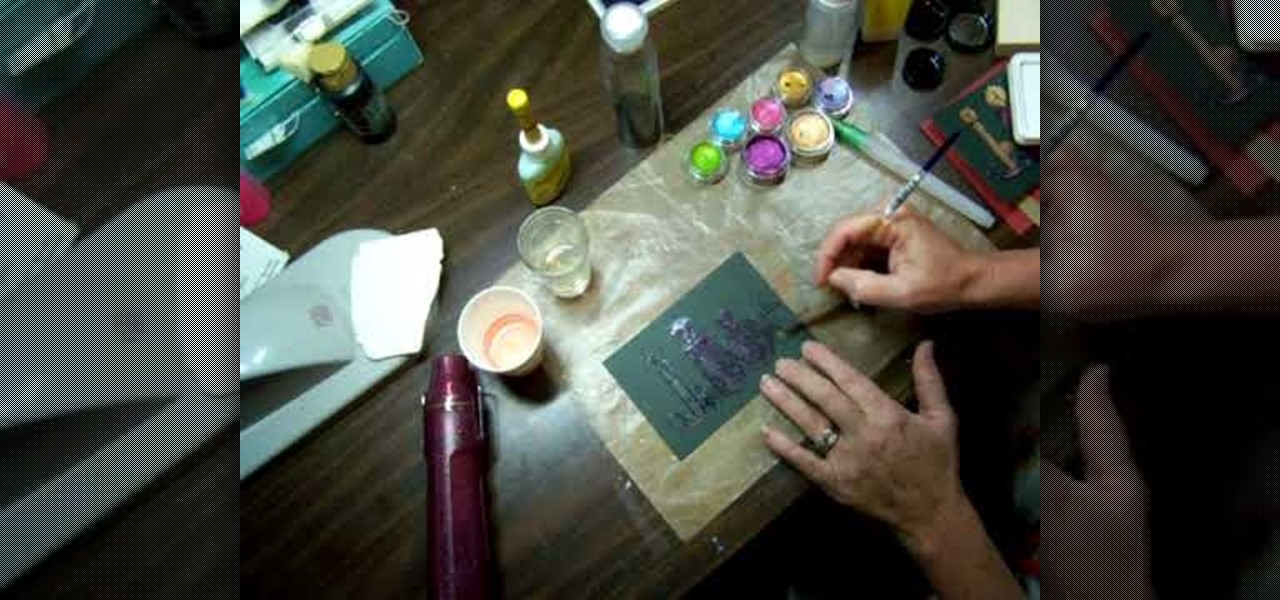
This video tutorial is going to show you how to bleach paper to make the color pop. First take a piece of black paper, apply a bit of bleach and see what color it turns. Because, different cards change color differently. Next you will need a stamp, embossing ink and black embossing powder. Apply embossing ink on the stamp, stamp the black paper and put black embossing powder on the paper and dust it off. You then need to heat the paper. Bleach out the portions that you want color. Follow the ...

This task tutorial explains how to use Photoshop to create a YouTube subscribe button. First, select the rectangle tool and draw a bar. Select color options and deselect the color overlay. Then, go to gradient. Using the dropper tool, select the first and second color. Open layer options again and select the stroke color using the eyedropper tool. Increase the stroke size and change the position to inside. Click okay. Select type tool, create text field and type in the text. Open layer style ...

This video tutorial from TutVid shows how to create a simple movie poster text effect in Adobe Photoshop CS4.

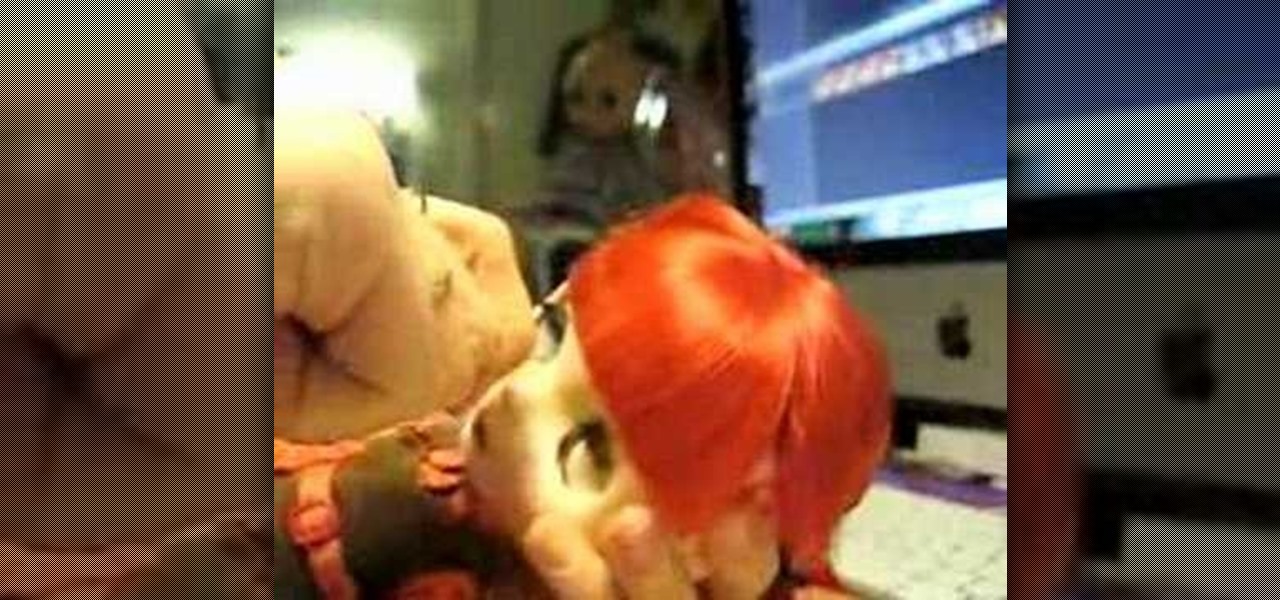
This video demonstrates a method used for changing blythe doll eyechips. Blythe dolls, discontinued for lack of interest, have found some popularity in the collector's market, and are notable for eyes that change color with the tug of a string. Watch this hobby how-to video and learn how to change the eyeball eyechip on a blythe doll.

This C++ programming tutorial goes through the use of functions, pointers, how to make fullscreen, and changing colors per line.

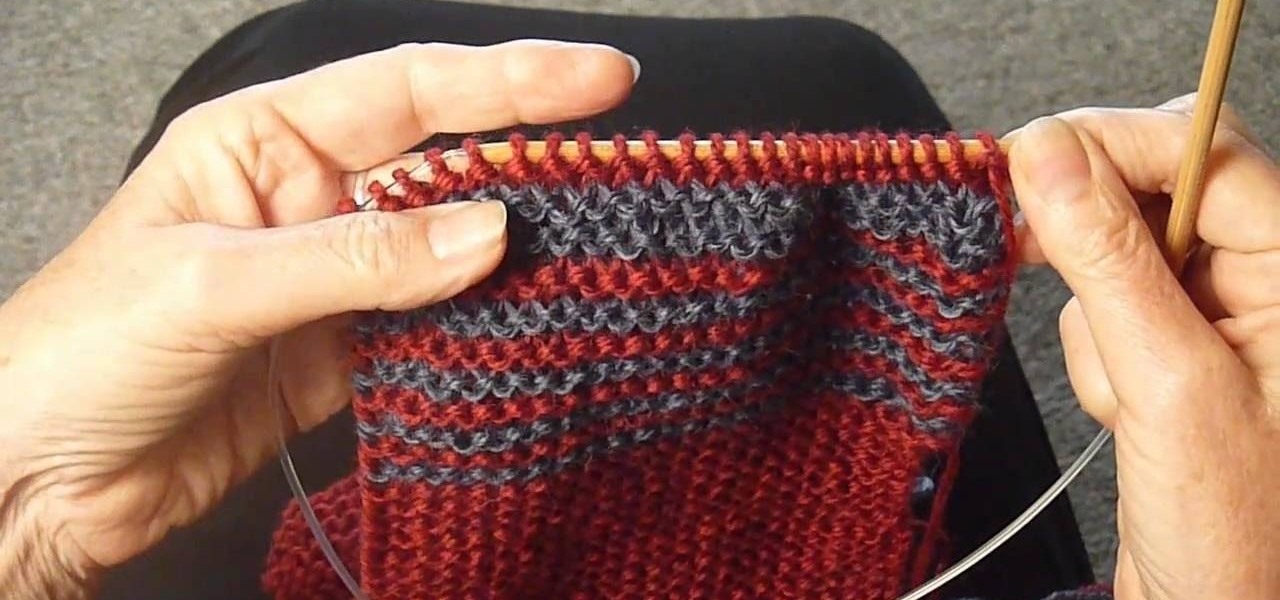
This video will show the lowdown on knitting four-row stripes. Actually, this works with any knitting task requiring over 2 rows, where you want to change the colors of your yarn. Master knitter Judy Topaz walks you through the whole process.

Ash Davies teaches us how to Photoshop digital bokeh with this tutorial. First, open up Photoshop and create a new canvas with your width at 1920 and your height at 1200. Now, create a new layer and set your background layer as invisible. Now create a medium size circle and reduce the fill to 50%. Now enter blending options and add a stroke of 10 pixels to the inside with the color set to black. Now define the shape as a brush and then click "edit" and "define brush preset" name this, "bokeh"...

Studying to be a nurse? Then here is a nursing how-to video that teaches you how to change the dressing on a stage II wound. Every nurse should know the basics of this technique, follow along and see how easy it is to use wound care products to change the dressing on a stage II wound. These medical tips are sure to help you pass your nursing exam with flying colors.

Nick from Greyscale Gorilla gives a great tutorial on not only how to adjust the hue and saturation of various objects in Photoshop, but he also demonstrates how to select and isolate these objects for better chromatic keying.

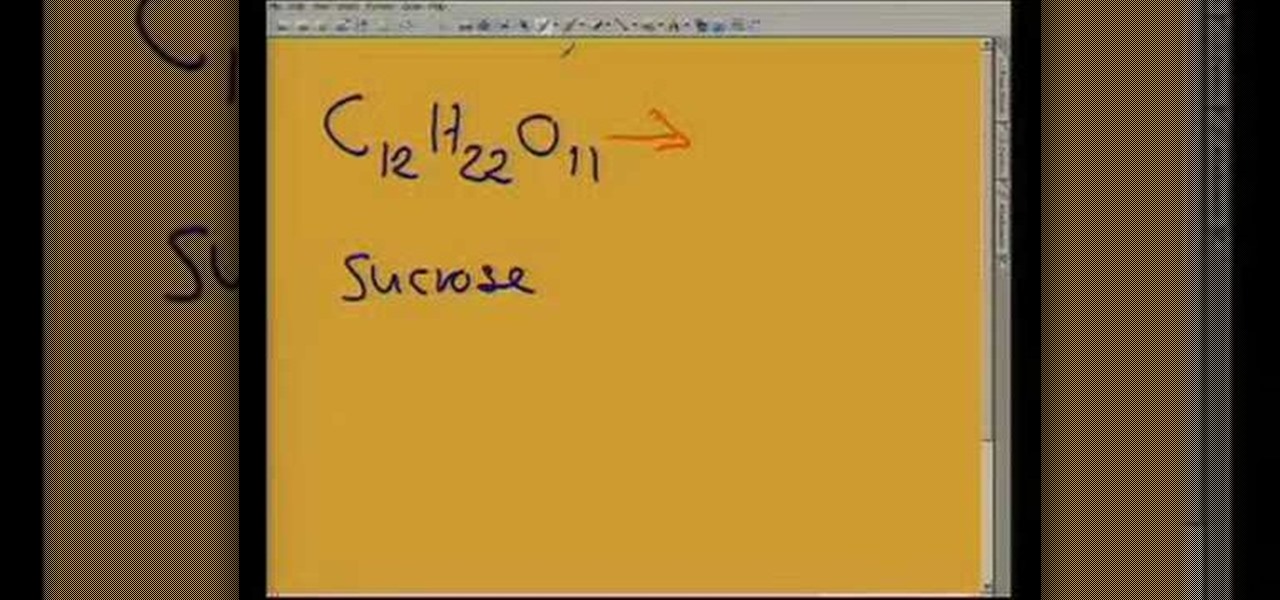
This video helps us understand the organic molecules and elimination reaction. Take some sugar in a beaker. Sugar has 12 carbon atoms, 22 hydrogen atoms and 11 atoms of oxygen. The sulphuric acid is poured into the sugar and the color change is observed. The color of the sugar gradually changes into black. The sulphuric acid causes an exothermic reaction which releases a large amount of sulphur dioxide gas. All the water (containing hydrogen and oxygen atoms) is eliminated out of the sugar du...

Don't know how to add some line frames in Photoshop? Well, this video teaches the viewers how to exactly add line frames, or borders for their images using Photoshop. First of all, change the background layer into a normal layer. Next, go to image size and add in some more pixels in order to allow room for the border. Next, add another layer and set it to transparent. Now select where you want your border to be, then go to strokes, and select a color. At this point, the viewer should have a b...

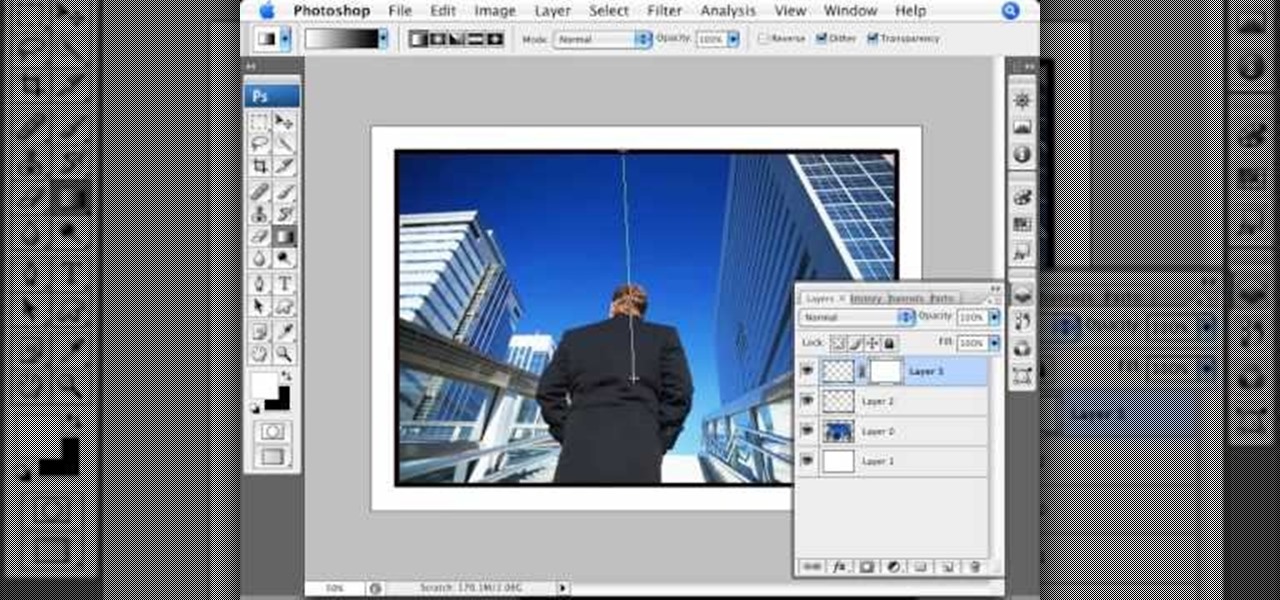
This video shows you how to enhance the sky in pictures using a program called Adobe Photoshop. With this program you can use a gradient tool to layer different areas and change the color to enhance the picture of the sky. You can also invert colors and do a lot of different things using this tool. It is a very helpful tool to have because it drastically changes how bold the sky looks and could help a photographer out a lot to learn this skill.

Cat Morley and her charming Scottish accent show you how to knit in this video crafting tutorial. Learn how to cast on, hold the knitting needles, knit stitch, pearl stitch, change a ball of yarn (great for changing colors, or even when running out of yarn), decrease stitches, take back a stitch, increase stitches, and bind off. Watch this video and start knitting your own socks, scarves, mittens, and other wooly things.


