Jeff Schell introduces you to the ins and outs of the Time Remapping video effect that is new to Premiere Pro CS3. Jeff shows you how to use the Time Remapping controls in the Timeline panel to change the speed of a clip.
This tutorial is for users familiar with After Effects 7 who want to start learning CINEMA 4D. It shows you how to take advantage of the FULLSCREEN mode, and changing the hotkey to tilde (~) just like After Effects 7.

Learn how to hack save states on the PCSX2 Playstation 2 emulator for the PC. By editing the save states you can change the save points in a game and give yourself more items. This tutorial requires the use of a hex editor.

In this episode, Bert shows us how to use light, shadows and reflections in Photoshop to change the way an object looks in any given environment. Specifically, he works with the bevel and emboss effects.

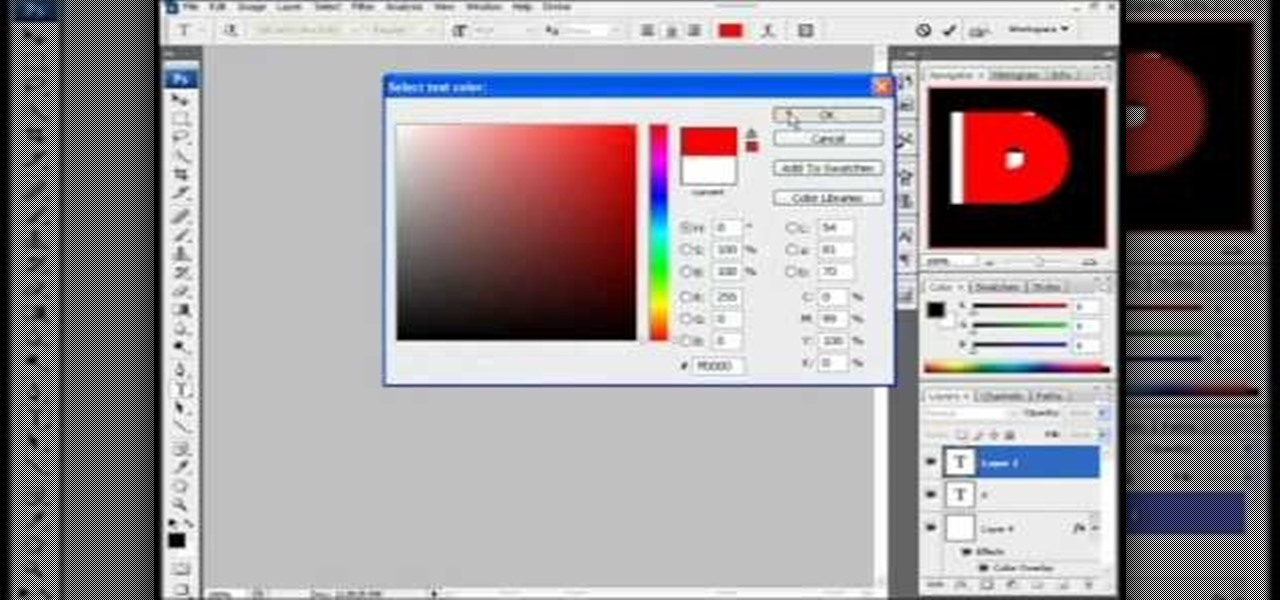
In this tutorial you'll learn how to use Illustrator to make cool and dramatic headlines. The main step, is changing the type into an outline, which is just a vector based image of the type. This allows you to easily manipulate the text as an object and do some cool things to your headline.
Banners are beautiful advertising and decor pieces that you can use on your website, blog, or even on printed materials (because those still do exist). Check out this Photoshop tutorial to learn how to create a lovely golden banner that flows back on itself and has believable lighting. Ripples add to the realistic nature of this banner.

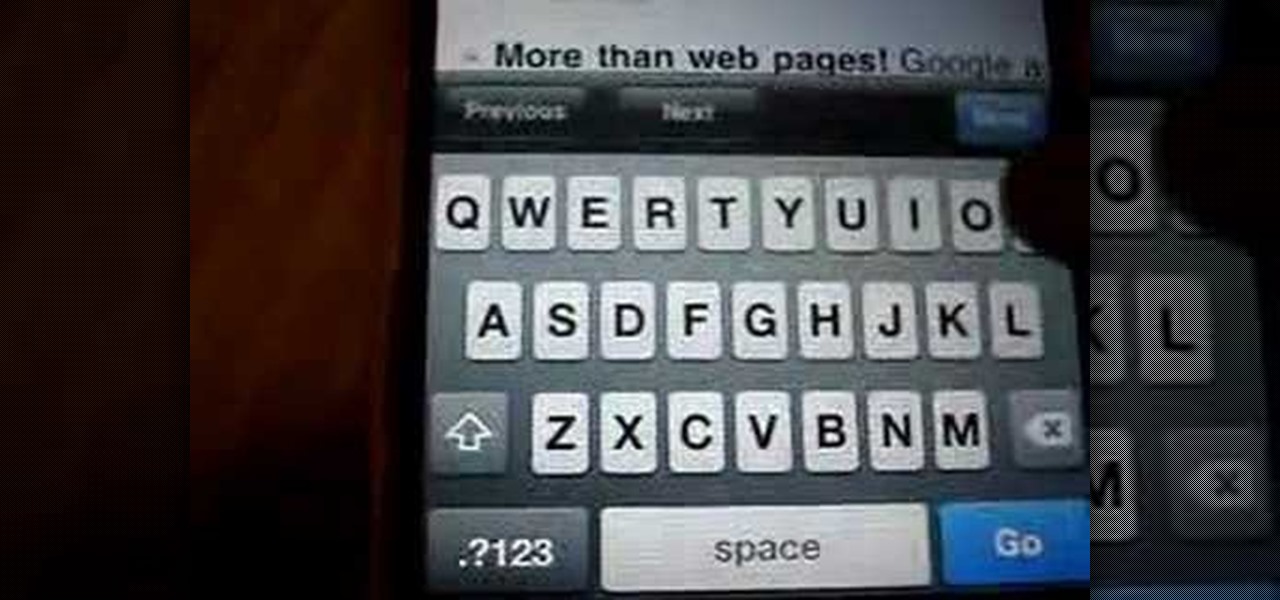
Speed up your EDGE network connection on the iPhone up to 5xs. Change your settings to optimize connection speed not using WiFi.
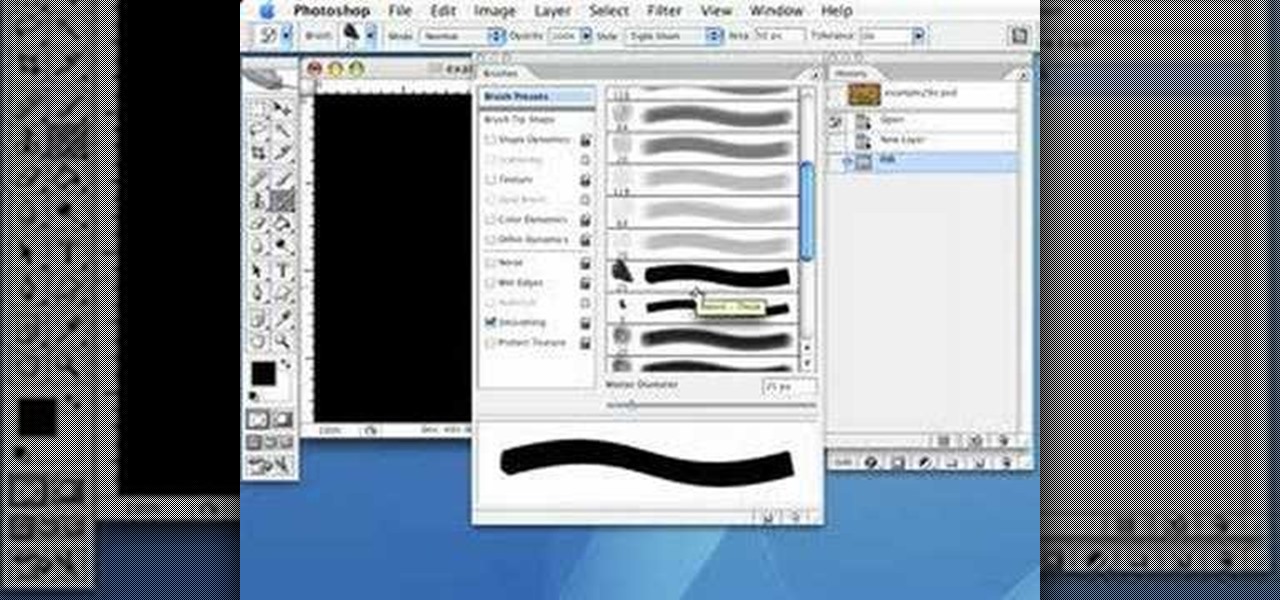
The default custom shapes in Photoshop could be changed to fit your needs. The good news is you don't have to create them from scratch. In this video tutorial you will learn to download, load and apply ActionFx custom shapes in Photoshop CS2.
Adobe Photoshop's Magic Eraser Tool provides you with a quick and easy way to change a pictures background or other color area with just a few clicks.
Want an iPhone but you think AT&T is too expensive? This video will teach you how to swap out you SIM card so that you can use your iphone on other mobile carriers. Be aware that some iPhone features may not work on other carriers.
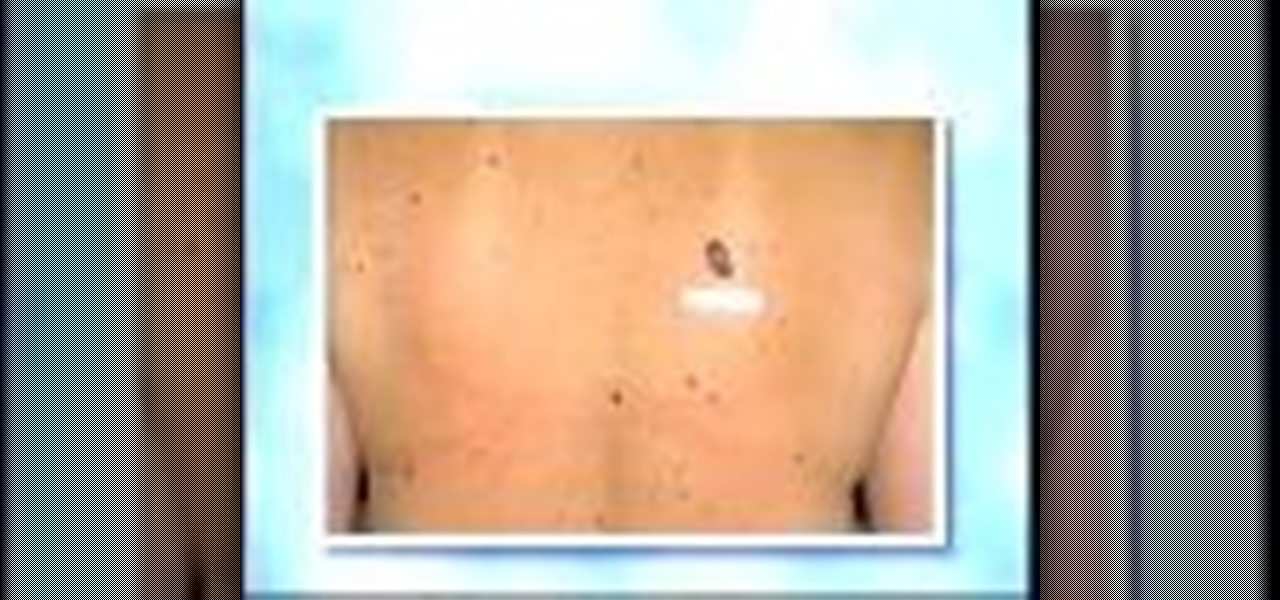
This video shows how to check yourself for the early signs of Melanoma. Check your body for moles or freckles that don't look like others on your body, sores that don't heal after 4 weeks, or a mole that changes over time.
Tapping and changing strings gets a hair more difficult. Here's one way of making this happen. Once you learn the premise I’m sure you can come up with more. Start tapping at the 17th fret - 2nd string, pulling off to the 12 fret - 2nd string, and hammering on to the 15th fret - 2nd string.
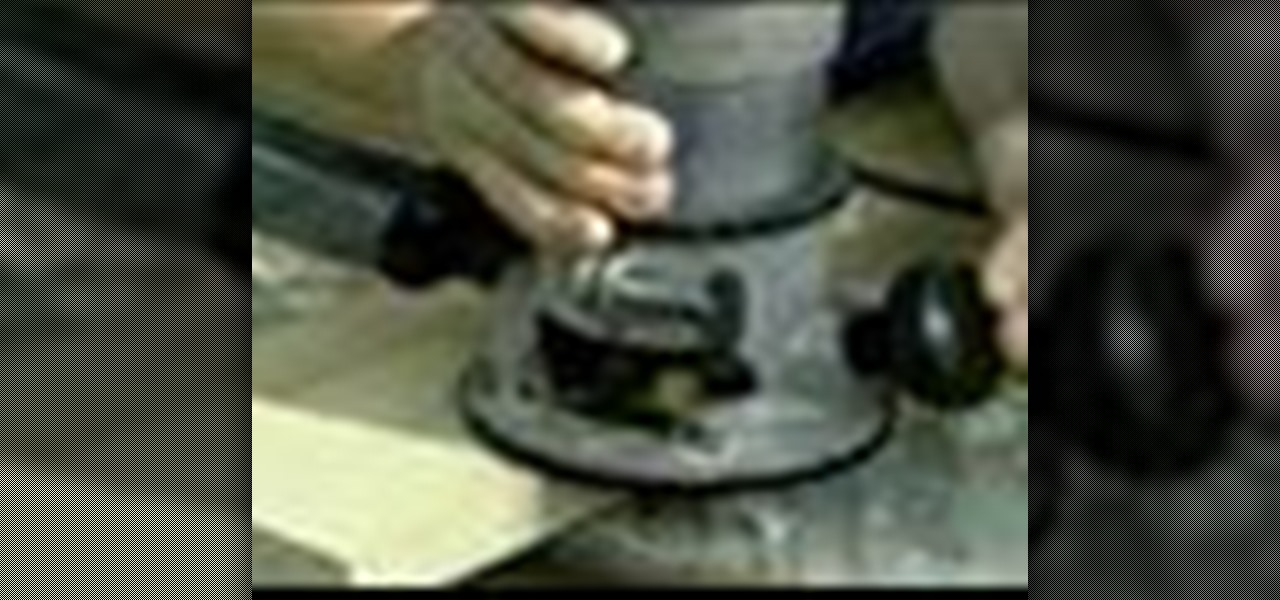
Tim Carter demonstrates how to use a router and how to change router bits. Great instructional video shows many uses to a router such as creating shelf grooves or ronding off edges on wood.
Use the Photoshop art history tool to transform photos into paintings. This tip includes learning about creating filled layers, selecting custom brush sets, and changing advanced brush settings.
RSbot is no more, long live powerbot! If you want to hack Runescape this program, no matter it's name, has been the authority since 2006. If you've ever wanted to use it or tried to and had problems, this video is for you. It will teach you how to download and install powerbot 2.+ in Windows 7, fix the JDK error that plagues so many users, and how to load scripts into the program and implement your cheats. One-stop Runescape cheat shopping!
In this Computers & Programming video tutorial you will learn how to make a favicon for your site in Photoshop CS3. A favicon is a little symbol that shows up on url bars and also on browser tabs. Open a new project in Photoshop by pressing ctrl+N. Select height and width to 64 pixels and click OK. Now open the title tool and type in whatever you want. In the video, it is ‘F’. Open the background layer and do a color overlay of black. Now change the color of the title to white so that it ...
This is a Computers & Programming video tutorial where you will learn how to change your NAT to OPEN with a Linksys router. Go to your browser and type in 192. 168. 1. 1 and that will take you to the basic set up. The authentication dialog box comes up. Type in ‘admin’ for the username as well as the password. These are default settings. In the Linksys page, go to ‘applications and gaming’ and on the Port Range page fed in these information. Your application you can name anything. Start 80, E...
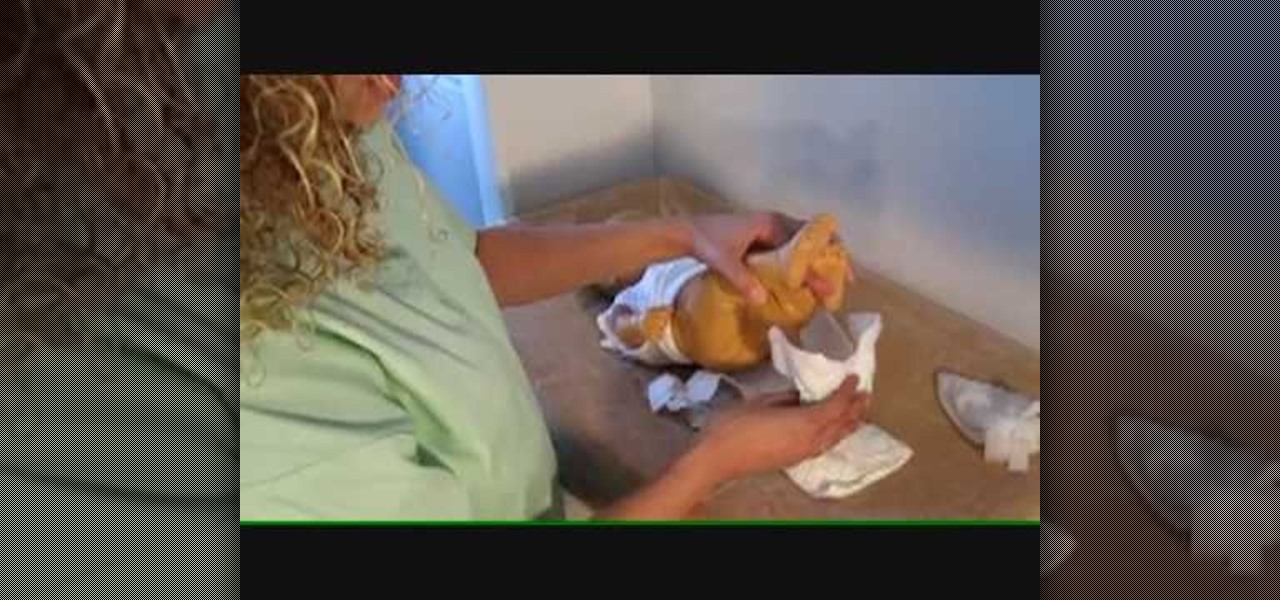
This video shows you the proper way to change a baby's diaper. First you will want to gather all of the supplies you will need before you begin. You will need a diaper, some baby wipes and some ointment. Next remove the babies clothes, raise their legs and place the clean diaper underneath your baby before you remove the old one. This is to ensure if your baby urinates or defecates it will go into the new diaper rather than all over your table. Now take the old diaper off, hold the legs up so...
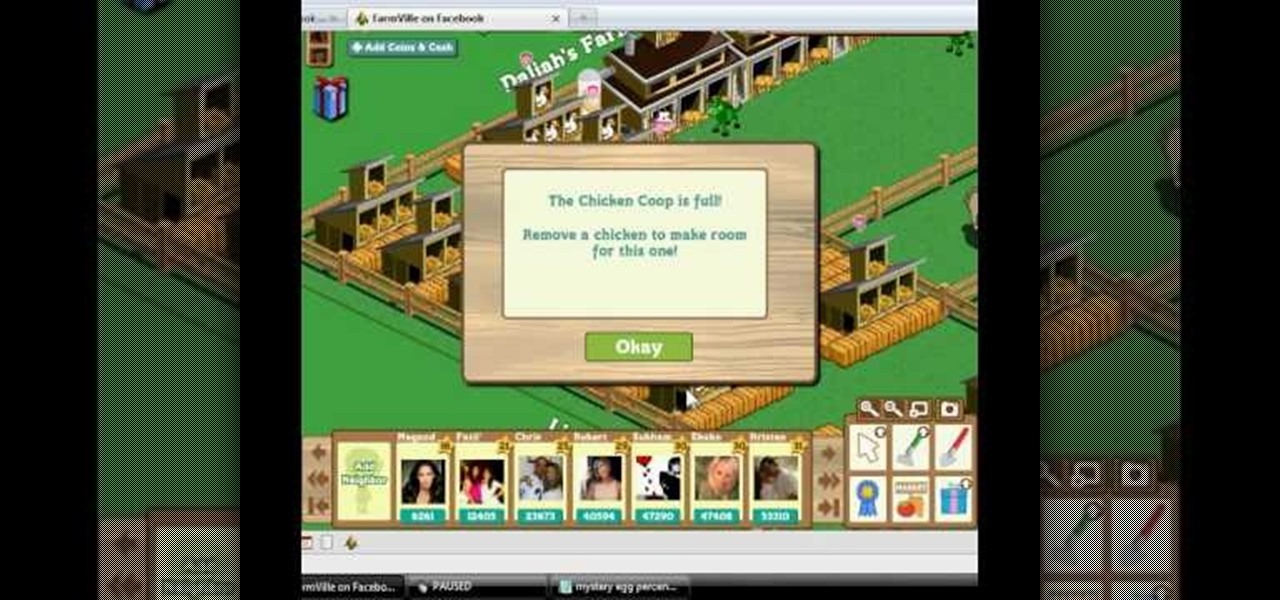
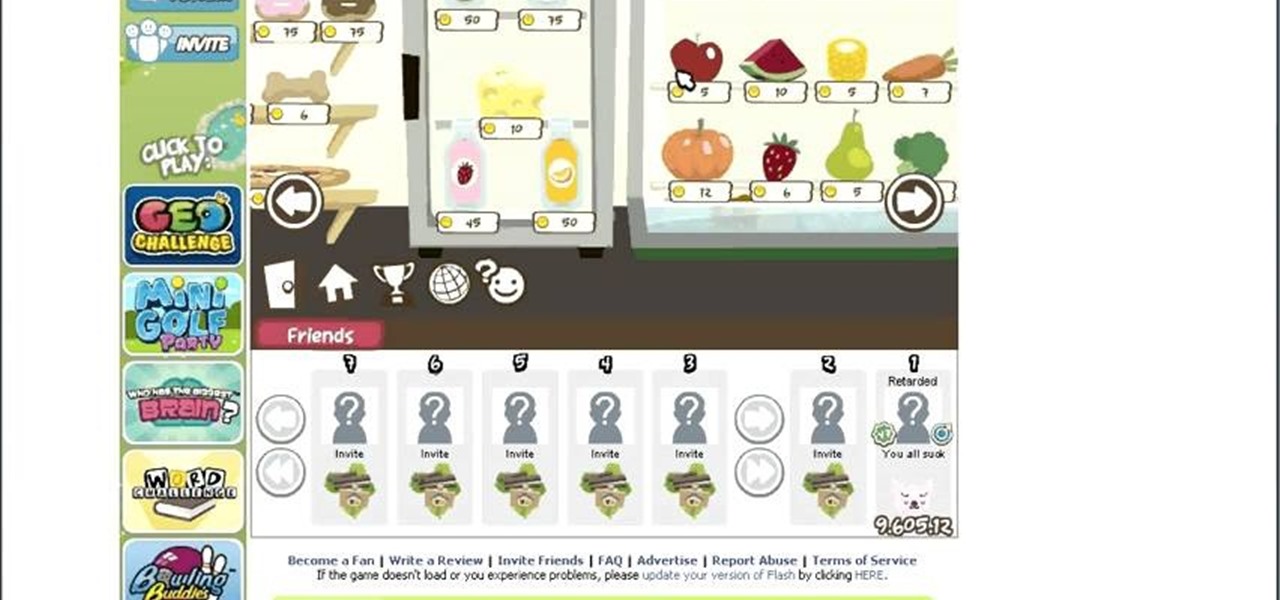
Has Zynga changed the way you get mystery eggs from chicken coops? There's only one way to find out—by trying out and seeing for yourself, but this video does it all for you, plus shows some tips on chicken coops and eggs. See how to get mystery eggs from chicken coops in FarmVille (12/22/09).
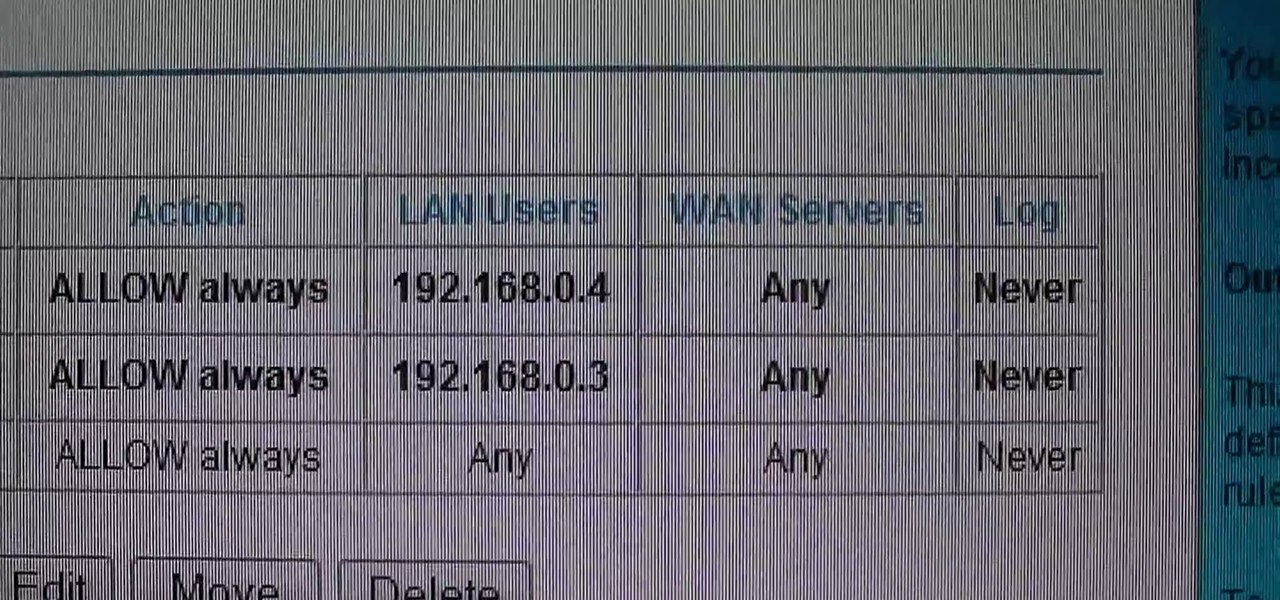
This video shows how to change the NAT type on a PS3. Go to connection settings>network settings>internet connection settings>OK>custom>wired connection>auto detect>manual. Choose an IP address that is different from your router, any other consoles, etc. Click right>automatic>do not use>enable. Press x to save settings, and test your connection. In this example, NAT type is 2. Now go to your PC and open IE. In the address bar, input router IP address, username and password. Go to Firewall Rul...
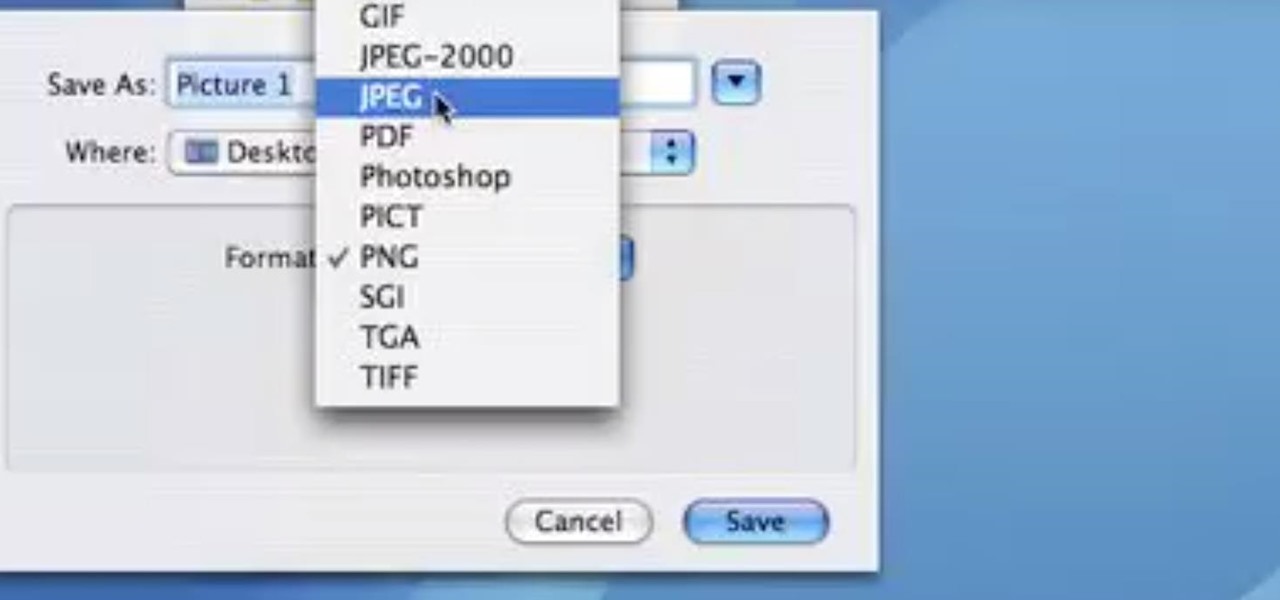
This video demonstrates how easy it is to take a screenshot with shortcuts in Mac OS X. Pressing Command-Shift-3 will take a screenshot of the entire screen, while Command-Shift-4 will let you take a screenshot of just a selected area of the screen instead. For the latter, once you use the shortcut, your mouse pointer will turn into crosshairs, and you would click on one point of the screen, then drag and release your mouse to take a capture of the selected area.
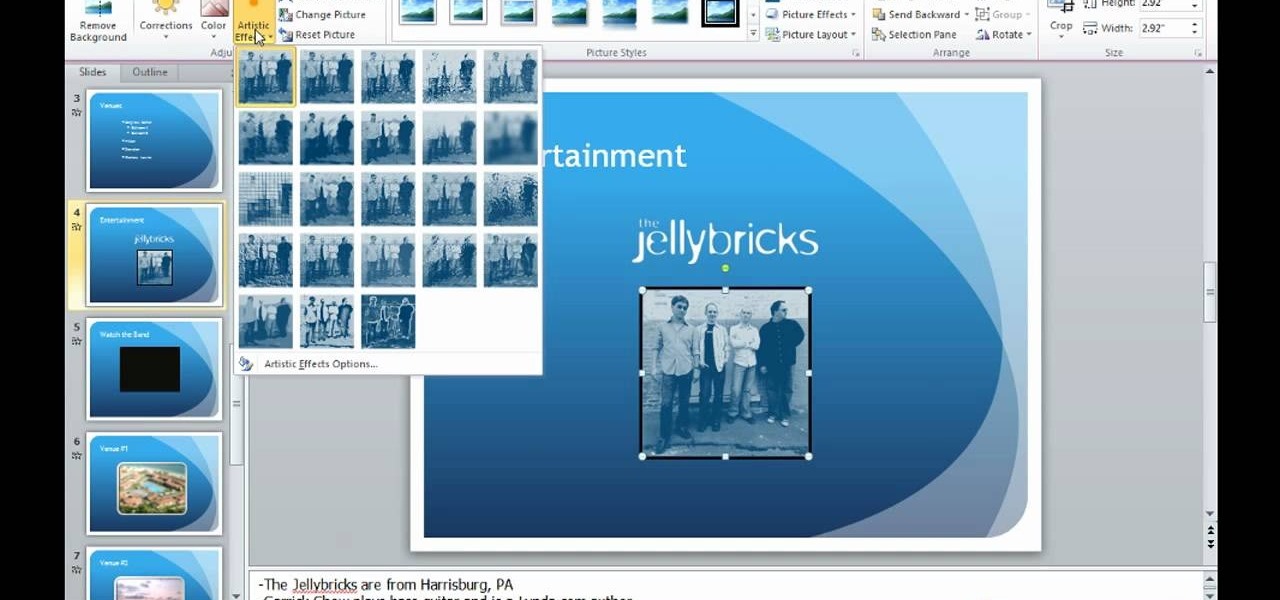
This video describes how to edit images and videos in MS Power Point 2010. For example, we will take a slide with picture added. If you want to edit the picture, first go to the "Picture Tool" button and click on the format tab. If you want to change the contrast and sharpness of the picture use the "Corrections" menu, and to change the saturation, tones, and to do recoloring we can use the color option tab, and then the "Artistic effects" which can be used to see a real time preview like usi...
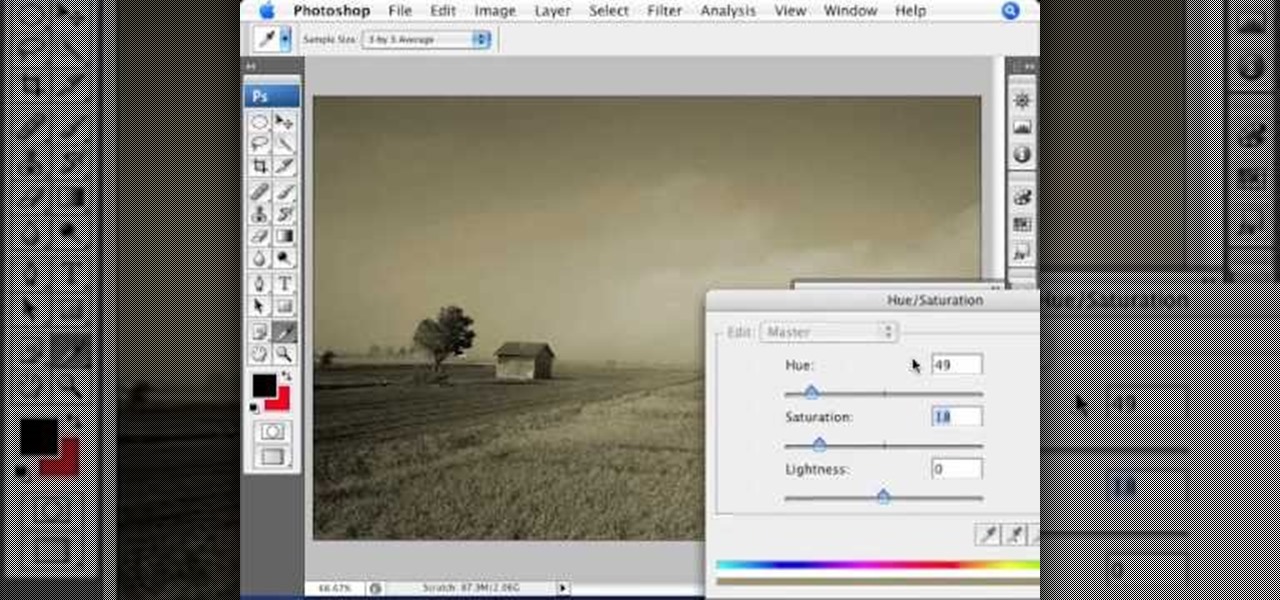
This how-to video is about how to add a color tint to photos in Photoshop.
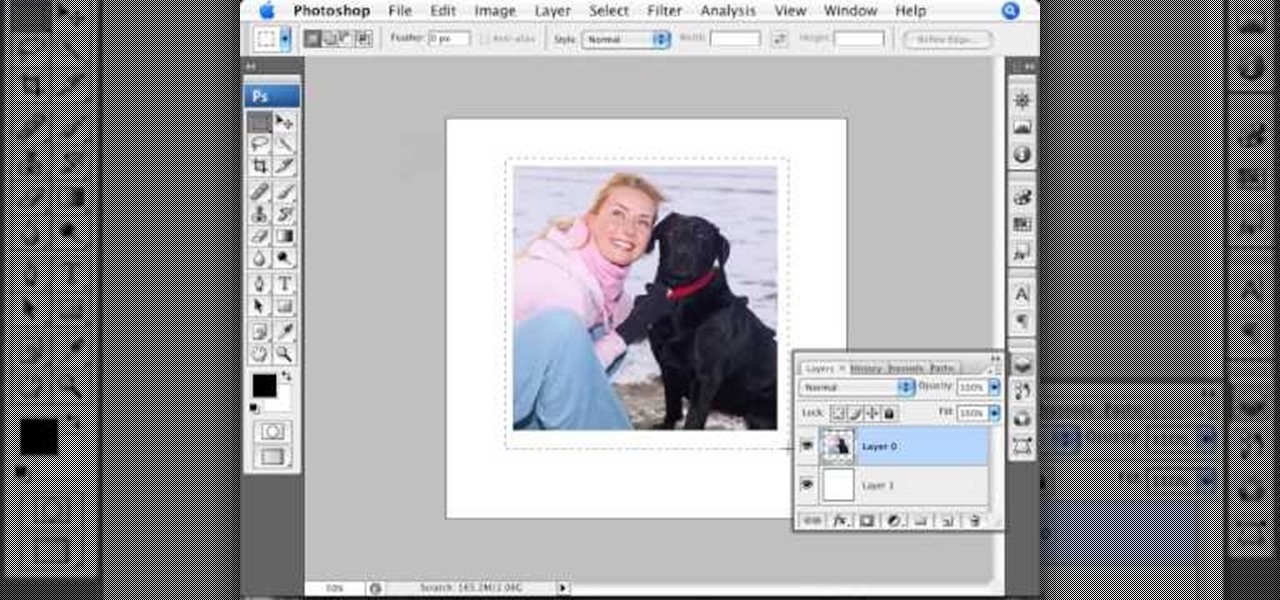
In this Photoshop tutorial the instructor shows how to create a Polaroid photo. First open the regular photo and make it into square shape as Polaroid images are in square shape. So use the selection tool and crop it into square shape. Now unlock the layer from background mode. Now go to the image canvas size and increase the size of canvas like up to 800 X 800 pixels. Now the layer can be moved around in the canvas. Now add another layer and fill it with white. Now select the image leaving a...
This video gives helpful information to increase your car safety, reliability and longevity and how you can do most of the checking yourself. Checking the tires is a safe way to start with safety maintenance. Check pressure while the tires are cold and the pressure correctly by using you owners manual or by the identification sticker inside of the door jam and not by just what's written on the side of the tire. Next is the tire condition such as the tread depth for regular ware and for the we...
Pixel Perfect is the "perfect" show to help you with your Photoshop skills. Be amazed and learn as master digital artist Bert Monroy takes a stylus and a digital pad and treats it as Monet and Picasso do with oil and canvas. Learn the tips and tricks you need to whip those digital pictures into shape with Adobe Photoshop and Illustrator. In this episode, Ben shows you how to apply light sources to 3D projects in Photoshop.
Pixel Perfect is the "perfect" show to help you with your Photoshop skills. Be amazed and learn as master digital artist Bert Monroy takes a stylus and a digital pad and treats it as Monet and Picasso do with oil and canvas. Learn the tips and tricks you need to whip those digital pictures into shape with Adobe Photoshop and Illustrator. In this episode, Ben shows you how to work with layers in Photoshop.
!!! READ THIS FIRST !!! - 4 april 2009 -
English can be difficult because few words are spelled phonetically, and every rule has exceptions. But you can become a champ in no time by memorizing a few basic rules.
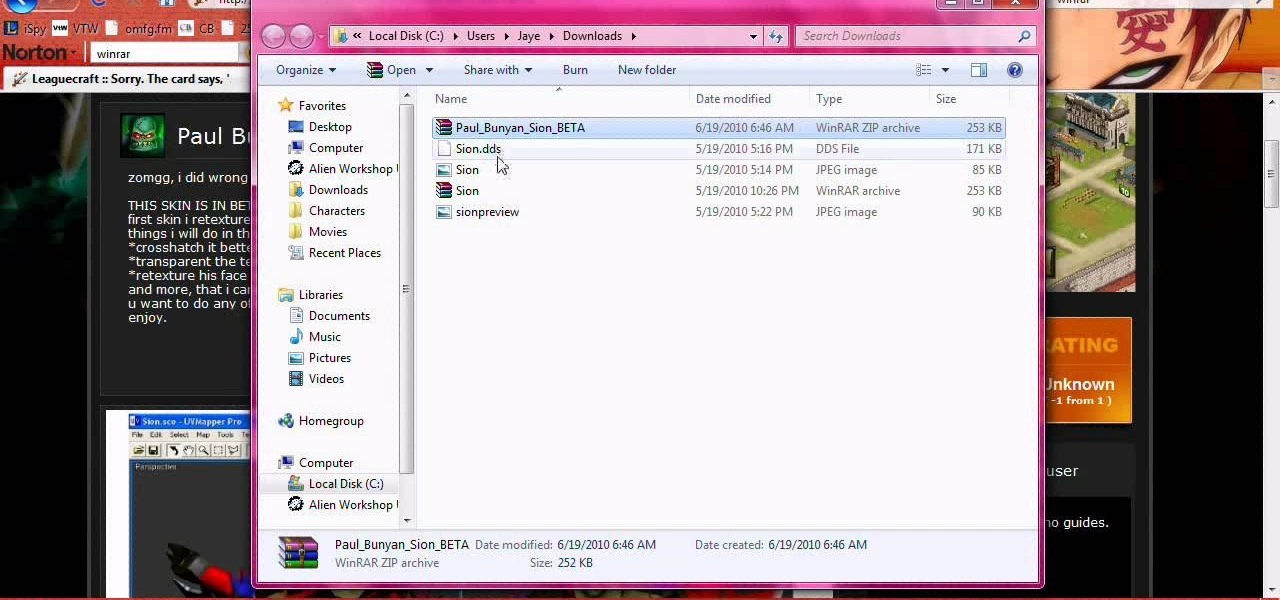
Personalize your League of Legends champions by altering their skins! This method will only change their appearance for you. This shows you how to obtain custom skins and apply them to your favorite champion (or one you just want to change around).
If you would like to use Google AdSense on your website, in order to make money from your site, you will need to get a Google account. Click "sign in" on the Google home page: www.Google.com. Next, scroll down to the bottom of the page and click on "create an account now. Fill it out. It will send you an email to verify your account. You'll need to open your email to confirm.
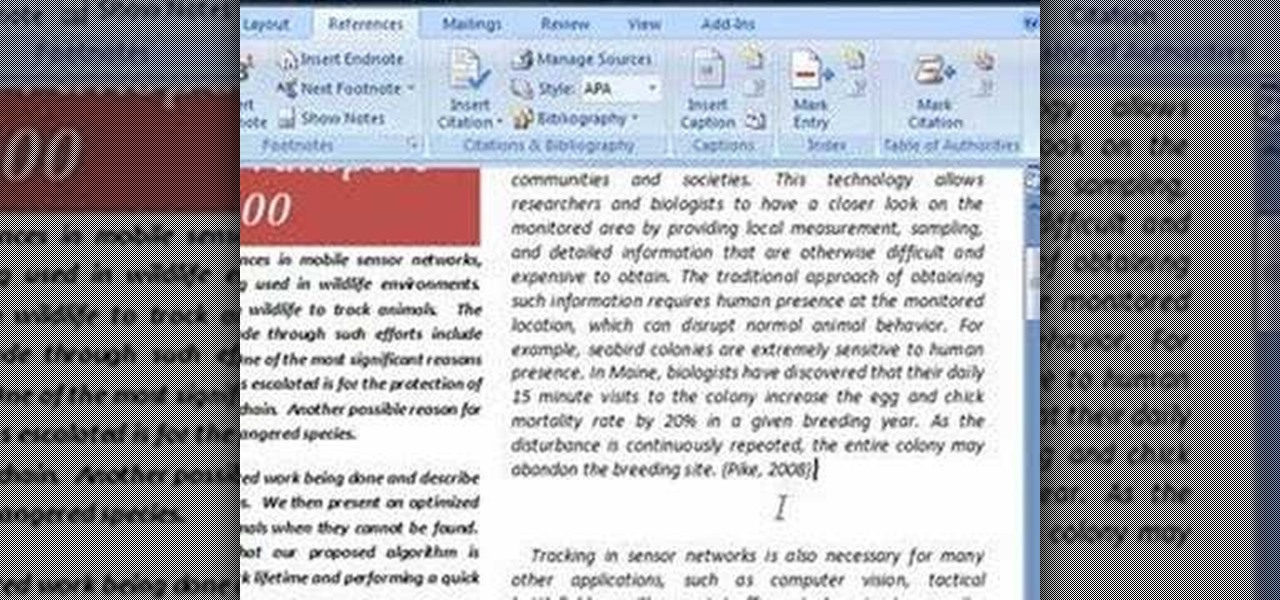
In order to use the bibliography feature in Microsoft Word 2007, you will need to begin by opening your document in Word. Find the place where you would like to add a reference. Place your cursor in that spot. Then, go to the tool bar. Click on "Insert Citation". Click on "Add New Source". When the pop-up opens, enter the information about the periodical or book that you are citing. Fill it in completely. Make sure you choose the type of material you are referencing in the top drop down menu....
In this tutorial, we learn how to change the engine oil in a Chevy truck. To start, you will want to place your car up on a secure jack so you can get underneath it with ease. Next, find the oil can and drain plug underneath the truck and use a wrench to remove the bolts around them. Now, place an oil pan underneath the drain plug and let the oil leak out into this until there is no more left. Next, clean off the bolt that is used for the drain plug and remove the filter from the underneath o...
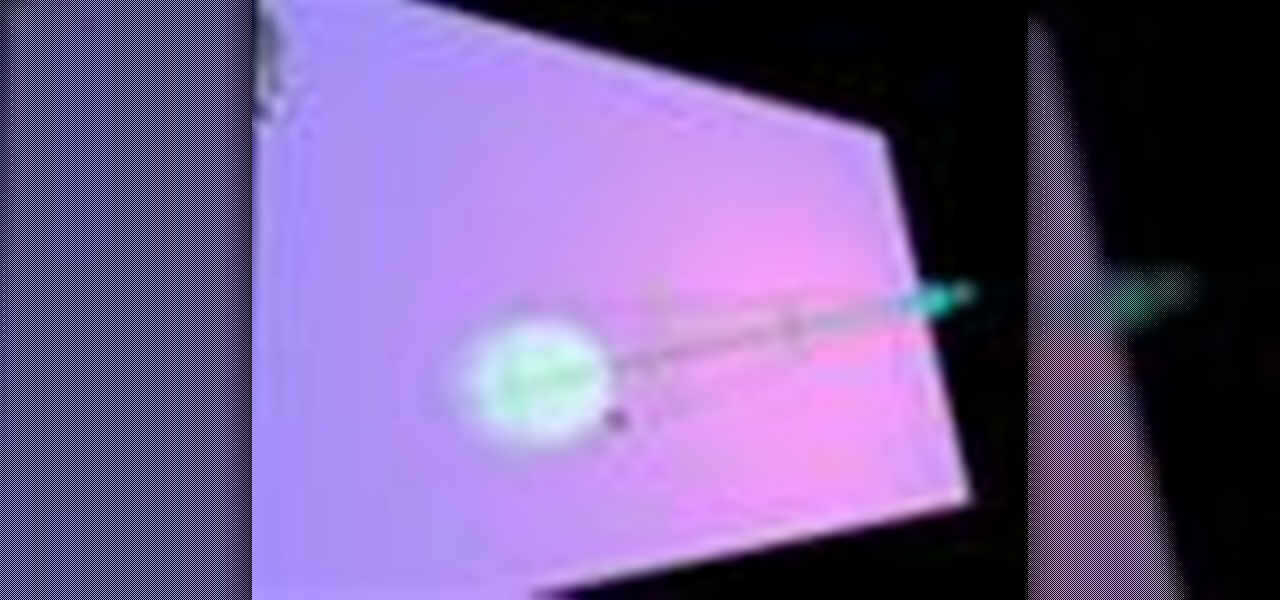
Ash Davies teaches us how to Photoshop digital bokeh with this tutorial. First, open up Photoshop and create a new canvas with your width at 1920 and your height at 1200. Now, create a new layer and set your background layer as invisible. Now create a medium size circle and reduce the fill to 50%. Now enter blending options and add a stroke of 10 pixels to the inside with the color set to black. Now define the shape as a brush and then click "edit" and "define brush preset" name this, "bokeh"...
The iPod kids shows viewers how to covert movie files that are already on your computer into a format that will work with your iPhone or iPod Touch (2nd generation).
This video teaches how to change Windows 7 accessibility options. Choose Start, Control panel. This opens the Control Panel window. Choose Ease of Access in the control panel window. This opens Ease of Access window. Inside the Ease of Access window, there are various links that allows you to set various accessibility options in windows 7. You can use these settings for options like "Optimizing Visual Display", "Replace sounds with visual cues" and you also have settings to choose how the way...
How to change the outdrive gear fluid on your boat.
Mike Callahan from Butterscotch describes how to manage the passwords on your iPhone by using the 1Password app. The application costs $5.99 for the Pro version. First, you enter an Unlock Code to give you access to the app. The icons across the bottom of the screen correspond to different features of the app. The Logins icon stores your login information. The Wallet icon stores information about your credit and bank cards. The Passwords icon holds all your passwords. The Add icon allows you ...
For inserting a picture, from the INSERT Tab click picture. Then the insert dialog box gets opened. From there you can locate the desired picture. Locate the picture to be inserted and double click it. We can also replace the picture selected. For replacing any one of the following can be done: Under PICTURE tools, on the FORMAT tab, in the ADJUST group, click Change picture OR right click the picture to be replaced and click CHANGE PICTURE. Locate a new picture, and double click it.
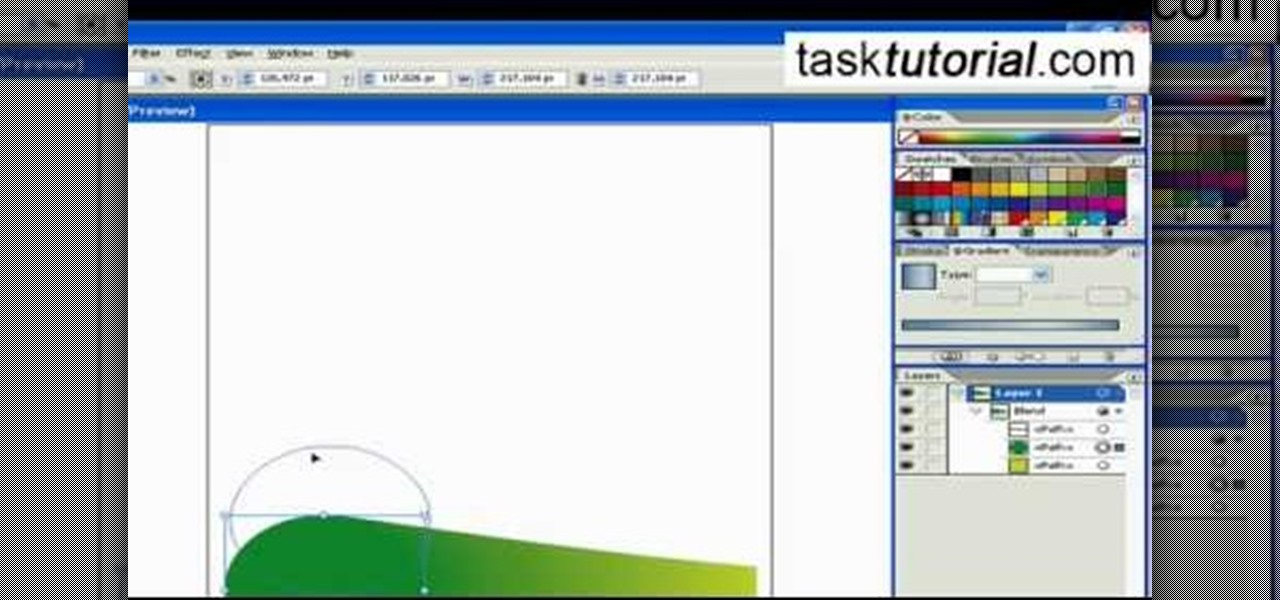
Learn how to blend shapes and colors in Illustrator with this tutorial. Open Illustrator and put the circle with color which you want. Put the square on the color you want. Select the object, go the title bar select the object and then select the blend. You will be shown the result on the screen. Select the square and circle where you place the object by click and drag method. Go to the object and select the blend and choose the blend options. Change in specific steps which you want in the sc...