
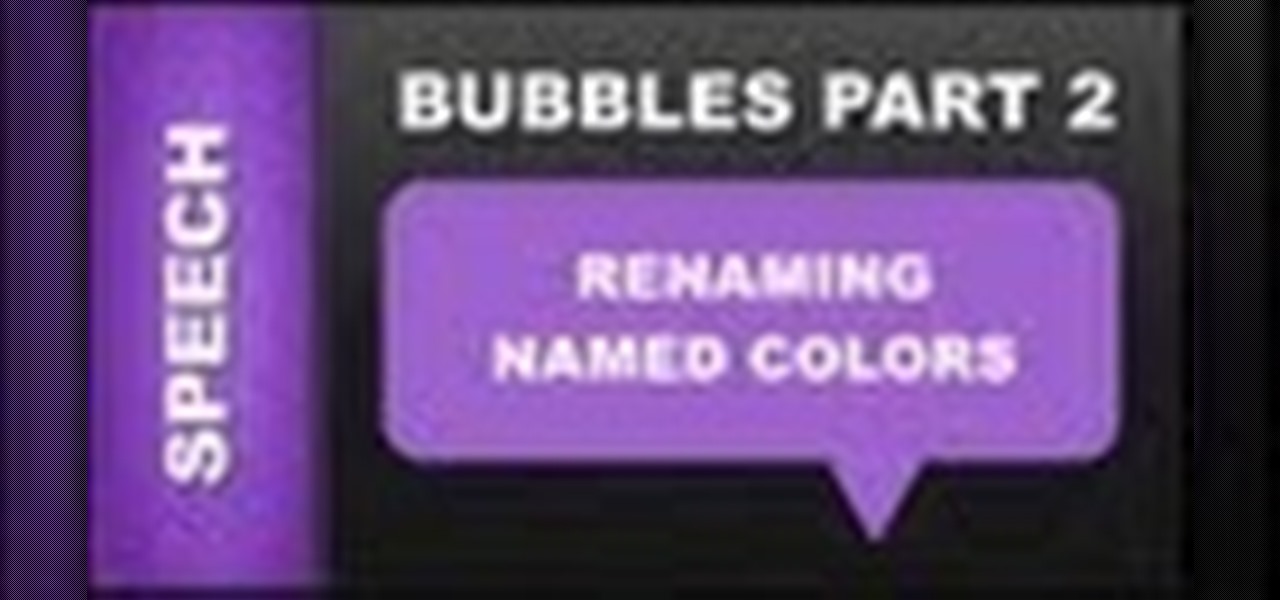
How To: Rename Named Colors & Speech Bubbles Xara Web Designer 7 Premium
In this web design tutorial you will learn the differences between matching colors vs. not matching colors, changing speech bubble colors and renaming named colors.

In this web design tutorial you will learn the differences between matching colors vs. not matching colors, changing speech bubble colors and renaming named colors.

Website Design Tutorial for Xara Web Designer learning how to switch between single page view vs. multi-page view. When working with your web design it is important to understand, which website design view is best for completing your project. This web design tutorial covers two of in my opinion the most important views for your web design work environment.
You jump in your car and notice that is feels like it is slipping out of gear or shifting in and out of neutral. What could the problem be? One problem may be that the transmission fluid and filter need to be changed.

In this web design tutorial learn how to create a mouseover state using mouseoff and mouseover layers. The mouseover state will allow more interactivity. Basically when a user places their cursor over the mouseoff object the mouseover object will be revealed. Common uses of this feature is to create a color highlight or texture change.

In this web design tutorial Learn how to create a multi-page document, duplicate and create new pages and edit page file names. This Web Design Tutorial for Xara Web Designer is really important because it also covers why you should never change the "index.htm" file name for your homepage.

Having trouble getting a strong Wi-Fi signal on your Samsung Galaxy S3? Does the signal drop out on you when changing rooms? Frustrating, isn't it?

Got a Samsung Galaxy Note 2 phablet? Sure, it has its problems like any other mobile device, but it's still one of the hottest phablets on the market right now, because, well... it's awesome, right?
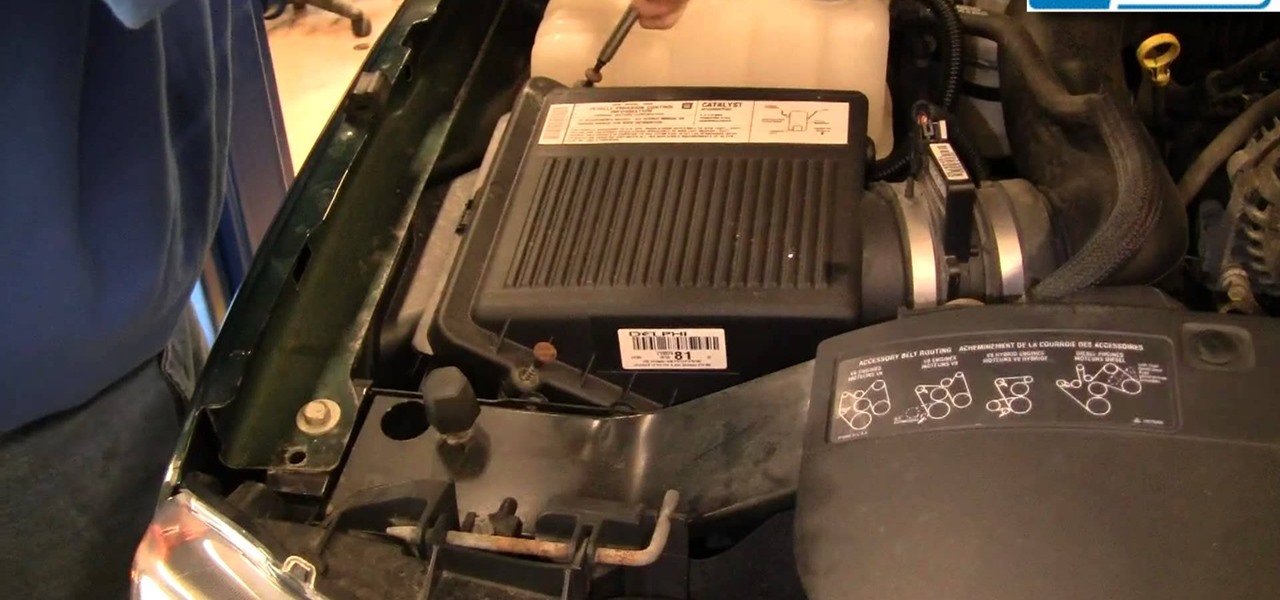
In this video we will show you how to change the air filter on your 99-06 Chevy SIlverado.

In this video we will show you how to change the front brakes in your 1999-2004 Honda Odyssey.

The PlayStation 3 is a sweet gaming system, and even though Blu-ray discs didn't really live up to all the hype and there is still no HBO GO app available, I love my PS3. One of the coolest things about it is that you can customize it to look however you want. One of the most common ways to do this is by changing the wallpaper, but most people use their computers to transfer wallpaper images over.
Changing the carrier name from an unlocked iPhone's status bar has been possible to do ever since Cydia released Zeppelin earlier this year. The application comes with preset logos you can use such as Pac-Man, Space Invaders, the Assassin insignia of the Assassin Order from Assassin's Creed (well, that was a mouthful) and my personal favorite...

This quick video will show you how to change a loose serpentine belt tensioner in your Ford F150, F250, or F350 pickup truck (1992-1996).

This quick video will show you how to change the air filter in your Ford F150, F250, or F350 pickup truck (1987-1996).

This video shows you how to repair/install/fix/change/replace a broken, damaged, cracked, faded, cloudy, or chipped signal light, applicable to 2004-2008 Chrysler Pacifica models.
This video shows you how to install/repair/fix/change/replace a broken, damaged, burned out, cracked, faded, cloudy or chipped fog light, applicable to 2004-2006 Chrysler Pacifica models.

This video shows you how to repair/install/fix/change /replace a slow, stuck, cracked or damaged window regulator, applicable to 2004-2008 Chrysler Pacifica models.
This video shows you how to repair/install/fix/change/replace a broken, damaged, burned out, cracked, faded, cloudy or chipped taillight, applicable to 2004-2008 Chrysler Pacifica models.

Steampunk is a tremendously interesting phenomenon because of its reliance on science fiction, and fiction in general. Steampunk can arguably be broken down into two categories: the fiction, and the aesthetic. Sometimes these categories cross over, but they're often more distinct than most people suspect; that said, the aesthetic is firmly based in works of fiction.
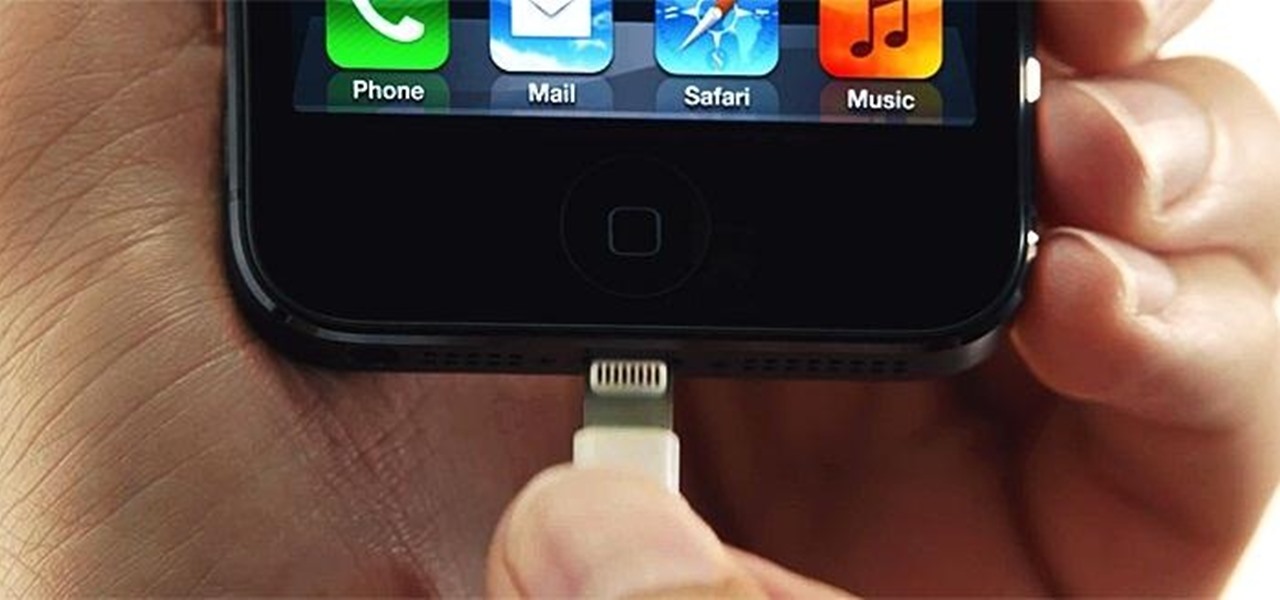
Lightning has struck, but not everyone is excited. Apple's new 8-pin Lightning connector for the iPhone 5 has replaced the aging 30-pin connector. Many users have concerns that their current third-party devices will no longer operate properly with the smaller all-digital design, not to mention the expensive price tag for each adapter. What Does This Mean for the User?
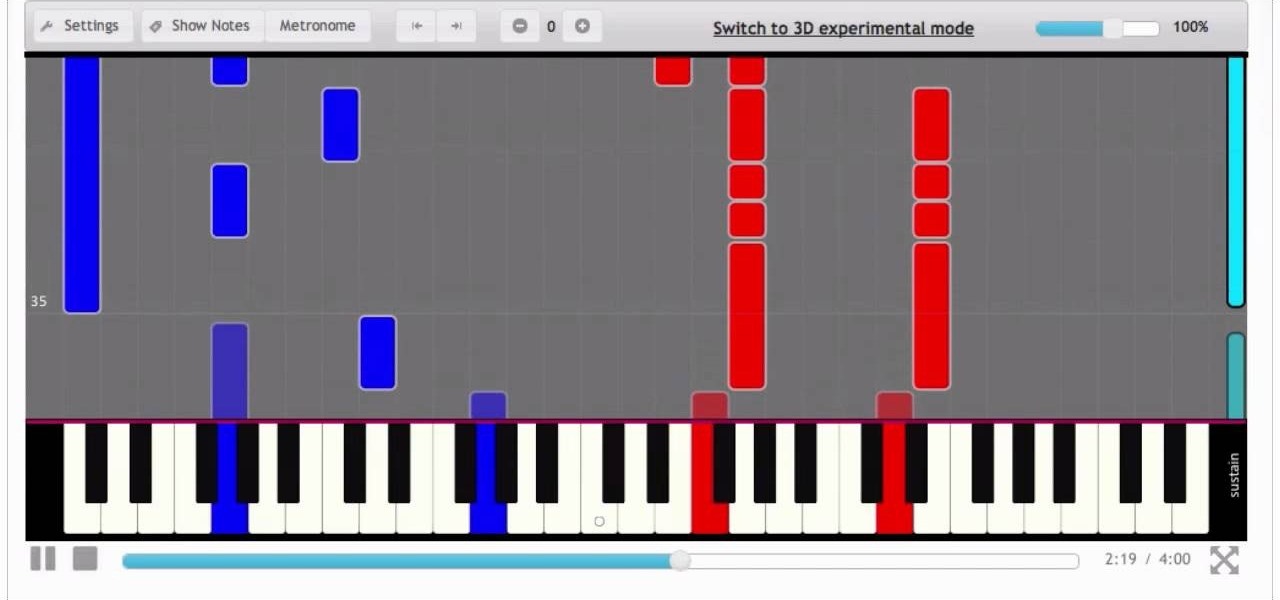
Video: . Connect a piano keyboard or start playing on your computer keyboard right away! Practice one hand at a time, change playback speed, transpose to a different key, create loops to repeat, track your progress and much more. How to Play Ronan by Taylor Swift - Interactive Piano Tutorial.
Video: . Connect a piano keyboard or start playing on your computer keyboard right away! Practice one hand at a time, change playback speed, transpose to a different key, create loops to repeat, track your progress and much more. How to Play Emmanuelle from Le Meilleur De - Interactive Piano Tutorial.
Video: . Connect a piano keyboard or start playing on your computer keyboard right away! Practice one hand at a time, change playback speed, transpose to a different key, create loops to repeat, track your progress and much more. How to Play Guardian by Alanis Morissette - Interactive Piano Tutorial.

Video: . Connect a piano keyboard or start playing on your computer keyboard right away! Practice one hand at a time, change playback speed, transpose to a different key, create loops to repeat, track your progress and much more. How to Play Demons by Imagine Dragons - Interactive Piano Tutorial.
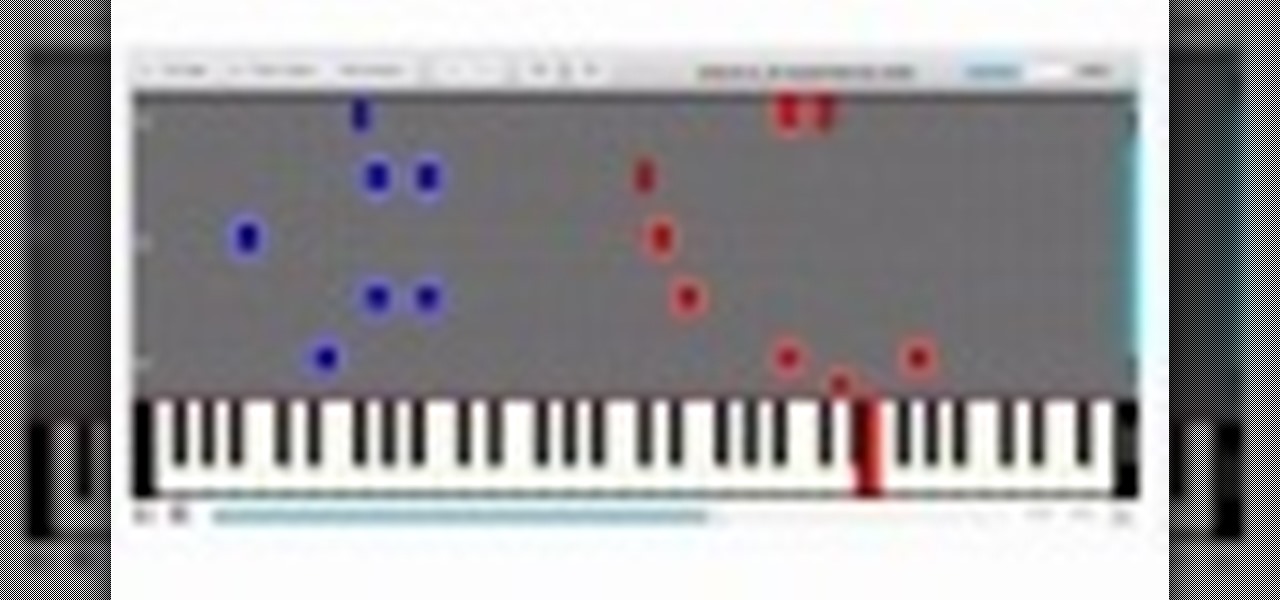
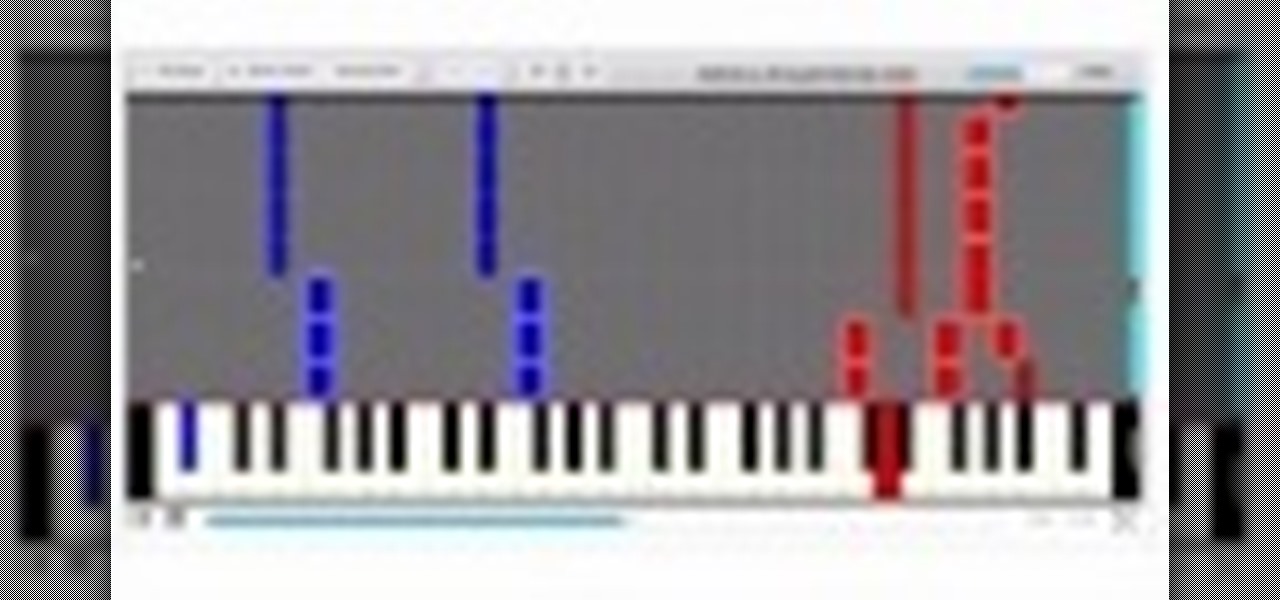
Connect a piano keyboard or start playing on your computer keyboard right away! Practice one hand at a time, change playback speed, transpose to a different key, create loops to repeat, track your progress and much more.
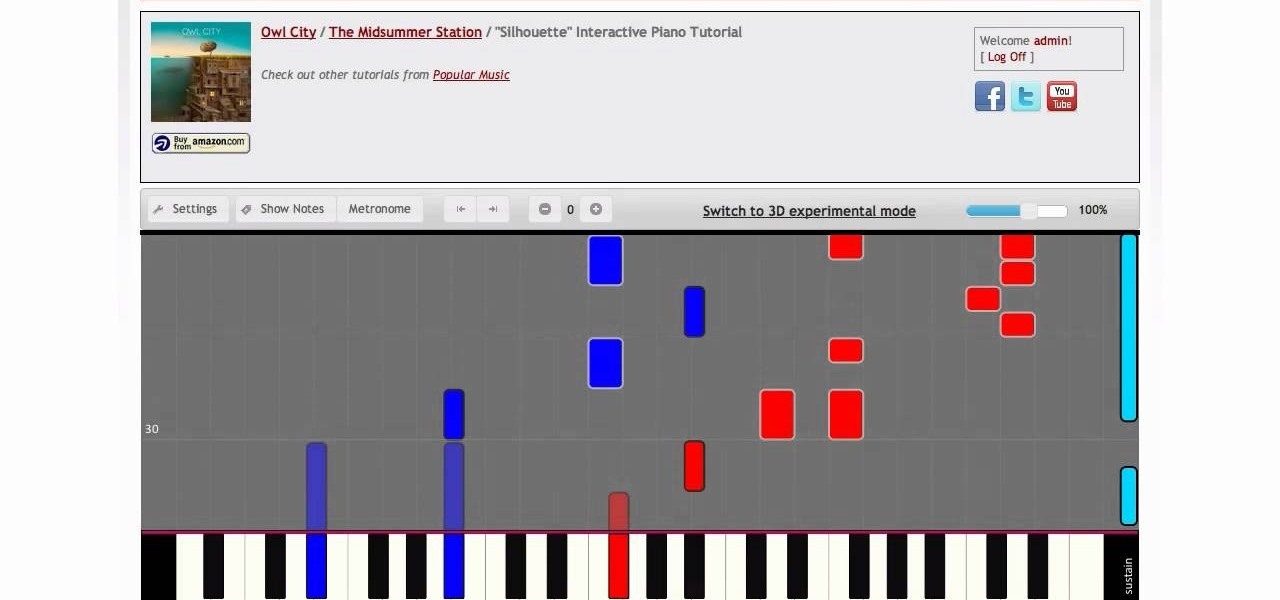
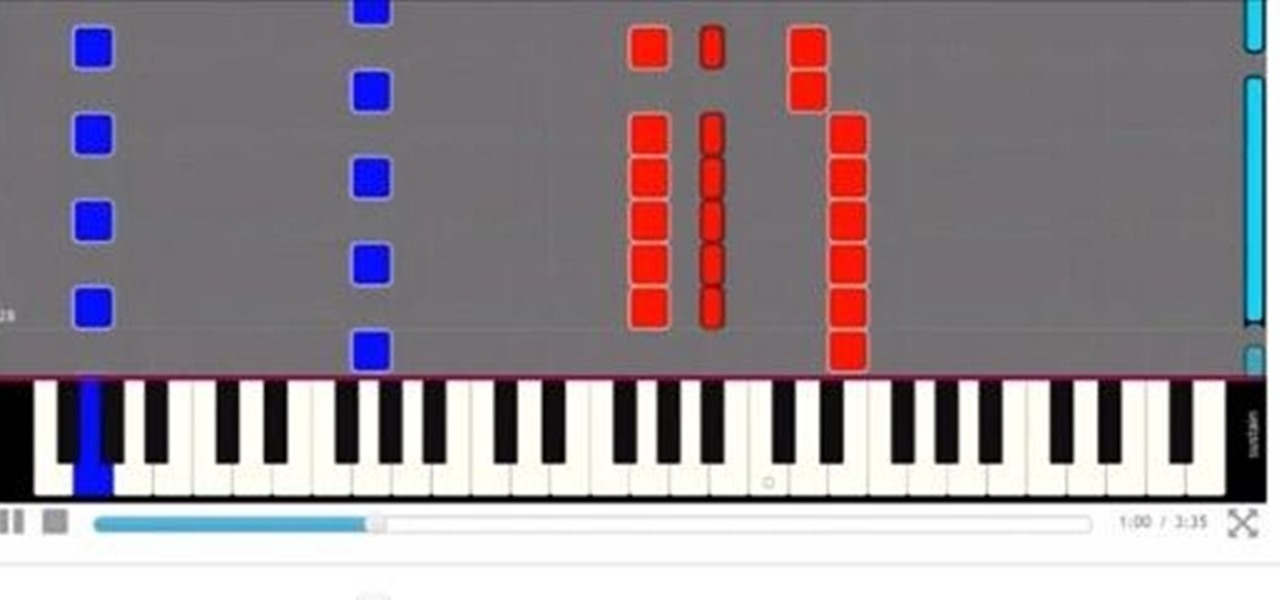
Video: . Connect a piano keyboard or start playing on your computer keyboard right away! Practice one hand at a time, change playback speed, transpose to a different key, create loops to repeat, track your progress and much more. How to Play Silhouette by Owl City - Interactive Piano Tutorial.

Everyone in the world uses tablets these days, so it's no wonder that the Samsung Galaxy Tab has different languages built right in. To change your language on the Android tablet, all you need to do is navigate to the Settings menu.
In this video from g0tst1ngs we learn how to make a fake virus. Go to right click and go to New and then shortcut. in the pop up menu type shutdown -s -t 900 -c Then you can put a message in quotations that will appear. Name this shortcut Fake virus and click finish. Now right click the icon and change properties and you can change the icon this way. To make it become the Windows logo, click Browse, my computer, logo disk, program files, and search for MSN and double click on that and the ico...
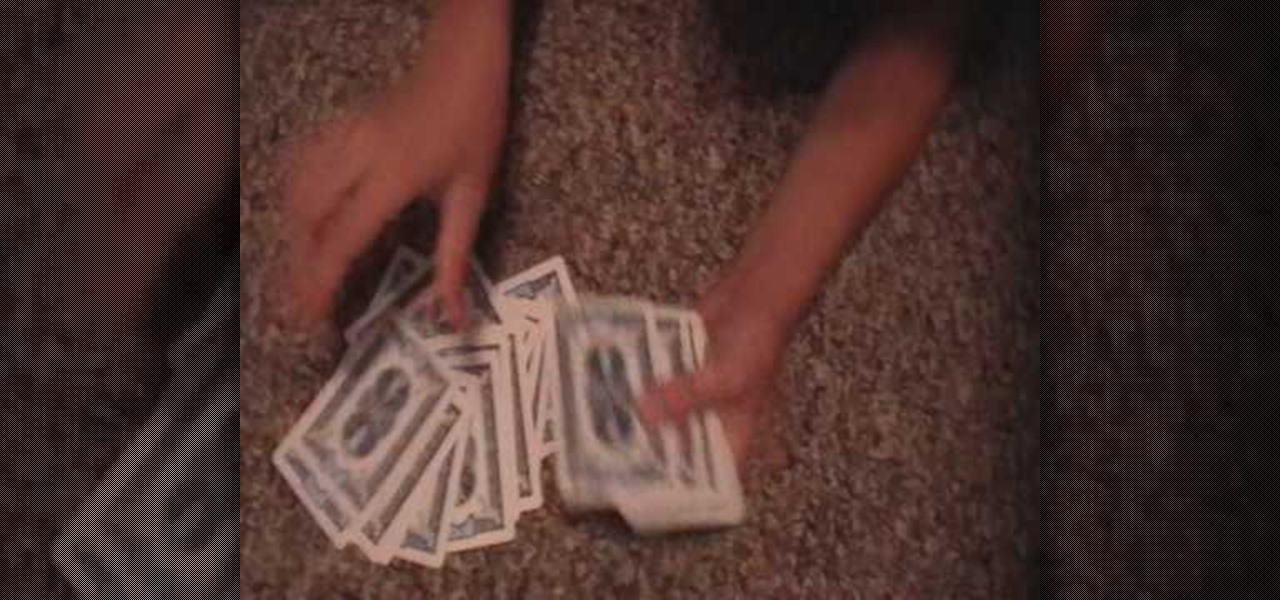
This video reveals how a magic trick which was performed by Criss Angel, in which your card deck appears to change colors. For this trick, you will need two decks of cards, one which is red and one which is blue. You then have to use double sided tape to tape a red card to a blue one, so that you appear to have a card which is red on one side and blue on the other. The rest of the cards will be from the blue deck. Place the double-sided red card on top of the deck so that it appears that the ...
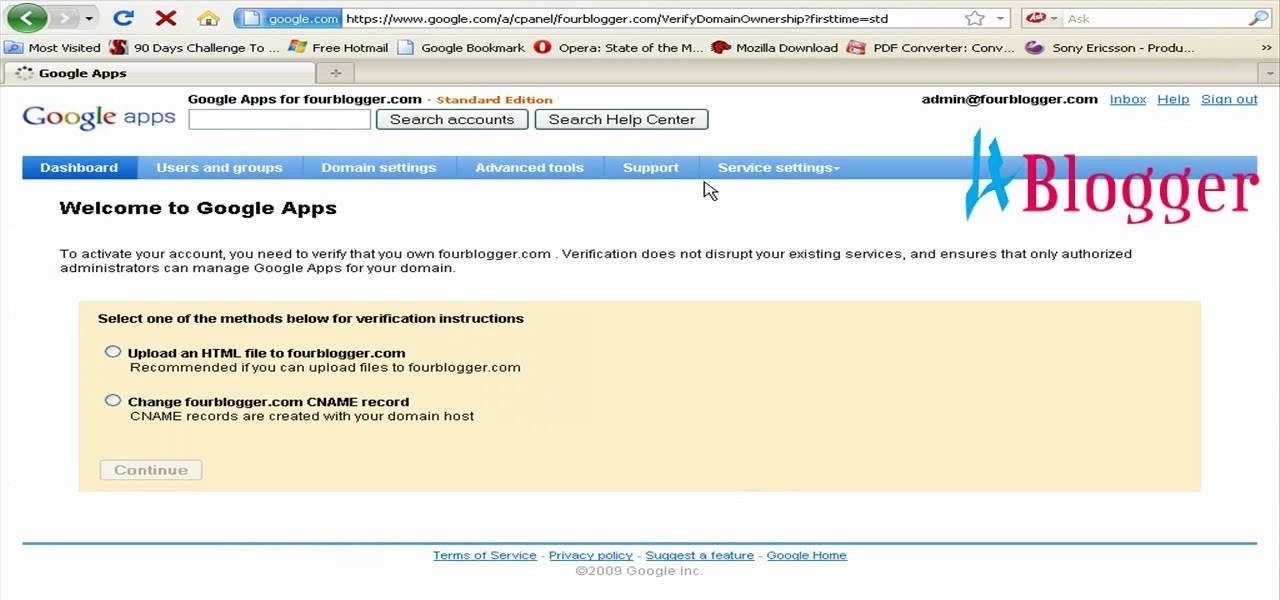
You can create the Google apps email like Gmail for your domain. So to do this first you need to go to the google.com/a and click on the standard in "other Google apps editions". Now click on "get started". Now select "administrator: I own..." and enter your domain name and click get started. Now on next page create your account by filling all the fields and click continue and now fill the info of your administrator account and click I accept button. Now next step is for the verification of y...
Many of us often faces the electric problem and one of them is power plug problem. When it goes down you need to change it.
Babysitting is the prime teenage job for young women to start learning responsibility and earning a wage, but it isn't all fun and games… you are dealing with an infant, which is far from fun, but it's money in your pocket. Earning a little extra money babysitting infants can be more fun — and a lot easier — than schlepping food at your local diner.

This video is about getting customize working on ANY iPhone/iPod Touch
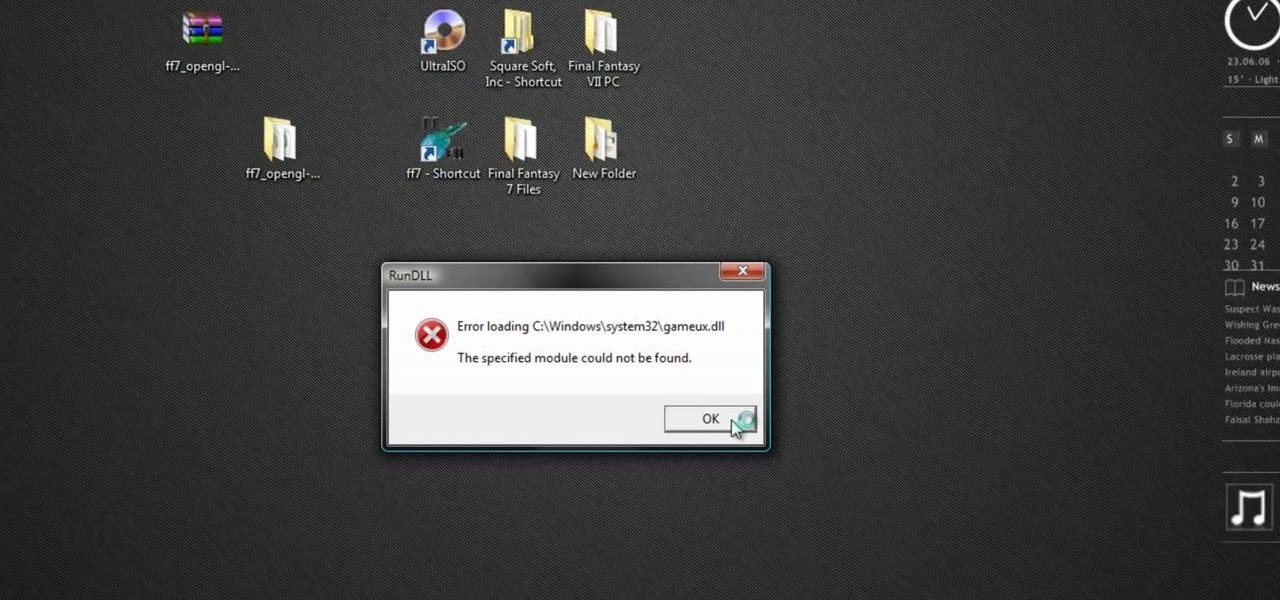
If you're a Final Fantasy VII fan, this video will excite you. Learn how to install a custom graphic driver to play Final Fantasy 7 PC. This is an improvement for the game that makes it playing more enjoyable on your display. It fixes some bugs and glitches and allows you to change the resolution of the game. It also lets you play in windowed mode.

Open the picture you want to edit. Right-click on the main picture layer in the box and then select "Duplicate Layer". Then, in the same box, go to the drop-down menu that says normal, and change it to "Overlay". Then, select Filter>Other>High Pass. In the box that comes up, set the radius to 7.4 pixels. Next, go to Layer>New Adjustment Layer>Gradient Map. Then, when the box comes up, click OK. Then click on the main gradient in the Gradient Map. In the new box, there is a bar that goes from ...

In this how to video, you will learn how make car rims bigger using Photoshop. First, open the image in the program. Choose the elliptical marquee tool and select the rim. Next, right click the selection and click layer via copy. Now you should have the cut out rim in a new layer. Drag layer 1 bigger by holding shift. Replace it and then click on the accept button. Erase the part of the rim that is on the body of the car with the eraser tool. Have layer 1 selected and merge it down. Do the sa...
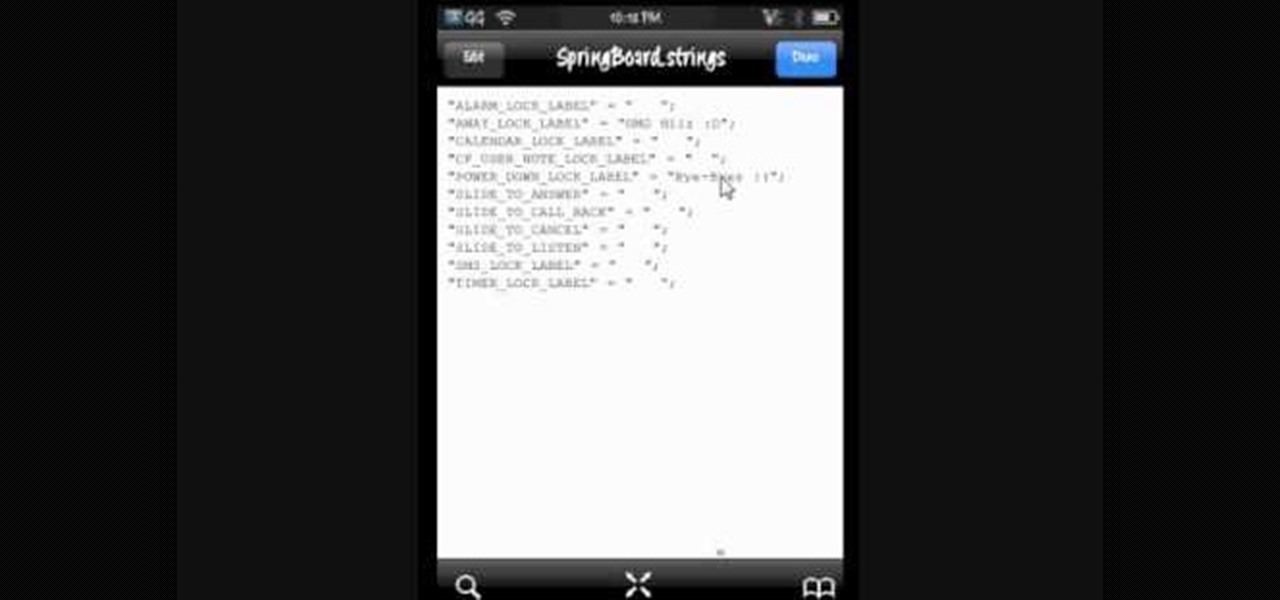
Shallisubscribe teaches viewers how to change the slide to unlock words on the iphone! First, you need to jailbreak your iPhone or iPod Touch! Next, open up Cydia and search for 'iFile'. Next, after downloading this open up Cydia and search for 'Slide to Unlock Killer'. You will also want to download this. Next, open up iFile and at the top left corner press that button 'var'. Scroll down until you find the folder that reads 'stash'! Next, find the 'theme' folder and click on the 'Entriegel K...
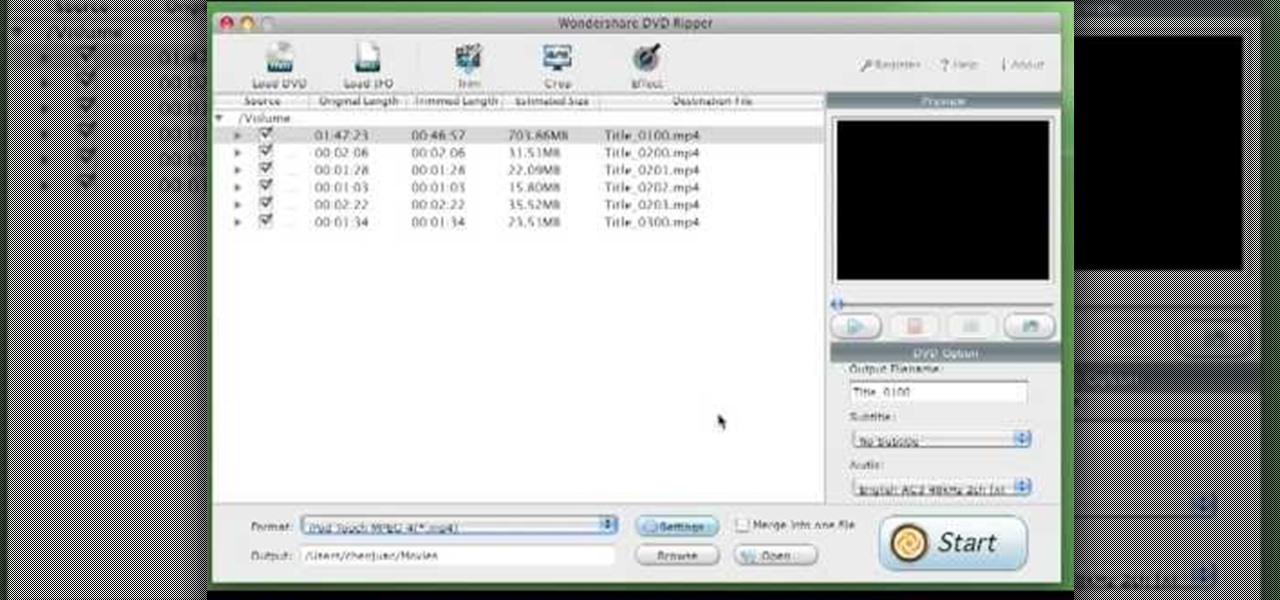
This video tutorial from burnworld shows how to use Wondershare DVD ripper on Mac computer. To start, open the application. Click Load DVD. Browse for DVD you want to rip.
This how to video shows you how to create wallpaper for your computer desktop. Open Photoshop and create a new file. Change the dimensions to the size of your desktop. Click okay and go to edit and fill. Choose color and select black. Click okay to fill the screen with black. Duplicate the layer. Once this is done, go to filter, render, and lens flare. Make sure the lens flare is in the center. Edit the settings to your liking. Click okay to add the effect on to the image. Go to filter, disto...

In this how to video, you will learn how to layer videos in Final Cut Pro. First, open Final Cut Pro. Get your original clip and then put the clip that you want in the clip and drag it in over the top in the time line. Change it to image and wire frame. Grab the corner of the image and drag it down to the size you want. You can also move it around. Next, go to sequence and render it. Once that is done, change the selection back to image. Once you play the file, both clips will be playing. If ...

In this how-to video, you will learn how to make grain textures in Photoshop. First, click add layer mask to an open image. Add a filter to this mask and by going to the texturizer option. Adjust the settings to your liking. Click okay to continue. The mask will make the texture transparent. Go to image adjustments and levels to adjust the intensity of the grain. Click okay to save the settings. Select the layer and then choose the color you want the grain to be. Make sure to lock transparent...