Welcome back, my greenhorn hackers! In my continuing effort to demonstrate to you how to hack the ubiquitous Windows 7, we will going after that notoriously vulnerable Adobe Flash that is on nearly every client Windows system (you are not likely to find it on servers).

Welcome back, my greenhorn hackers! In a previous tutorial on hacking databases, I showed you how to find online databases and then how to enumerate the databases, tables, and columns. In this guide, we'll now exfiltrate, extract, remove—whatever term you prefer—the data from an online database.
Welcome back, my aspiring hackers! One of those areas of Linux that Windows users invariably struggle with is the concept of "mounting" devices and drives. In the Windows world, drives and devices are automatically "mounted" without any user effort or knowledge. Well, maybe a bit of knowledge. Most Windows users know to unmount their flash drive before removing it, but they usually think of it as "ejecting" it.
Like many other smartphones, the HTC One has a few capacitive keys on the bottom of the device, but that's the problem. It only has a few keys, meaning two, which are the Back and Home keys.
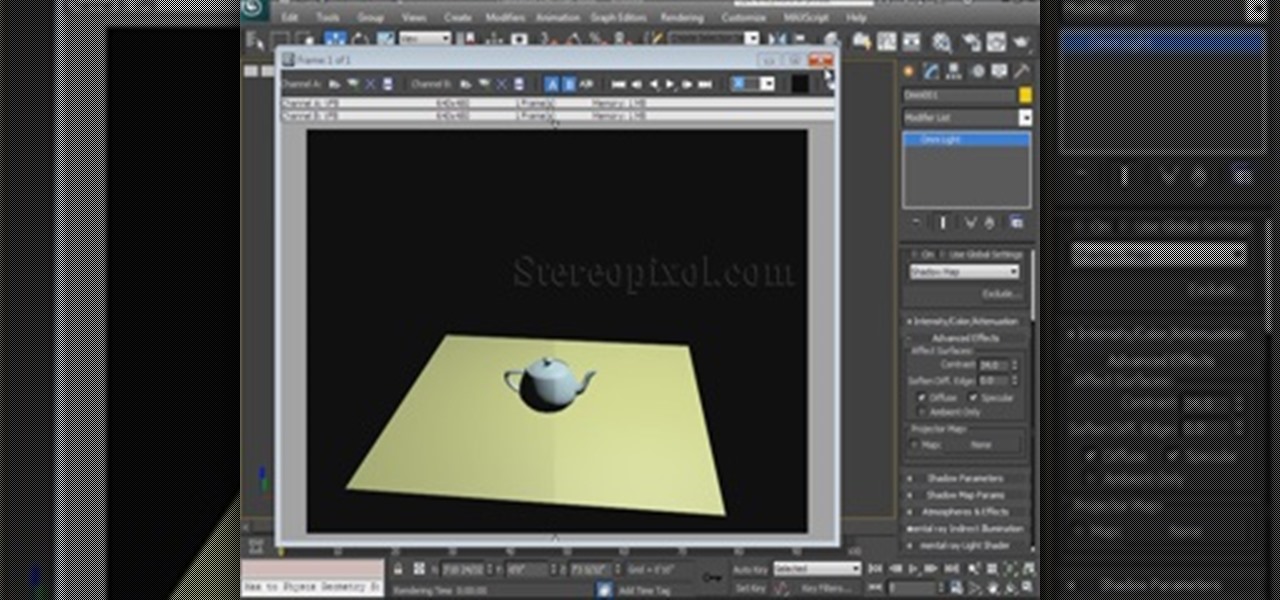
Welcome to the 5th Chapter of the Lighting series in 3Ds Max. In this tutorial, you are going to learn about the Advance effect roll out in almost every lights in 3ds max. In the tutorial we have covered different option like contrast, soften edge, projector map etc. Hope you will enjoy this.

To really customize your Samsung Galaxy S3, you'll need to be rooted, because most of the coolest mods and hacks require root access. If you haven't rooted yet, you're just barely touching the surface of what your GS3 can do for you.

One thing that gets overlooked on Facebook is the amount of videos you can watch, and I'm not just talking about videos uploaded directly by Facebook users—I mean everything ever shared—YouTube, Vine, Instagram, Vimeo, etc.
Theming and modding are a big part of the softModder community, but there are endless ways to customize our Android devices. Which ones should you download? Which ones should you avoid? It's extremely frustrating to find them all—and pick and choose.
Having a hard time finding the type of eye you want for your Characters? here's one to give you more option.
Forum member Luciano posted a terrific guide on adding hacks to our phone by editing build.prop. The article was great, but one of best things I saw in it was the "What You'll Need" section:
Prepaid phones are becoming more and more popular, and tons of people can see the benefits of switching now that some companies are offering prepaid services that are on par with the big players. For a lot of folks, the only thing keeping them from switching is the huge early termination fees that service providers charge to break a contract early.
When I left off on our last hack, we had hacked into the ubiquitous Windows Server 2003 server by adding ourselves as a user to that system so that we can return undetected at any time. The problem with this approach is that a sysadmin who is on their toes will note that a new user has been added and will begin to take preventative action.
There's nothing worse than holding an ice cold brewski on a hot summer day and having no way to open it. If you're a Bud fan, you'll have no problem opening the bottle because most mass-market beers have twist-off caps. But if you have a taste for finer, more expensive brews, you'll more than likely run into the pry-off caps. Pry-offs are used mainly because companies believe it provides a better seal against one of beer's greatest enemies—oxygen. Plus it's a cheaper alternative for craft bre...
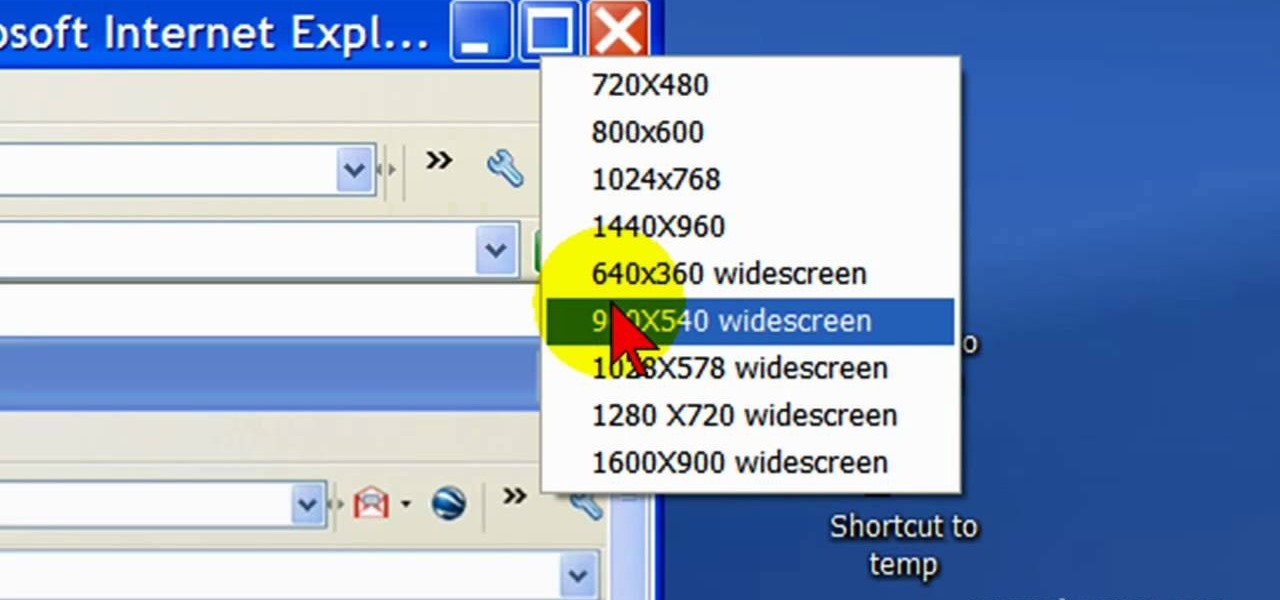
First open up the Camtasia studio and click on the link make a recording. It will open up the Camtasia recorder but before you start the recording you need to click on the tools, options and make sure the "save as AVI" is selected in file menu. Then click on video tab and select the "manual" in "video configuration", 30 in frame rate and click ok. Now download and install the software called "free sizer". Now we need to set the recording area to 1280x720. To do that, right click on the maximi...
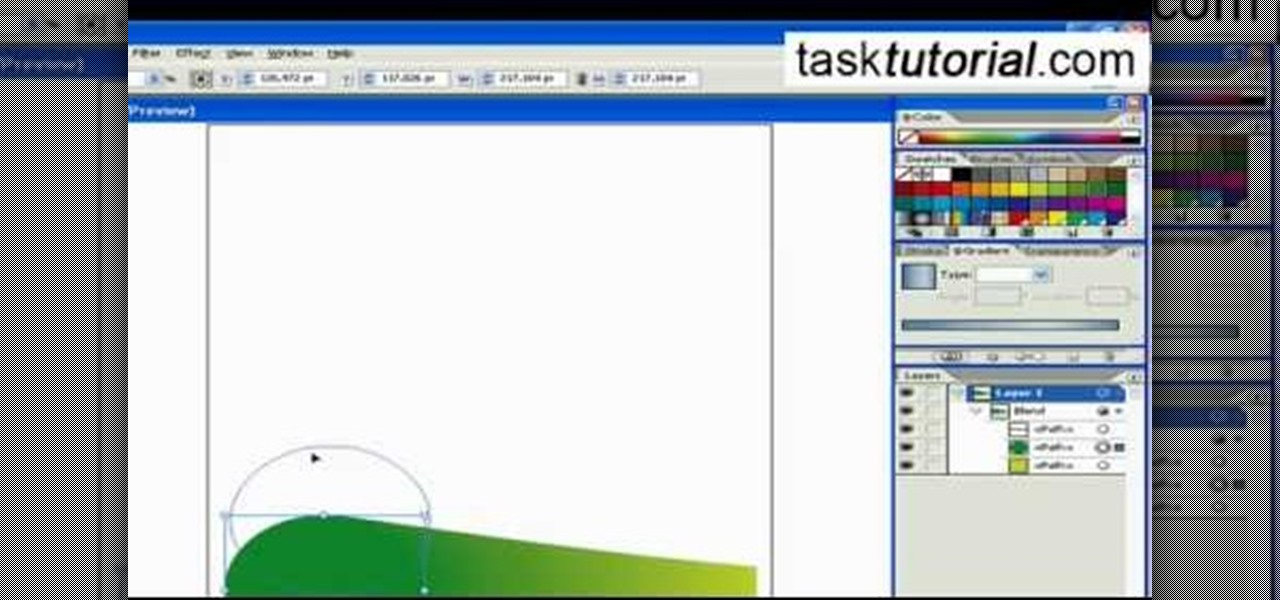
To do that, first select the pen tool, choose yellow stroke color and draw the path as showing in the video then deselect and choose pen tool again, pink color in stroke and draw the path again. Now you need to select the blend tool and click on both paths. Now go to object, blend and choose blend options. Now select the specified steps, put the value of 25 there and click on ok. Now open the blend in layer window and select the paths. Now set color to white
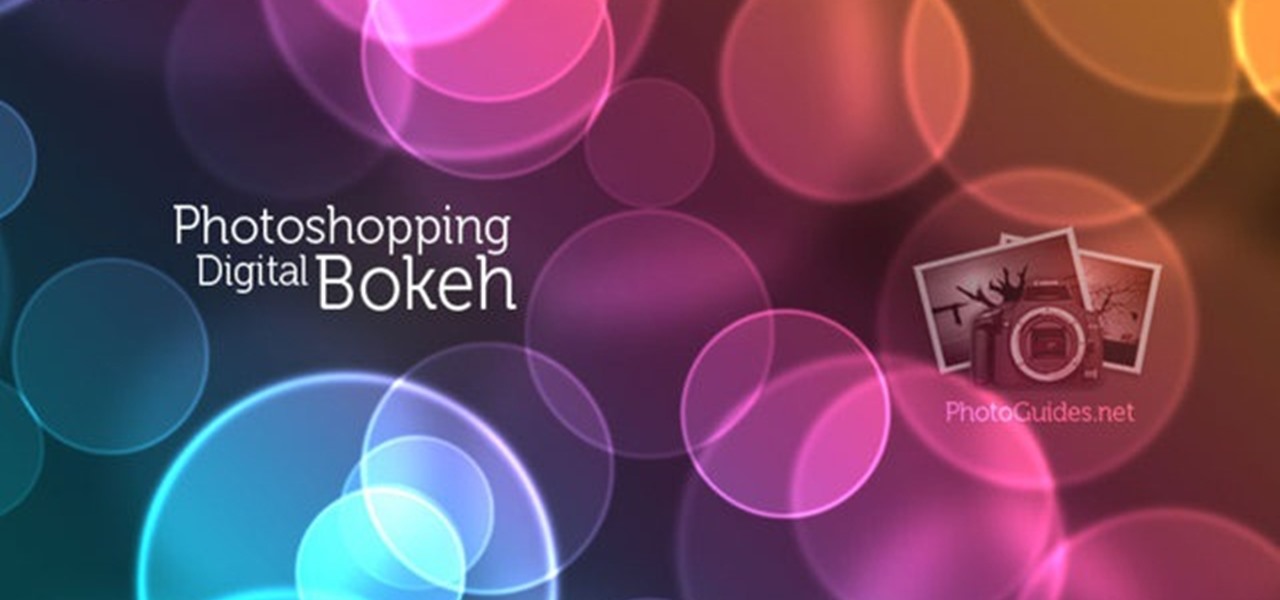
Ash Davies teaches us how to Photoshop digital bokeh with this tutorial. First, open up Photoshop and create a new canvas with your width at 1920 and your height at 1200. Now, create a new layer and set your background layer as invisible. Now create a medium size circle and reduce the fill to 50%. Now enter blending options and add a stroke of 10 pixels to the inside with the color set to black. Now define the shape as a brush and then click "edit" and "define brush preset" name this, "bokeh"...
Sometimes you can't decide what to take… a picture or a video. But on any of the new Android enabled mobile devices, it's easy to toggle back and forth between photos and video on your camera. Once inside the multimedia section, the icons direct you to either picture or video options. Best Buy has answers. The Best Buy Mobile team explains how simple it is to capture photos or videos on an Android cell phone.
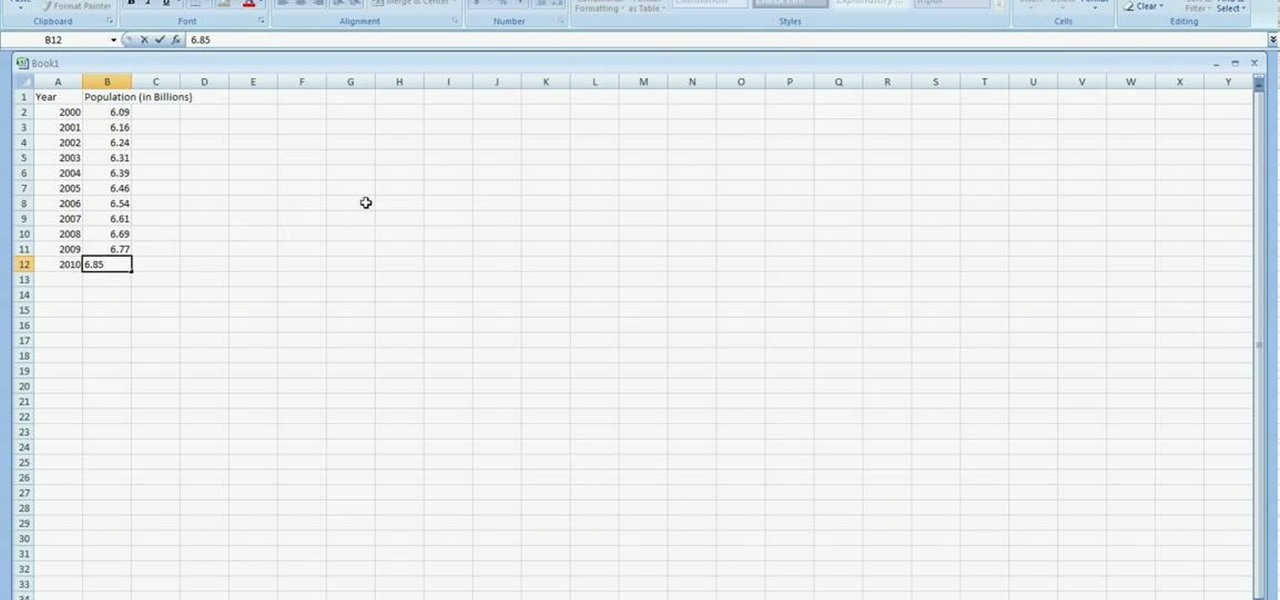
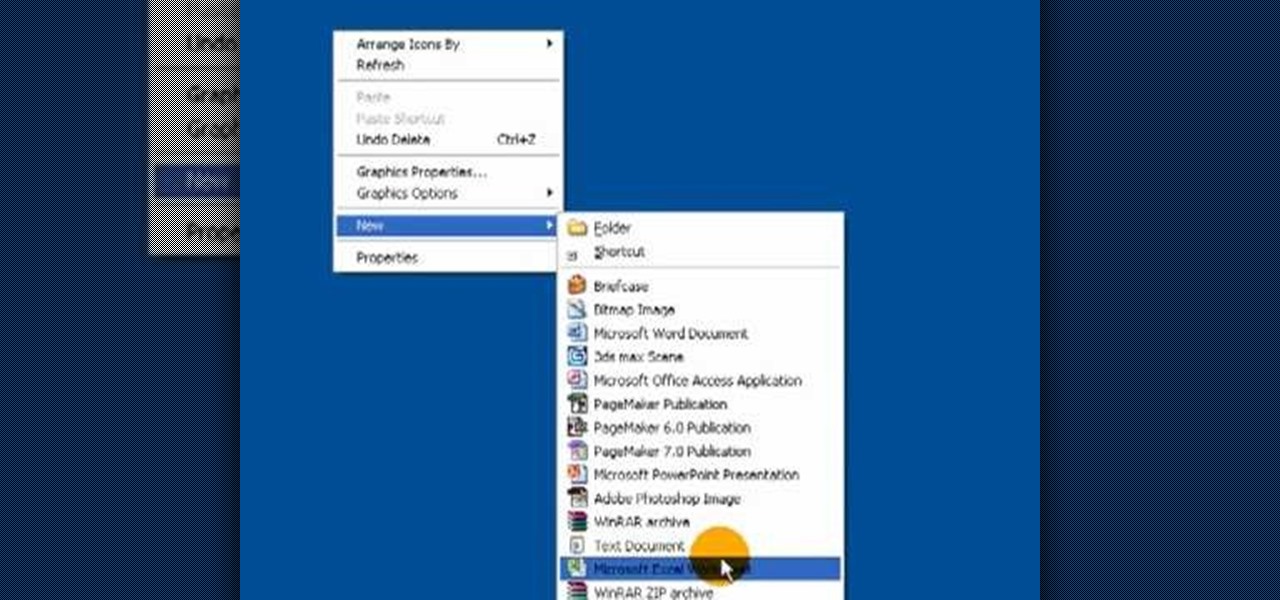
In excel a left click is made on box A1 and the X title is typed in as year. In A2 the year 2001 is typed and in A3 the year 2002. Both A2 and 3 boxes are highlighted and the bottom right hand corner is used to drag the work into a copied sequence down to A12. In B1 "population in billions" is typed. From the web site the data is copied and typed in as it appeared and the numbers are rounded off. A click is made on the "insert" tab and line is selected from the menu which appears. The upper l...
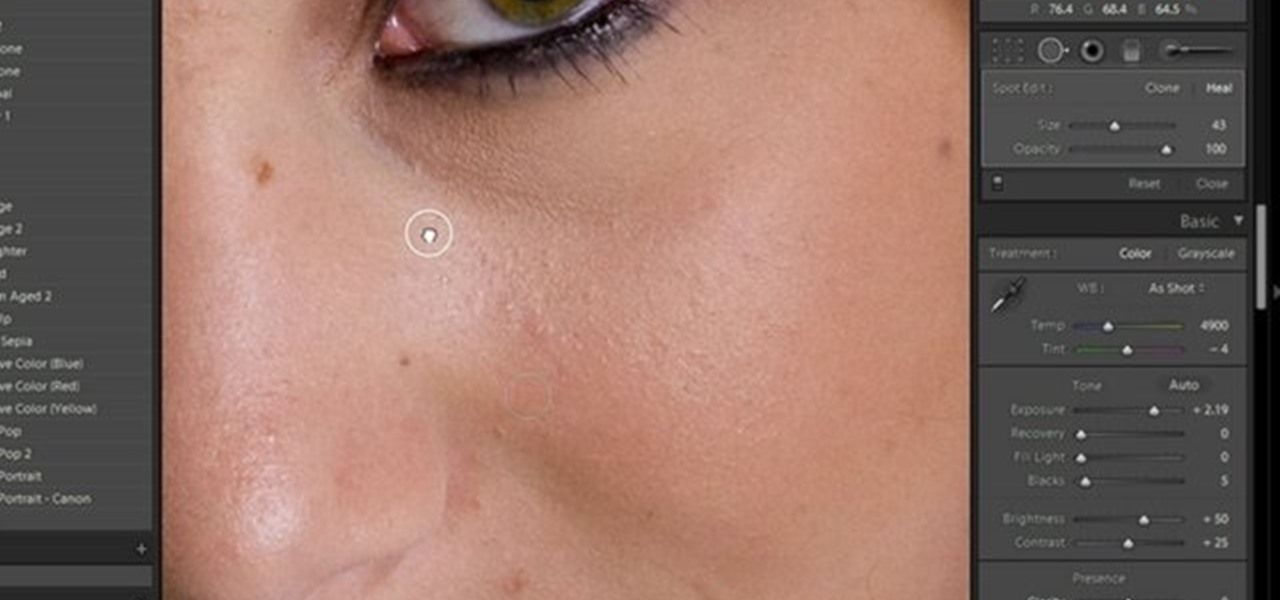
Kerry Garison demonstrates a quick tip of healing tool (Lightroom 2. 0), which is situated on the upper right hand corner of the screen, with the help of lady's image. Click on spot removal tool which can be used for cloning and healing. In order to change the brush size, scroll wheel mouse or left or right rapid keys can be used. Brush size, change in opacity can be changed also by clicking and dragging the bar; from there cloning or healing options can be selected also. After clicking the h...
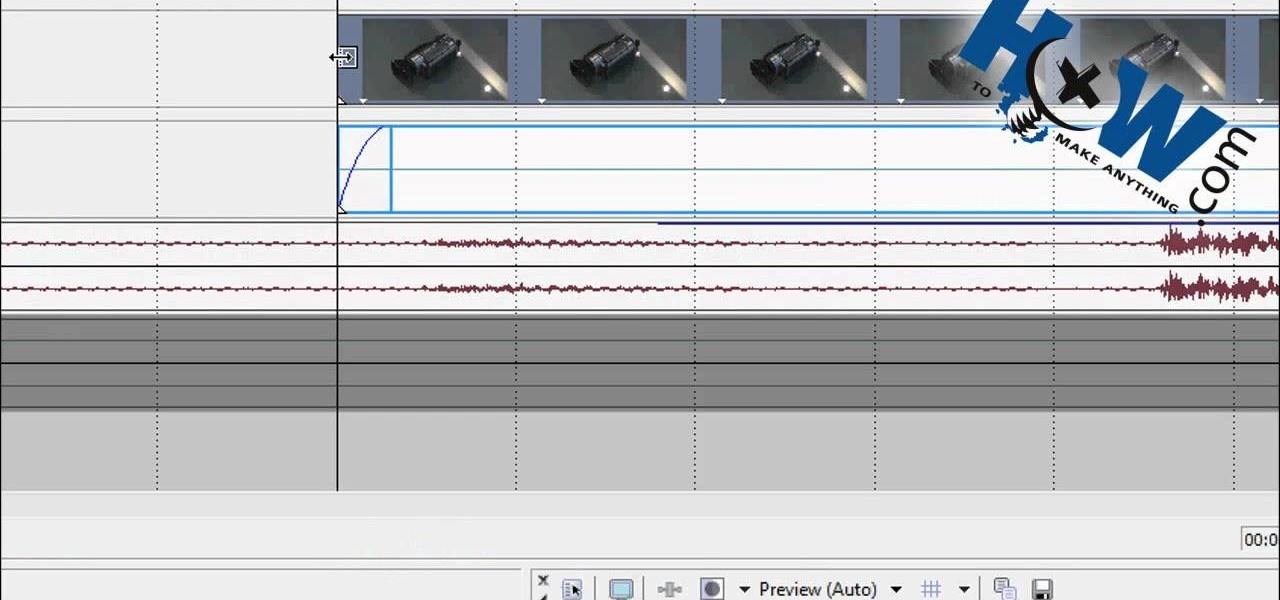
How to Make Anything demonstrates how to make a freeze frame in Sony Vegas. You can go to the preview window and click on save snapshot to file. The program will then create a jpeg which you can lay into your video to create a freeze frame. You can also use Vegas' velocity envelopes to create a freeze frame. First, zoom into your video in the timeline so that you see each individual frame. Make sure that quantize to frames is toggled in the options menu. Then, hit S to split the video. Right ...
In this video the instructor shows how to set parental controls for a user ID account in Windows 7. To do this go to the 'Start Menu' and go to 'Control Panel'. In the Control Panel window select the 'User accounts and Family Safety' link. There is an option called 'Set up parental controls for any user'. Select that link and it opens a window where it asks you to Choose a user and set up parental controls. There you are presented with some user accounts that are currently active on that syst...
In this video the instructor shows how to select speakers, microphones, and adjust system sounds in Windows 7. To do this, first go to the start menu and select the Control Panel. In the Control Panel select the Hardware and Sound link when the panel is in view by category mode. In the next page click on the Sound link. This opens up the Sound properties setting window. There are four tabs in that window like Playback, Recording, Sounds and Communications. In the Playback tab you will find th...
Windows 7 has an interesting new feature by which you can pin your programs to the task bar and this video shows you how to do it. In Windows 7 if you have any frequently used program you can improve its ease of access by pinning it to the task bar. Now to do this first open the start menu, go to the programs, and now browse to any program and right click it. From that menu select the Pin to task bar option. When you do this the program icon will appear on the task bar. Now the program is pin...
1. This video describes how to use the application Infinidock for the iPhone and iPod Touch. This is used to set how many icons to be placed per page, this Infinidock Cracked is doing full document customization like scrolling, adjustable icon amounts and can add as many icons as you want. We can download and install in the phone 2.For using Infinidock first click the "Settings" and select the Infinidock into that you can see the "icons per page" options now you can add the number of icons yo...
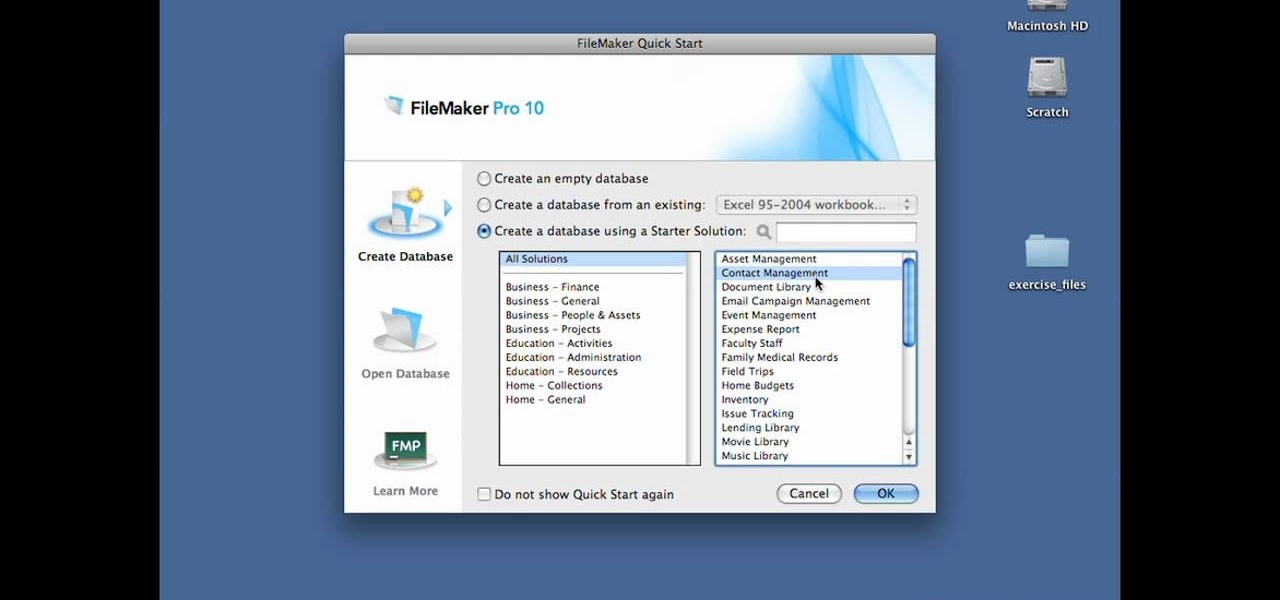
In this Lynda video tutorial, learn how to use FileMaker Pro 10 software to create databases with pre-made templates. FileMaker offers these templates in a package called Starter Solutions. To access these options, click open FileMaker. Then, go to New Database under the File menu. Click the option "Create a database using a Starter Solution." The templates are grouped according to the nature of their use. Some are for the home, while some are for business. All you do is open the template you...
Learn how to blend shapes and colors in Illustrator with this tutorial. Open Illustrator and put the circle with color which you want. Put the square on the color you want. Select the object, go the title bar select the object and then select the blend. You will be shown the result on the screen. Select the square and circle where you place the object by click and drag method. Go to the object and select the blend and choose the blend options. Change in specific steps which you want in the sc...
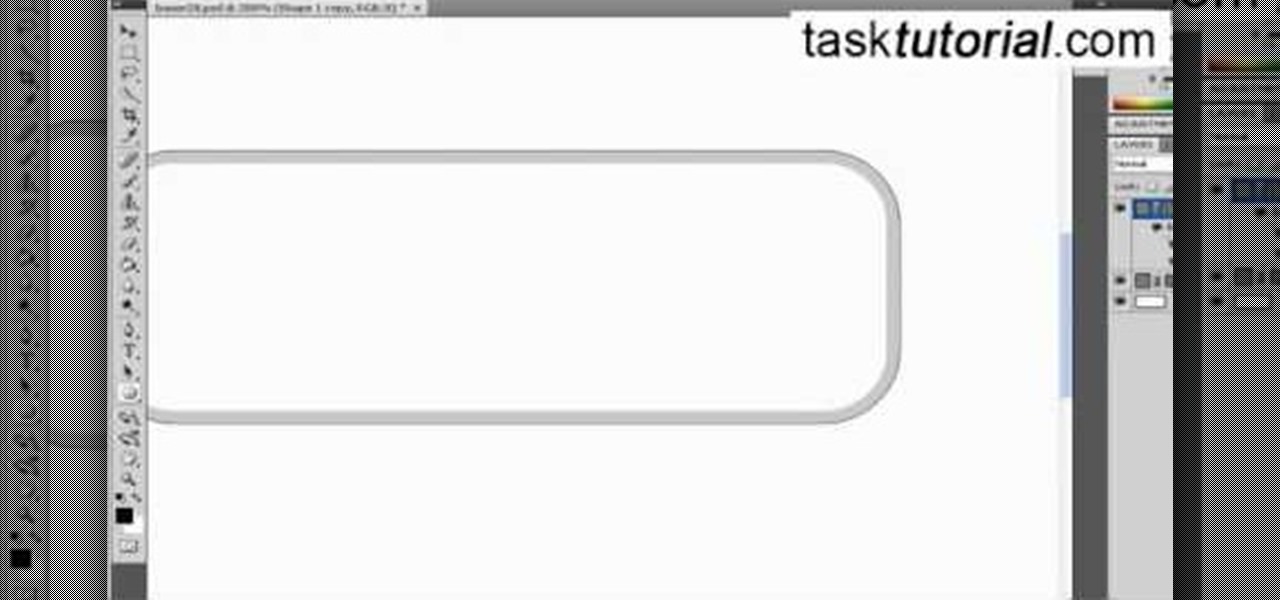
If you ever wondered how to create a buy now button for your website this video shows how to do it using Photoshop. To do this open Photoshop and start with a new file. First draw a rectangle which will be now modified into the buy now button. Set the radius of the rectangle to forty pixels. Fill it with gray color. Duplicate the layer. Open the layer options of the duplicated layer and set the stroke position option to inside. Set its weight to 6 pixels and set its colors to light gray. Now ...
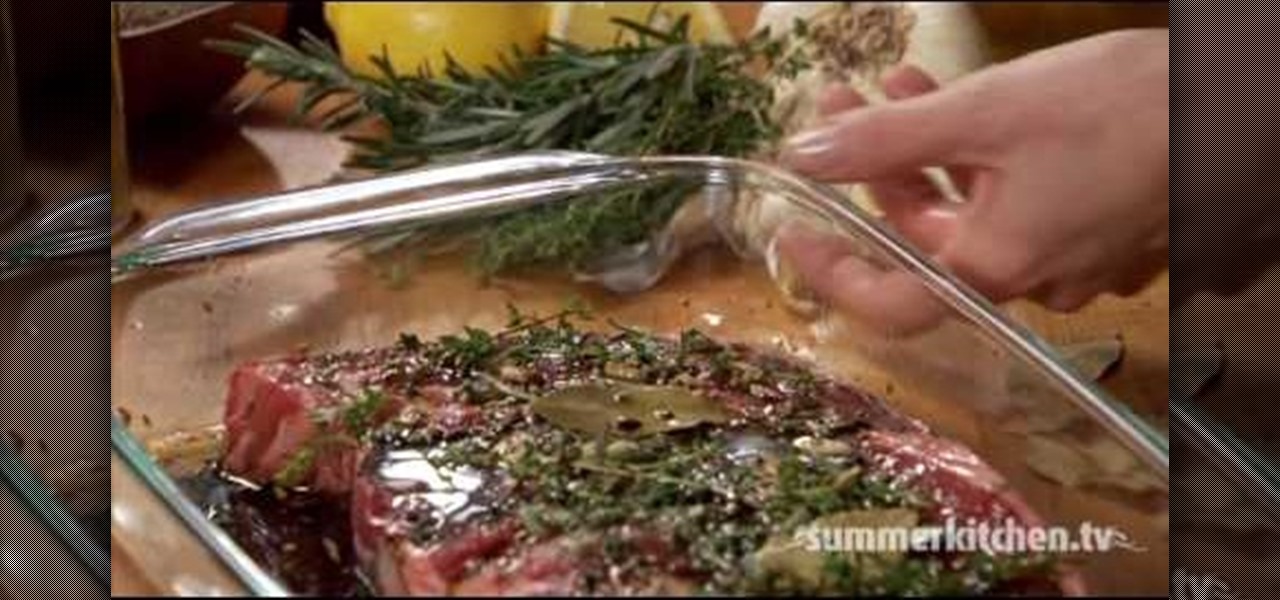
Summer Kitchen shows us different ways and options in preparing steaks for grilling. Basics on preparing steak for grilling: Let steak sit at room temperature for at least 30 minutes before grilling to allow for even cooking. Trim excess fat from the steak. Brush the steak with oil and season with kosher or sea salt and ground pepper. For even more flavor, you can also make rubs, glazes or marinades and use them on your steaks before grilling. For a sample rub mixture, you will need: chili po...
This video tutorial will show you how to create a seamless background texture using Photoshop using any square or rectangular portion of a picture. The narrator in the video demonstrates step-by-step how to achieve a seamless tiling of a photo through Photoshop and dictates the options that you will need to select. You first have to select a portion of the picture that you want to use. Then the narrator explains that you have adjust the sides of the square portion you chose--labeled A, A' , B...
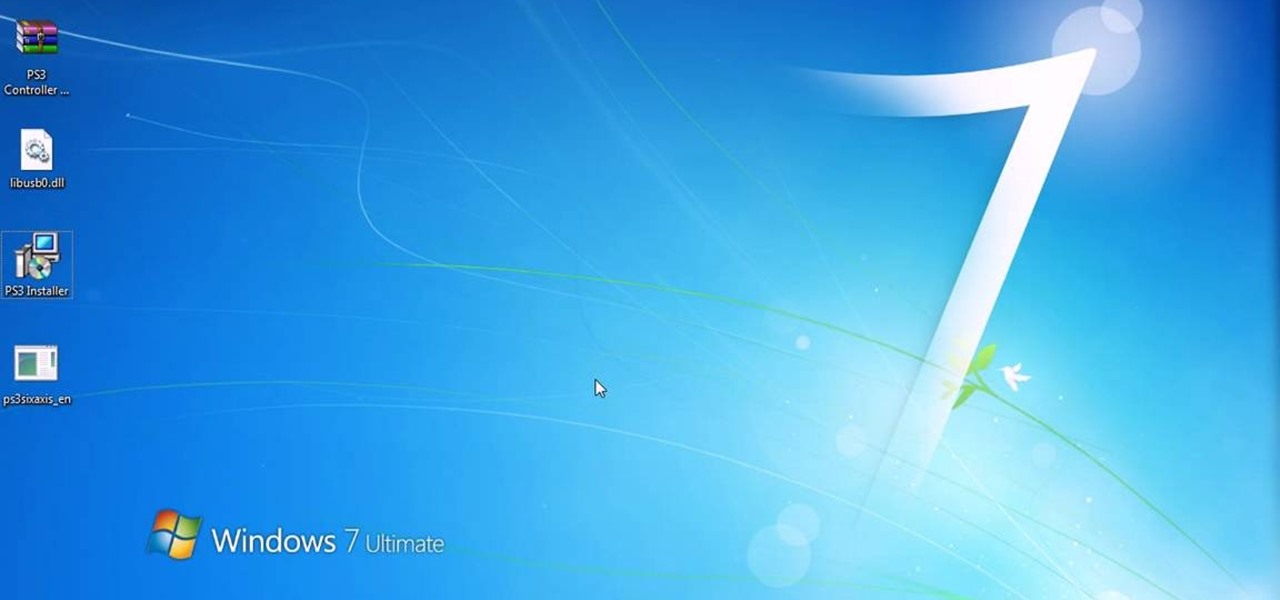
This how-to video is about how to make PS3 controller work on the computer that have either Windows XP, or Vista or 7 as their operating system.
pbj746 is here to teach you on how to create a glossy rainbow effect using Adobe Photoshop CS4. This can be easily done in a matter of minutes and you can try experimenting with other colors and effects to get variant number of sassy backgrounds.
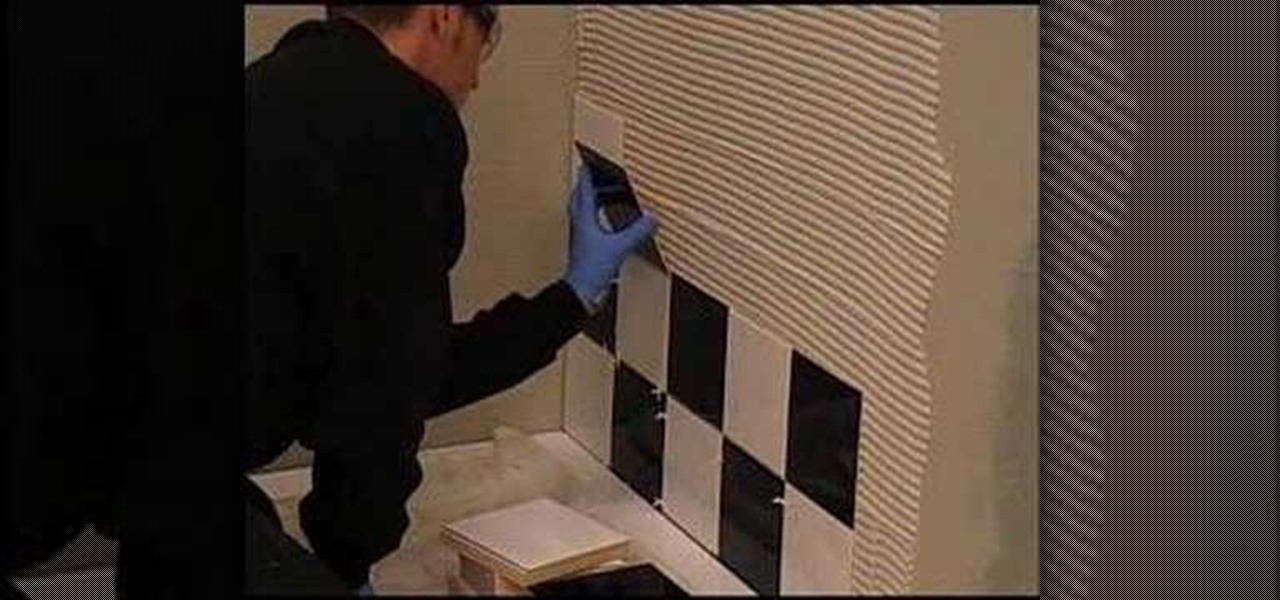
This video shows you how to tile and waterproof a shower. Stage 1
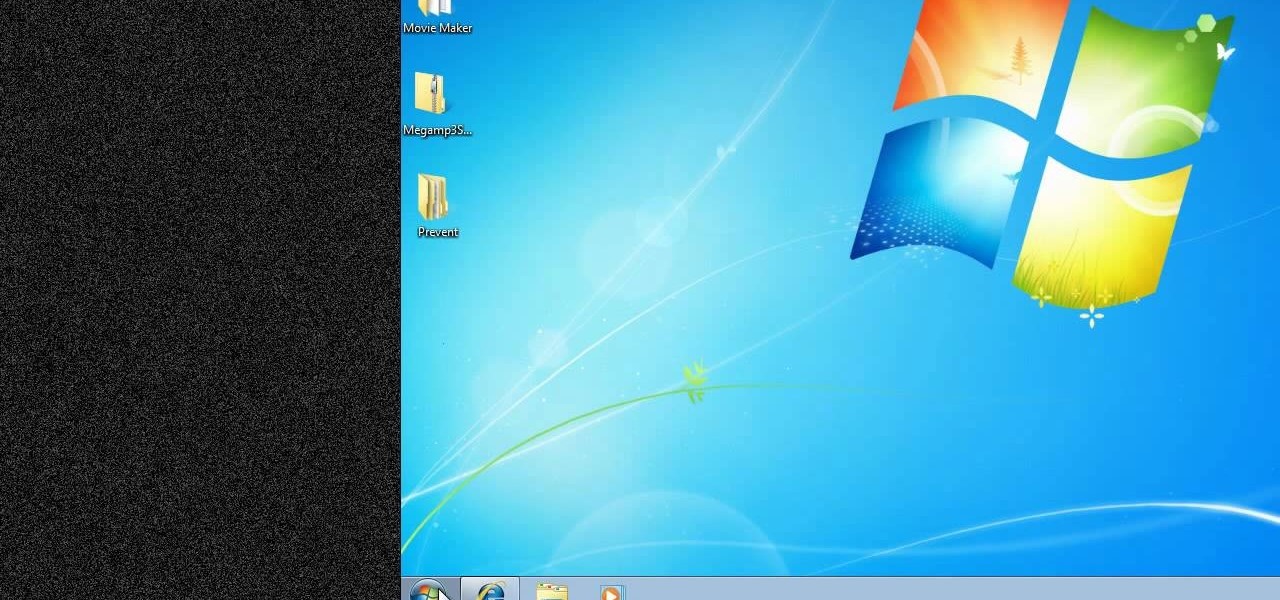
New to Windows? No problem... here's a beginner's video tutorial that will teach you how to prevent cut, paste, copy, and delete on Windows files.
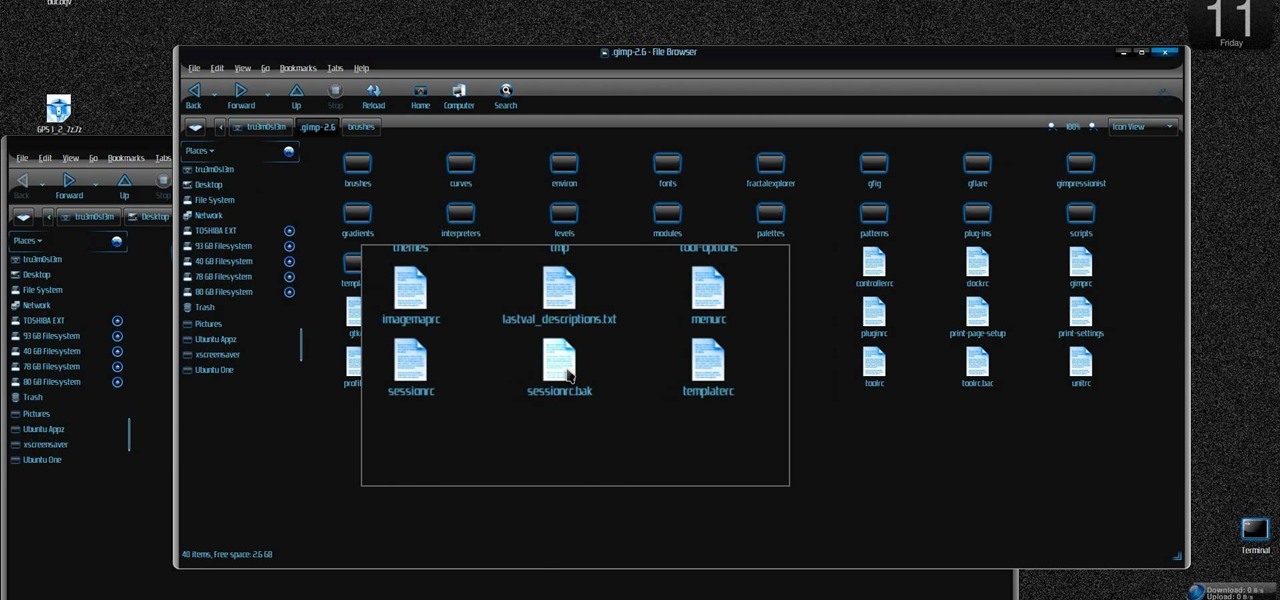
New to Ubuntu Linux? This computer operating system could be a bit tricky for beginners, but fret not, help is here. Check out this video tutorial on how to install additional brushes for GIMP on Ubuntu Linux.
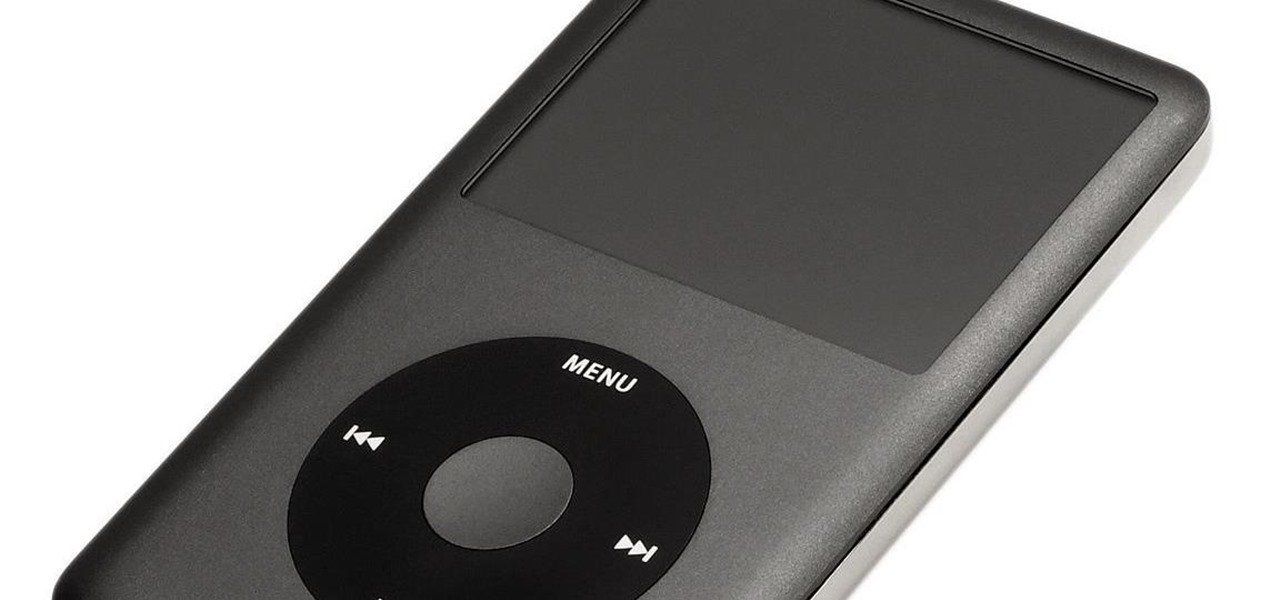
Putting music on your iPod using Windows normally require having to use iTunes, which can be a real pain in the but if you hate using extra software for something that should be as easy and dragging and dropping.
Internet whores (which would be all of us by now) are quite familiar with gifs. Just like popular internet memes like LOLCats, viral gifs are short videos or slide shows sequenced together for a comical - or at least unexpected - effect.
You can create a multiple user accounts and enable fast user switching. To do this go to system preferences and open accounts. Now authenticate yourself by clicking the lock icon to be able to make changes. Now click + button
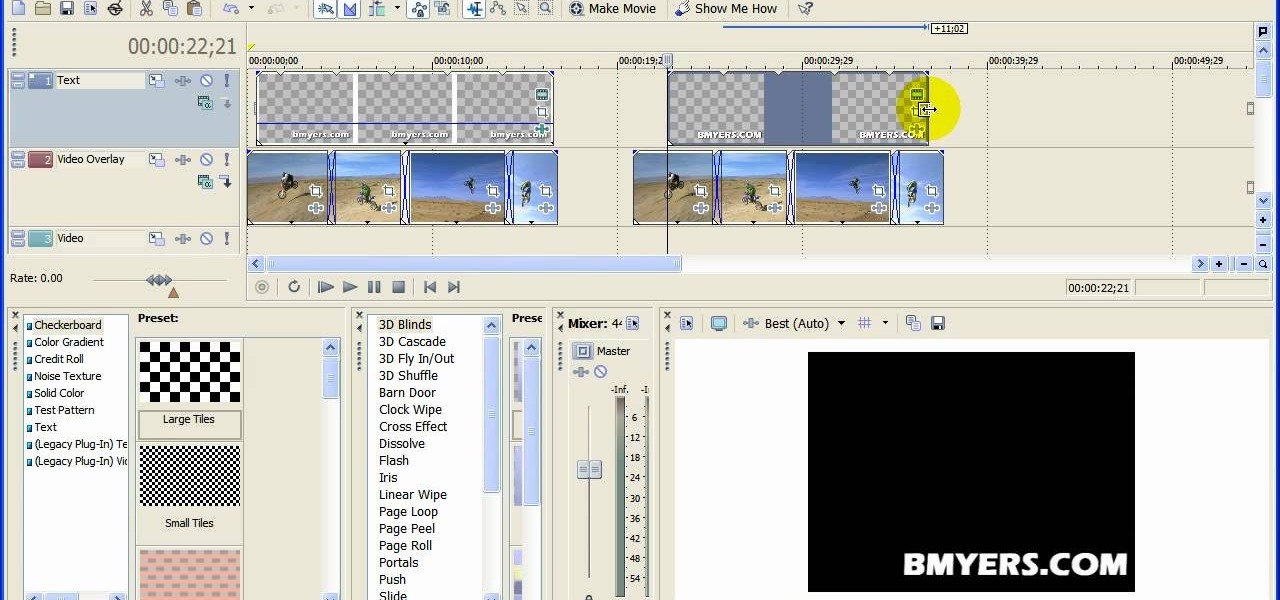
You can add watermark in YouTube videos using Sony Vegas Movie Studio. To do this, first you need to put your video in timeline. Now right click on top of your video and choose insert text media and type there whatever you want.
It's like magic. Creating a .LOG file has never been easier. And all you need is Notepad on your Windows PC. After creating this LOG file, Notepad automatically inserts the current date and time after the last line. Check it out. If you've ever wondered about LOG file types, this Notepad trick is must.
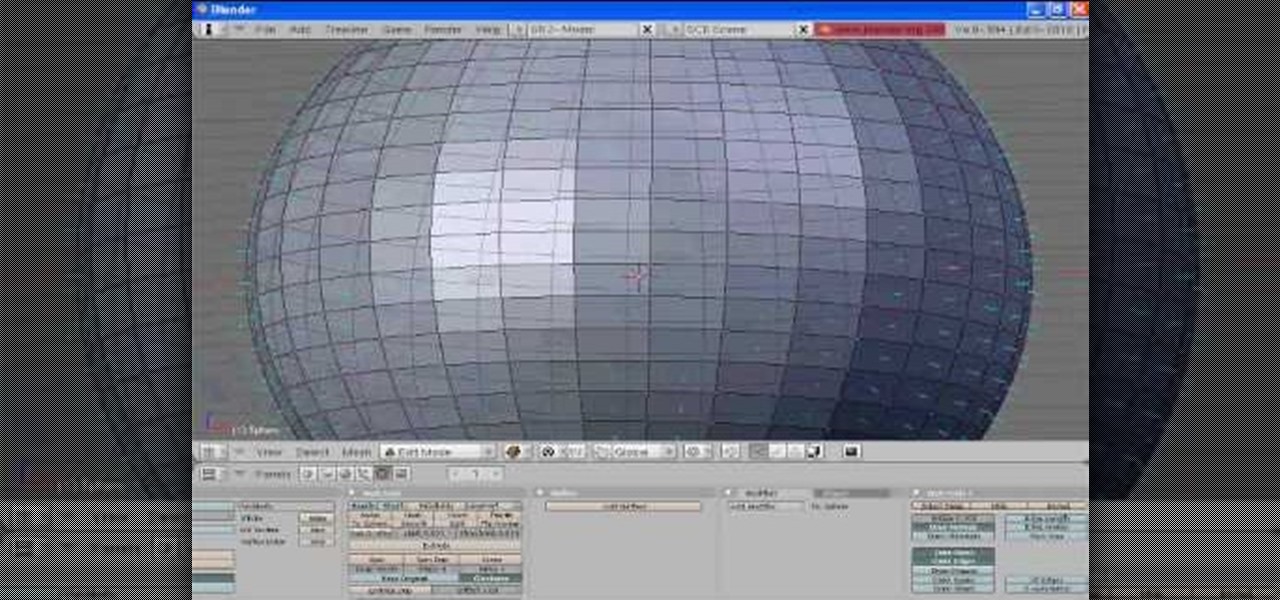
In order to unwrap and object and export it in Blender, you will need to import and object in blender, by go to "file". Click on "import". Click on "wavefront". Then, go to the parent directory. Select the object, by right clicking. Then, go into edit mode via the drop down menu, underneath the object. When your "normals" are visible and facing the right direction.