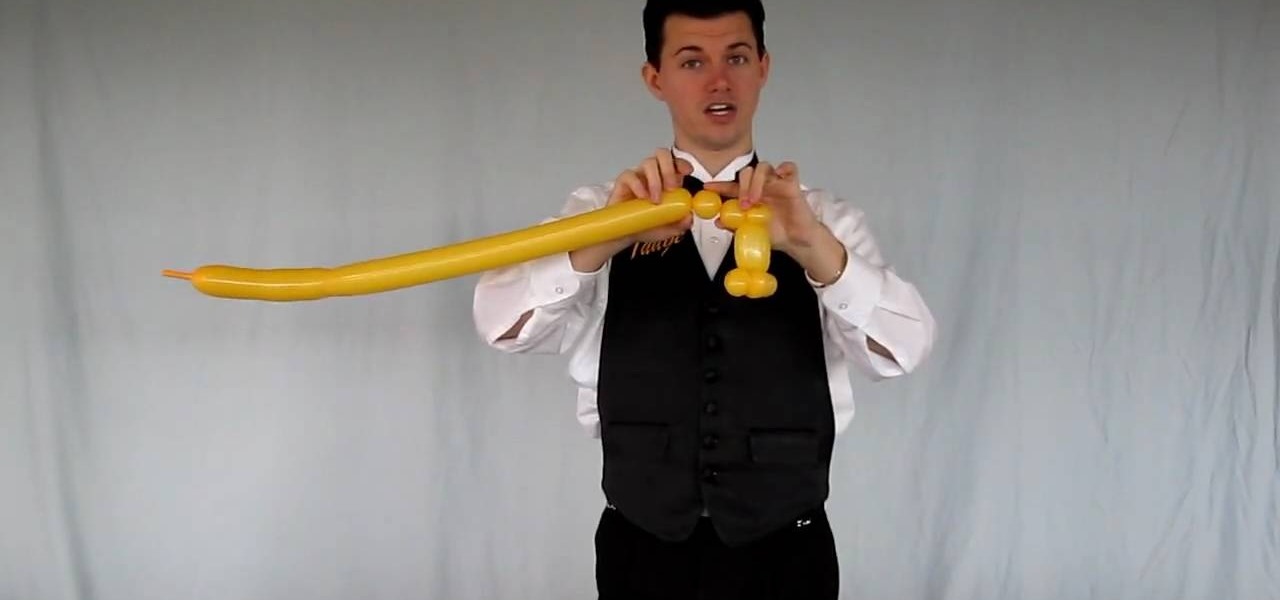
Learn how to make a simple balloon cat in a few twists of a balloon in this free ballooning tutorial. For cat lovers and children of all ages - This balloon creation is sure to please. Your Balloon Man, Mr. Fudge, is full of balloon tricks! Be sure to find other balloon videos on WonderHowTo from Mr. Fudge teaching everything from animals to planes! In a few twists and a few ties, you'll be an expert balloon artist in no time!
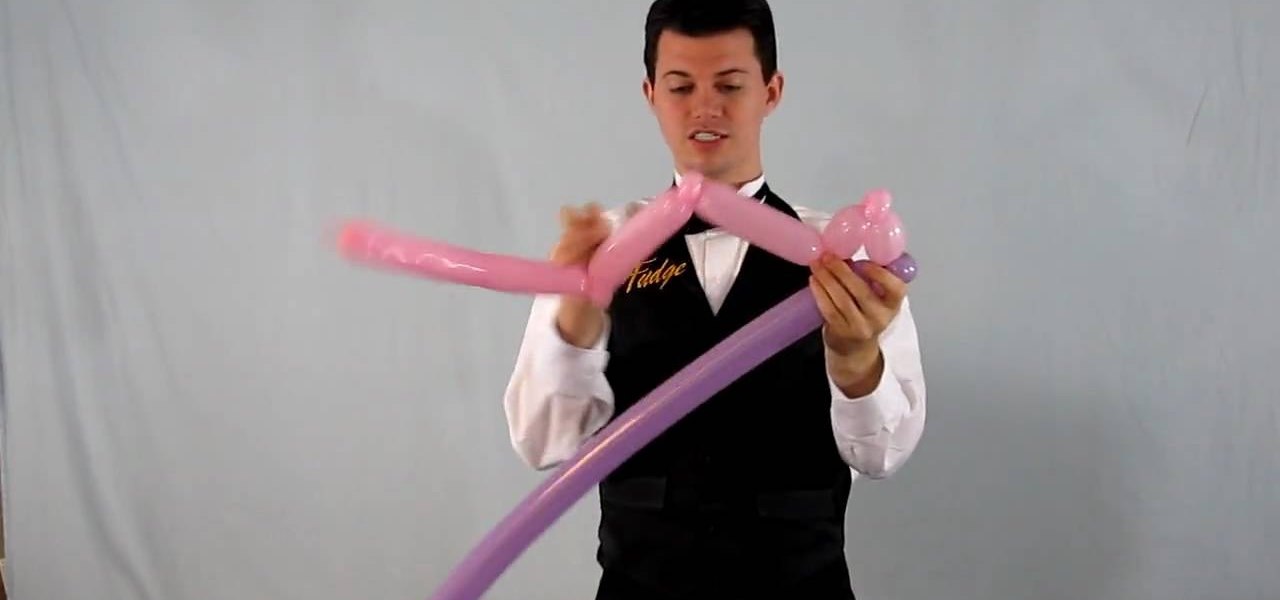
Learn how to make a balloon princess crown - perfect for crowds with children and young adults! Impress your next crowd with some serious ballooning skills with help from this tutorial. Your Balloon Man, Mr. Fudge, is full of balloon tricks! Be sure to find other balloon videos on WonderHowTo from Mr. Fudge teaching everything from animals to planes! In a few twists and a few ties, you'll be an expert balloon artist in no time!
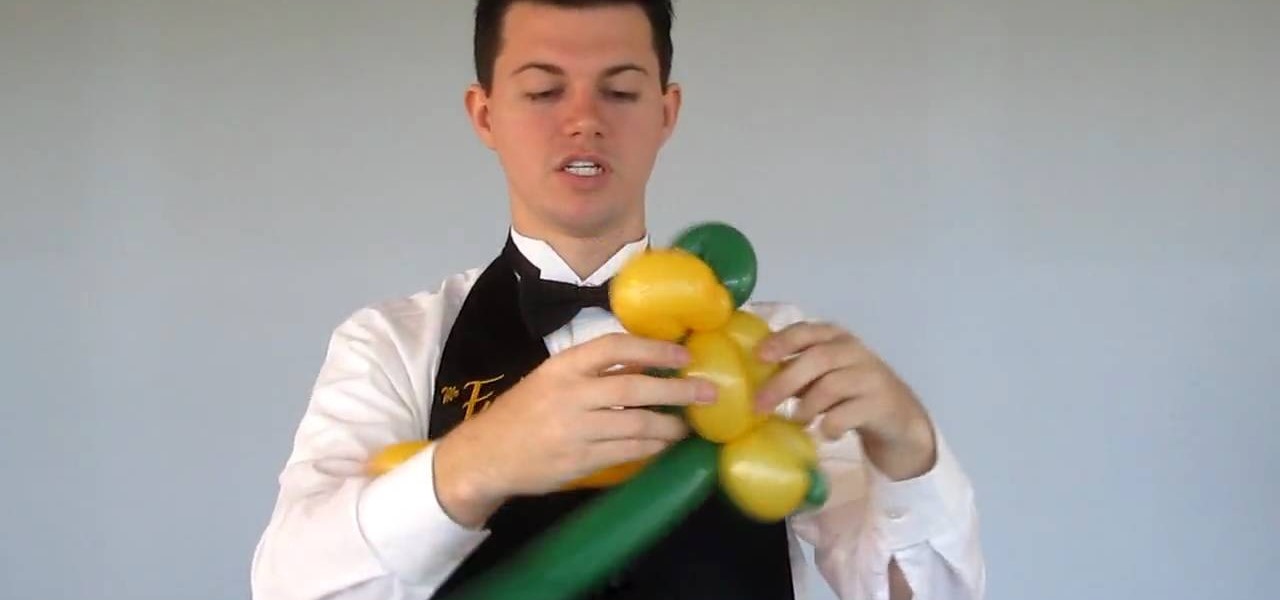
Make an adorable puppy dog out of two balloons, perfect to entertain children with! You can make your balloon creation more interesting and more detailed by adding more balloons. This balloon figure can become any number of different types of dogs if it's decided to change the colors and proportions. Your Balloon Man, Mr. Fudge, is full of balloon tricks! Be sure to find other balloon videos on WonderHowTo from Mr. Fudge teaching everything from animals to planes! In a few twists and a few ti...
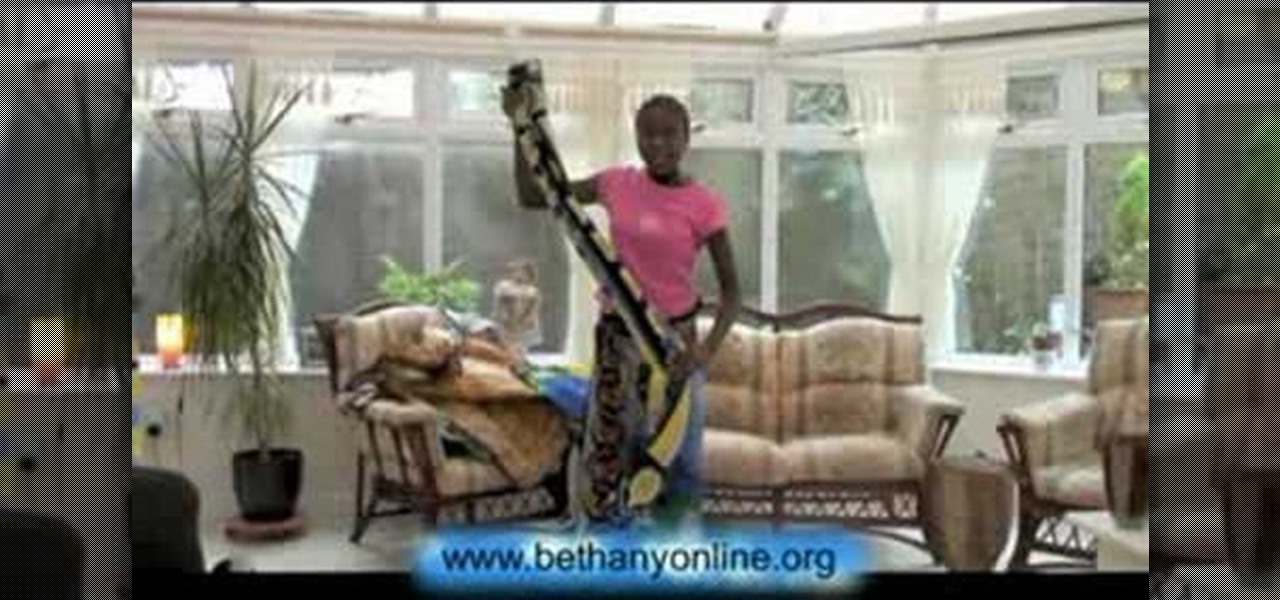
Several Tanzanian girls demonstrate how to tie a kanga (an African sarong). The first method is to wrap the kanga around the waist and tuck the end in at the waist to secure. The second method is to wrap the kanga into a cylinder to use it as a base for carrying a parcel on the head. Another way to wear the kanga is to wrap it around the neck like a shawl or wrapped under an armpit and tied over the shoulder for a fancier look. To wear the kanga as a scarf, fold it into quarters the long way,...

This video shows you how to reduce cold sores caused by the herpes simplex virus. You will see small blisters, or cold sores, on your lips. Most people are infected with this virus as children. It can recur at any point later in life. This is type one. There is a second type called type two, and this causes blisters in the genital area. The first symptoms come with in two or three weeks of first contact. The blisters usually last for seven to ten days and will subside on their own. Topical me...
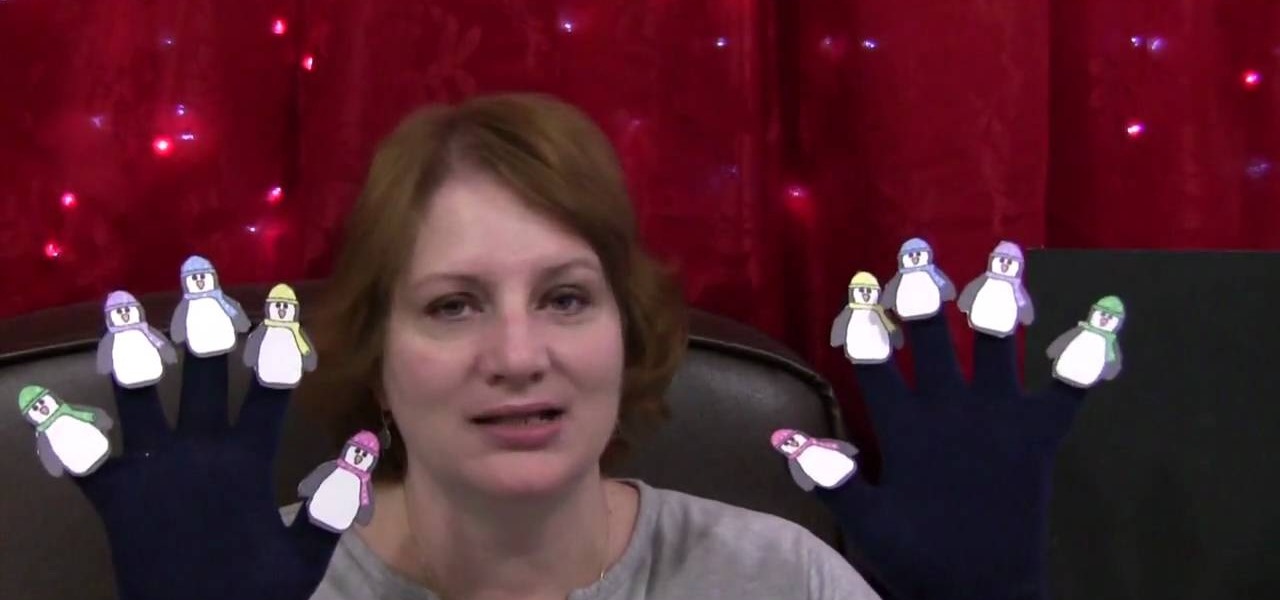
Shelley Lovett shows how to teach kids a spin on the "Ten Little Indians" song. that she calls "Ten Little Penguins." She has a simple prop to make the song more fun for young kids. She has a pair of black gloves to which she has glued a little card-stock penguin to each finger. She said you may want to laminate them to make them last longer. As she sings the sings about each penguin, she moves that finger so that the children can count along with the song. You can go to her website at Childc...

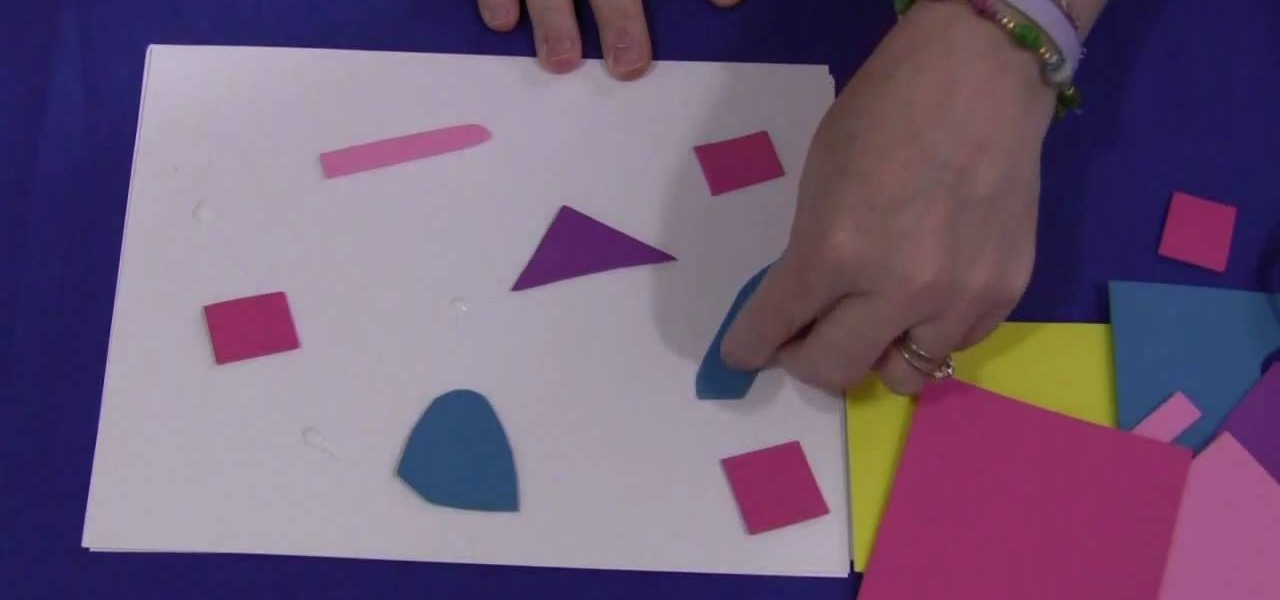
In this video tutorial, viewers learn how to make a foam collage. The materials required for this project are: card stock paper, several different colors of foam paper, scissors and glue. The project focuses on preschool, kindergarten, and elementary school crafts. Begin by cutting the pieces of paper foam into different shapes and sizes. Then simply apply glue on the pieces and stick it onto the card stock paper. Continue doing this to cover the entire sheet of card stock. This video will be...

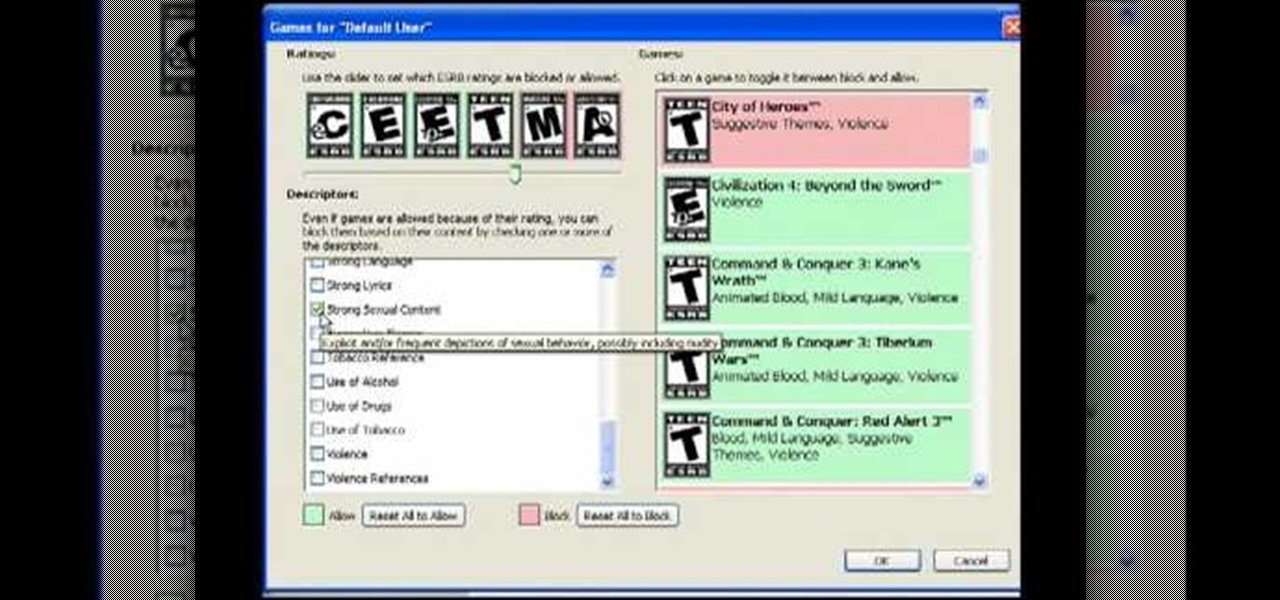
In this video tutorial, viewers learn how to control which games can be played with Net Nanny. Begin by opening the program and select Manage Games under Games. Users will have 3 options on how to block or allowing the games. Users can block by the ratings, games or descriptions. For the ratings, simply drag the slider to which ESRB you want to be allowed. For the games, simply go through the list and click on the game that you want to block. For the description, by checking the content that ...

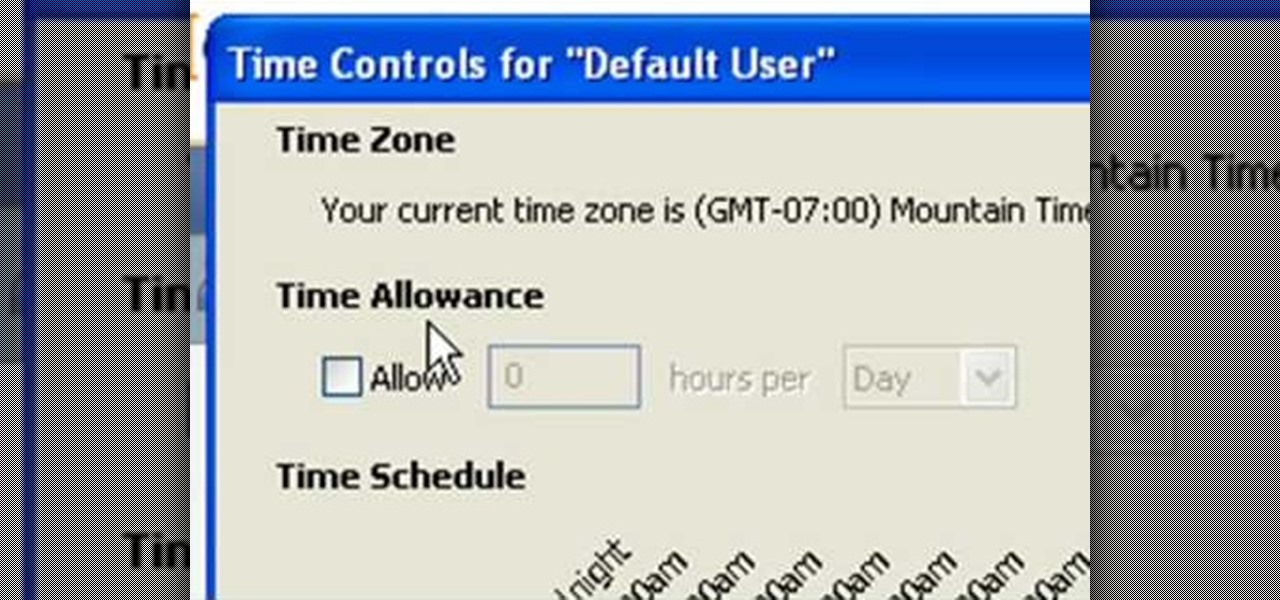
In this tutorial, Andy from TopTenReviews shows us how to restrict internet time usage with Net Nanny. First, open Net Nanny's dashboard and find where it says "time controls". You will see "internet usage", make sure you click on this. Now, a new window will pop up where you can choose time allowance, schedule times and blocks to your specific preferences. Once you pick these, click "ok" and your restrictions will be set and saved! This is a great way to control when your children and others...

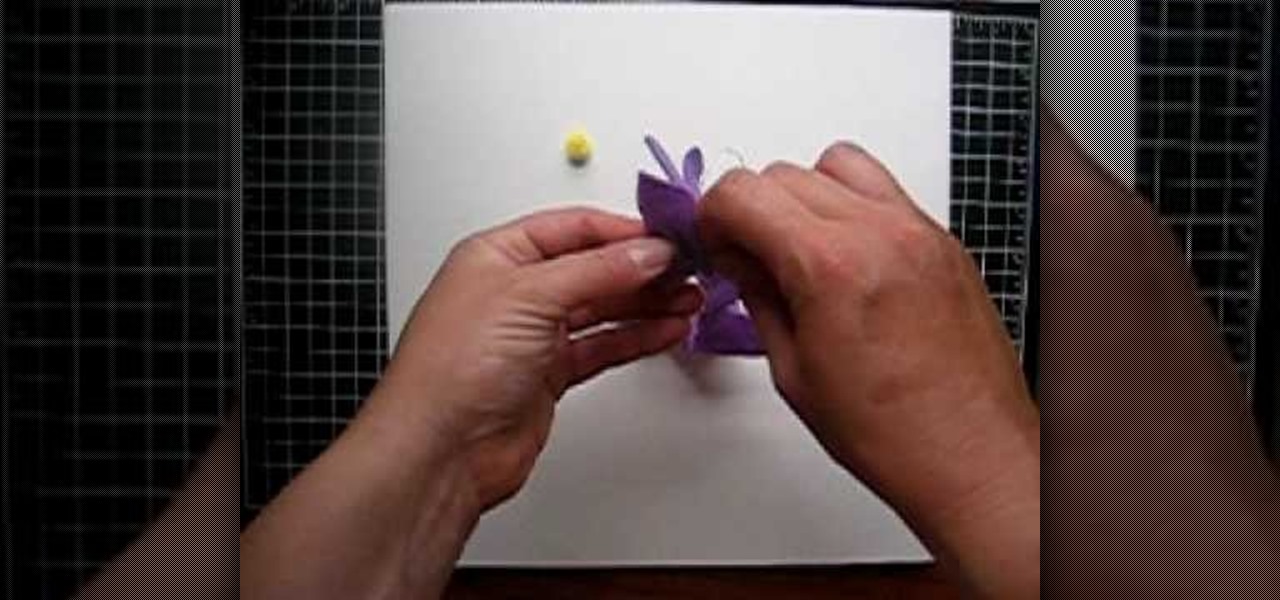
This video is going to show you how to create purple felt flowers for your children or a nice little gift. The items you will need are an 18in piece of tread doubled knotted at the end, hot glue gun, a needle, a pom pom, and felt cut into the shapes you want to make your flowers out of. You want to begin by take the thread attached to the needle and doing a running stitch through the felt. Pull the thread as much as possible and then take the two ends and do a whip stitch to connect the two e...

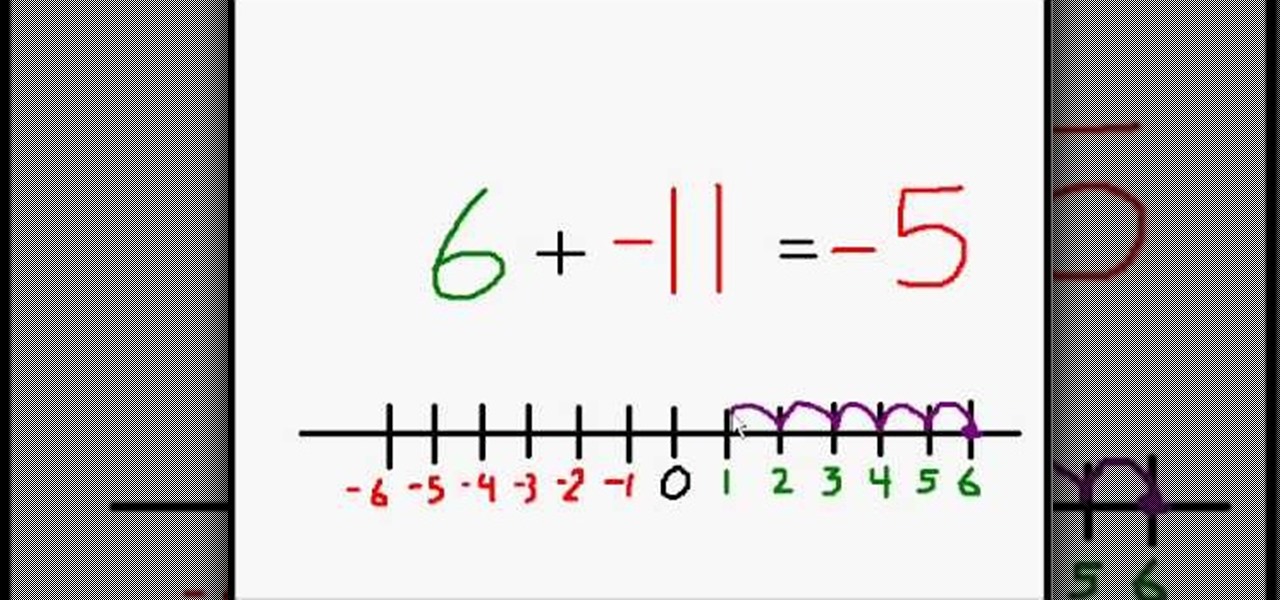
This explanation of positive and negative signs in addition is beneficial and easy to understand for young school aged children. The tutor of this video explains briefly about what to do with the different signs on both side of addition problem. The number line helps the viewer of this video to visually understand the concepts discussed. The tutor explains the direction of number line evaluation is dependent on the left side operand, which is also used to understand the concept of a number line.

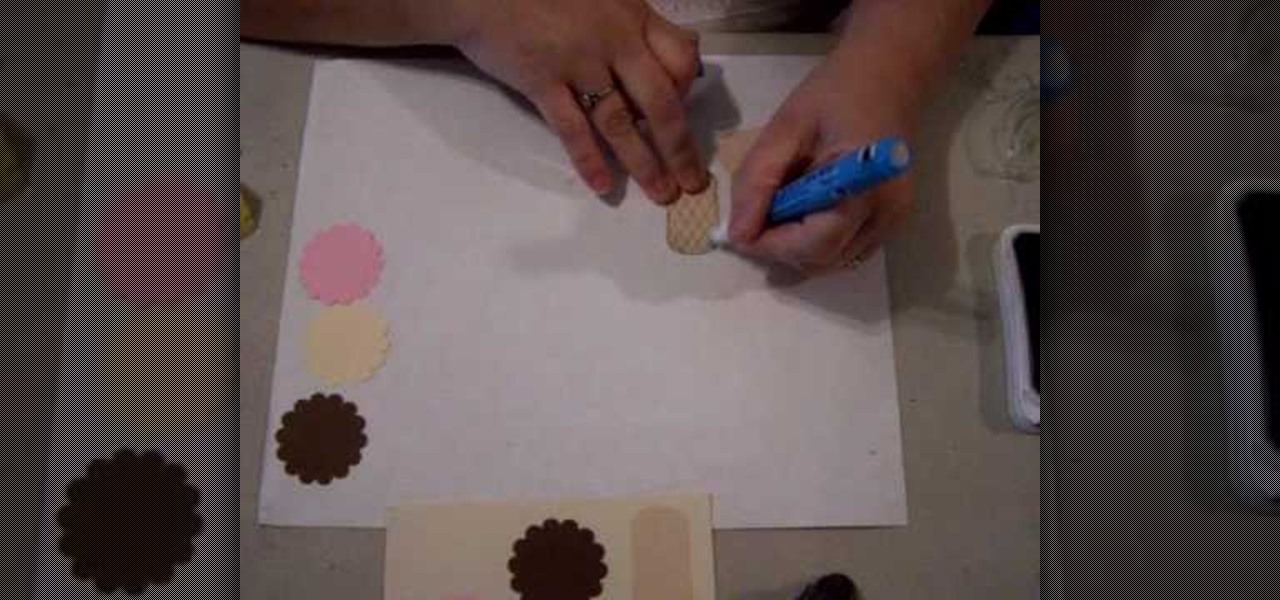
If you like arts and crafts then this video is for you. Watch and learn how to make a simple, creative, and fun paper ice cream cone with strawberry, vanilla, and chocolate ice cream scoops. Great for scrap-booking, covering diaries, keeping children (or anyone who is bored) busy, or anything else you can think of doing with a paper ice cream cone. You may not be able to eat your finished ice cream cone, but you'll definitely enjoy making it.

Fit for a Feast hosts a kids cardio workout including Salsa steps, sit-ups, jumping jacks and more. This is a great warm-up for kids on their way to sports or dance class; it can also be used for Q.D.F. (Quality Daily Fitness) at school. With a Latin American cd in your stereo and this tutorial, you're child will be working up a sweat in no time! Be sure to stretch before you begin!

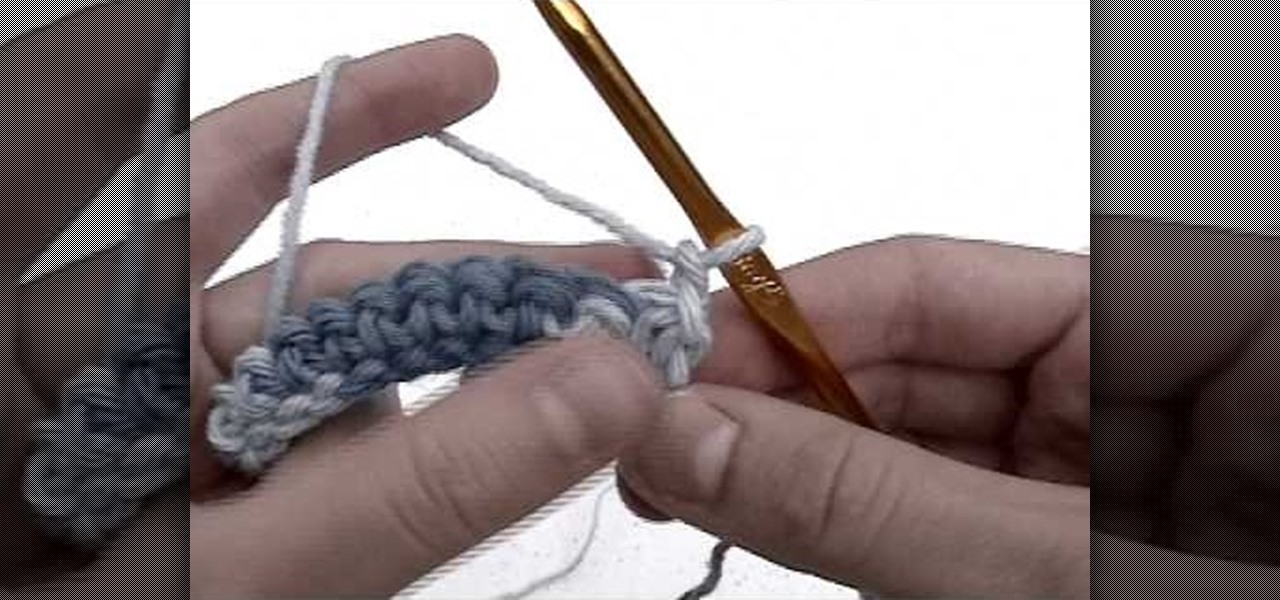
Learn all there is to learn about yarn from Naztazia... watch this video tutorial to learn how to crochet spiral scrubbies with a pattern.

Michelle Phan lends a few tips on creating your own homemade lip color. Now's the time to DIY at home, and not spend the bucks.

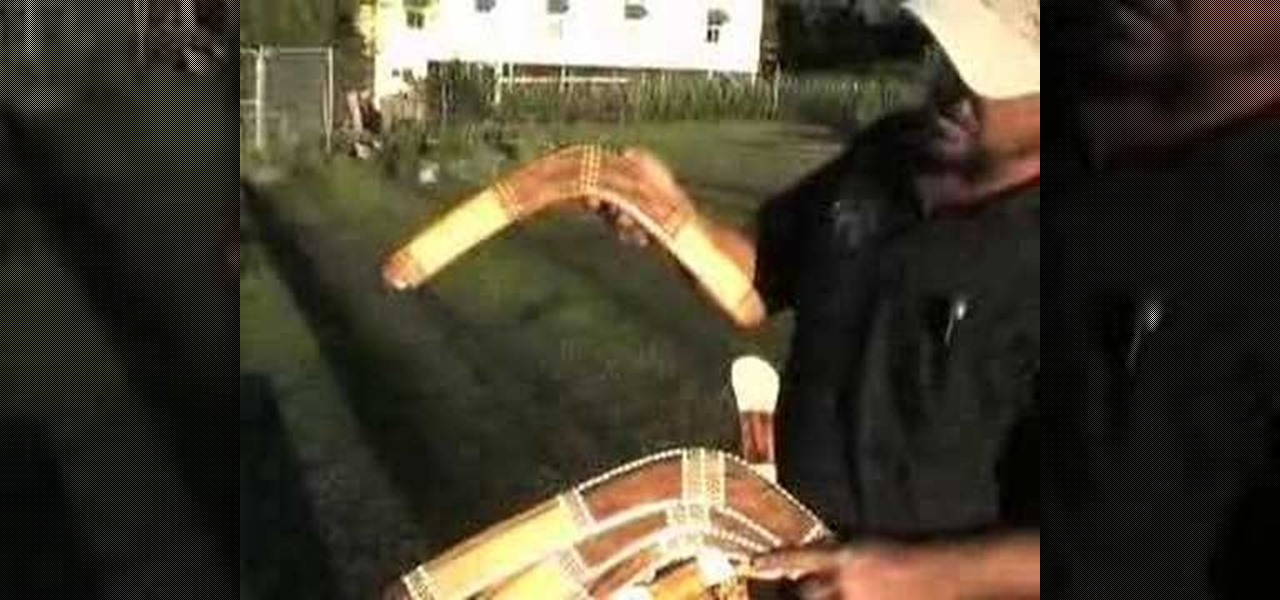
Boomerangs are traditional Australian throwing sticks. They can be used as weapons or as sport. This video shows you how to throw one properly. These are not the returning boomerangs. These are longer and used as multi purpose tools equivlant to a Swiss army knife. They used em as instruments, utensils, weapons, child obeidience devices. The angle is less severe. They're thrown horizontally and thrown directly into the wind. The returning boomerangs are thrown overhand and at a 45 degree angl...

Ice skating is a fundamental skill in playing ice hockey. Learn ice hockey skills and moves in this sports video on how to ice skate. Take action: transfer weight from one leg to other, keep knees bent, and pivot as you shift your weight. Angie, the instructor in this how-to video from Live Strong, is currently with the Youth Hockey Foundation of Austin and the Chaparral Ice Center located in Austin TX. A native of Canada, Angie has been playing hockey for nearly 30 years. Angie enjoys instru...

Pack some fun for your next gathering of family and friends. Imaginations run wild with everyday picnic supplies and your favorite Crayola Crayons and Markers. You will need crayons, markers, colored pencils, scissors, glue, tape, and picnic supplies (paper plates, napkins, cups, and plasticware.) This is a great project for summer parties with lots of children or just the young at heart. With this how to video you will be able to have a fun summer picnic craft challenge at your next family g...

This instructional video provides basic tips on proper baseball hitting fundamentals. Specifically, in this tutorial you'll learn how to hit line drives to the pull side by using the tee. Whether you are a parent who is excited about getting your youngster or youngsters started out in t-ball, a teenager trying to improve your skills or even a college or professional player, these hitting basics hold true regardless of what skill level you are at.

This instructional video provides basic tips on proper baseball hitting fundamentals. Whether you are a parent who is excited about getting your youngster or youngsters started out in t-ball, a teenager trying to improve your skills or even a college or professional player, these hitting basics hold true regardless of what skill level you are at.

Winter-flowering cyclamen are easy to propagate from self-sown seedlings under the parent plants. In this step by step gardening tutorial, Geoff Stebbings from Garden Answers shows you how to propagate cyclamen seedlings.

Today, you will learn how to cut a wooden jigsaw puzzle, with help from Platinum Puzzles. This video tutorial will show you the fun cutting style for jigsaw puzzles called continuous freehand cutting. If you're a scroller, you definitely want to give this method a try. This style of puzzle cutting is from the 1920's, and it has survived the ages of puzzle making. This wooden jigsaw puzzle for children are easy to make and fun to enjoy.

Learn how to teach your children to read and write the alphabet and basic words through phonics in this free home schooling and tutoring video series.

This video is a short video that can help you teach your child how to read a clock. It is simple and fun, the hand moves around the clock and the number flashes up brightly.

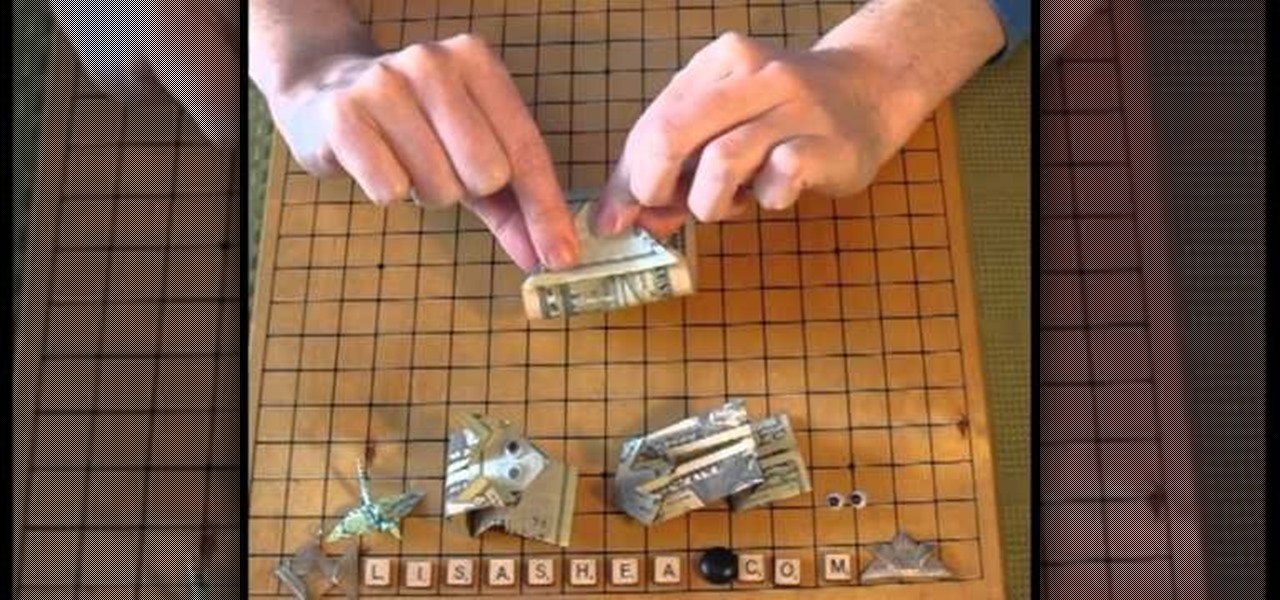
With a few variations, you can turn this rabbit into a fox or a cat as well. This tutorial shows you how to take a dollar bill and use a few simple origami techniques to turn the bill into a rabbit. This is a simple technique you can use to make a gift for a small child, or include as part of a gift. You can add eyes as well if you want, though traditional origami does not use eyes.

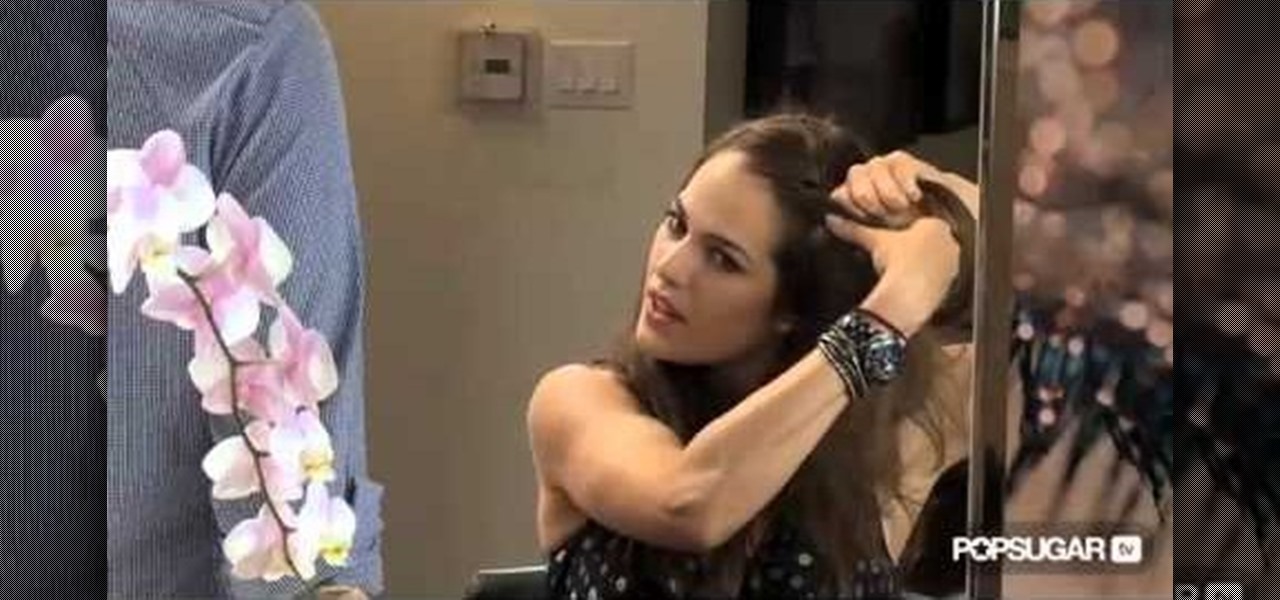
Nicole Richie is the poster child of boho chic. Whether it's her wispy milkmaid braids, her flowy hippie dresses, or her arm full of bangles, she always looks effortlessly gamine.

In this tutorial, we learn how to make a rocket with your kid. First, go to a craft store and buy a starter set that has all the parts for the rocket inside of it. After this, you can take all the parts out of it and grab the directions out of it. Use the directions to help your child make the rocket and get together with groups if you want to make a day of it. After you make the rocket, you and your kid can set it off with the others or alone in an open space! Have fun and enjoy making these!

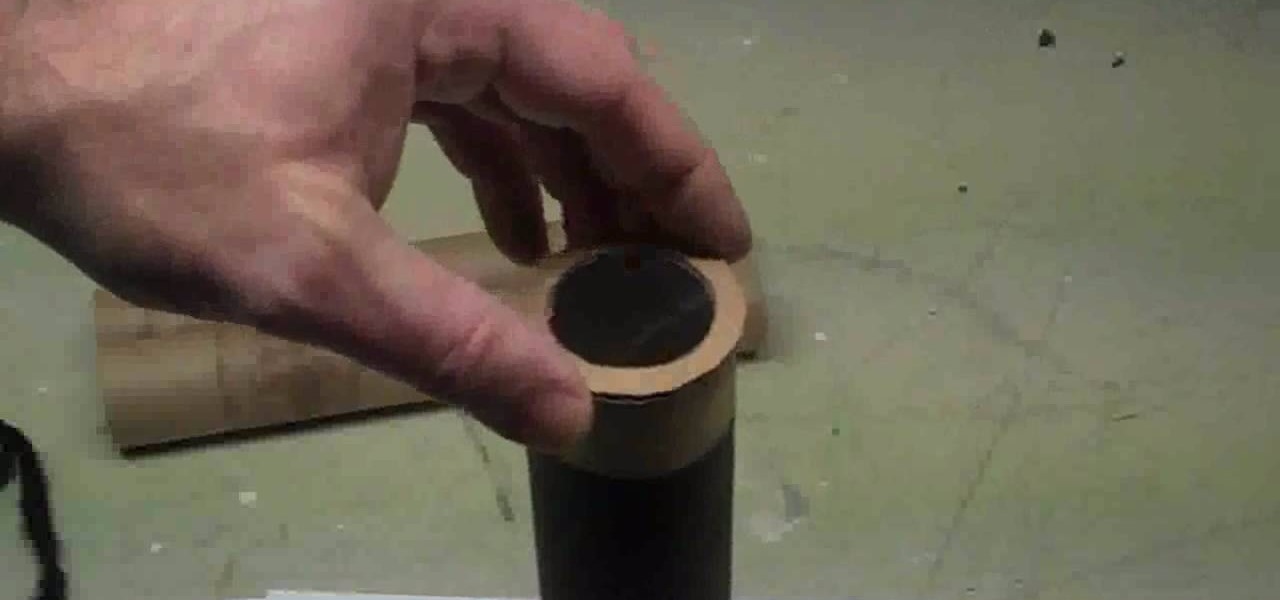
In this tutorial, we learn how to make a small, easy, functional telescope. First, glue a lens in place with glue underneath a piece of cardboard with a circle cut in it. Then, cut this into a circle and tape it to a paper towel holder. Then, you can wrap this in some paper mache around the cardboard. Then, wait for this to dry and spray paint it with gold and black paint. When finished, you will have a functional telescope ready to go and use! This is cheap and a fun project to make with chi...

The story of "Alice in Wonderland" is one of childhood naivete, self exploration, and ultimately growing up. That's why we love the character of Alice so much - she's equal parts child and adult, fighting to find her own in an adult world filled with hypocrisy and craziness.

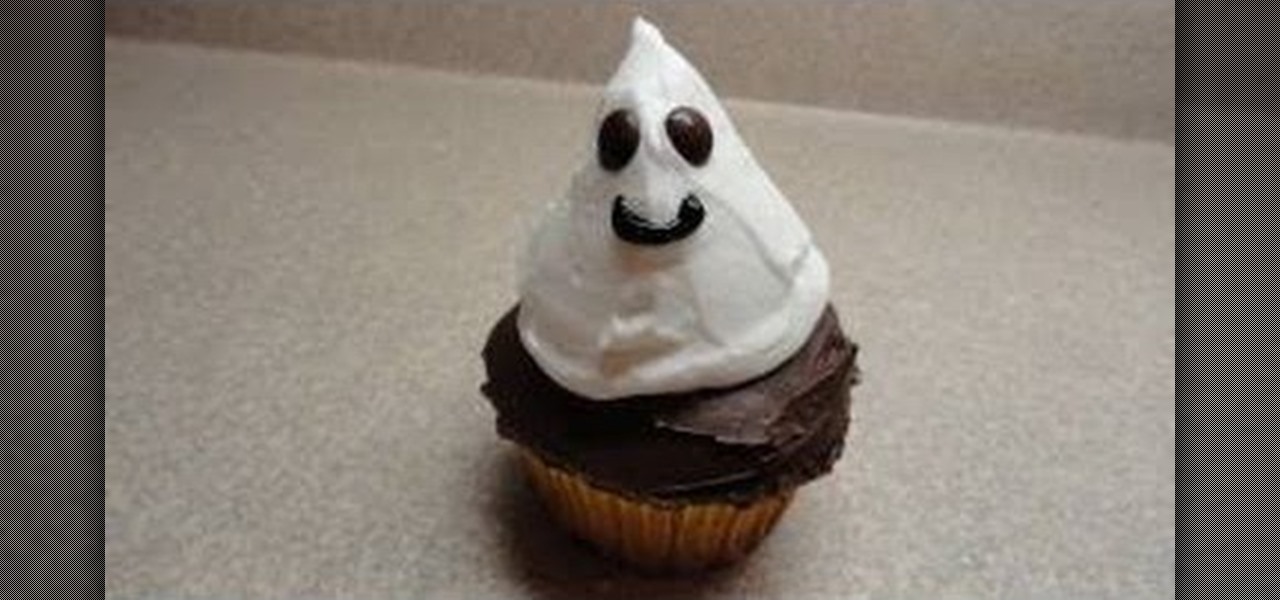
What's better than delicious, fluffy cupcakes and ice cream? Delicious, fluffy cupcakes FILLED with icing! We're totally digging this comfort food love child, and you and your kids will too this Halloween.

Head scarfs are second only to headbands when it comes to bohemian head wear. Just ask boho/hippie poster child Nicole Richie, who basically alternates between the two whenever she goes out.

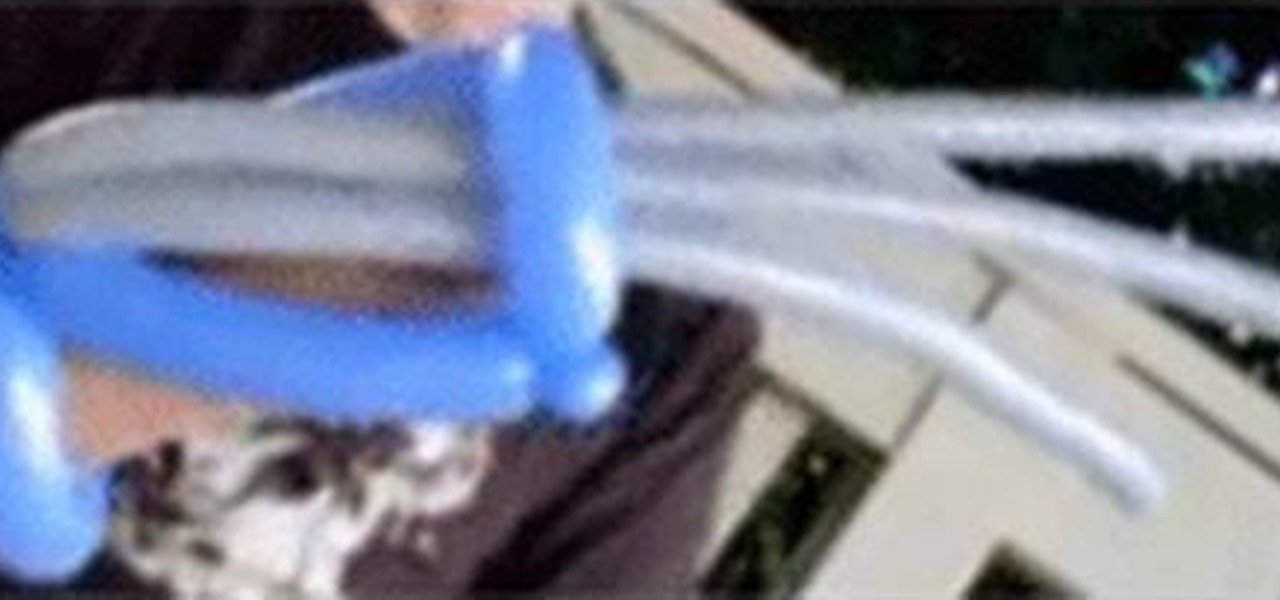
In this video we learn how to make balloon wolverine claws with Michael. This is very simple, you just need two balloons that are 250 and two balloons that are 160. Use gray balloons to make them look more like claws. From here, you will take your blue 260 and inflate it then tie it. Make sure there is 4-5 inches left on the tail. This will allow you to tie the balloon and create pinch twists with it. Continue to twist the balloon, then incorporate the gray balloons in with it. When finished,...

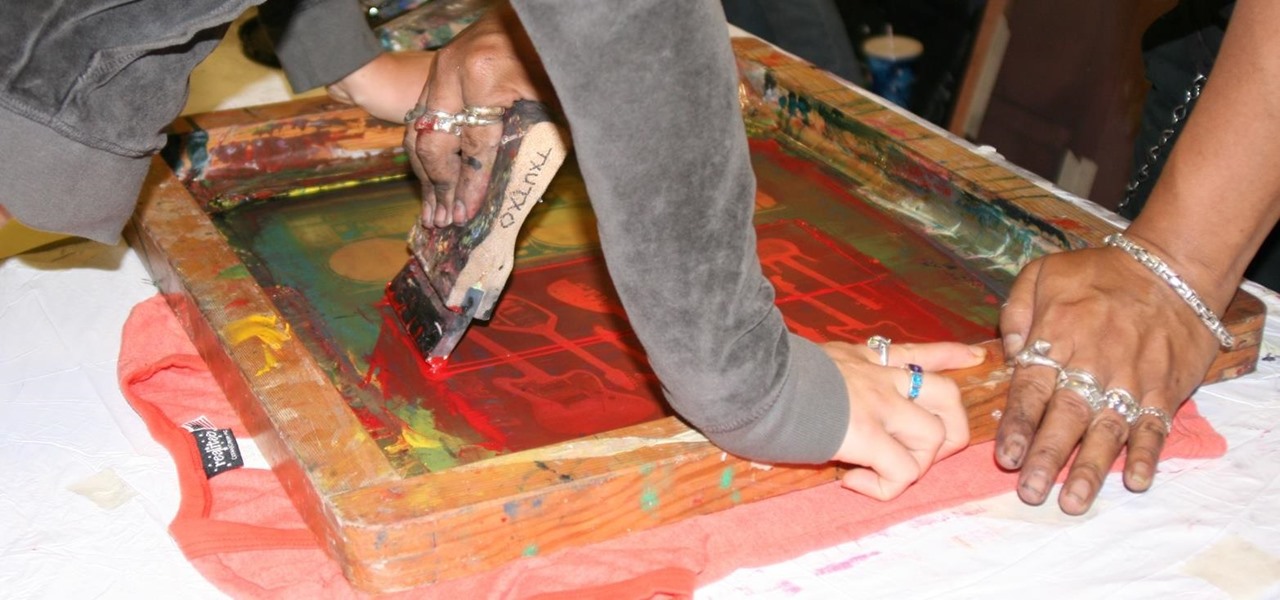
This is silk screen production, the cheap and easy DIY way! In order to make this easy silkscreen for making cool T-shirt logos and designs, you'll need some acrylic paint, paintbrushes, cheap net curtain (patterned or plain), vinyl sign sheets, blackboard (or cork board), and some fabric paints to paint with. Also, you'll need a CraftROBO precision cutter. Soon, you'll have your very own screen-printed tee shirt, thanks to your very own homemade silkscreen.

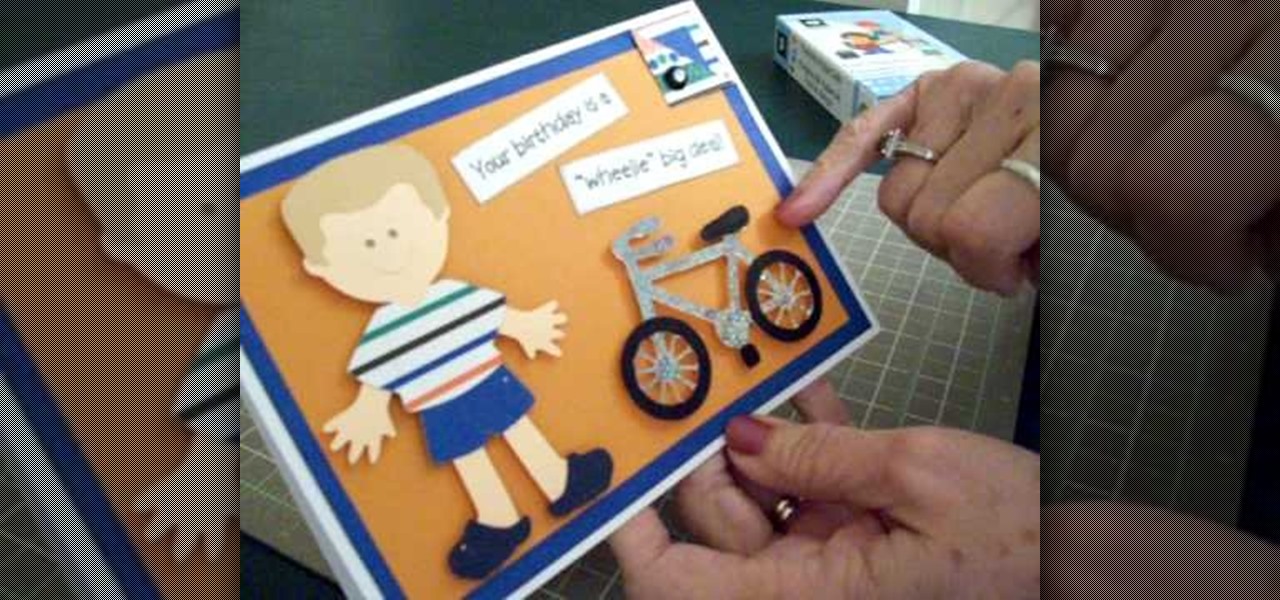
In order to make a Cricut "biker boy" birthday card for a young boy, you will need the following: Everyday Paper Dolls cartridge, adhesive, and card stock.

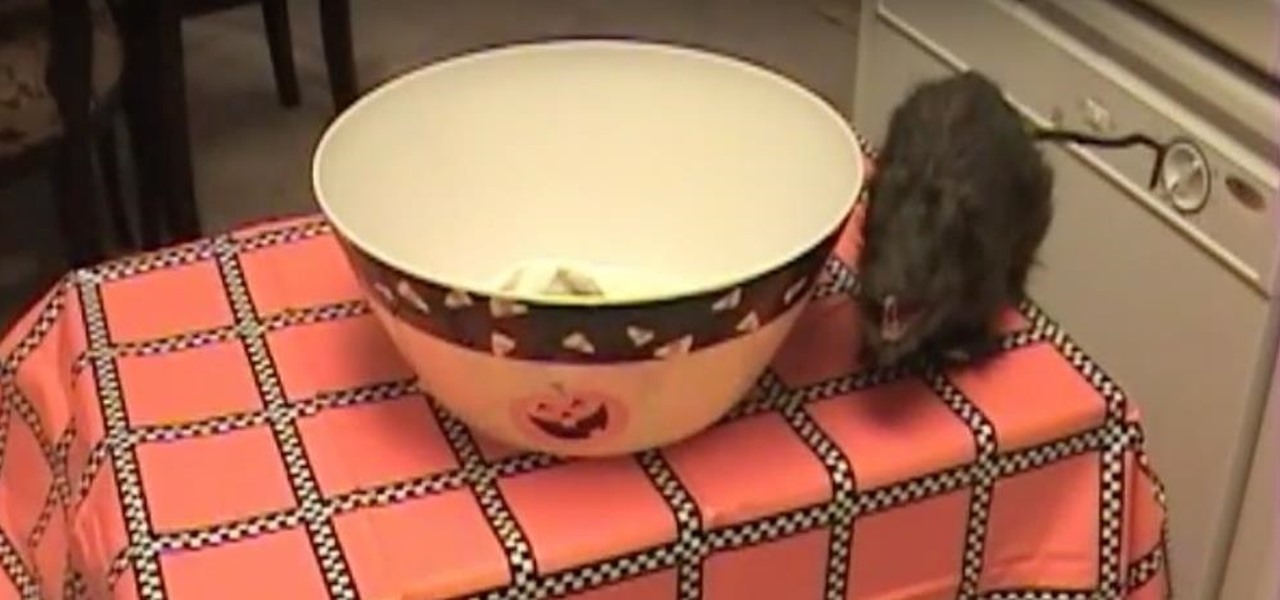
If you're looking to pull off a great prank for Halloween, this next tutorial will show you a classic prank. It involves using a candy dish and your hand.

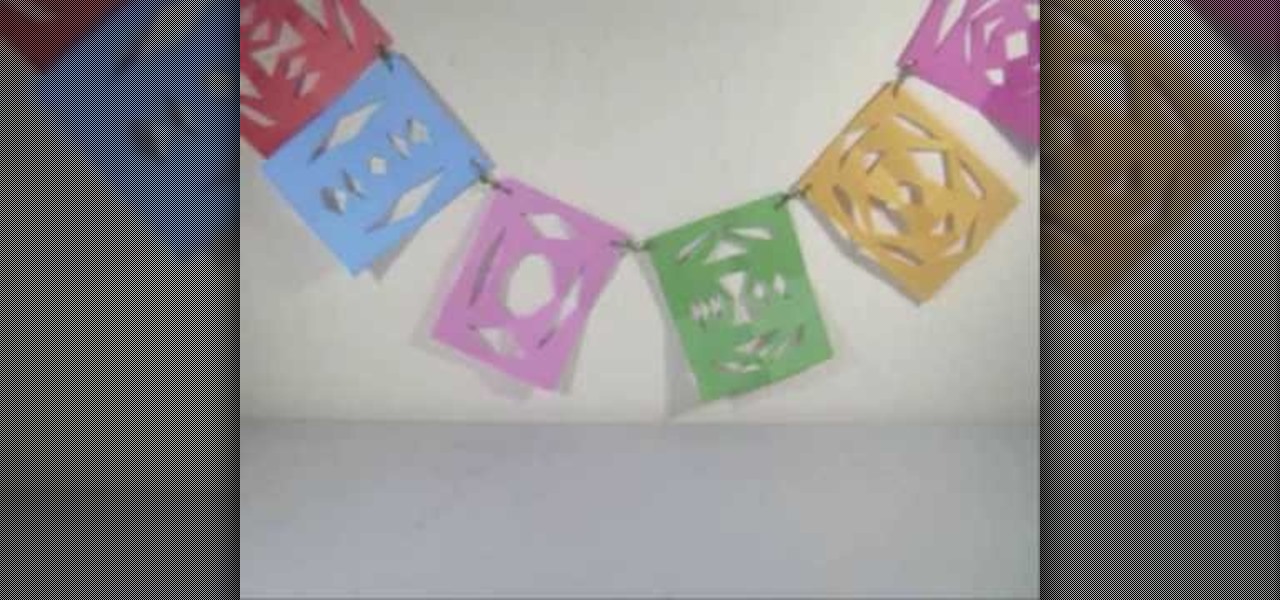
In this video tutorial, viewers learn how to make a colorful paper banner. This task is very easy, fast and simple to do. The materials required for this project are: construction paper, yarn, scissors and a hole puncher. Begin by folding the construction in half. Then fold it in half on again. Now cut pattern on the side edge of the paper and repeat this process for additional paper. Open the paper to reveal the symmetrical cut out pattern. This video will benefit those viewers who are inter...

In this tutorial, we learn how to understand rheumatoid arthritis. This concentrates by attacking the joint spaces and causing a reaction. This doesn't happen for an exact reason, but it usually occurs in older individuals between 40-60 years old. This also occurs in young children rarely. The symptoms are when the joints become inflamed and painful. This happens around the knees, ankles, neck, and more. This attacks both sides of the body and the same body parts at once. Fatigue, fevers, mor...

In this tutorial, we learn how to use Fiskars Decorative Edge scrapbook layout. First, you will need to pick out the templates, pictures, and paper that you want to use for this project. Now, place the stencil over the card stock and cut out the stencil shapes you want, stars work best if you are doing a fun child theme. Now, apply these to your base card stock, and arrange a frame over the background. Now, apply the picture to the page and add on the stencils you just cut out. Add in quotes ...

In this video, we learn how to make easy custom ornaments from clear bulb ornaments. First, you will need to grab your clear ornament, then grab some glitter glue and pour it into the middle of the bulb. Continue to fill in different colors into the bulb, then wipe off the top and shake it so the colors cover the entire bulb. The more you shake it, the more the colors will mix. After this has dried, place the clips back into the middle of the bulb, then you can hang this on your tree. This is...

Many of today's cleaning products contain chemicals that can be harmful to pets, children, and even adults. Sure it can get the job done, but what's more important the health of others or your stuff?


