The Clinched Blood Knot is a strong knot for tying a medium size hook to a medium size line. The clinched blood knot is very similar to the half blood knot but it differs in that the line it is passed through the eye of the hook twice. A good knot for tying the line to terminal tackle. Tie a Clinched Half blood Knot for fishing.
Learn how to use Masking, Motion Tweens, and Motion Guide Layers to create an animated pencil drawing a curved line. Tools used are the Rectangle tool, Pencil tool, and Free Transform tool. This is an intermediate level Flash tutorial. Animate a pencil drawing a curved line in Flash.

This video shows you how to use the Line tool, Eraser tool, and all of the shape tools in Illustrator. You also learn how to use modifier keys to access additional options. Check out the video by Matthew Richmond now! Use the Line, Eraser, and shape tools in Illustrator.

Tips for dealing with flaking lines. Good for both single handing and strong winds. Deal with flaking lines on your boat.

If you use the follow technique on a shot with a small cut angle, the cue ball will deviate from the line tangent to 90 degrees. Deviation from tangent line.
Nothing is more fun that fly fishing with popping bug for panfish. With popping bugs, you can get bite after bite from little bass. Wade Bourne, host of Wade's World on MyOutdoorTV, shows you how to fish for bluegill and panfish using a fly rod and popping bugs.

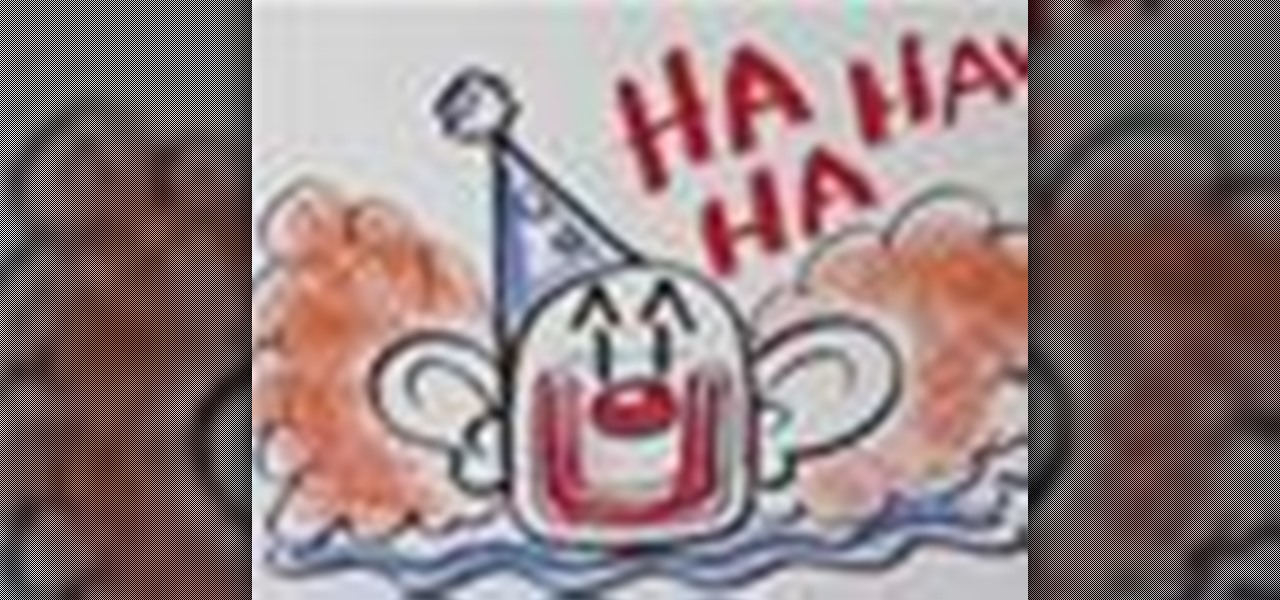
Draw along with Bruce Blitz as he shows you how to create the happiest clown around. All you need is paper, a pencil, a marker, colored chalks or colored pencils, and an eraser. Write the letter “h” – lowercase. Put a circle for his nose inside the curve. Draw in a big smile and make a lighter line for his makeup. Use vertical dashes for his eyes and draw 2 lines going across the center. Use upside down “V’s” for eyebrows. Connect the bottom of the “H” for his chin. Make really big floppy ear...
Animals and insects make great cartoon characters. So get ready to learn how to draw a worm that turns into a bookworm. All you need is paper, pencil, marker, colored chalks or colored pencils, and an eraser. Start by drawing a squiggly line. Come around and double the line, keeping an equal distance from the other. Draw a curved shape for a head at the end. Draw large circles for his eyes and connect them to give him glasses. Draw his pupils going all the way to the right. Add two small eyeb...
The Half Blood Knot is similar to the clinch knot. It is same knot with two different names. This instructional video demonstrates a variation called the Locked Half Blood Knot. This variation adds a way to secure the tag end in the final steps of tying the knot. The half blood knot is used to attached lures, hooks and swirvels to the fishing line. Watch this video fishing tutorial and learn how to tie a locked half blood knot on a fishing line Tie a locked half blood knot on a fishing line.
Welcome, everyone! While Linux distributions are almost always used for exploits, security, pentesting and other stuff covered in Null Byte, knowing the Windows Command Line (or Command Prompt) is a useful skill that can help you in various ways, such as using exploit programs made for Windows or using the command line on someone else's Windows computer.
If you ever need to wash your beanie and need some sort of hat mould to retain the shape of the fabric while it is drying, blow up a party balloon until it is about the size of your head. Place the beanie on top of the balloon until it dries.
We've all been there: you're cooking along quite happily when you get to one or two ingredients on the list that you realize you don't have. You really don't want to run to the store or borrow something from a neighbor, so what do you do? Thankfully, eReplacementParts has come up with a handy-dandy infographic for ingredient substitutions, all using stuff you have in your own home, whether you lack ingredients for pasta sauce, marinades, or basic foodstuffs like eggs (even the expired ones), ...
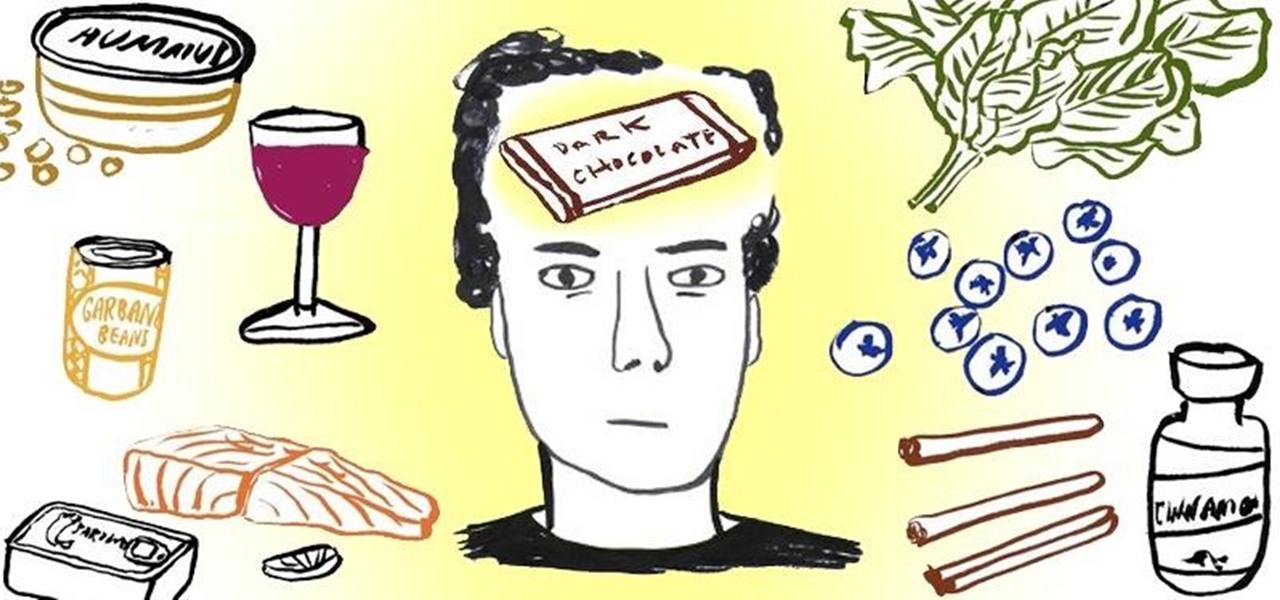
Studying for a big test? Rather than weighing your mind and body down with empty calories and junk food, eat smart with healthy foods that are known for decreasing your chances of developing Alzheimer's disease, keeping your neurotransmitters healthy, and increasing blood and oxygen flow to your brain.
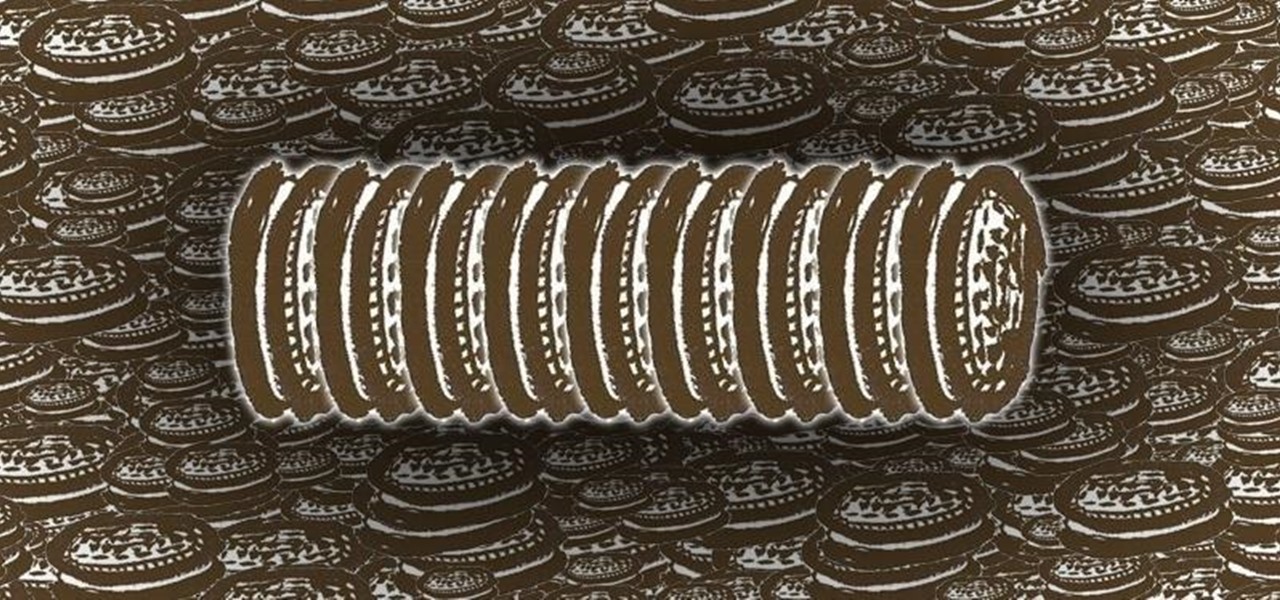
Bored of eating Oreo cookies on their own? Stick a jumbo marshmallow and a Hershey square in-between the cookies and melt in the microwave to make Oreo s'mores. For a savory-sweet snack, crush them into small pieces and mix with a bag of freshly popped popcorn.
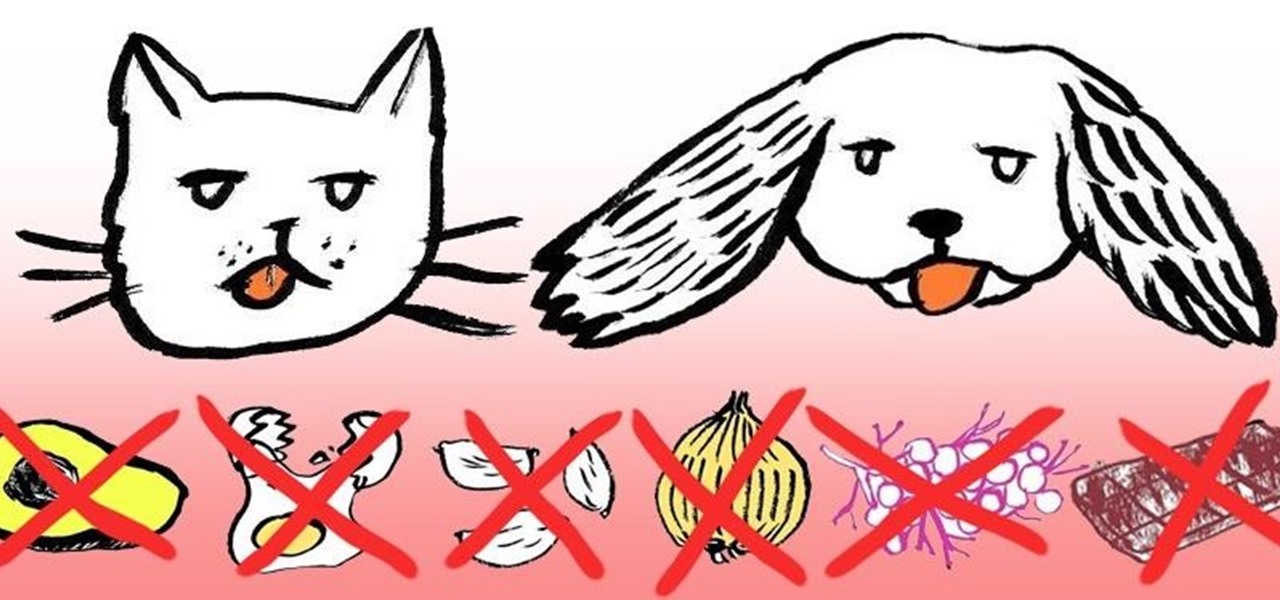
Most of us know that chocolate is bad for dogs, but many other human foods are also extremely harmful if accidentally eaten by your pet.
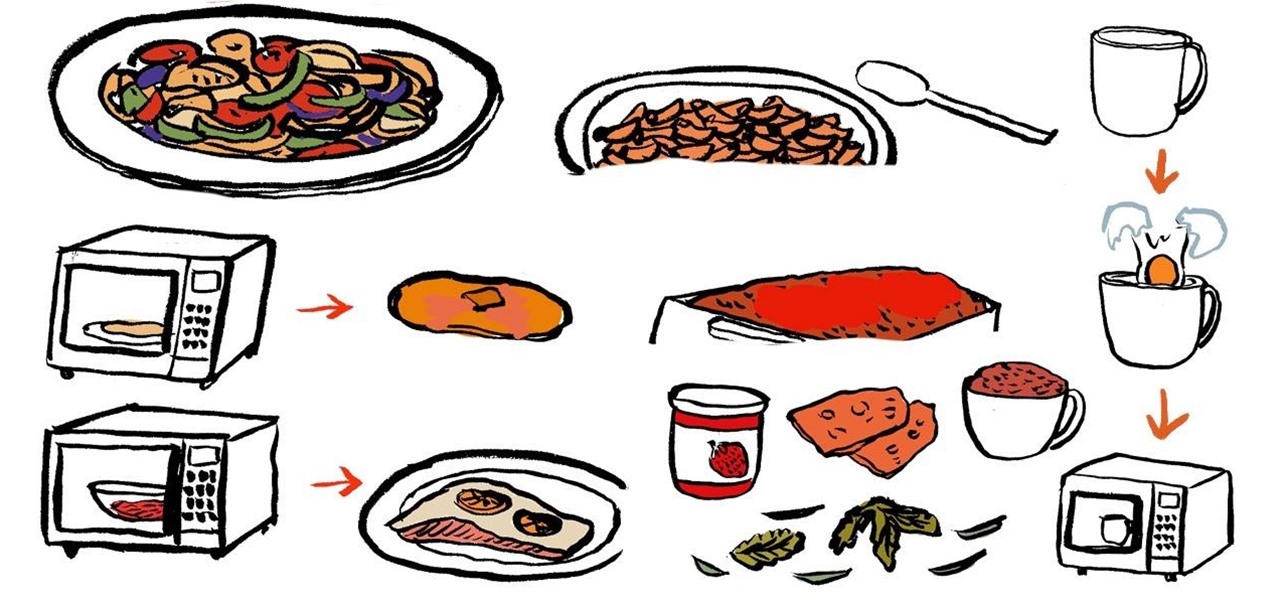
Whether you live in the dorms with no access to a kitchen or simply too lazy to cook on a stovetop, you can "cook" up some amazing meals on a microwave that aren't bags of buttered popcorn or frozen burritos.
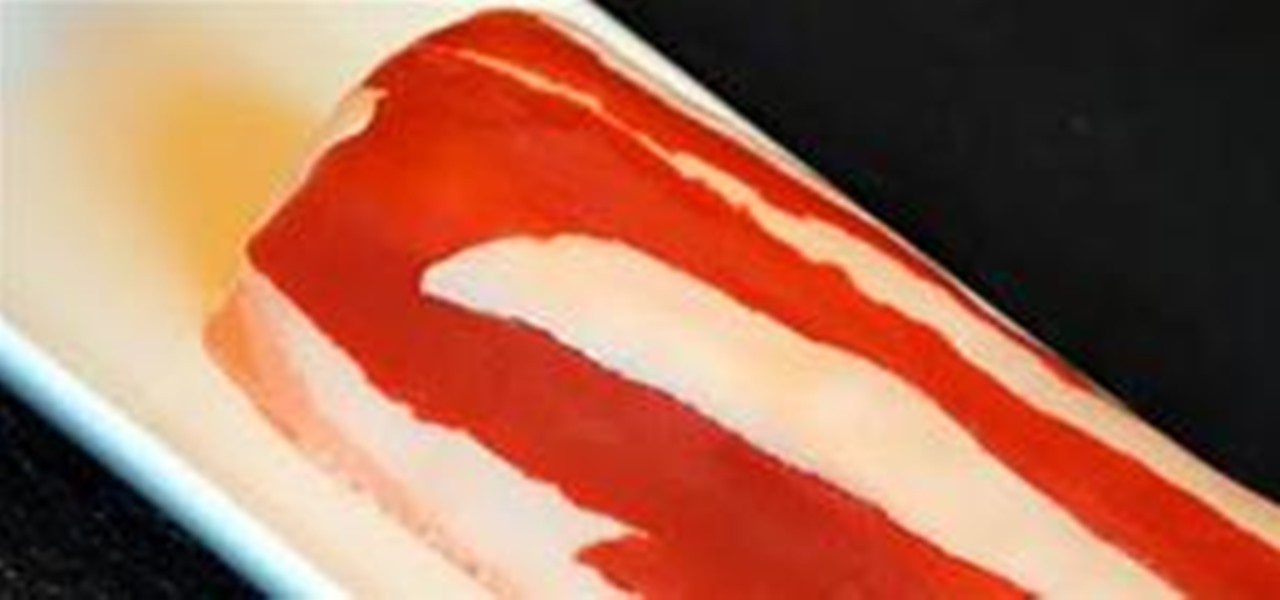
Not So Humble Pie, creator of yummy cookie lab rats, chocolate atoms and gingerbread scientists (to name a few), brings us a delectable contribution to the world of cake decorating: the candied bacon cake. This cake looks like bacon, and actually tastes a little bit like bacon, too.
Luxiare is at it again with another clever, beautifully shot How-To. This time Luxiare demonstrates how to make the perfect packed lunch: a bento
Chef Medrich demonstrates her technique for making perfect chocolate ruffles - a beautiful, and delicious, way to top a cake. Ruffles is stiff and stylish arrangments of chocolate. The ruffles are made from melted gourmet chocolate. Make chocolate ruffles.
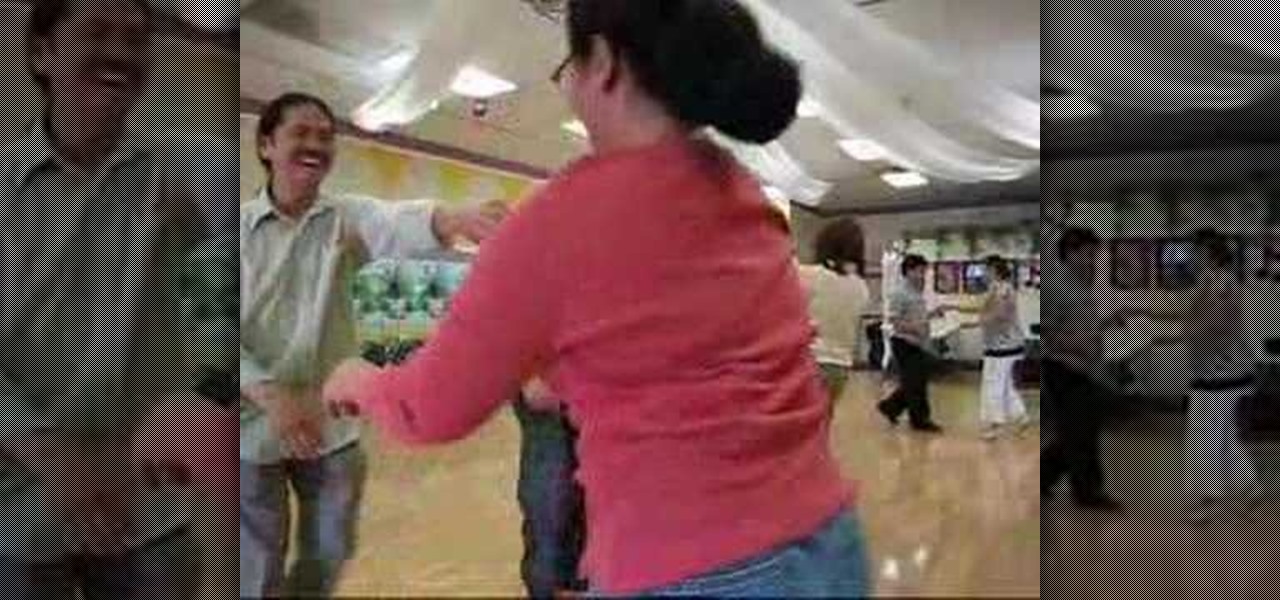
It's time to boogie! Get your shoes on, put on your dancing shirt, turn off your phone, and tell your friends you've gone on a permanent vacation! The boogie line dance is a simple line dance - easy enough for a toddler to learn, but hard to forget! This instructional video will get you up and boogieing in no time. So don't be shy, watch this dance video and get your boogie on.
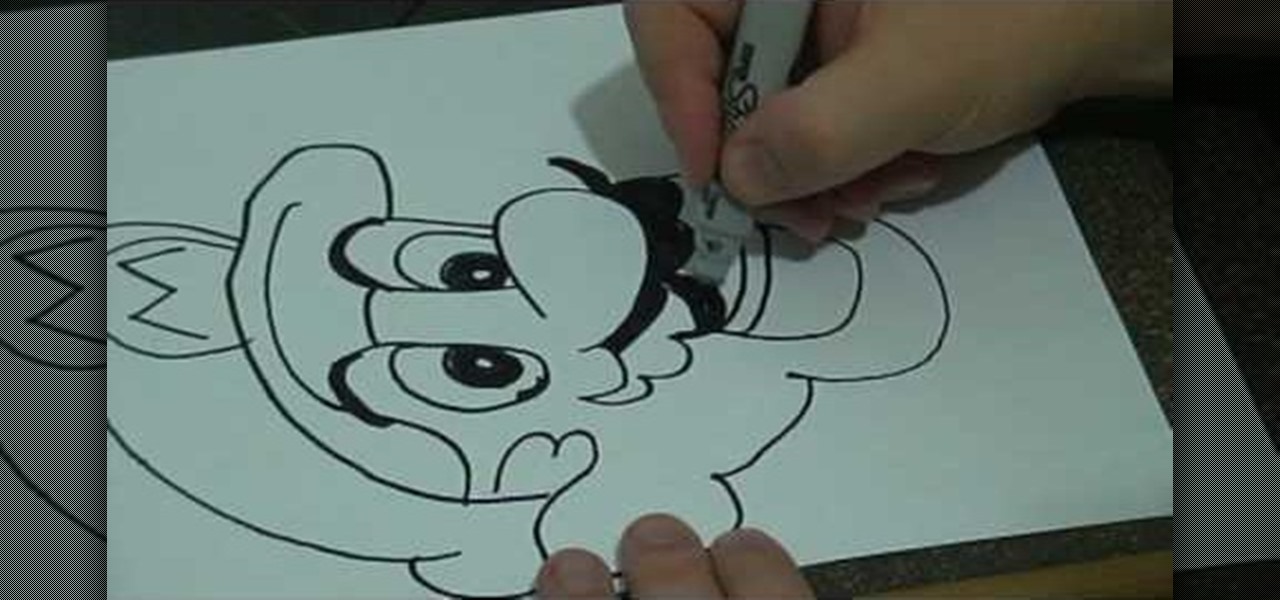
In this tutorial, we learn how to do a basic line drawing of Mario. To start, draw the basic outline of the face with a black marker. Draw in the details of the mouth, don't forget the teeth, tongue, and inside of the mouth. After this, draw in the nose and then the eyes. Draw in the pupils and then start to draw in the mustache and eyebrows. After this, create the hat and then draw around to the side of the head to draw the ear in. When finished, you can leave empty or color in with appropri...
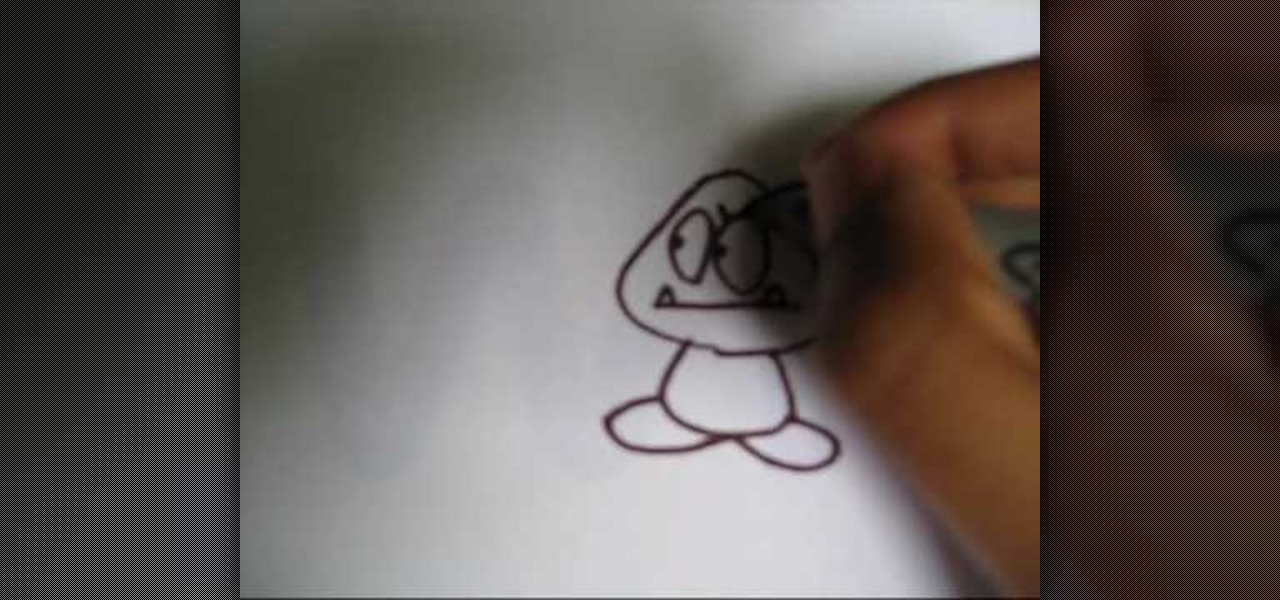
In this tutorial, we learn how to draw a Goomba from Super Mario. First, draw the softened triangle shape of the top of the head, then draw the body and the oval feet at the bottom. After this, draw on the oval eyes and then a flat mouth with two triangle teeth on both sides. From here, draw on the eyebrows to Goomba in thick lines. To draw another type of Goomba, draw the same basic shape, but then make the eyes squished into small lines and then draw the mouth with crunched teeth on the ins...
In this tutorial, we learn how to draw Sonic the Werehog. Start by drawing the outline of the character, making sure to draw in the spiked hair on the back of the head. Then, draw in the circle for the head and use crossing lines to reference where you want the features of the face to go. Draw in the features and then add in more detail to them as well. Erase the background lines and then draw in the details of the body. From here, color in the body and then shade in corners to make it look m...
In this tutorial, we learn how to draw Uncle Scrooge McDuck. Start off by drawing the outline of the hat, heat, neck, upper body, instrument, and lower body. After this, draw on the eyes, glasses, and the beak. From here, you will start to add in additional details and erase the outline lines from where they aren't needed. Start to add in lines to create folds on the character and then color him in with the appropriate colors. After this, add in shading to different parts of him and his instr...
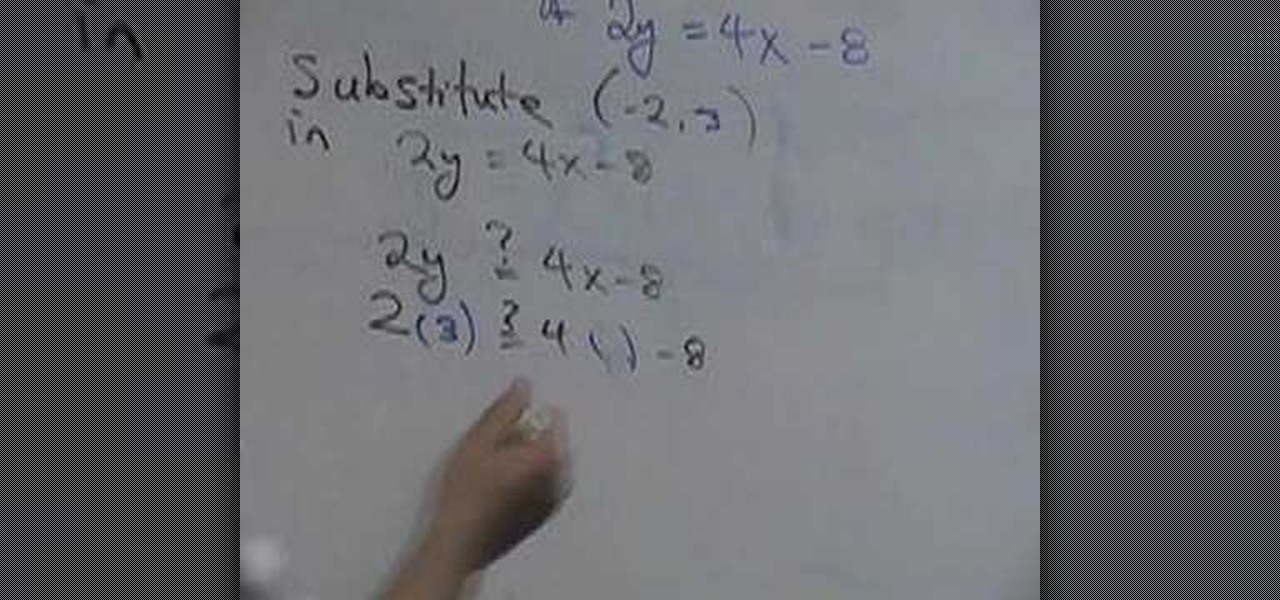
In this video, we learn how to graph an equation. First, pick a point out of the equation and see if it's a solution to the equation. This equation shows where two lines cross in the math problem. See if the two coordinates are part of the line that is on the equation. The two numbers are going to be the 'x' and 'y' that you plug into the equation. Once you have these written out, you will be able to graph them using the coordinates on the graph. Once finished, you will have graphed the equat...
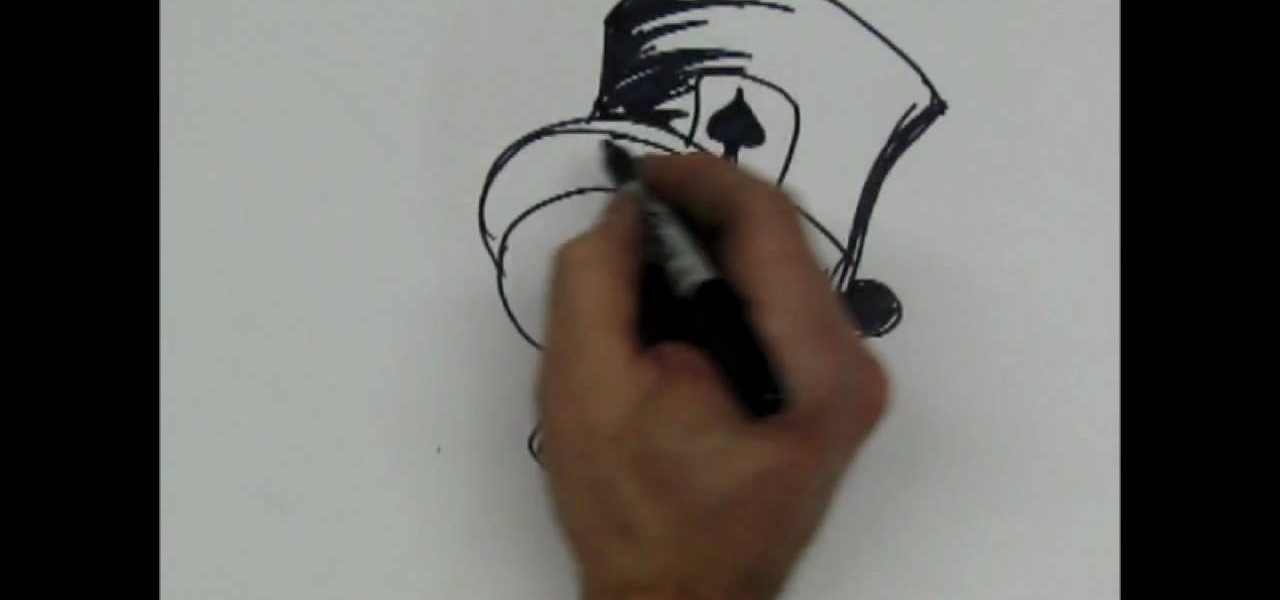
In this tutorial, we learn how to draw a skull with a top hat. First, use a Sharpie marker to draw the nose of the skull and then the eyes. Color these in completely black, since you want be drawing eyeballs in them. After this, draw the skull around it. Draw in the teeth clenched together and then add in lines around the head of the skull to show cracks in the bones. After this, add in additional details around the jaw line and on the head of the skull. When finished, draw on the hat to the ...
In this tutorial, we learn how to draw a cylinder. First, you will draw the sides of the cylinder and then the curves for the top and the bottom. After this, complete the circle at the top and then shade in the side with crosshatching. From here, draw some lines to shade in on the side next to the cylinder. If you want to draw a cylinder on its side, draw a box around it first and then continue to draw. Make sure all your lines are equal to each other so it evens up and looks more realistic f...
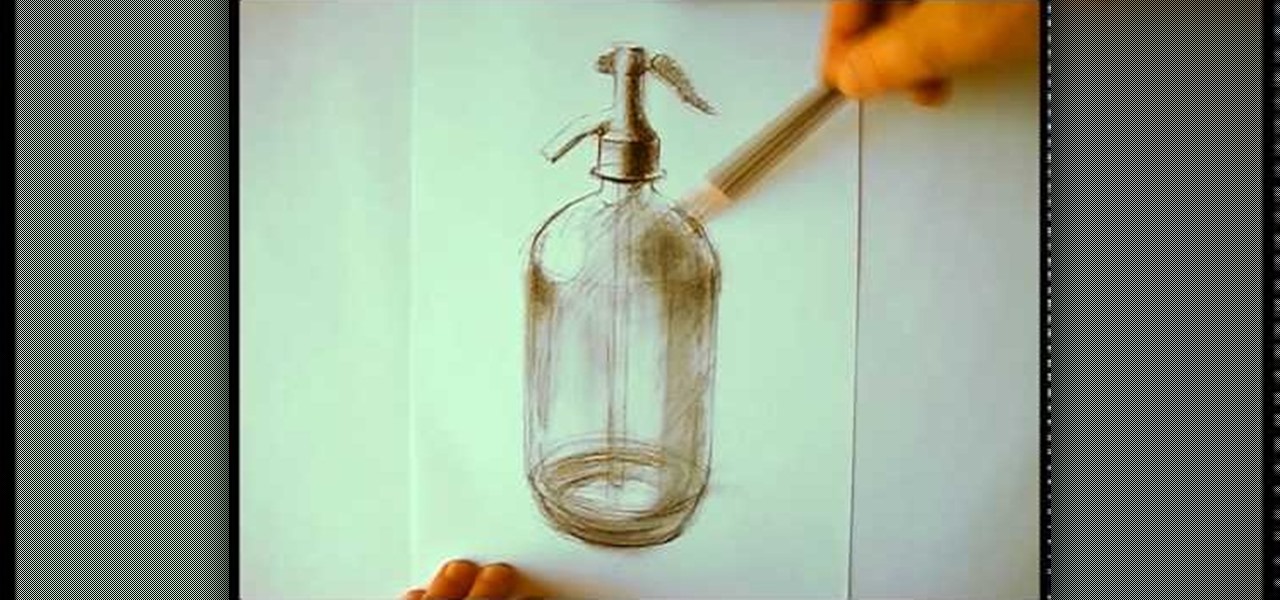
In this tutorial we learn how to draw a glass bottle. To start the bottle, you will draw the outline of the bottle starting with the cap to the base. After this, start to shade in the top and around the sides of the bottle. Small lines will create the effect of the bottle seeming to be transparent. After this, start to shade in around the sides of the bottle and on the bottom. Draw the inside lines and the other side as well so you can see that it is clear. Then, use the eraser to smear the c...
In this tutorial, we learn how to draw hands in the anime style. When you are drawing hands, they have a square look to them. So, start out with that shape and then start to draw the fingers onto the hand. Indicate where the joints will be and then you can further elaborate with the fingers. Make sure you make the fingers the correct sizes. The pinkie should be away from the wrist, as well as the thumb. Use a line to help center all of the fingers and then draw them around this. When finished...
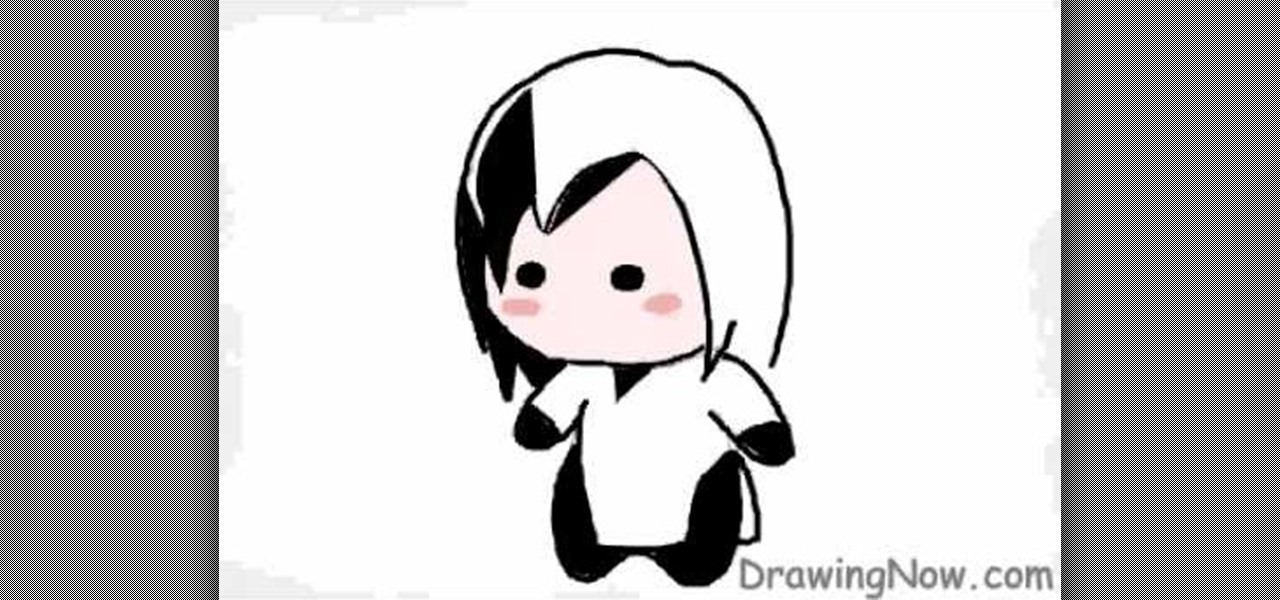
In this tutorial, we learn how to draw a Chibi Orochimaru from Naruto. Start off by drawing the outline for the character, then add in the details for it as well. After this, you will start to draw in the shading and the additional lines to give it more details. Then, you will need to erase the background lines that you used as a guide to draw the final product. From here, you will start to shade in colors on the character and then draw in any additional details or facial features. To finish ...
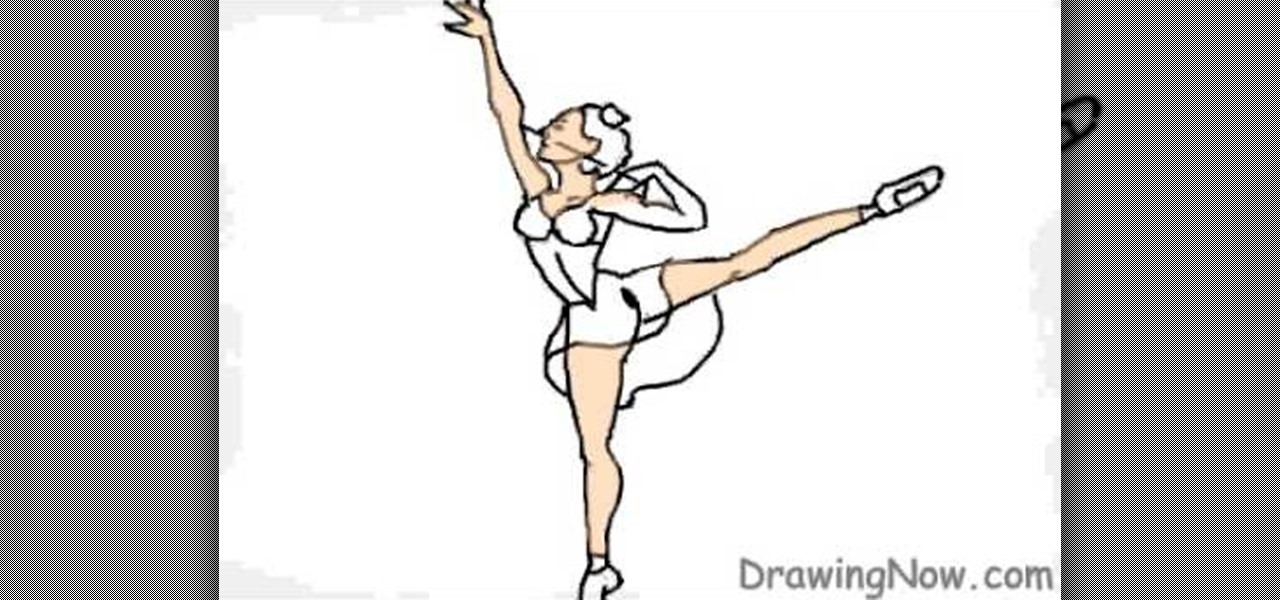
In this tutorial, we learn how to draw a ballerina. Start off by using circles and basic lines to draw the outline of the ballerina's body. Then, use a darker brush to create the body and add in the details of it as well. Draw one leg up in the air, while the ballerina is standing on the other with her arm raised high in the air. Erase any background lines, then start to draw in details of what the ballerina is wearing on her body. Draw in additional details around the figure, then when you a...
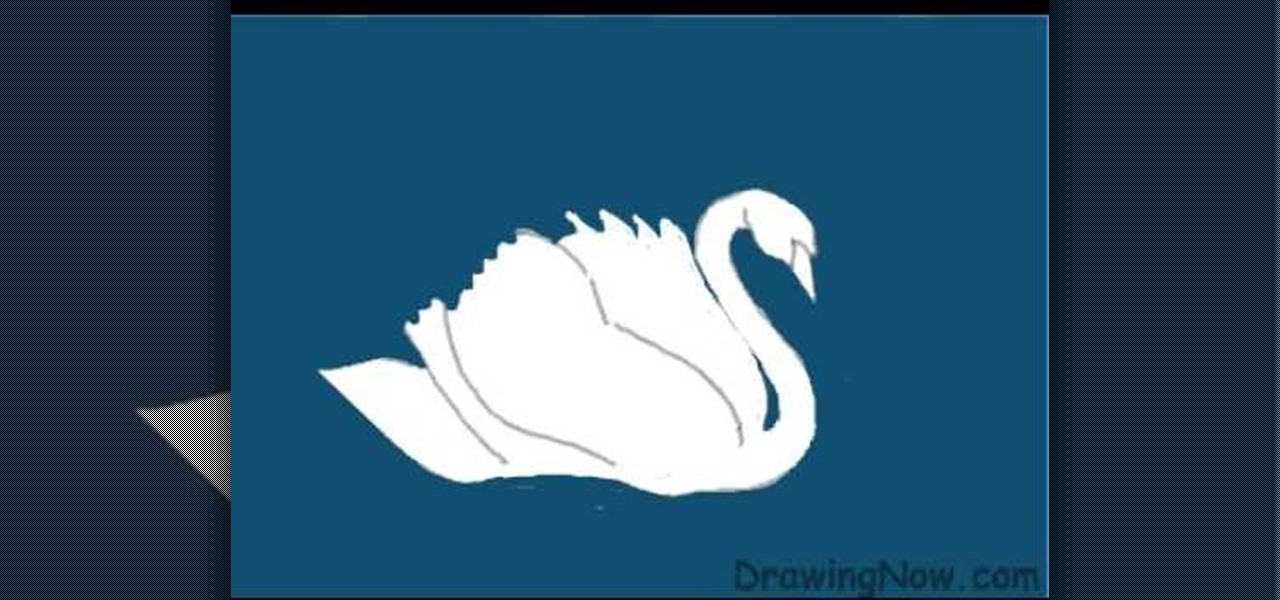
In this video, we learn how to draw a swan. First, draw the head and the neck, then draw an egg shape for the body. Next, draw in the wings for the swan and erase any background lines to make it look more realistic. From here, add in details to the face and make the beak more apparent. Then, you will color in the background and color the swan white, adding in lines for the feathers. After this, use white and grays to create a reflection underneath the swan. Then color the swan with light brow...
In this video, we learn how to draw Darth Vader from Star Wars. Start out by drawing the outline for the body, then draw in reference lines around to figure out where the facial features will go. From here, use a darker paint brush to make the outline darker and then erase any background lines. Then, start to add in the details to the body as well as to the outfit of the costume. Color in the background and then draw on the muscular details to the body. Add in color to the body and the cape t...
In this video, we learn how to subtract decimals. If you can subtract using basic numbers, then you will be able to subtract decimals. First, you will line up the tens and the other units of the numbers. Once this is finished, you will start to take away the top number from the bottom number. Borrow from the number to the left if you need to, then write down what you are left with on the bottom. Once you come up with your number, make sure you place in the decimal point where it goes. All you...
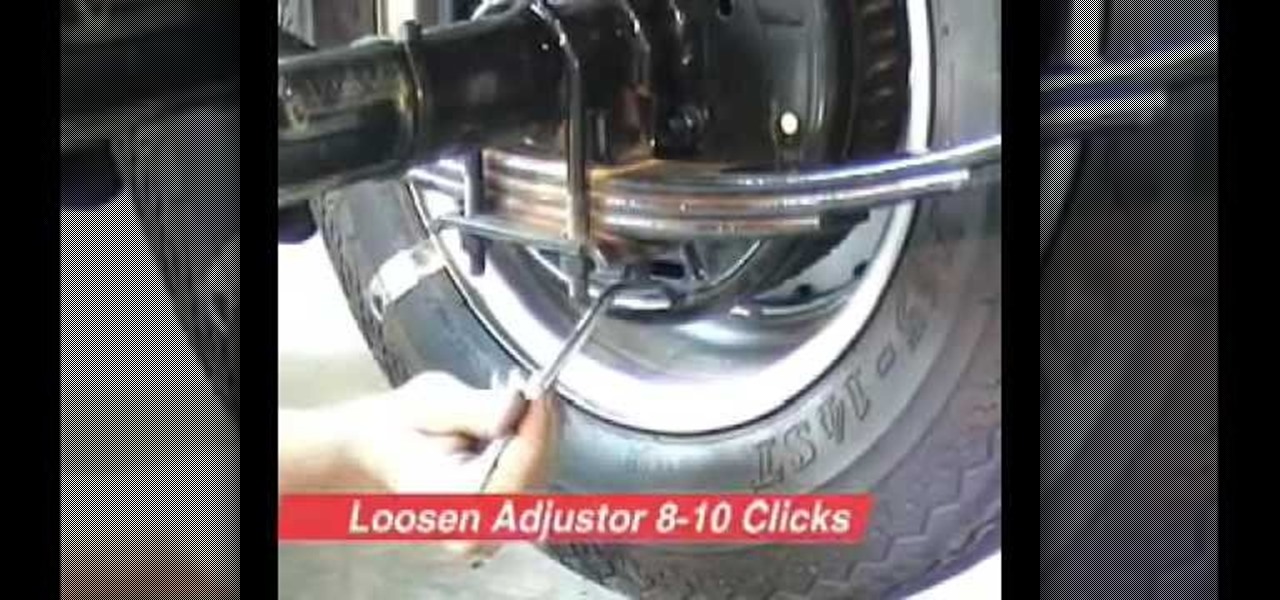
In this video, we learn how to bleed and adjust trailer brakes. First, level the trailer and use a jack stand to support it. Now, hand bleed the brakes using the master cylinder. From here, let any air out of the break line, doing this on all the different brake lines. Next, fill up the master cylinder with oil to make sure it doesn't run dry. Open the pressure valve and then close it as your run through the process. When finished, you will need to adjust the brakes by lifting the trailer. Af...
In this video we learn how to draw Neji Shippuuden. First, draw the outline for the head, use lines in the middle of the face to figure out where to place the facial features. After this, use a pencil to draw on the hair around the face and then draw on the headband. From here, add on the details to the hair and then start to add in shading around the face to make it look more realistic. After this, draw in the shoulders on the side and then draw in the rest of the details of the face. Finish...
In this video, we learn how to draw the manga character, Katara. Start out by drawing the basic outline of the character. Have her hands out in the air, like she is in a striking position. Then, add in the details of her face and hair, then work your way to adding in the details of her arms and the rest of her body. Draw a long dress on her, adding in the lines to show folds in the dress. Once you have finished with all the details, start to add in the colors to the skin and the outfit. Finis...
In this tutorial, we learn how to draw the head of a Native American Indian chief. First, you will draw the outline of the head as well as the head dress that he is wearing. Draw in lines to show where the jaw lines, cheeks, and other facial features are. After this, draw in the details of the face then get to work on the headdress. Add in details to this, then start to add in colors to it, making it as colorful as you would like it to be. When finished, add in some feathers at the bottom and...
In this tutorial, we learn how to draw Optimus Prime of Transformers. Start off by drawing the outline of the entire body of the character. Make sure to add in the large arms and feet as well. Next, draw over this to make a more elaborate outline including the details for Optimus Prime. Once you have all the details draw, erase the background lines. Ten, color in the character and add in lines and shading to make it look more realistic. Once you have done this, then you will finish off with a...
In this tutorial, we learn how to create a nice drawing composition. First, use your pencil to sketch a light outline of the still life objects that you're drawing. After this, you will add in lines on the side of them for their shadows, then shade the area in between the lines in. Next, you will darken up the sides of the shapes to make them appear more in-depth and make them look more real. Use your pencil to blur the pencil markings and make everything look more realistic. When finished, y...