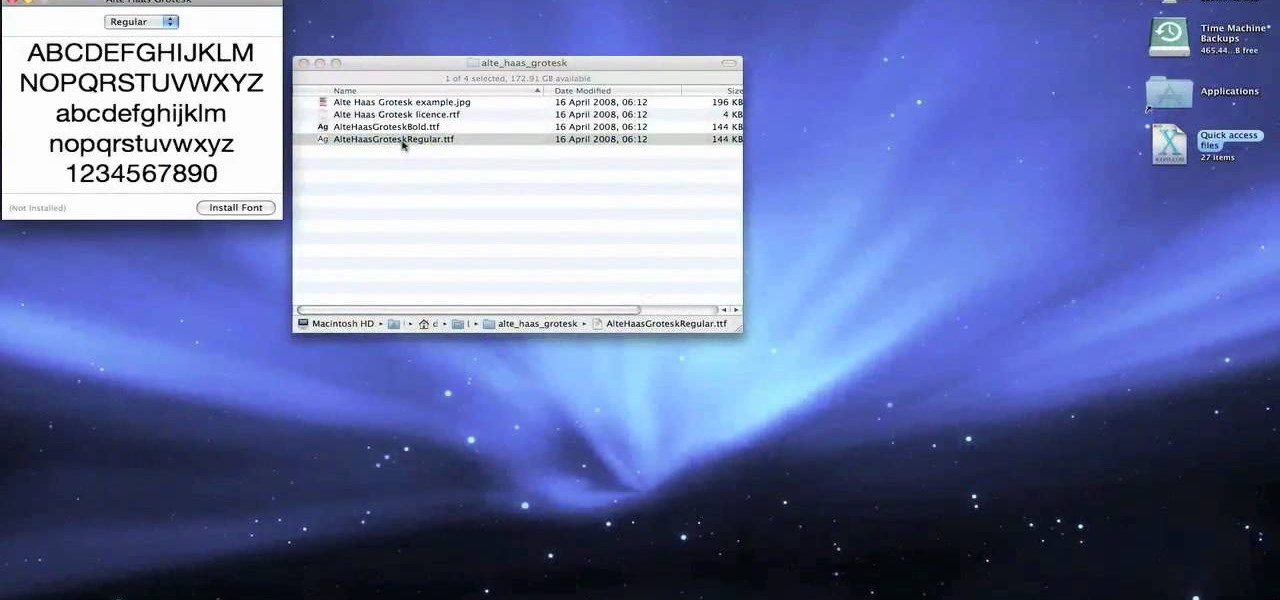
This video tutorial belongs to the Computers & Programming category which is going to show you how to install custom fonts in Mac OS X. It is very quick, easy and simple. Open your browser and do a Google search for free fonts. From the search result you can choose any of the top links and download the fonts file. Then open the file and choose the font ending with 'ttf' which means true type font. Double click on it and a font book opens up. Then you click 'install font' and it is installed. ...

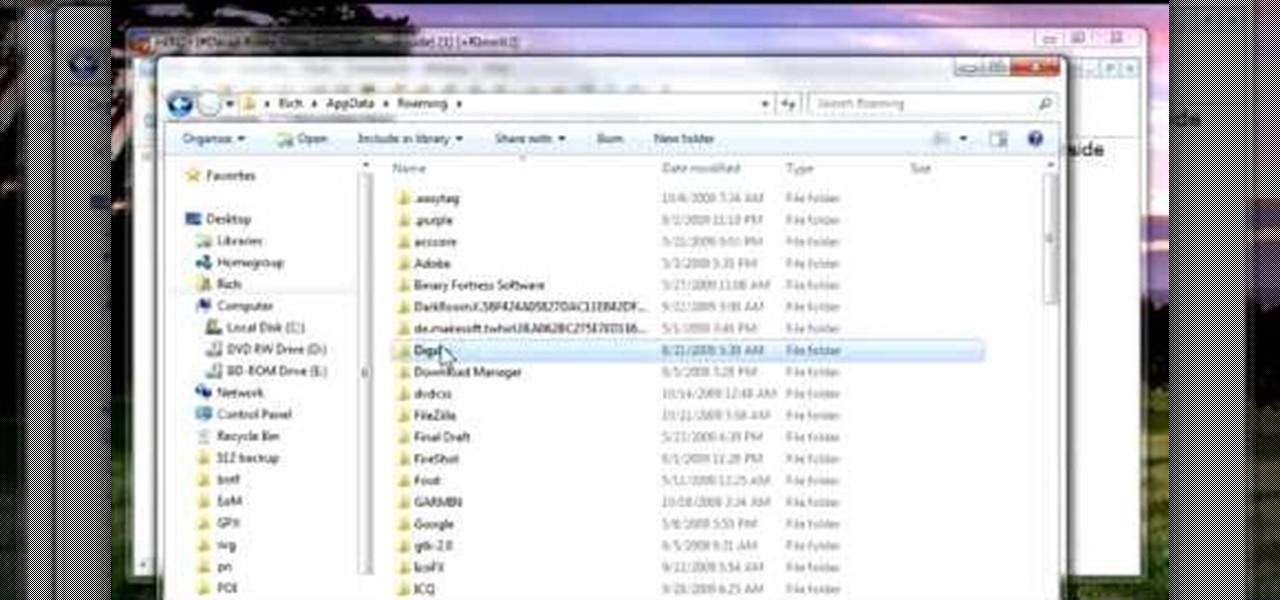
This video demonstrates the installation of the “Bleeding Cowboys” font. In the description of this video click on the link for ‘The font’ and download it. Go to the downloaded folder and extract the downloaded file. A new icon appears. Go to the start menu, select My computer and select drive C:, open folder Windows, open folder fonts. Copy and paste the extracted font file into this folder. A dialogue box appears for the installation. Click on install and you are ready to use this font. Clo...
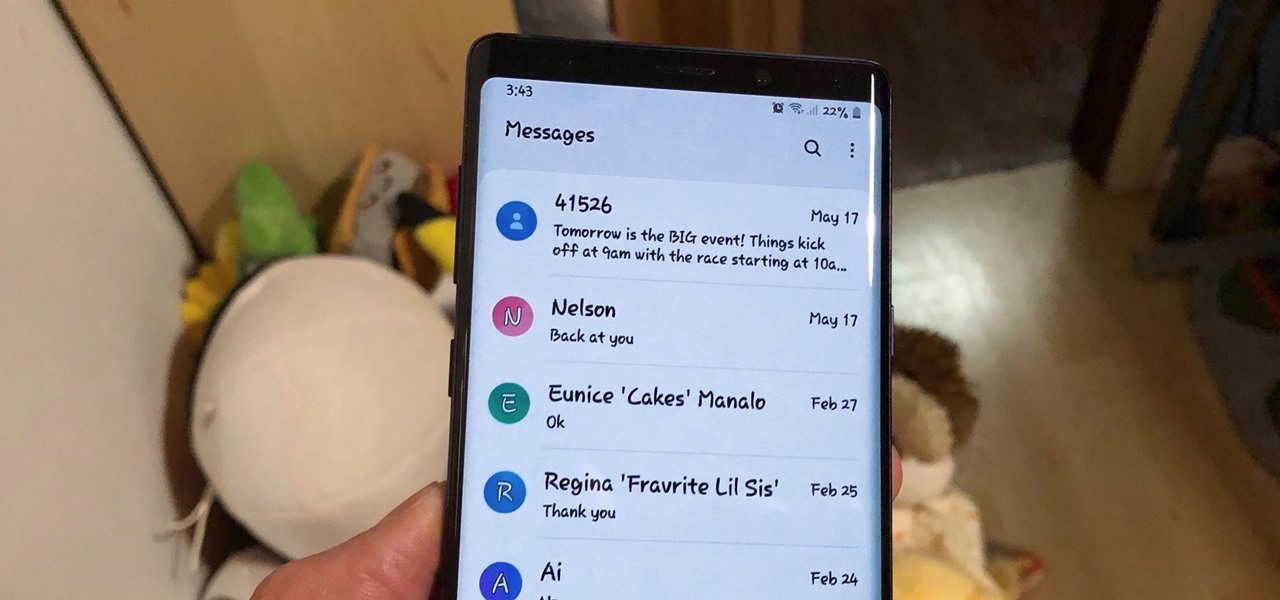
While you can now apply a dark theme to Samsung Messages thanks to One UI, you may want to further personalize your texting app. A great way to do this is by applying a custom font, which not only enhances the app aesthetically, but can also go a long way towards making your texts more readable and help you process information better.
Does your company use the same font for all of its documents and letters? Well, if you run Mac OS X, instead of changing it every single time, you can set up a favorite. Just open up your Fonts pallet; choose the font you want; change the size; and then click on the little gear button and add it to your favorites. For a video walkthrough of the OS X font favoriting process, take a look!

Let me begin this tutorial by reiterating how boring an iOS device can get, like my iPhone. It's extremely popular, yet extremely strict in terms of personalization.

In this Software video tutorial you will learn how to change the font color in Word 2007. The default font color in Word 2007 is black. But, you can change the color of the font to just about any color that you want. Click on the ‘home’ tab of the ribbon on top of the page and you will see a small window with the letter ‘A’ in it. Click on the arrow next to it and it will display a color palette with automatic, theme colors, standard colors and more colors sections. Here you select any color ...

In this tutorial, we learn how to create text in GIMP. To start, create a new image with the width and height at 600 each. Then, click the text box button and choose a font, font size, and other options open on the window. After this, create the box and for the text and type what you would like into the boxes. Set in the distance you would like on the inner shadow and then choose if you want the edges to blend. Make these fade out and then choose to repeat the inner shadow. When finished, sav...

Samsung has multiple built-in font styles to choose from in TouchWiz, but they're limited to just four types. While there are many font installers available on Google Play, they usually cost money and only replace some of the text on the device, not all of it, creating an inconsistent and erratic user interface.

This video tutorial by tasktutorial shows you how to create stylish text in Photoshop. Launch Photoshop and select the type tool and choose myriad-pro font light. Create a text field and type in the text as indicated. Increase the font size and location as desired. Thereafter open the layer options, choose a gradient and create a new gradient by selecting the color as required. Apply a white color outer glow change the size, range and opacity. If you want to add more text create a new layer a...

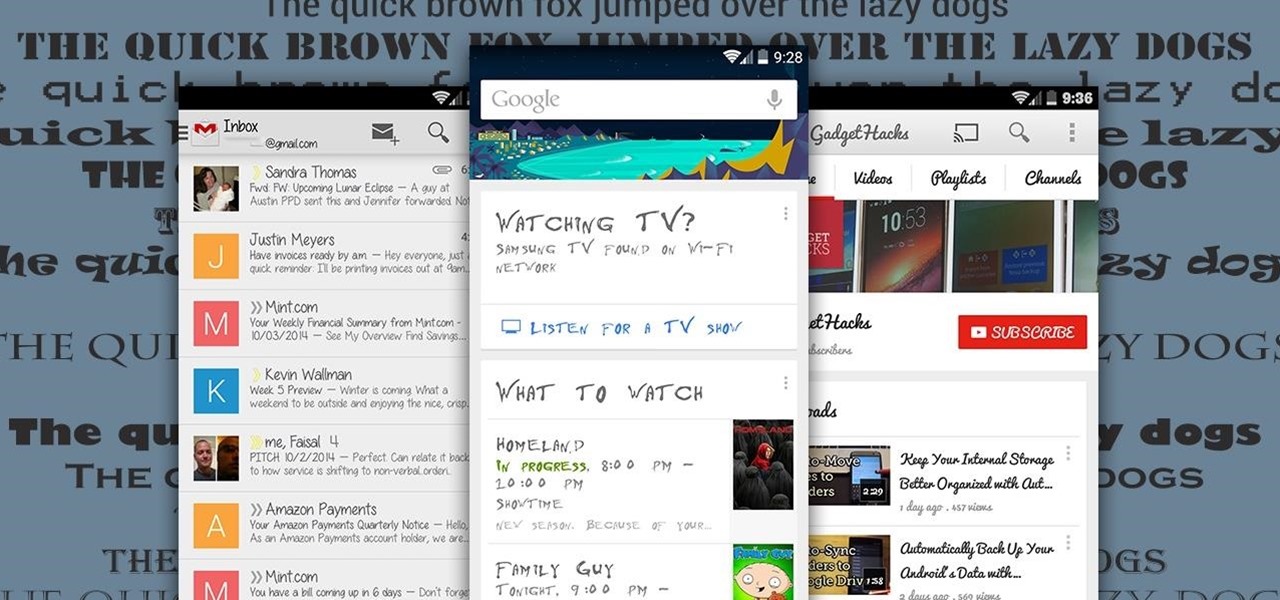
As much as app developers would like to simplify things with icons and visual cues, text is still a huge part of a smartphone's interface. Much of our media consumption is text-based, and while Google's Roboto font is a beautiful typeface, a little variety here and there certainly wouldn't hurt.

There are thousands of fonts you can download online. Some are free, some you have to pay for, but they all have something in common—if you can get them, so can everyone else. If you want a truly unique font that no one else is using, you have to make your own, and what's more unique than your own handwriting?

In order to insert Word Art, into your document, using Microsoft Word 2007, you will need to begin by opening your document. Next, find "Insert", at the top of your screen. Click on it. This will take you to the Insert Tool Bar. Find Word Art. Choose the style that you would like to use, from any of the styles in the style gallery. When the window opens, you can choose your font style at the top, if you want to change from the default setting. You can also change the font size. Write the word...

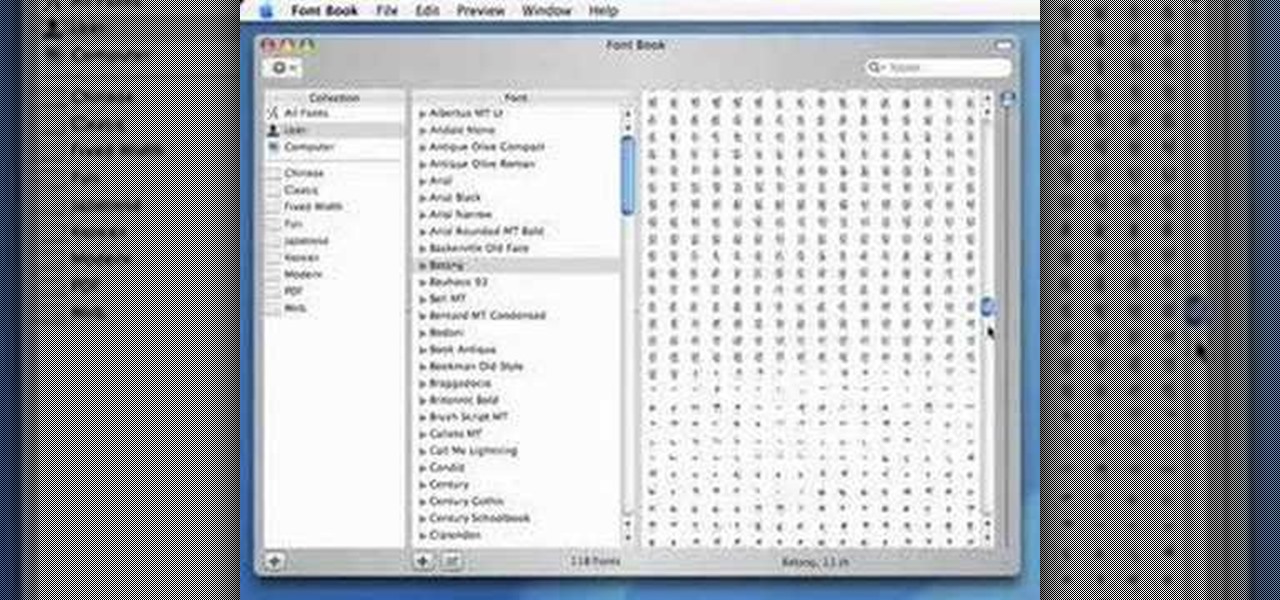
Apple Font book is a utility included with Mac OS X. Font Book is a utility for managing and maintaining your fonts on your Mac computer. It allows you to enable or disable fonts. It also helps you in creating font collections. Using it you can create libraries consisting of different collections and also validate font files for fonts or inconsistency. You can also remove duplicate fonts using it. The font book display consists of three columns. The collection column, the font column, and the...

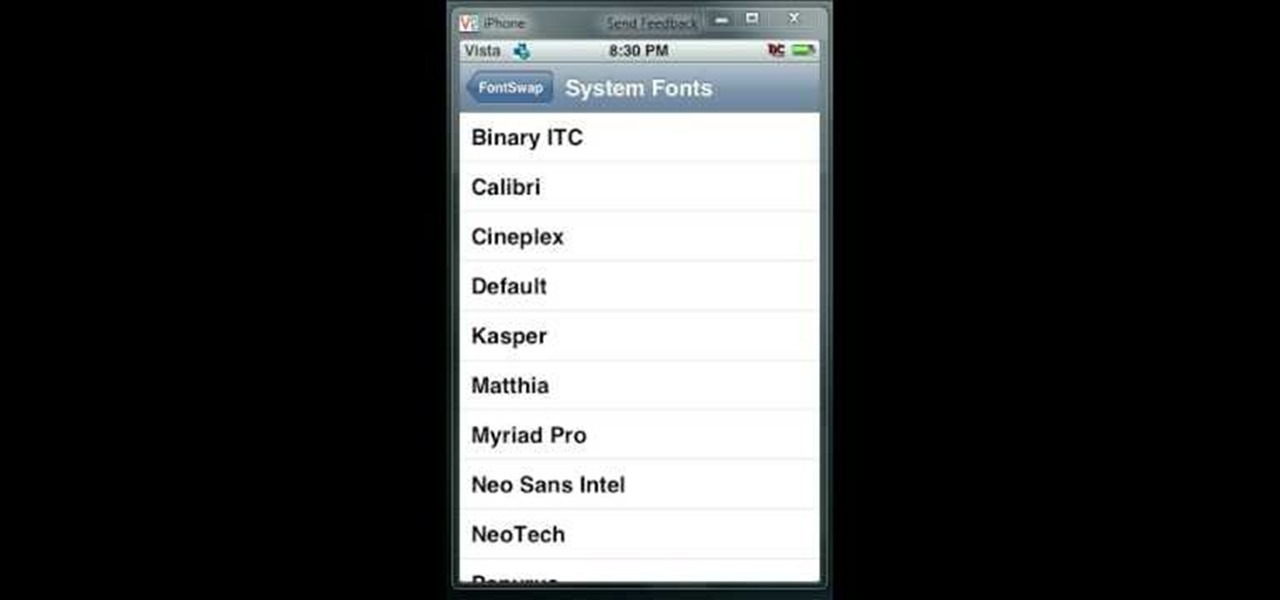
In this video from iPT2gGeec we learn how to change the font on the iPhone. Your phone needs to be jailbroken. Open up Cydia and search for Fonts. Select Font Swap. Install and confirm. Once loaded, go back to the home screen. It requires no reboot. You will see the Font Swap icon. Click on that. You can change dialer fonts, lock clock fonts, notes font, and system fonts. You can select any font listed that you want to change it to. When you change the font, then restart your iPhone and you w...

Have you been typing at computers for so long that your handwriting has become unreadable? Follow these steps to make your handwriting beautiful again. This Howcast guide demonstrates how to improve your handwriting - just follow the steps!

LiveType ships with many sophisticated design elements so that you can add movement to your static text. You can access them in the media browser. Choosing, editing, applying, and previewing an effect is easy using the media browser and canvas. Live fonts are as easily manipulated as effects. Explore textures as well to make your titles professional and sophisticated.

Use LiveType to create professional titles in your Final Cut Express project. Match the properties to those of your Final Cut Express project, add text, choose a font, and format your text using the inspector. The title shows up on the canvas and in the timeline. You can also add sophisticated backgrounds, effects, and animation.

Whether you're new to Adobe InDesign or a seasoned graphic arts professional after a general overview of CS5's most vital new features, you're sure to be well served by this official video tutorial from the folks at Adobe TV. In it, you'll learn how to avoid the inconvenience of missing fonts. See how InDesign CS5 automatically installs needed fonts when the document is opened.

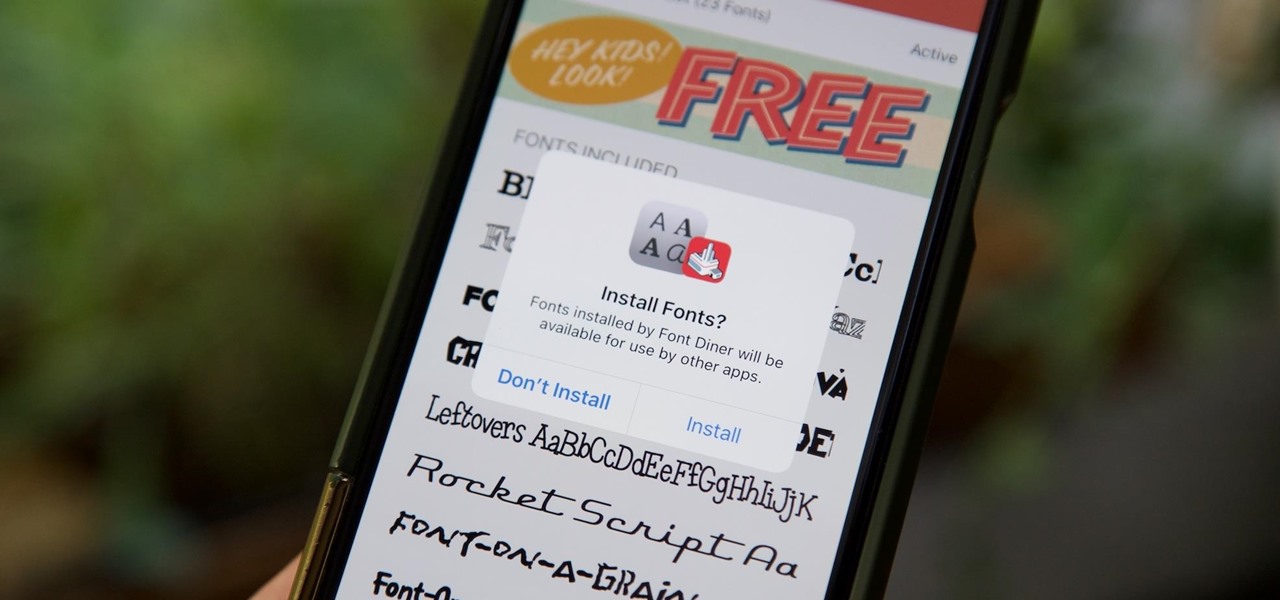
Apple added the option to install custom fonts and use them in different apps on iOS 13. The rollout has been a bit confusing, with Apple announcing partnerships with vendors such as Adobe, but also limiting the feature to work with only certain apps. Nonetheless, you can now download and install custom fonts on your iPhone.

Hate slogging through pages and pages of weighty books and lengthy work documents? You may not be able to depend on speed-reading apps, but with the right font, you can increase the number of words you scan each second, speeding up your reading pace exponentially.

In this how to video, you will learn how to install fonts on to a computer running Windows. First, go to the start menu and go to control panel. From here, double click on fonts. Next, select install new font. From here, browse your folders to the folder you have saved your downloaded fonts. Once it is selected, press okay to add the font to your current list of fonts. You can check if the font can be used by opening up Photoshop. Create a new file and then press the text icon. From here, you...

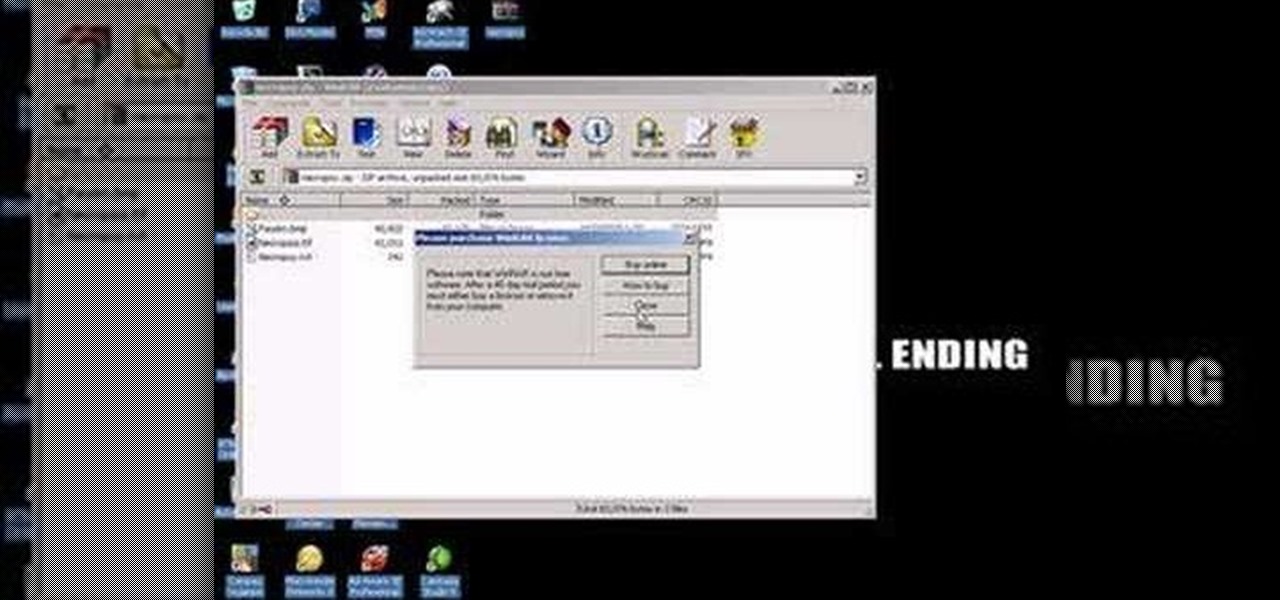
This video is about how to install custom fonts on XP. The first thing to do is to open your browser and type "fonts" in the search bar. Several sites will appear and just simply click on any of the websites. Once you have found the site that suits you best, just start looking for fonts that you may like. And if you already have found a font, just simply press download then save it in your computer. Once you have saved it, other files need to be extracted so just simply extract it. After extr...

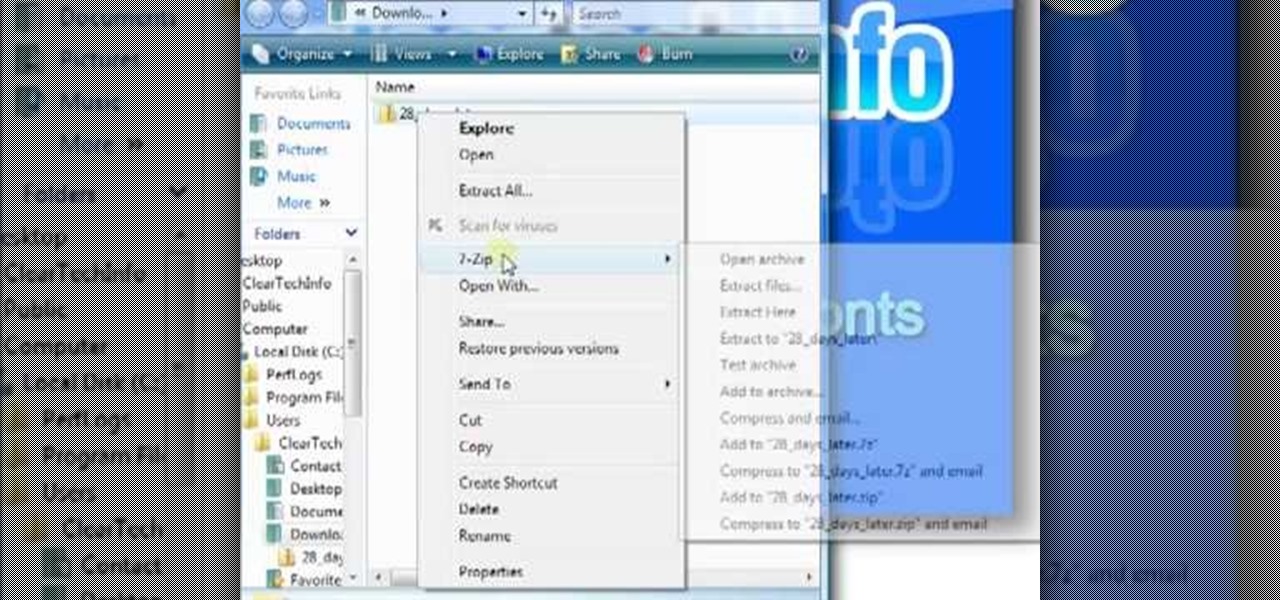
This video, created by ClearTechInfo, shows you how to easily install fonts in Windows. The tutorial refers to Windows XP and Windows Vista. First thing you have to do is download a font. Usually, you can find license-based fonts or free fonts on Google or any other searching engine. If you have downloaded a ZIP file, containing a font, un-zip it. All you have to do is open the Control Panel, and then the Fonts folder. Simply copy and paste the font to the Fonts folder, and your font is now i...

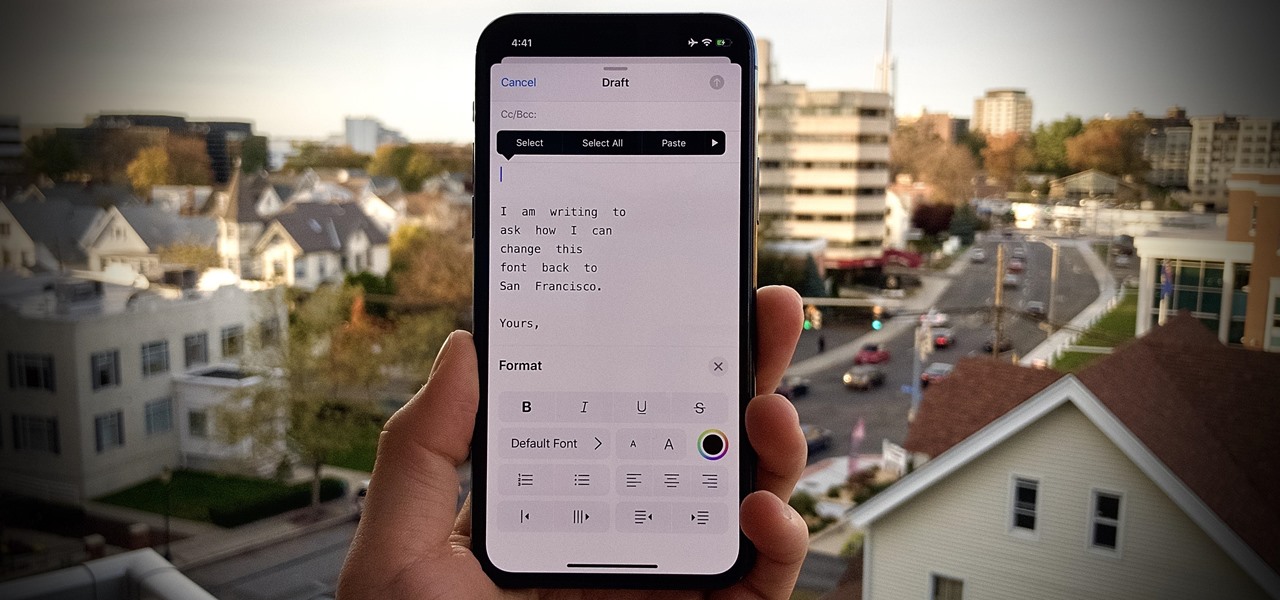
One of iOS 13's coolest features is the ability to download, install, and choose fonts in select apps like Pages and Mail. However, you might notice an issue when writing an email with a custom typeface: there's no option to return to the default font. What gives?

Whether you're making a poster, drawing a logo or designing a website, the font you use can make a huge difference in any visual design, and the ones available in most word processors can get pretty boring. There are thousands of sites online where you can download free fonts, and even a few that let you design your own. Here are some of the best.

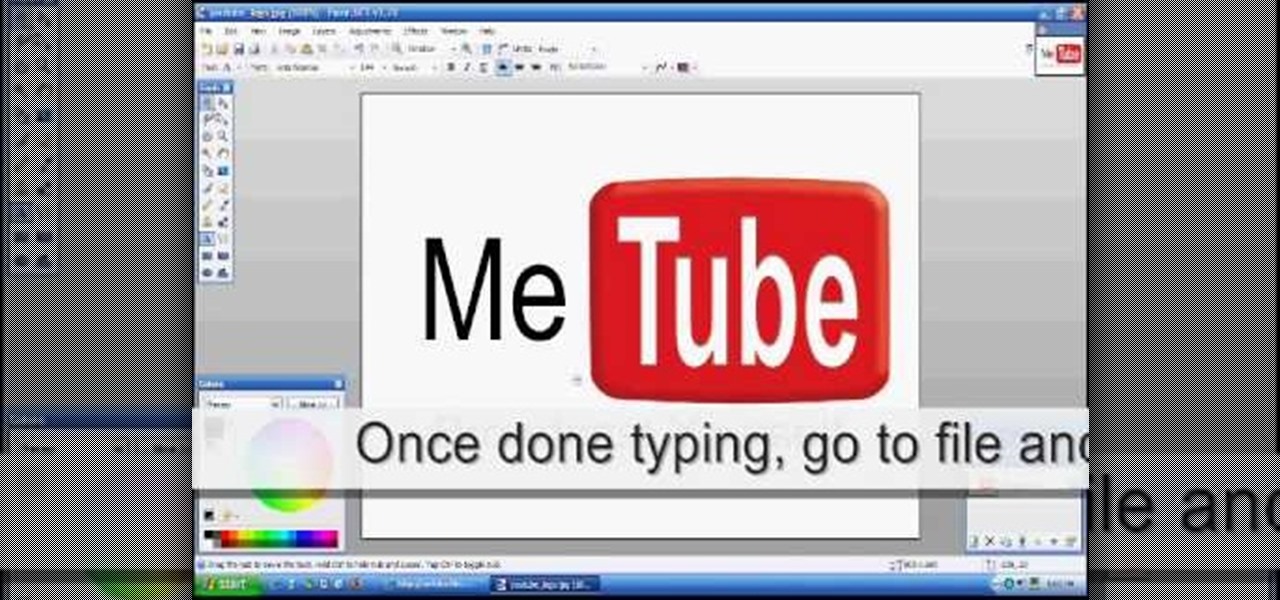
First download Paint.net. Save the YouTube logo on your computer and then open it using Paint.net. Press S and select the "You" from YouTube, once selected press delete. Now press F and choose the white color, pain the deleted area to fill it with the white color. Press T to select the text tool, select the font Arial Narrow and choose the font size 144, press ctrl+shift+N to create a new layer. Now click on where you want to the text appears and type anything you want. Go to File and Save As...

Shawn Powers teaches us how to install Truetype fonts on your Linux systems. First, log onto your web browser and go to Halloween Fonts. Once on this site, browse through the different types of fonts until you find one that you like. After this, save the file for the font onto your desktop. Now, install this font on your command line by first unzipping it. Go to the user share Truetype folder, then make a new custom folder. Move the file into the folder, then make sure the font and the folder...

Windows Vista comes with a list of pre installed fonts. You can also add new fonts to your operating system. To install a font you will need to download it from the internet first. Go to Google and search for you favorite fonts. Open any of the website and download a font. Save the font to your local hard disk. For convenience save it to the desktop. If the font that you downloaded is a compressed file, extract the font file from it. Now open the windows explorer. Go to the local drive where ...

On GetConnectedTV, Darci Larocque, Blackberry Expert, explains how to change fonts on your Blackberry. Have you ever wanted to change your Blackberry font and perhaps make it bigger? From the home screen, scroll to the wrench and hit options. Then, scroll down to the screen and the keyboard. Where it says, "font family" and "font size" you can change it. Hit the space bar and the phrase "the quick brown fox" changes. Press escape and save and you'll see that your font is different.

Photoscape is a pretty sweet, free photo editing software. However, it comes with a limited number of fonts installed and you'll likely want to add more yourself. This how to video shows you step by step what to do to get additional fonts and then how to install them in Photoscape. This is an excellent video designed to expand a great piece of software by letting you add more fonts. You'll need an unzip prog like winzip or winrar to help you get it done.

You can easily deck out your favorite phone with great wallpapers, ringtones, and icons, but what about fonts? Not all Android skins let you change the system font, and even when they do, the options are often limited to a few choices. Certain root apps can open up the system font to customization, but some of these can cause problems now that Google introduced a security measure called SafetyNet.

Get to design your own watermark for your documents. Here's a video showing these easy steps to watermarking your documents. 1. Go to the "Page Layout" tab in Word 2007 and look for the "Page Background" section of the toolbar and select the "Watermark" button. 2. Click on the "Custom Watermark". 3. Click on either picture or text watermark, whichever you prefer. 4. If you select the Picture Watermark, you need to insert a picture by clicking the select picture. You can also customize the sca...

Take a look at this instructional video and learn how to use themes in Microsoft Office Visio Professional 2007 to add color and style to your diagram with just a few clicks. Choose from a gallery of predefined themes, or customize themes with your own background colors, fonts, effects, and more. Your diagram will jump off the page, plus you can make it visually consistent with documents you create in other Microsoft Office programs.

In this how-to video, you will learn how to change the font size with Microsoft Word 2007. First, open the program and type in a sentence or two. Now, move your cursor to where the font name is. To the right of this should be a drop down menu with numbers. These are the sizes of the font. Highlight the text. Now, click and change the number to change the size of the text. The larger the number, the bigger the font will become. This video shows you just how easy it is to change the font with t...

In this video tutorial, we learn how to install, delete and browse OpenType and TrueType fonts on a MS Windows 7 PC through use of the Windows Font Manager, which can be found in your system's Control Panel. For all of the details, watch this home-computing how-to.

This is a video tutorial in the Software category where you are going to learn how to revert to the Fixedsys font using mIRC. Click on the channel icon and select font. Here you can select the font and the size and then click OK. If you have Windows XP or older version of Windows, you can type in fixedsys in the font window, select the size, click OK and the fixedsys font will be selected. But if you have Vista or Windows 7, this will not happen. So you bring up the Windows explorer and in th...

There are a lot of fonts you can use in Photoshop, but there are a lot more fonts you can download off the Internet and install for any CS4 use. You can get all the Photoshop fonts you want at dafont.com. Download them and then install them directly on your computer to show up in Photoshop. Check out the video to get the full steps.

On some sites, the font you are viewing can be too small to read. Here's how to change the font size in Firefox.

Wouldn't it be handy if, while running Mac OS X, you could enlarge some of the fonts and applications like Mail or Safari? Some of those fonts can be relatively small. All you need to do to increase font size in an OS X application is to press the command, shift and plus keys. To make a font smaller, in turn, all you need do is press the command, shift and minus keys. For more on using these key commands to obviate the need for squinting, watch this Apple tutorial.

Photoscape is a piece of free, photo editing software to use instead of more costly programs such as Photoshop. The program is pretty cool but you may want to install more fonts than what it comes with. If so, check out this video and you'll find out how to get it done. You'll need a zip program like winzip or winrar and you'll of course need Photoscape which you can get here.


