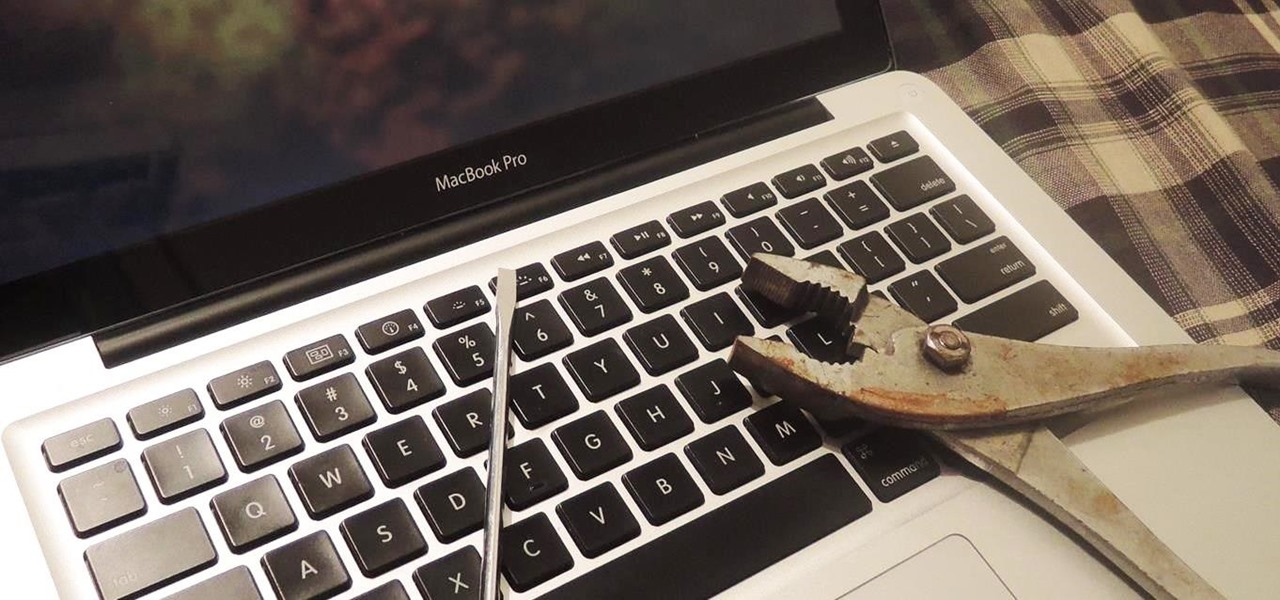
Most diehard Mac users have used TinkerTool at some time or another, and if you haven't, it's time to start. Whether it's to change your system's font or to disable UI animations, it seems like anything you could ever think about tweaking in Mac OS X is doable through TinkerTool. And now, developer Marcel Bresink has updated his app to work with Yosemite, so let's see what it can do now.
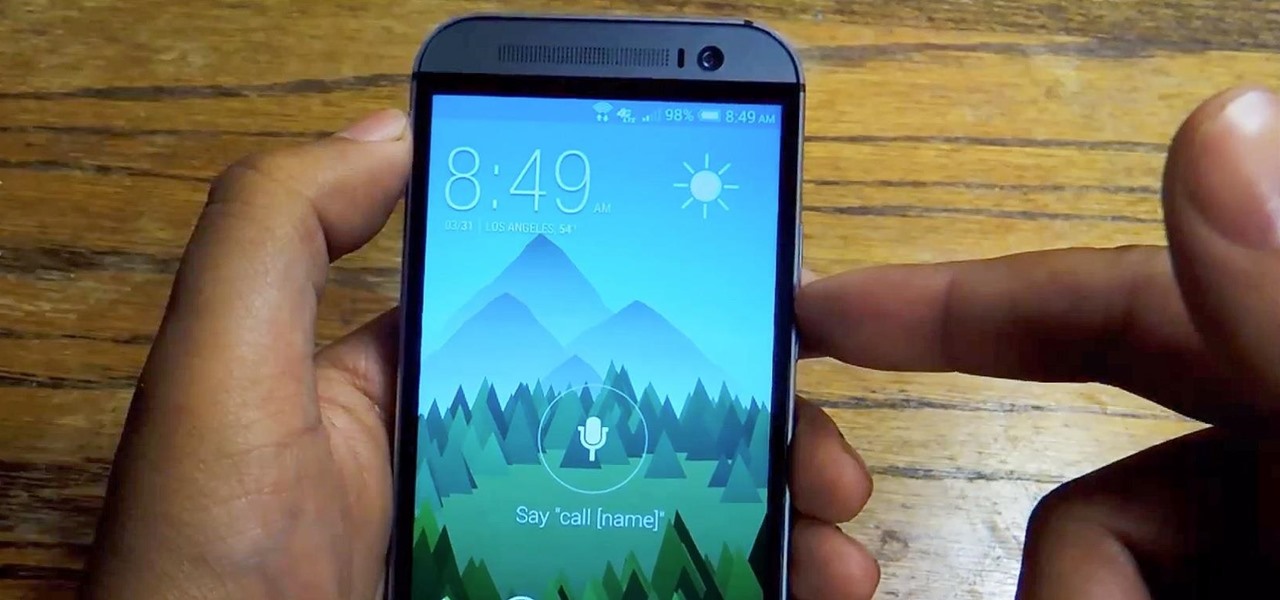
You did it! You got your hands on the much coveted all new HTC One (M8). Last year's M7 model, also named the One, was very well received critically, and HTC continues its smashing design here with stereo speakers that kick and curves that don't quit.
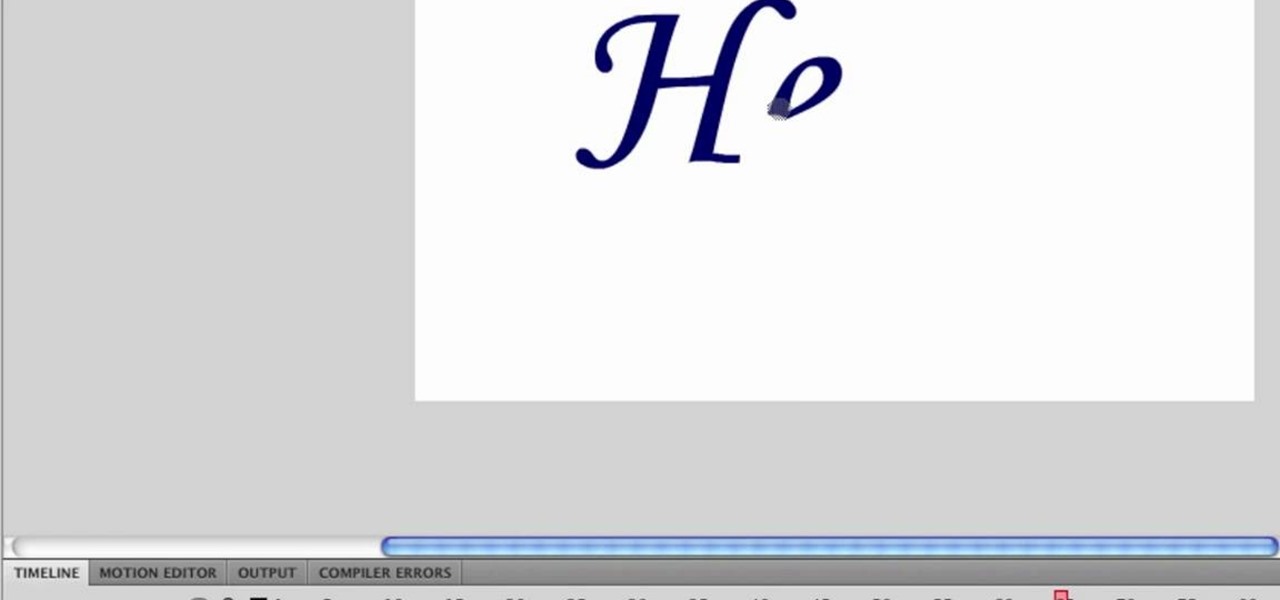
First type your word and set the font. Now select the word and break it apart by pressing the ctrl+B twice. Now select the erasing tool and erase the letters in reverse order like when you write that word, you write it in a order but you need to erase it just reversal of it as you can see in the video. Now press the F6 button, it will create a keyframe, select
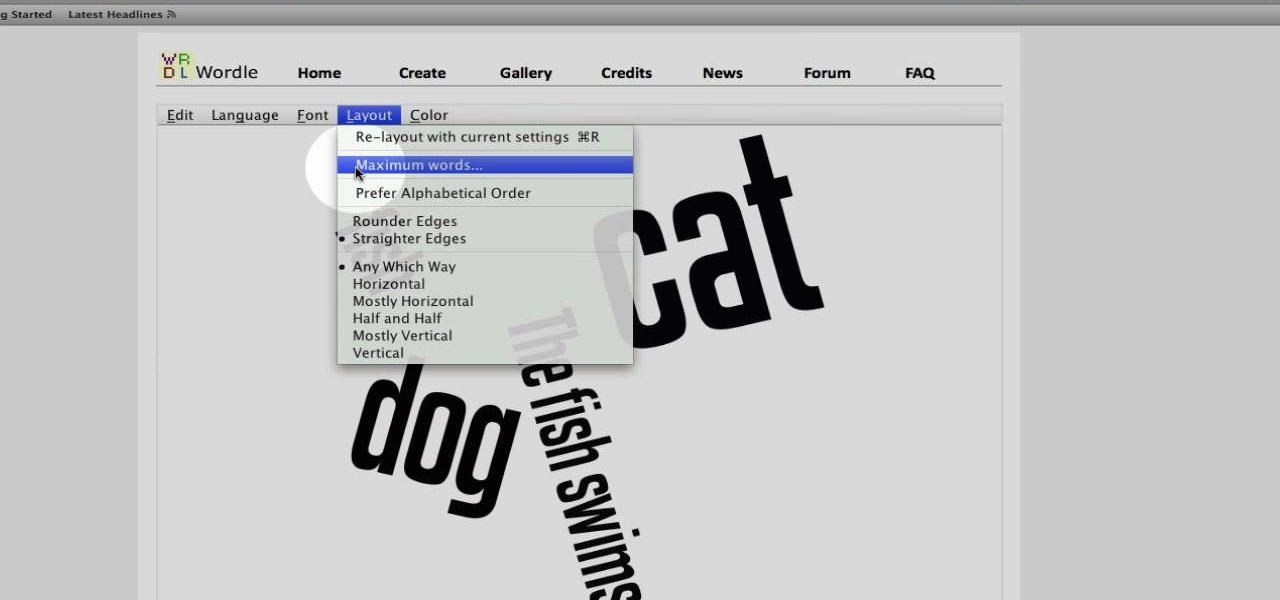
This video tutorial belongs to the Computers & Programming category which is going to show you how to use Wordle to create word clouds. Go to Wordle and click on the 'create your own' link. In the first box, type in your text, and in the second box enter the URL of any blog, blog feed or any other web page that has an Atom or RSS feed. In the 3rd box enter your del.icio.us username, if you have one. After typing in, hit 'go' and you get your Wordle file with the words written in different sty...
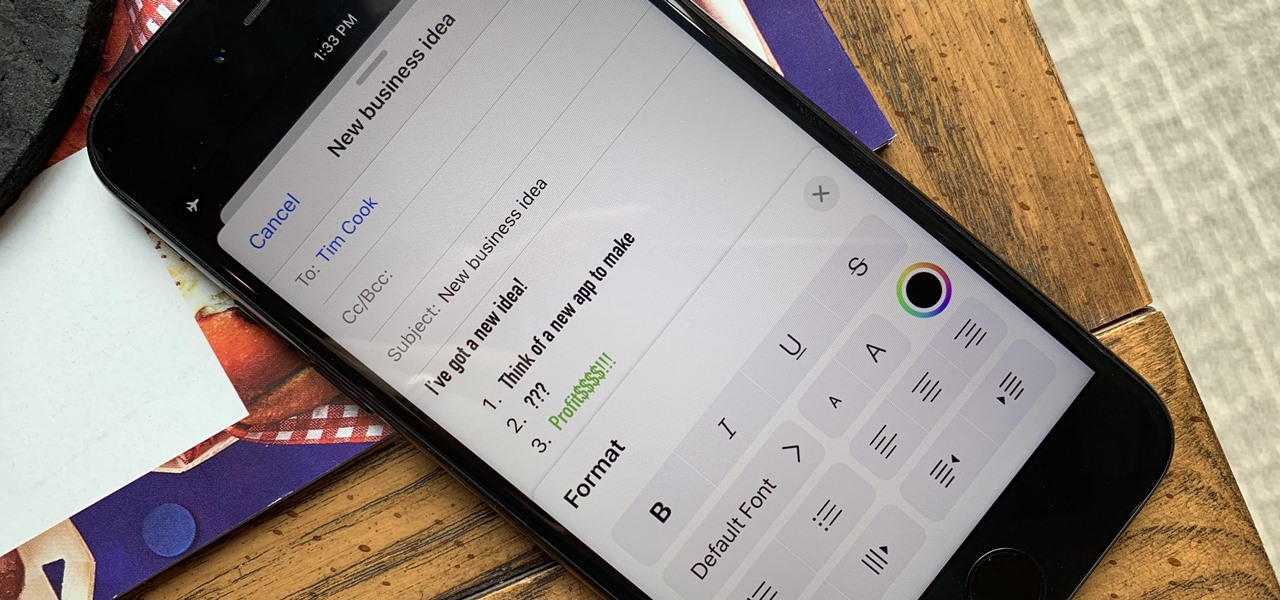
Although Mail didn't get a massive update in iOS 13, the new formatting and attachments toolbar makes it easier to stylize your messages and get quick access to files you'd like to send. It even includes the excellent document scanner built into iOS, so you can use your iPhone to turn a physical document into a PDF and attach it to your message — all from within the Mail app directly.
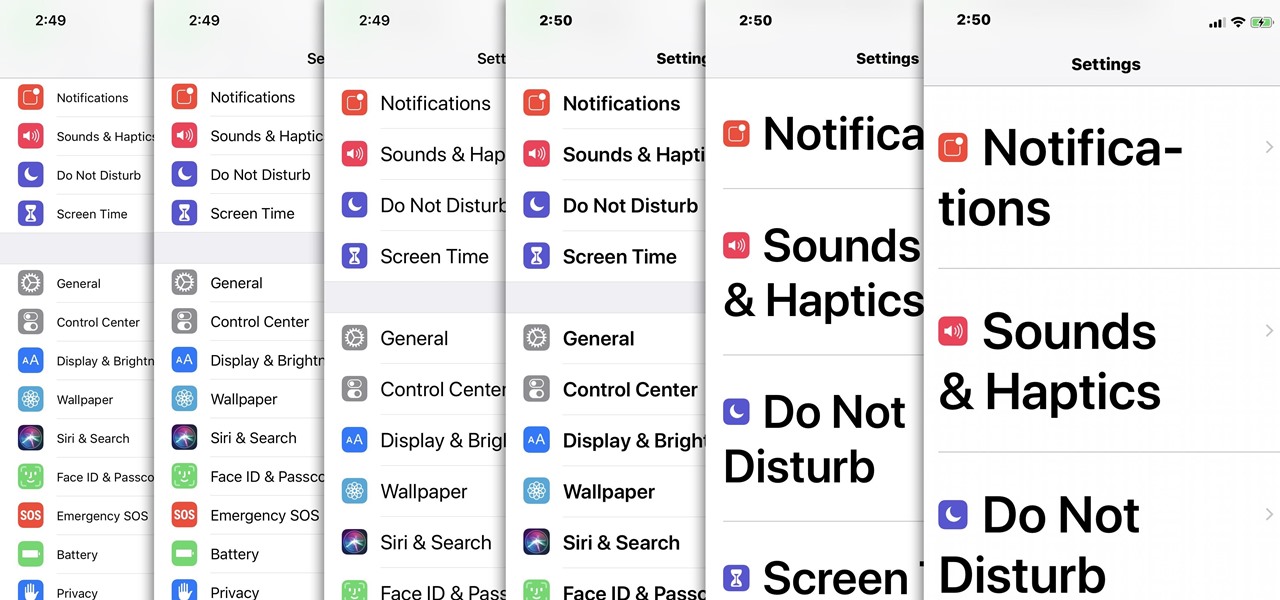
For most people, the font that Apple uses in iOS is just perfect, but some of you may think it's too big while others with poor vision may have a hard time reading it. Whether you're having a hard time seeing text on your iPhone or just want something different, there are actually three things you can do to adjust how text is viewed.

In this clip, you'll learn how to use custom themes to change the appearance of the windows on a desktop or laptop computer running the MS Windows Vista operating system. For more information, including a complete demonstration of the process and detailed, step-by-step instructions, watch this home-computing how-to.

Have you ever spent all night writing a paper only to be short a required page? If you are ready to wrap up on page nine of a ten page essay and simple can't think of anything else to say, check out this tutorial.

Call of Duty? Nope. SOCOM: U.S. Navy SEALs? Nah. Battlefield: Bad Company? Think again. This isn't any video game on the market, this is your own video game, well… your own video game logo - military-style.

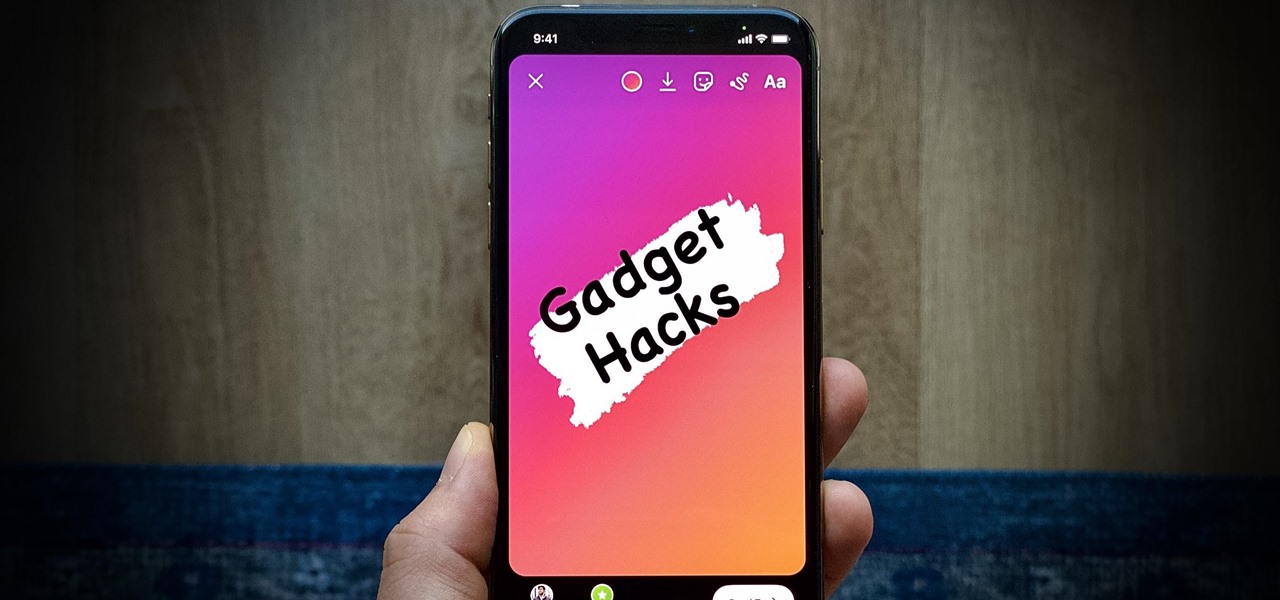
In a similar vein to Facebook's colorful backgrounds for text posts, Instagram has a way to add vivid text-only status updates for your stories. That way, you can conjure up colorful stories that make a statement without even needing to take a photo or video in the first place. And now there are even more fonts to choose from.

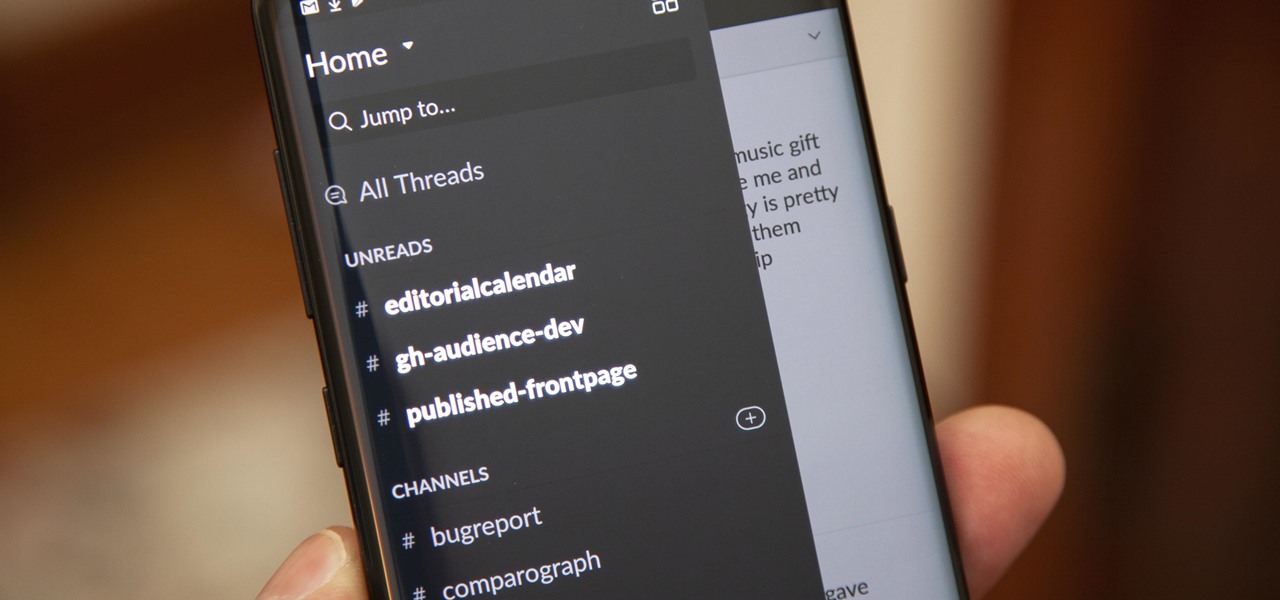
Slack recently released a dark mode for its Android and iOS apps, and for the most part, it works great. Super dark gray backgrounds and light gray fonts, which is much easier on the eyes than blinding white backgrounds and black text. But there's one thing that is not affected by the new night mode setting — your sidebar.

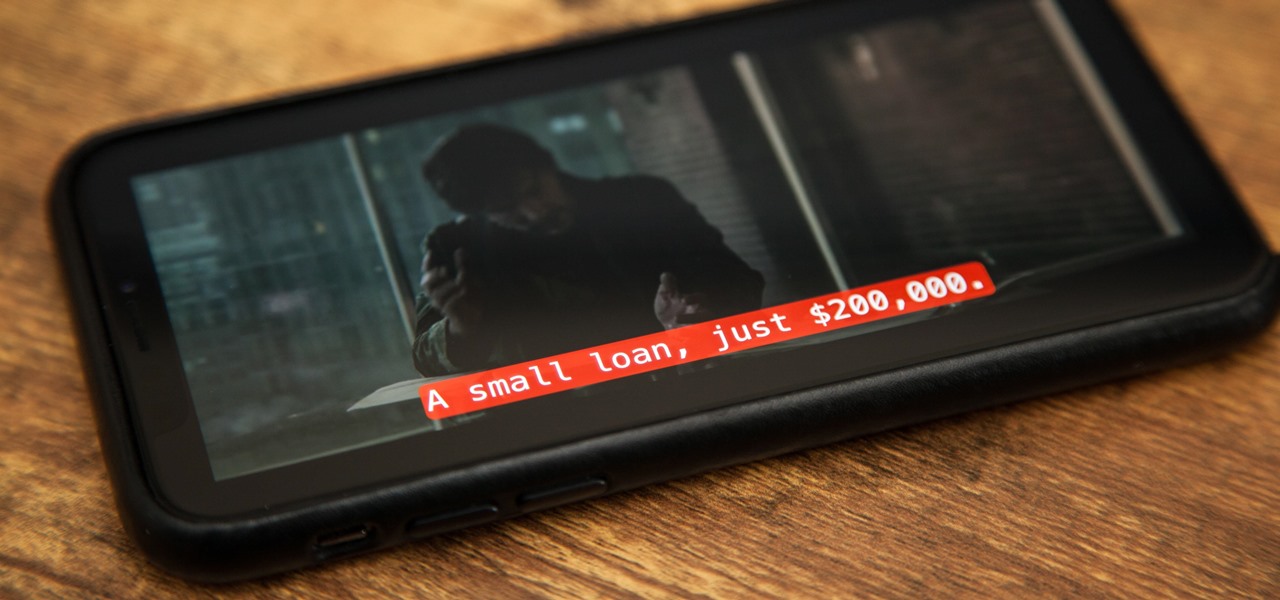
Whether you're watching Netflix on your Android tablet, smart TV, or computer, the process for changing how subtitles and closed captioning appear is the same. Plus, when you customize the font, size, color, and the background, all devices connected to your Netflix profile will update — except for iOS and tvOS devices. A different process is necessary for an iPad, iPhone, iPod touch, or Apple TV.

Step 1: Draw Horizontal Lines for Uniform Size Overall Hi, This is a tutorial video to write your name in Graffiti.

Samsung devices may dominate the Android market, but that doesn't mean everybody loves TouchWiz, the user interface on all of their smartphones and tablets. It's difficult to modify, comes with lots of bloatware, and isn't much to look at, to say the least.

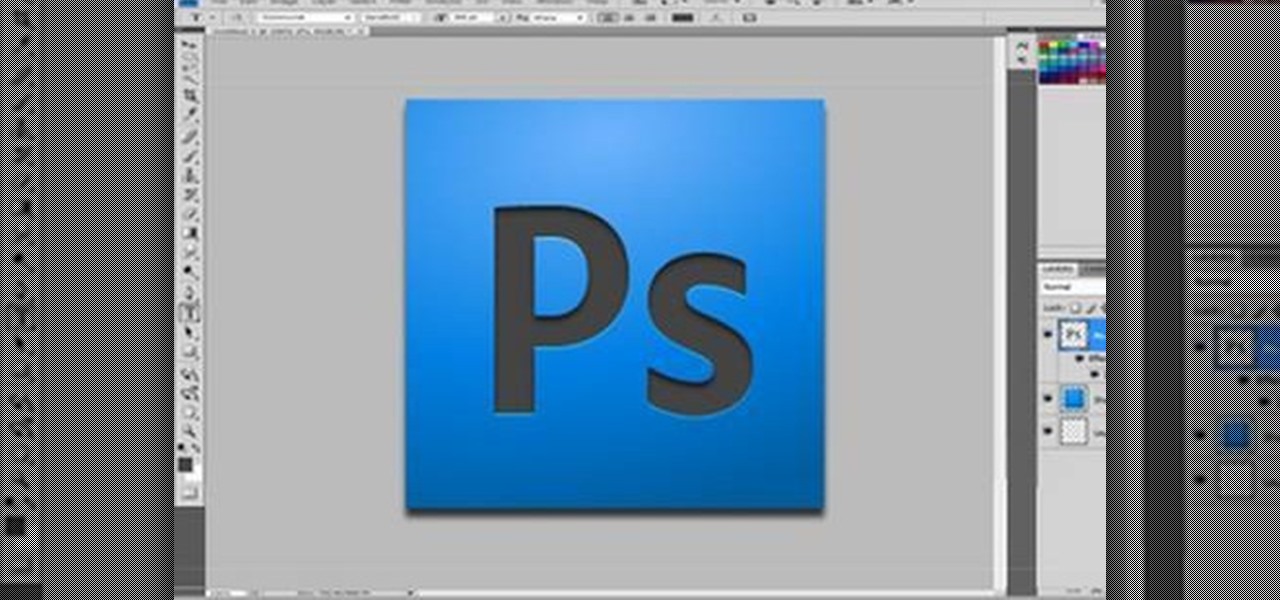
In this Software video tutorial you will learn how to make your own Adobe CS4 logo in Photoshop. Open Photoshop and click ctrl+O to open a new document. Set the height and width to 500 pixels, select ‘transparent’ under background contents and click OK. Create a new layer and with the rectangle tool draw a rectangle. Right click on the shape layer > rasterize layer. Hold ctrl and click on the thumbnail of shape1 layer. Open gradient tool and make a light to dark gradient as shown in the v...

Open your video in Final Cut Pro. Go to Effects>Video Generators>Boris. Then drag the option called Title 3D over your video. Then select Title 3D and go to your controls. Then click on "Title 3D Click for options". Now a new box should be open. Type your text into it. Then, highlight your text and pick the font size, then hit enter. Next, select the font. After that, go to the bottom test menu, and select Drop Shadow. Make the shadow distance 2. For the shadow opacity, turn it up all the way...

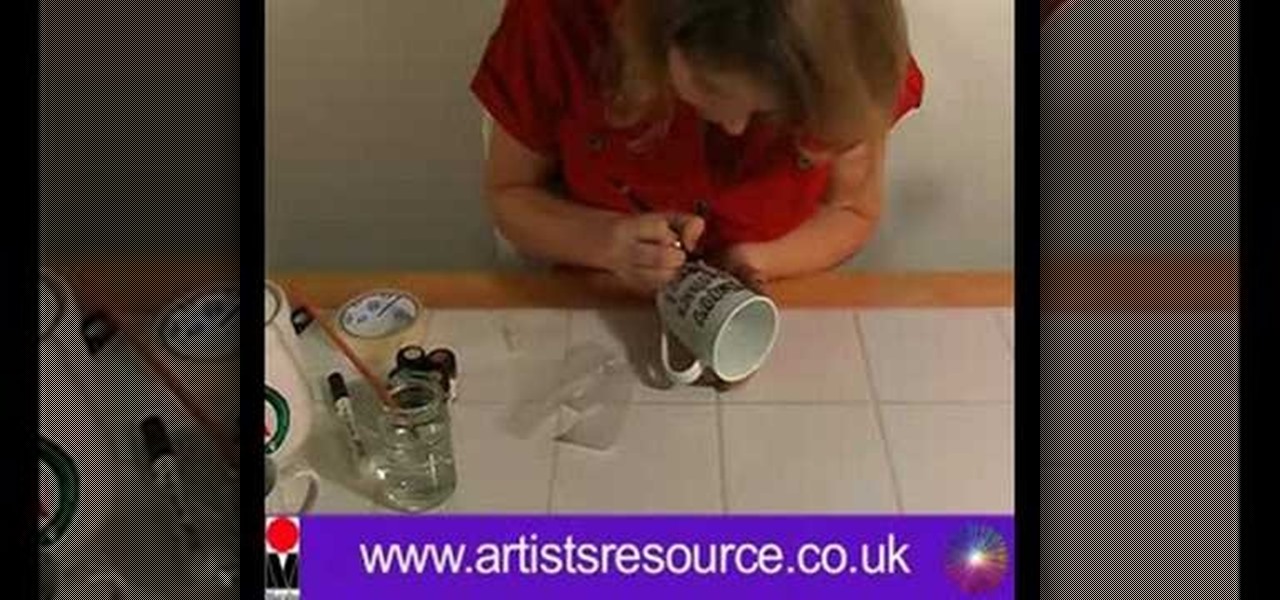
This video demonstrates how to paint Mother’s and Father’s Day mugs. This is a ceramic painting project. For this project, you will need the following supplies: 2 mugs, a Marabu ceramic kit, a paintbrush, a soft pencil, tissue, masking tape, a marabu porcelain paint pen, a jar of water, paper, scissors, tracing paper, and a sheet of paper with the lettering that you want to use on the cup. On your PC, use any decorative font that you like.

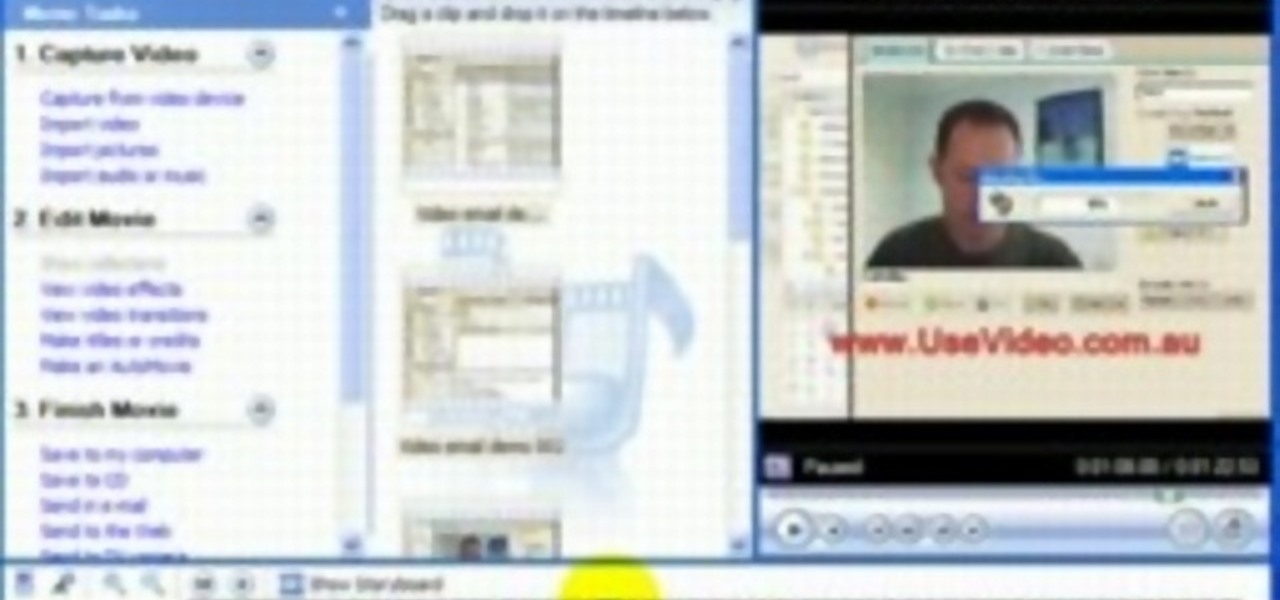
John Gregory shows just how simple it is to make and edit videos using Windows Movie Maker. In you movie maker window, Just click on “Import Video” and import a video that you want to edit. Here, John takes up a video he has already created. You can see the different slides in the video. Select all the slides and drag them to the time-line and paste it there. Now you can view the slides on time-line. Next, is giving a title to the video. Here, the title used is “how to send a video mail”. Joh...

In this video the author gives an HTML Website Design tutorial showing how to make a side menu bar. He goes on to show how to write the HTML page, explaining about the different HTML tags like <html>, <head>, <title>, <table> etc., He shows how to set page color and add styling to the page. He shows how to align the page elements and does the font settings. He goes on and makes a HTML table. Next he shows how to make a menu bar using the table element and shows how to do the various settings ...

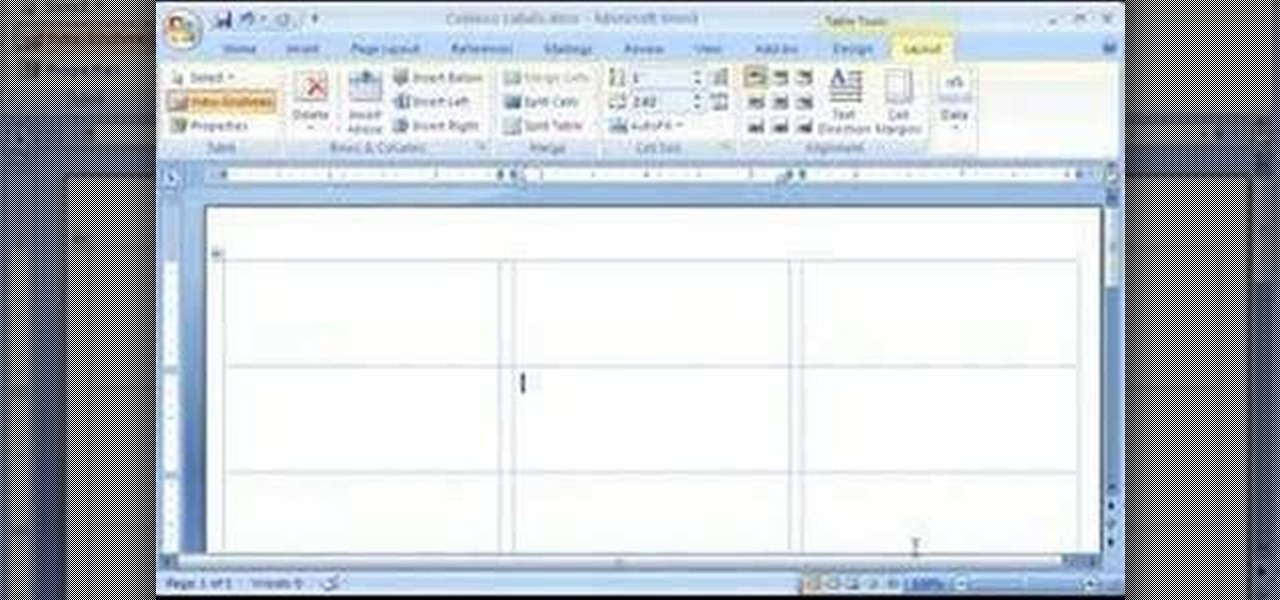
In this first demo of a 4-part series, learn how to set up labels for mass mailings using the Mail Merge feature in Word 2007.

For some reason, the Slack app on Android and iOS is a little less customizable than Slack on other platforms, so you can't adjust the sidebar theme to different colors directly inside the app. But that doesn't mean you can't customize the look of your mobile app at all. It's just a little less convenient.

Taking a cue form Snapchat, WhatsApp Status lets you share updates that come in the form of GIFs, photos, videos and good old text. This awesome feature is available for both iPhone and Android users, and it even lets you choose which contacts to share with while disappearing after 24 hours.

When it comes to fence-building, nobody knows better than Lowe's. And if you're thinking about fencing an area of your home, either for privacy, decoration or busywork, this video series will inform you on everything you need to know. Learn how to choose and plan out your fence, whether it be wood, aluminum or vinyl, then see how to start laying it out and digging the posts. Then move on to the actual installation.

In this video, we learn how to use the Ribbon and Backstage view in MS OneNote 2010. First, open up MS OneNote 2010 on your desktop. You will now see a new user interface where the ribbon appears underneath the tabs. Click the home tab to see the ribbon and then you will see the options to change font, colors, headings, and more. These help you find the features you want to change much faster and is completely customizable. The options can be located on the backstage view, which is underneath...

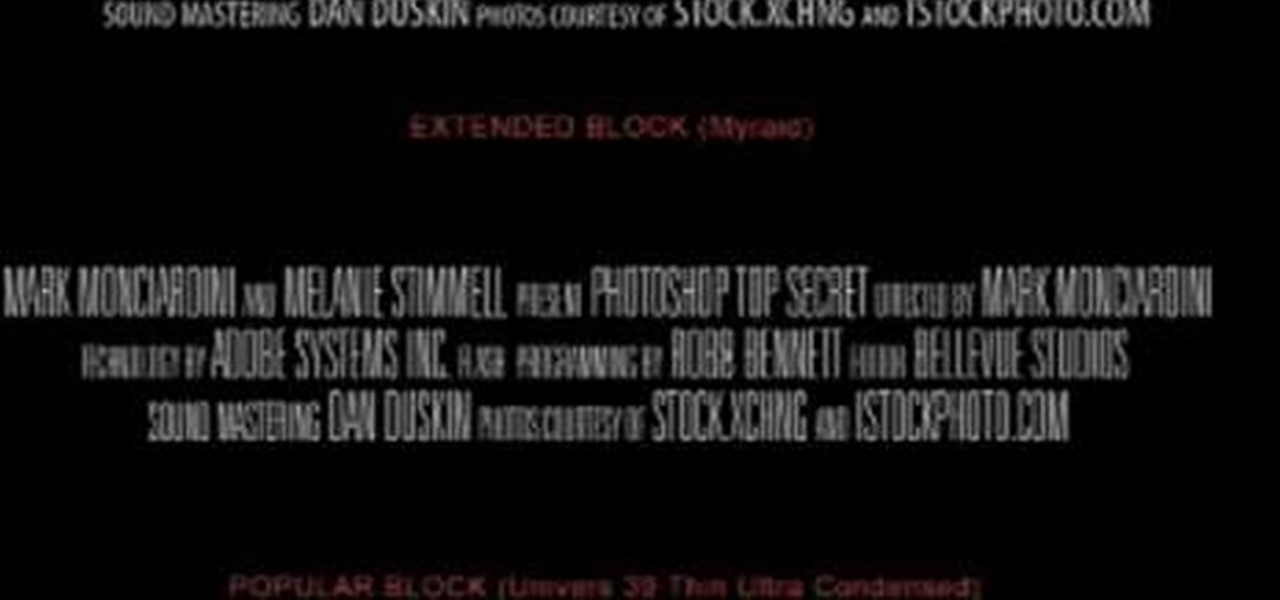
Credit blocks appear at the bottom of nearly every mainstream movie poster (and even some indie films). This tutorial shows you how to create your own Hollywood-style credit block, from font to formatting, and shows you several different looks you can use.

In this video, we learn how to make a blog website on Blogger. First, go to Blogger and set up your account. Make sure to enter in all the correct information, then at the end you will be sent a confirmation e-mail. Once you verify your e-mail and information, you can get started with your blog. You can set up a layout and change the font and colors as you prefer. You can start to type in all your daily blogs and have other people start to bookmark yours. You can also watch other people's blo...

This subtle trick will lengthen your school report without your having to write a single extra word. Learn how to extend the length of your papers with this simple video. You will need a paper and flexible ethics. The trick is to enlarge the font of all the periods in your paper! Fact: If you have a 16 page, 12 point paper, changing the periods to 14-point will stretch the paper to 19 pages!

iTunes 12 was released alongside Yosemite this year, but it didn't pack quite the punch that the operating system did. Instead, iTunes received a minor facelift, with few new features and somehow lacking the intuitive feel of its predecessor. If you're not thrilled with iTunes 12, we've got a few tips to help you feel like you've got iTunes 11 back on your computer!

There are a lot of cool things in iOS 7, but there are also a lot of annoying things about it. One of the biggest issues I have is Apple's stock wallpaper options. I was really hyped about the new dynamic wallpapers, but they turned out to be a real disappointment because of the new interface.

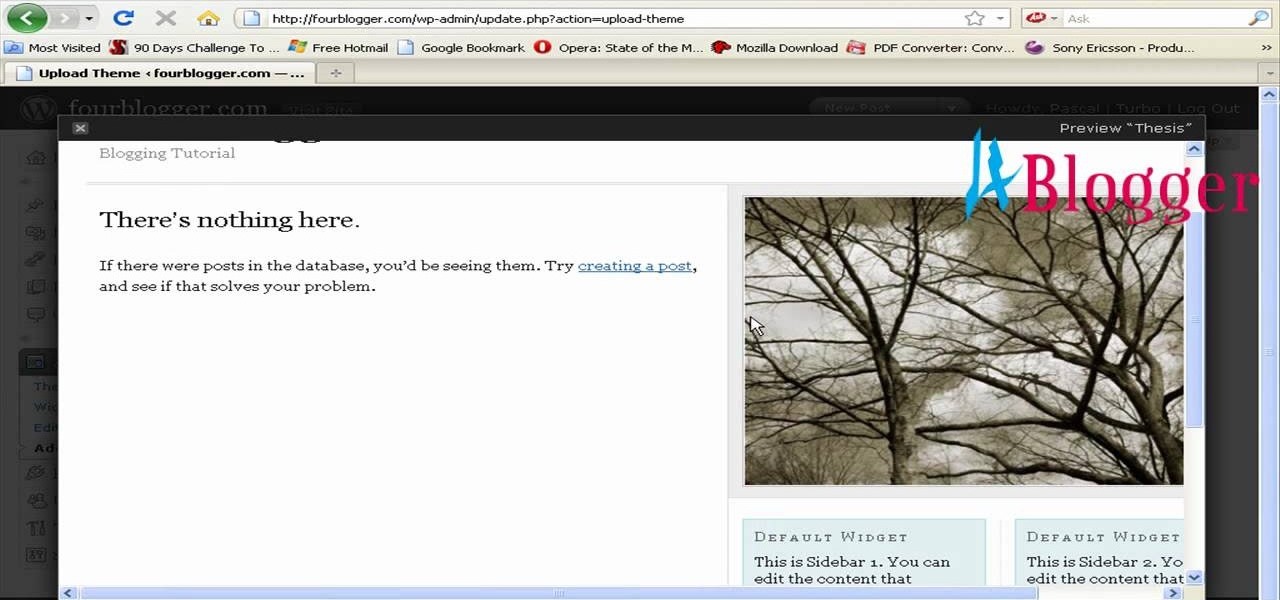
First go to your word press admin and click add new themes in appearance options. Now click on upload and then click browse. Now you have to locate your theme in .zip format and then click install now. If you have successfully uploaded that then you will get a message "theme installed successfully". Now you can click on preview to preview your theme, if you think it's fine then you can click on activate to activate your theme. If you want to change the font color, layout etc. then click on de...

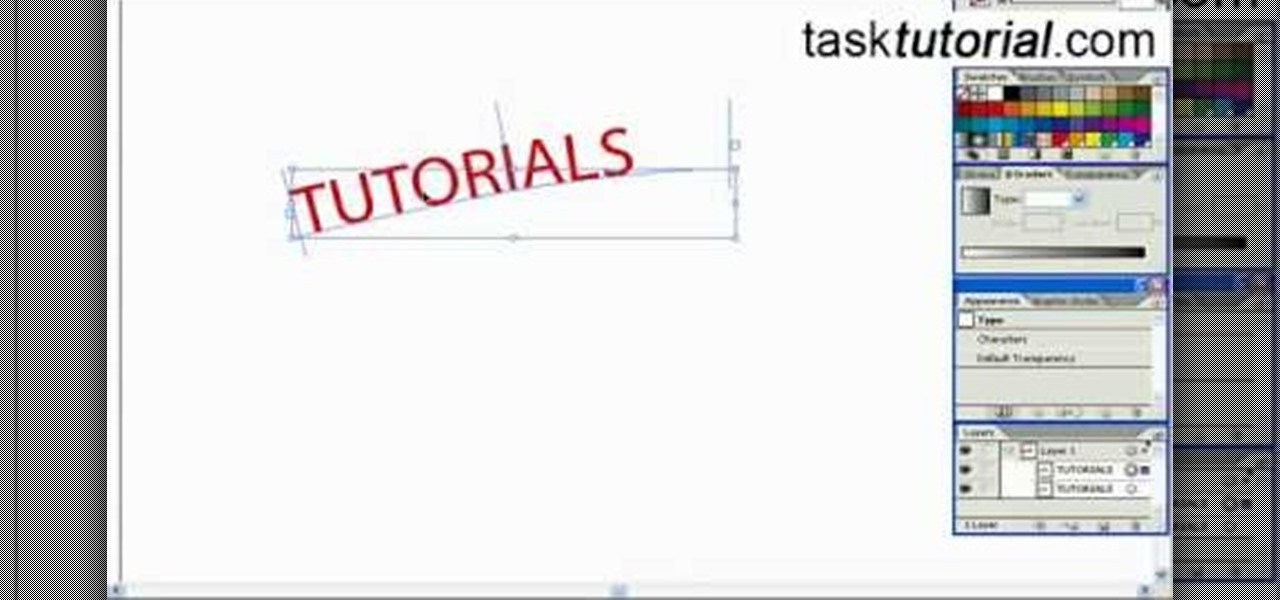
In this tutorial, we learn how to create a cool blend text effect in Illustrator. First, open up Illustrator and draw a path, then change the color to black. After this, click on the line and type in your desired text. Increase the font size to 36 points, then select the red color. After this, copy your path and select the duplicate button. Now, move the duplicated path and change the background color to yellow. Now, scale the path and resize, then place on to of the red path. When finished, ...

In this video, we learn how to create a web logo with Photoshop Elements. First, go into Photoshop and select the text tool to enter in your logo words. Now, put your picture logo underneath it and change the font and size that you want for your text. Change the colors as you prefer, then place the logo in the background of your image and create a new layer. Place the icon behind the text so that the text is what stands out the most. Now, use FTP to place this logo up onto your website and sa...

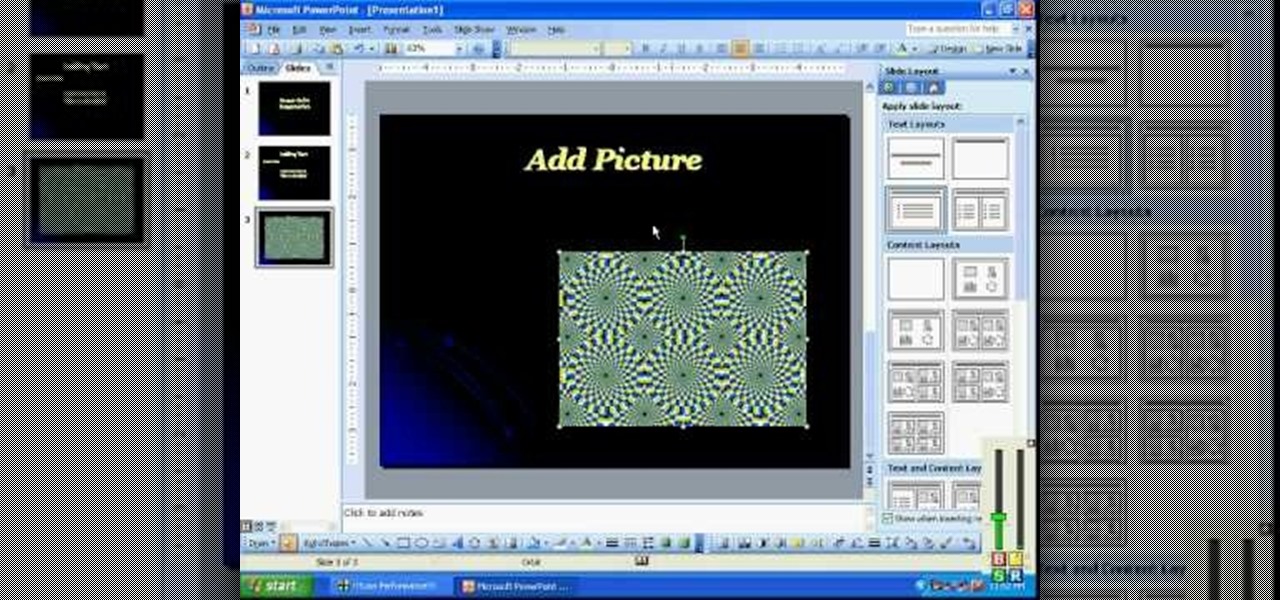
In this video, we learn how to create a PowerPoint presentation. Start off by adding in the title and subtitle of the project. After you do this, you can start to change the fonts and colors, as well as add pictures to the background and add transitions to the next page. When you're done with this, go onto your next page and start to add in all the information you need to on the following pages. When you are finished, you will be able to save your project and then use it for a presentation. T...

In this tutorial, we learn how to create a professional resume with Chuck Aranda. A professional resume shouldn't be very long. It should be around 1 page, and only a half of a page if it needs to be written on another page. Make sure that it not only looks professional and attractive, but it's also easy to read. Tailor your resume to each job you apply to, employers like to know you took time to apply to just their job instead of sending out your resume in mass. Make sure to use an easy to r...

In this tutorial, we learn how to change your logo image in Joomla (1.5). First, clear out the cache on your web browser and load your logo onto Joomla. Now, open up the CSS file of your logo, and you will be able to see the template information listed. Change the font size or color, depending on what you want it to look like. After this, save this as a new file, then refresh your page to make sure your logo looks different on your website. When you are done, your new logo will appear and you...

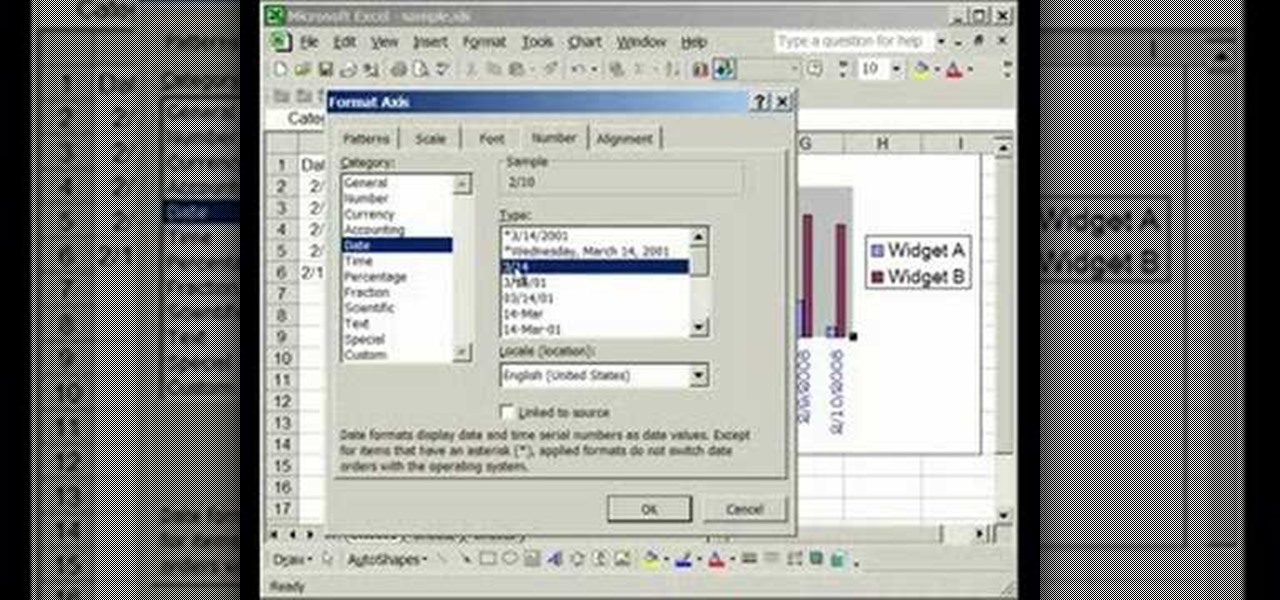
This video is about formatting the charts in Excel especially the x and y axes. The video begins by selecting a chart and right clicking the dates at the bottom of the data points. The format axis window pops up and by making changes to the style, color and the weight of lines given in the patterns tab, you can change the way the x-axis looks like. You can also change appearance of characters appearing close to the x-axis by selecting options in the font menu. You can also change the format o...

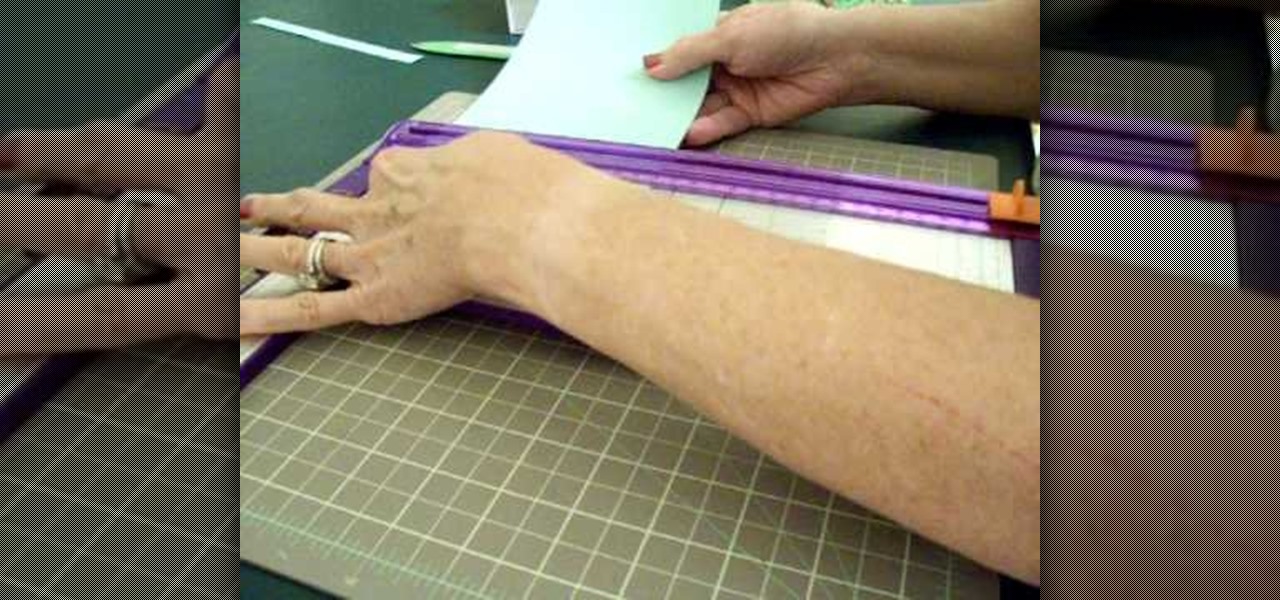
Once you get started with the concept of "stair step" cards - it is hard to stop! It would be fun to try a double set of stairs, add another row for five letter words and cut letters into the bridging circles. Cut the extra panels for the front and emboss them with the Divine Swirls 'Cuttlebug' folder. Then use the Stardust 'Stickles' on the swirls to really make them pop! The extra letters from the name cutout were perfect for the envelope. Emboss the envelope with the Birthday Candle 'Cuttl...

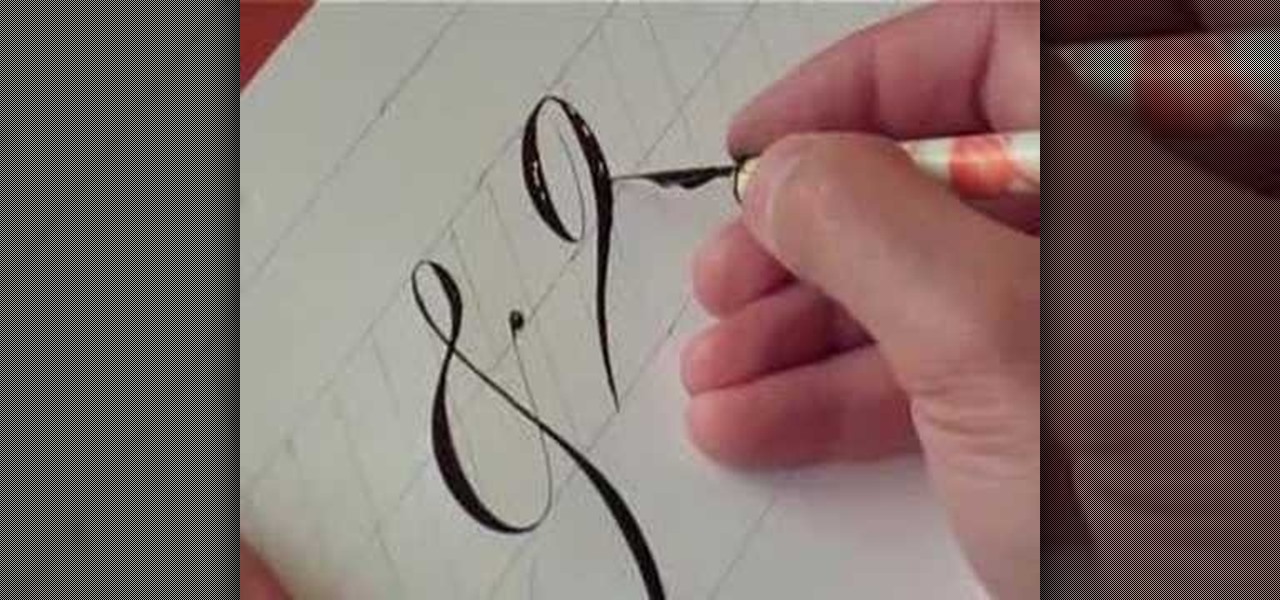
Have you ever tried to write in calligraphy copperplate?Let's start with the basics-punctuation marks. First we nee a book and a pen to write in calligraphy. The letter '&' looks similar but has a long tail. The question mark,exclamation mark and brackets look similar like in a normal font except all have the similar properties of calligraphy i.e., the variation in thickness. This will add a unique style in hand written documents as well as to add some charm in your letters.

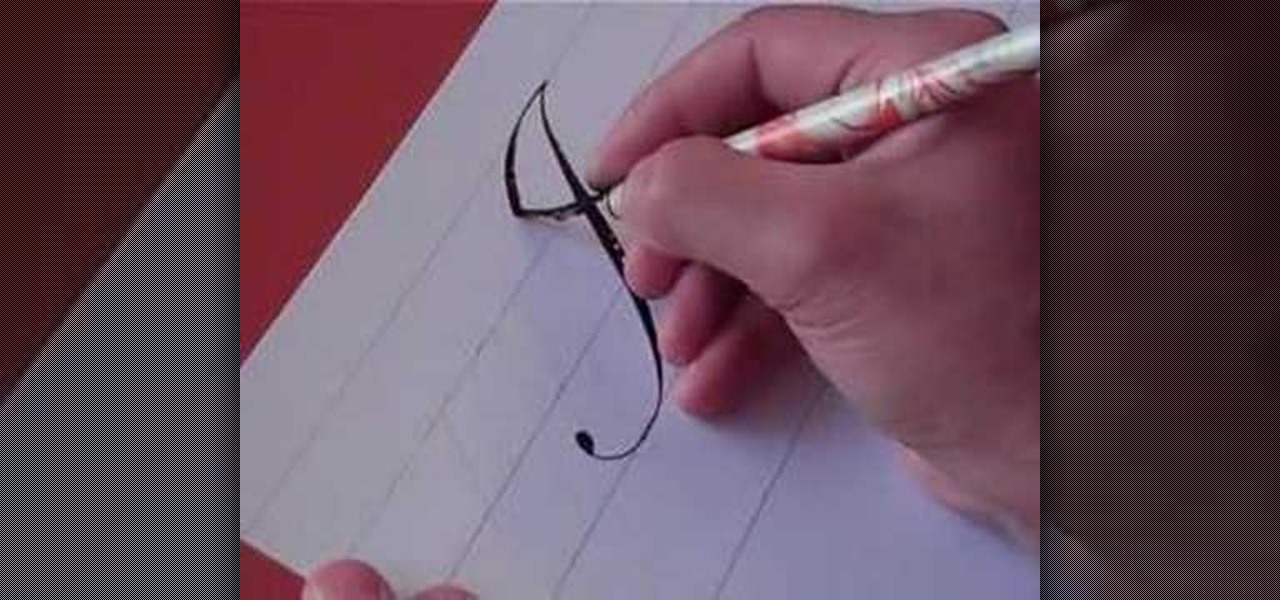
Learn to write the letter “I” in calligraphy copperplate with this video. First, we need a book and a pen suitable to write in calligraphy. The pen's tip has to be bendable. First write the capital "I". It looks like a long "g". When half way from the top, the nib of the pen bends to give a thick feel and again it fades out to a thin one. The small "i" looks the like the actual "i" itself with minor changes. This will help you in your writing (font) style.


