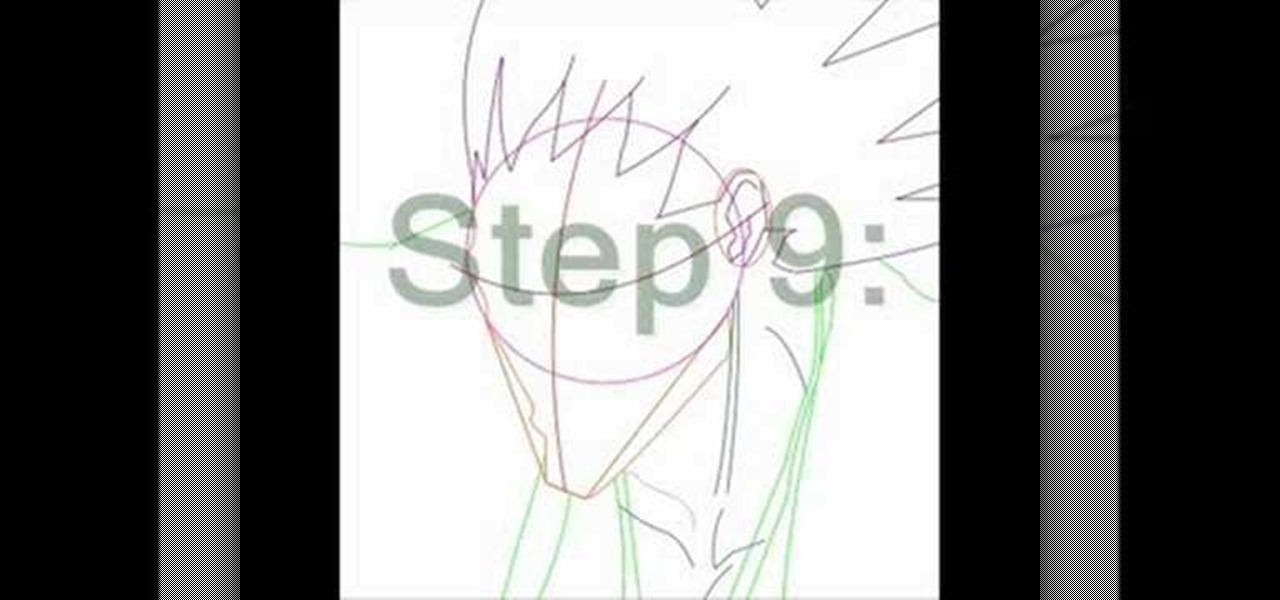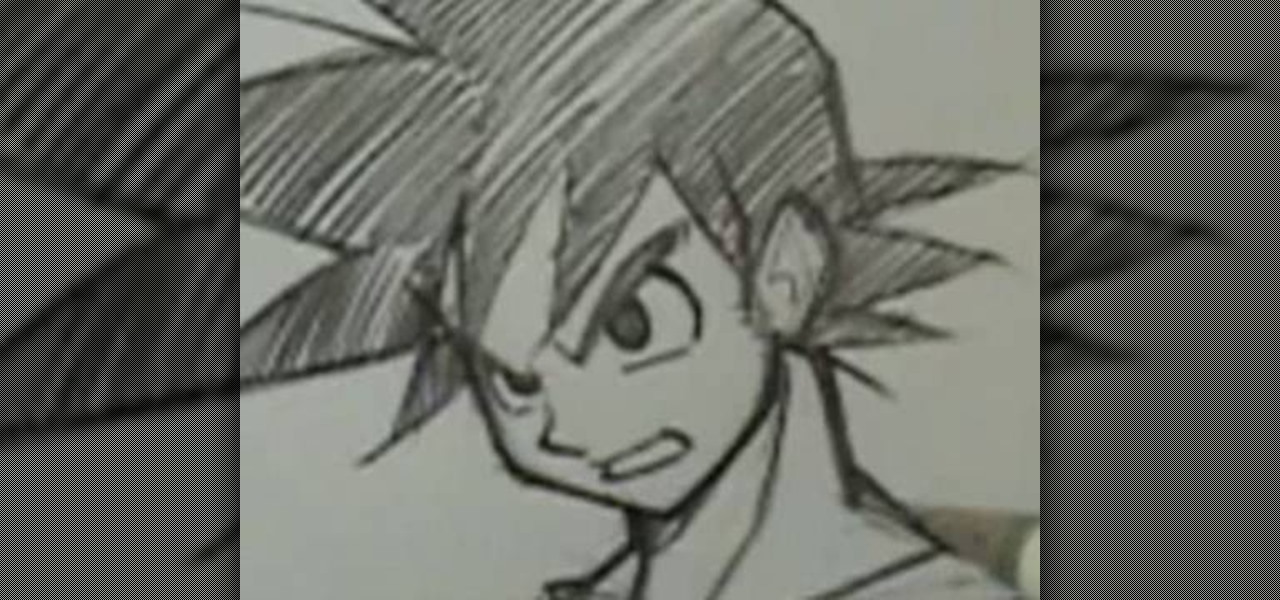
Robert Dejesus demonstrates how to easily draw the picture of Goku in (Dragonball Z) by simply using a pencil This demonstration is created with beginners in mind and also to inspire children to take up drawing. First of all, a thinner, rough profile of the figure is drawn and then followed by thicker shade. The head is drawn from a circle and mended to its real profile as the face begin to appear and the hair is drawn and followed by the neck and torso and the shading is given to highlight t...
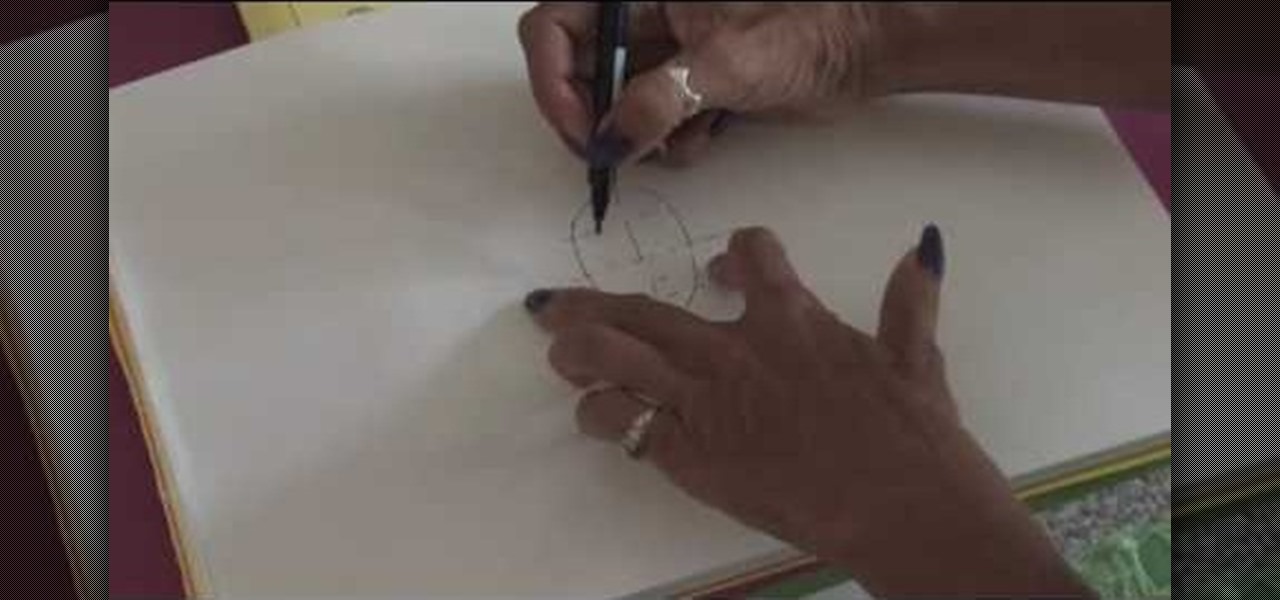
TVLessonDotCom teaches you how to draw a person's face from the front. Start with a basic oval shape. You can do this part in pencil and then erase it. Use a vertical cross line and a horizontal one. Add two more horizontal ones to break the face into sections: hairline, eyes, nose and mouth and then chin. The eyes are small oval shapes. You can also create a small circle in the middle and then eyebrows. Draw the nose next and then add the mouth. Everything must be in proportion, so the verti...
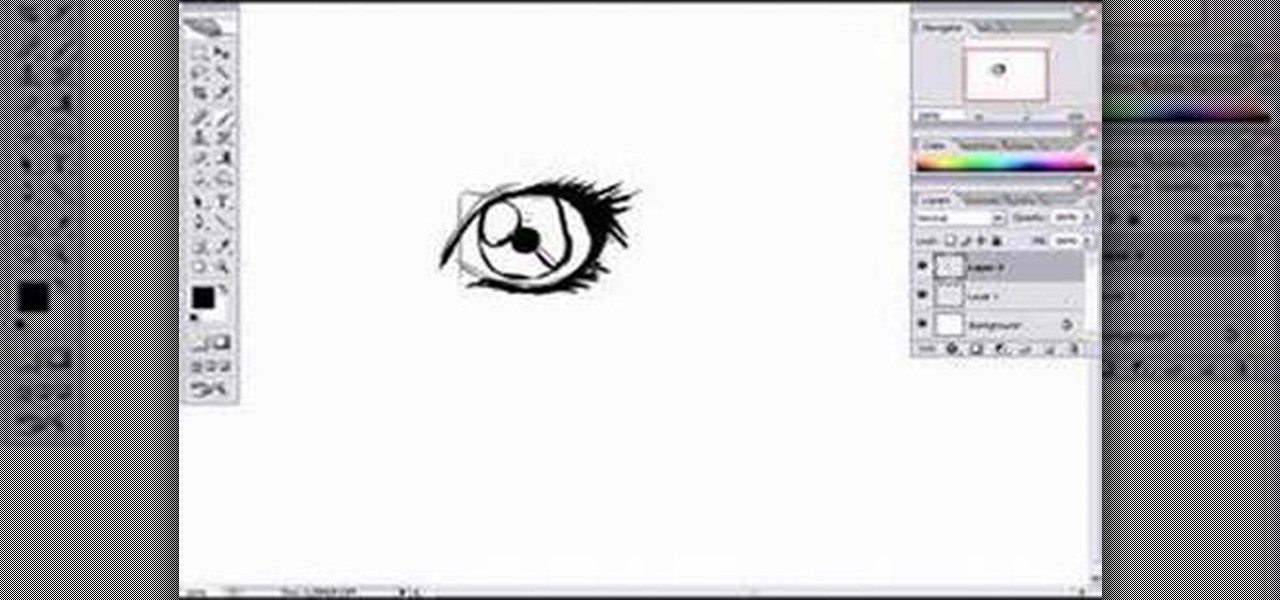
In this video tutorial, viewers learn how to draw a female eye using Photoshop. Begin by creating a rectangular box. This will contain the eye. Now draw the shape of the eye in the box. Now add in the details. Draw in the shape, eyelashes, eye brows, eye lids and eye ball. When drawing the lashes, draw them as a mass instead of individually. Then add the eye lids with a few lines above the eye. Then draw two circles for the eye (eye ball and pupil). This video will benefit those viewers who e...
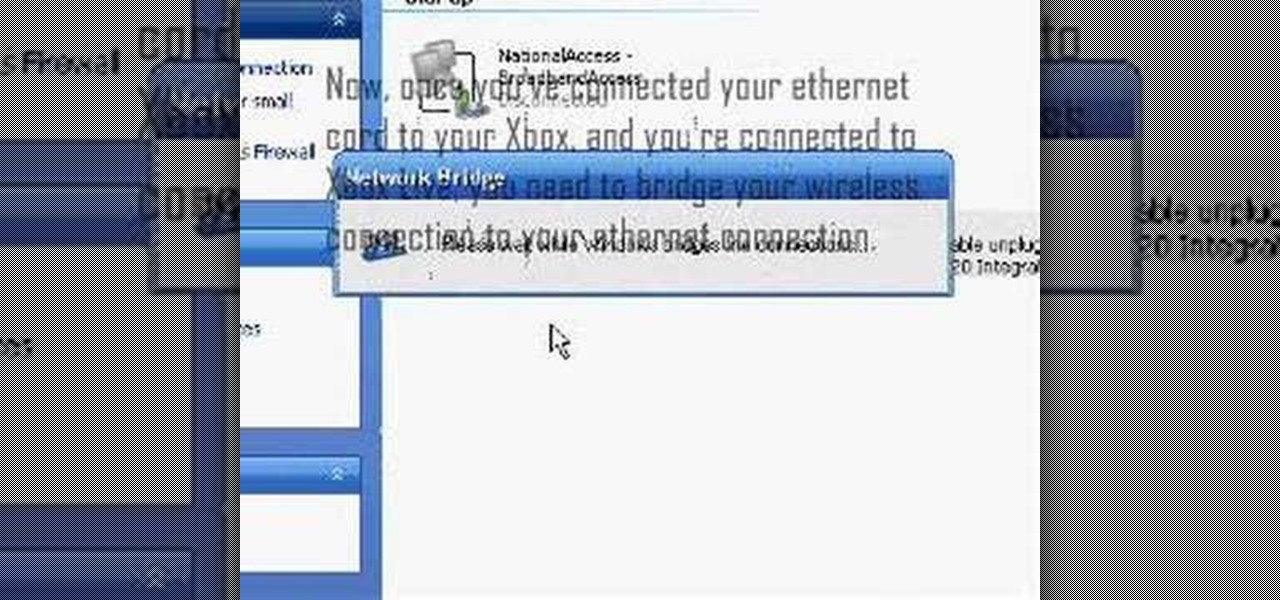
This is a video games tutorial where you will learn how to connect to XBox Live with your laptop for Vista and XP using a wireless network. Go to the Control Panel -> Network and Internet Connections -> Network Connections. Click on XBox Live. Once you have connected your Ethernet card to your Xbox and you are connected to XBox Live, you have to bridge your wireless connection to your Ethernet connection. Give the connection a name you want, plug the Ethernet cord into the Xbox and laptop and...
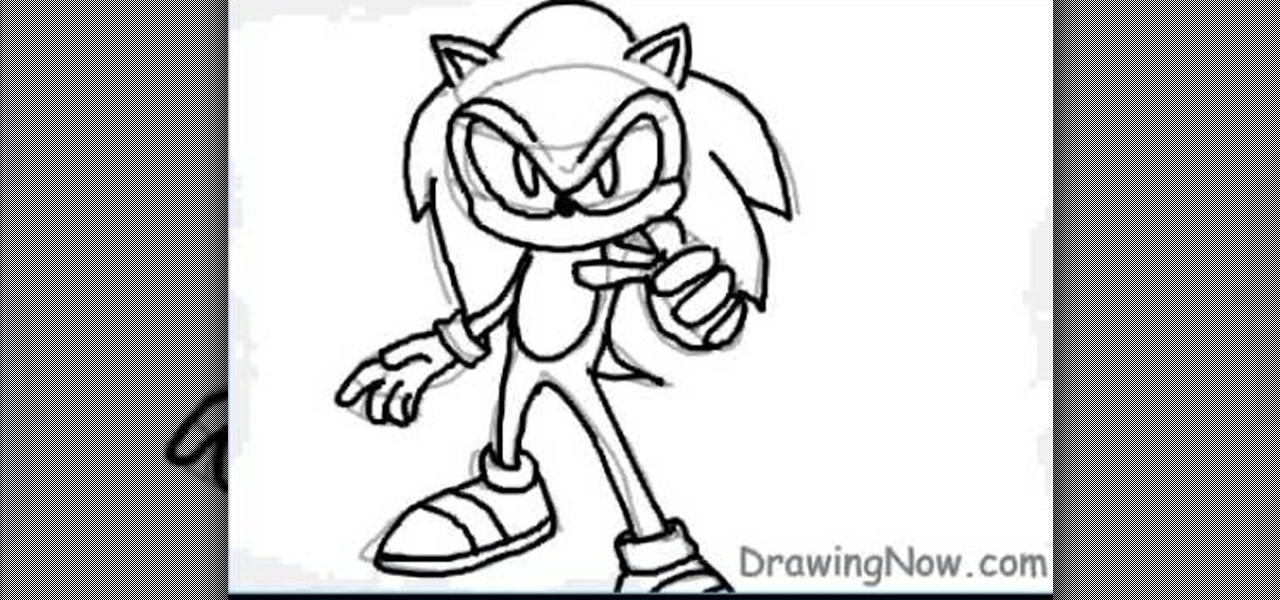
In this video tutorial, viewers learn how to draw Sonic from the Sonic the Hedgehog. Begin by drawing a circle for the head and 2 triangles for the ears. Then draw the lines for the spikes and a small oval for the stomach. Now draw the hands, legs and feet. Draw the eyes. Now draw the tail and outline the image. Add the details and delete the guidelines. Start adding color to the image. Add some darker colors around to create shading. This video will benefit those viewers who enjoy drawing on...

This video teaches the method to add a virtual frame in Lightroom. The frames can be black or white. Go to the 'Develop' module. Open your Vignettes box. Go to the post-crop section. Slide the last three sliders to the leftmost position. Move the 'Amount' slider to the left to choose black frame and to the right side to choose white frame. The frame is rounded on the upper two corners. The 'Roundness' slider is used to round the frame inwards until a complete circle is obtained when the slide...

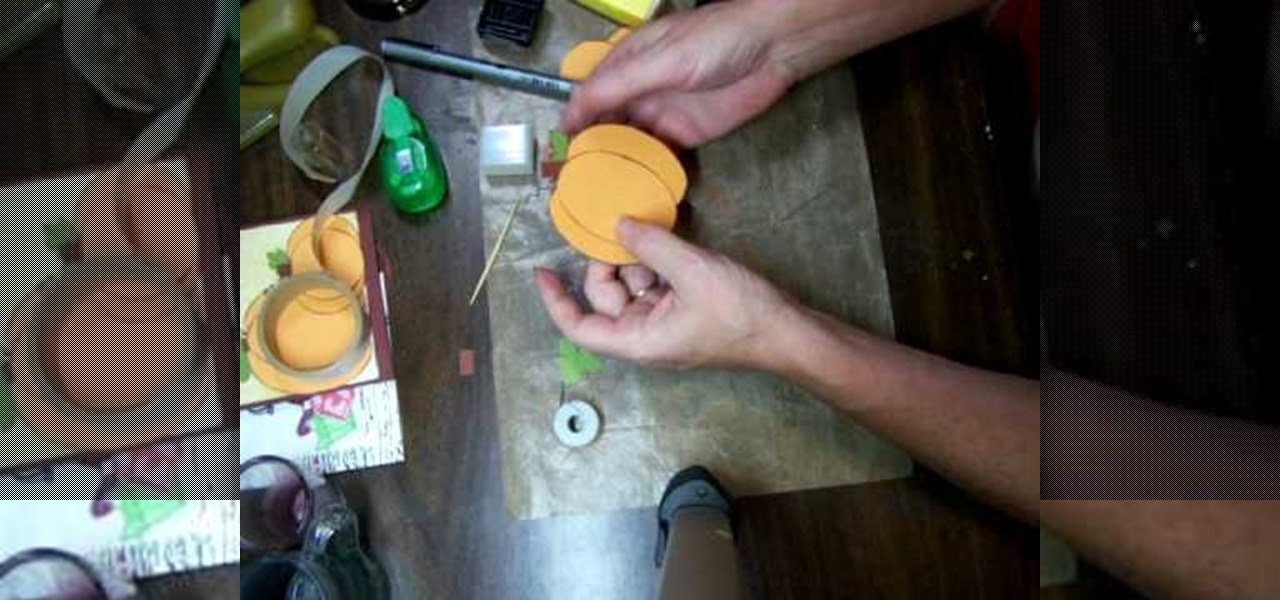
For anyone looking to dress up a card, learn how to make a paper pumpkin using punches in this video tutorial. Take a white piece of paper and distress it with Memory Mist (with the pale ale color). Use a box to distress the paper, while avoiding getting the mist all over your work space. To actually make the pumpkin use a store-bought punch (either round or oval). Make the punches with orange cardstock. For each pumpkin, you will need either three ovals or circles. Using a chalk ink to distr...

In this Software video tutorial you will learn how to embed a YouTube video in PowerPoint with or without Internet. You will see two ways of doing this with and without internet access. When you have an internet connection, open up PowerPoint and click on the office circle button on the left hand corner. From there select ‘PowerPoint options’ and check the box that says ‘show developer tabs in the ribbon’ and click OK. Once the developer tab is in your ribbon, select that and go to the area t...

Teresa demonstrates how left-handed people can complete a crochet project. The project is a round cap for a toy Ogeechee bear. Using her left hand to hold the crochet needle, she starts with a circle of crochet stitches to form the crown of the cap, and counts out the number of stitches needed for each row. A yarn marker is used to keep the rows organized, and Theresa shows how to utilize a slip stitch to make turns in the crochet to complete partial-rows that form a brim to the cap. She ends...

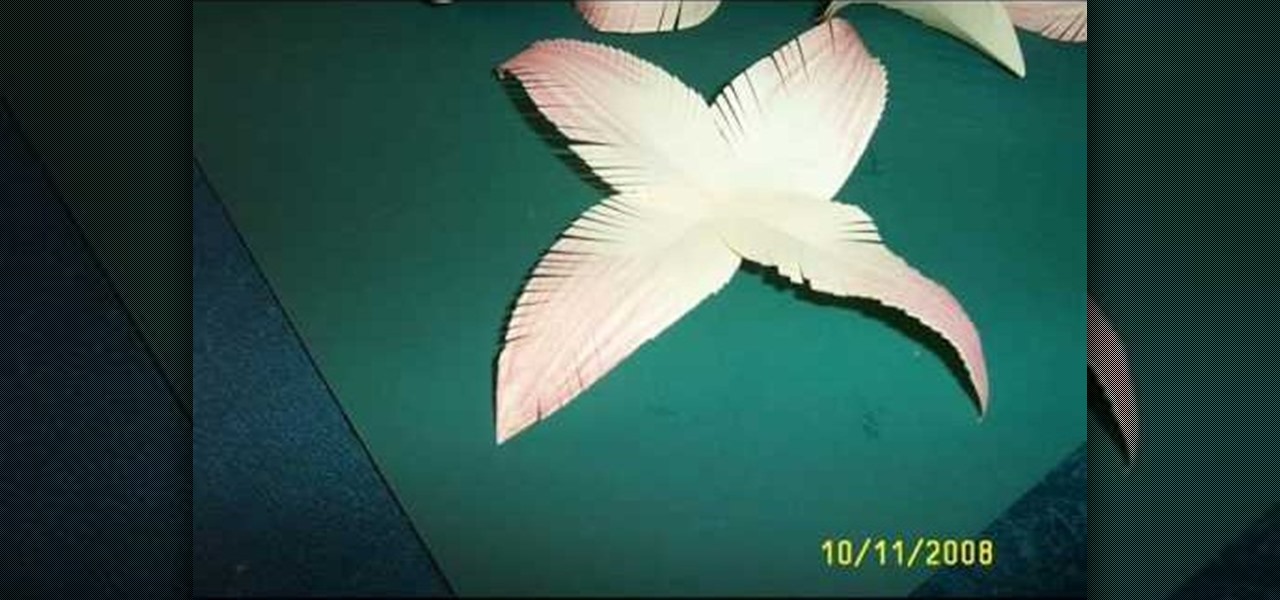
In this video you learn how to make paper flowers with paper, craft glue, crayons, and scissors. First you cut paper into strips and then fold them in half long ways before cutting them into petal shapes. You then color the tips of the petals with the crayons. Next you fold the petals in half again and cut small lines along the unfolded side to make the appearance of more natural petals. Then you layer the petals together with craft glue in a flower shape. When desired shape is reached you th...

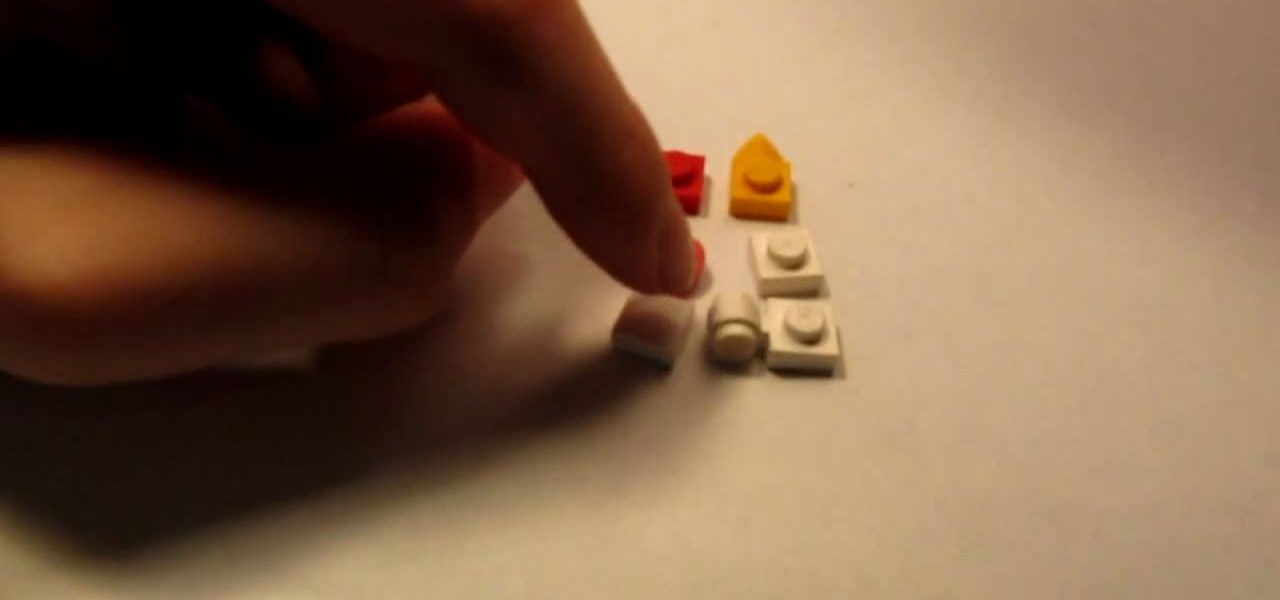
If you've ever wanted to learn how to build a LEGO chicken, today is your lucky day. First you'll need a 1x1 red LEGO stud, flat square with claw, smooth white, orange with a tooth, flat square, and a flat square with a circle coming out of the side. Starting with the claw, but the stud on top. Now take the piece with the claw and attach that to the opposite side of the claw. Put your flat square on top of that, then the flat with the tooth and another flat square goes on top. Now you're done...

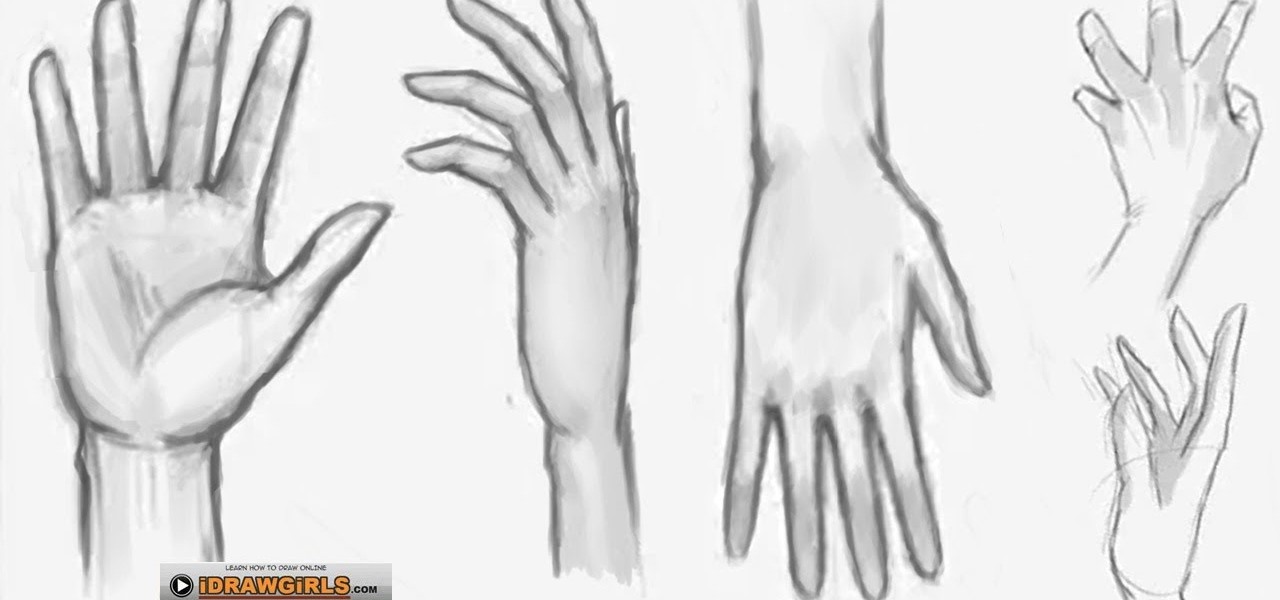
The video demonstrated clearly about how to draw and sketch the hand of a girl in an easy way. First the illustrator drew a rectangular circle in the plain window. Then he drew another rectangular shape close to the first and divided the second shape into two halves so that it will look like fingers.

In this video tutorial, viewers learn how to draw the character Sokka, from the show Avatar and the Last Airbender. Begin by drawing a circle for the head and a rectangular torso. Add the arms and a boomerang in one hand. Now add the legs and feet. Draw some guidelines on the face and add the hair. Draw the face and start outlining the whole image. Add the details while you outline. Erase the guidelines and start adding the color. This video will benefit those viewers who enjoy drawing in the...

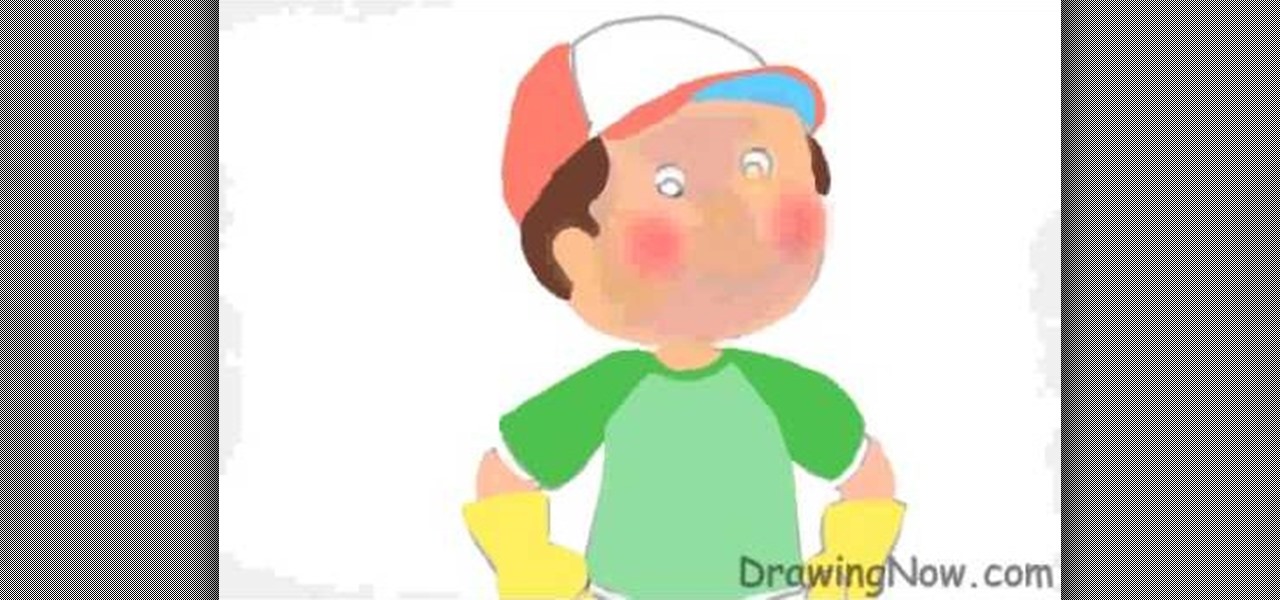
In this video tutorial, viewers learn how to draw Handy Mandy. This is a close up, which means it’s easier to draw. Sketch a large circle for Handy Manny's face and box in his body. Flesh out the arms, draw in gloves, sketch in the T shirt, draw the cap and put details on the face. Handy Manny has big eyes, snob nose and a smiley mouth. To color this in, use the airbrush tool with orange for the face and rosy cheeks. Make the face red and white, then outline the whole thing in a darker shade....

In this video tutorial viewers learn how to draw a rose on the computer. Begin this drawing with gray guidelines. The rose is cup shaped in the center with larger petals that unfurl on the sides. Use basic shapes for each petal and stick lines for the stem and leaves, the bud is a small circle on top. Now use an opaque black pencil line to draw out the rose in detail. Carefully put in the serrated edge for the leaves. Now draw the bud with fine sepals below it. This video is beneficial to vie...

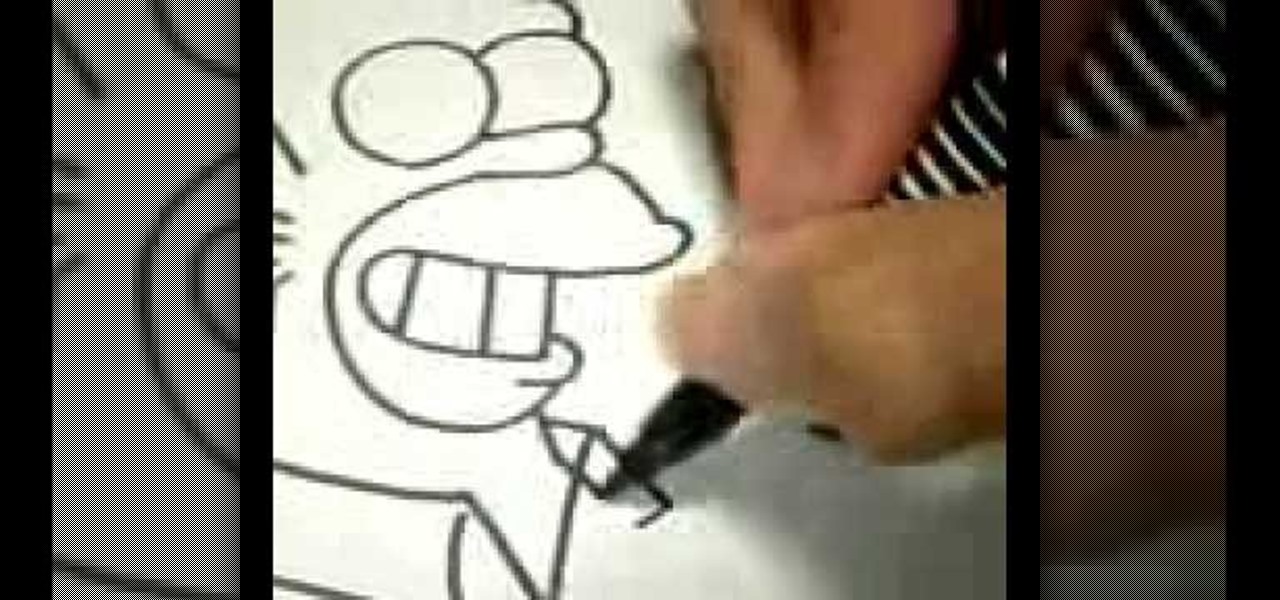
This silent video demonstrates visually how to draw a Homer Simpson character beginning with a series of simplistic shapes and lines. The artist begins by drawing two very basic circles for the eyes, then adds a curving line beneath to create the nose. The artist continues building on the image using the basic line and shape technique to create the full face image of the infamous cartoon character, and then, as a finishing touch, adds the collar of Homer Simpson's work shirt. This video provi...

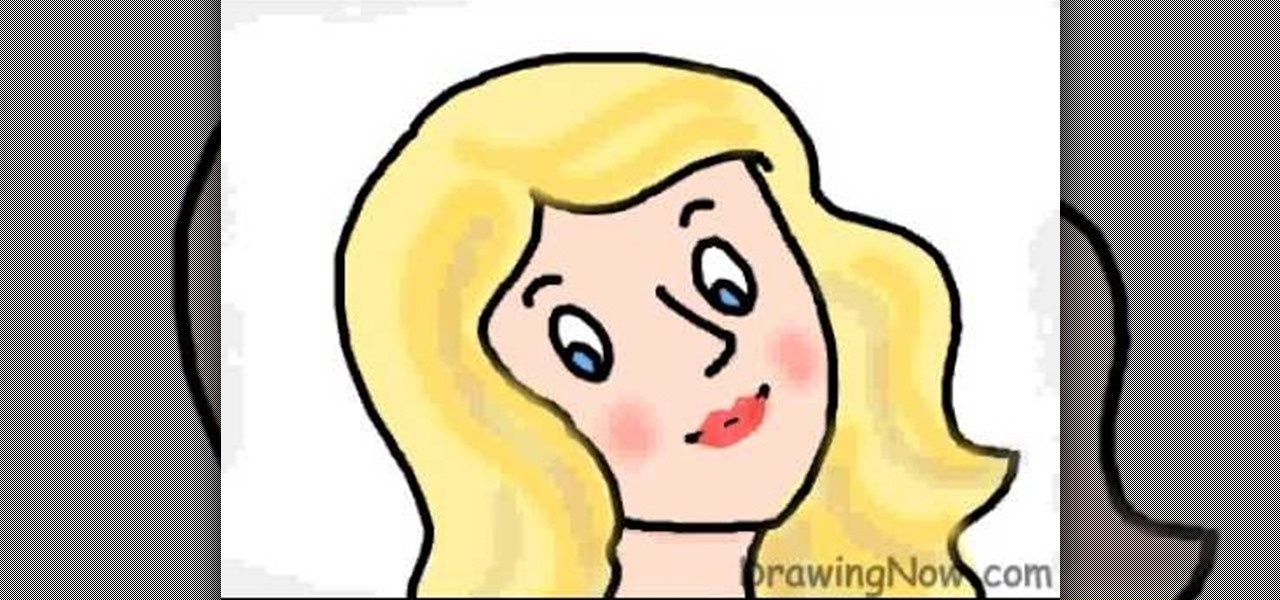
DrawingNow teaches you how to draw a cartoon mom on a computer in Microsoft Paint or any other drawing program. You start with a basic oval, but tilted to one side. Then, add the contour of the long hair. Next, you can start adding details to the face. Draw a nose and two equally spaced ovals with circles inside each one. These will be the eyes. Draw eyebrows and full lips. Now that you are done with the sketch, you need to color it in. Use yellow for the hair, blue for the eyes, a pink flesh...

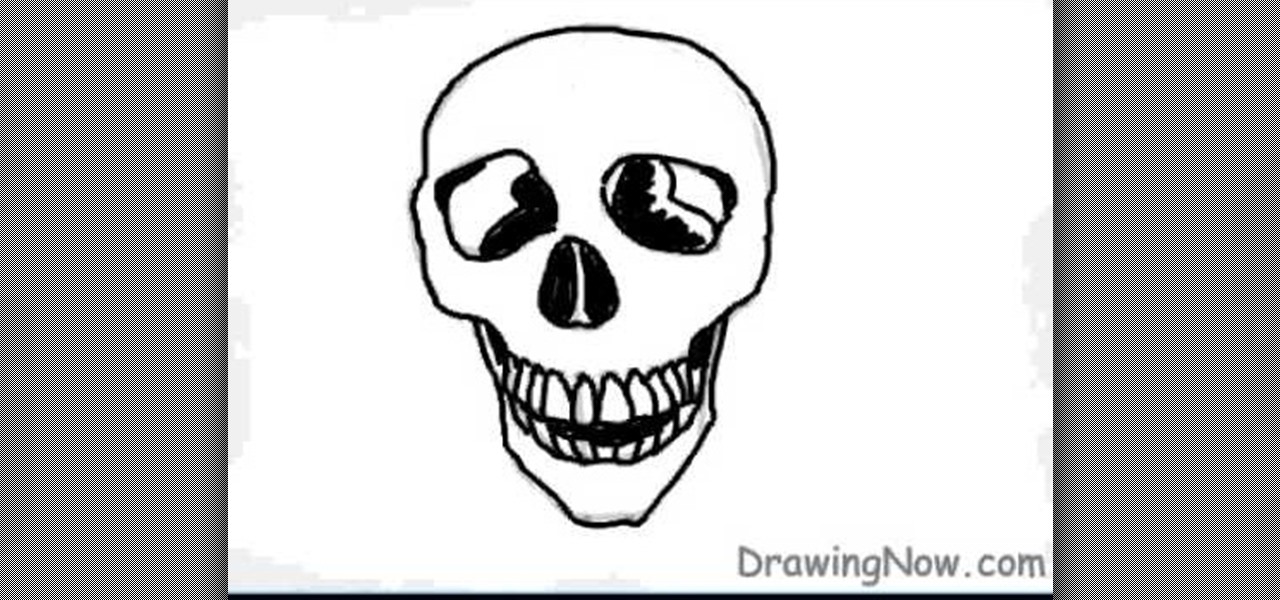
In this video tutorial, viewers will learn how to draw a skull using a computer. Start by drawing a circle for the head and a rectangular shape at the bottom. Draw a line in the center as a guideline. Then draw the eyes, nose and mouth. Now outline the skull and add the details. Shade in the eye sockets, nose and mouth. Now you can erase the guideline. Start coloring the skull to a preferred color. Then add in a darker color around the skull to shade it. Finally, outline the skull and color t...

YouTube user DrawingNow teaches you how to draw Kim and Ron from Kim Possible. You start with a green background and use a pencil to sketch their bodies. Start with a simple circle for the head and then add ears and hair. Add the neck connecting to the body and a fist extending forward. Draw the other hand and remember the pants and shoes. Next start with an oval for Ron's face and draw larger ears, but smaller hair. He's also in an action move, so reflect that in the way he holds his hands a...

DrawingNow teaches you how to draw musical instruments on a computer. Start by drawing a guitar and then draw all the other instruments on top and near it. Use straight lines for the neck and interior. Use curves on the outside. Make sure to draw simple shapes and add detail later. Also, don't over complicate your drawing. Remember to keep proportions. The trombone is all about curves and circles. Don't be scared if it doesn't come out smaller than the guitar. Finally add drums and you can al...

The video is a step by step process for drawing a SpongeBob using a coin and crayons. First he took the coin and drew two circles nearer to each other using a black crayon. Then he added a black dot to its center so that it looks like the eye of SpongeBob. He drew the lens of the eye using green crayon.

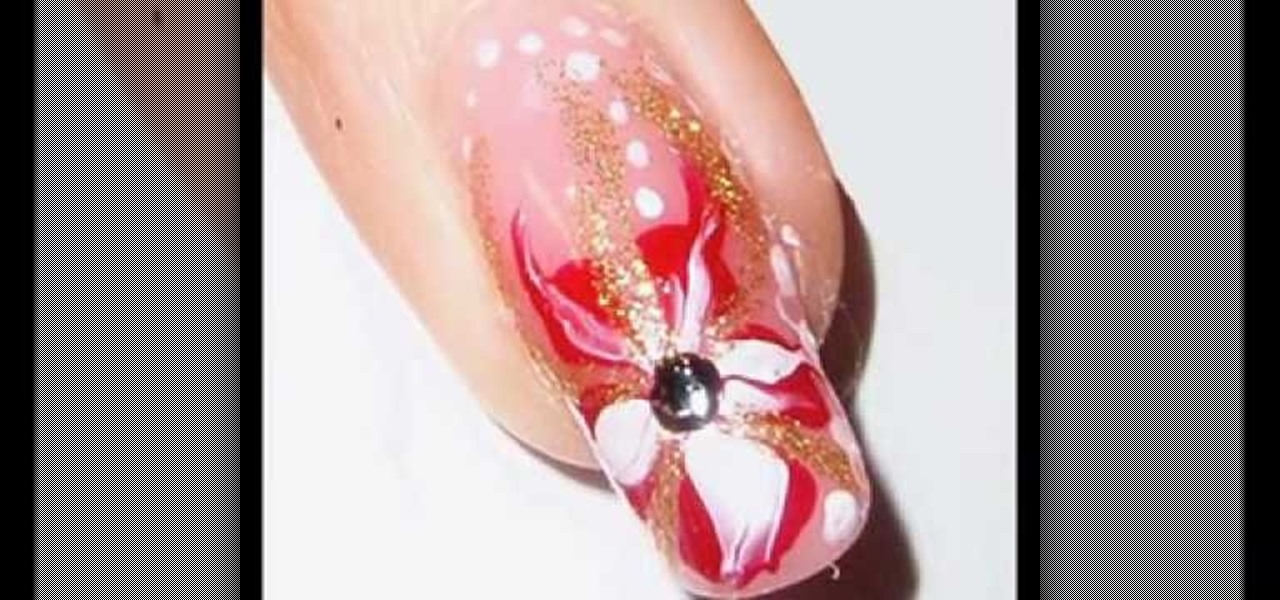
This is an interesting video presentation about "Flower Nail Art Tutorial". The steps are as follows, the first step is Apply a thick coat of clear polish on your nail and then apply 5 red dots in circle in the fourth finger and a white dot in the middle and then draw a line from the center through the red dots. After drawing each line, clean your brush and now draw lines from between the dots to the center and then draw golden strips between petals and draw a black dot in the middle and draw...

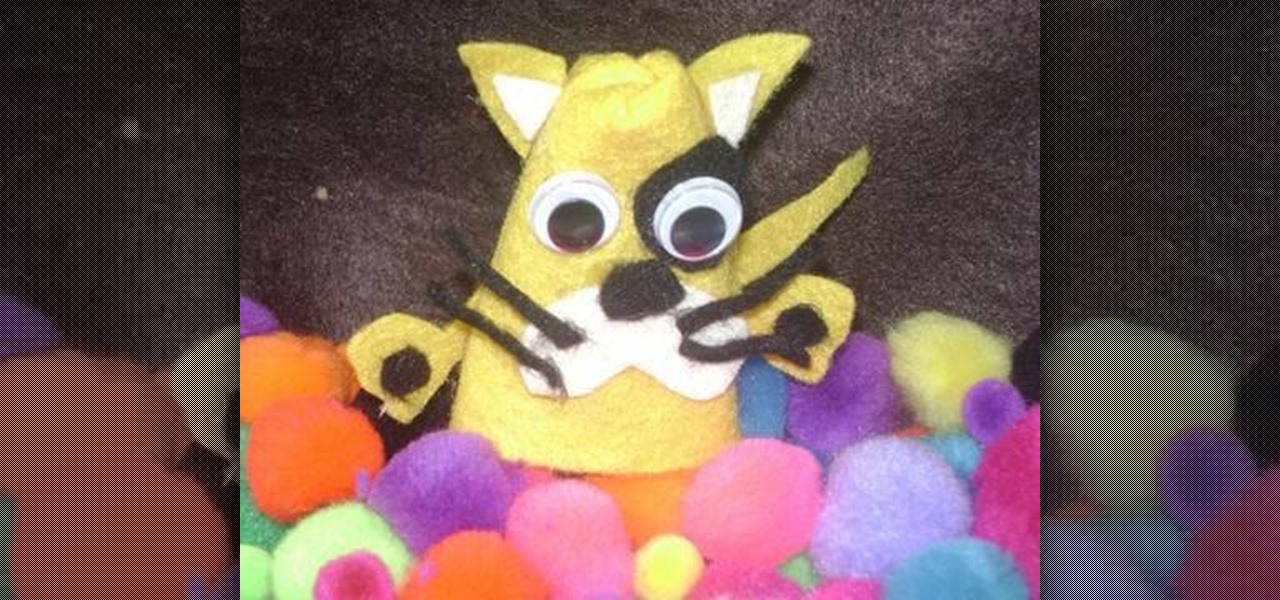
This is step-by-step video tutorial on how to make a basic but adorable cat puppet. The kids will have such a good time cutting and gluing the materials to make their very own puppet. The process is very quick and very easy. The materials you will need are: Felt (black, white and yellow), 2 googly eyes, scissors, and fabric glue. First cut out 2 triangles for the ears. Glue the circular edges of a half circle of felt together and glue the ears to it. Glue the eyes, nose, mouth, whiskers, and ...

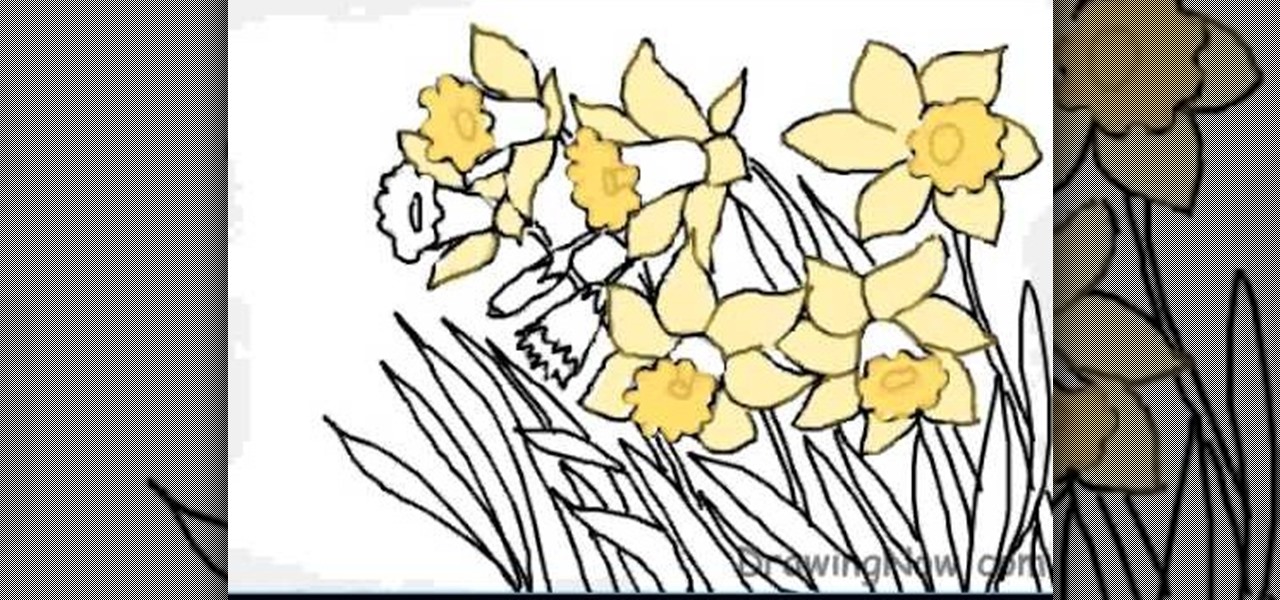
The first step is to draw the daffodil's outer parts carefully. The second step is to draw the circle shape for inner surface of flower.

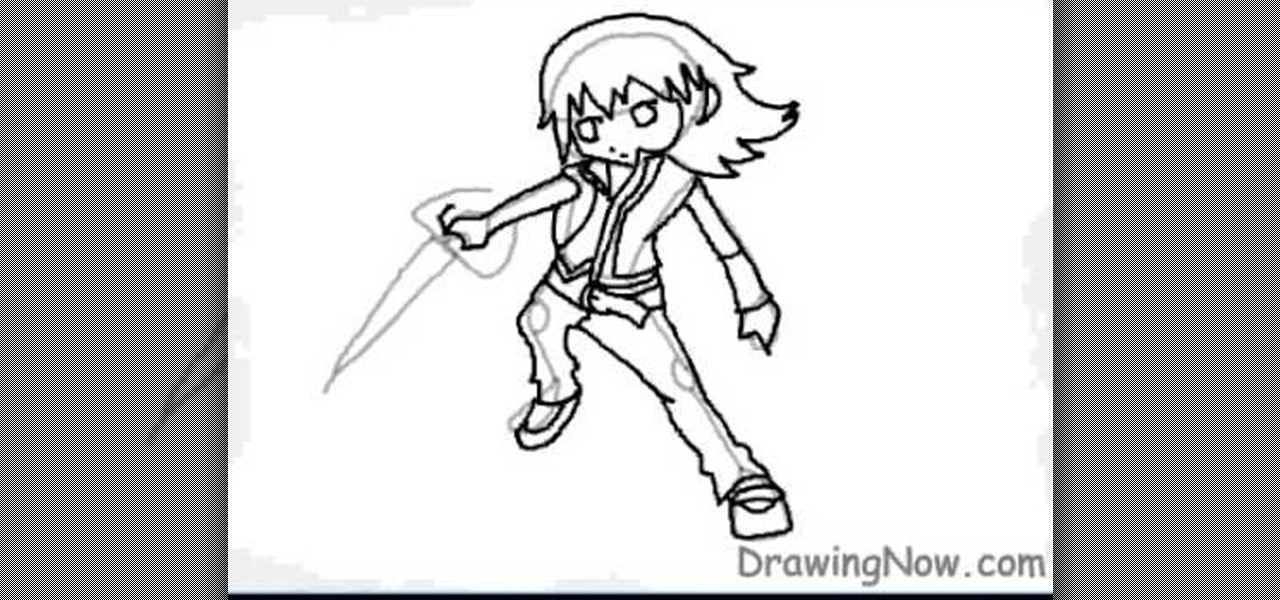
The video shows us how to draw Riku from Kingdom Hearts. Firstly draw a rough circle and then draw a center line to it. Then draw the rest of the body parts along with the sword aligned to it along the way down. Draw all this using a lighter shades and once you are done creating the body line roughly, use the darker shades to highlight that and also start drawing the other important parts like parts of the mouth, costume, limbs and the shoes. Then erase the parts which were in lighter shades ...

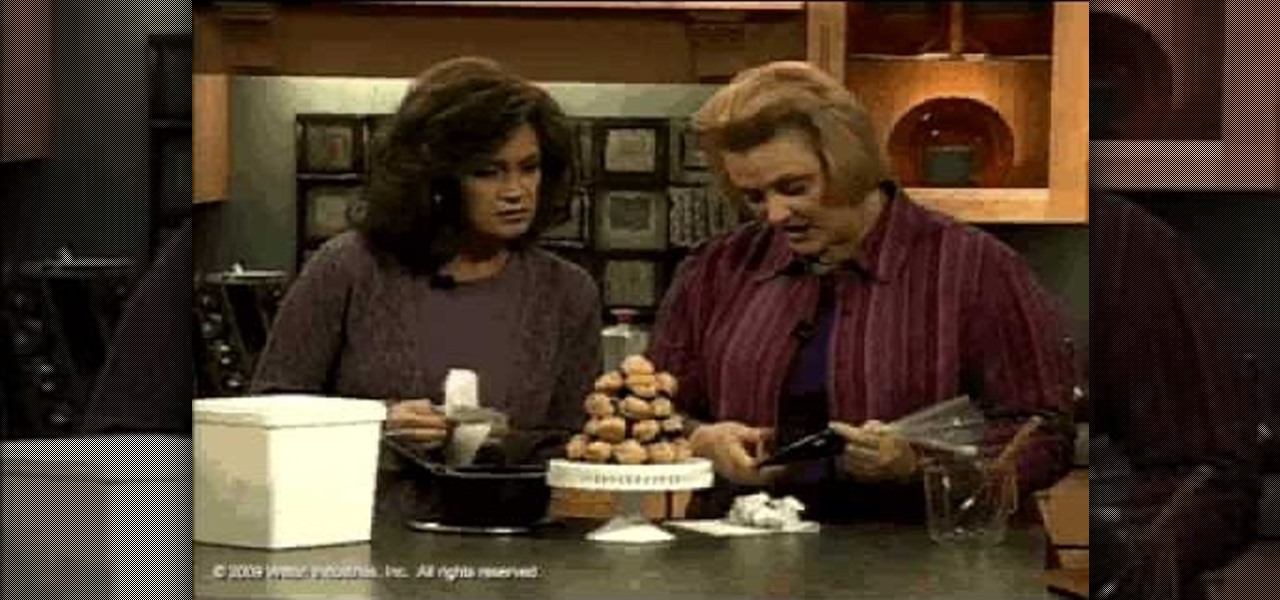
This video shows how easy it is to make a dessert known as a croquembouche, which is simply cream puffs stacked in a cone shape and glued together with a chocolate filling or ganache.

This short video shows how you can make up a frog shape with your hands. In order to make a frog by using your hands start by opening your hands in front of you, palms down. Then you have to cross your little fingers on each other. Repeat the same crossing of the next finger on both hands, The next step is to fold your middle fingers over the two smaller fingers you had crossed before. Finally move the thumb and the pointer fingers in a circle shape to form the mouth of the frog. By opening a...

Cardcrazy09 teaches you how to create a popsicle birthday card using Cricut. You'll need the Doodlecharms cartridge for this. Start with a white piece of card stock, then apply an orange piece on top, slightly smaller than the one below. On top of that add a smaller piece of card stock with circles on it. This is the base for the card, you are ready to move on to the next pieces. You cut a small piece of orange card stock and then on top of that glue a smaller piece with the text message. Glu...

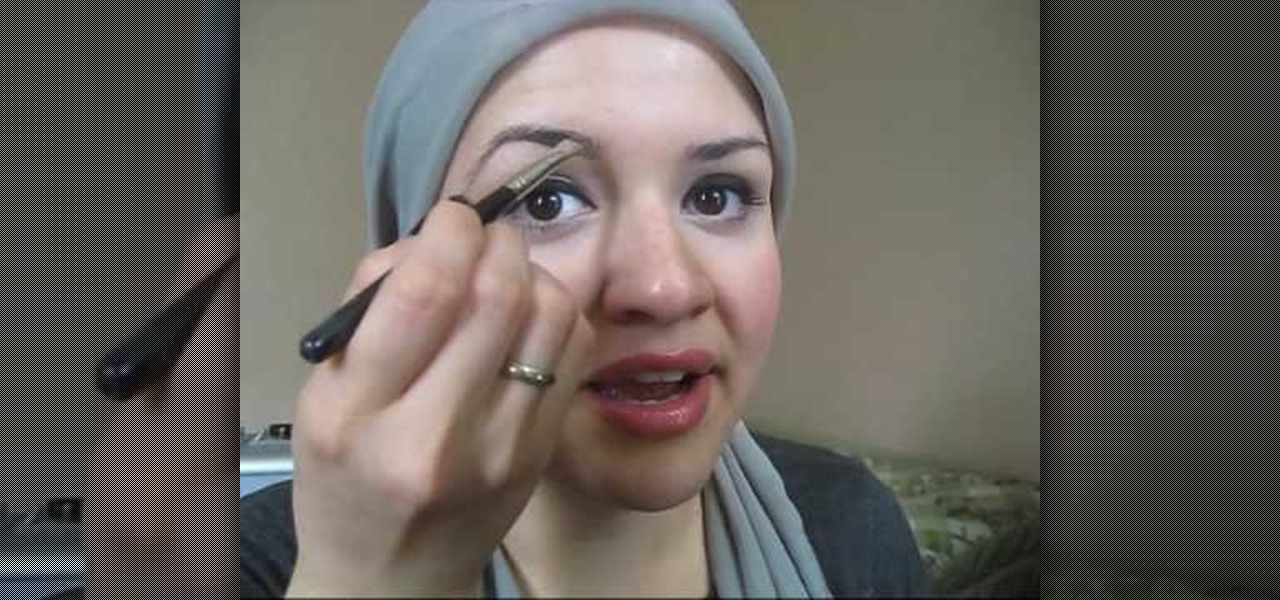
You can have beautiful arched brows, just like many famous Hollywood actresses have. This video shows how you can perfectly shape your brows and create an illusion that is sure to delight. Your eyebrows will be perfectly arched and shaped with not a hair out of place. To follow along, you will need concealer, a concealer brush, and eyebrow powder. This works very well for people who have sparse eyebrows. You can give the illusion that you have full shaped brows and no one will be wiser.

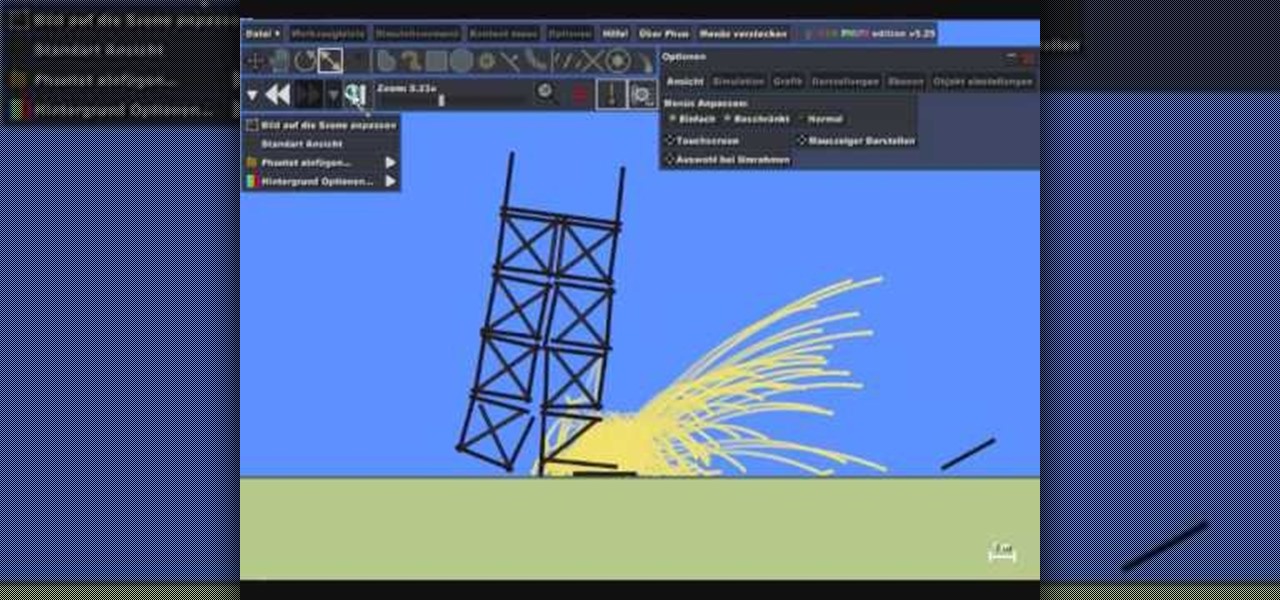
How to make a bomb in Phun. This video will demonstrate the basics of making a bomb in the Phun program. Phun can be very demanding of your computer's resources so if you go a little bit overboard, don't be surprised if your computer crashes or freezes, or does something unusual. The basic concept here, is to use the circles as designated, and copy and paste exactly on top of each other. The more you do this the bigger the explosion. It also uses basic directional physics so you can incorpora...

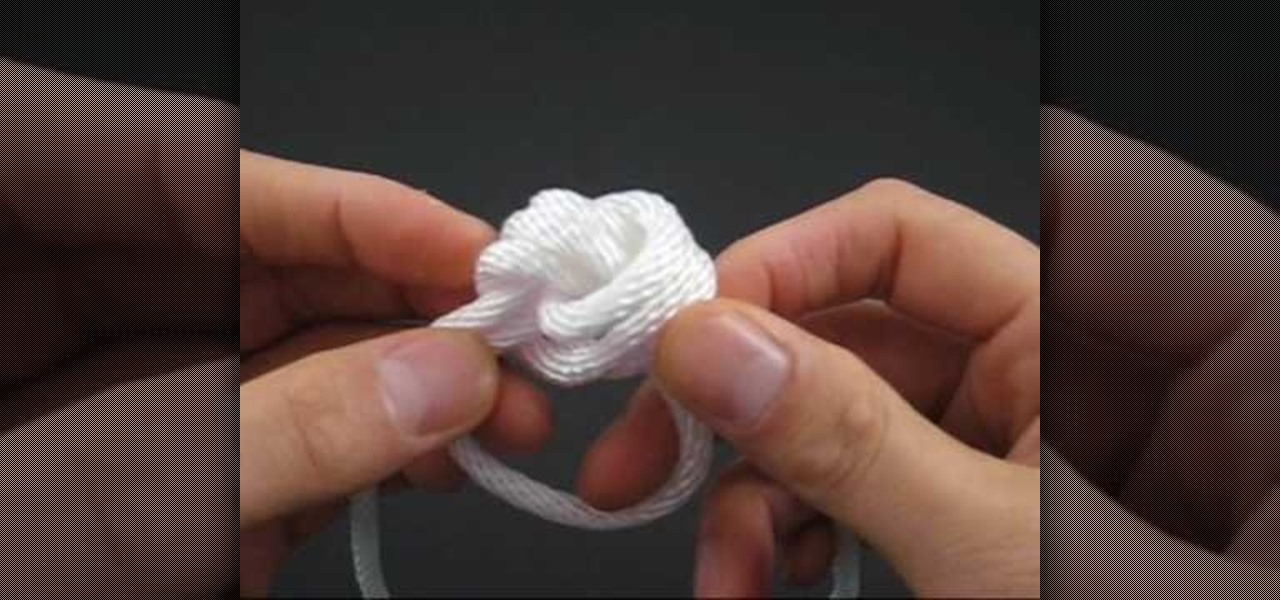
In this video tutorial, viewers learn how to tie the Diamond Knot. The diamond knot (or knife lanyard knot) is used as a decoration and joining knot in a cord with a loop. The Diamond Ring Knot is the fusion of an Overhand Knot and a tying technique called circling. The video contains a visual demonstration that allows viewers to have an example and easily follow along. This video will benefit those viewers who enjoy tying rope and to use knots to decorate.

If you need some improvement on your golf swing, Mike LaBauve can help you. This small video golf tip will show you how to use a one plane hip turn for your golf swing. In a one plane motion the arms, shoulders and hips all turn around in a circle as opposed to a slide and hip bump in the two plane swing.

Jess tries to teach us how to draw a furry. A furry is a type of cute animal. She starts off with a circle like figure and works from there. It is rather hard to follow her strokes as she draws, but it gets easier with practice. Try copying exactly what Jess does, which is to do quick, short strokes with the pencil rather than having a long continuous stroke. Also, the lines she made in the beginning of the video act as a guide as to where they eyes, nose, and mouth will be.

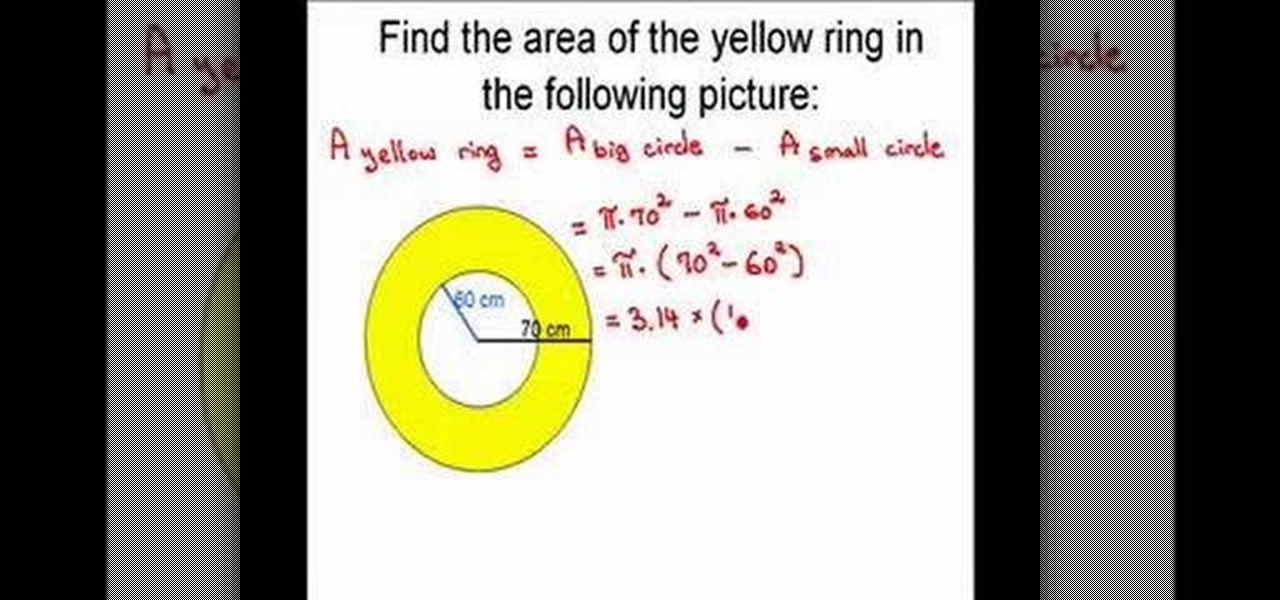
Doina Popovici's video explains how to calculate the area of a ring. She takes us really slow, down to all the steps of this process. It's very important that she explains every math formula and operation so you cannot get lost into this solving. The video uses nice pictures and colors in order to make learning easier and nicer for those who are interested. At the end of the video you'll surely be able to solve by yourself a problem like that and your appetite for geometry will grow significa...

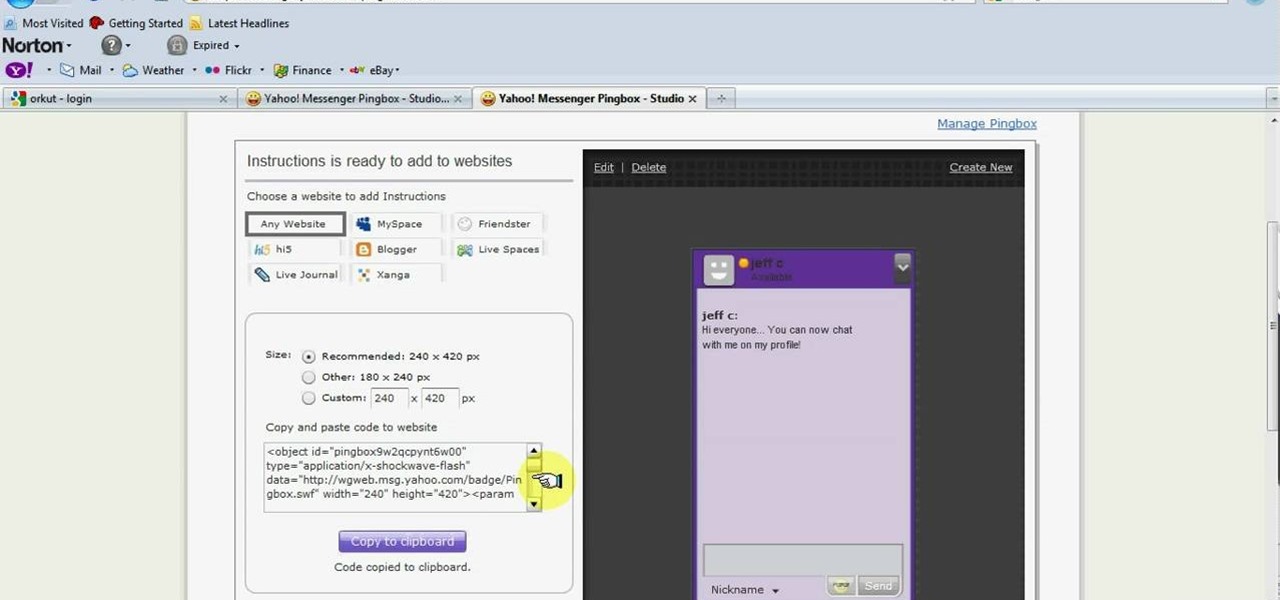
In this tutorial, you are shown very simple steps to put live chat option on your website. In this video web designer Jeff shows you how to put free Yahoo live chat on your website in very easy steps. This tutorial will change your website look more effective and useful. This tutorial shown in very detailed explanation about creating live chat box on your website. He shows a live demo creating professional chat box on your website, but also shows that you can create your live chat box per you...

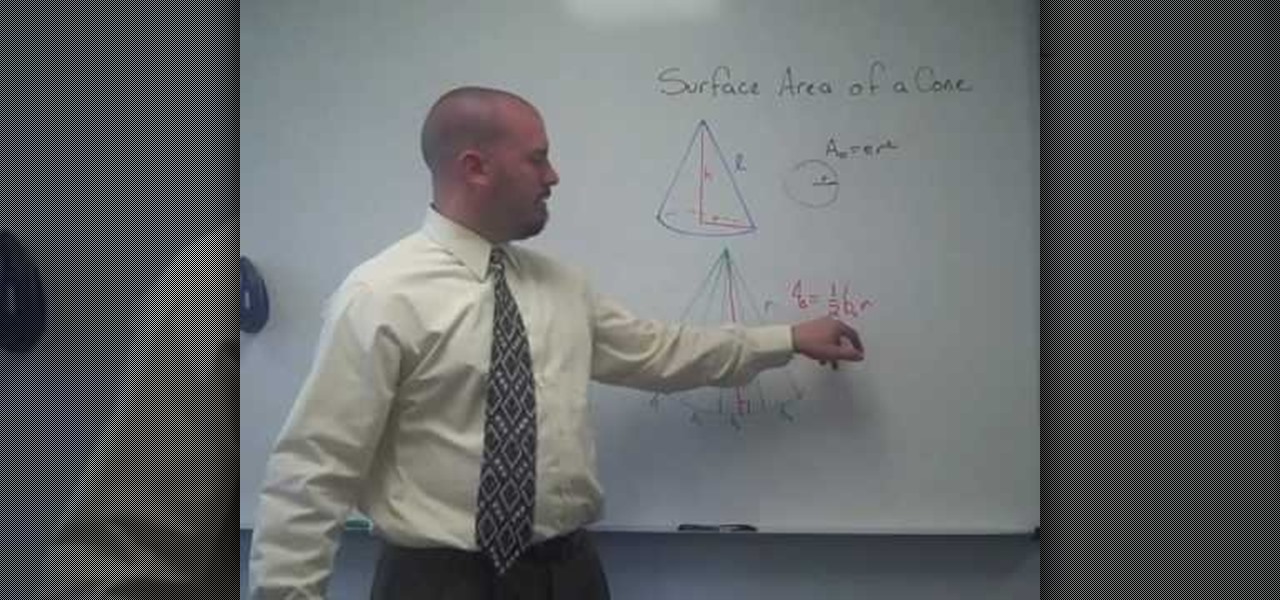
In this tutorial the instructor shows how to compute the Surface Area of a Cone. He explains that you need to find the individual surfaces areas first. Hence the bottom part of the cone which is circular can be calculated as Pi*r*r, where r is the radius of the base circle. Now for the sides surface of the cone, it looks like a sector and he derives its area thorough some deduction. Now he adds both the base surface area of the cone, and the lateral surface of the cone which finally gives the...

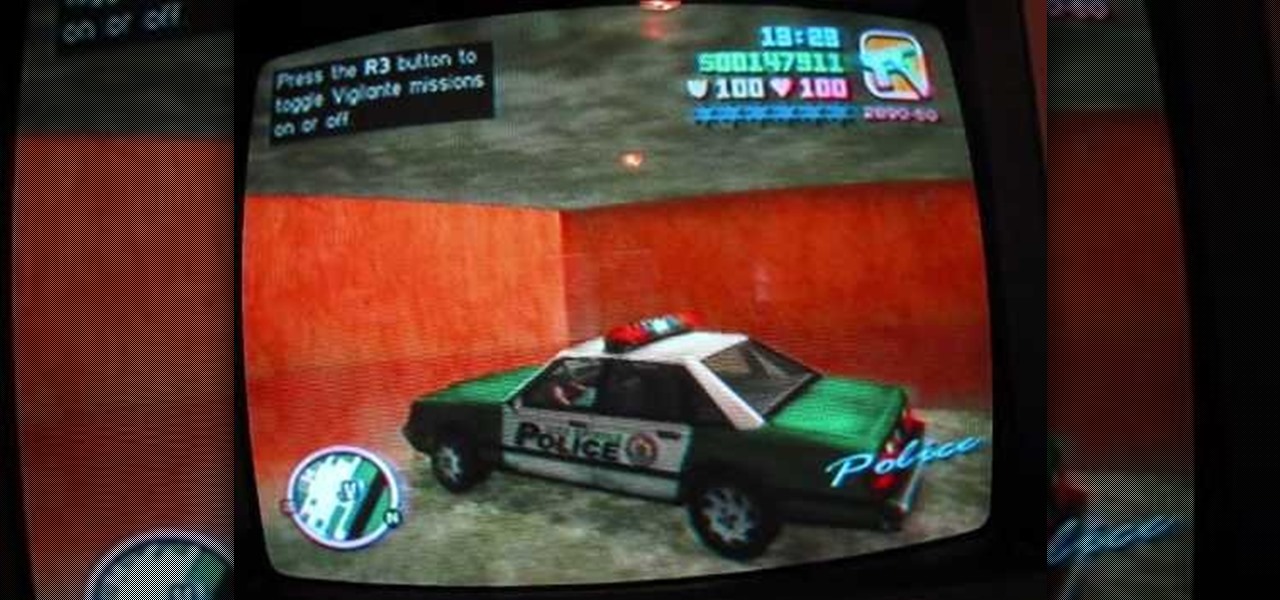
This video shows you how to make money fast in GTA Vice City by using a money glitch. The first thing you have to do is get a cop car and bring it to one of your houses that has a garage or it won't work. Press R3 and put the car in the garage. You have 59 seconds to do this or it won't work. The cheat you enter is R2, L2, R1, L1, L2, R2, box, triangle, circle, triangle, L2, L1. Go back to the cop car, get back into it and out again, repeating this over and over to get more money.

In this Photoshop tutorial the instructor shows how to create a dollar sign button in Photoshop. Open Photoshop and select the ellipse tool and make a around shape. Now open the layer select the layer tool. Now open the gradient editor and make a gradient as shown in the video. Now change the gradient angle to around 124 degrees. Now tweak your colors a little bit as shown in the video. Now make an other layer with low opacity as shown in the video. Now you have two inter leaving layers and c...

The artist demonstrates how to manga character Kenpachi Zaraki. Text appears on screen with each step in the drawing. It stars with a circle, then lines to indicate the center of the face and the placement of eyes. More lines indicate the neck and muscles, then an outline of the hair is added. Lines show the clothes and wrinkles in the clothes. Facial features and details are drawn in as the guide lines are erased. Following these instructions, you can draw the face of Kenpachi Zaraki.

Hair bows are adorable for all ages, and in this simple, easy tutorial, our hostess gives us first the materials we will need to construct our own. A piece of cardboard, a sewing needle and thread, a rubber band, and of course the little fabric pieces referred to as "spikes," to complete the creation. From there, we are taught that the cardboard is our stabilizer, through which the needle will go, and that we will then be constructing the fabric into shapes upon that needle, layering the fabr...


