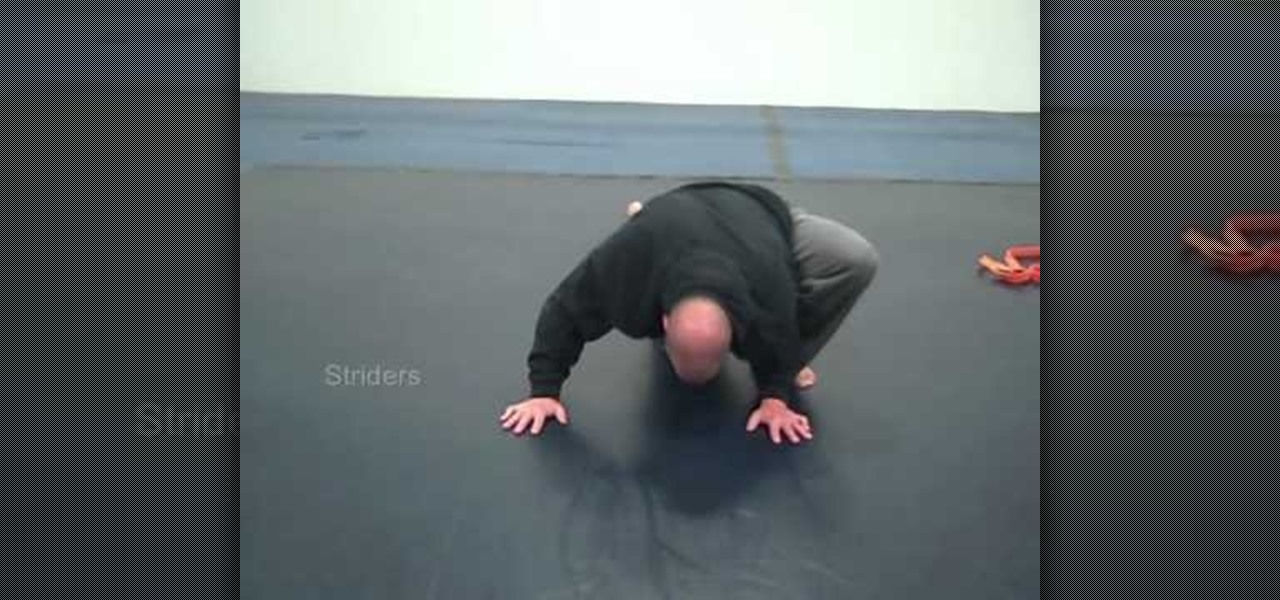
Whether you're preparing for a thirty minute bout of interval running or for an intense weight lifting session, warming up is vital to building heat in your body so your joints are lubricated and there is less of a chance of injury. Warming up before exercising also boosts your metabolism so you get your heart rate up early and burn more calories during your workout.
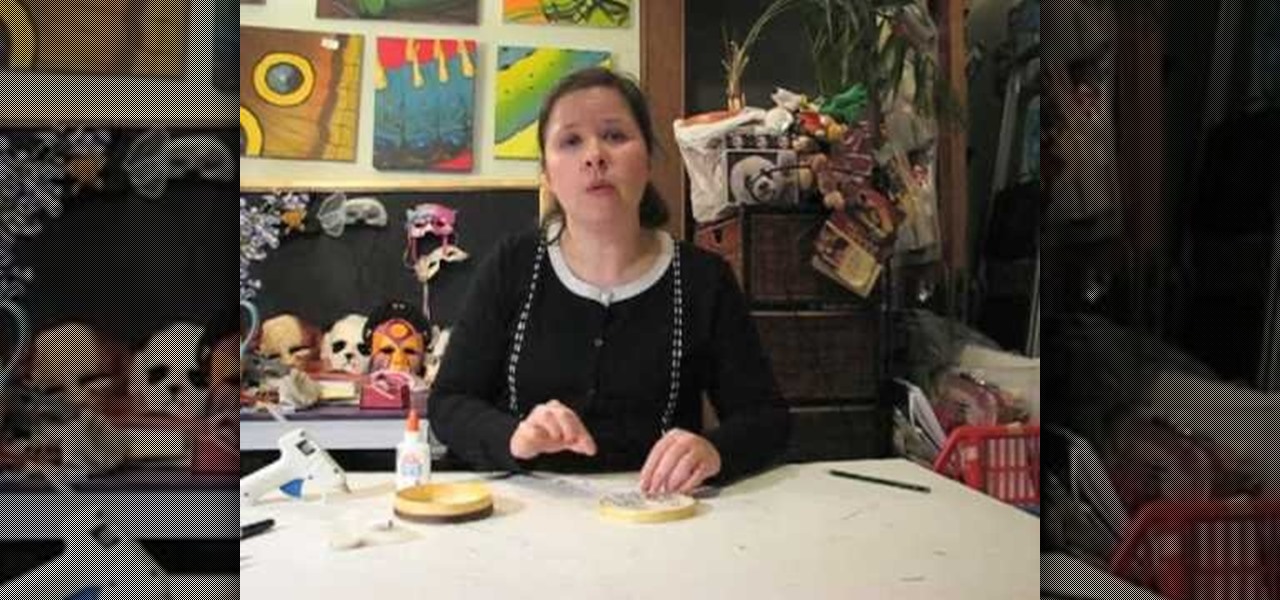
This video shows how to make a cute vintage looking jewelery box. A cardboard cheese box forms the body of the jewelery box. Other items you will need include mod podge, white glue gesso, masking tape, ribbons, a mirror from a compact, some fabric, and some faux pearls and flowers. Begin my removing the labels from the box. Paint the inside and outside of the walls of the box and the lid. Paint the areas of the box that you just primed with gold metalic paint. Now use the box to trace three c...
Without looking, peeking, or even cheating, you will be able to figure out who will win in a virtual game of rock-paper-scissors.

Excerpts from a presentation by Dr. Simeon Hein at the International UFO Congress, 2005. Dr. Hein is the director of the Institute for Resonance in Boulder, Colorado. The Institute is devoted to the study of subtle-energy sciences including remote viewing, crop circles and related subjects. Dr. Hein has a Ph.D. in sociology and has previously taught research methodology and statistic courses. Dr. Hein first learned remote viewing in 1996 and subsequently became involved in crop circle researc...

This video shows you how to draw a cartoon smiley head in Inkscape: Open a new page.

Over the last few years, Apple has significantly improved and scaled up your iPhone's ability to edit photos. Using the Markup feature, which was introduced back in iOS 10, you can add doodles, highlights, important text, your signature, and arrows and other objects onto pictures and screenshots. One of the lesser-known tools in Markup lets you zoom into essential details without cropping.

First of all cut of the top and the bottom of the cylinder to get two circles. Now take a scissors and cut of the cylinder into two halves from the top to the bottom as shown. Now you get a rectangle shape. You can easily measure the length of the cylinder but to measure the base is a problem. So mark a point on the table with tape and also make a mark on the can or the object you want to measure. Now place the two points over each other. Now use a ruler as a guide and move the can so that th...

Crostini is the Italian word for toast and is basically a fantastic canvases to put almost anything on top of to make easy and tasty hors d’oeuvres. This video will show you some crositini using Italian ingredients or other flavorful combinations. Watch this video to learn how to make a simple crostini. Great for picnics and parties! 12 slices firm white bread 5 tbsp. (75 ml) butter 2 tbsp. (30 lL) all-purpose flour 1/2 c. (125 ml) milk 3 oz. fresh mushrooms (about 9 med.), finely chopped 6 t...

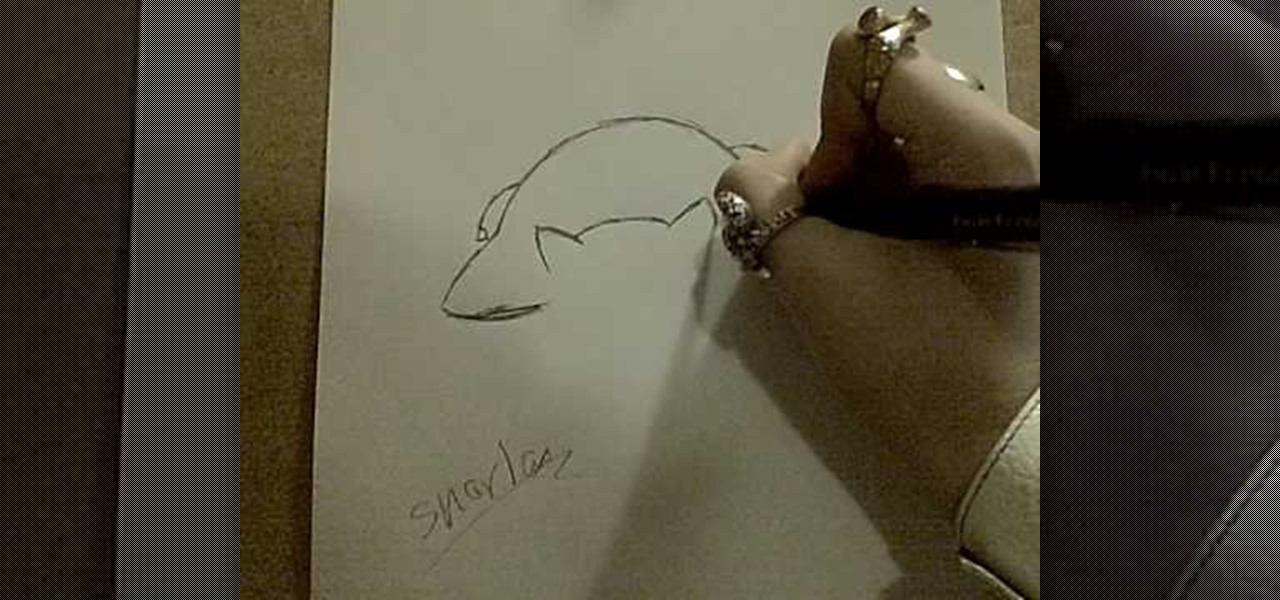
MAZE2510 teaches us how to draw the perfect Snorlax. Draw out an oval for its head, a large body and two small circles at the bottom on each end for its feet. Begin to work on the head. Add in the ears and the curve at the top of the head. Then add in two rounded cylinder-like shapes for its arms and finally add two smaller circles inside the feet circles that were already there. Add in the detail on the face and then the half circles on its body. Add in the fingers on both hands. Each little...

Are you feeling like you've got the hang of Google+? Or do you, as I do sometimes, feel like there are just a few too many quirks to keep track of? Here, I've given you 15 quick tips you should know about Google+ so you can maximize the way you want to use it.

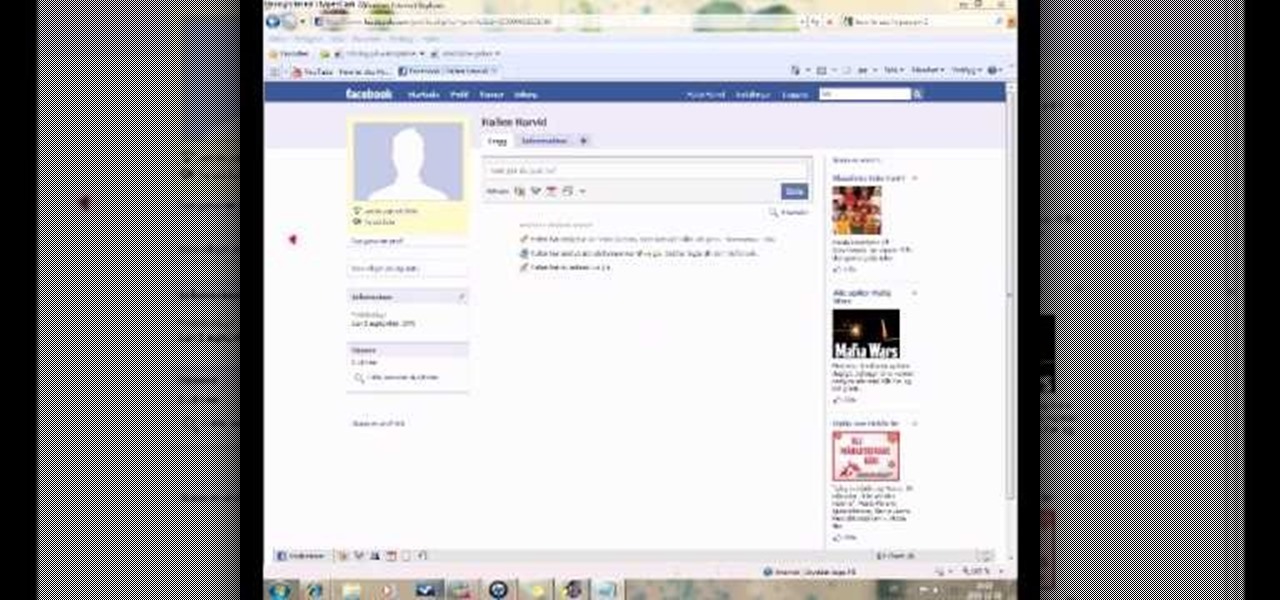
This is a fun little Facebook hack you can use to make floating circles appear on your profile page. Make sure that you don't do this in a text box - just click anywhere on the page and then enter the secret code!

Want to be on top of the trends this winter season? Circle scarfs are in now, and they are super easy to make! All you need is two yards of your favorite fabric, then sew it into a tube to create your own scarf.

Add an elegant touch to your next crafting project! You can turn scraps of lace fabric, cut into circles, into beautiful little flowers. Fold your circles into small wedges, sew them together at the base and then attach them to a string necklace or your favorite piece of clothing!

In this video, we learn how to make a mouse hat with construction paper. You will need: 2 small pompoms, 1 large pompom, poster board in blue, black, white, and yellow, lace, scissors, and glue to make this. First, cut the blue piece of construction paper on once side, then twist into a cone shape and tape it together. After this, take the rest of the blue paper and cut it into half circle shapes for the ears. Now, take the yellow paper and cut it into a smaller half circle and place inside t...

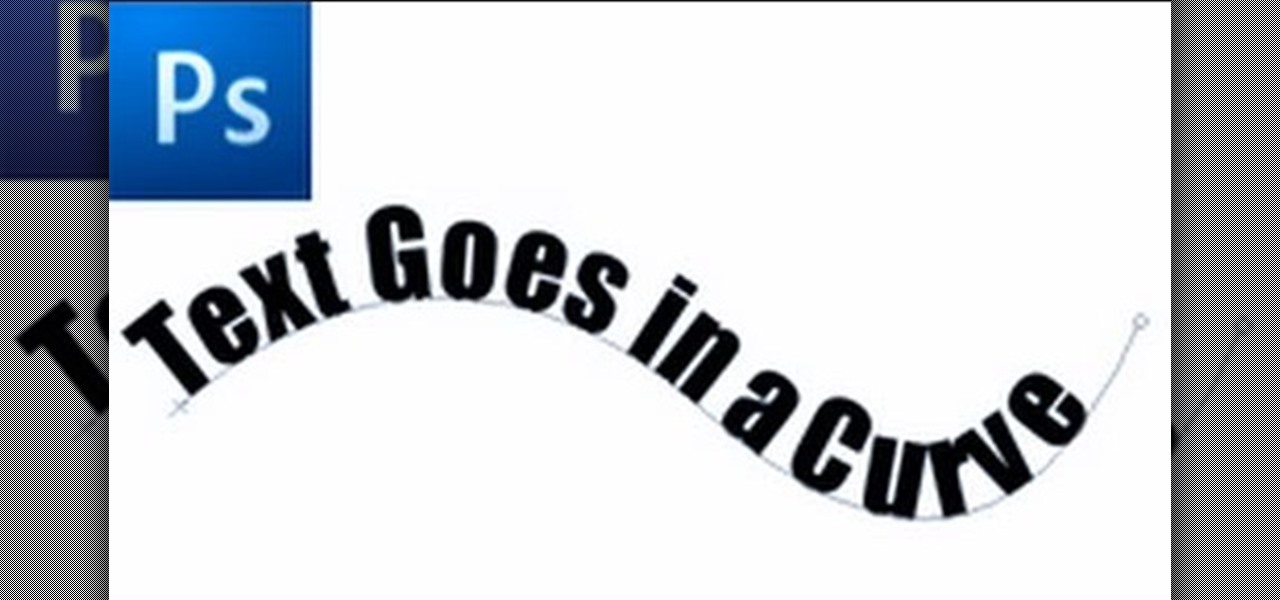
First of all select the 'pen' tool from the side bar. Now select the 'paths' box from the top screen. Now make two different points to make a curve and then make a third point to make another curve as shown. Now select the 'text' button. Now change the 'color' of the text to ‘black’. Now run your cursor over the path till it ‘changes’. Then click. Now you can actually ‘type’ on this path. Type in "text goes in a curve". This shall be written on the curved path that you have just m...

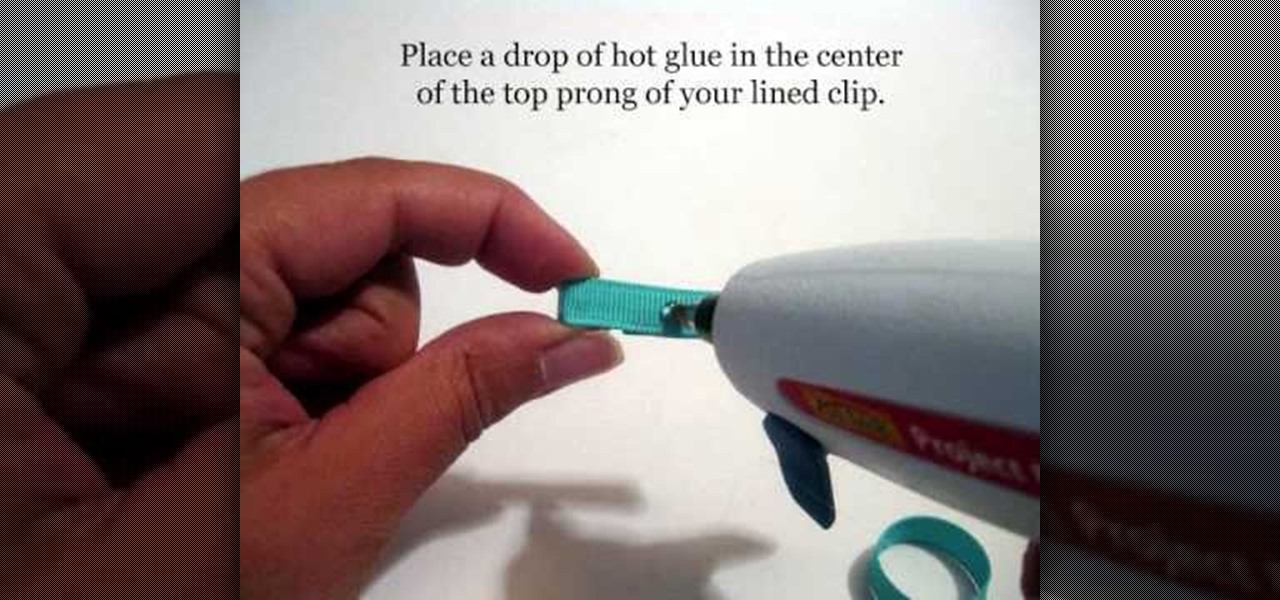
This video shows us how to make infant mini clip hair bows.This requires a high temperature hot glue gun.Three ribbons of the length 4",3" and 1.75" are required.Also needed are an alligator clip,sharp scissors and a lighter.Take the ribbons and seal it with a lighter just enough to melt the ends.Insert a 4 inch long ribbon in between prongs of alligator clip.Make sure the ribbon is centered and flat side of alligator clip is down.Quickly fold the ribbon over the top prong and press firmly to...

There's nothing that can ruin a perfectly good time quite like the dreaded "perfect circle" scratch which certain Microsoft Xbox 360 consoles can give to games that are loaded improperly. With this how-to however, you'll learn how to repair an Xbox disc and get it running again.

The first thing that you want to do is in a new image, create a new transparent layer. Then you want to use the oval shape tool and check "fixed" so that it forms a perfect circle. Draw the circle, fill it with any color that you want, and then duplicate the layer. Use the move tool to move the new circle underneath the one you just created, leaving some room. Merge this layer with the one you originally copied it from, and repeat this step until you have as many circles as you want. Then you...

This video from Your Teacher is one of a range of math solutions. (which is the measurement from the center to the edge when drawn in a straight line) and also the area of the circle, is the amount of total space within its perimeter. The circumference of this circle is 20 pi. The circumference is 2 pi r. So 20 pi is 2 pi r. Which factors down to show that 10 is the radius (10=r). The area is pi r squared. As we know the radius is 10, we can work out the area - 100 pi.

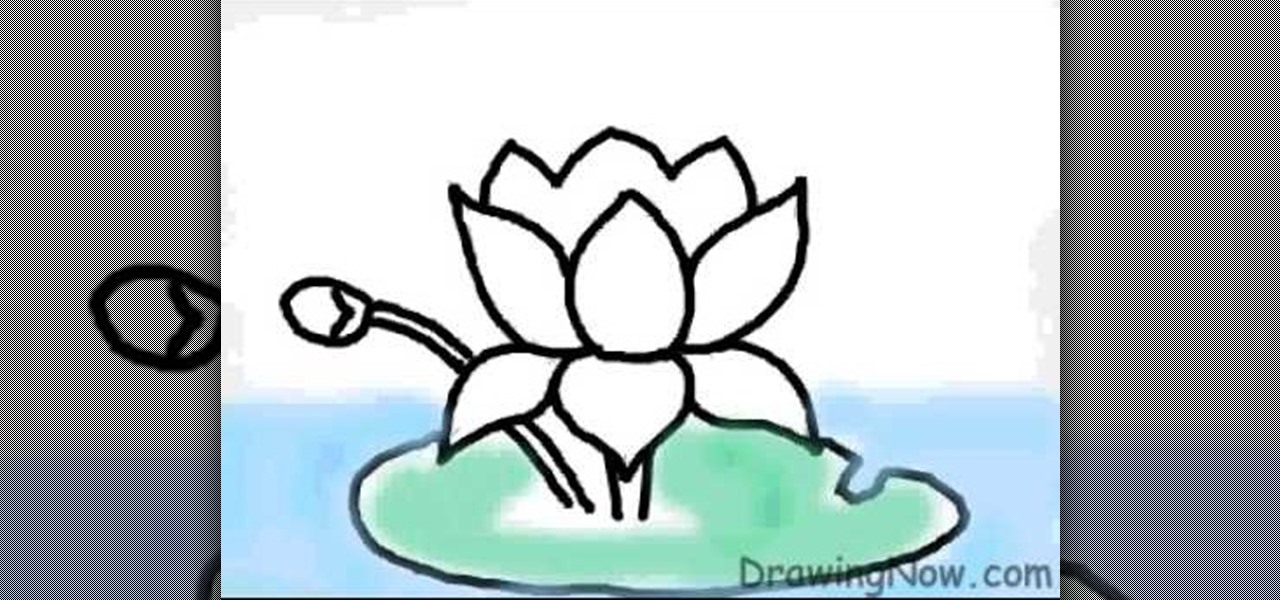
Learn the art of drawing a ‘Lotus Flower’ on your computer, by watching this video. Begin by drawing a faint outline of the flower at the outset. This is done by drawing an oval shape first. Then a straight line is drawn below the oval, along the center. A semi-circle comes next, touching the extreme ends of the oval shape. Similarly, a mirror image of the semi-circle is drawn, below it. The petals of the lotus flower are then outlined in dark, from the center and on either side symmetrically...

Learn how to make a pop-up snake in minutes and surprise your children. 1) Get two pieces of paper of the colors you want. Also get a CD or something similar. 2) Get a paper and fold it in half. 3) Draw a circle on the paper using the CD and a marker or pen. 4) With the help of scissors start cutting the circle in a spiral fashion. 5) Fold the other paper in half. 6) Glue the tail of the snake on one side of the paper and glue the head of the snake on the other side. 7) You can use the other ...

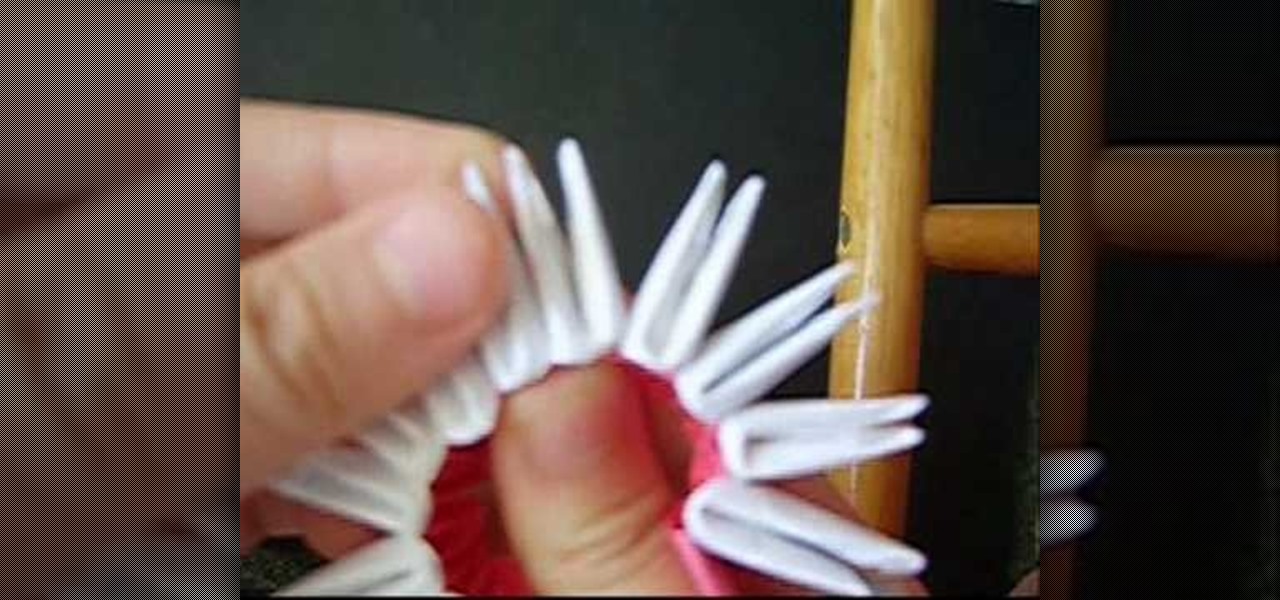
Fed up with traditional origami? Well, learn how to fold some three-dimensional origami! This origami video tutorial will teach you how to origami a 3D circle-tail for a peacock. Traditional Japanese origami is the art of paper folding, but 3D origami is a little more complex, a little more challenging... a little more interesting. See how to model and fold a 3D circle-tail peacock with these origami instructions.

Try this southern favorite from Paula Deen. Follow along as she makes easy fried apple pies. This cooking how-to video is part of Paula's Home Cooking show hosted by Jamie Deen, Paula Deen. Paula Deen, owner of Lady and Sons, a famous Savannah restaurant, is Food Network's resident southern chef. Step inside her kitchen and discover delicious food that's both uncomplicated and comforting. Try her recipe for fried apple pies.

Check out this video to learn how to draw a circle with a dot in the middle without lifting your pen. It can really work.

Tim Carter, of Ask the Builder, demonstrates a simple way to cut a circle out of the center of a piece of ceramic tile, for use with some plumbing pipe.

Add flair to your routine with hip circles for belly dancing.

This tutorial explains a brand new effect Marty Schindler created himself. Watch and learn how to create a Circle Color Effect (CCE) in Sony Vegas 7.

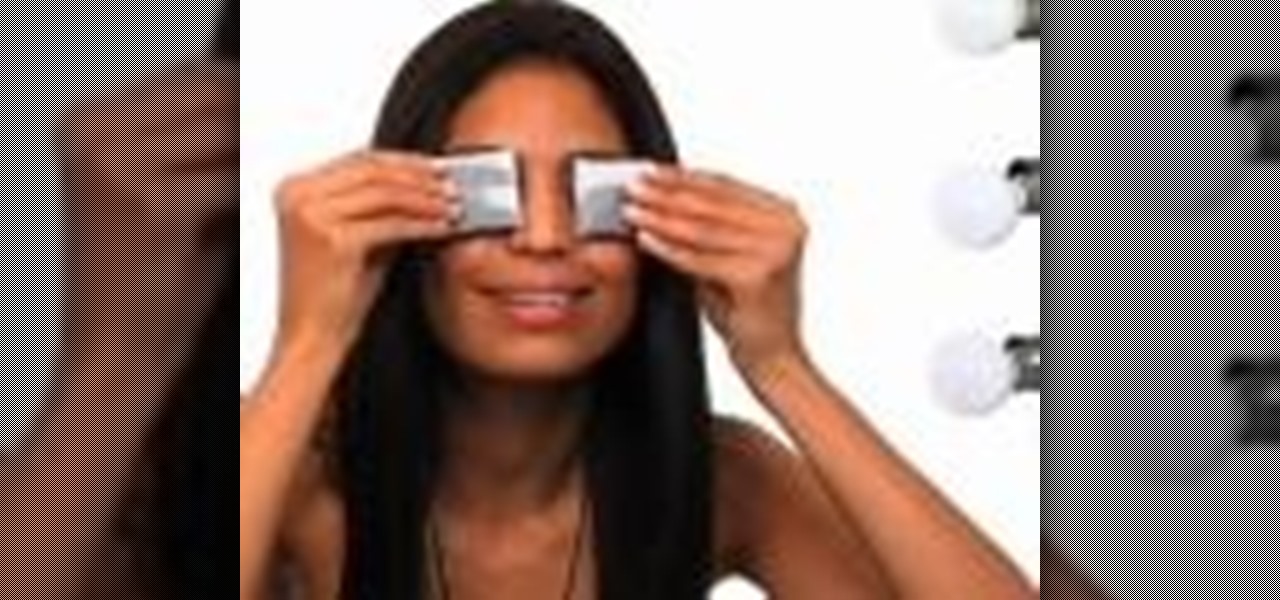
Ford supermodel Losmir shares her favorite methods for removing dark circles and puffiness from the eyes using among other things cold tea bags.

Bandsaws have always been great at cutting curves. With a simple jig, perfect circles are a breeze. This woodworking video demonstrates this jig, and also briefly shows some minor mods that I have made to my 14" Jet Bandsaw to keep the tyres clear of sawdust.

Watch this video and learn the basic steps to cutting a circle in glass.

This AutoCAD tutorial shows you two ways to dimension a circle or an arc. One method is to define the radius the other is to use the diameter.

How to create a super easy circle button in GIMP.

Watch this instructional crochet video demonstrating a crochet circle worked into a single chain stitch.

In music theory, the circle of fifths (or cycle of fifths) is an imaginary geometrical space that depicts relationships among the 12 equal-tempered pitch classes comprising the familiar chromatic scale.

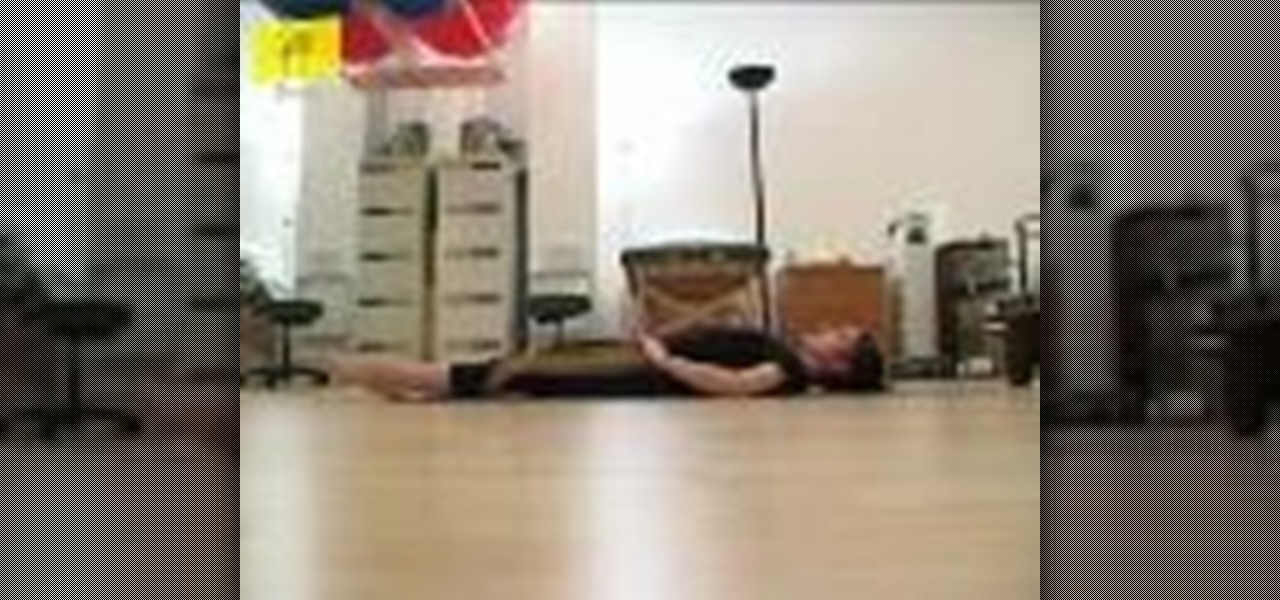
This video demonstrates how to do a proper Pilates leg circle. To do this exercise, just move the thigh bone in the socket while keeping the pelvis stable.

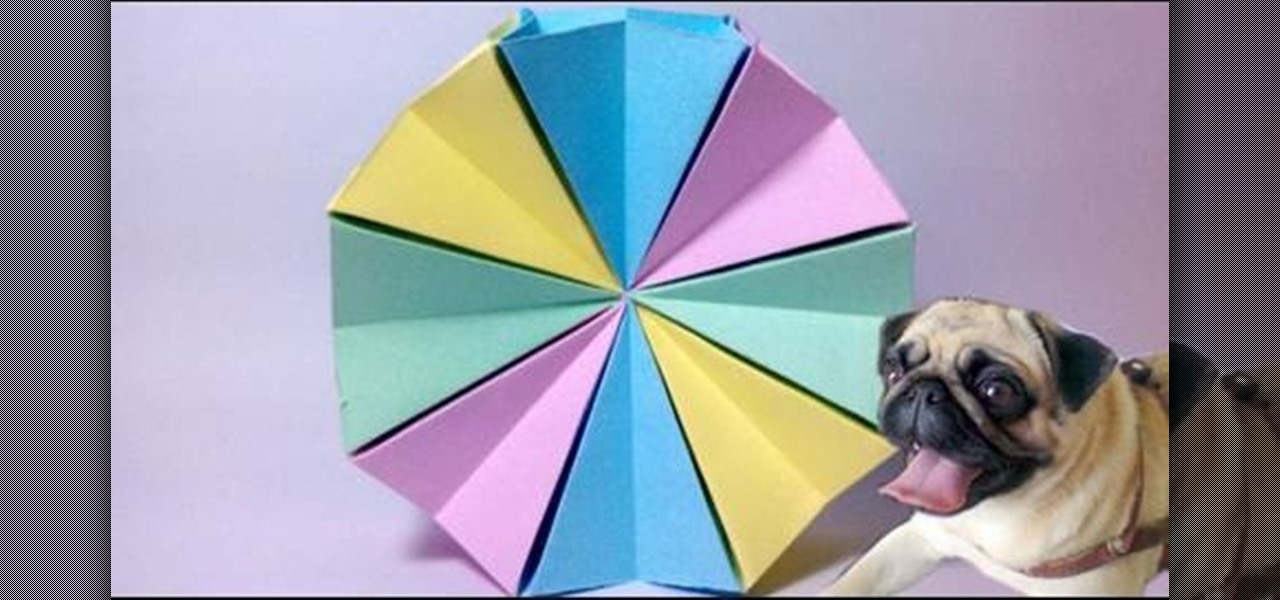
The first and most basic tenet of origami is creating shapes using a single piece of paper. However, when it comes to modular origami, which is complex and multi-sided, this rule becomes a little more lenient. It's actually rather common in modular origamit o see magic cubes or 36-sided stars being assembled from multiple pieces of paper.

You know how people who proclaim they can't draw always muddle through drawing assignments by piecing together a couple of stick figures? Well, that's because stick figures are the absolute easiest figures to draw.

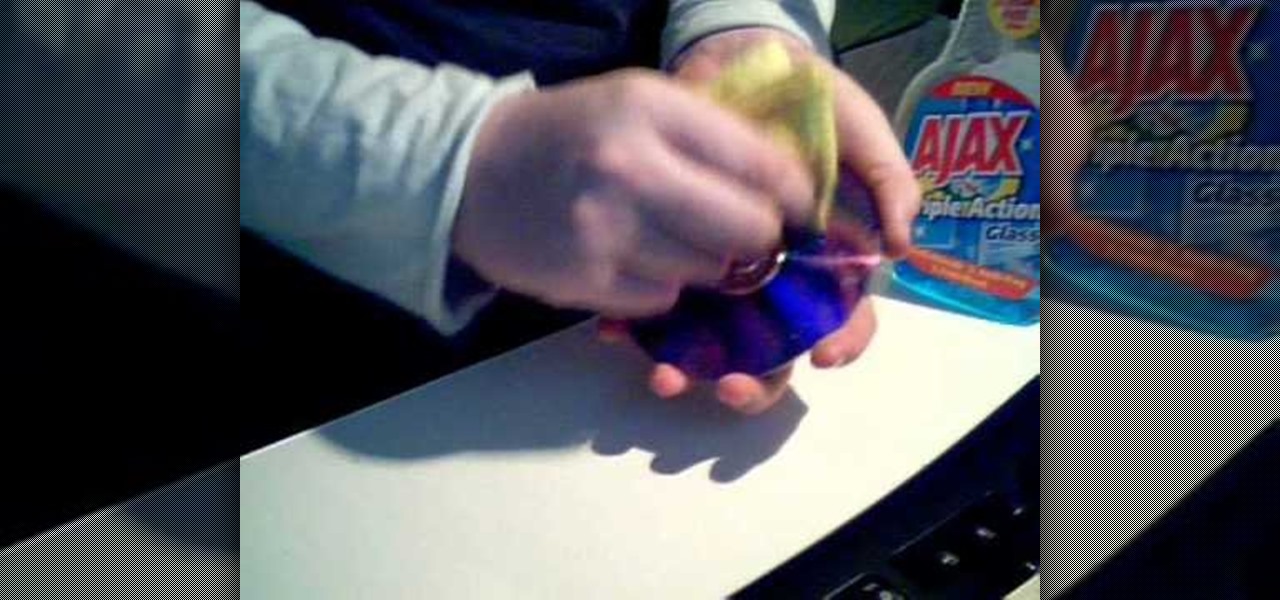
This video answers the question "does cleaning your CDs or DVDs with a banana work?". First, take a freshly cut piece of banana and rub it in circles on the disk gently. Rub it well for about two minutes. Then, take the peel and rub the inside of the banana peel in circles on the disk for about three minutes. The peel apparently provides some wax for the cleaning process of the disk. Next, take a cotton cloth and wipe it around the disk for as long as it takes to clean up the banana from the ...

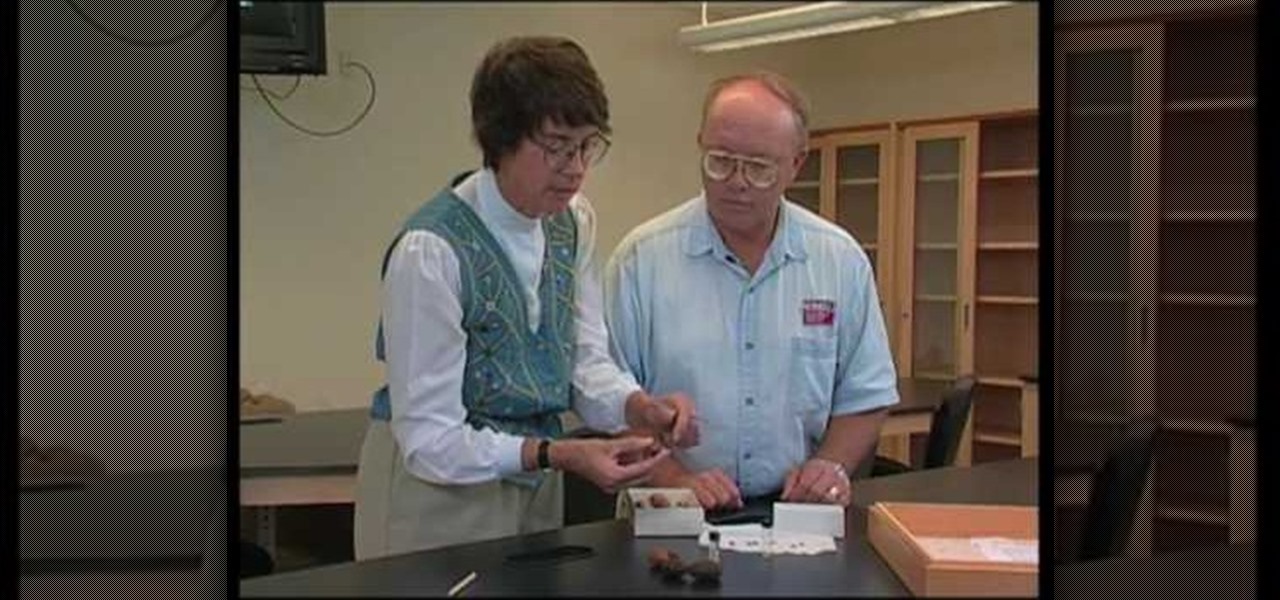
In this Home & Garden video tutorial you will learn how to identify pecan weevil problems. John White presents this video along with Carol Sutherland, extension entomologist. After pecan is infected with pecan weevil, it has the potential of spreading in the entire area. The indication of pecan weevil infection is an opening on the crust of the pecan which may or may not be a perfect circle. But, on the nuts the holes are perfect circles. There is usually one hole on the nuts; though sometime...

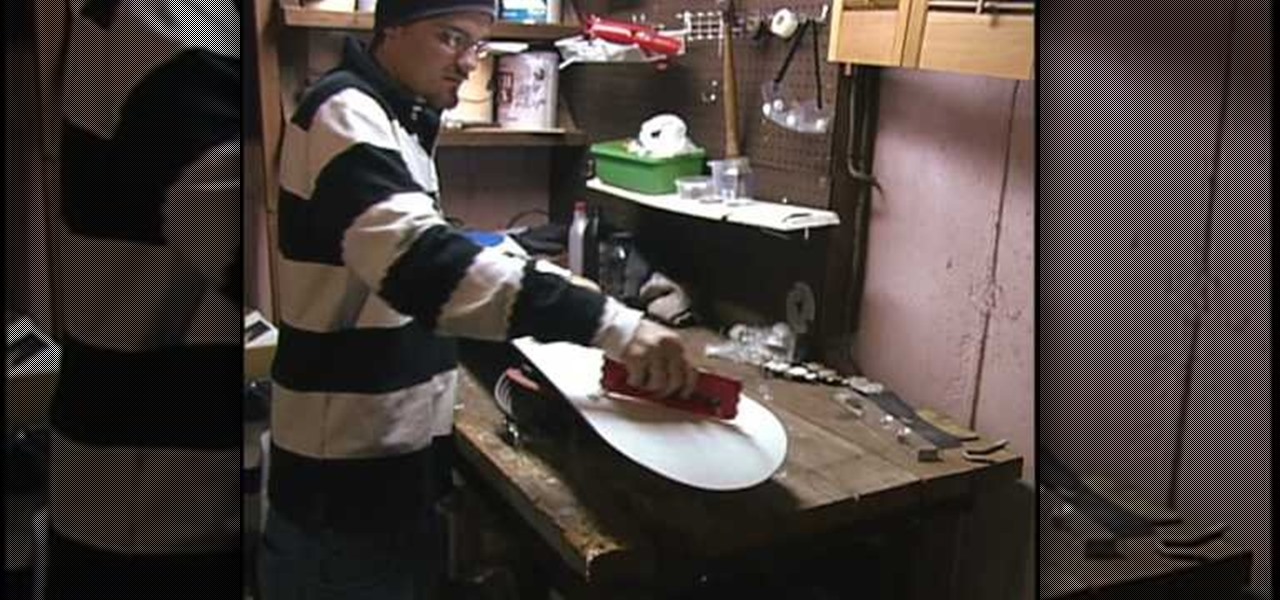
To wax a snowboard you will need an iron, board wax, a flat scraper and a buffer pad. First, use the iron to melt the wax. The iron should be hot enough to cause the wax to quickly drip but not hot enough to produce smoke. Iron the wax onto the snowboard by using small concentric circles to melt the wax evenly. Go over spots several times, if necessary. Be sure to use wax that is appropriate for your riding conditions. Scrape the excess wax off of the board. Use a buffer pad like the rough si...


