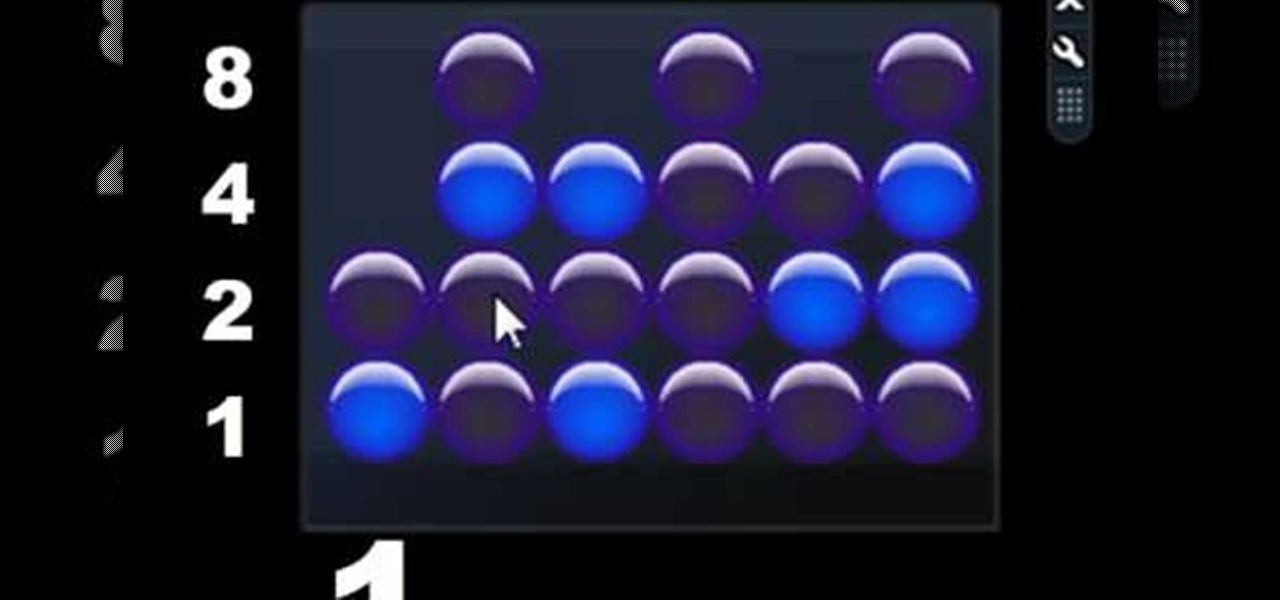
Sydus 93 teaches You Tubers how to read a binary clock by demonstrating the following process: A binary clock is made up of four rows and six columns of colored or uncolored dots. The rows, from bottom to top, represent the numbers one, two, four and eight. From left to right, columns one and two represent hours, three and four minutes and five and six are seconds. In order to tell time using the binary clock, begin at the left of your chart and simply determine which dots are filled in and a...
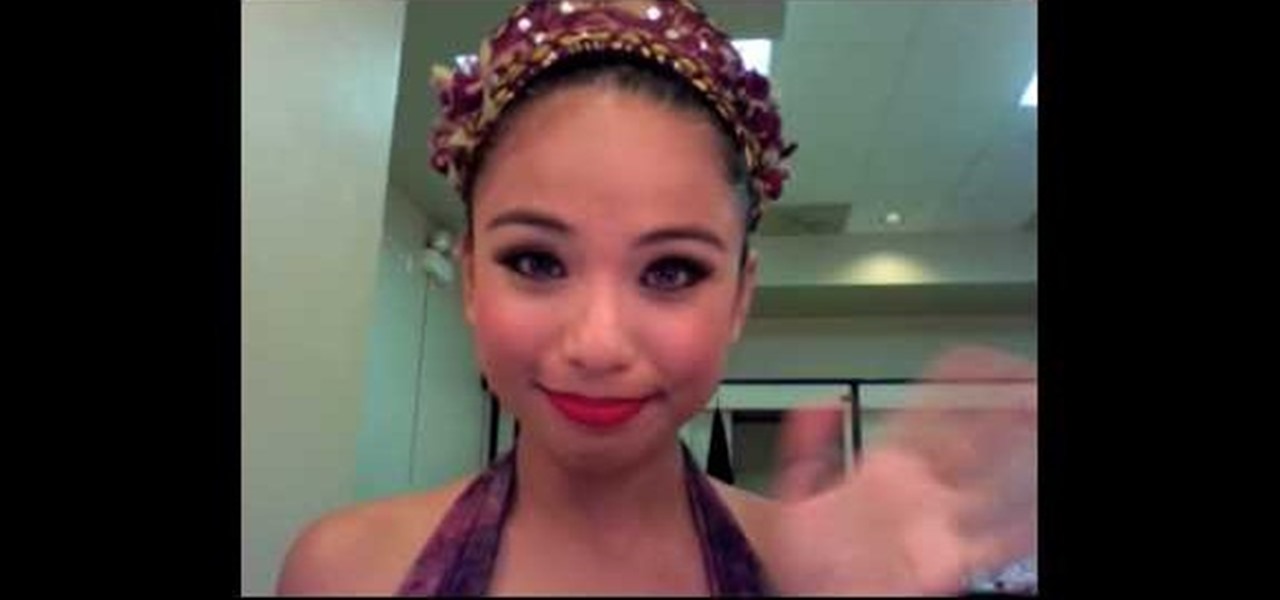
Before applying any make-up start by thoroughly cleansing the face and moisturizing after cleansing. Start with a good concealer to cover up and blemishes or dark spots. Apply liquid foundation with a stipple brush to ensure all over coverage of the entire face. Now using another brush apply your face powder, you can try MAC skin finish in your own personal skin shade. For the eyes, start with a white shadow and apply all over both lids. Now, take a medium-brown color shadow and apply to the ...
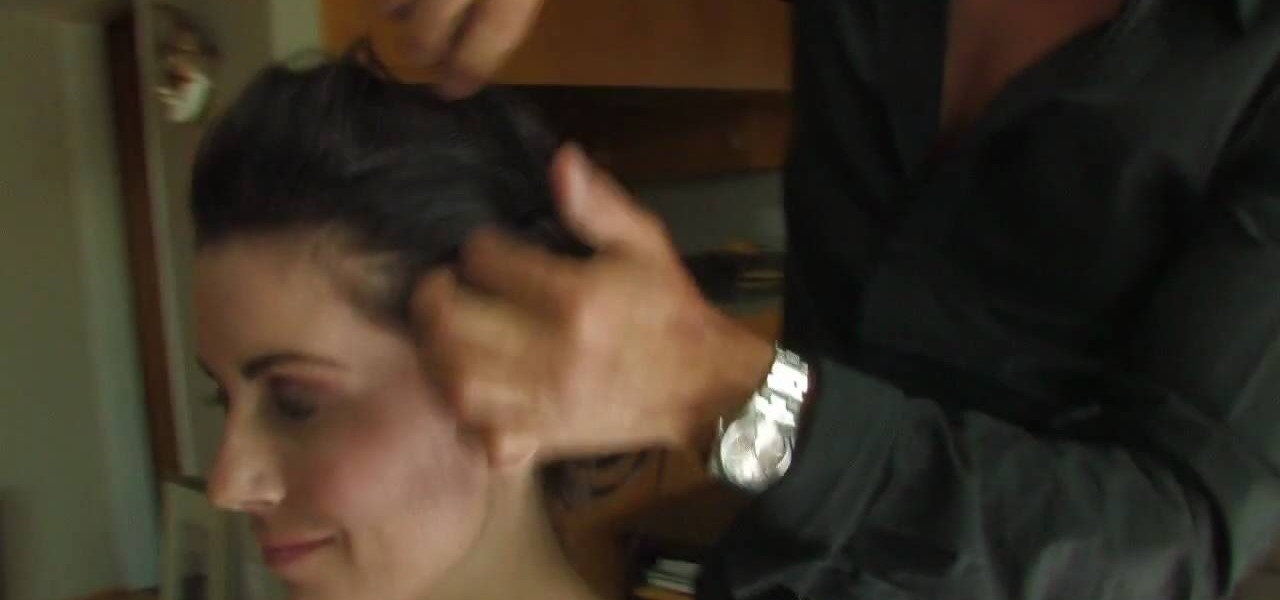
In the video Robert Steinken, who is a hair stylist tells that choosing a hair color is a very important task. Firstly it is important to go to a professional stylist who knows the products well. There are a lot of hair products in the market and each has a different effect on the hair. In the salon the professional can show you a color chart and show little pieces of hair which were colored to compare with your present hair color. They can tell what will happen once the product is applied on...
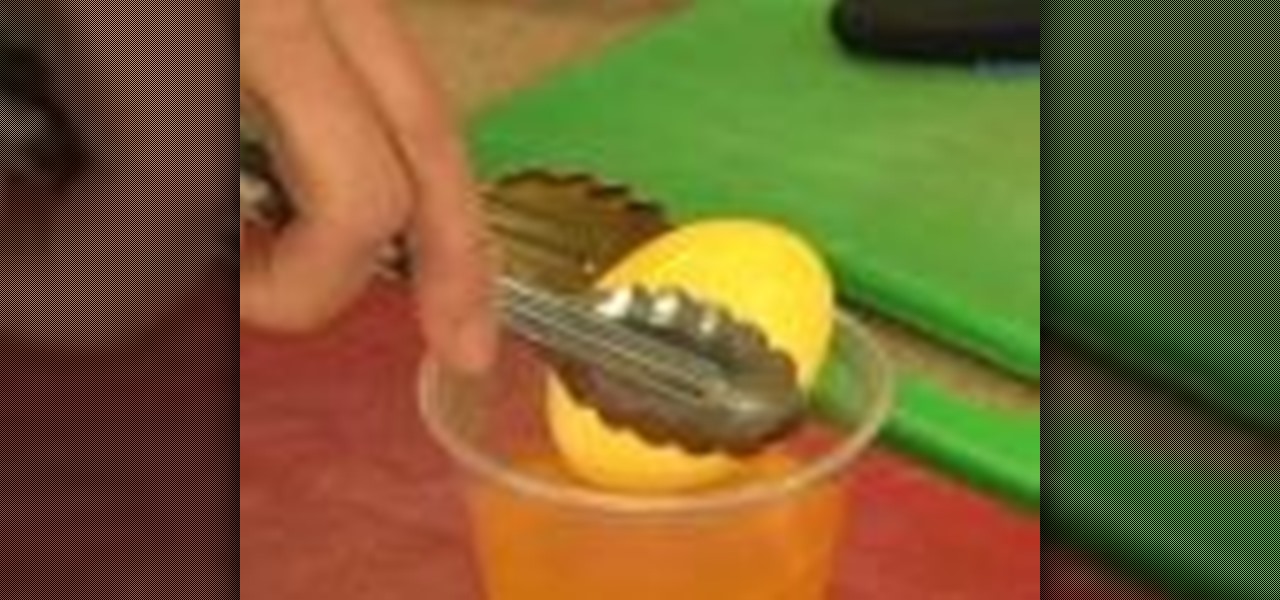
During Easter, everybody stocks up on the eggs because dying eggs is a great Easter activity. But there's something else you can try… dying and marbling. Watch this video recipe to learn how to dye and marble Easter eggs. A new twist to Easter eggs.
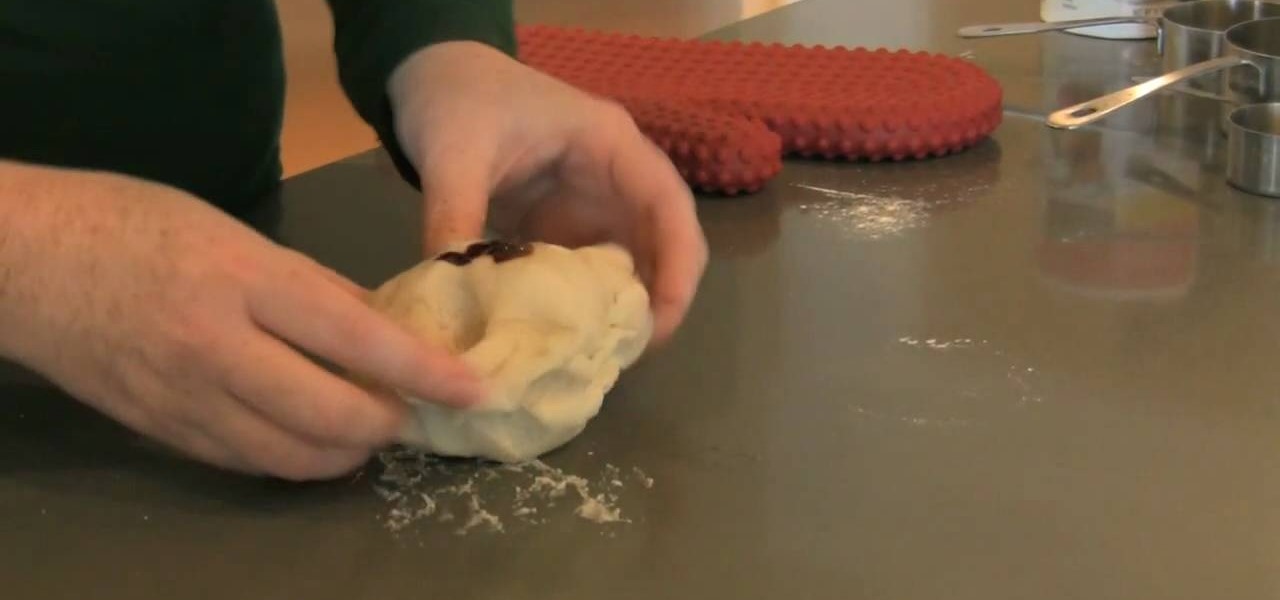
This video shows how you can make non-toxic play dough at home. The ingredients that you will need are flour, water, oil, cream of tartar, salt, food coloring, and peppermint essence oil if you want a scent. Put in a medium sauce pan 1 cup of flour, 1 cup of warm water, 2 teaspoons of cream of tartar, 1 teaspoon of vegetable oil, and 1/4 of a cup of salt. Turn on the stove to medium heat. Stir ingredients and you can add food coloring now or wait later and make separate colors. Remove when it...
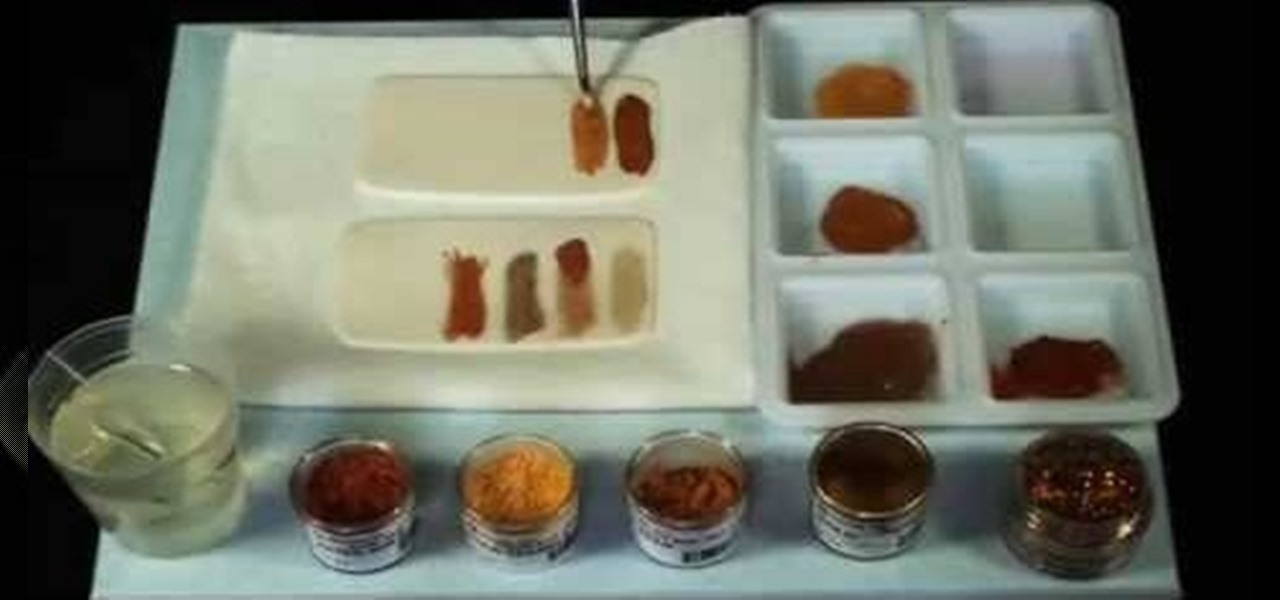
This is a video tutorial on how to design with gold dusts while decorating a cake. There are many different shades of gold available. Some of them are edible while some are not. The names of some types of gold color are Disco dust, Highlighter gold, Old gold, Sparkle gold, Aztec gold, etc. To intensify your colors, add some lemon extract or vodka to the color .When you use dry color, it looks a little lighter than when it is wet. The video will show you how to use different shades and types o...

This video shows you how to change the background color and watermark in your Word 2007 document. Both settings are found on the Page Layout tab. The background color can be chosen from a wide palette. The most frequently used colors are immediately applied to the current page as a preview. You can also choose to add a fill effect, like a color gradient, by clicking the Fill Effects item in the Page Color list. The watermark feature allows you to add either a predefined notice, an image or a ...

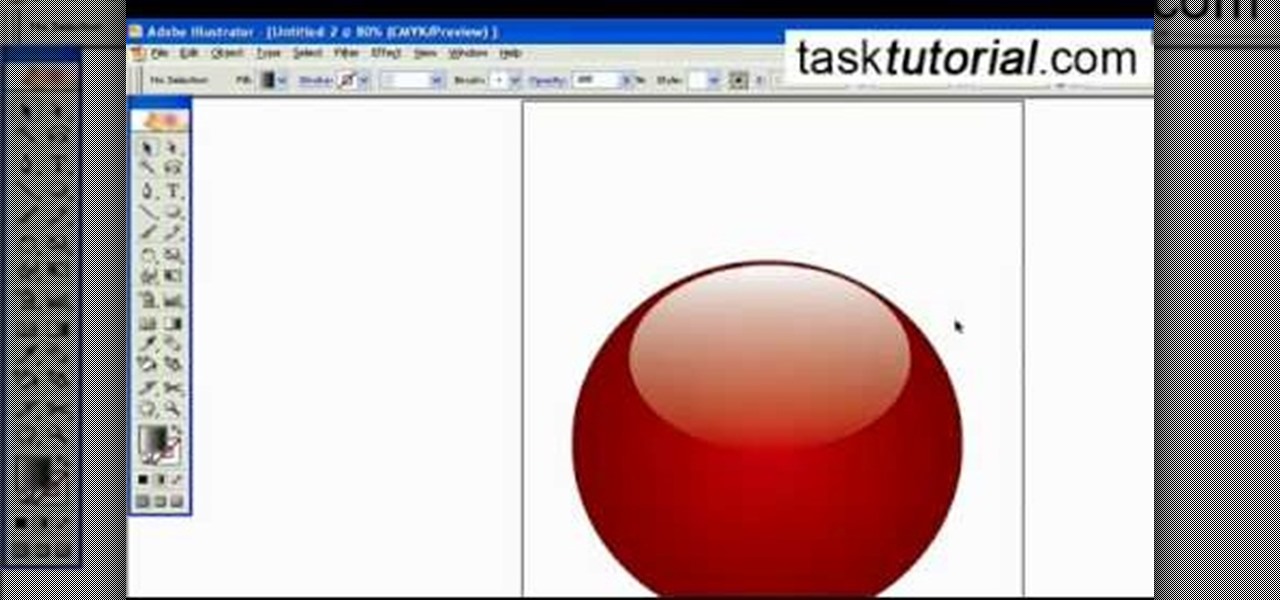
To create a Christmas ornament in Illustrator is very simple if you follow the steps below. Before starting the process one should ensure that all project files used in the tutorial is available. First by holding the shift key draw an oval, then go to gradient and create a new gradient which is at right side of the window. Now select red color and make it darker, then select 'Radiant' from the tool and switch the color positions. Select the ellipse tool once again and create a new shape on to...

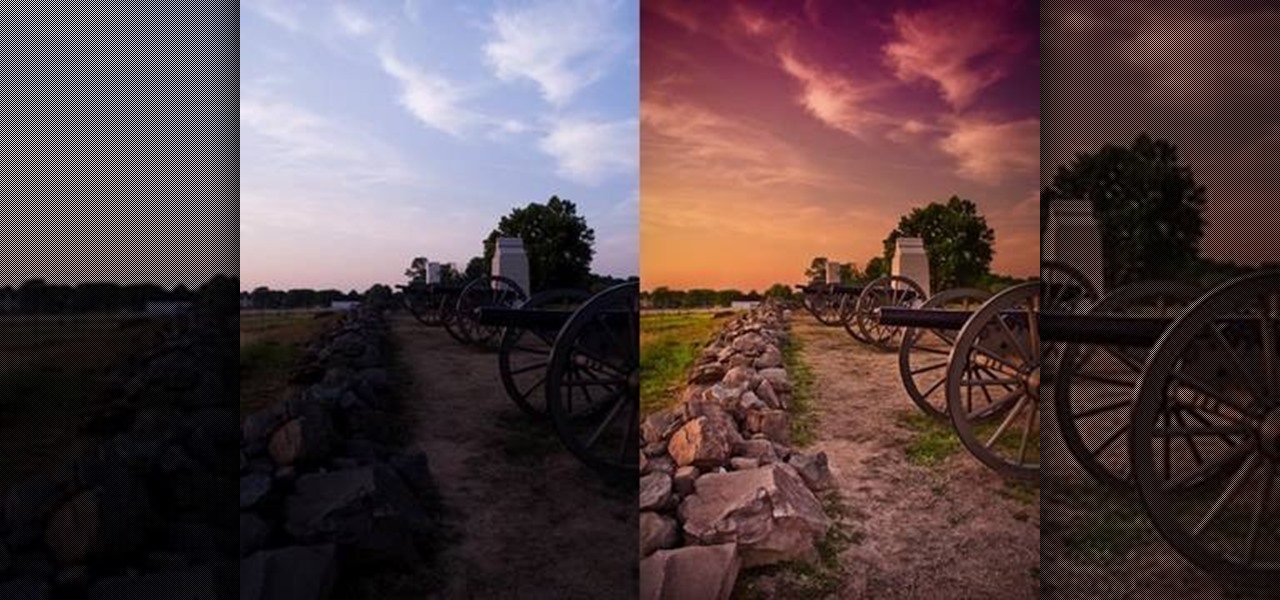
Tutvid shows you how to add flare and dramatic color to your raw camera images (usually the format of a DSLR). In a step-by-step guide with narration, Tutvid takes you through the process of using CameraRaw (used as an extension of Photoshop but never really brings it in photoshop) to add desired colors to your picture. Pull up your raw file in CameraRaw, and press "Command" or "Ctrl + R" to open up the editing panel. With an example, he shows you how to bring out lights in underexposed (dark...

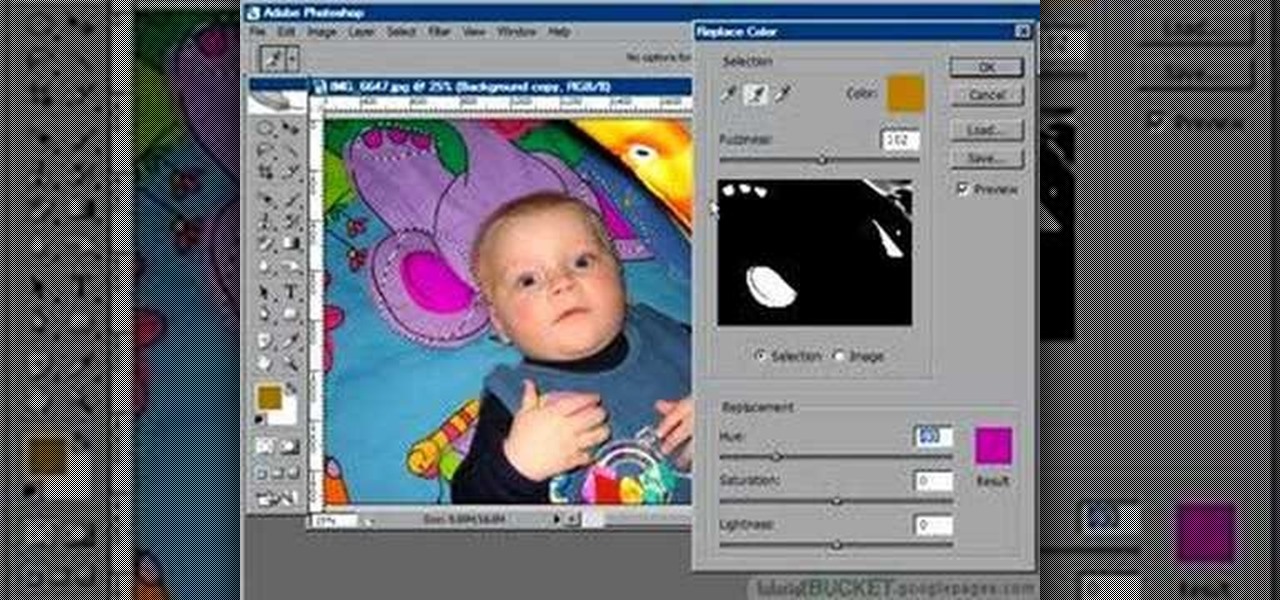
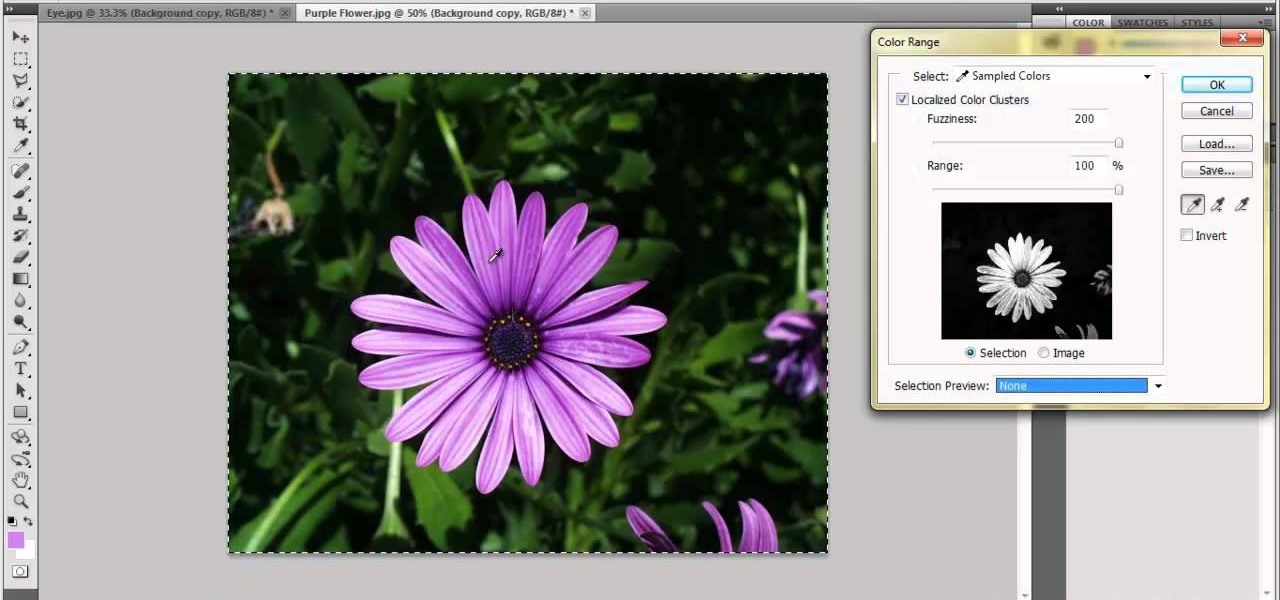
The replace color command is a nifty tool in Photoshop that enables you to change a color in an imagine very quickly and effectively. The tool requires that you make a copy of the original layer, as the replace color command is a destructive function. It requires parts that you want replacing to be selected first, to change the color of the desired areas. The result is a very realistically edited image, that is extremely fast and easy to accomplish.

Corynne from The Crafts Channel teaches how to make a stylish bird motif in minutes. You'll need: Colored/printed papers, scissors and glue. Get a colored paper. Draw a whatever bird image You like at the back. Cut with scissors. Get another colored paper of different color and draw a wing. Put a glue on the wing and glue it onto another colored paper. Cut it leaving 1/2 an inch over the first wing to have layers. Decorate bird as what You want Your bird motif to look like. Follow these steps...

To fill a gouge on a table edge you start by using auto body filler. Auto body filler is a two part substance. The catalyst is red and the resin is grey. When they are properly mixed it will be a uniform pink color. To keep the substance from spilling out of the damaged area put a piece of tape on the side of the table. Take some filler and force it down into the cavity formed by the tape along the side of the table. Let it dry for 3-4 minutes. Take the tape off and use a knife to trim off th...

This video will walk you through the process of creating your very own icon to use for your email by using Adobe Photoshop. Photoshop is a great tool to use for a variety of purposes and in this instance can make the perfect icon in just minutes.

Learn to create a fashion editorial style color in Photoshop! 1. From CHANNELS button select color of the Model. It will show different colors select as per your choice. 2. Click on Levels it will show the image selected. 3. Right click and select Black&White it will open ADJUSTMENTS button adjust the color. 4. Go back to CHANNELS button they all images will look same. Copy channel Blue and Select Blue copy3 and color model's body and hair with black. 3. Click on ADJUSTMENT button and adjust ...

Lay several layers of tissue paper on top of each other. At least 10 You can use different colors to make a colorful flower or one color to make a flower that is one color. Multiple color flowers are great for 4th of July celebrations (red, white and blue). And single color flowers are great for wedding receptions or graduation parties.

Open the Adobe Photoshop program. Choose a picture with a head shot. This maybe something that is already in your pictures folder on your computer, downloaded from the internet or transferred from your flash drives, and those photos you may have scanned and saved in your computer.

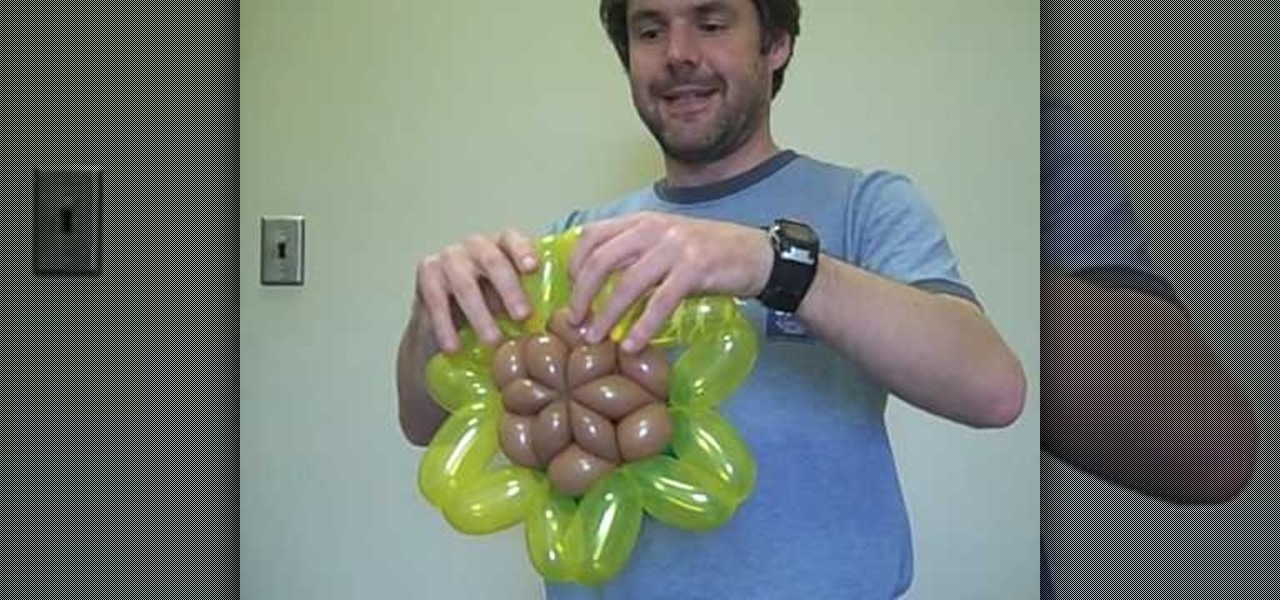
Make a fabulous balloon sunflower with these simple steps. •Take three different color balloons namely yellow, brown or black and green

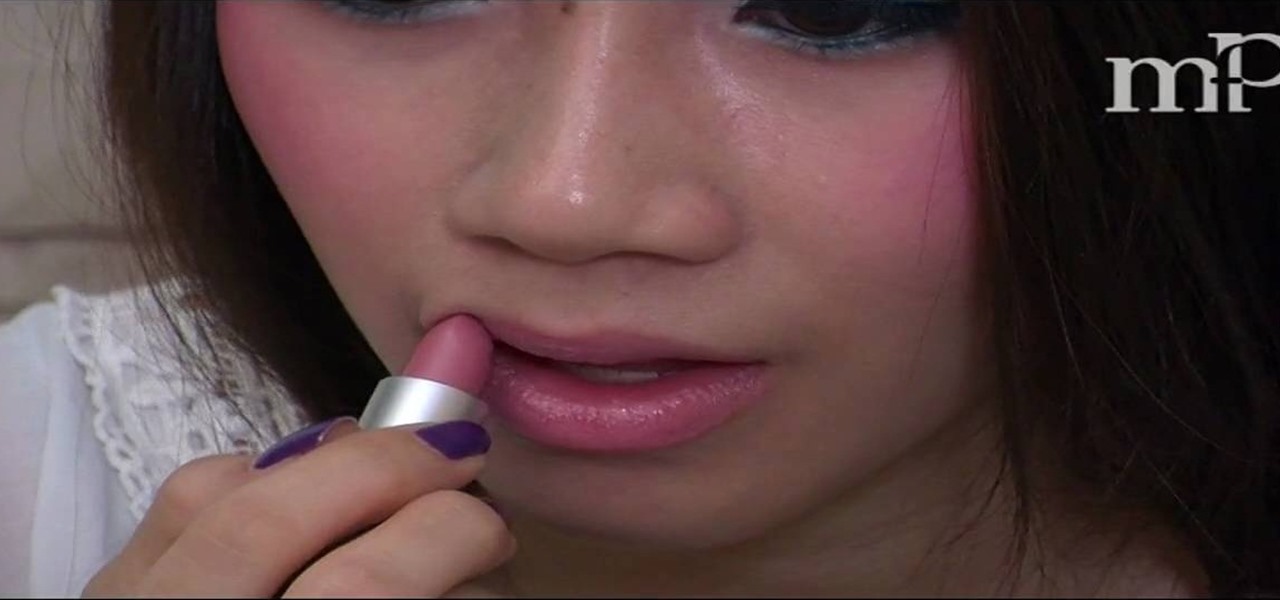
Michelle Phan lends a few tips on creating your own homemade lip color. Now's the time to DIY at home, and not spend the bucks.

This image editing software tutorial shows you how to create sepia toned images in the freeware GIMP. Learn four methods of applying a sepia tone inside GIMP: color balance, colorize, gradient map and solid color/color blend mode.

This image editing software tutorial will show you how to pump the color back into images in Photoshop CS3. Extend your knowledge in the use of the variations tool to create a color rich image or fix faded photographs in Photoshop CS3. This tutorial is best viewed full screen.

This Adobe Photoshop tutorial teaches you how to change the color in different images with a variety of colorization methods. Bert shows us how to change colors on shirts, on cars and in our lives, through colorization in Photoshop.

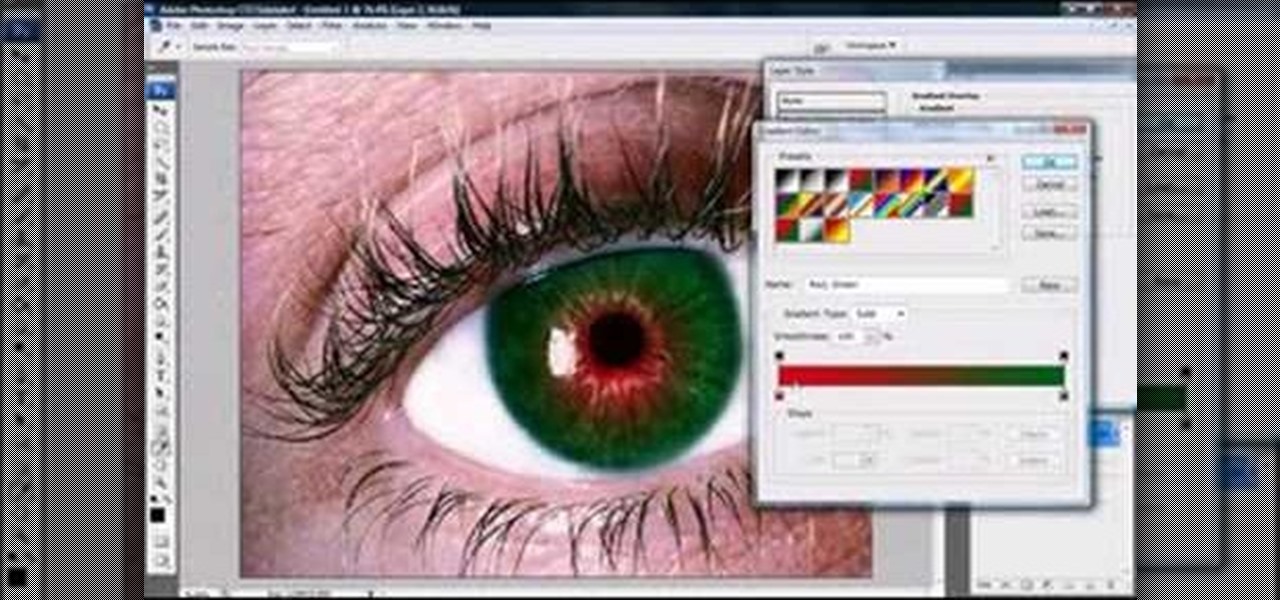
Jordan explains how to change the color of your eyes and keep them looking realistic using Photoshop. You can choose to enhance an existing eye color or change it completely after watching this beginner Adobe Photoshop tutorial.

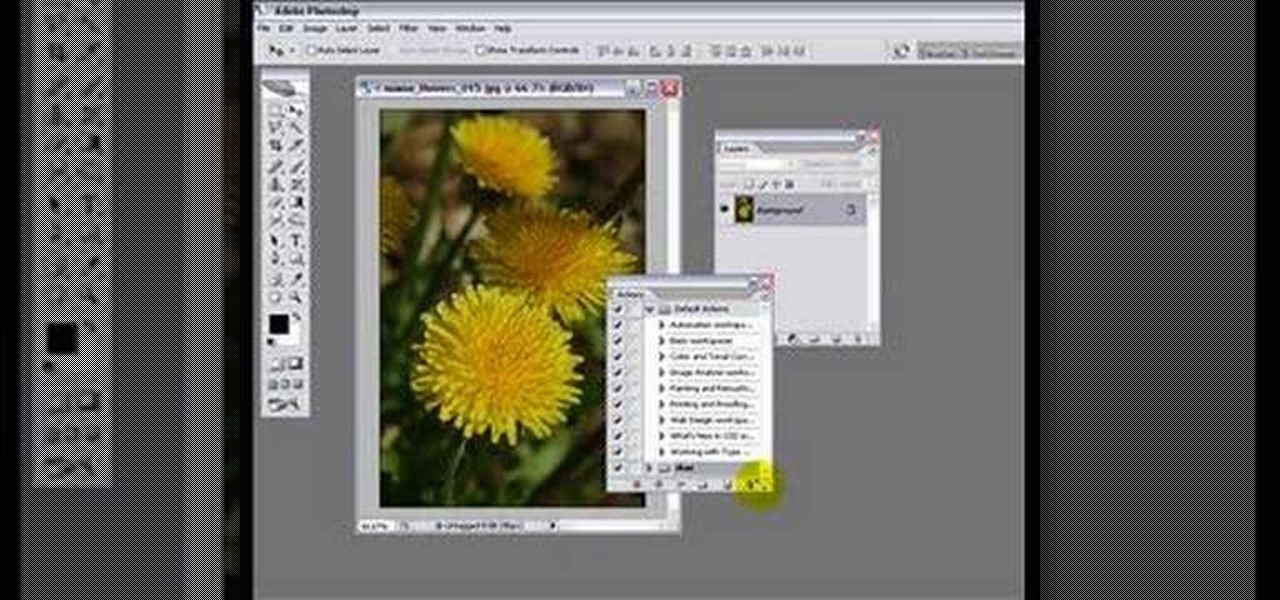
Short and sweet Photoshop "how to" for utilizing the Invert Adjustment Layer as a means to achieve a color infra red effect. Tutorial also shows you how to make an action of this process so you can simply click a "play" button to achieve it on any color image.

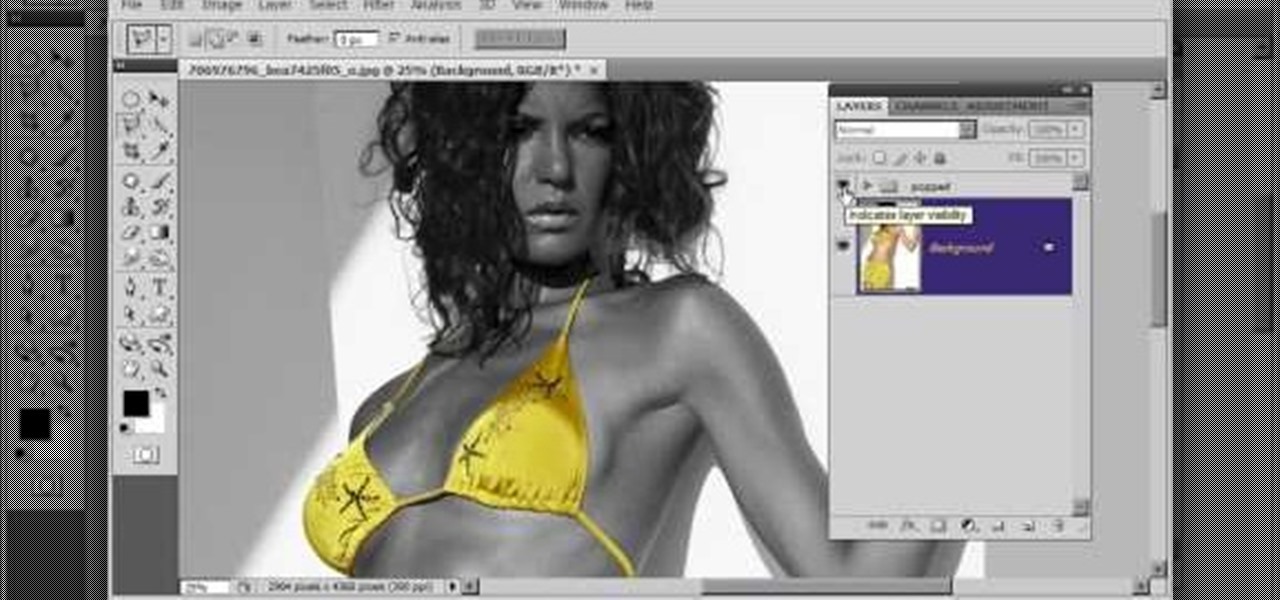
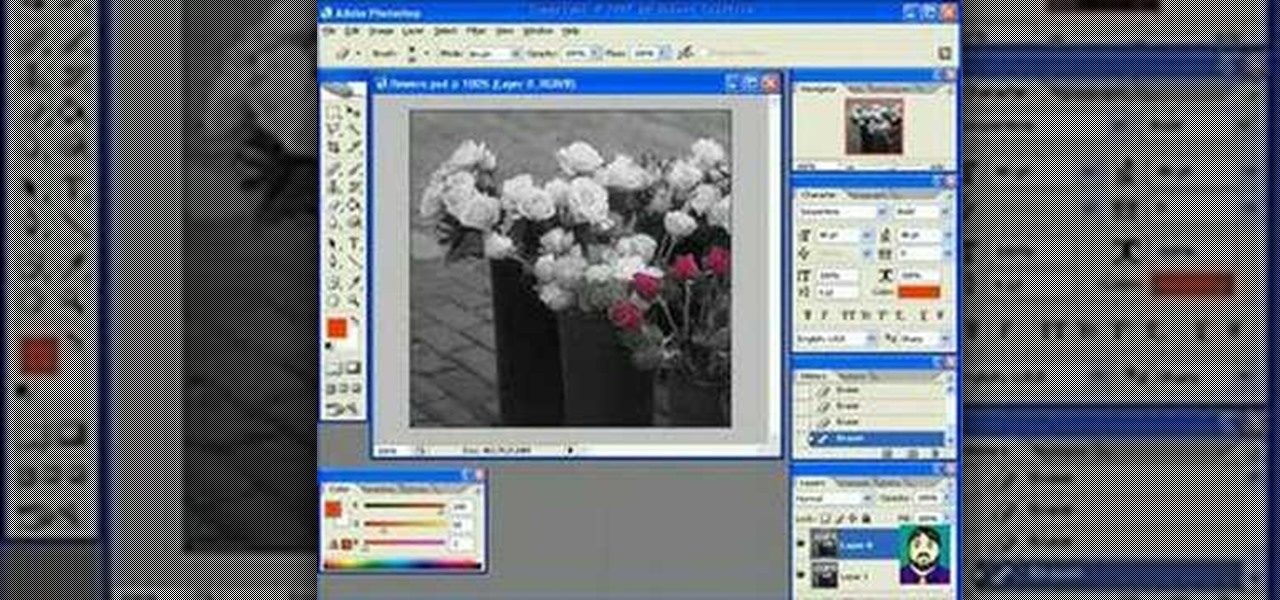
One of the neat things about Adobe Photoshop is the ability to add color to a black and white image. However, it's sometimes difficult to get just the right color. This is a neat trick to get the exact colors in a section of the photo, while leaving the rest of the photograph black and white.

One of the new technologies rolled into Adobe Illustrator CS3 is Kuler. Kuler first appeared on Adobe Labs and has become its own community where people are posting color groups left and right. Now you can not only take advantage of these color groups on the web and download them, but you can also get to them directly in Illustrator CS3.

This how to will teach you how to single out one color with Adobe's Photoshop CS5. This technique will work with other versions of PS as well. With this trick, you'll be able to create some fantastic effects, make colors pop, or simply highlight something you want to show off. It's not hard to do, and a useful things to know if you're planning on putting your Photoshop skills to use in a professional manner. Now you can remove all but one color in Photoshop.

Hearts are fairly easy to cut out of paper, but origami hearts take a little more work, and that means more appreciation from their recipient. Even better, flying origami hearts. What better way to tell your loved one you care on Valentine's Day than with some bat-winged hearts? It'll send them into cardiac arrest just knowing how much effort you put into making your love known.

Getting your hair done and dyed at the salon feels luxurious and is as much a rejuvenating, spa-like experience as it is a practical coloring session. But with the economy as it is and hair color appointments costing upwards of $100 average, it's quite a costly expense.

Spring makeup is all about fresh colors that burst with brightness and flirtiness. But using bright colors together can be intimidating, especially if you're a girl who's used to doing colorless smoky eyes and nude lips.

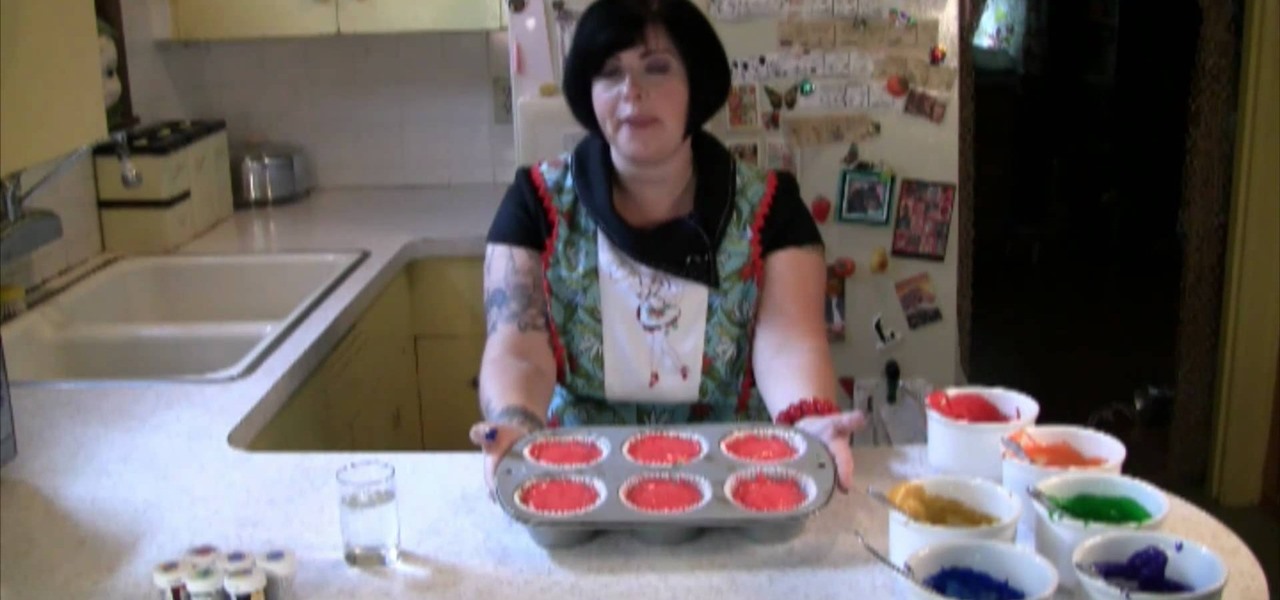
It's not hard at all to spice up your blah cupcakes, and it doesn't require a culinary arts certificate to create a cupcake that's delicious as well as beautiful. But don't just take our word for it.

In order to create 3D lettered signs in lights, you will need to first create an object. Open Illustrator. Type your letters on the page. Adjust the font to the style you would like. Click on "effect". Then, click on "3D". This will allow you to rotate the image for the angle that you will want to see it at.

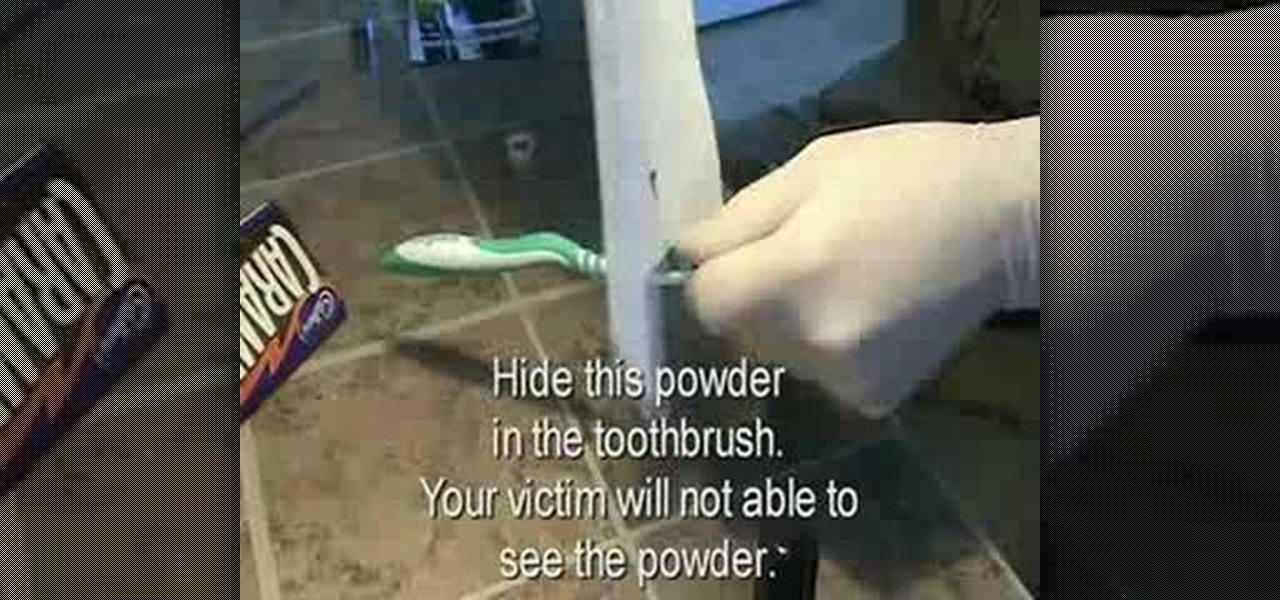
Brushing your teeth is pretty mundane. Why not enliven the experience for a friend or enemy by pranking them into thinking that their mouth is gushing blood? This video will teach you how to use food coloring and an oven to set up the Bloody Toothbrush Prank. All you do is cook the food coloring into it's powdered essence, apply the powder sneakily your victim's toothbrush, and wait until they brush.

In this two-part video tutorial, you'll see what it takes to color grade and correct footage with Magic Bullet Colorista in After Effects. Whether you're new to Adobe's compositing software or a seasoned video professional just looking to better acquaint yourself with the program and its various features and filters, you're sure to be well served by this video tutorial. For more information, including detailed, step-by-step instructions, watch this free video guide.

In this tutorial, we learn how to create a bright and dark blue eyeshadow blend. Start off by adding primer to the eyelid. After this, use a light blue eyeshadow over the entire lid and up to the inside crease. After this, apply a medium blue eyeliner to the middle of the eye and blend in with the lighter color. Next, use a dark blue eyeshadow on the outer v of the eyelid and blend in with the other colors. Paint in a silver color right under the brow bone, then apply a shimmer color to the e...

In this tutorial, we learn how to make your own board game for 99 cents. First, trace out a name onto the board spelling out each letter. After this, break the letters down into different spaces, and color code them for different moves on the board. Write down the key for the colors underneath the name so you know what the colors mean. After this, draw the name onto a piece of paper, measuring out everything so all the spaces are the same size. Then, color in the spots on the board. Next, use...

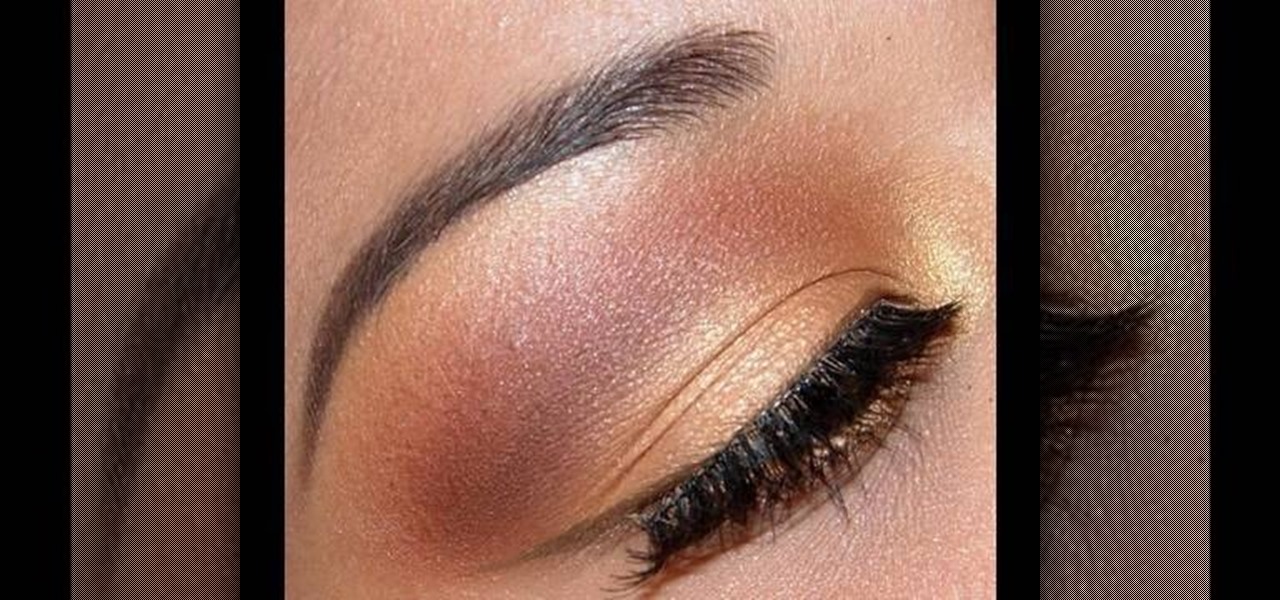
In this tutorial, we learn how to apply autumn gold brown eye makeup. First, apply a primer to the eye, then apply a gold color to the inner corner of the eye. Next, apply a dark gold color to the middle of the eye going up to the crease of the eye. Next, use a matte red/brown eyeshadow on the outer crease of the eye. Next, blend all of the colors together. Next, take a dark brown color and blend it on the outer right corner of the eye. Now, apply a light layer of black eyeliner to the top an...

Can't decide between two new nail colors you snagged at a Sephora sale on Essie nail lacquers? We understand it's sometimes difficult to choose a color when both look so tempting.

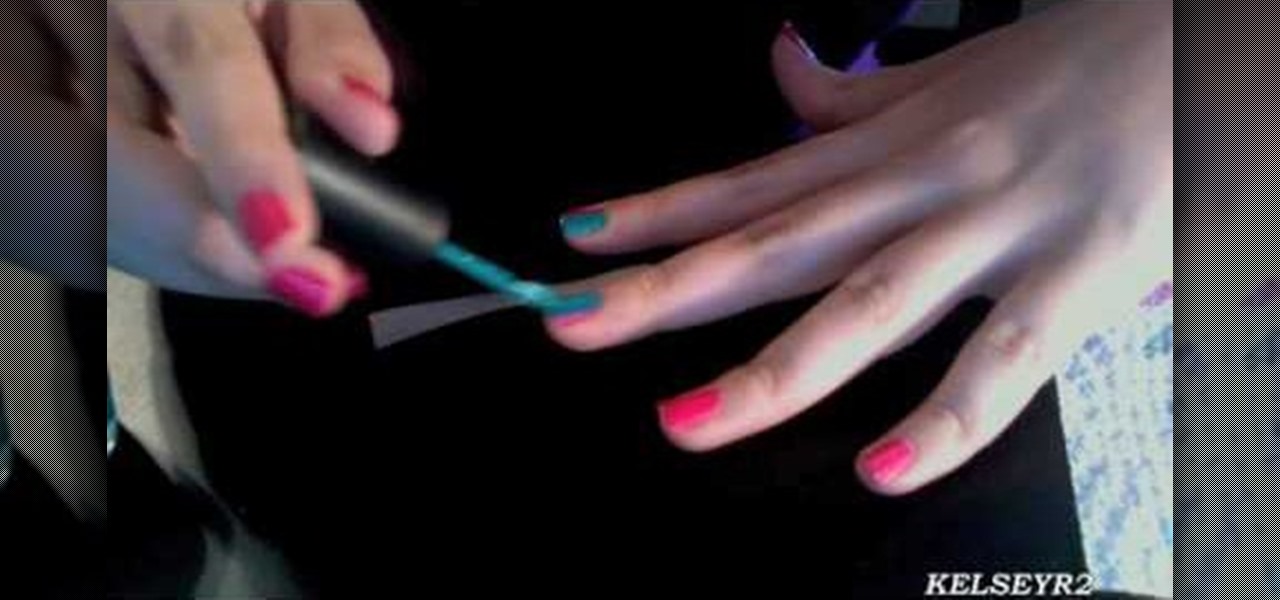
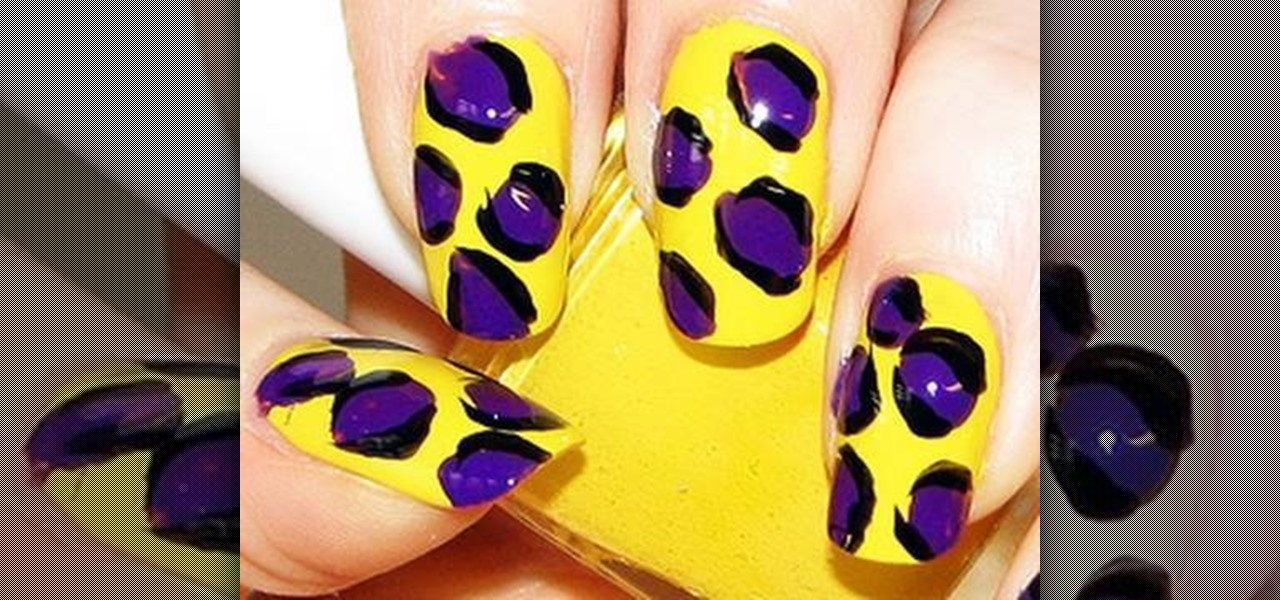
This video is about how to create colorful leopard print nails. So the first thing that you will have to do is to choose any colors of the nail polish that you want. After deciding for the first color of the nail polish, apply it to your nails and let it dry. The next step is to get a plastic plate and place a bit of a small amount of the second color that you chose. With the use of the nail art brush, carefully start forming small random spots on the nail. Apply these to the rest of your nai...

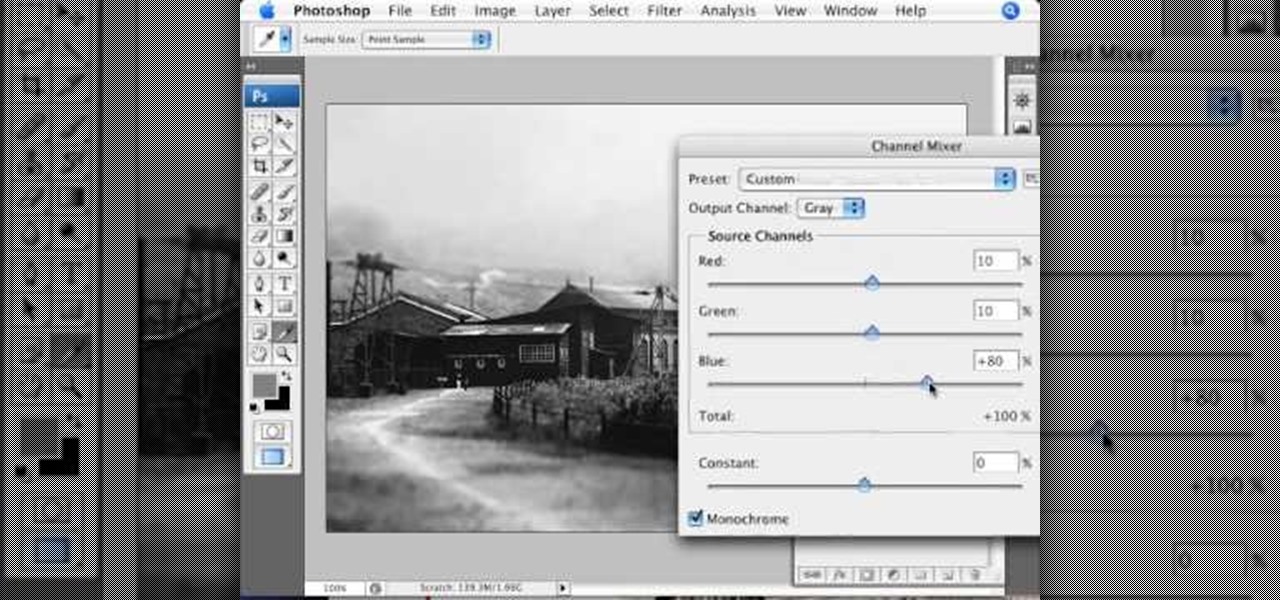
This video demonstrates the split tone effect in Photoshop. A split tone effect makes a picture look more rustic by changing the tones. First, add an adjustment layer to the picture by opening the channel mixer window. Select Monochrome and adjust the RGB values to create a black and white image to your own personal preference. Next, add another layer by opening the color balance window. Here you can change the colors of the light areas by selecting Highlights and changing the color sliders, ...

Pixel Perfect is the "perfect" show to help you with your Photoshop skills. Be amazed and learn as master digital artist Bert Monroy takes a stylus and a digital pad and treats it as Monet and Picasso do with oil and canvas. Learn the tips and tricks you need to whip those digital pictures into shape with Adobe Photoshop and Illustrator. In this episode, Ben shows you how to create cloud over a sea in Photoshop.


