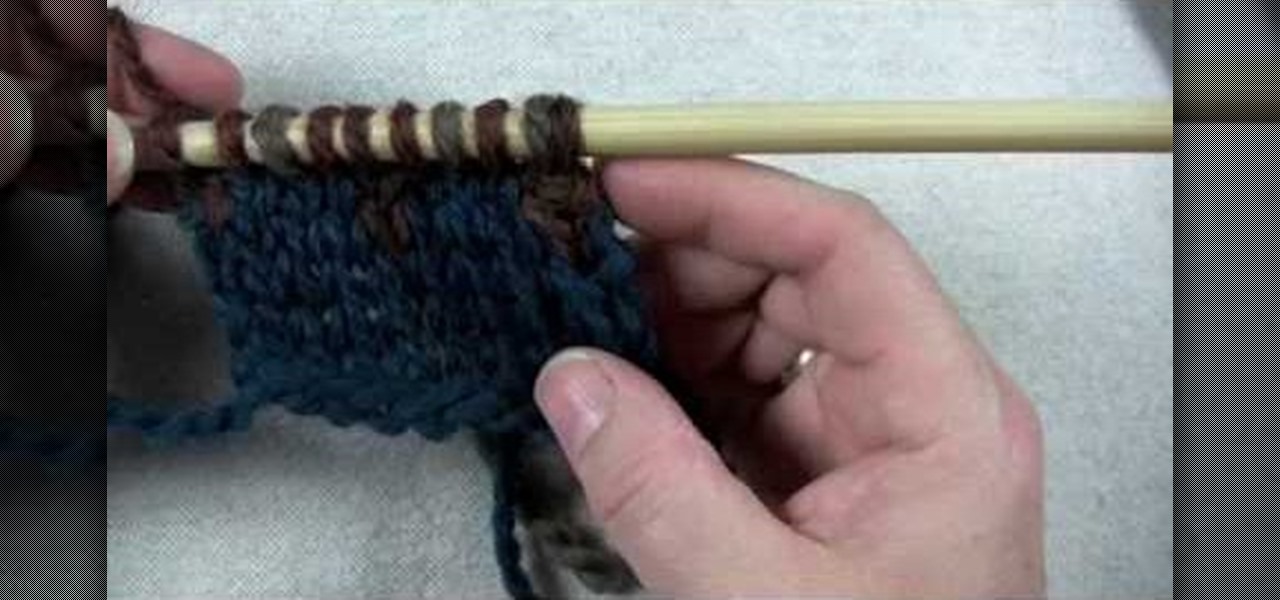
In this tutorial, we learn how to use a stranded color work pattern. Start with a basic pattern to help you learn how to do this. Use a chart to help you keep track of where you are and what you have done. Use a sticky not over the rows so you don't get ahead of yourself. Start off with the color that is first, then continue on to do the other colors that are on that row. When finished with this, remove the sticky note and continue onto the other colors that the chart shows. On the first stit...
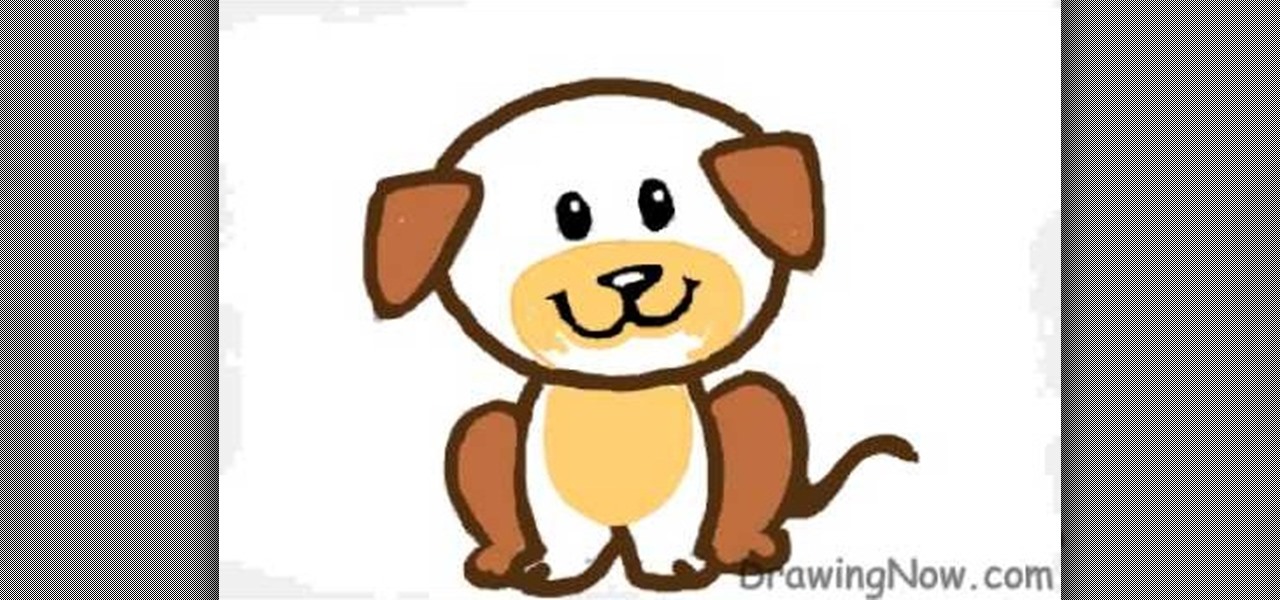
In this tutorial, we learn how to draw a cartoon puppy First, draw the oval head, followed by triangles for ears. next, draw the body underneath with four legs coming out of the bottom like the dog is sitting down. Add on a squiggly line for the tail next to the leg. Now, color the ears and back legs light brown, then add eyes, a nose, and a mouth onto the face. Draw a circle around the nose and mouth, then color in with lighter brown/tan color. Now, color the rest of the dog a darker shade o...

First, outline the upper portion and lower portion of the right eye. Make the upper line darker than the lower one. Copy and paste this to create the left eye of your anime artwork. Create the eyeball using the Circle tool. Create two more circles inside the eyeball - one bigger and the other smaller. Make eyelashes by using a set of curved lines. Create at least three thick strands of these eyelashes. Create another circle inside the eyeball that intersects the two smaller circles created ea...
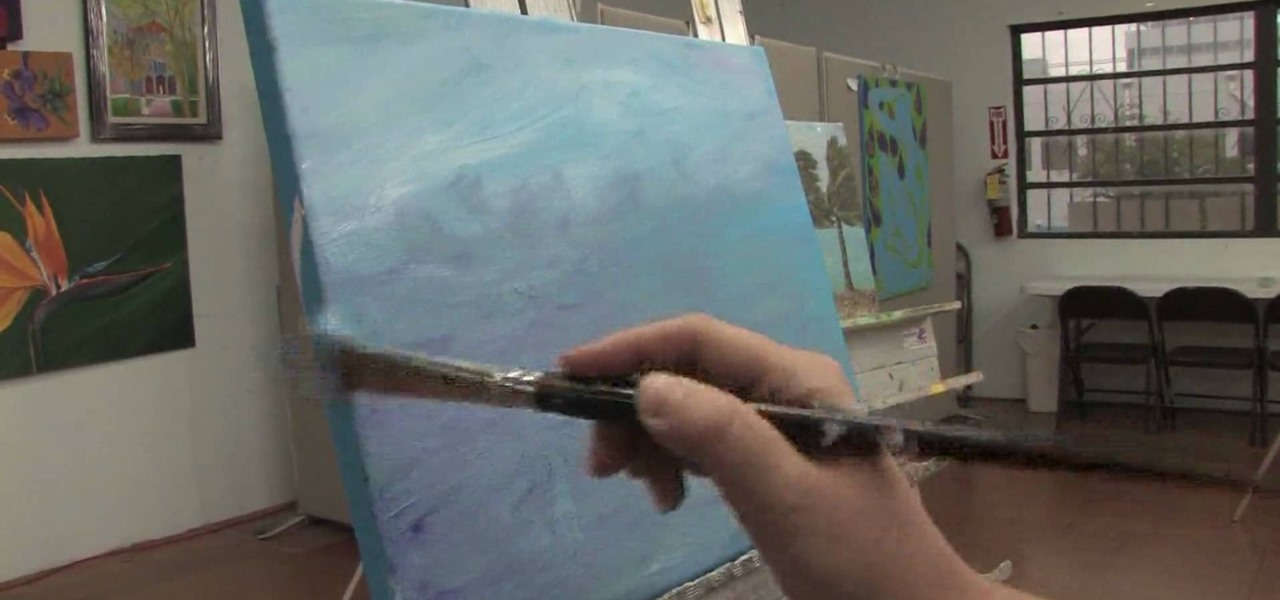
In this Fine Art video tutorial you will learn how to paint an ocean in your composition from Angeline-Marie Martinez, a professional artist. She shows one of the ways of painting an ocean in this clip. Her canvas is already painted with a back ground of the sky on top and water at the bottom. Her palette has a lot of colors like light and dark shades of blue, green and white. Take some white paint on the brush and pick up some of the other colors as well and paint on the canvas. The waves of...
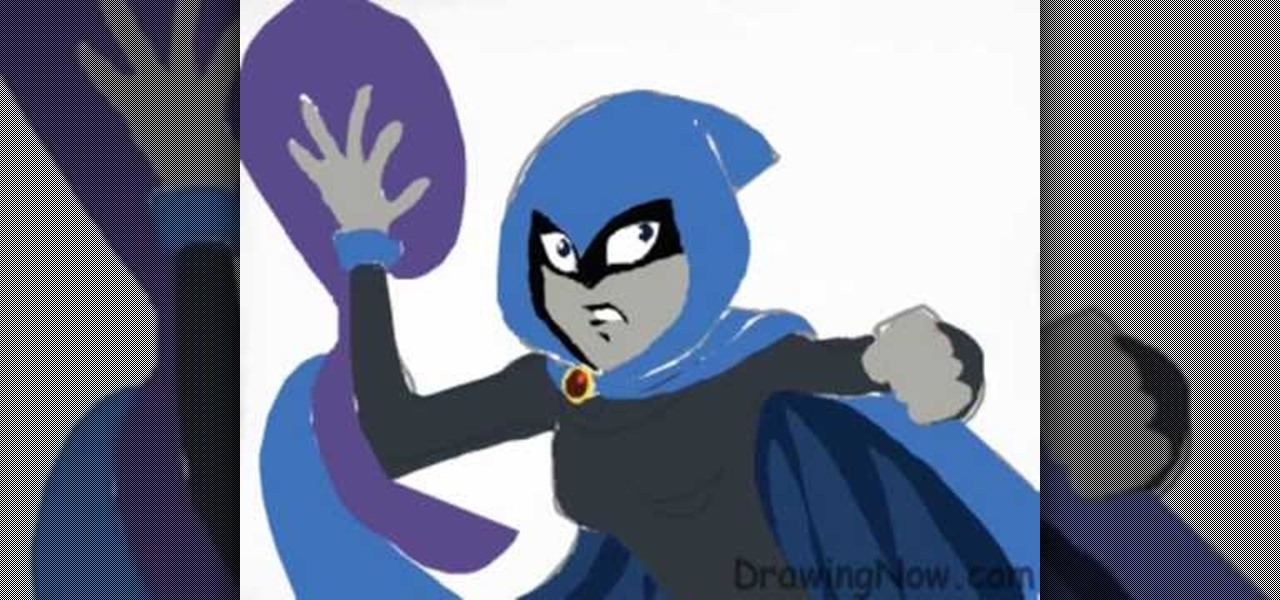
Teen Titans is one of the most tragically underrated American children's cartoons of all time. Fortunately, Drawing Now one of our favorite art instruction groups, has created this video tutorial on how to draw one of the shows iconic characters, Raven. Here are the artist's step-by-step instructions:
The video is basically showing how to get a look like Demi Lovato with makeup. The makeup being used is BYS. You Start off with a light Grey make up under your eyelids,then you take the black color makeup and put it under your eyelids where you put your first coat of Grey under and blend them in together. When you use the black color makeup you have to really pad it on, not so much brush it. Then you use the darkest black color and put a light amount under your eyelids. Then finally you want ...

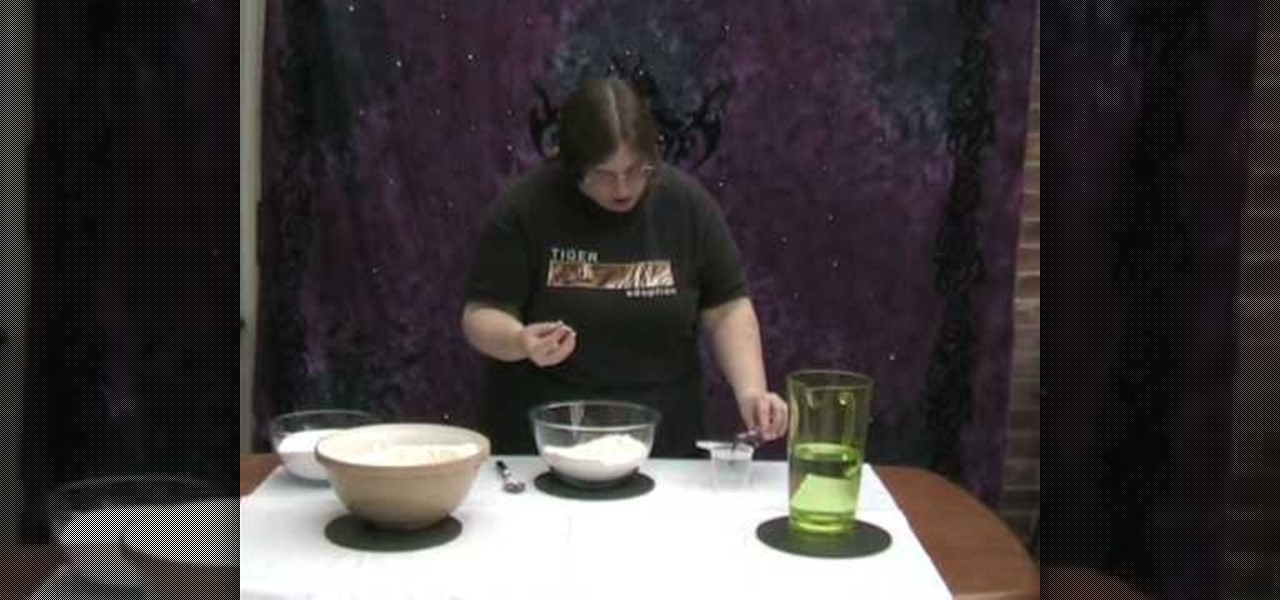
Salt dough can be used like clay for craft. This video demonstrates how to make salt dough. The ingredients required to make salt dough are a cup of salt, two cups of flour, a cup of water and food coloring. Make sure to cover your working surface with old newspaper and use a painting apron as this can get messy. Add the salt and flour in a bowl and mix with a spoon. Then measure one cup of water and add quite a good amount of food color to get the desired color and mix it into the salt-flour...

Jenniesbarn has created a video tutorial about how to make hand-dyed crinkle seam binding. She says that crinkle seam binding is popular because it has a vintage look. To begin, she uses a mister to spray water on a ribbon strip in order to allow the strip to crinkle easily and allow color to absorb more evenly when dyed. Afterwards, spray the dye and tossle the ribbon at the same time. It is possible to blend different colors by spraying a different colored dye afterwards. Once the desired c...

This video shows us how to turn parts of a color photo into black and white and keep the colors for the parts we choose. Start by choosing the polygonal asso tool in the tool box. Now create borders for the parts of the image that you want to keep the colors. Hold the ALT key while clicking to draw borders around a second or third object. Once all the borders are created, right click on your selection and click "select inverse". Now go to "image menu, highlight "adjustment", and then click "b...

First of all you have to draw the rough sketch using light color lines. You have to draw blocks to the size of helmet, chest, two arms, legs and boots. Now start from the helmet and draw the outline. Draw the glass for viewing. Draw the lines as shown on the helmet. Also darken the spots as shown. Now draw the chest guard. Draw the lines to make all the different straps and marks over the armor. You also have to draw a tank at behind. Make the arm and the gloves. Now draw the outline of a gun...

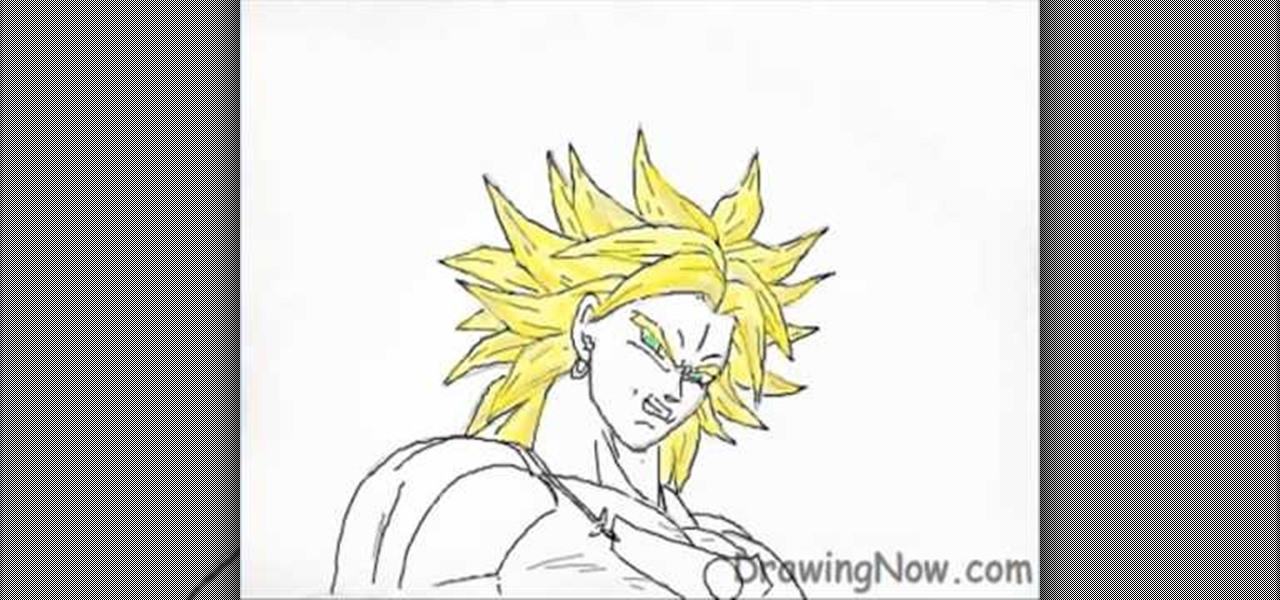
In this how to video, you will learn how to draw Broly. First, start out with an oval shape for the face. Next, add another for the ear. From here, you can add the neck, shoulders, and chest. Next, draw numerous spikes for the hair. The basic outline is complete. Go into the drawing with more detail by adding lines inside the spikes to simulate hair strands. Add the eyebrows, eyes, nose, and mouth. Next, draw in the muscles of the shoulders and chest. Add the outline of the necklace. Now you ...

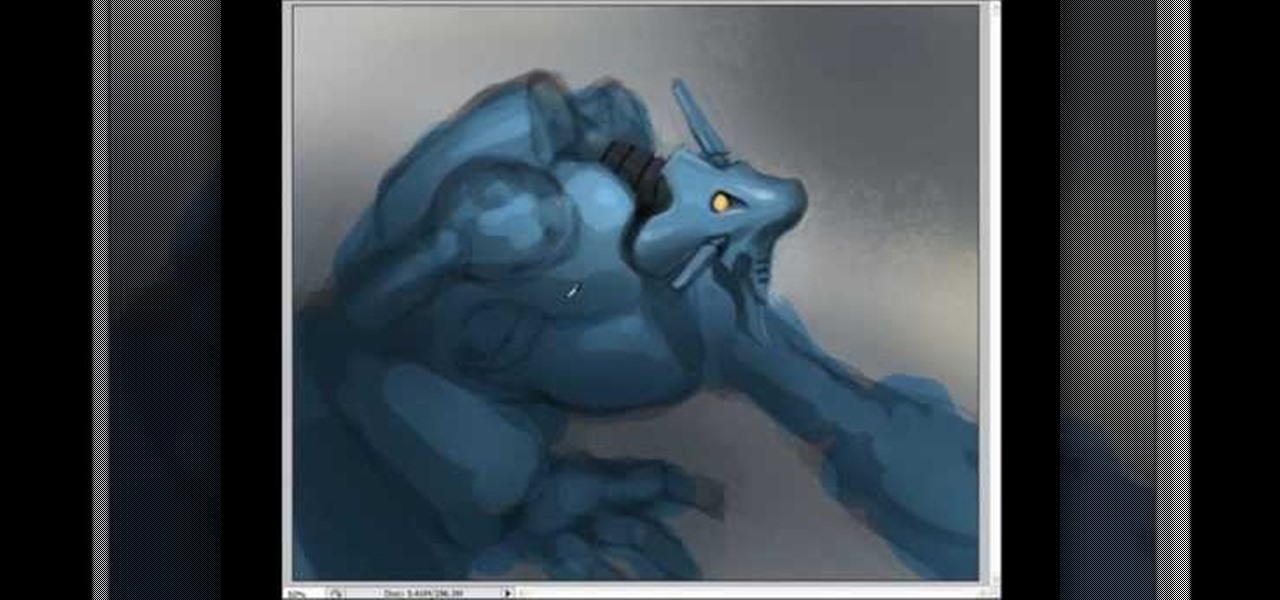
If you want to draw and paint a robot Mecha style you should first make a square and color this in a dark gray. Draw a silhouette in a darker gray color. You should draw basic body parts such as the head, arms and limbs and shoulder. You should draw this with simple dark layers. In the face, you can draw a different or cool complex design. You can also make the background darker and make shadows. To distinguish the figure from the background color the figure a dark dull blue. Now you need to ...

In this video tutorial, viewers learn how to change the color of eyes using Adobe Photoshop. Begin by selecting the Magnetic Lasso tool and create a selection around the eye. To create a second selection without losing the first one, hold the Shift key. Now go to Image, click on Adjustments and select Hue/Saturation. Now adjust the hue and saturation of the eye to change the color. This video provides a visual demonstration for viewers to easily follow along. This video will benefit those vie...

In this how to video, you will learn how to draw a guitar. First draw the body of the guitar. This should have an hour glass shape with a rounded top and bottom. Next, draw the neck of the guitar from the top of the body. Next, add in the details of the body such as the sound hole in the center and the bridge near the bottom. Next, draw the headstock at the end of the neck. Draw six tuning pegs, with three on each side of the headstock. Now you can shade in the guitar body with a light brown ...

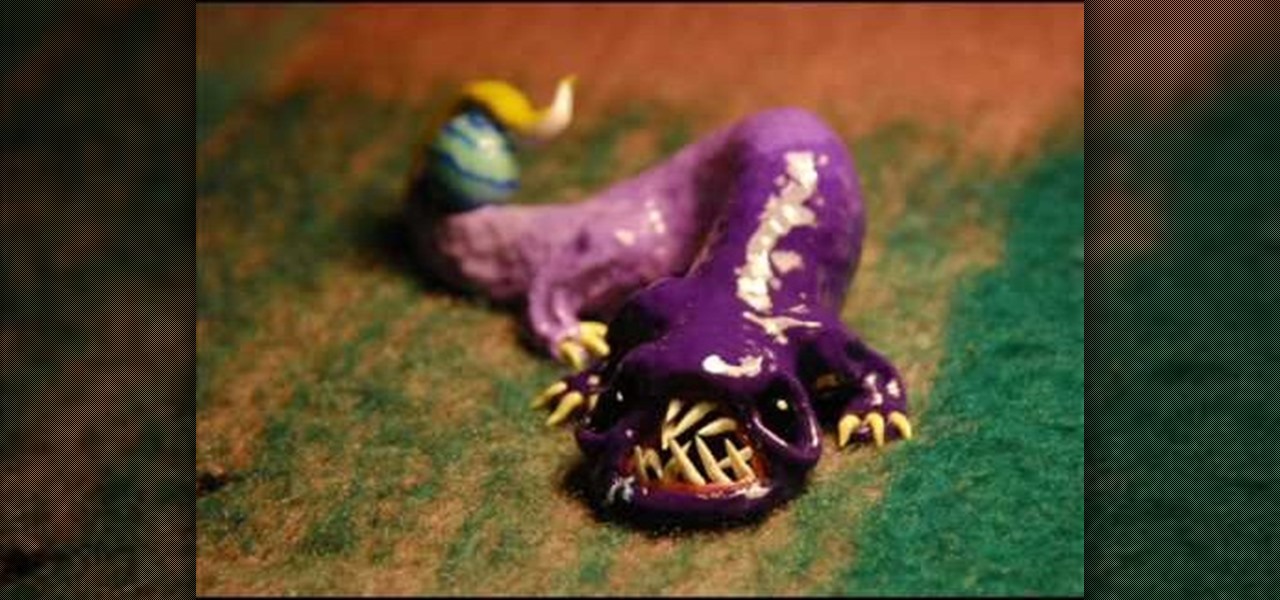
First of all take the clay and make a roll. Now keep rolling to form a roll that has one end large and the other end smaller at the tip. Now bend the roll upwards from the middle. Now take a match stick. Now use this to make a hole to make the mouth. Use to fingers to make the corners of the mouth round in shape. Make the mouth wide and open. Now make the eyes by using a matchstick to pierce the sockets. Now take a little clay and then make a roll of it. Now make a leg out of it by making the...

In this video tutorial, viewers learn how to tan an image using Adobe Photoshop. Begin by opening the image in the program and create a new layer. Then select the brush tool and select the tan color. Click OK and apply the color over the areas that are wanted to be tan. Then apply another layer with the same color to darken the image. Finish by configuring the Opacity to a lighter color and blend it to the image, This video will benefit those viewers who enjoy editing images to enhance them a...

Tut Teacher shows that if you're going to edit alot of pictures, learning to change your eye color in Photoshop is helpful.Go to Photoshop and open "human eye", zoom in and it gives more room to work with. First, go to your lasso tool, hold down and click. You can click and drag or click along the outside edge. Set to 6 pixels, more or less depending on the image. Make sure you don't click on scanner..it'll make the image go crazy. Keep clicking along the edge there'll be a symbol on the circ...

Gordon Bruce shows an easy and speedy way to draw and paint a superman. First draw the head portion with a oval face and add eyes, nose etc,. Now come to the body portion which have big muscled arms and a thin body, having the triangle with S symbol at the center. Now draw the leg portion. Draw belt and other attractive features. Now give the outline with acrylic black color. Now add red color to the gown part and blue color to the body. Give yellow shade to belt and triangle and red to the S...

In this video you will learn how to change eye color or removing red eye in Adobe Photoshop. First, to change the eye color you must enter in Adobe Photoshop, open a photo, select the zoom tool and zoom in near the eye. We will use the first tool and make a circle of the eye. By holding shift key remove the areas you don't want to paint. Now go to layer, then new ant the layer you want to copy. Now select hue/saturation. Now slide hue until you are happy with the color, then hit ok and that's...

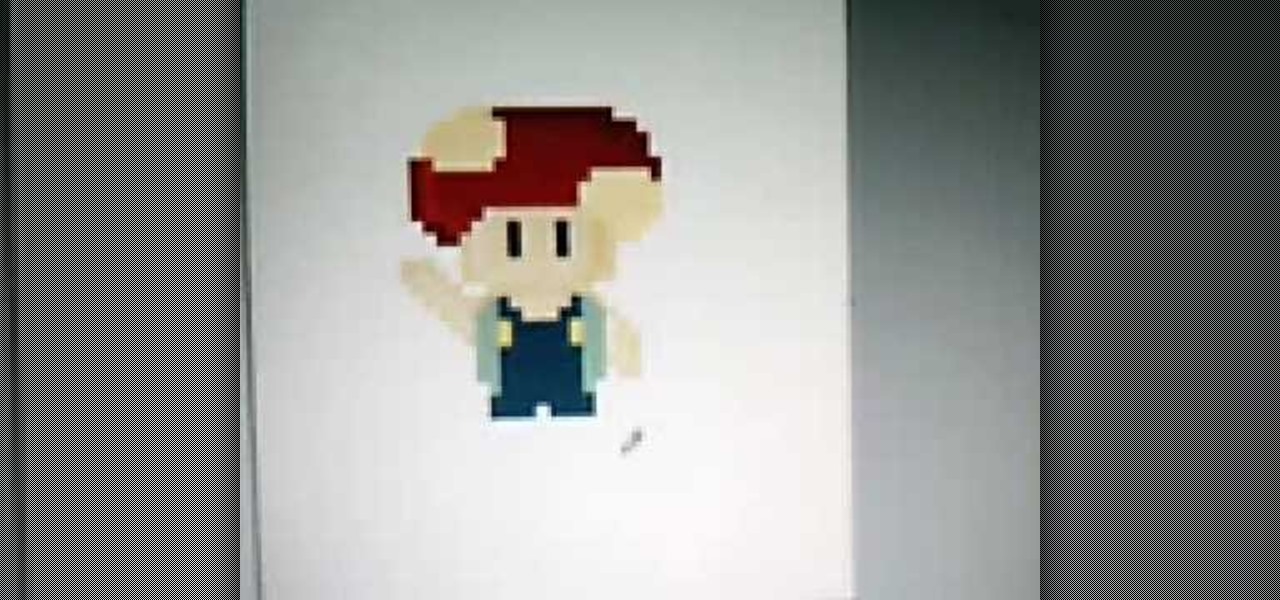
Drawing an 8 bit toad seems very easy from the video of Mario brothers, first you draw two short standing lines which are the eyes and are black in color using freehand draw option. Then you draw a somewhat oval shape using the same option around the eyes which would look like a face using the color light yellow then you provide darker shades on each side to give the face a 3d effect. Then the cap is drawn after which you draw the rest of the parts the body, dress, hand, shoes etc and finally...

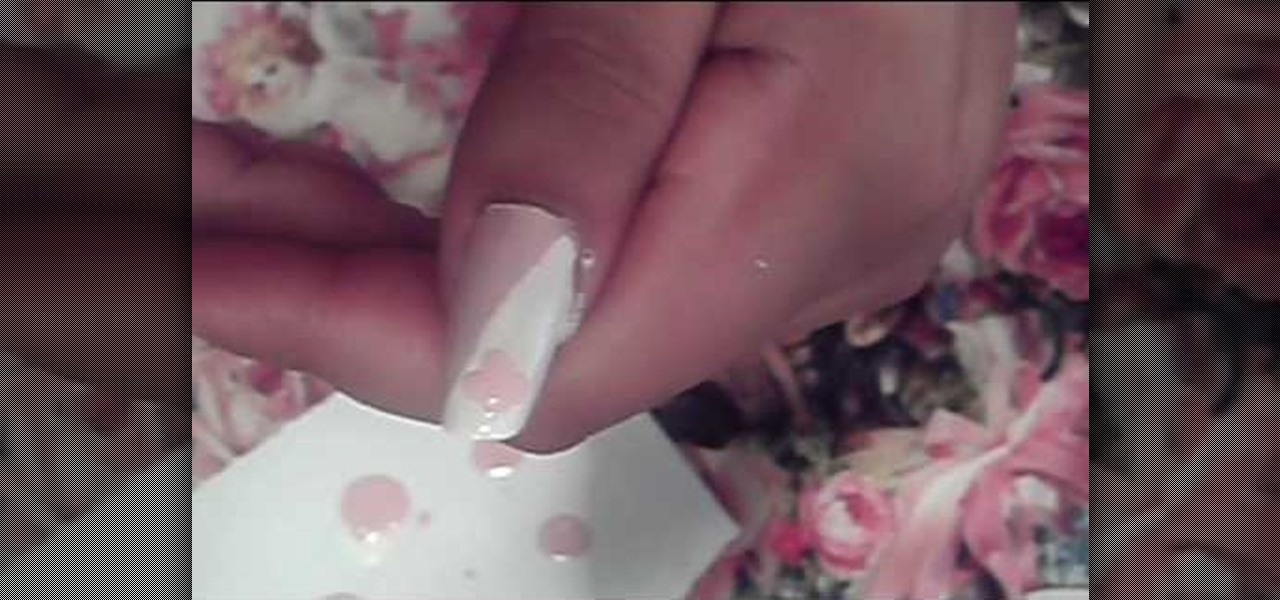
Love4Nails demonstrates how to paint nails with a pink and white sparkly design. First, apply a hydrating base coat. On top of the base coat, apply the color of your choice like a light pink color. Then, create the side swipe which is about half of the nail. Create a straight side swipe in a white color. You may need to do two coats. Then, create a flower with the background color on the white polish. Add a pink rhinestone to the flower. Repeat the technique making a white flower on the pink ...

First of all take two pieces of FIMO- one white and the other red color. Now roll them flat on the table into rectangles. Now cut triangles out of them and then join together to form a rectangle which has more white than blue color. Now use a rolling pin to flatten their surfaces. Use a ruler to lift them off the table top. Now fold it in half and roll it again in the same direction. Don’t roll it too hard. Now keep rolling and folding in the same way. Now when you go thinner while rolling it...

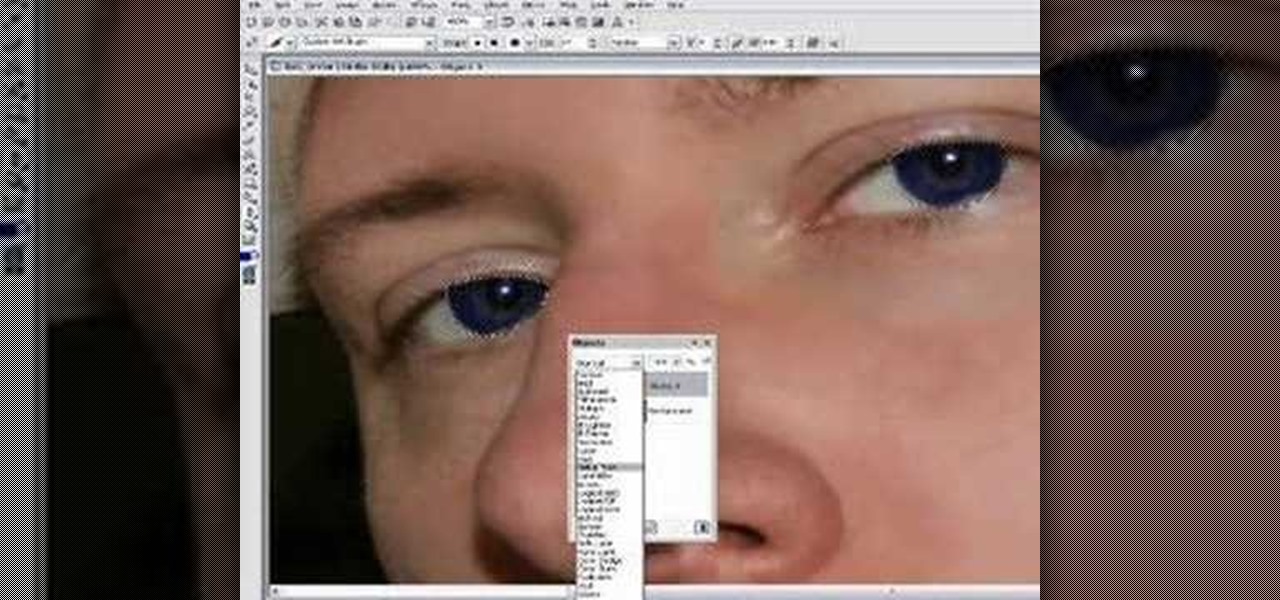
In this Software video tutorial you are going to learn how to change eye color in Corel Photo Paint X3 with masking. Select your picture and the 1st thing you will do is to create a mask around the eyes. Select the standard paint brush tool. Adjust the picture so that it is large enough and both the eyes are visible. Now press Alt and hold down to select the entire eye. Do the same for the other eye also. Then go to subtractive mode and fix the outer edges of the iris of the eyes. Now select ...

This is a clear video showing how to easily draw a 3D letter 'B'. First of all you start by just writing the letter 'B' normally; and then you double outline all of the lines you have drawn, both inside and outside of the letter. Color it in with a block color for a 2-dimensional letter. Then its time to make it 3D! In the middle you just add lines parallel to the 2D letter, and also around the top and left sides of the shape; color this in with a darker color, and voila! You should now have ...

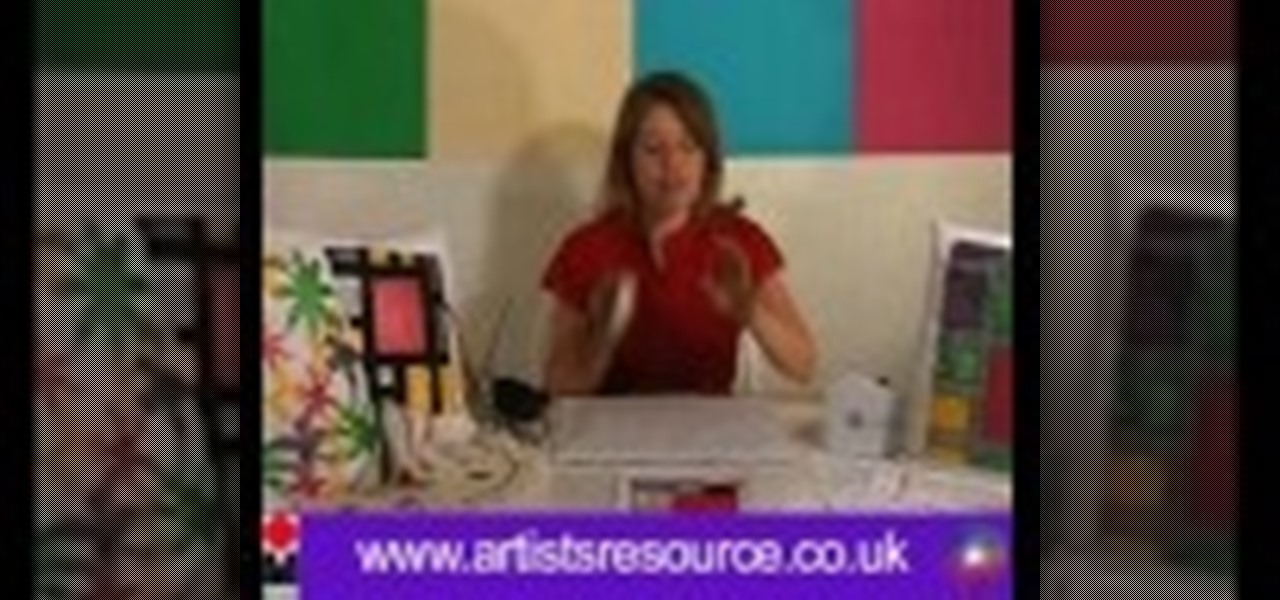
Making your own Mondrian-inspired cushion cover is demonstrated in this clear and concise crafting video. Materials required are a plain cushion cover( preferably in a tight weave such as canvas or cotton; water; medium size, firm, flat edge paint brushes; scissors; one inch wide masking tape; a sturdy piece of cardboard , saran wrap and 4 jars of textile paint - one color should be black or graphite. You may choose plain or glitter paints. Cut the cardboard about one inch smaller than the si...

Stevmay09 will be teaching you how to digitally modify your eye color for free using GIMP. First you need to zoom in on the eyeball then click on the free select tool. Then start on the corner of the eye and make your way around the entire eye. Once you have the area around the eye selected you need to create a new layer. Make sure its filled with transparency then select the color you would like the eye to be. Then get the paint brush tool and select the icon shown then increase the scale an...

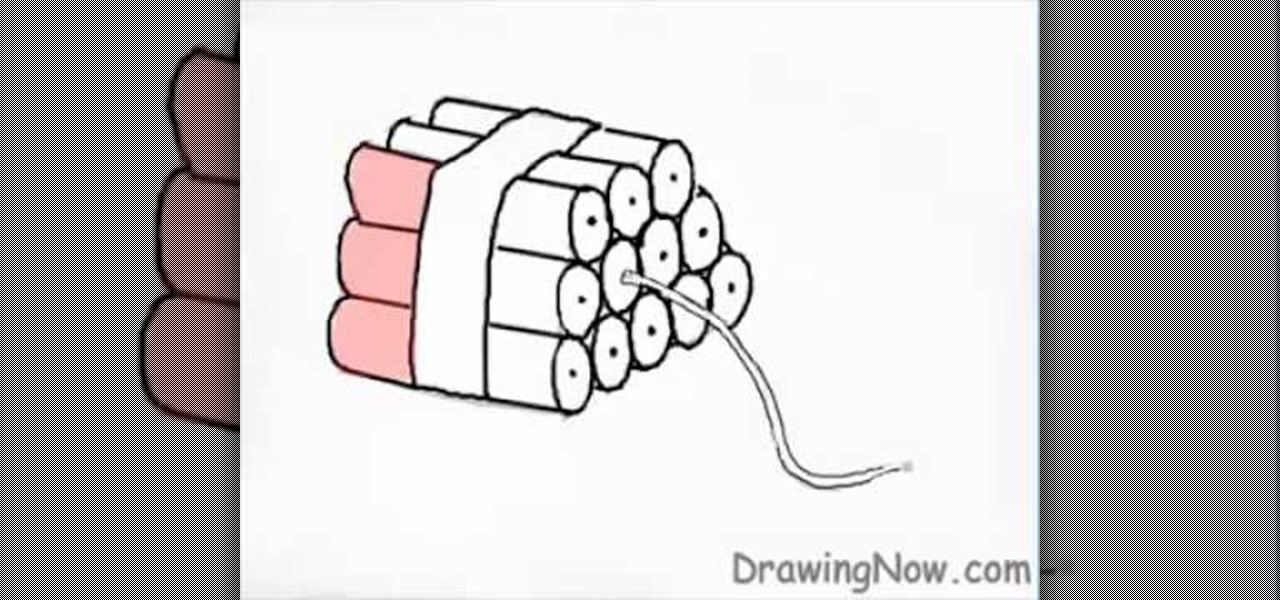
First of all use a grey color shade to draw the outline sketch of the figure. First draw the trapezium in the front. Now draw a rectangle at the side of the trapezium. Make a flat top to the figure. From the middle of the trapezium draw a string protruding downwards. Now divide the figure into three equal sections. Now you have to darken sections on the rectangular side. Draw the vertical lines of the rectangular side curved outwards at the far end. At the front end of the rectangular side ma...

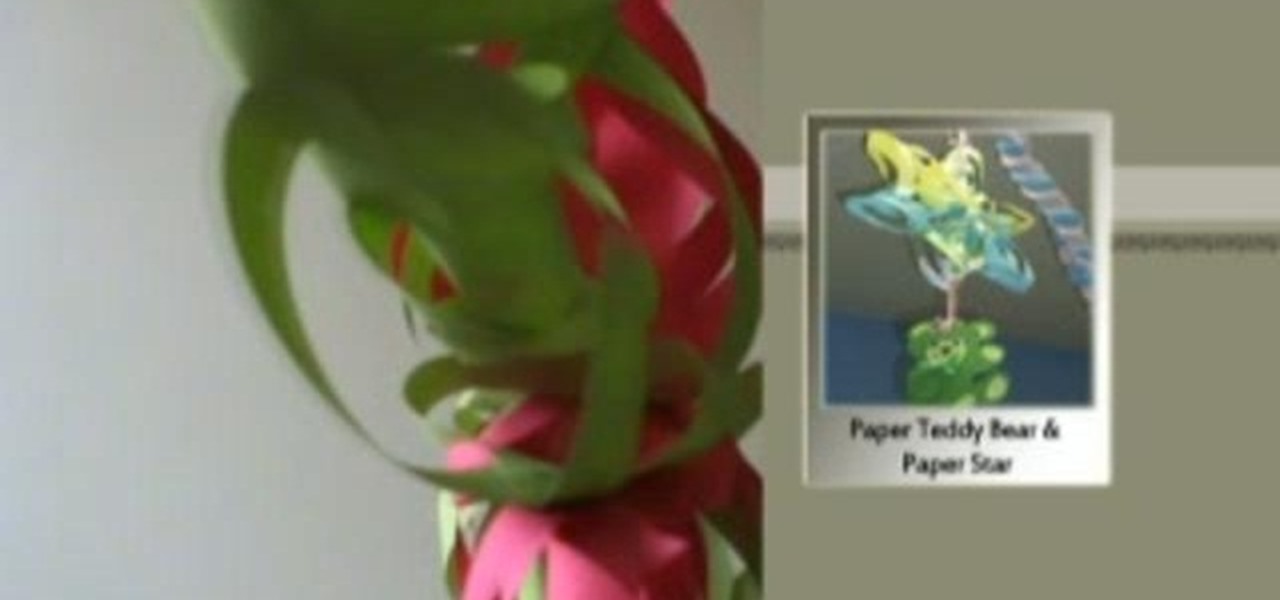
This is a great instructional video on how to make a decorative paper star. The materials you need are color papers, ruler, stapler, scissors, adhesive tape, pencil and cutting pliers. Take a paper and make a square of 20 cm side. Now fold the paper twice and get a triangular shape. Now draw four lines on it. Then cut along the lines with the help of scissors. Take the middle square and staple it. Then go to the back side and staple the ends. Repeat this process and get a star. You can make t...

Learn how to make a River Bar bracelet, which is also known as a Paracord bracelet, by following the steps outlined in this video tutorial. To start your bracelet, you will need to tie a reef knot. This is done by taking two loops (in two different color strings) and then placing one loop within the other, pulling this through the first loop to secure the two loops together. This knot creates the end of your bracelet. To actually make the River Bar design, bend the two colors of string so tha...

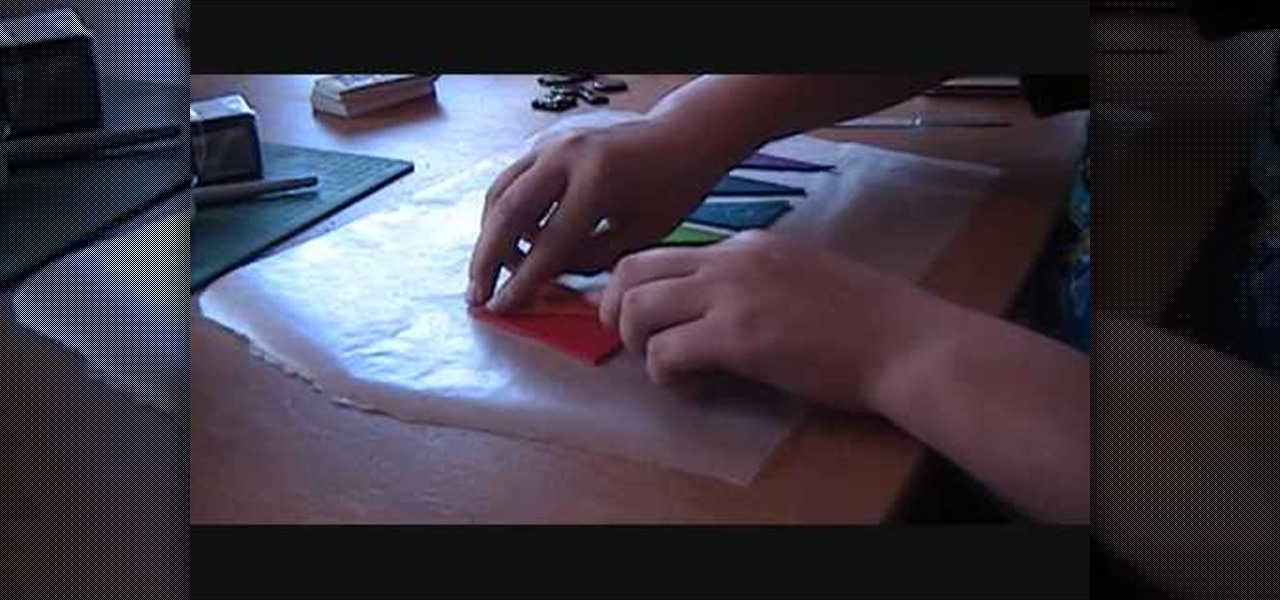
This video explains how to make a polymer clay "rainbow cane," which, amongst other things, can be used to make jewelry or pendants. First, you must run a conditioned piece of each color of clay through a pasta machine. Then, cut each color into a square, and from there cut each square diagonally, creating triangles. Arrange the triangles side by side and attach them together, so that you create a large rectangle of the colors. Run this rectangle through the pasta machine several times, until...

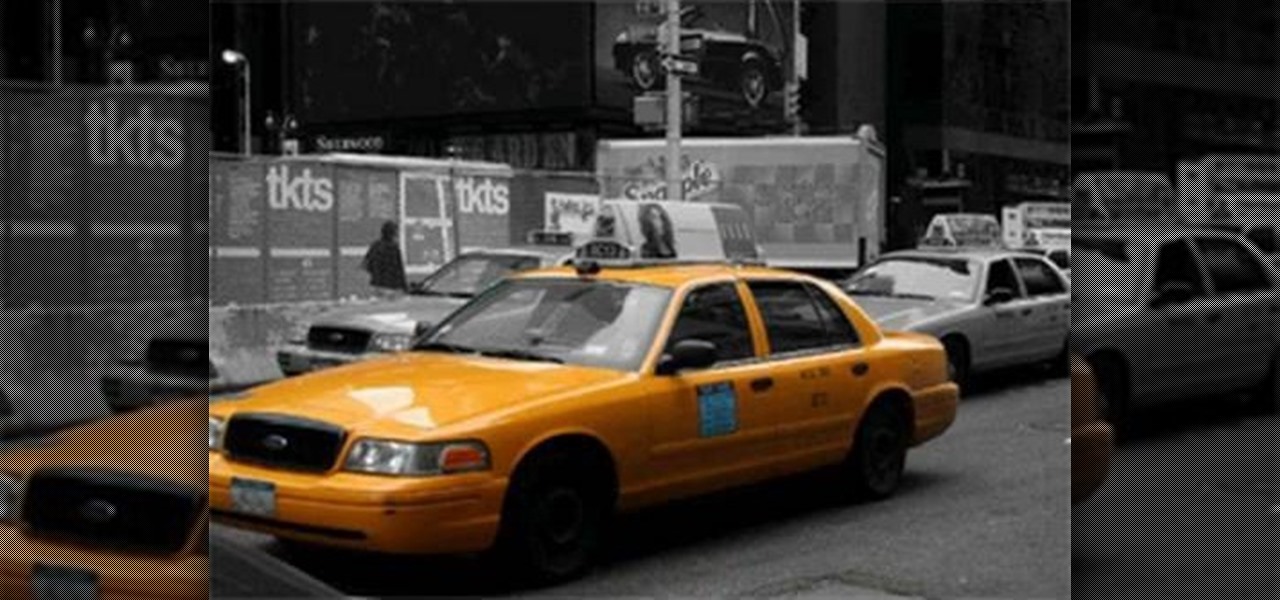
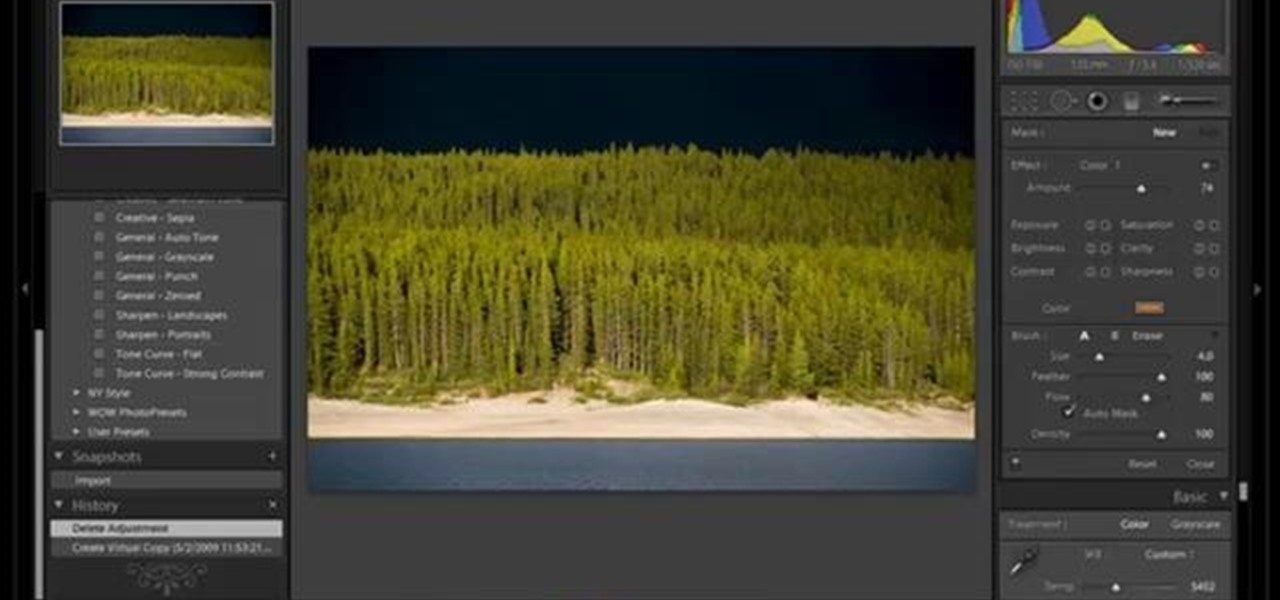
In this video tutorial Yanik Chauvin of Yanik's Photo School shares a discovery he made while using the software Lightroom. This quite simple technique of adding hints of color to black and white photos can make them striking. By adding a color screen on top of your photo, using either the adjustment brush or a gradient filter, you can create a lovely conversation piece for your home that will confound your visitors. "Is this photo black and white or sepia or ... what?" He also shows a trick ...

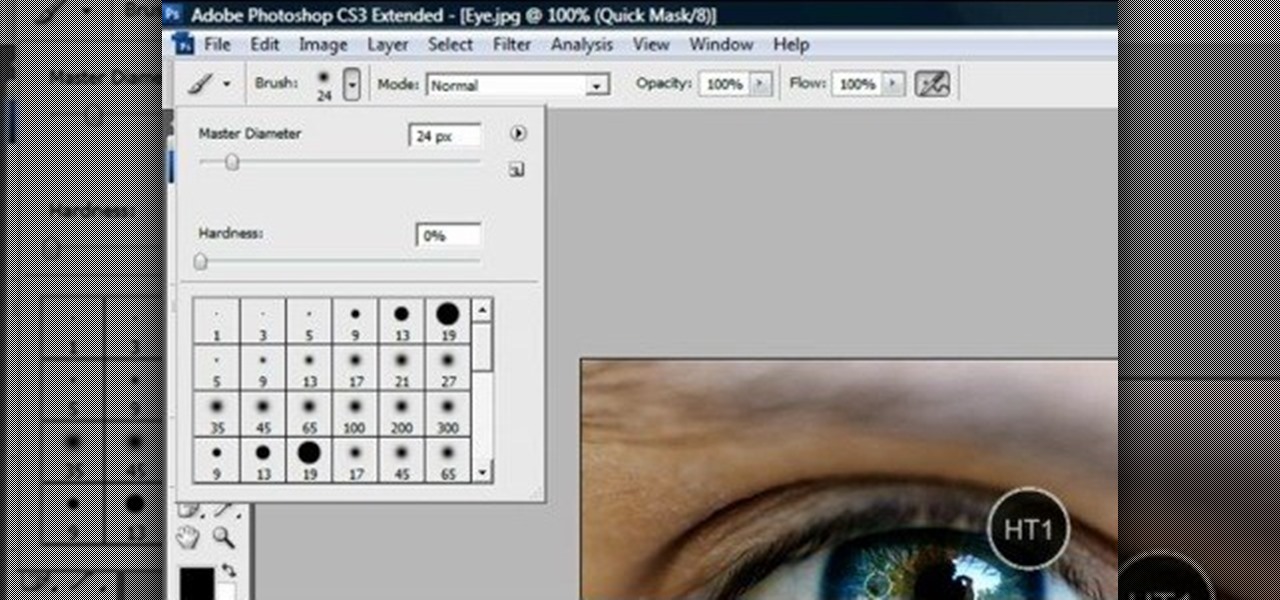
This video shows “How to change eye color in Photoshop CS3” First open the eye picture you want to change. Now select brush tool by

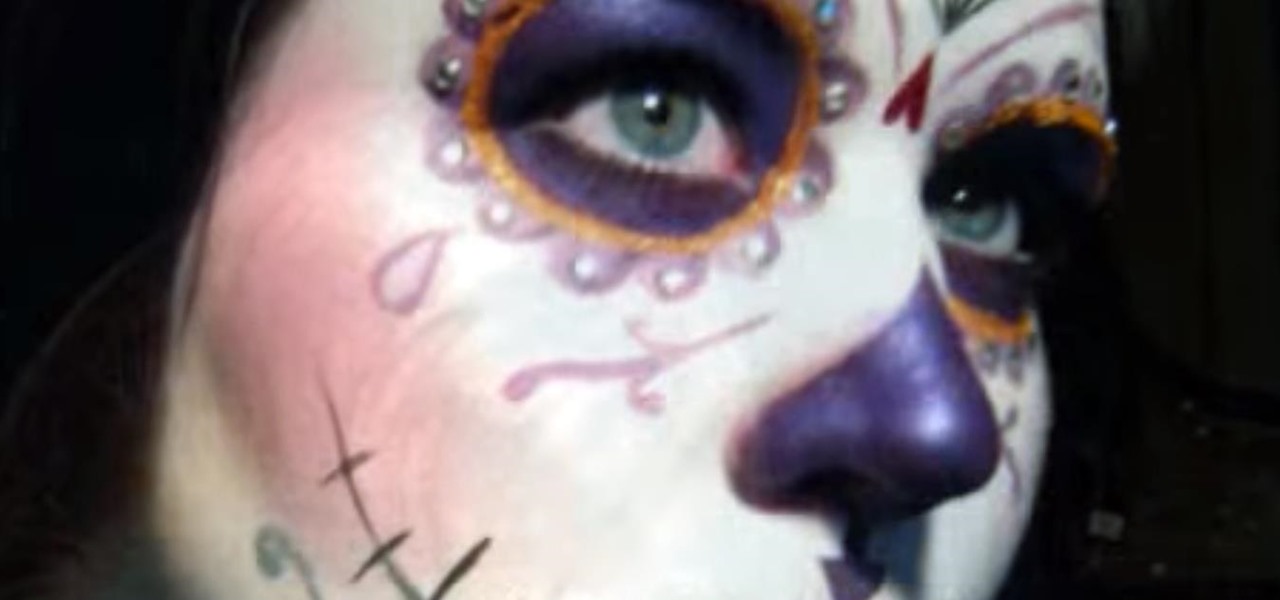
YouTube user goldiestarling teaches you how to apply a purply sugar skull makeup look inspired by Sylvia Ji's Purple Crush painting. Use a white eyeliner to create the sockets of the skull, then go around the nose area. Color the whole face using a creamy white pencil and add red blush on the cheeks. Use a creamy purple color to fill in the sockets and the tip of the nose. Draw small flower petals on the edges of each socket. Use a black color to draw a spider web on the forehead. Then draw b...

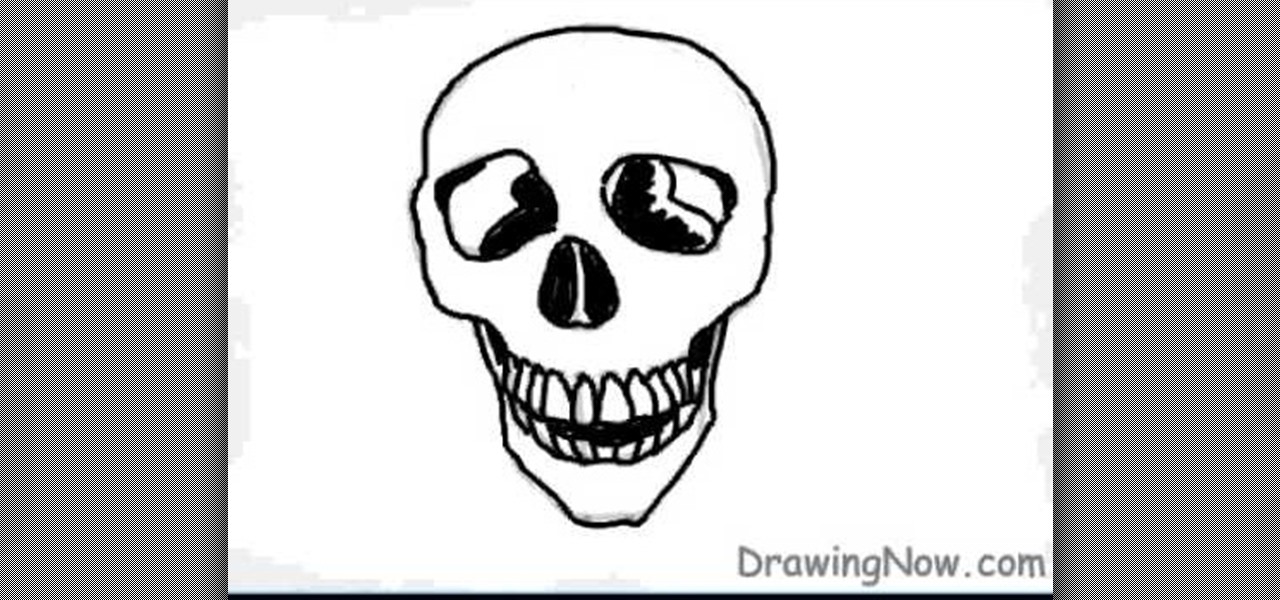
In this video tutorial, viewers will learn how to draw a skull using a computer. Start by drawing a circle for the head and a rectangular shape at the bottom. Draw a line in the center as a guideline. Then draw the eyes, nose and mouth. Now outline the skull and add the details. Shade in the eye sockets, nose and mouth. Now you can erase the guideline. Start coloring the skull to a preferred color. Then add in a darker color around the skull to shade it. Finally, outline the skull and color t...

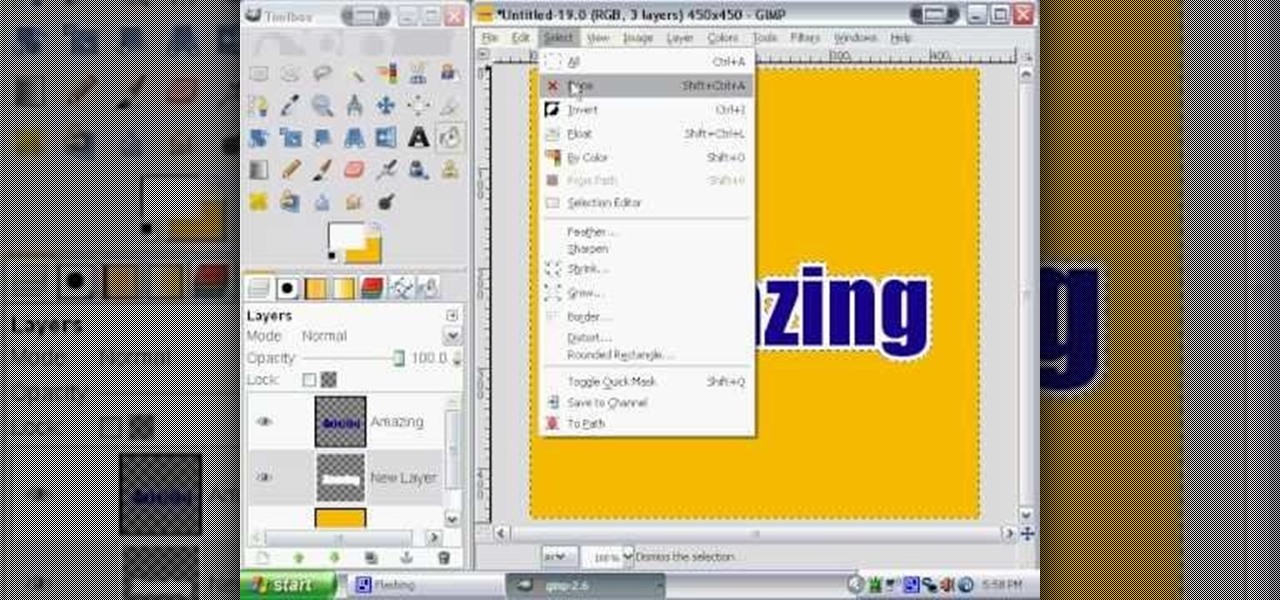
Click in File and New to create a new document, press OK and select the text tool and click once on your file and write something, then close the window. Click in move the active layer to make easier to move the text. Go again to the text tool and click on the Color to change the text color. Press Crtl+O, select the background layer and change the color to the one you want, now select the bucket tool and click on the background to paint it with the color you have selected. Go back to the text...

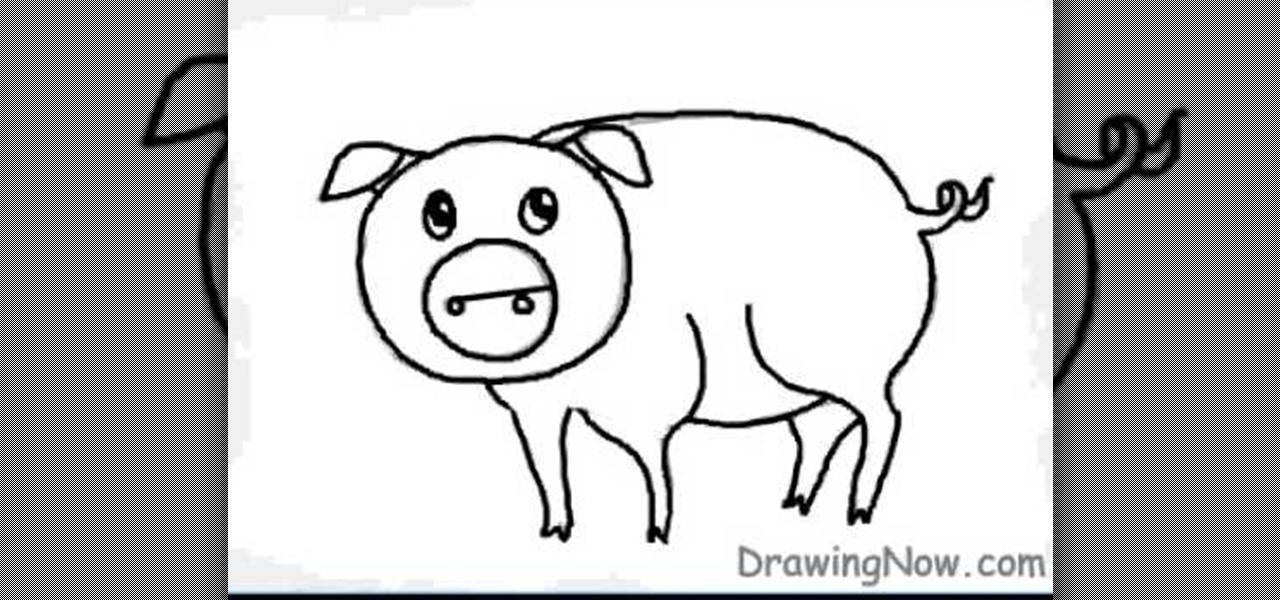
First neatly draw the outline of the pig, then color the outline with a darker shade as this is the base of the character. Next draw the eyes, nose, and the small curly tail which complete the outline of the pig. For the base color a slightly bright pink color should be selected to shade the inner part of the pig i.e. the stomach, legs, and face. A shiny touch should be added to the face to give it a brighter and happier appearance. The background must be colored also with blue and brown. The...

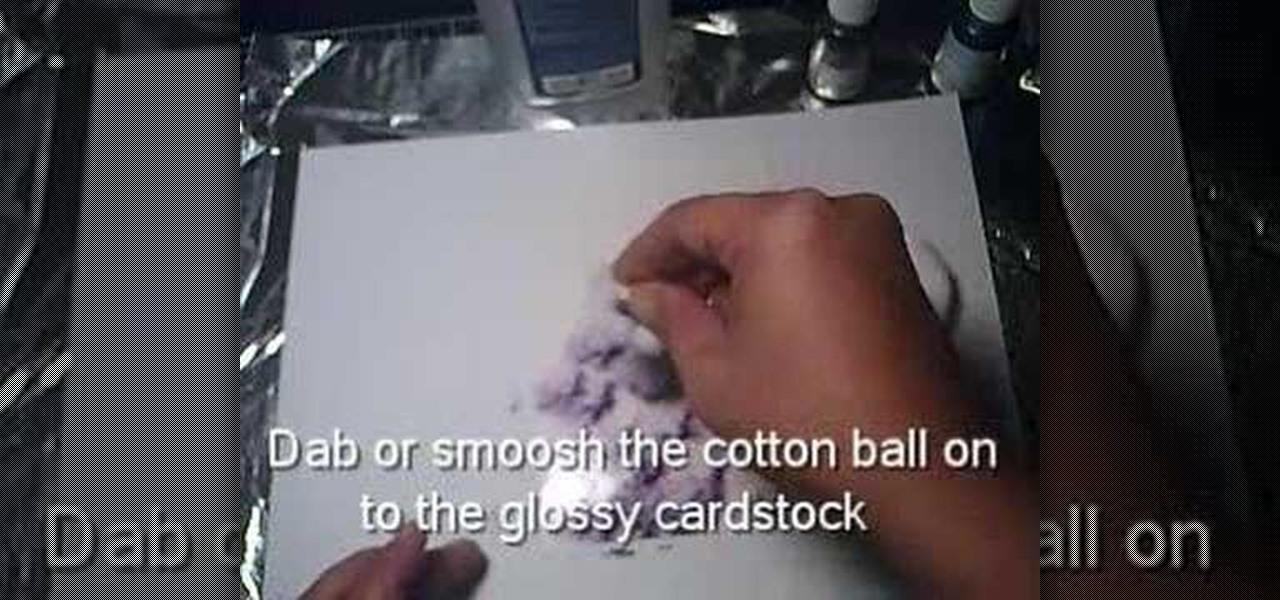
You will need: white glossy card stock, 2 ink refill colors, an optional metallic ink refill, cotton ball and rubbing alcohol.

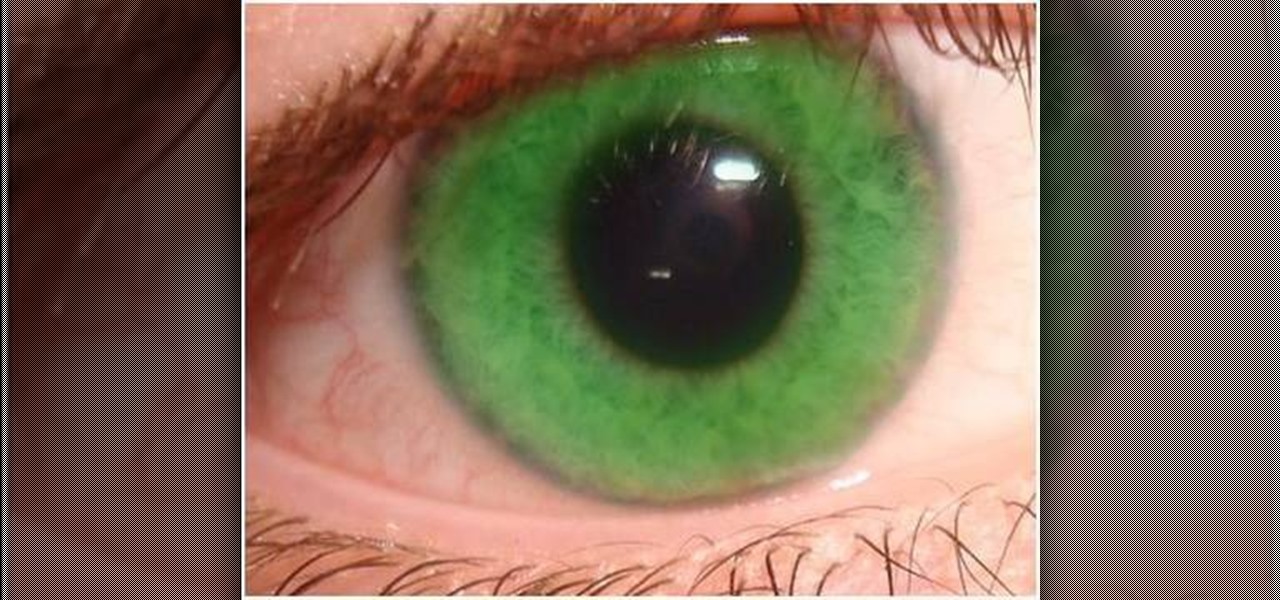
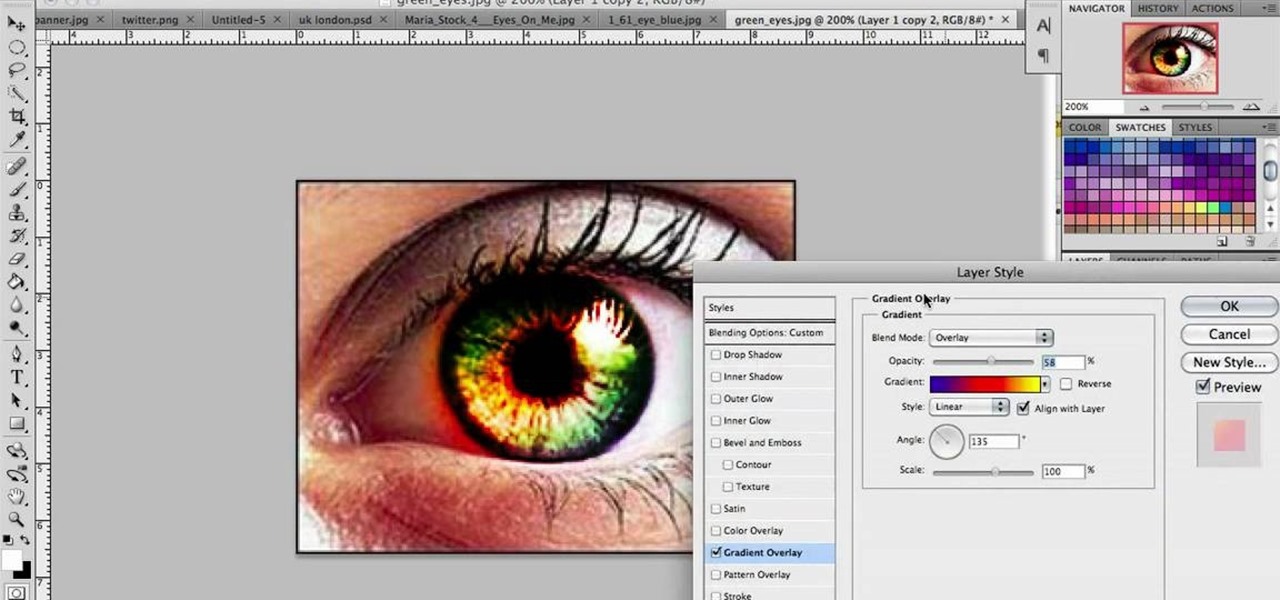
In this video we learn to make green eyes in Photoshop. According to this video, it is very simple to change the color of eyes and make beautiful eyes. First, we zoom in on the eye and with the help of the pencil tool. We select the border of the eye. Then we right click on the selected portion and select "make selection," then using Ctrl + C we copy the selected portion and use Ctrl + v. We can paste the selection on the right hand side. Then, on copied layer we select the gradient. After, o...

Judy teaches the secrets of creating a smoky bronze country girl look in simple steps. First apply the primer, then apply a light brown color to your lids. Now apply a bronze color over your lids and to the inner corners apply a ivory color. For the outer corner apply a darker brown and use black color to deepen the crease. Apply a black eyeliner to your upper lashes, then a dark brown to your lower lashes and add some false lashes. Now blush your cheeks using gingerly and apply some lip glos...

In this video tutorial by Tasktutorial ,shows you how to . Select the rectangle tool and set the corner radius to 15px and draw a rectangle. Select gray stroke color and the stoke weight as shown. Select the gradient fill and set the angle to 90 degrees as shown. Resize the rectangle as desired, select the rectangle tool with white fill color, 1px stroke weight and draw the rectangle as show. Select the rectangle tool again with the corner radius of 5px and draw a rectangle as shown. Apply th...


