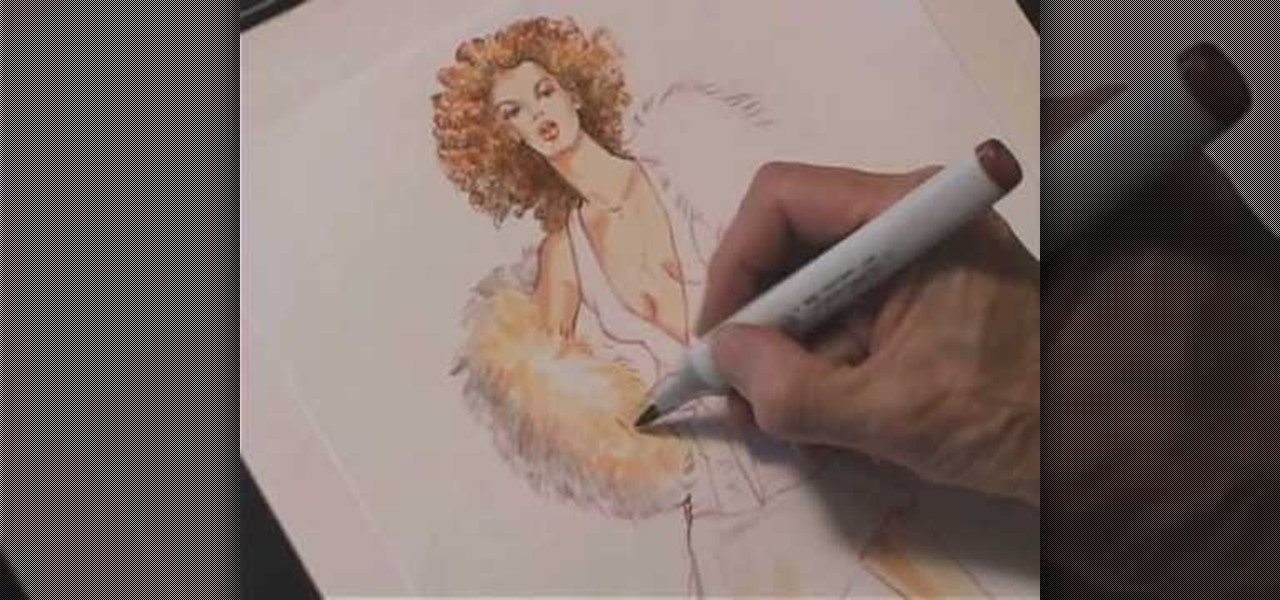
In this tutorial, we learn how to fashion sketch satin. When you are sketching satin, you would to make sure you use the right colors and the side of the pencil. You will need to use the side of the pencil to shade in small areas to create creases and folds in the clothes. Then, you will use the eraser to make white in the middle, which will create a shine on the skirt. Color in the rest of the area around the piece of clothing. It doesn't have to be perfect, just make sure you shade and use ...

While Halloween offers ample opportunity for people to dress up in their craziest attire and not have others give them a second look, let's face it: for many girls in their 20's, Halloween is the one day of the year they can dress up like streetwalkers and get away with it.
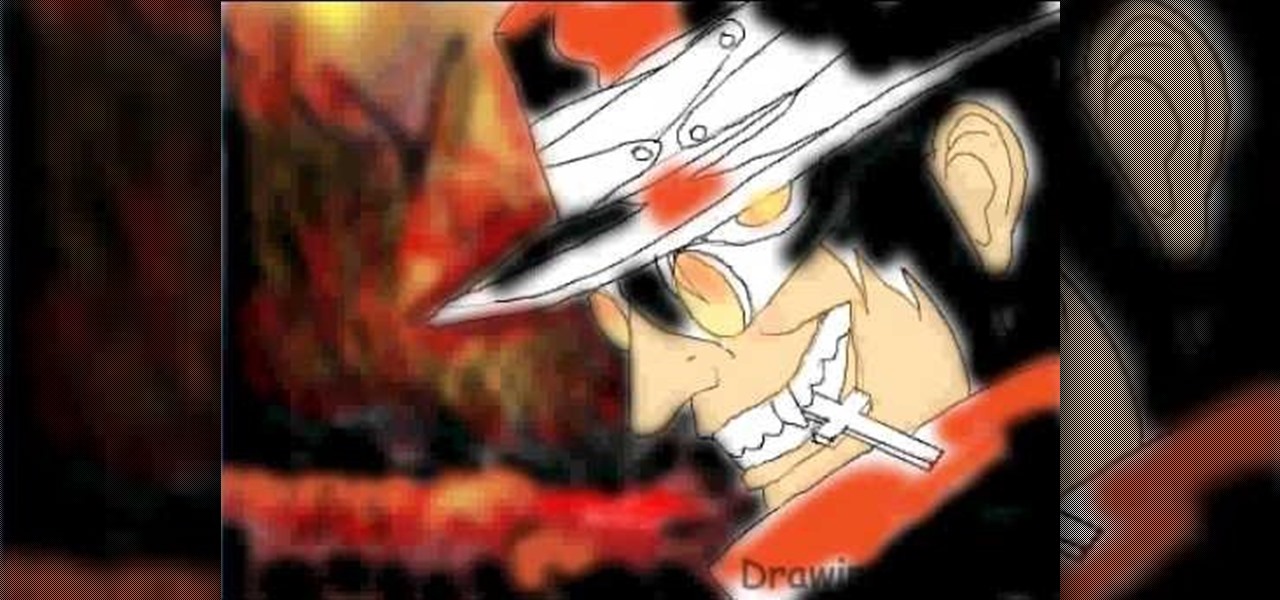
In this tutorial, we learn how to draw the cartoon vampire character Alucard. Start out by drawing the outline of the face, along with the hat and the collar as well. Then, draw in a cross in the teeth, with just the upper teeth and fang showing. Then, draw in all the details of the face, along with the hat details. After this, color in the skin and then the rest of the clothing around the face and on the body. Color in the background as well, with black and reds to create an eerie glow with ...

In this video, we learn how to draw the classic Sonic the Hedgehog character. First, draw a round circle for the head. Then, draw in the eyes and the hair around the head in big huge lines. After this, sketch in the rest of the body. Then, start add details to the head, drawing in the eyes, mouth, and hair lines. From here, draw in the details of the body and then create the leg and feet clothing as well. Draw a bold black line over all of it, then you will add in shading to finish up this dr...

In this tutorial, we learn how to do a ninja sketch. First, you will draw out the outline of the body. Draw in two arms that are crossing and then draw in blades in the hands. From here, draw in the hair, which should be spiked and short. After this, draw in a mask around the face and then start to draw in the clothing. Draw in lines on the clothes for the folds, then create a band around the arm and a skirt around the waist. To finish, you will draw in fishnets around the legs and then woode...

If you're a fan of Tinkerbell, then this video is for you! We learn how to draw Disney's magical fairy, Tinkerbell. Start off by drawing the outline of her body and wings. Then, draw over this to make a 3D version of her. From here, you will start to draw in the details of the face and the body as well as the clothes. Once finished, you will color in the skin, wings, and clothing. Use shading and lines to make the character appear more realistic. To finish this up, add a colored background an...

In this tutorial, we learn how to draw The Incredibles. Start out by coloring the background orange, yellow, and white. Then, draw the outlines of the bodies for all of the characters in the family. After this, draw in the details, giving them a 3D type of image. Next, you will color in the clothing and add in the fine details for the hair and the face as well. Erase any background lines from the drawing to clean it up, then add in some shading to make it look more realistic. To finish this, ...

"Harajuku" might sound slightly familiar to you - Gwen Stefani used the word to name her "Harajuku Girls" fashion and perfume line. But other than the cutesy little Japanese dancers she had during her tour and lots of bright clothing and makeup, what is a Harajuku girl exactly?

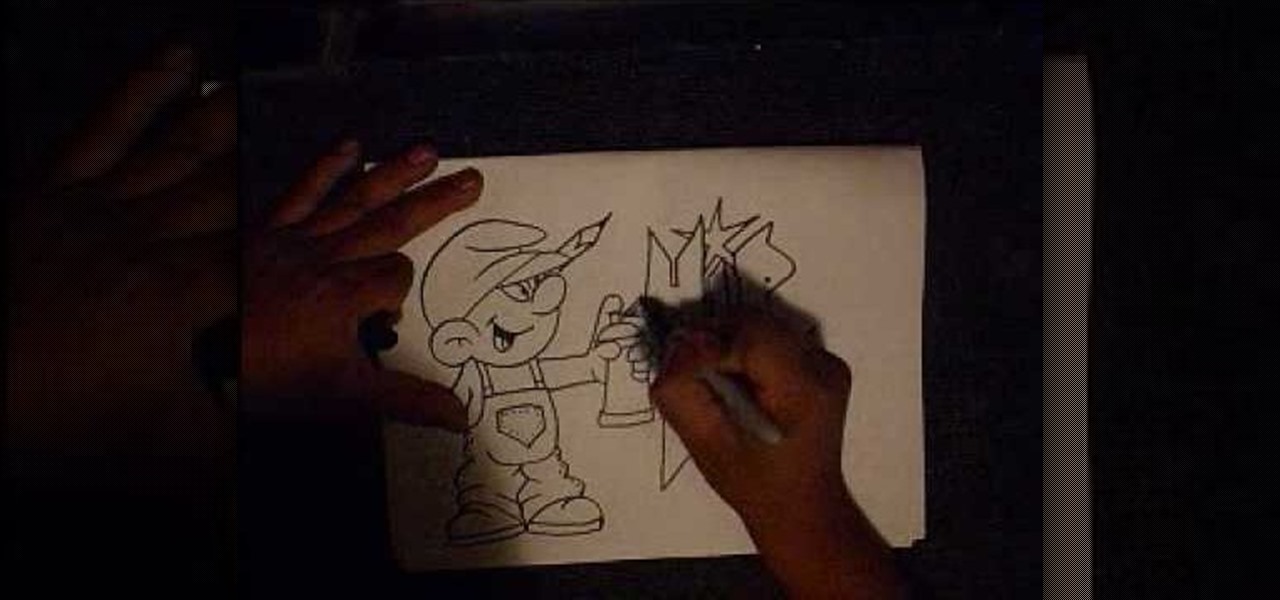
In this tutorial, we learn how to draw a graffiti Smurf character. Start off by drawing the hat for the Smurf, then draw in the ear on the side of the head. Then, draw in the face and start to add in the details. Draw in the mouth, nose, and eyes. After this, draw in the upper body and the clothing that the Smurf is wearing. Add crinkled lines on the edges to make it look like the pants are too big, then draw in the feet, arms, and hands. Draw a spray paint can in the hand of the Smurf, then ...

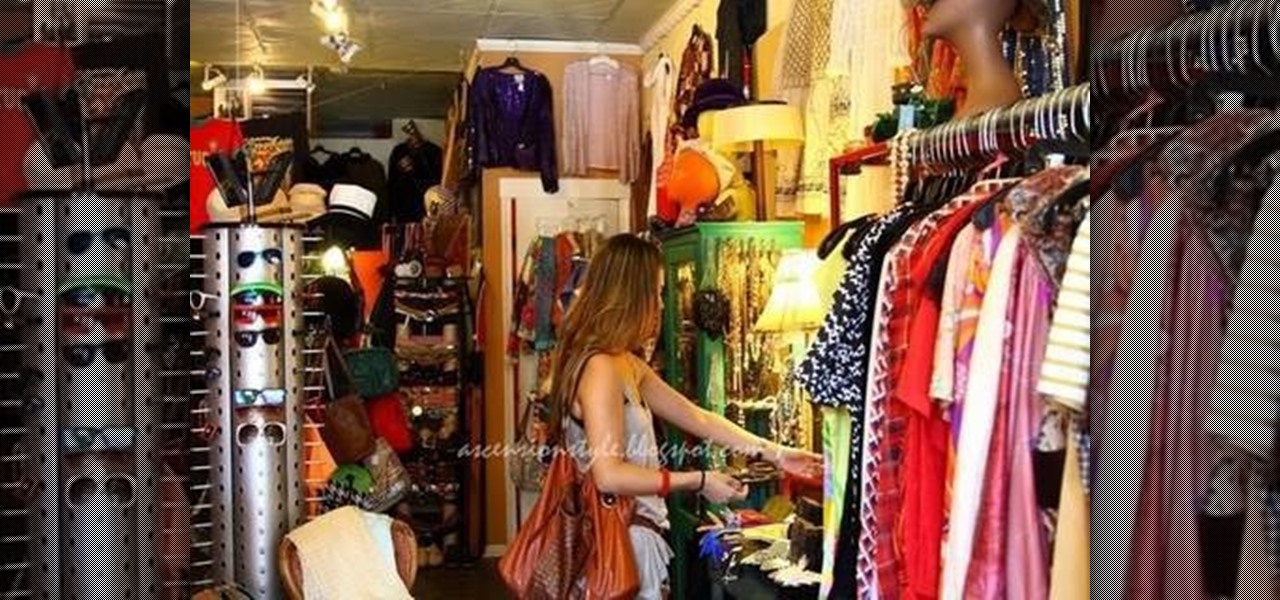
If you think thrifting just involves hitting up your local Salvation Army and picking up a few pieces of secondhand clothing plus a cute little old-looking vase for your dining room table then you've got some learning to do.

In this tutorial, we learn how to draw Little Sack Dude. Start out by drawing the outline of the body for the character. After this, draw on the limbs and then add in the details of the face. Once finished, draw in the details of the clothing, then the hands on the character as well. Draw in additional details along the feet and arms, then shade the entire character with the pencil. Once you do this, darken the eyes with the pencils to make them black and then darken the parts of the details ...

In this tutorial, we learn how to draw Sango and Kilala. Start out by drawing a circle and reference lines for the head, then draw a stick for the body and draw a half circle going off the bottom of the page. Then, draw circles on the upper body to create the hands and draw fingers coming off of those. Now, draw in the neck and the clothing that is on the character. Erase the background lines, then all in the features of the face and the hair around the head. Also make sure to draw on the ear...

In this tutorial, we learn how to draw Karin 2. Start out with a circle for the head, then draw in your reference line so you can align the different features of the face. After this, draw in circles where the joints of the body would be for the upper body, then draw around this using bold lines. Once you are finished with this, draw in the rest of the arms and create clothing on the body as well. Next, you will need to draw in the features of the eyes as you would like, then add in the detai...

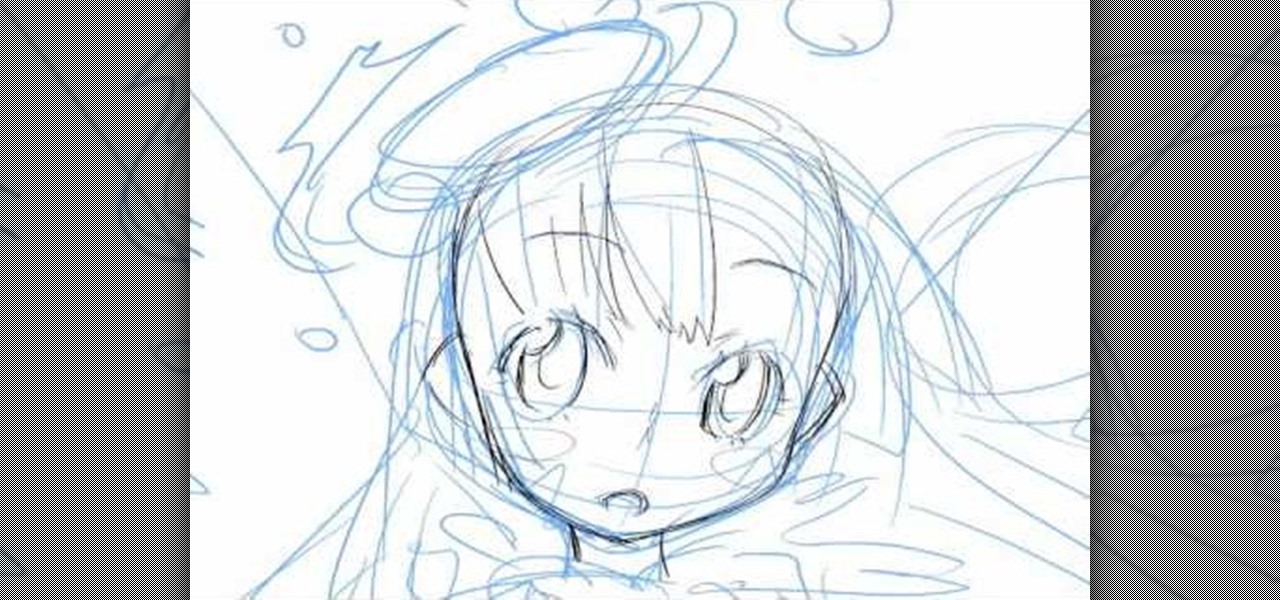
In this tutorial, we learn how to draw an anime or magna illustration on your computer. To start out, you will open up a new draft and start to create the outline of the anime together. As you continue, you will draw in darker lines that will be the outline and the details of the character as well. Erase any background lines from the drawing that don't fit in, then create new additional lines. When you're done, start to add in the facial features and details, then add in the hair and clothing...

In this tutorial, we learn how to draw Axel. Start out by drawing the head, then add in the facial features including the eyes, nose, ears, and mouth. After this, draw in the spiky hair that goes around Axel's head. Next, draw the neck and shoulders. Continue to draw down the body until you reach the feet. Add in the details of what the character is wearing, using lines on the clothing to make it look more realistic. After this, you will need to draw in shadowing on the drawing to make it loo...

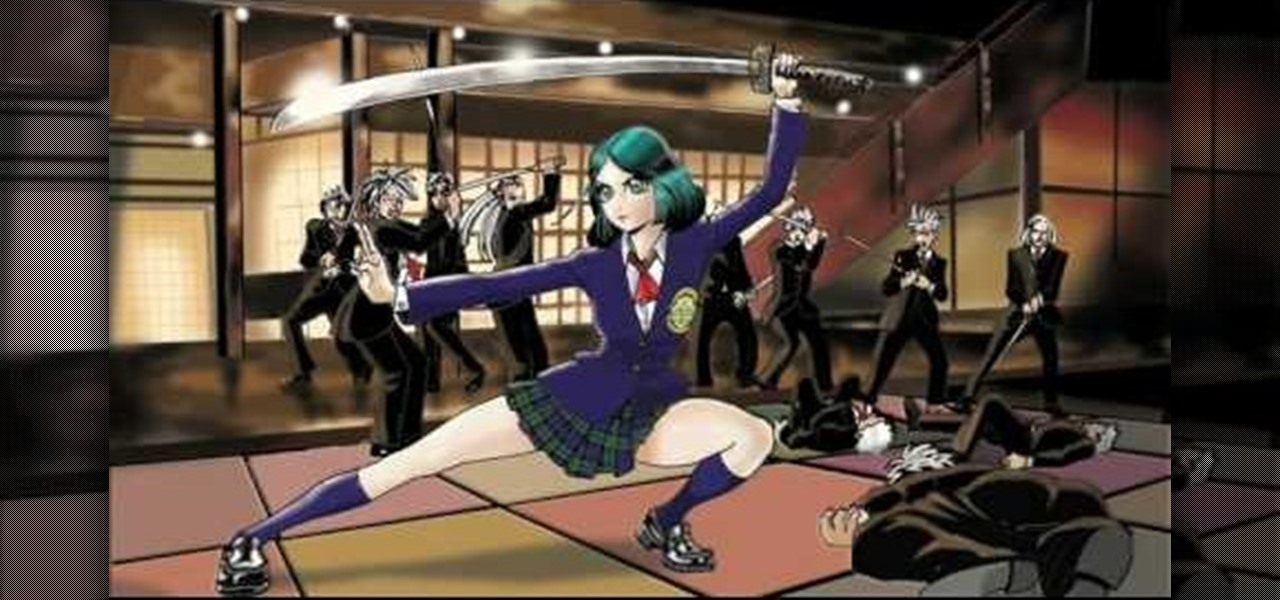
In this tutorial, we learn how to draw a female anime or manga school girl. Start out by drawing the outline of the character, then drawing in the details along the middle and the body of the character. Use circles inside the body to create a references as to where the body joints would be. Then, draw in clothing on the body and add a sword in the hands of the girl. After this, draw in additional details to the drawing and then focus on the face. Draw in the facial details, then add the hair ...

In this tutorial, we learn how to draw Misty from PokŽmon. Start by drawing the basic shape of the head, a circle with lines inside of it to use as reference lines. After this, draw on ears to the side of the face and then draw in the cheeks. Now, draw a stick figure for the body and then draw in circles to create the other lines for the body. Then, draw the back of the neck and start to fill in details. Erase any background lines as you continue to draw. Make sure to add in details and facia...

Let all the other girls dress up as slutty bunnies and slutty gangsters this Halloween. Instead of going with the expected route of minimal clothing and streetwalker makeup, why not try donning something truly spooky this year?

There's no need to drop mad stacks at a department store in order to wear clothing that looks fashionable. In fact, you may not know it yet, but you probably have a few gems waiting to shroud your figure in your garage.

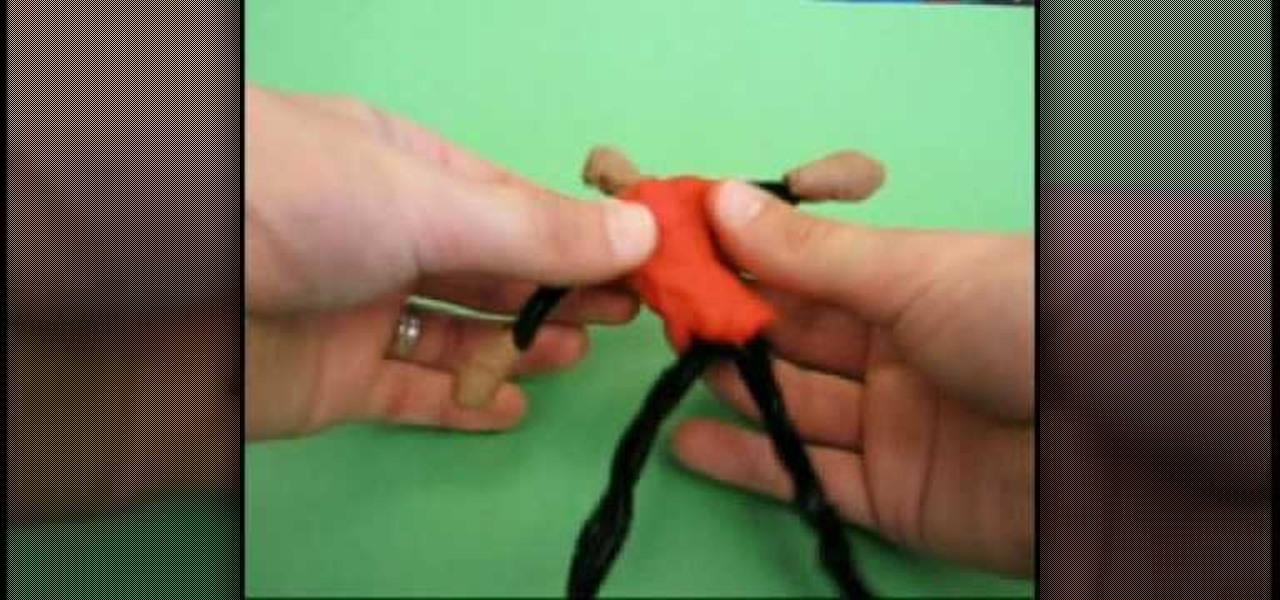
In order to make a claymation puppet, you will need the following: clay in various colors and pipe cleaners. You will need to choose clay colors for clothing and skin and eye and facial features. If you want hats or accessories, you would need to keep that in mind.

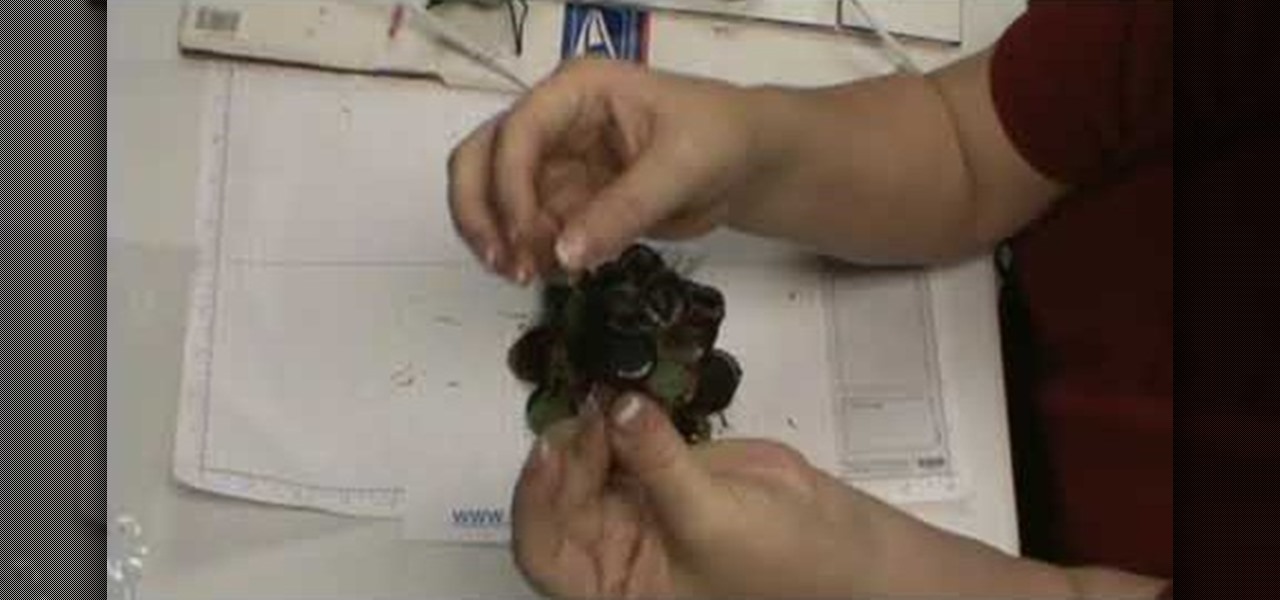
In this video, we learn how to add netting a flower pin. Once you have already out your flower together, put a pin in the back so you can clip it to your clothing. Now, purchase netting from a craft store and cut out a small rectangle. Now, fold this piece up in half and then in half once more. Now, make a triangle at the bottom and open up the flower. Find a place to put the netting in, then apply hot glue inside and use a craft pencil to push the netting into the glue. Do this a couple more...

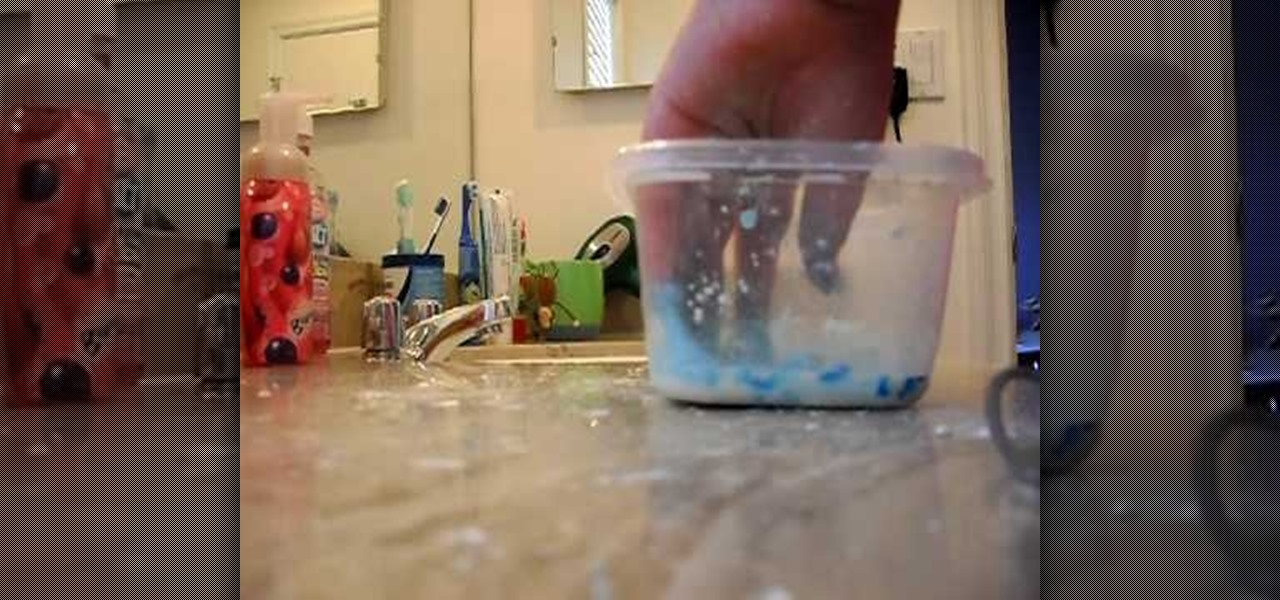
In this tutorial, we learn how to mix Oobleck. First, place some cornstarch into a large plastic bowl, then add in some water. After this, mix the ingredients together with a straw until you have a paste that forms from both of them. Don't add too much water, you want this to be more thick than creamy. Now that you have made this, add in food coloring of your choice to make this more fun, just make sure you don't get it on your clothing. After you have mixed the food coloring in with it, you ...

In this tutorial, we learn how to draw azure kite. Start off by drawing the face, then draw on the hat and the upper body. Next, you will want to outline the rough draft that you first made and start to add in details. Color in the hair and the hat, as well as the skin and the outfit. Add in wrinkles and buttons on the clothing as well. Add in the eyes to the face and include the nose, mouth and ears. Place the tattoo on the side of the face, then add in shading on the entire body. When done,...

Got a pile of old clothes collecting dust in the corner of your closet? Before you get the incentive to finally donate that lump to the Salvation Army, consider reusing some of those seemingly "useles" clothing.

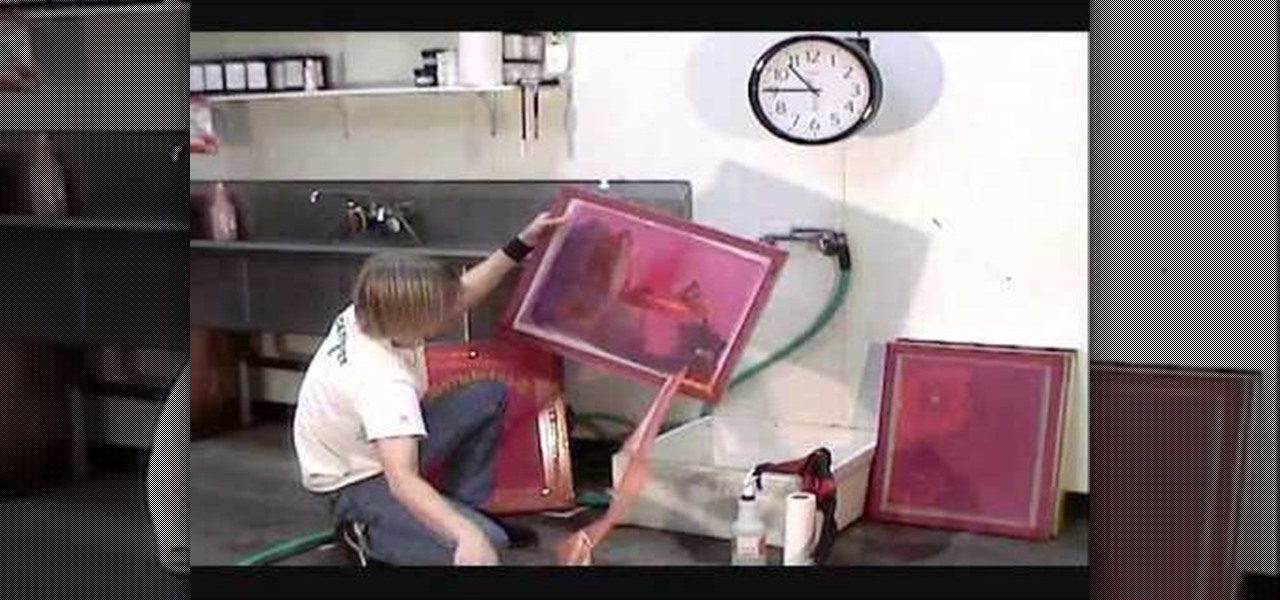
Screen printed t-shirts cost you quite the chunk of change at most clothing stores. Whether it's to prove your street cred with a screen-printed Nike shirt or to wear a screen-printed tee promoting a major cause like the Susan G. Komen Cancer Foundation, you probably already have a few in your closet.

Old t-shirts really don't get the loving they deserve. Most of us would either toss or donate our old clothes, thinking there's really no use for them other than the obvious clothing purpose.

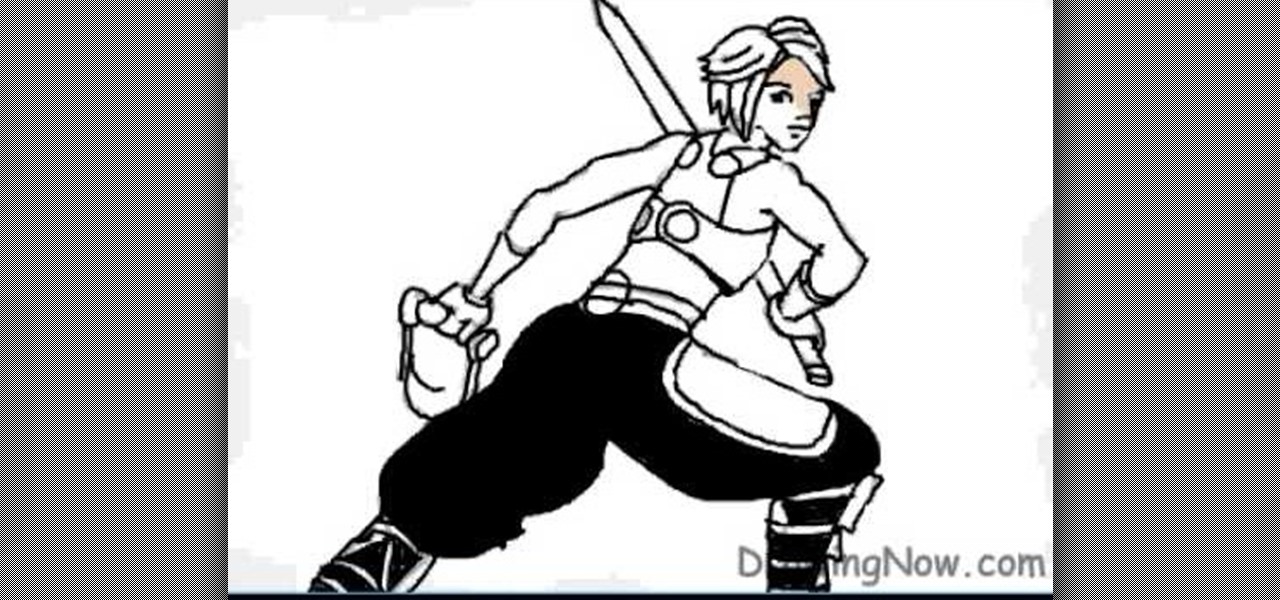
In this video, we learn how to draw a Final Fantasy character. Start out by drawing a rough outline of the entire body, starting with the head then doing the rest of the body and ending with the hands and arms. After this, draw over the initial markings with a black paint brush. Draw in eyes and hair, then start to draw in the details of the body armor and clothing. Make sure to draw on pants and make a sword that the character is holding. After this, fill in the painting with different color...

In this tutorial, we learn how to draw Blair from Soul Eater. Start off by drawing the head, hat, and body with a light pencil. Next, draw an arm going down from the body. These will be basic construction lines that you will draw over with a thicker pen later on. Start to establish the eyes and eyebrows, as well as the nose, mouth, and chin. Add details into the picture, then start going over your lines with a darker pen or pencil. Start to add in details that you feel make the character look...

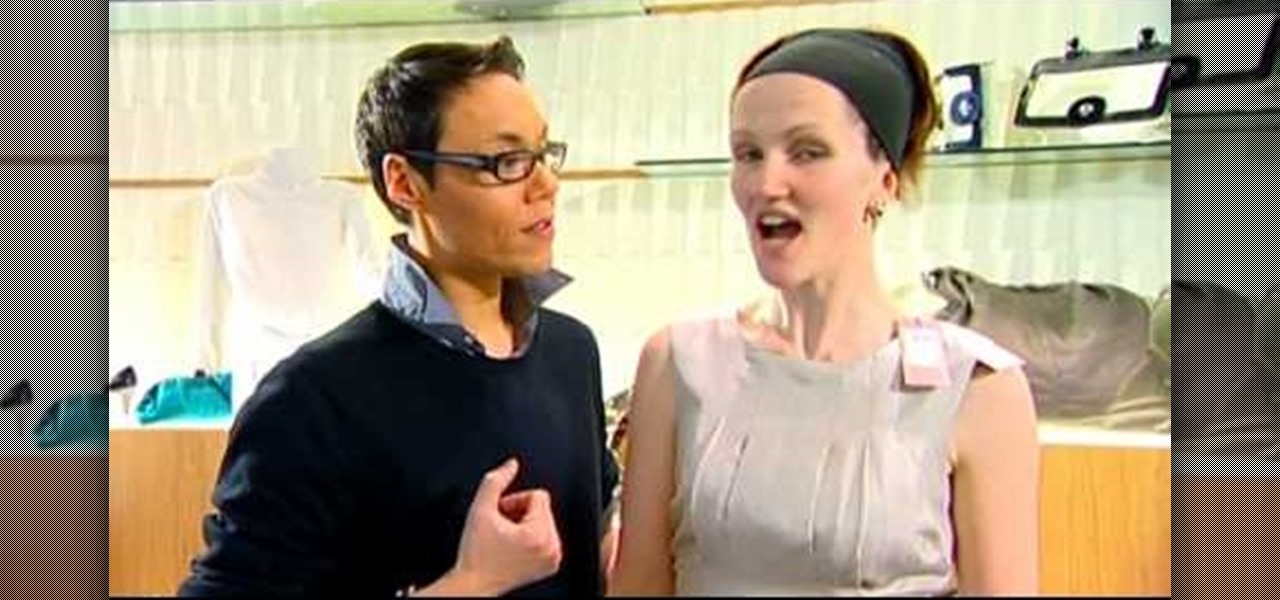
In this tutorial, we learn how to dress for a size 8 with thin frame. To start, go shopping and pick out clothing that has a bright pattern and color on it. Also, pick out clothes that are going to accentuate your beautiful figure and draw the eyes away from the breasts. Use pleats on the chest to make it look more full. Use a ribbon around the waist to create a beautiful shape and give the waist a smaller appearance. Wear dresses with tights to make the look more appropriate during the day. ...

Sewing patterns are a godsend if you're a beginner at sewing who's trying to get into making clothes and accessories like scarves and bags. A pre-drawn pattern helps you learn proportions, measurements, and drafting techniques you'll need later on when you design your own clothing.

In order to make and use a stencil, you will need the following: pencil, blue painter's tape, Dura Lar film, Self-healing mat, spray adhesive, old canvas board, airbrush, compressed air, airbrush paint, utility knife, paper, eraser, and an idea for a stencil.

In this video tutorial, viewers learn how to conserve at home. One way to conserve at home is to have a recycling bin. Before throwing away a recyclable item, rinse it off first to avoid unpleasant odors. Change all the incandescent light bulbs in your home to fluorescent light bulbs to conserve the electricity. Fluorescent light bulbs consume 4 times less energy and lasts 8 times longer. Use home appliances that have the "Energy Star" label on them. Wash your clothing with cold water. Eat or...

V, the masked and rather offbeat/tortured hero from the movie "V For Vendetta," had a strange obsession with a particular letter of the alphabet, embellishing all his clothing and gear with a great big letter "V."

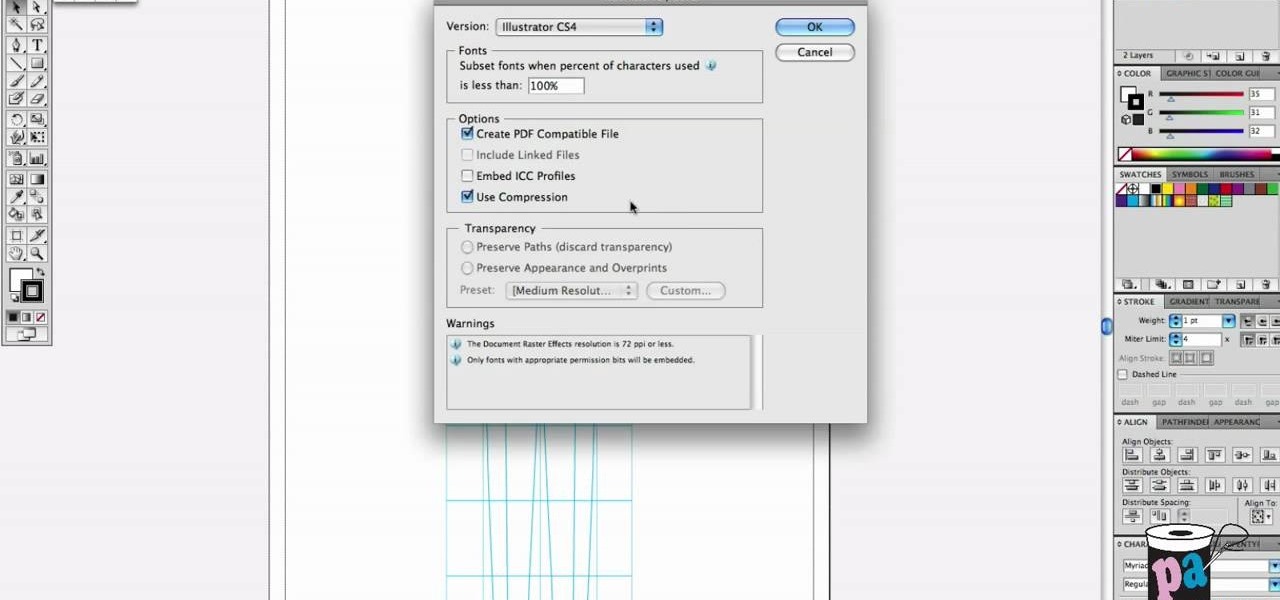
If you are looking for an easy way to make croquis, but don't have the skills to draw it by hand, then try the next best thing: the computer. Using the software program, Adobe Illustrator, you can make a great looking croqui template that can be used over and over again with no problems. This is perfect for making designs of clothing and usually when drawn, they feature a fully drawn and finished character, meaning next time you'll have to draw another one from scratch. So check out the tutor...

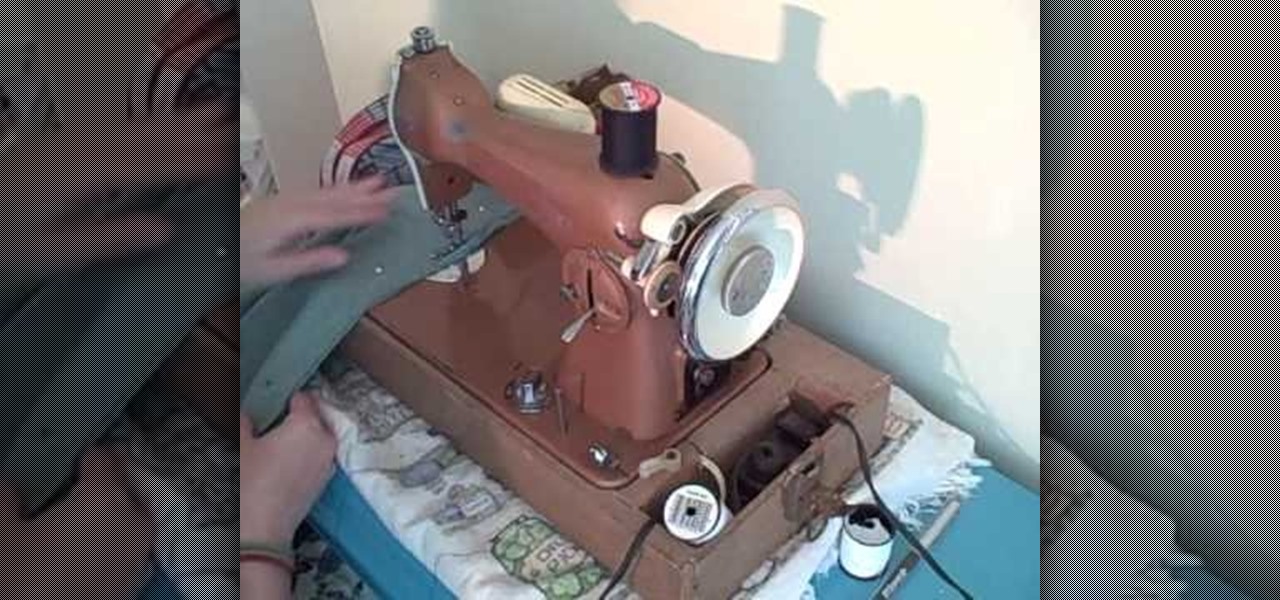
If you're into making clothes from scratch and need help with sewing a flat-felled seam, then this video is for you. In the tutorial, you'll get an in-depth explanation for how to sew one using your machine. This seam s generally used on jeans and it's usually not visible on the clothing. It's a very strong seam and requires some work in completing. So check out the video above and good luck!

In this time of economic uncertainty, trying to save money is more important than ever. There are many ways that this can be done, and one is by making your own clothes. This can be achieved using materials that can cost less than regular clothing found in stores.

Nothing says chic like DIY. With spring and summer just around the corner, this breezy and elegant tube dress is all you need to stay cool. See how to make a DIY chic tube dress in this video from GiannyL.

Traveling can be a fun and eventful experience for you and family members. But something that can be a bit of a pain is the idea of packing and unpacking. Many people tend to throw things in there because it's easy to do. But this can result in wrinkled clothing as well as a suitcase that isn't being used properly. In this tutorial, you'll find out how to maximize your suitcase space when packing. This will not only result in more space, but nicer looking clothes. So good luck and enjoy!

Cocktail dresses are actually one of the most versaile pieces of clothing you can own, since they qualify for such elusively titled dressing scemes like festive dressy and business formal. It all depends on how you play up or play down the dress with accessories.

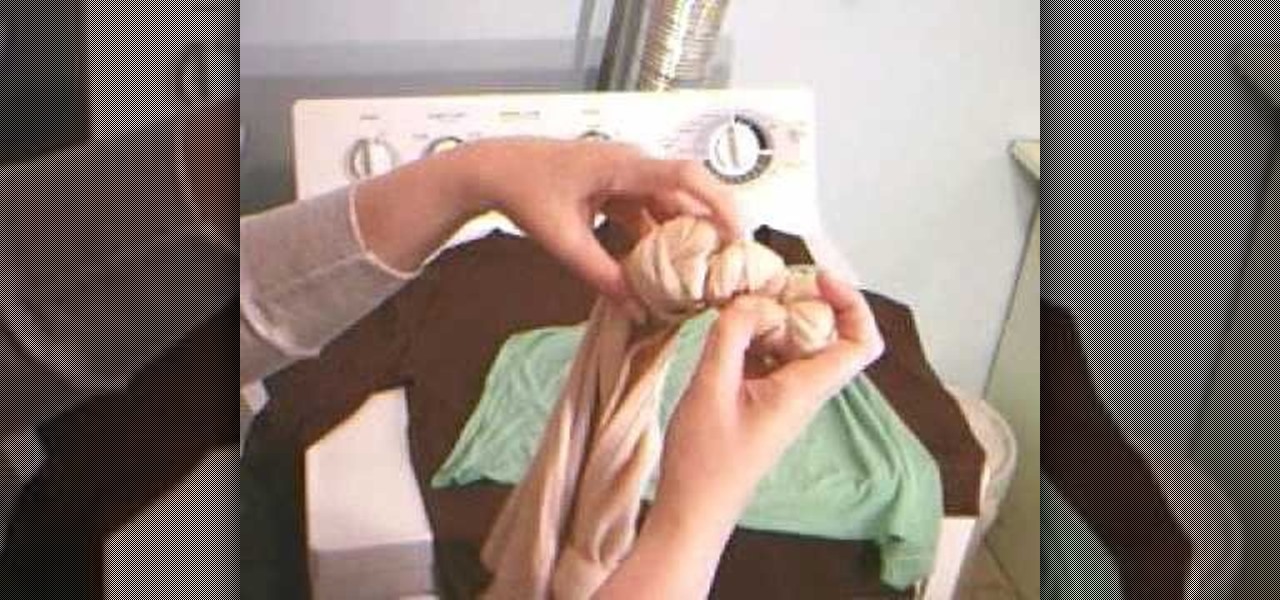
Do you love the 1960s flair that tie-dye gives your clothes, but hate tracking pre-dyed stuff down at hippie stores? This two-part video teaches you how to make your old plain-colored clothing tie-dyed using the knot technique. Revitalize your closet using this technique without ever having to set foot in a specialty store!


