Fly Tying Lesson 2 for Beginners. This lesson shows what you need and how to make your own fishing flies. In this fly tying tutorial Dave Cammiss demonstrates a 'Diawl Back' known as a 'Little Devil'.

Demonstration of tying a Gold Ribbed Hares Ear Nymph for fly fishing
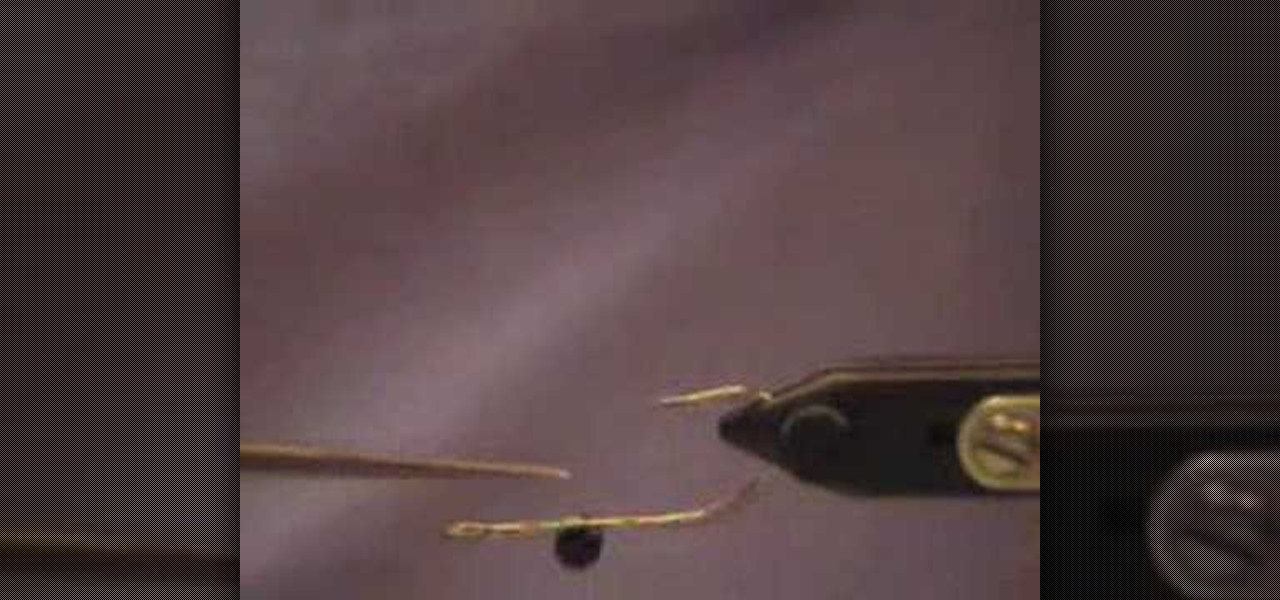
Bob Clouser shows how to make the basic clouser deep minnow fly for saltwater fly fishing. Part 1 of 2 - How to Tie a clouser deep minnow for saltwater fly fishing.

Barry Dauphin demonstrates tying the Crackleback fly for fly fishing. Normally tied for trout, he finds it an effective fly for bluegill.

This video demonstrates how to tie a quick, simple and ultra-strong knot that 10-time Bassmaster Classic qualifier Alton Jones ties.
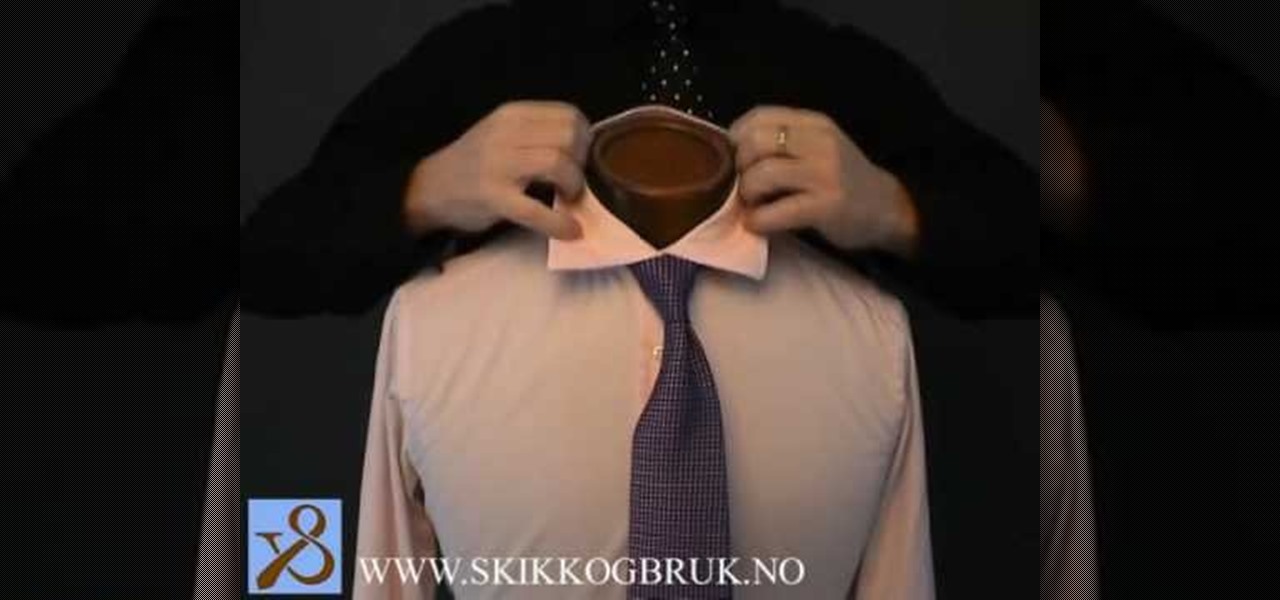
The "Four in hand" is the most well known and commonly worn knot in the western world. The "Four-in-hand" knot has its name from the drivers of the four-in-hand carriage in the mid-1800's, who tied their scarves and the reigns of their carriage with this knot.

Using ties can really make your rhythm guitar playing sound natural and free. Before you start on this lesson make sure that you have got your basic rhythm guitar down - especially the Bar 4 from the earlier rhythm lesson. If you're ready, then it's time to watch Justin show you how to play tied rhythm patterns.

The Albright knot is used for tying two fishing lines with different diameters to one another. The Albright knot is can be used whenever you need to tie two fishing lines together.

Windsor knots are among the most well-known type of knot. They look wonderful and they just seem to radiate talent and professionalism. However, the process is painless and takes only minutes to learn. You should watch this if you want to learn how to make Windsor knot. 1. Drape the tie over your shoulders (the same way that you would an Honors cords at a graduation) with the wide end hanging down roughly a foot over your right shoulder. 2. Take the wide end of the tie and cross it over the n...

Want to supply your head with a little extra jazz factor? Why not tie a scarf around it? You have only one head, but any number of ways to decorate it with a scarf.

The Albright Knot, demonstrated in this how-to video, was developed for fishing, but as it was created to tie together to diameters of rope or line, can be useful for many different reasons to tie knots. The Albright knot is relatively strong, so it's good to be able to tie this knot in various emergency situations. Check out this video survival training tutorial and learn how to tie an Albright knot variation.

Like any article of clothing, ties can get stains on them Learn how to remove stains from polyester or silk ties in this free clothing care video from a dry cleaner.

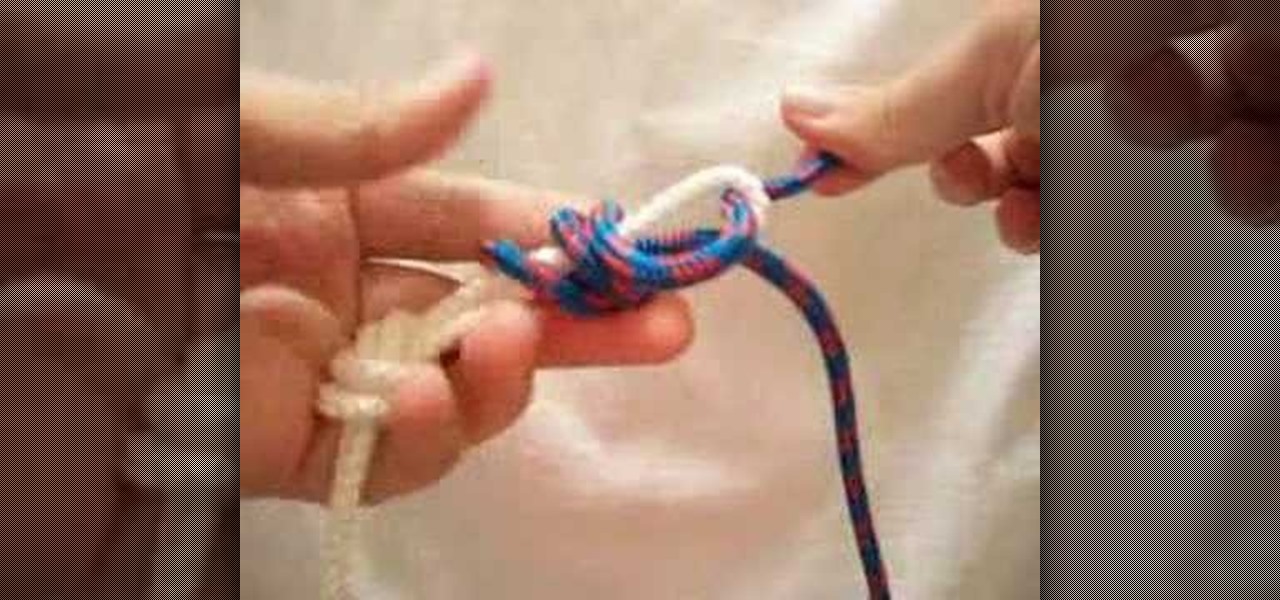
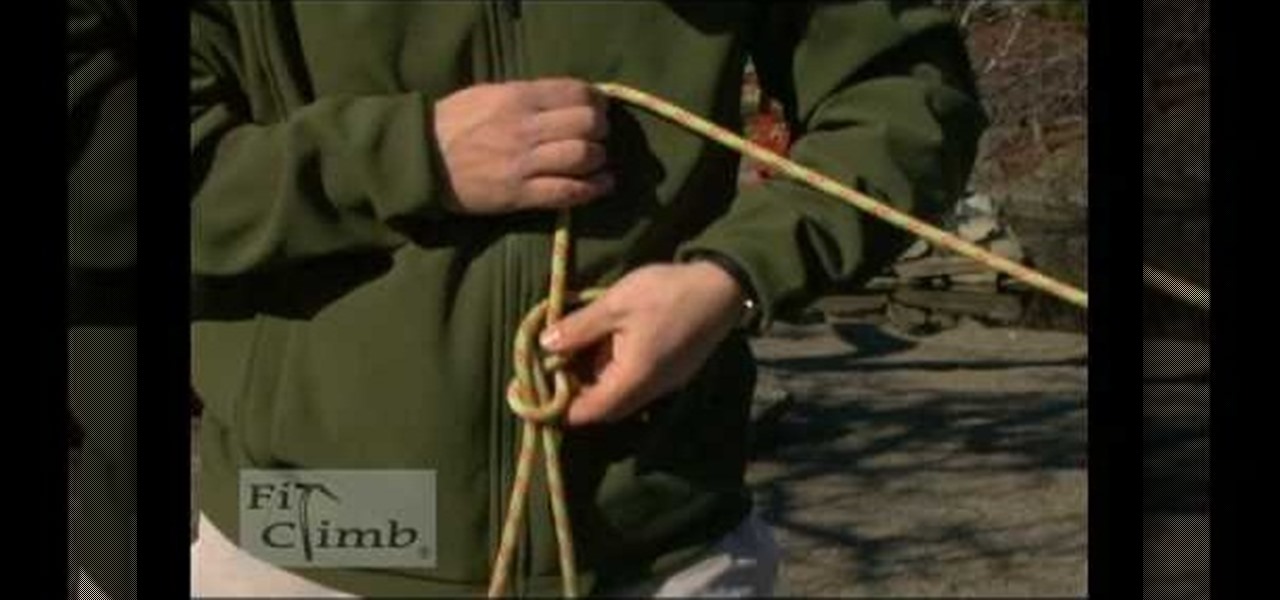
Bowline knots are great knots to use for safety. Learn about tying bowline knots in this free video lesson from an Eagle Scout.

Today we teach you how to tie a tie! Tieing a tie is So Easy a Guy Can Do It!

Tying a bow tie seems to be a lost art, but if you're a fashionable intellectual, there's no better way to dress up a shirt. So, if you're looking to improve your wardrobe without losing your geek-cred, take a lesson from The Science Guy himself, Bill Nye, on how to tie one stylish bow tie.

In this tutorial, we learn how to redeem a code for Microsoft Points (Xbox 101). First, you will need to log onto your Xbox Live account on your console. From here, pick a game that you want to purchase. Make sure you research the information about the game and you really want it, because you cannot return it. After this, choose the option to redeem a code and then type in the code for your Microsoft Points. After you do this, you will be bale to purchase the game that you want and you will h...

Balsamiq is a really cool software suite that allows you to create Apps visually without having to write any code! This two-part video lecture will introduce you to Balsamiq and show you how to use it to create your own cool Apps. If you want to learn Balsamiq, you really couldn't do any better than this.

In this tutorial, we learn how to weave ribbon into your American Girl doll's hair. First, grab the hair in the front of the head on just one side. After this, you will tie it with a rubber band. Next, repeat this same process on the other side of the hair. Then, do this again behind the first rubber band on each of the sides two times. Tie these together in the back, then tie in with a ribbon of your choice. Make a bow and then use another piece of ribbon to tie into the hair, finishing at t...

In this video we learn how to do a ponytail veil on your American Girl doll. To start, you will take the top front section of the hair, then brush it back. After this, you will tie it in a rubber band and then repeat these steps on both sides of the head. Then, you will take the hair that's in the ponytail of each one and split it into two. From here, you will tie these with another piece from another side and then tie together with a rubber band. do this once more on the very back and then t...

In this video we learn how to tie a skinny necktie in a Half Windsor. First, take the wide end over the thin end and then go over and under the loop. From here, take your wide end over the knot and then under and through the hole. Now, adjust your knot up to your neck where it's comfortable. Place your collar down and then you will be finished with the half Windsor knot. This is a very easy way to tie a tie that a guy can do on himself or have someone else do to him. Practice this to get good...

In this tutorial, we learn how to tie a necktie on someone else. First, pop the collar and drape the tie around the neck with the wide end on your right. Then, tug the wide end down, so it hangs 12 inches below the narrow end. After this, cross the wide end over the narrow end, and bring it up through the neck loop and down the front. Swing the wide end to the right, pass it under the narrow end, then cross it back over the right. After this, push it up through the neck hole. Now, tuck it thr...

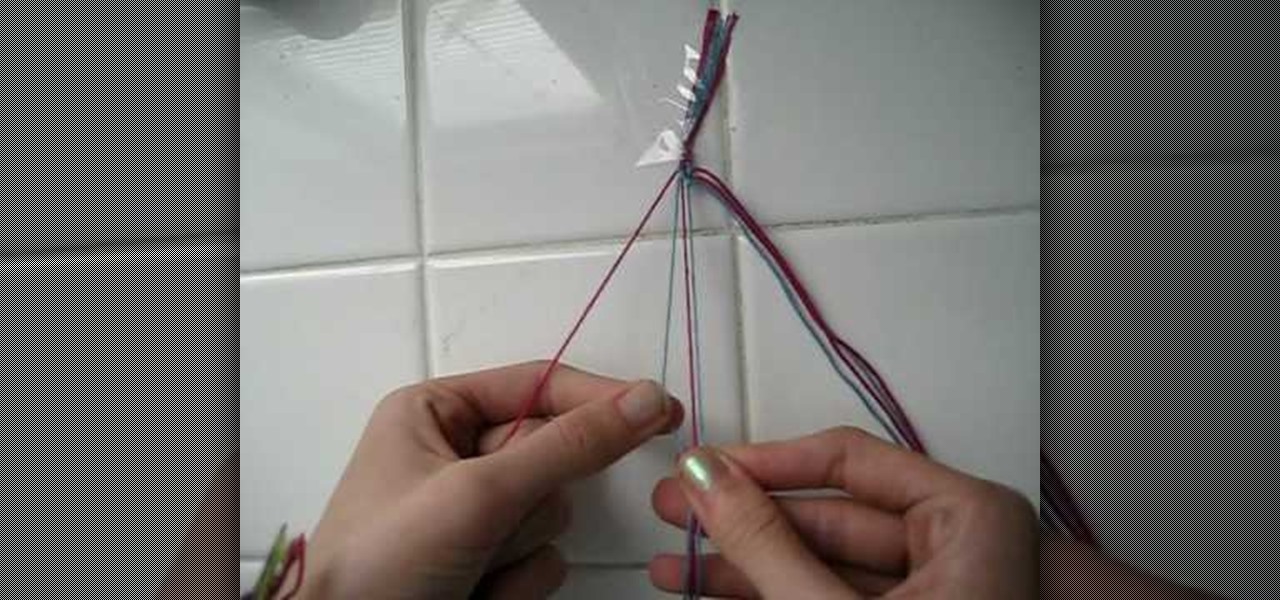
In this video we learn how to make a friendship bracelet with vertical hearts. First, tape your strings to a wall, they should be two colors with four of each. Arrange them so they are alternating colors until you reach the other side. After this, grab the first string and set it aside. Then, take the next two and tie them in a knot at the top. Tie the third string with the fourth at the top as well. Continue to do this until you reach the seventh string. Continue to tie the strings until you...

If your dad is a suit-and-tie type of guy, why not celebrate that on Father's Day by making him a delicious Tie-shaped cake? This video will teach you how to make a chocolate tie cake that will make the whole family weep with pleasure.

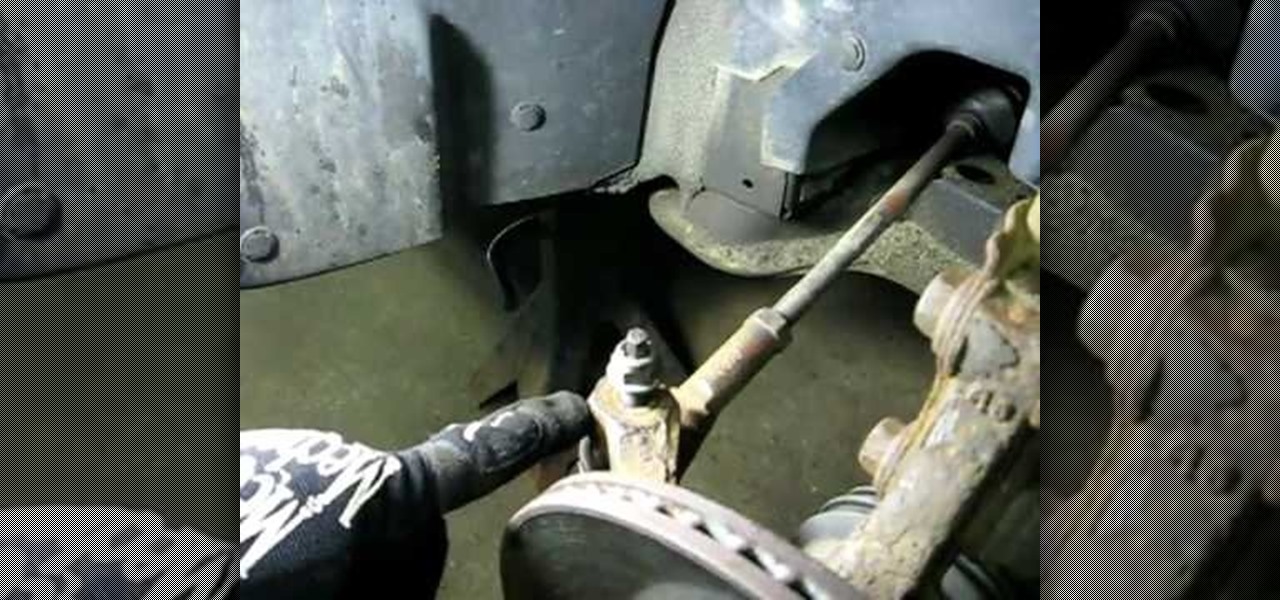
In this video, Rich Pin teaches us how to replace an outer tie rod end on a vehicle. First, get the vehicle in the air supported on jack stands, and remove the tire wheel assembly. Next, put a mark on the top of the tie rod shaft so you know where to line it up when you replace it. Next, loosen the jam nut from the rod, remove that and the nut. Remove the tie rod end after this by shocking it with a hammer. When it is removed, replace it with a new part and then attach all the bolts and nuts ...

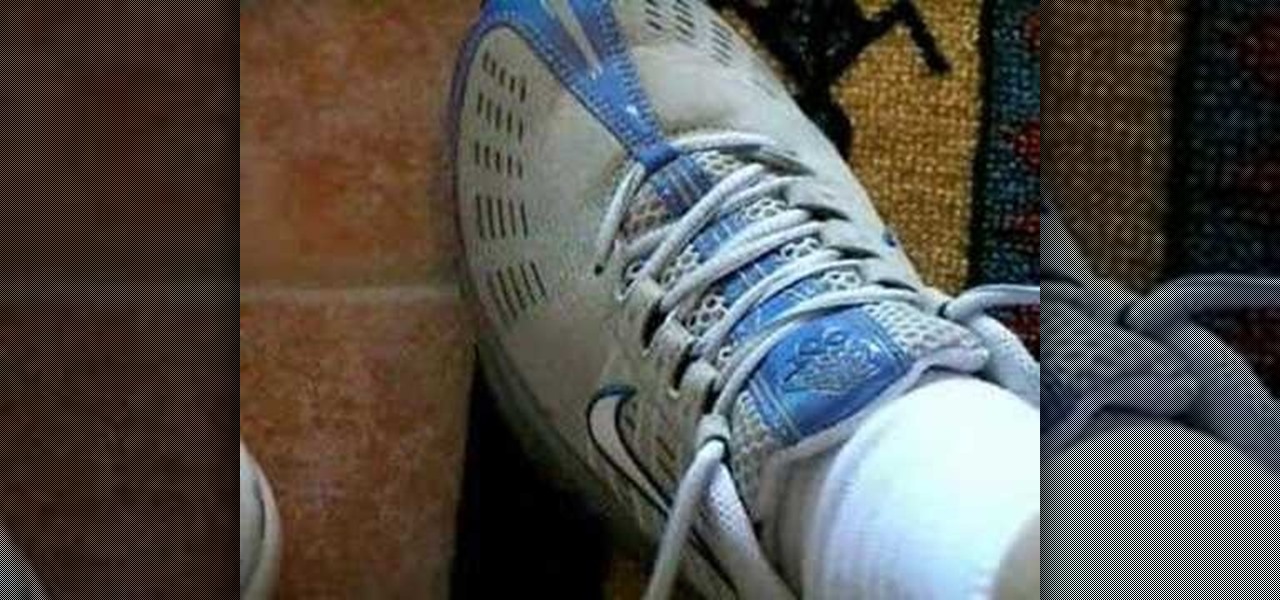
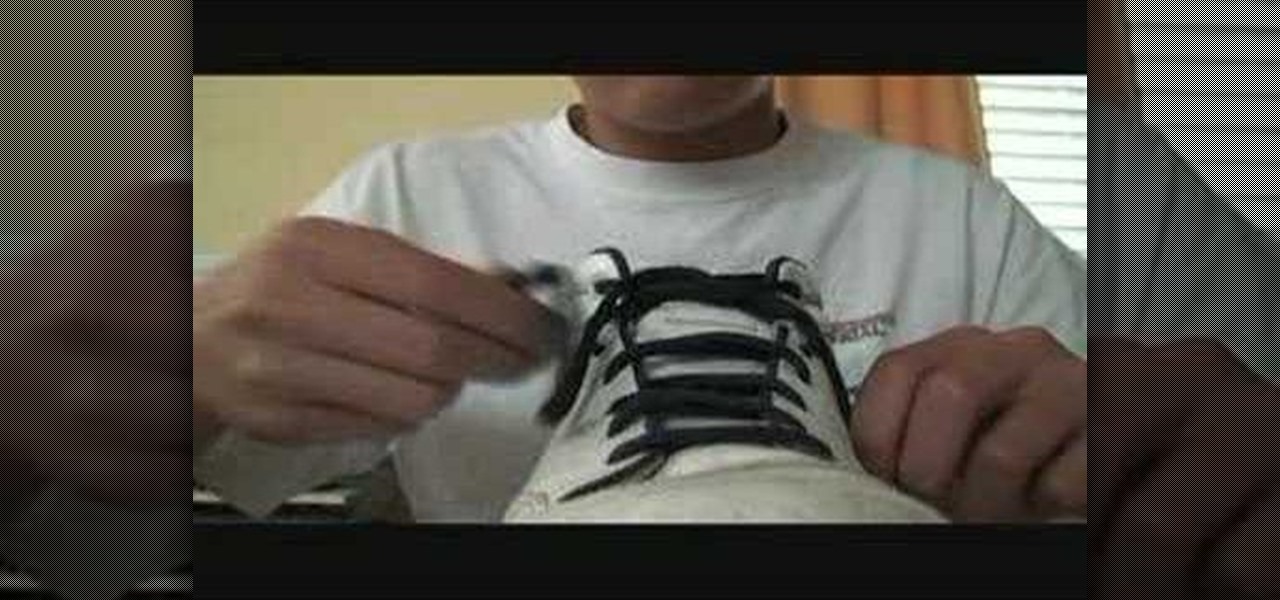
In this video, we learn how to tie your shoes. First, tie a knot at the base by crossing the laces over each other. Then, make a loop with one lace and wind the other one over it. Come underneath with a loop and then grab both loops and pull. To do this with the other hand, you can do the same thing just use your dominant hand to make the loops. This is only one of the many different ways to tie your shoes. It will take practice, but it can be done and once you do it it's very simple!

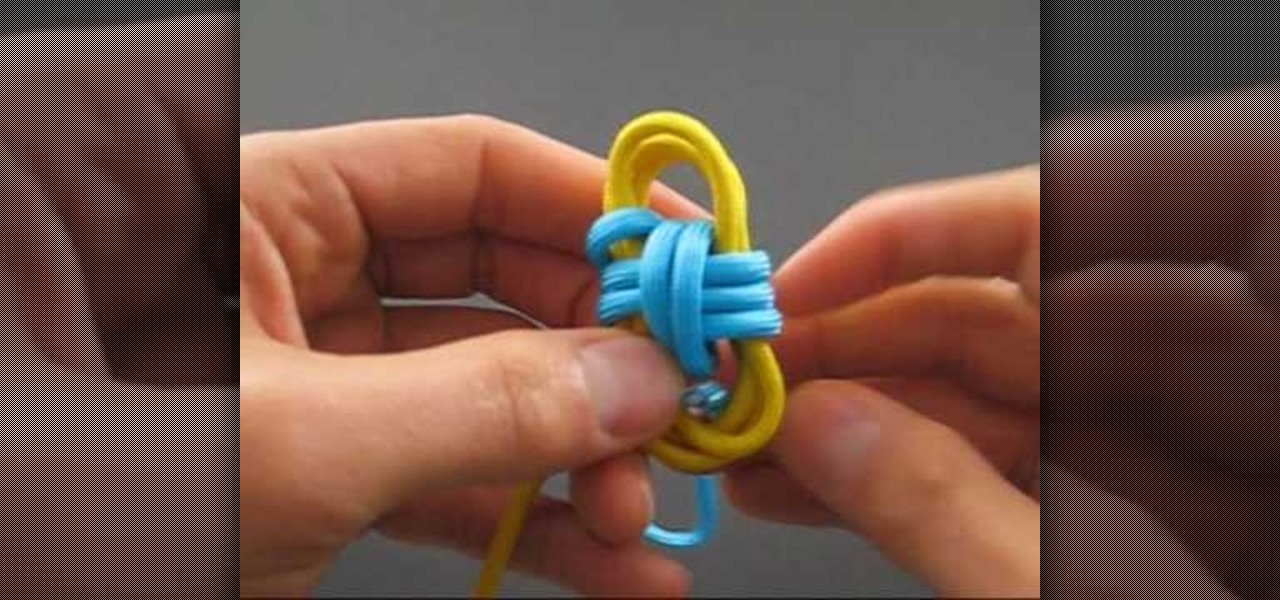
In this tutorial, we learn how to tie the two color monkey's fist knot. First, make a double overhand knot, and snip the edges off. Next, create the monkey's fist by taking one of the ropes and looping it around the fingers several times. After you do this, push the knot through the fingers and tie the other string around the entire loop several times. Push the string through the loop, then continue to tie on the opposite side around itself. To finish this up, Pull the two outside strings tog...

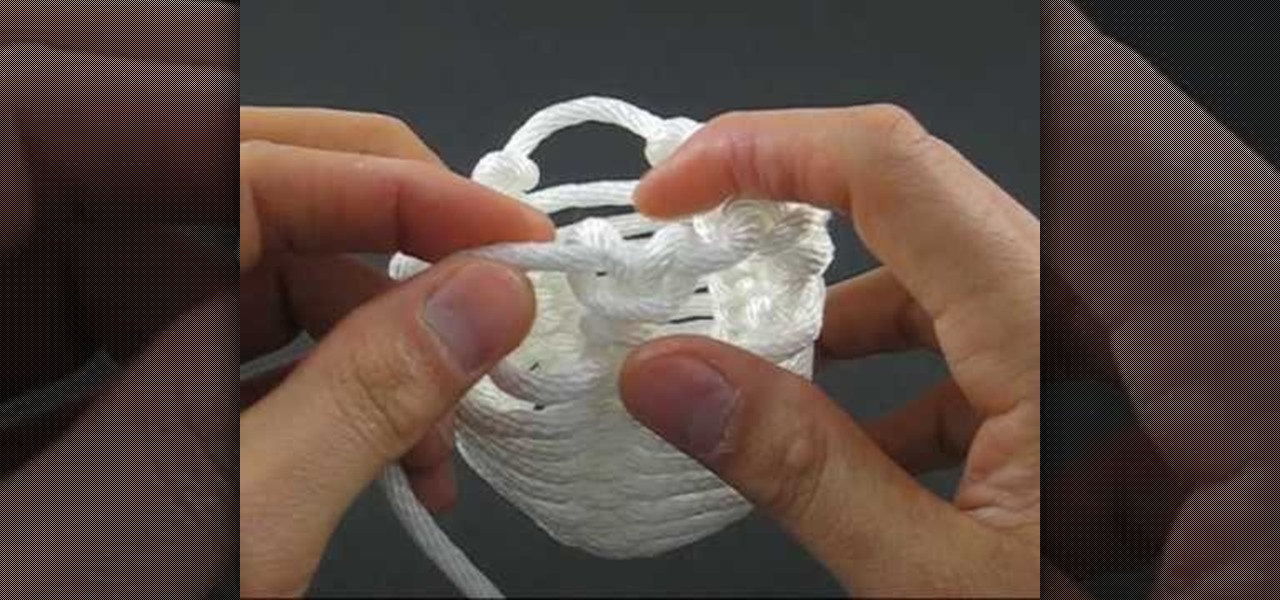
In this video, we learn how to tie a honey rope basket knot. To do this, you will need a 10ft of nylon rope. Start off by tying a counter-clockwise slipknot at one end of the rope. After this, pull the loop of the slipknot out four inches. Then, tie a second slip knot clockwise next to the first slipknot. Draw the loop length of the second so it's equal to the first. Next, continue to create slipknots next to each other until you've done five. No, hook your working end into the first loop and...

Express your colorful personality with the power of tie die! Turn your boring plain colored t-shirts from solid colored to multi-colored by tie-dying your way to becoming a fashion plate! In this video, learn how to tie dye your clothes to make something new, from something old.

Looking for a quick and easy way to fasten a necktie? Need to know how to tie a necktie for a formal event like a wedding or fancy job interview? Prefer that your knot not be too bulky? Try an old standby—the half Windsor knot (sometimes referred to as the "double" Windsor). This video tutorial presents a careful overview of the knot tying process and will have you tying perfect half Windsor knots in no time at all.

Toga parties are an essential part of the college experience! Don't get stuck at your next toga party with a sheet that keeps falling off, check out this video and learn how to tie your outfit properly.

This video is a demonstration of two ways to tie your shoes. The first method is as follows. Cross the two strings over each other, tuck one under the other, and pull it to tighten. Make a look with one string, then make the same loop with the other string. Cross the two loops, take one of the loops and tuck it in the hole between the two strings, and pull it. The second way starts the same as the first. After you have the first knot, make one loop and hold it with your thumb and index finger...

In this video tutorial, viewers learn how to tie shoelaces faster. The knot presented in this video is the Ian Knot. Begin by doing an overhand knot by grabbing he two strings, cross one over, tuck it in the loop and pull down. Now grab the left string with your left hand. The string should be on top of your thumb and index finger. Do the same on the right side. Now crossover the strings and pull. This video will benefit those viewers who have trouble tying shoes or would like to learn a easi...

In this video tutorial, viewers learn how to make a toy parachute. The materials required are: lightweight fabric, ruler, scissors, string, 4 hole button and a toy army man. Begin by measuring a 10x10 inch square on the fabric and cut it out. Fold over each of the 4 corners and cue a small hole. Measure and cut 2 lengths of 36 inch string. Take the string and tie it to one end of the hole on the fabric. Run the other end through the button hole and tie it to the diagonally opposite hole on th...

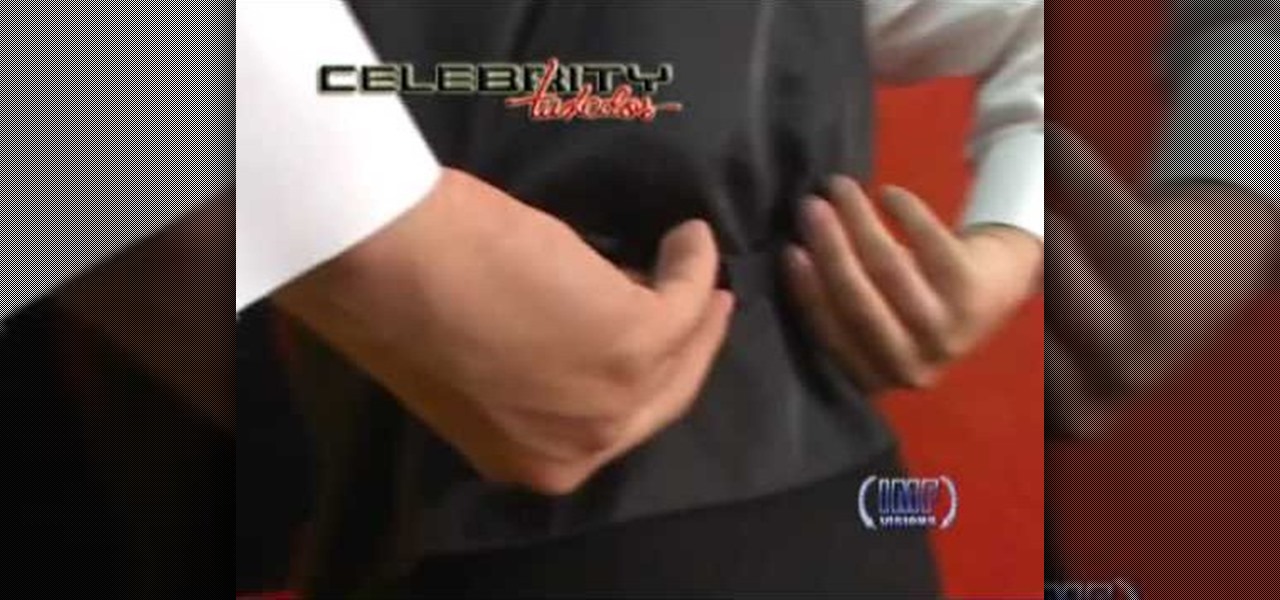
This video shows everything about how to put on a rented tuxedo. When you get your tux, the shoes will be hanging in a bag on the outside of the bag. Inside the bag will be the coat, shirt, vest or cummerbund, tie, pants and studs and links. Socks will be in the inside coat pocket, and the pocket square should be on the outside pocket of the coat. Remove the studs and links from the bag. Leave the collar button alone and start with the next button hole. Put the studs through the holea. Insert...

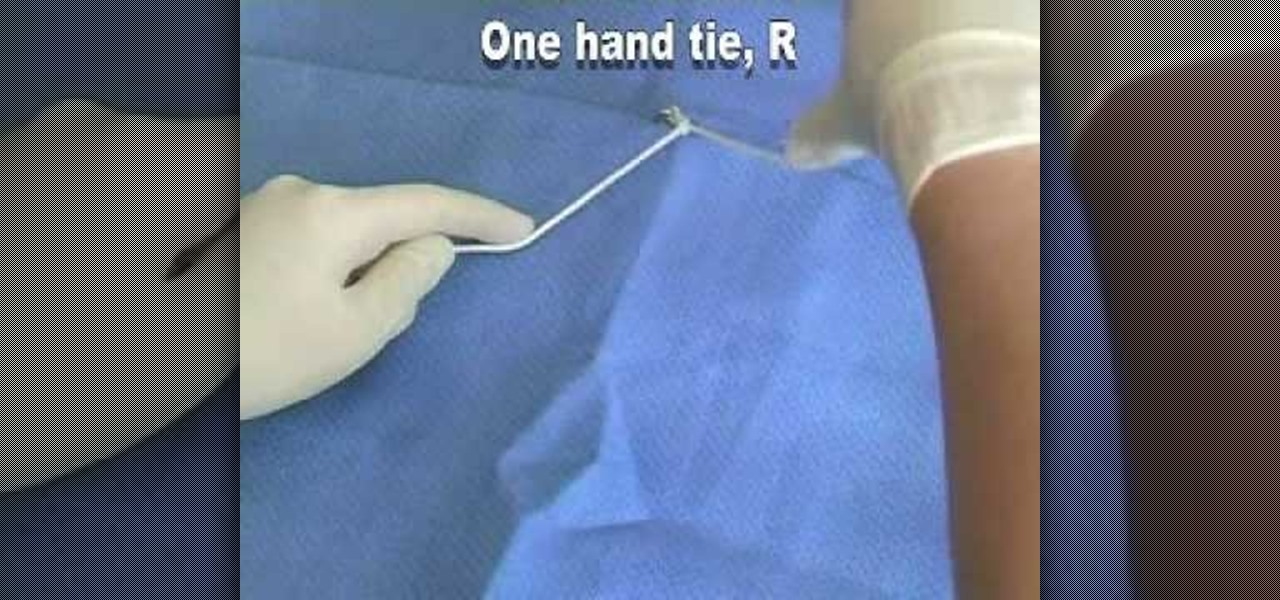
Gloved hands show how to perform several veterinary suture ties. This video shows the one hand tie with the right hand. It repeats the tie several times in slow motion to allow you to follow it and manage to copy the suture and learn to do the hand tie yourself.

How to tie a Eight Figure Knot.

In this video tutorial, viewers learn how to tie a karate belt. Begin by putting the belt on your left hip. Then wrap it around all the way to the front, keeping it flat. Now wrap it around one more time to the front, on top of the other piece. Then tuck the top piece underneath the two layers of the belt, make the tips even and then pull on them to tighten the belt. To help children tie the belt, only hold one side of the belt and do not wrap it for them. Give them the instructions. This vid...

This how to video is for people looking to learn how to tie a scarf attractively. Get a long scarf for your head and place the middle of it on the top of your head. Gather each end in the hand closest to it in the middle. Turn it around by pulling it behind your head and tie the ends over each other. Next step tuck the scarf behind your ears if you like it that way. Then twist the left end around your head. Create a bun with your hair and the scarf in the back using the final side to tie it up.

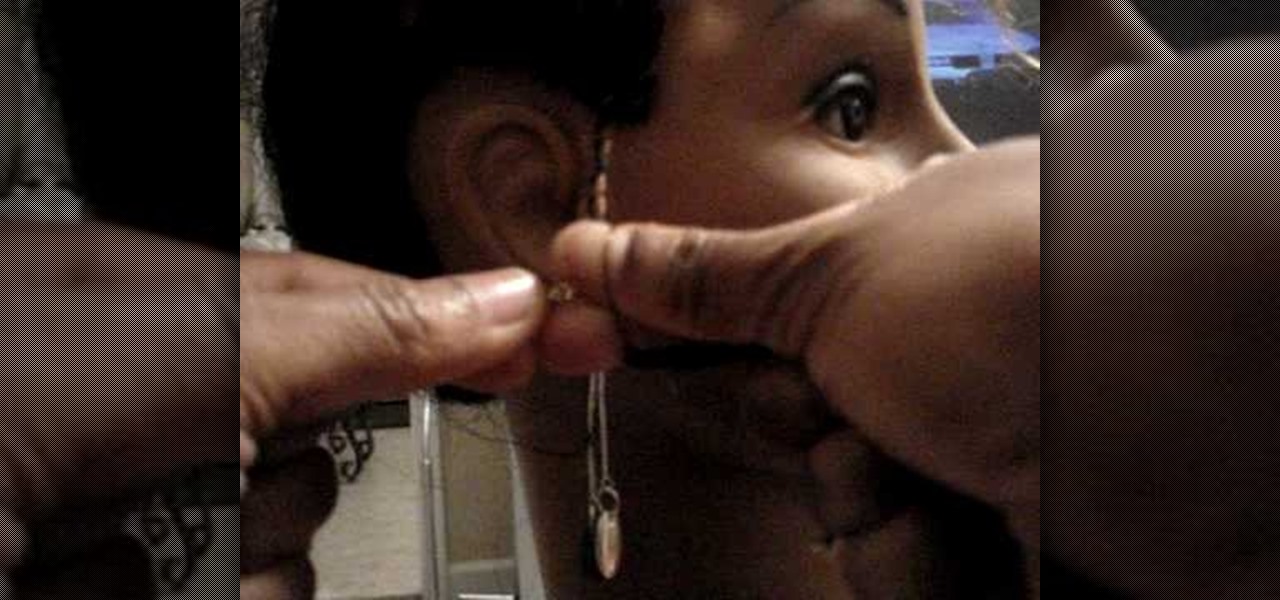
In this how-to video, you will learn how to tie a slipknot on micro braids. First, braid the hair to the desired length. It is good to braid it close to the end, unless the hair is permed. Now, hold the braid and fix it so that it can be nice and neat. Take a few strands of hair and tie it around the rest of the hair. Now loop it around the finger holding it and put your thumb inside. Make sure to tie it up. Do the same thing about three or four times. Once this is done, take part of the same...

In this how-to video, you will learn how to tie a patanosta rig for beach fishing. This will be useful for catching fish in the summer. Make sure that the sinker and bait are not too far away from each other. If you cast this out, the casting distance will not be reduced by a circular motion that the bait and sinker will make if tied improperly. First, place only about a foot and a half distance. Form a loop, wrap it around about three times, and pull the hook through the leftover loop. Pull ...


