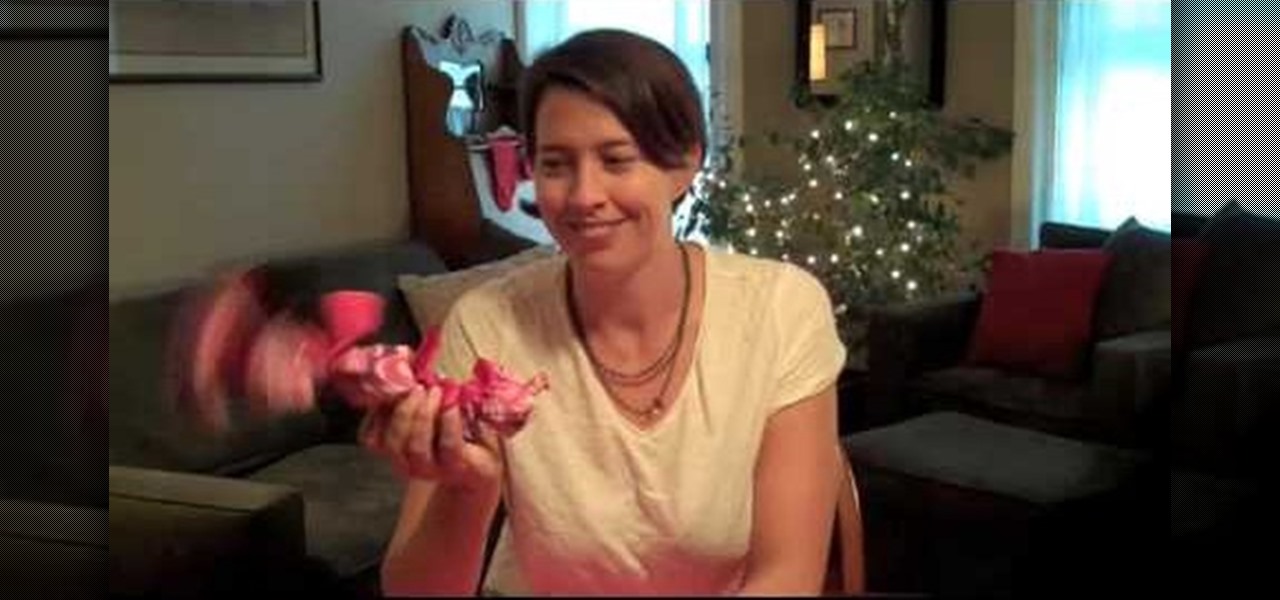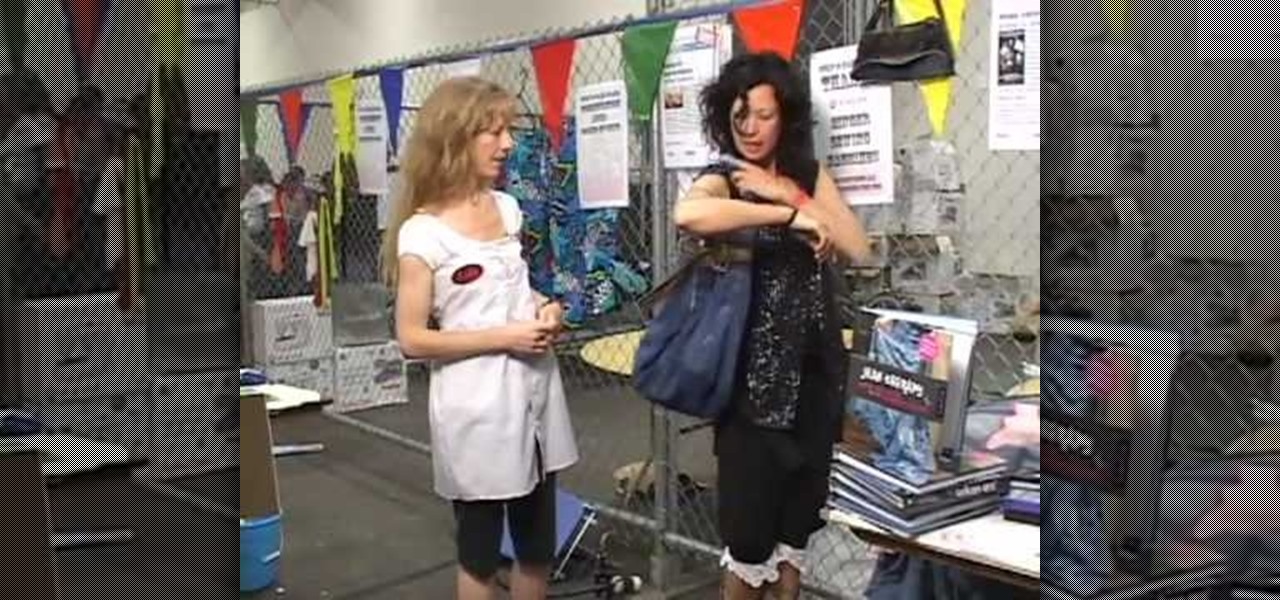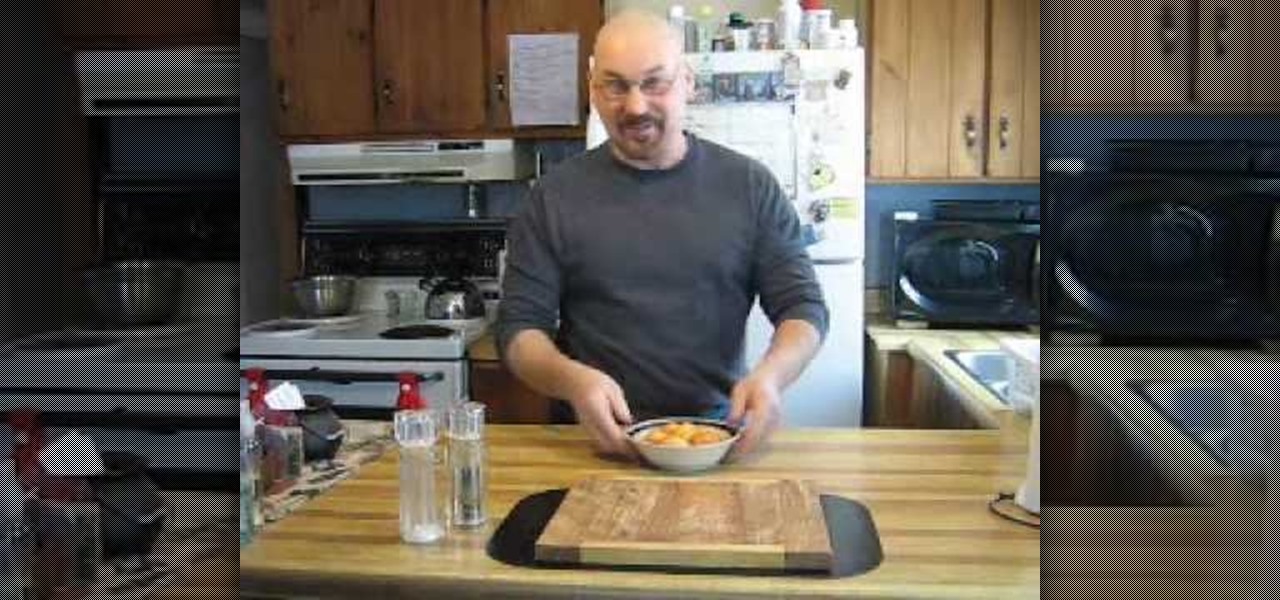
The Simple Chef is going to show you a very easy guide to making onion skinned Easter eggs. All you need is: eggs, onion skins, paper towels, and some twine or string. To begin, you want to take an egg and wrap it in onion skins until it's completely covered and then wrap the egg in a paper towel. Next, you want to wrap your twine around the paper towel and tie it so it holds. Next, you want to place the eggs into a boiling pot of water and cook for about 10 minutes so you have a nice hard bo...

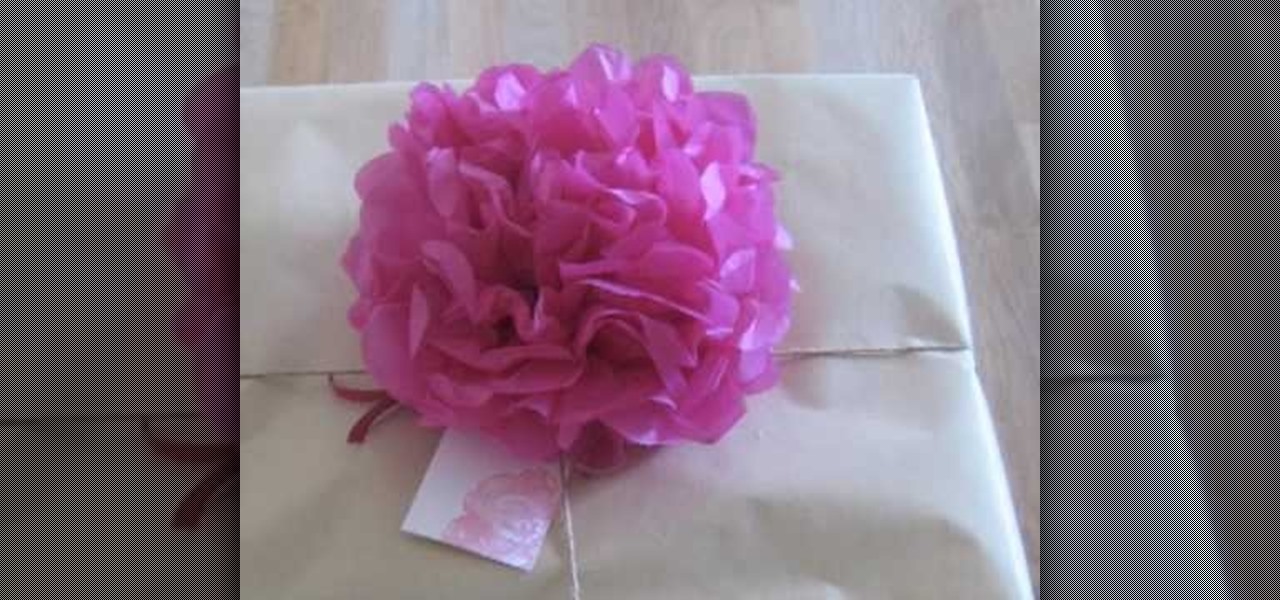
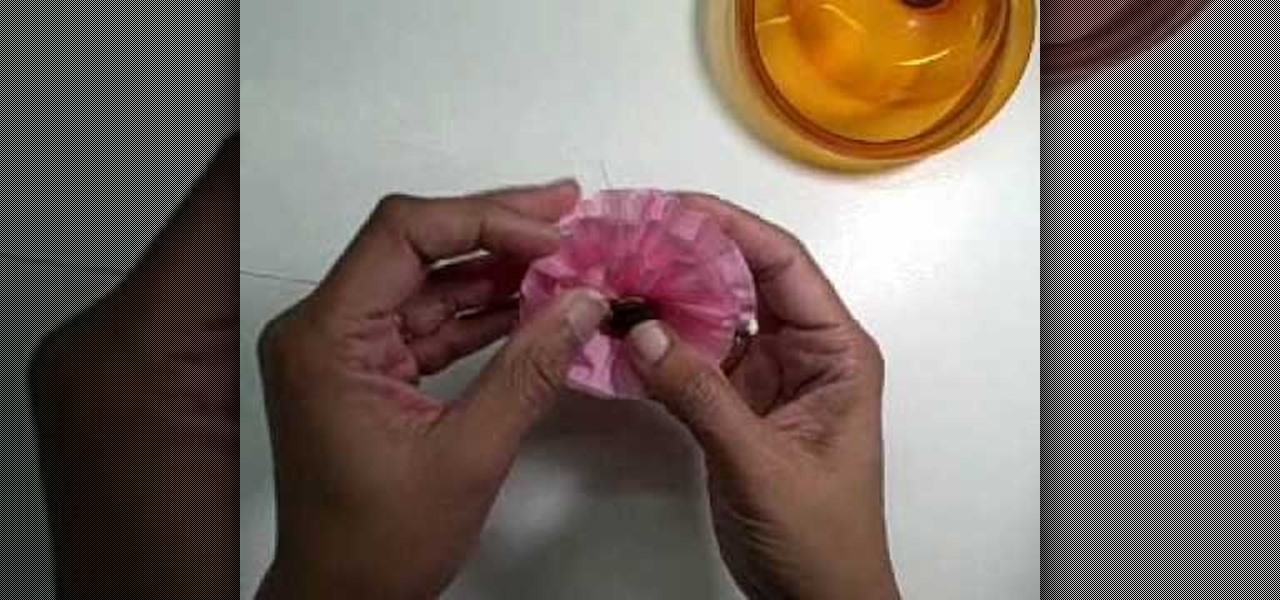
AMICLUBWEAR created a tutorial on how to host a tea party based on "Alice in Wonderland". The video begins with a step by step instructional on how to make tissue paper "flowers" as decorations for your tea party. The tissue papers are layered in opposite colors, after which the tissue paper is accordion folded and tied together using a pipe cleaner. Afterwards, the tissue paper is carefully extended layer bay layer and shaped into a flower. Next, there was a tutorial for making the "EAT ME" ...

This is a video demonstrating how to cook corn on the cob on a grill. To cook the corn, first the husk needs to be stripped from the corn. The husk is not totally removed. The silk is removed from the corn and then the husks are pulled back up. A piece of kitchen string is then tied around the tusk and the corn is soaked in water for 30 minutes so that they won't burn quickly on the grill. The corn is opened on the husk just a little. Then she adds flavored butter to the corn, and then closes...
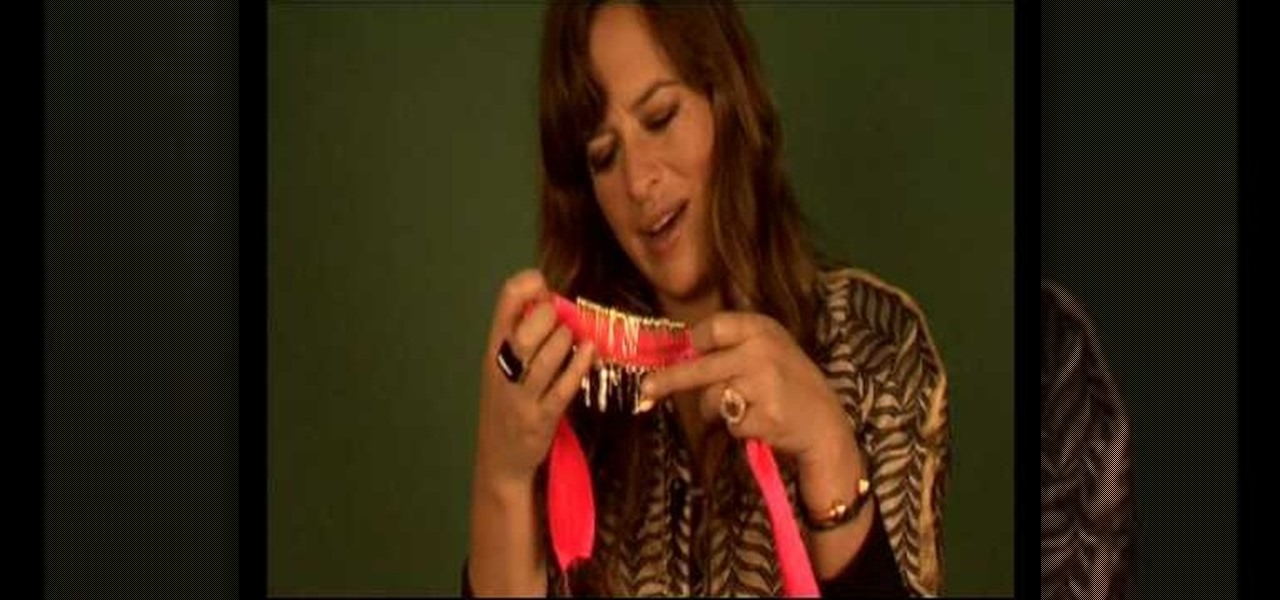
Jade Jagger from the Woman magazine's 'Make Your Own' edition is going to be showing us how she made her stylish new bracelet. Although her bracelet might look pricey from afar, she used only some basic office and art supplies to make it, such as ribbon, old keys and safety pins. Jade simply puts a bunch of safety pins in to a fluorescent ribbon and then ties some old charms and keys to the ends of the pins. It is easy and anyone can do it. You can have an impressive looking Jade Jagger inspi...
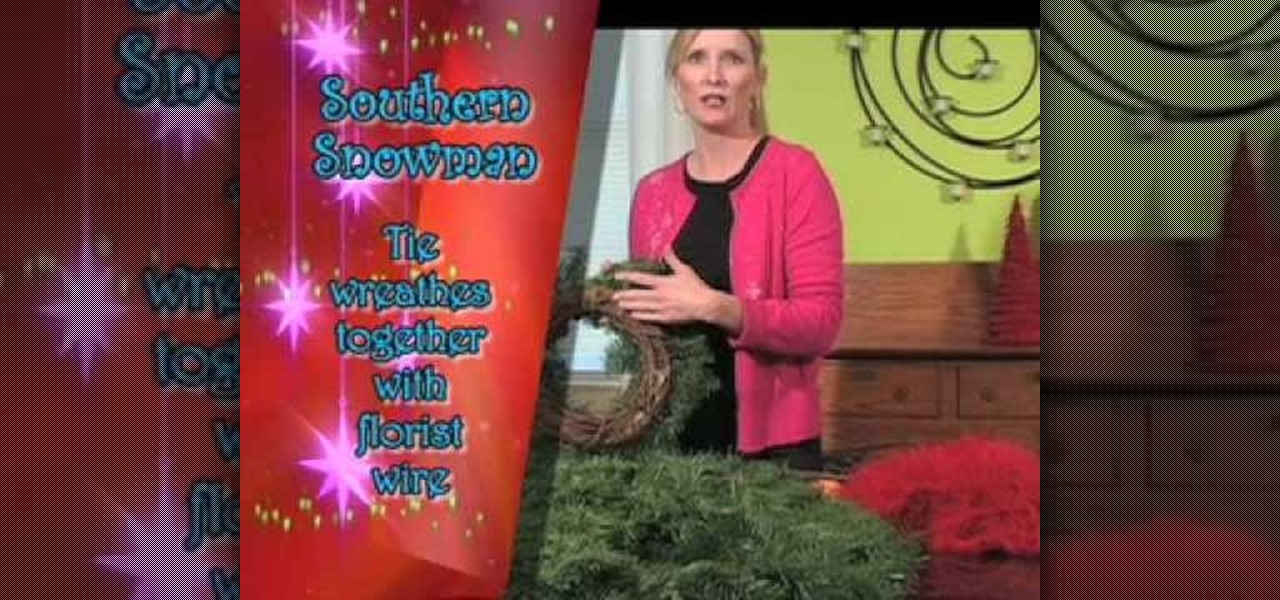
First the item list is as follows: three wreaths (small, medium, and large), two sticks, gloves, a scarf and a hat. You will also need some wire to hold the wreaths together, and the arms to the body. The first step is to use florist wire to tie the bottom, largest wreath to the medium wreath to form the lower section of the snowman. Then you repeat the same process for the head to the body. You then put a colorful hat, the scarf, and gloves and you have yourself a wreathy snowman.

This video, for simplekidscrafts.com, tells us how to make an origami necktie. This is a very easy crafts project, suitable for kids and adults alike. It doesn't require a long list of materials, only a sheet of origami paper is needed. The sheet of paper is then folded ten times to transform it from just a square of paper into a decorative origami necktie. The video has no audio instruction, but encourages you to follow the folding technique exhibited by the child in the video. The camera is...

DrawingNowVideos teaches you how to draw SpongeBob Squarepants. You start off with a squiggly line and you want to create a rectangle and then create a 3D box out of that. That will be the head. Add circles and ovals on the side to make it look more like a sponge. Add eyes, eyelashes, nose, cheek with freckles and an open mouth with two teeth up front and the tongue. Then draw the body and add details such as pants and a tie. Complete the face by adding a few circles around. Also don't forget...

NiftyButton teaches you how to make a simple baby toy. You dig out an old pair of brightly colored stockings and snip off one leg. You want to have a section of about 15 inches. You then stuff this with crumpled paper. Take the open end and make a tight knot. Cut and tie ribbons into knots. Place each ribbon between two pieces of paper. You can also add eyes to the small toy by adding buttons or simply using a marker to draw the eyes on the part that should be the head. Finally, give the toy ...

This is a tutorial that will show you how to create a powerful bow and for under $5. The material you'll need is 1 curved pipe, poly poli string, tape, scissors, and a knife. First you want to cut a slit and a hole on each end of the pipe and then add some tape underneath it to prevent it from splitting. Next, you want to line up the string with the pipe and cut it at that length. Also, you want to tie a knot at both ends of the strings and attach it by using the slits you made in the pipe. T...

Learn to make two different delicious chicken recipes, chicken royale and chicken cushion, from a professional butcher in this video. Watch the demonstration of how to carve a whole raw chicken into two boneless breasts and two boneless legs. The legs will become chicken cushion, a bacon wrapped dark meat dish filled with stuffing and sauce. The second recipe shown is chicken royale. It is similar to the first recipe with stuffing and sauce, but the bacon is draped over top instead of wrapped...

Learn how to recycle and reconstruct your denim jeans: Craft side Look, Learn and Create with Stefanie Girard and Jean Therapy with Scathe G. Allison demonstrate how to recycle and reconstruct your denim jeans. You can make a bag out of your jeans by using the leg as the strap. Customize jeans by adding patches to the legs and ruffles to the bottom. All the projects use simple sewing machines and stitches and don't require extra tools. A skirt can also be made by sewing together 14 pairs of d...

This video by Good Housekeeping shows you how to improve your memory as you age. Follow these steps to improve your memory: Practice by paying attention. For example whether your husband was wearing a tie this morning, or what your friend ate for lunch. Organize information into smaller groups. Create a to-do list. Repeat the name of the person you just met. Play word recall quizzes, which can be found at Good Housekeeping.

Chef Daisy teaches you the secrets of preparing Chinese sticky rice in simple steps. First soak the Chinese rice in water with some salt for an hour. Now use two leaves to make a cup shape, add some rice, pork, egg yolk, dry shrimp, Chinese sausage, chestnut, mushroom, green beans and finally some more rice on top. Use two more sticky rice leaves to finish the packing and tie it up two water grass. Repeat the same to make more packs, put it into water boiling at 100 degrees and cook for 4 hou...

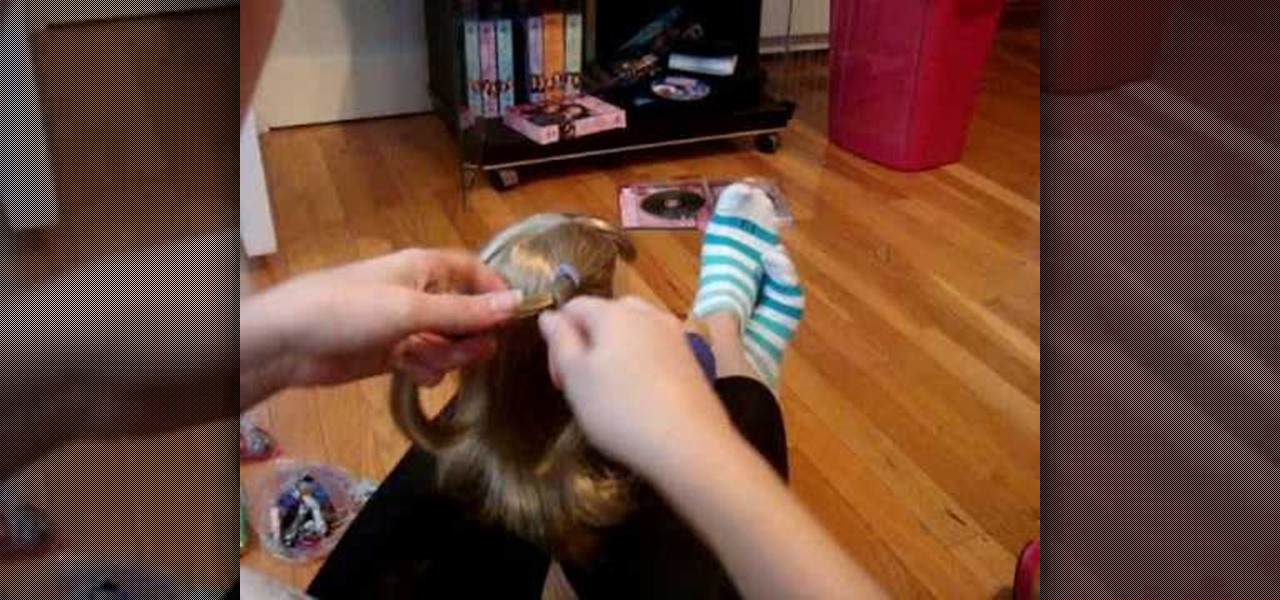
Follow this video to learn how to make an innovative hair style for your American Girl doll. Brush the doll's hair neatly. Then pick up some of her hair on one side and tie with a hair band at the top corner of her head. You will have made sort of a little ponytail at the side. After doing so make a braid out of that small pony tail. You will have a cute and different look for your doll's hair in little time.

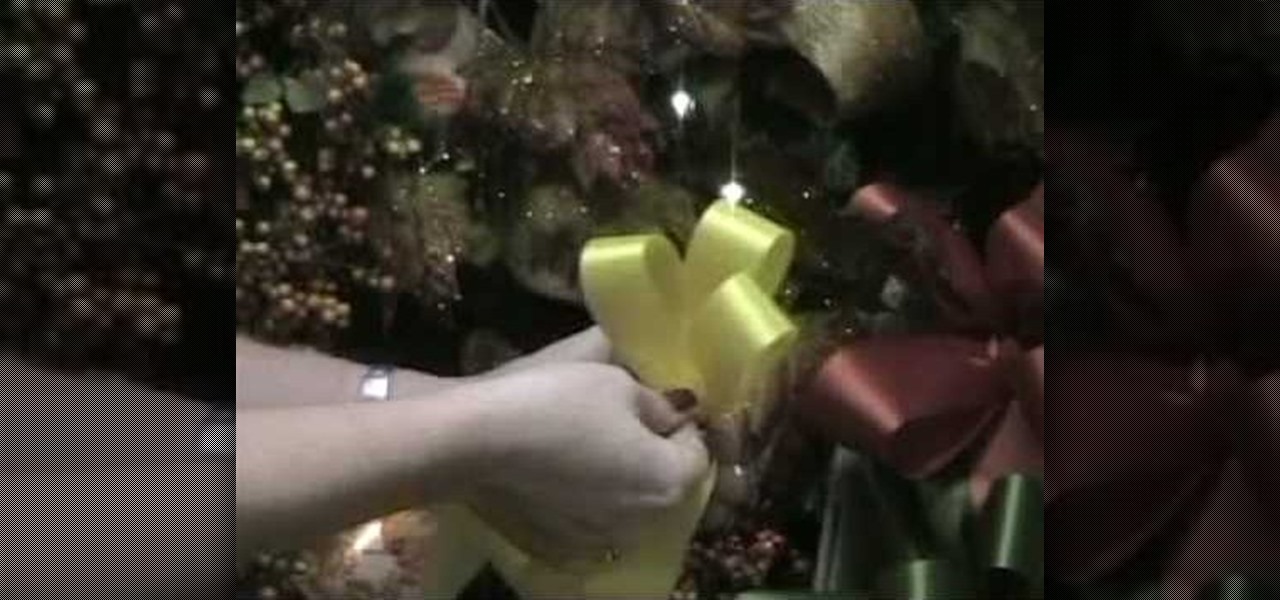
There's no better time than the holidays to whip up a batch of beautiful decorative bows. This instructional video teaches you how to tie your own bows for embellishing any holiday themed item. Once you've mastered this technique feel free to experiment with other sizes and styles. These are the bows that we use to attach to wreaths, garlands, centerpieces, swags, potted plants, and a variety of other floral arrangements. Learning how to make your own professional crafter's quality bow like t...

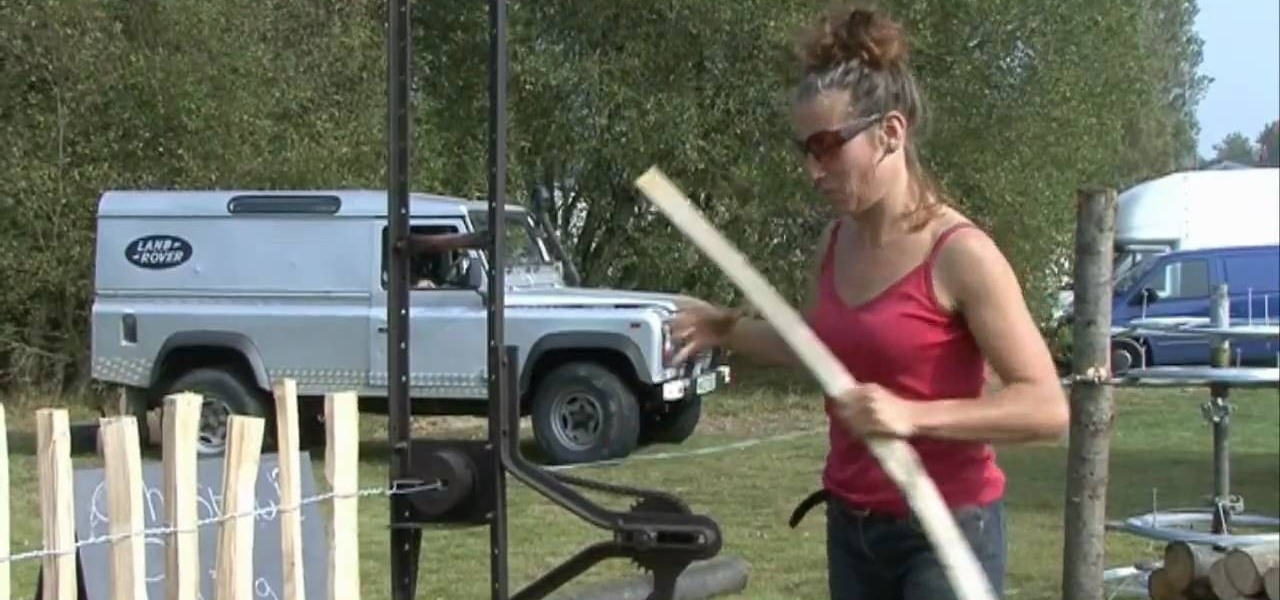
Learn how to make chestnut paling using a paling machine from Aly May in simple steps. First tie the strings up and down in a wooden pole according to the length you need. Start by placing the wood in between the strings upside down fitting perfectly. Now roll the machine to twist the strings and repeat the same till you get your desired length. You can also use wood with sharpened edges if you want to make a fence. It can be also used for some events but you have to change its length and dur...

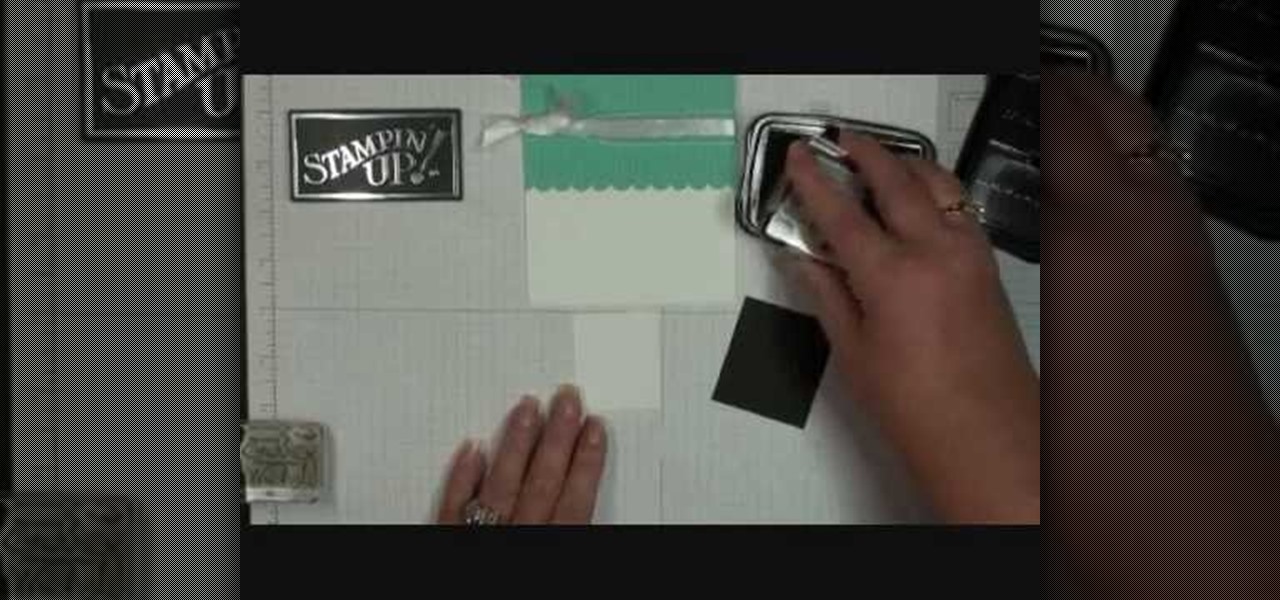
Demonstrator Dawn Griffith offers a short tutorial on how to make a simple and cute birthday card. First you will use white paper to make your base card. Then use a scallop edge punch to scallop some green designer paper, which you will glue to the top of your card. Tie some white ribbon around the top and trim for a clean look. Use a greeting stamp to stamp a message onto the bottom right front of your card. Create a center image by adhering white paper on black card stock, stamp the white p...

In this video tutorial, viewers learn how to make a paper flower. This video provides all the materials that are required in order to make the paper flower. The materials required include: colored tissue paper, scissors, and 10 cm of colored string. Begin by cutting the tissue paper to preferred size. Fold 1cm on the tissue paper, flip it over and do the same on the other side. Continue this until you've reached the end. Tie one end of the string onto the middle of the tissue paper and fold t...

Becca from Amazing Paper Grace demonstrates how to make crepe paper flowers. The supplies needed are a roll of crepe paper, scissors, a ruler, and a sewing machine or needle and thread. Measure a yard of crepe paper and trim it narrower if you want a smaller flower. Use the sewing machine to sew a straight stitch along one edge with the longest stitches. Pull the thread to gather the paper so it curves around to form a flower shape. Layer the curves around in a spiral to form the flower. Feed...

This how-to video shows you how to make a Christmas card using the Cricut Paper Doll Dress Up cartridge. Use the cartridge to cut out a tree. Use card stock for the base of the card. Use the Cuttlebug tree texture to create a background for the front of the card. Tie some ribbon around the bottom of the Cuttlebug paper. Attach to the front of the card. You can then add your tree and any other additions to the front of your card. This is a simple and quick way to make a Christmas card.

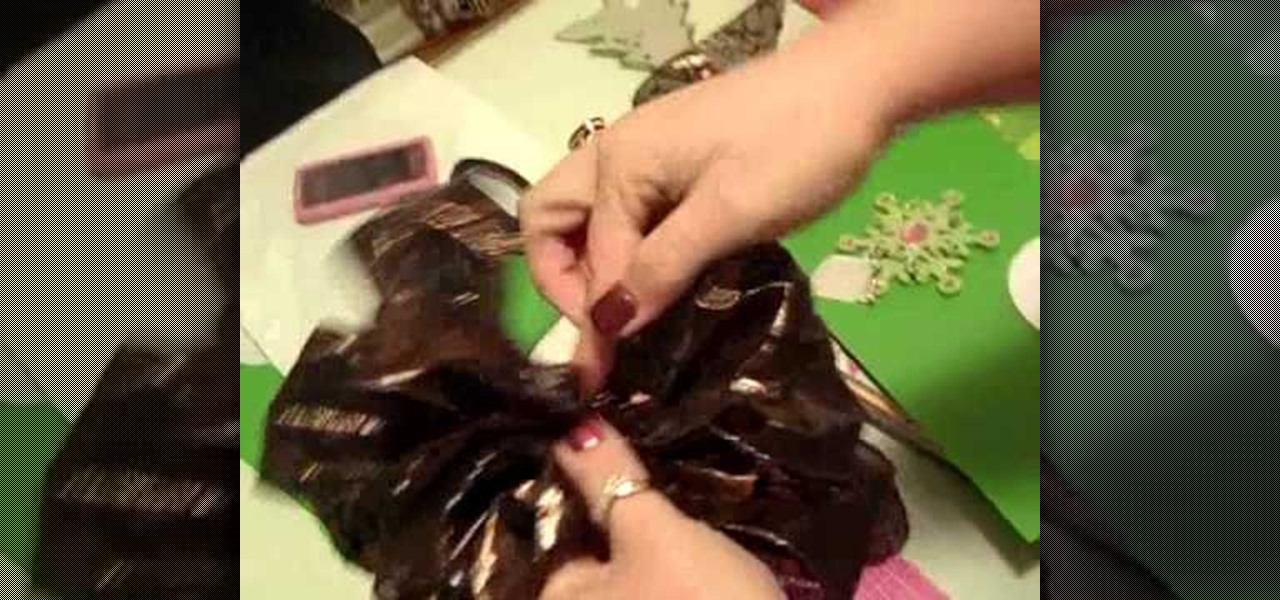
Wrapping a gift is great but adding a giant bow to the top of it makes the present that much more appealing. In this tutorial, learn how to make a huge bow to put on top of gifts.. you can also use the bow as a decoration for a wreath, Christmas tree, wall decoration, etc. Making this bow is not as difficult as you would think and takes a little under five minutes to finish. Excite the recipient of your gift with a big, beautiful bow.

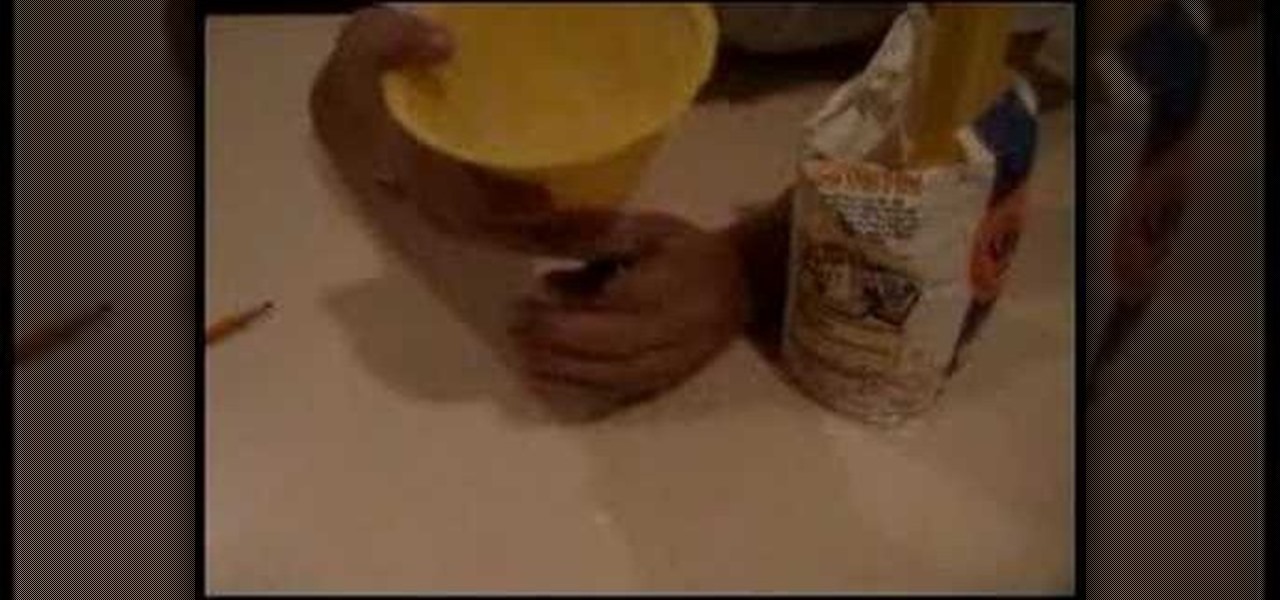
In this video, they will show you how to make your own homemade stress ball. They show you all the materials that are needed and all the steps that you have to take. You first need a balloon and a to attach it to a funnel. You then fill the funnel with flour and push the flour through the funnel with a pencil. You would then tie the balloon and personalize the stress ball by making it a face. This is how they show you have to make your own stress ball at home.

Ever been impressed by fancy gift wrap but didn't know how to create it on your own? This video will show you how to make that perfect decorative bow. In this tutorial you will go step by step about how to use normal ribbon to create a special bow. You'll take two separate lengths of ribbon, one thick and one thin and combine them for a fancier look. This tutorial will show you how to adjust the length of the loops and tie the look off for a final look.

David from "The One Pot Chef Show" demonstrates how to make the delicious, quick, and inexpensive family dish of Creamy Tuna and Mushroom Pasta! All you need is some bow-tie pasta, sliced mushrooms, cream of mushroom soup, garlic, tuna and milk. By following the simple steps in this video, you can make this dish in 30 min. Boiling the liquid ingredients and mushrooms and then combining the mixture with the pasta and sticking it in the oven is really all it takes! If you're looking for a new r...

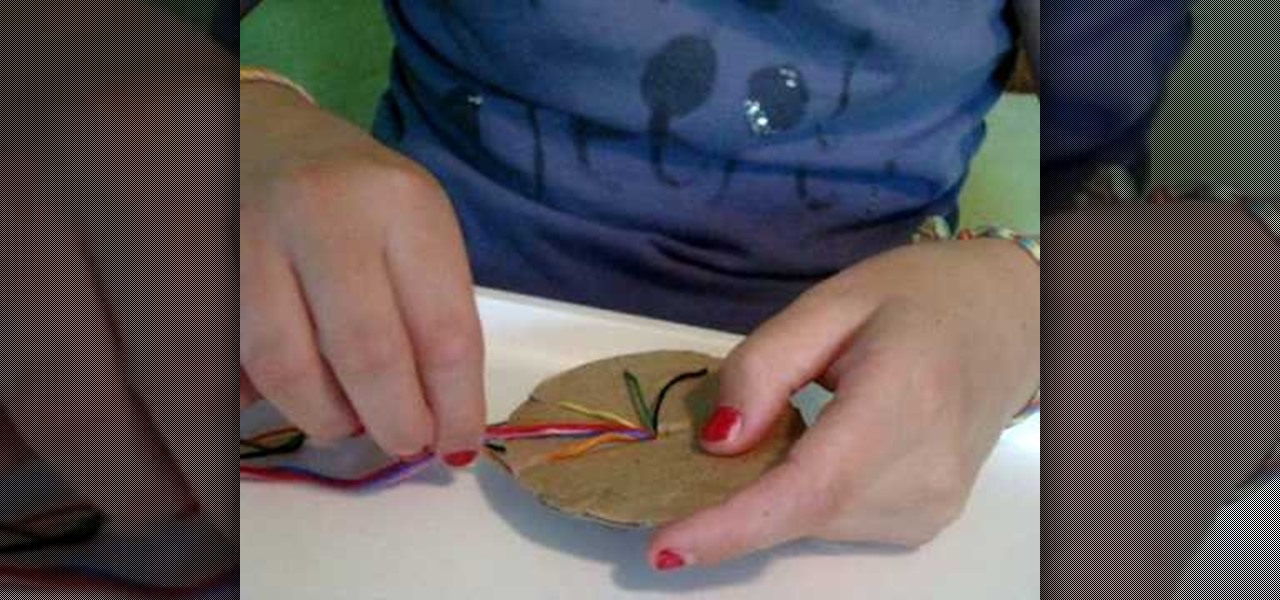
A little girl from Live Love Embroidery explains, in this video, how to make a circle woven friendship bracelet. The process involves seven strands of embroidery thread tied at the end with a simple half-hitch knot. The knot is fed through a small hole in the center of a circle of cardboard. The strings are then individually latched through seven of eight notches located at the end of the cardboard. After that, rotating in a circle pattern around the cardboard, the strings are exchanged aroun...

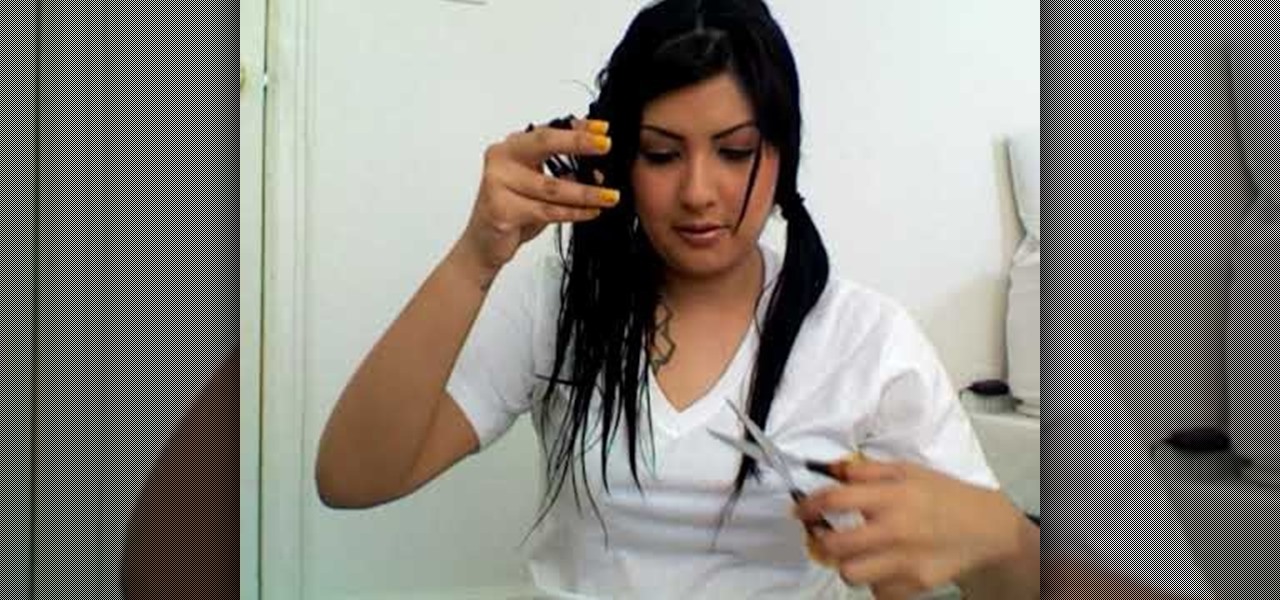
Don't have the money in your budget to go out to the salon? With this video you will be given tips to cut your own hair. Before you start, you will need elastic hair ties, a comb, and hair cutting scissors. This video will take you through a step-by-step demonstration from start to finish on how to do a hair cut at home. She'll show you how to section off your hair and start cutting away. As she says, the hardest part is knowing when to stop.

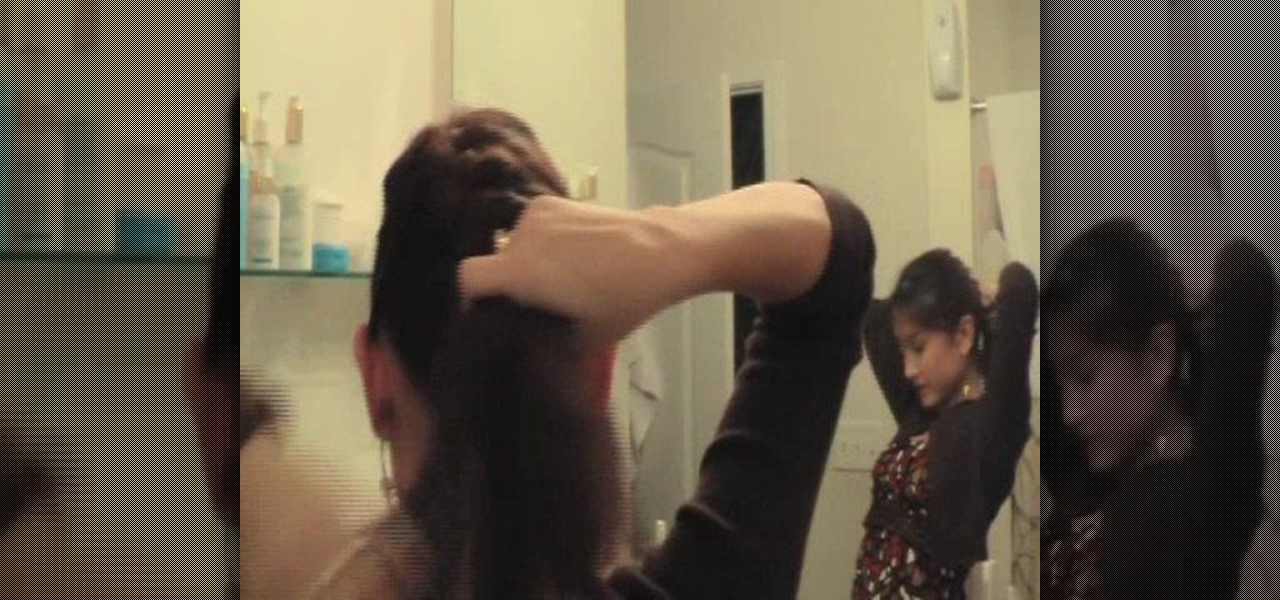
This video tutorial incorporates braids and blunt bangs to teach you how to do an asymmetrical French braid. You need to already know how to do a French braid, so you may want to brush up on those skills first. You'll need a brush, hair tie, comb, bobby pins, hand mirror and an optional flat iron for the blunt bangs. After combing out your hair, you start the braid on one side of your head and then braid down the back. Then you pull the bottom of the braid through the middle. Finish off with ...

I).1.Rice Chex cereal 2.Peanut Butter 3.Chocolate Chip Morsels 4.Confectioner's Sugar are the ingredients.

Everyone wants to keep their hands warm, but here we are shown how to keep them warm with style as we are shown how Anna Saccone accessorizes, matches, and makes the warm winter dressing fashionable and exciting. From style of top to the type of footwear, Anna keeps the winter dressing trendy and tells where to buy the clothing while including clearing up some misconceptions when purchasing certain clothing online. Once Anna shows how well she can cover the basics of winter dressing, she adds...

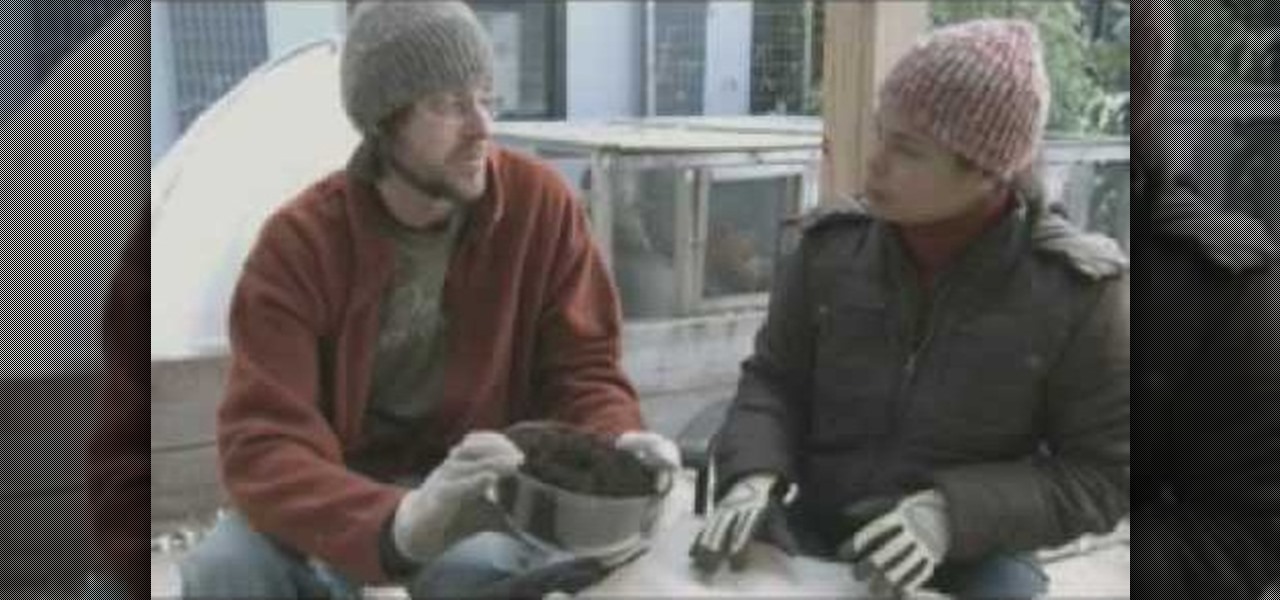
Patti Moreno, aka “the Garden Girl” shows us how to make compost tea for your garden. You need to prepare compost tea and feed to the plant. To prepare compost tea, first you need to take coconut fiber soil, put it in a cloth, and tie it. Place in a 4 gallon of bucket of water. A little bit of compose may fall out, and slight bubbles gases may form, but this is not a problem. Keep it like this for 24 hours, and your compost tea will be ready. Take this mixture to where you keep your soil and ...

The eye splice might sound like some horrible procedure from the lab of Dr. Frankenstein, but it's actually a very useful skill to learn for camping or disaster preparation. Eye splicing is a way to secure different strands of rope together so they're stronger than a knot. In this tutorial, the guys at ITS Tactical show us how to do an eye splice.

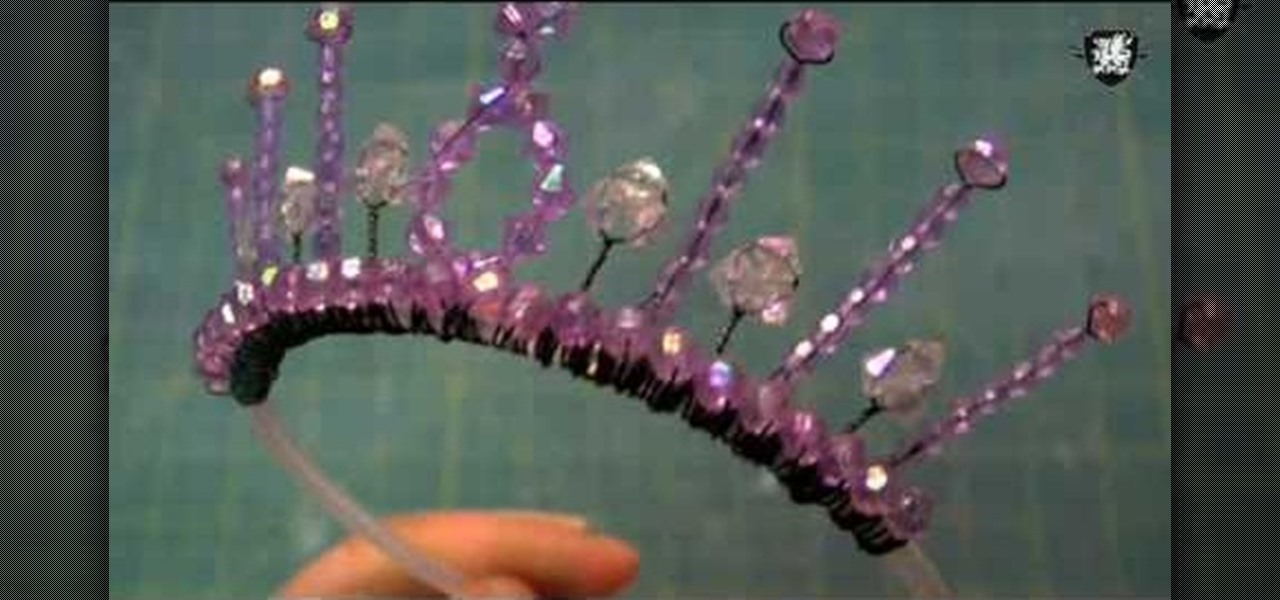
In an hour, make your own fancy beaded princess tiara with some help from ThreadBanger. You'll need a skinny stiff headband, 24-gage floral wire, a wire cutter, plastic beads and a creative sense of spirit! With a few twists, ties, and beads, you'll have a new piece of head decor to crown yourself princess for the day.

Pranks are easy to do, and this prank is no exception, but that doesn't mean they aren't funny as hell. Check out this video tutorial to learn how to pull a door tug of war prank in any environment, preferably the dorm room setting. It's a really simple prank, where you simply tie string to do different, close by doorknobs, knock on both doors, then watch as they tug away at each other. Hilarious! See for yourself.

Why buy a boring old lamp when you can make a unique one yourself? Learn how to build a lamp yourself, at home with this how to video.

Hummingbirds are just as pretty as flowers—and a lot more interesting to watch. Here’s how to bring these tiny miracles within view.

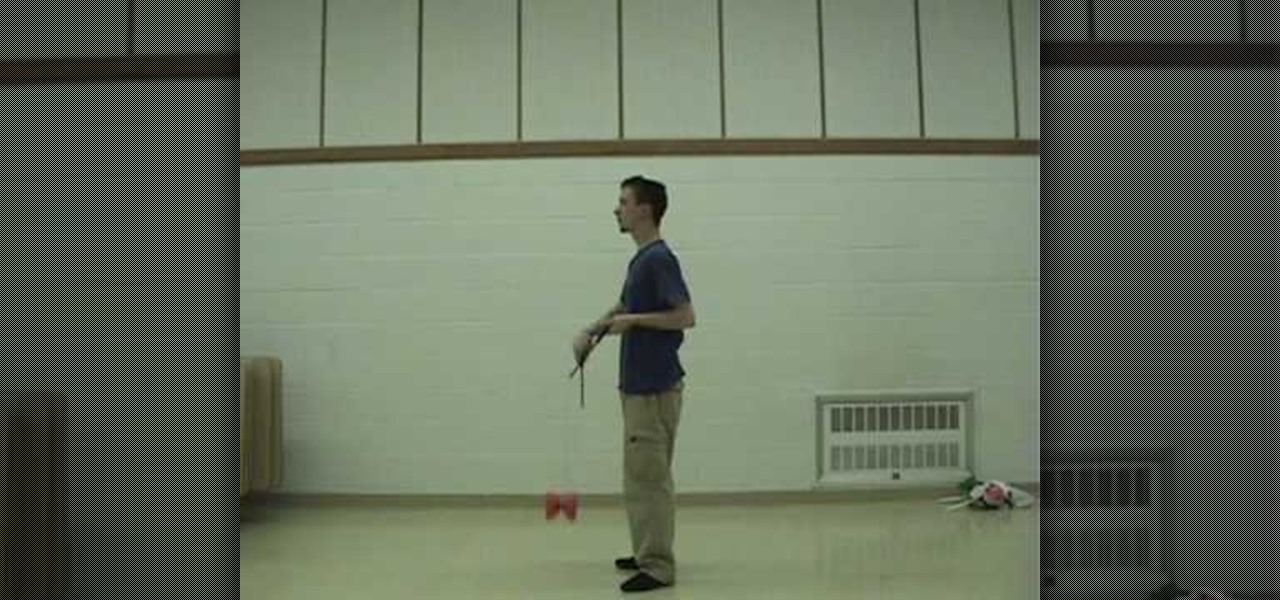
Tired of the yo-yo? Try your hands at the diabolo (which most jugglers erroneously misspell as the diablo). This is a step above the yo-yo... it's the Chinese yo-yo... it's the devil on two sticks. Watch this video tutorial on how to do the Front to Back Sun (or the Back to Front Sun) trick on a diabolo Chinese yo-yo.

The classic French twist is incredibly elegant, and it’s so easy to do. You Will Need:

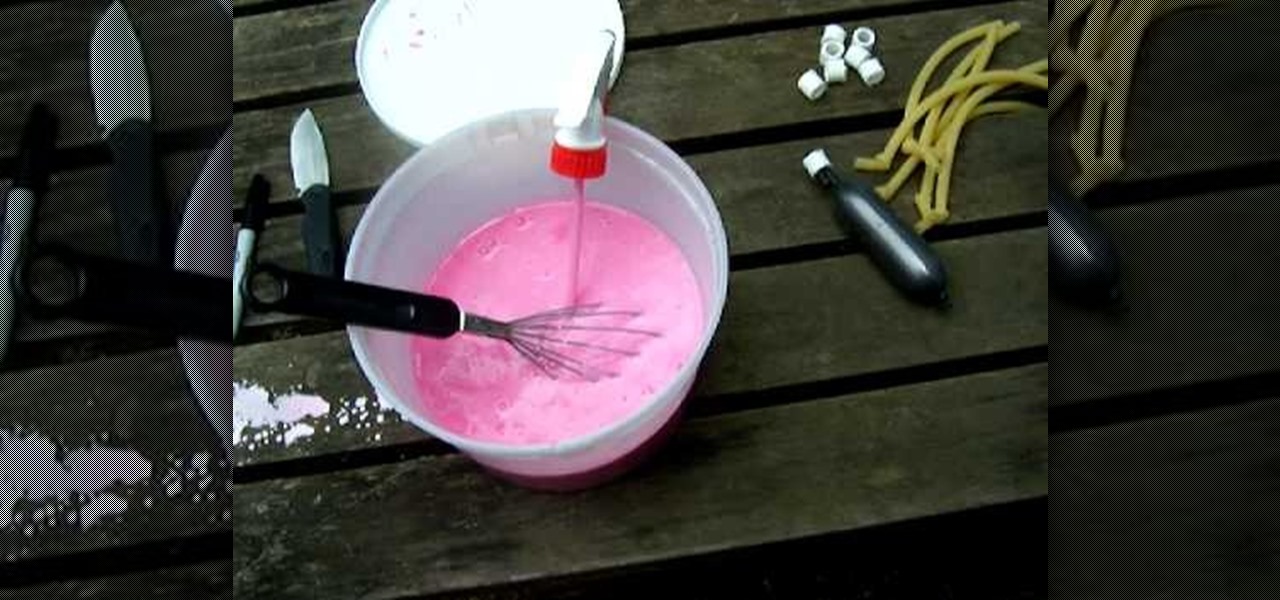
Want to make your own paint for your paintball grenades? Well, this video tutorial will show you how to make fill for your paintball grenade. This recipe is sure to make you happy, so give it a try. It's washable and biodegradable too!

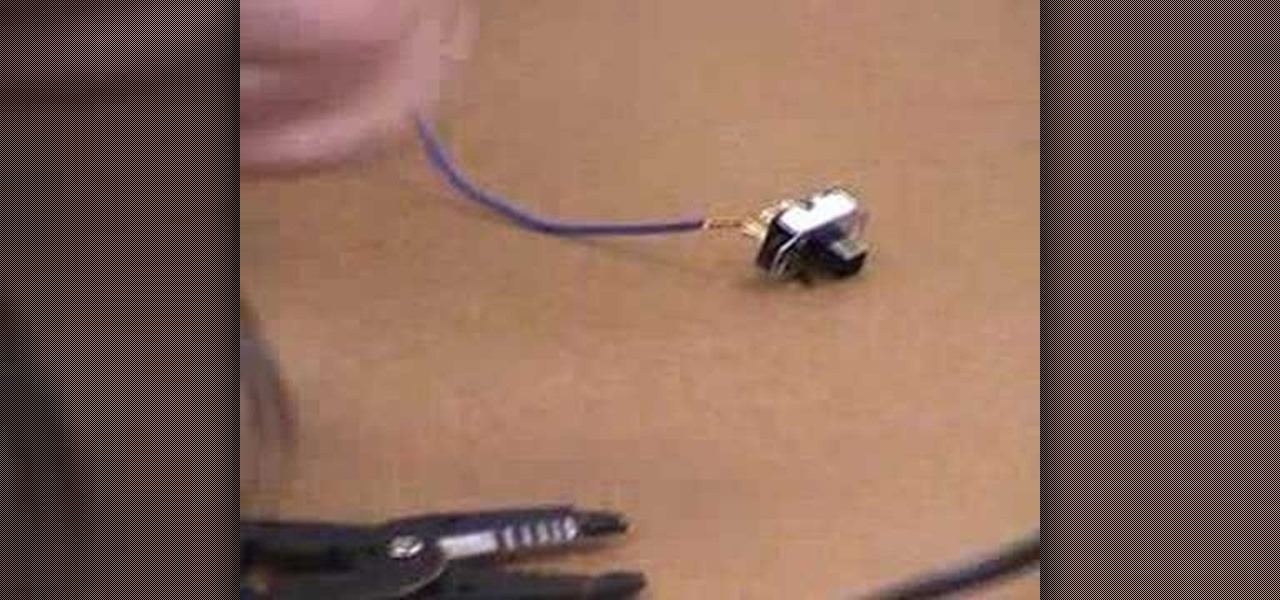
This is an instructional video featuring Doug Prime, founder of the Future Engineers Center at the University of Massachusetts Lowell. Strip the wire and make sure the wire is tied on tightly before soldering. Don't drip balls of solder. Make sure the tip is clean. Then hold it on the joint to be soldered for 4 seconds. Then poke the solder on the surface and it will melt with the heat.

The guys at the SketchUp show have received some great SketchUp questions recently. After a careful board meeting with lots of people in suits and ties and plenty of donuts and coffee, they decided to answer those questions in this podcast. In this video, they tackle the following beginning and advanced SketchUp topics: Getting a grasp of your Keyboard Shortcuts, Optimizing Print Quality, and creating Tensile Structures using the famed Soap Skin Bubble plugin. So if you need any help with Ske...


