If you use the internet regularly, it's nearly impossible to avoid memes. They are the epitome of internet culture, demonstrating how jokes can spread and change like wildfire. While there are many different types, the most common ones you'll come across are images and GIFs with humorous text accompanying them, and we've found the best iOS apps to help you create your own.

Macs, like pretty much all Apple products, are notorious for not having a highly customizable UI. They do this to keep a consistent look and feel across all of their devices, but I've grown bored of it over the years.

The Galaxy S5's screen is truly a feat of modern technology. It uses what is known as an AMOLED display—an acronym for Active-Matrix Organic Light-Emmitting Diode. In short, this technology means that every individual pixel on your phone's screen emits its own light. This is a break from the traditional LCD technology that requires a backlight for any pixels to be visible.
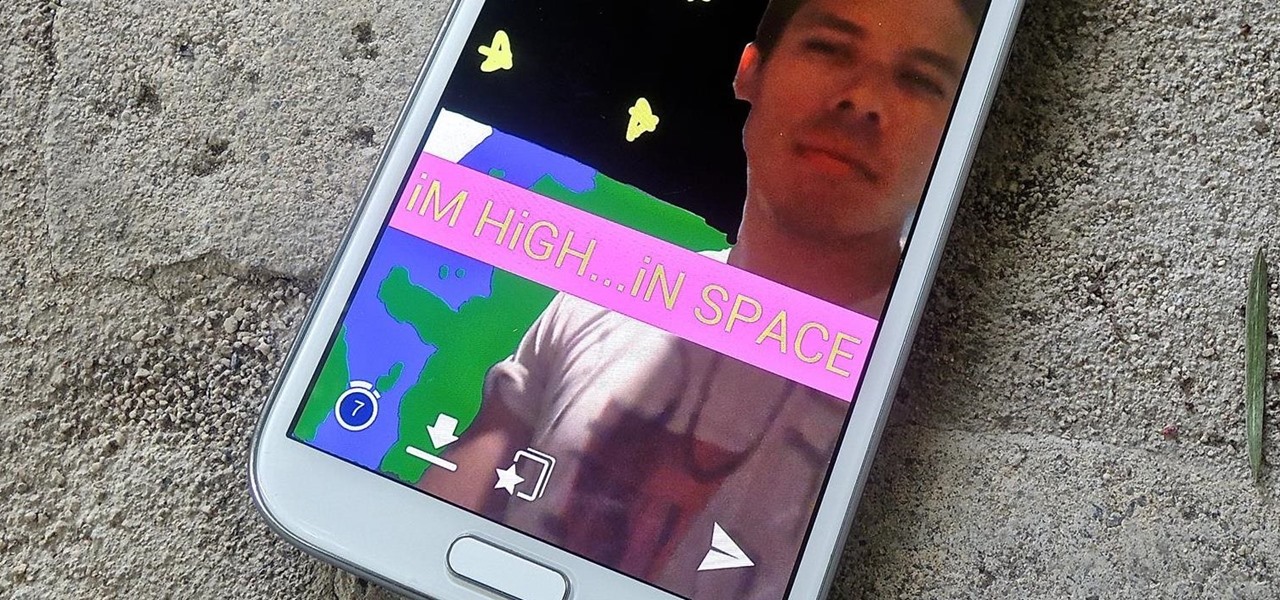
In an attempt to keep things simple, Snapchat has a limited amount of editing features, made up of "smart" photo filters, drawing pens, and special text captions. If you want more editing capabilities, you'll be pleased to know there's a way, no thanks to Snapchat, but you will need to be rooted.
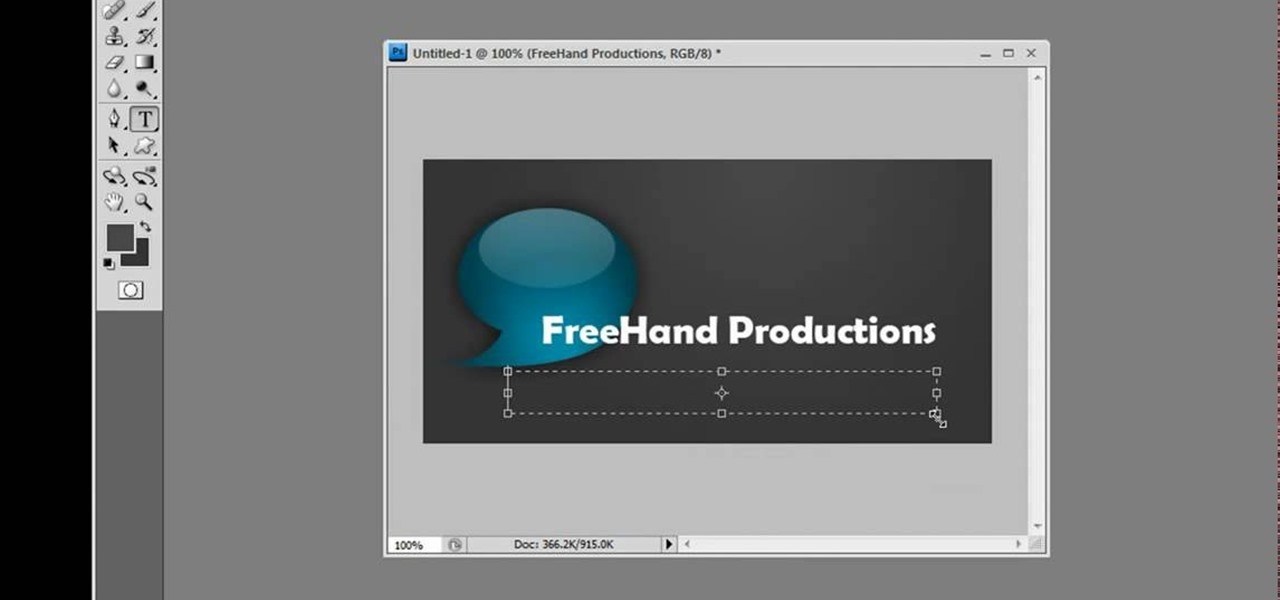
This video is a tutorial on creating an Icon Logo in Photoshop Cs4. Go to File and open a new document. In the Layer option, set up a new layer and give it a name. Using the pen tool, create a shape for your logo, it can be anything you like. When you have the shape you want, right click and select Make Selection. Now you can fill the shape with a color. Press ctrl+U for the Hue/Saturation option to get the exact color that you want.
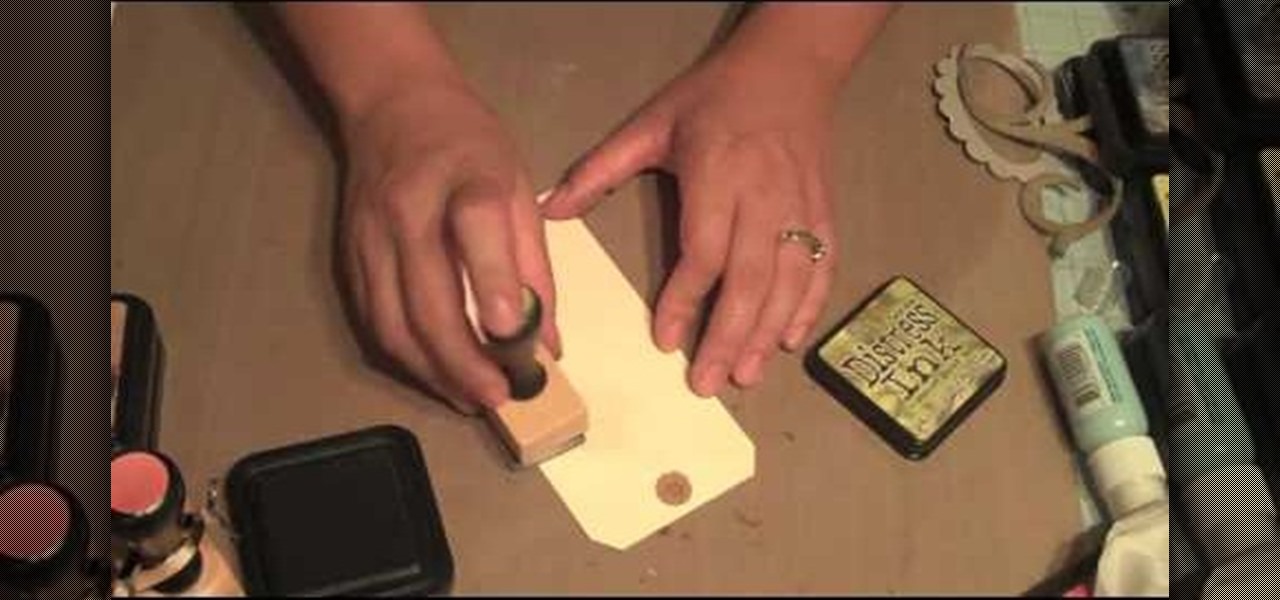
First of all you have to arrange for materials like ink blending tool, ink blending foam, some tags to be used as practice surface and a distress ink pad. The tutor advises that you must not use a blending tool like a stamp and never make a lot of impressions using it on any surface. Instead of stamping the ink on the surface like a stamp you have to be careful while using it. Use a blending tool in such a way that the whole ink goes slowly onto the tag. Start by working the blending tool on ...

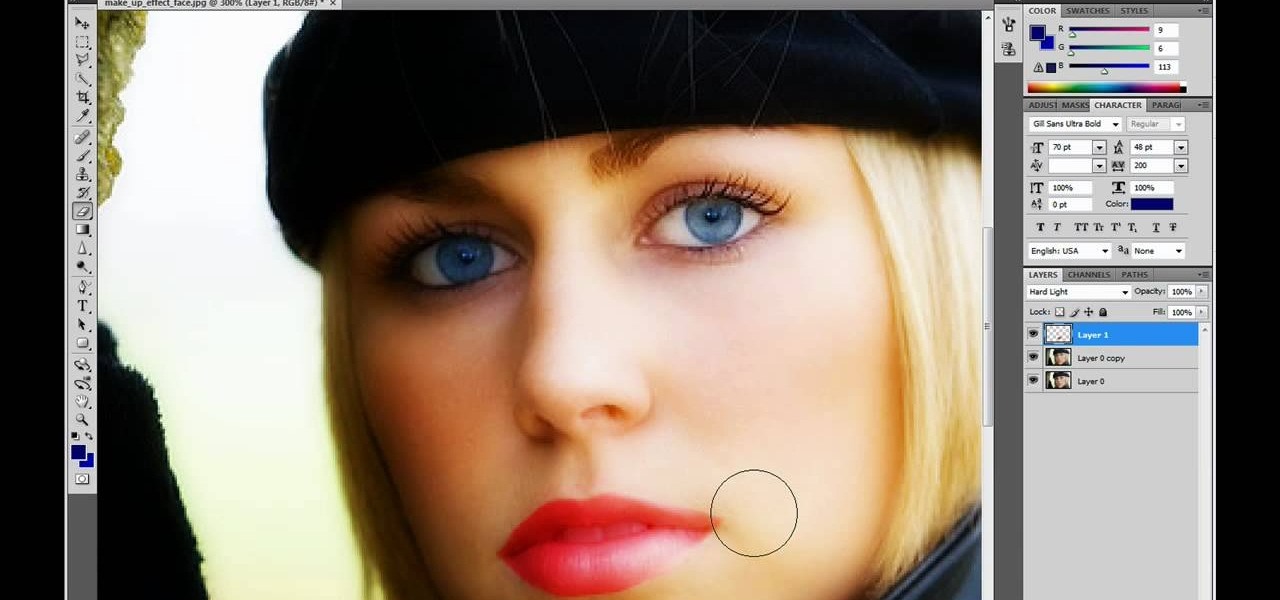
This video is describing how to retouch a photograph by using Photoshop CS4. The first step is to get a photo that you would like to edit, preferably of a person's face. Then make a new layer that duplicates the background, go to Gaussian blur, then go to hard light for your layer blending. Then draw lipstick on the model by using the polygon lasso tool and the hue/saturation tool. Then chase the hue and saturation to the correct color, then erase the edges that you accidently missed with you...

This tutorial explains how to create a multi colored eye effect. First open the image in Photoshop and unlock the layer. Make a selection of the eye with either the lasso, magnetic lasso or pen tool. If you are using the pen tool, like in the tutorial, right click and choose mark selection, feather radius of three pixels. Now copy and paste the eye. Go to File and select New. Create an image of 1000 by 1000 pixels. Unlock the layer and make sure tea background and foreground colors are black ...

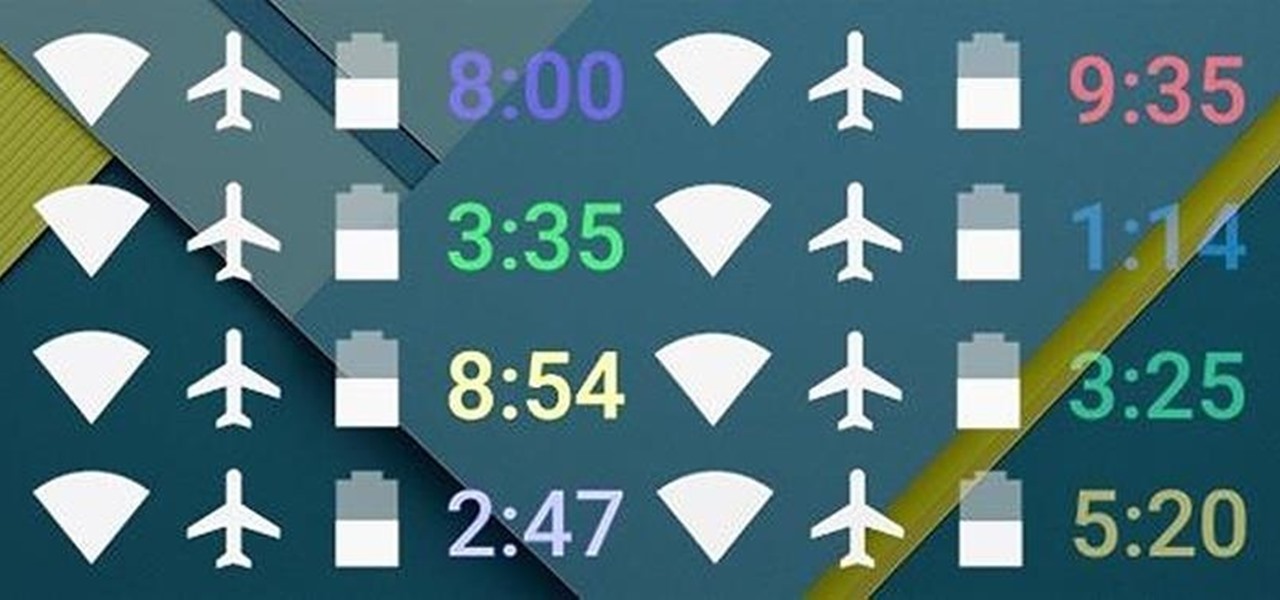
The Galaxy S8 Oreo Beta has been out for just over a week now. Over that time, we've taken a look at some of the best new features and improvements. One area of smartphone software that never gets much love in updates is the lock screen. Samsung changes that in the Oreo beta, bringing new colorization options that match lock screen info to your wallpaper.

Until recently, Firefox had the ability to continue playing YouTube videos in the background after minimizing the browser. It worked great as a YouTube Red alternative, but unfortunately, Mozilla removed this feature after some pushback from Google. Thankfully, there's a way to get it back.

YouTube is a great place for all your mainstream audio and video needs. But you can't simply plug in your headphones, choose a playlist, and put your phone back in your pocket without subscribing to YouTube Red, which costs $9.99/month for ad-free and background playback. If you can't afford that for just background playback, there are other ways.

Over the years, we've covered many different methods for enabling background playback for YouTube videos on Android, but none have ever been as easy as this: Simply watch the videos with Firefox for Android, and they'll continue playing when you leave the app.

Apple is planning to completely overhaul its Apple Music streaming service this summer, and is expected to unveil the changes at its Worldwide Developers Conference in June, according to reports from Bloomberg and 9to5Mac.

When you see a color depicted on your computer, smartphone, or tablet, odds are it was processed as a hex triplet before it was rendered. Most modern websites and operating systems use a hexadecimal coding system to signify certain colors, and these are represented as 6 letters and numbers.

This feature also comes with Windows 7. Right click on desktop then click "Personalize". You can see the numbers of themes for example choose Nature theme and click "Desktop Background". You can see the some pictures and a tick mark on the corner of the pictures which tells these pictures are the part of my slide show. Also you can set the time for new pictures to come.

In this tutorial, we learn how to draw fold legend Bob Dylan. To start, you will first draw the hair and the head along with the upper body, hands, and guitar. After this, you will start to add in the facial features. Draw on the eyes and add lines to make the face look more realistic. Make sure it looks like he is holding the guitar with his hand, showing one hand around it. After this, you will need to add color to the drawing on both the clothing and the skin. To finish, you will erase any...

In this video, we learn how to draw a scary werewolf in the moonlight. First, you will draw the outline for the face and the body. Give the werewolf a hunched back to make it appear more human-like. Then, draw the permanent outline over this, including additional details on the body. From here, draw on the facial features and then start to add in lines to show the fur on the outside of the body. Use shading to create a more life-like appearance and then add in some color. When you are finishe...

In this video, we learn how to draw stained glass style doves. This is a complex picture to draw, so start off with just one dove drawn in the middle of the paper. Add in the feathers for the wings as well. After this, outline the dove in black and then erase any background lines. From here, draw in the black eye on the head, then start to draw another dove over this one. Draw it's head touching the left wing of the first dove. After you finish this, draw the third dove over the other two. It...

In this drawing tutorial, we learn how to draw a chibi Sokka. Start off by drawing a round circle for the head of the character. After this, draw on the ears to the sides of the head. Then, draw on the hair on the back of the head followed by the facial features. After this, draw on the body, but don't draw a neck because this character doesn't really have one. Once you have the outline finished, start to use a darker marker to create the clothing and other details onto the character. Clean u...

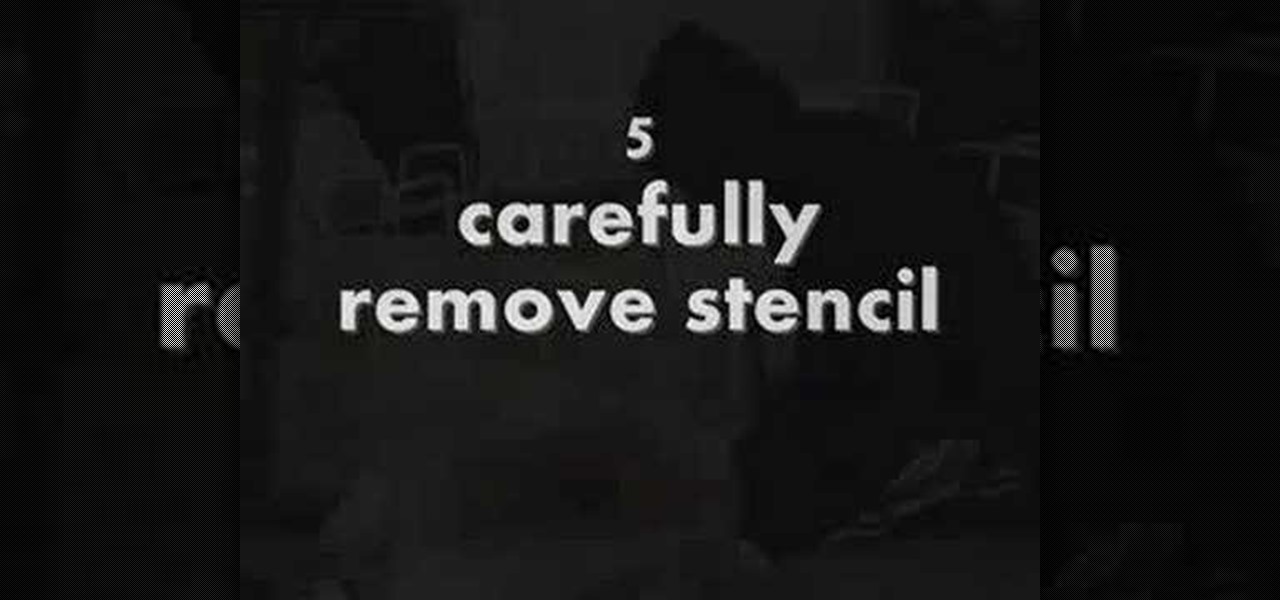
In this tutorial we learn how to stencil your own t-shirt. Start off by grabbing your plain shirt and placing paper inside of it so it doesn't bleed to the back. After this, paint your background on the shirt in your desired color. From here, place what stencil you want on the top of the shirt and then paint inside of it. When you are finished painting it, carefully remove the stencil from the shirt. After this, you will need to let the shirt dry completely so it doesn't bleed at all. You can...

In this tutorial, we learn how to draw a plan view with art markers. First, you will draw a dot in the center of the paper and then draw lines out from here. After this, use the lines on the paper to create the proportions for the buildings. After this, draw in squares and lines to help create the ground and buildings. Then, you will add in details to the building and then draw in plants and grass around the edges. After this, erase any background lines from the drawing and then color it in. ...

In this clip, you'll learn how to enable and use folder backgrounds on a PC running the Microsoft Windows 7 or Windows Vista operating system. For more information, including a complete demonstration of the process and detailed, step-by-step instructions, watch this home-computing how-to.

Want to create a quick and easy space backdrop using GIMP? This clip will show you how. Whether you're new to the GNU Image Manipulation Program, GNU's popular free graphics editor, or a seasoned designer just looking to pick up a few new tips and tricks, you're certain to enjoy this free video software tutorial. For more information, including detailed, step-by-step instructions, and to get started making your own outer-space backgrounds in GIMP.

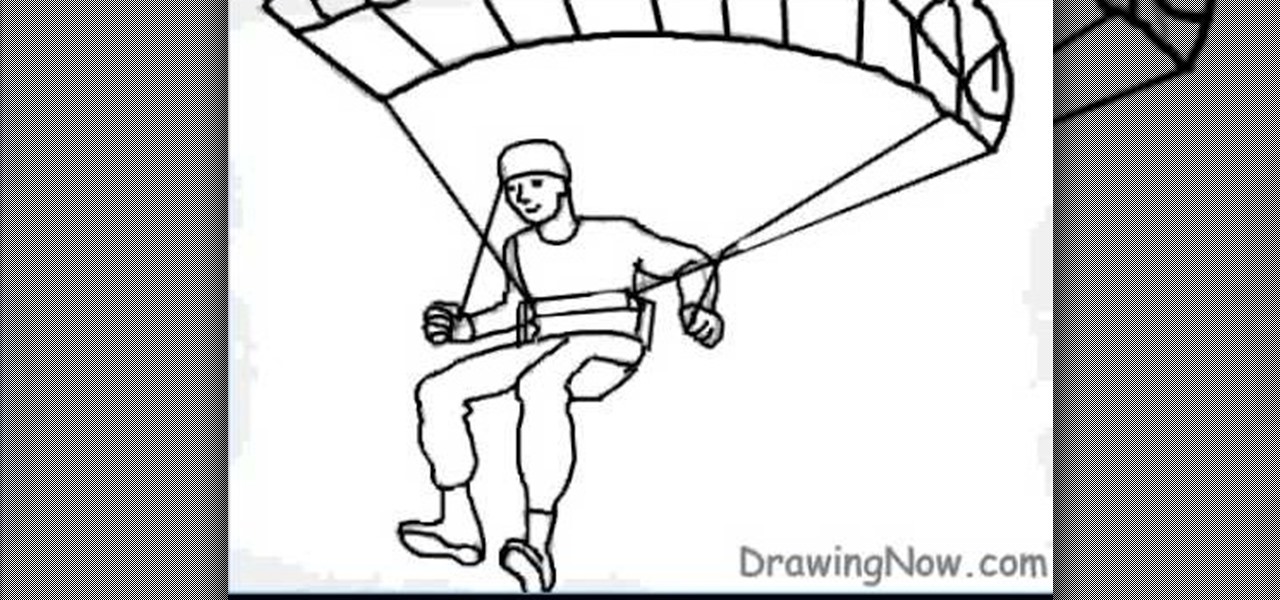
In this video tutorial, viewers learn how to draw a paraglider on a computer. Start by drawing an oval for the head and attach it with a torso. Now draw the hands in the gliding position. Draw a flat oval and connect it with legs. Now draw the parachute and connect it with the figure. Start outlining the figure and parachute. While outlining, add the details. Once finished outlining, add the colors. Add clouds or any anything else in the background. This video will benefit those viewers who e...

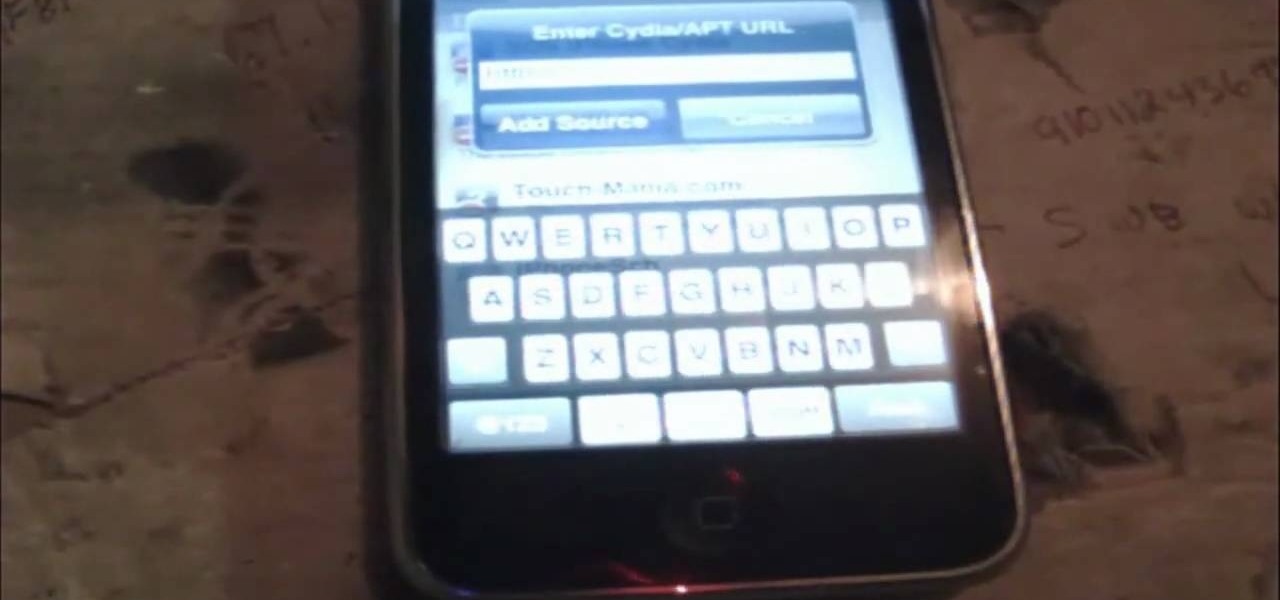
Most people find the default SMS background for the iPhone fairly dull, so why not spice things up? Thanks to Cydia and some clever hackers, there is now a way to modify the background of your text messages!

What is better than wearing makeup? Cool colors on your nails with funky designs. Watch this Beauty & Style how to video to learn how to apply nail polish in the shape of flowers with a blue and green striped background on acrylic nails. Everyone is sure to love this unique flower nail design. The nail enamels you will need for the fancy nail look are: blue, blue green, red, orange, white, yellow gold.

Do you just love that blue and pinky purple starry background that Apple uses for everything? Well, now you can create your own using Photoshop and this video tutorial!

This video hows you how to upload a previously saved photo onto your webpage as the background image.

See how to add grungie borders to your images to give them a cool effect in Photoshop. If your borders are white and the background of the background of the website or page you are uploading them to is also the borders will blend in giving it an even cooler look. This is a great Photoshop picture effect!

Use the pen tool and layer masks in Photoshop to isolate an object so you can change the background.

Using Windows XP, this tutorial will show you step by step how to make your own animated background. Try making different animations for different times of day.

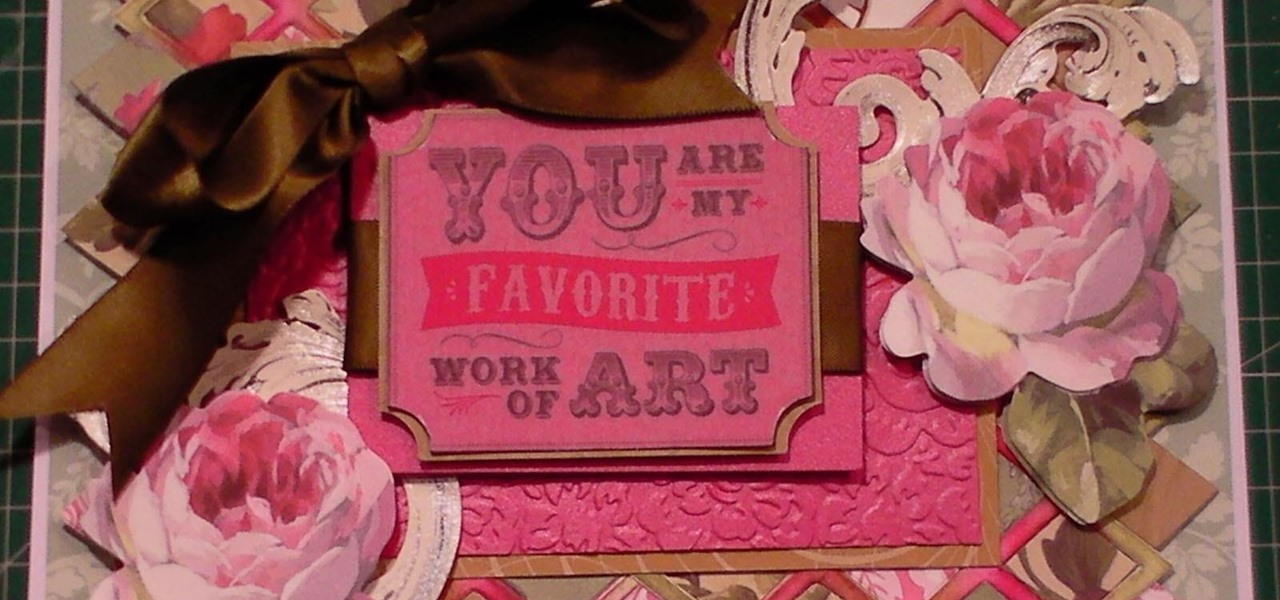
This cardmaking project uses the lattice background that I made in technique 138 The card is a really pretty project using pink floral embellishments and embossed card to create a stunning backdrop to a sentiment and flowing ribbon. Step 1: Now Watch the Tutorial

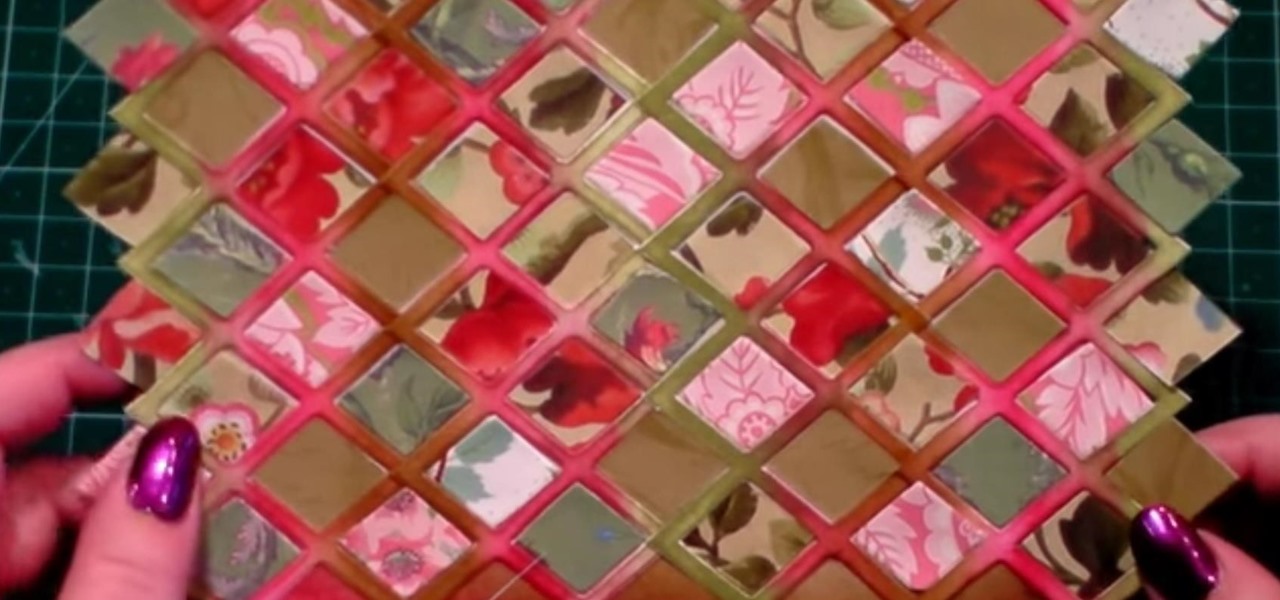
In this project I have use a die from the Tim Holtz range of Frameworks dies, in the standard lattice style and I show you how I use the Lattice and the throwaway pieces to make a great background for your cardmaking, scrapbooking and paper projects. Step 1: Now Watch the Tutorial

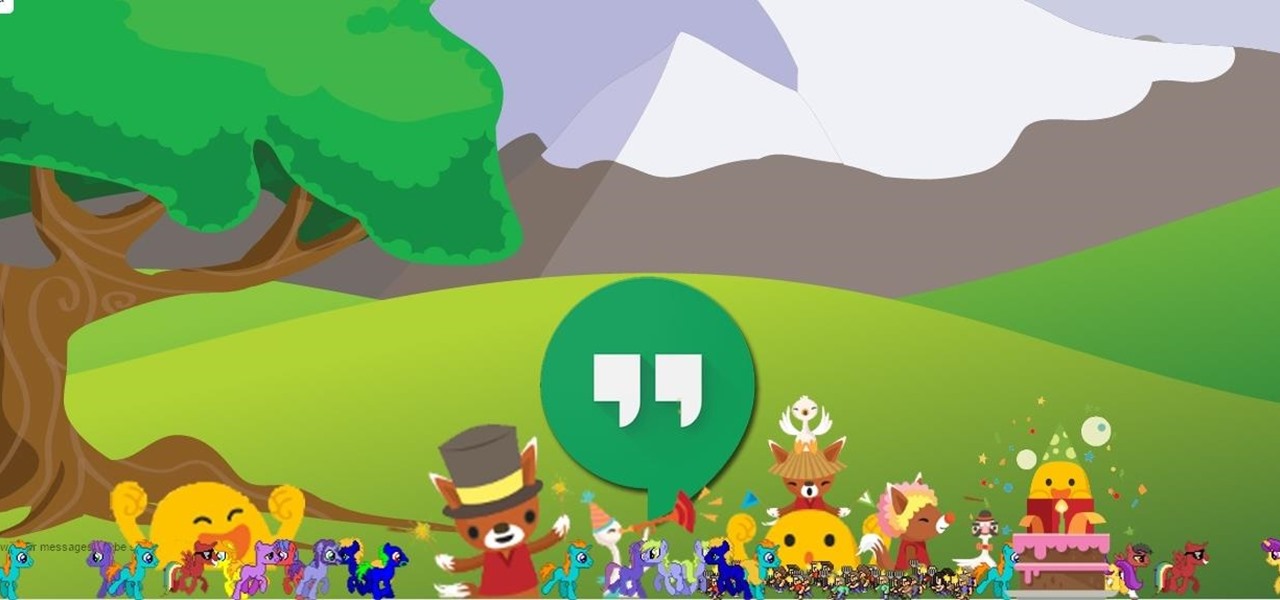
Google has added some fun Easter eggs to Hangouts that'll give you a few more ways to procrastinate throughout your day. All of them (except for one) work on the web browser version, the Chrome app, and the mobile apps for Android and iOS, and are activated by sending a specific message.

The vast majority of Android apps use background services to sync data, check for location updates, and perform various silent tasks. These background services can start up whenever they'd like, and they continue to run in the background even when you're not actively using the app that they originated from.

Google debuted YouTube Music Key in November, and for $10 a month, this essentially turned YouTube into a music streaming service. With ad-free music videos and background audio playback, YouTube serves as a viable alternative to Spotify or Pandora for Music Key subscribers.

We recently showed you YouTube's new music streaming service, YouTube Music Key, with it's promise of ad-free music complete with background listening and offline play. Well, if you check your YouTube app, there's a good chance that Google flipped on the service for you. Activate the Service

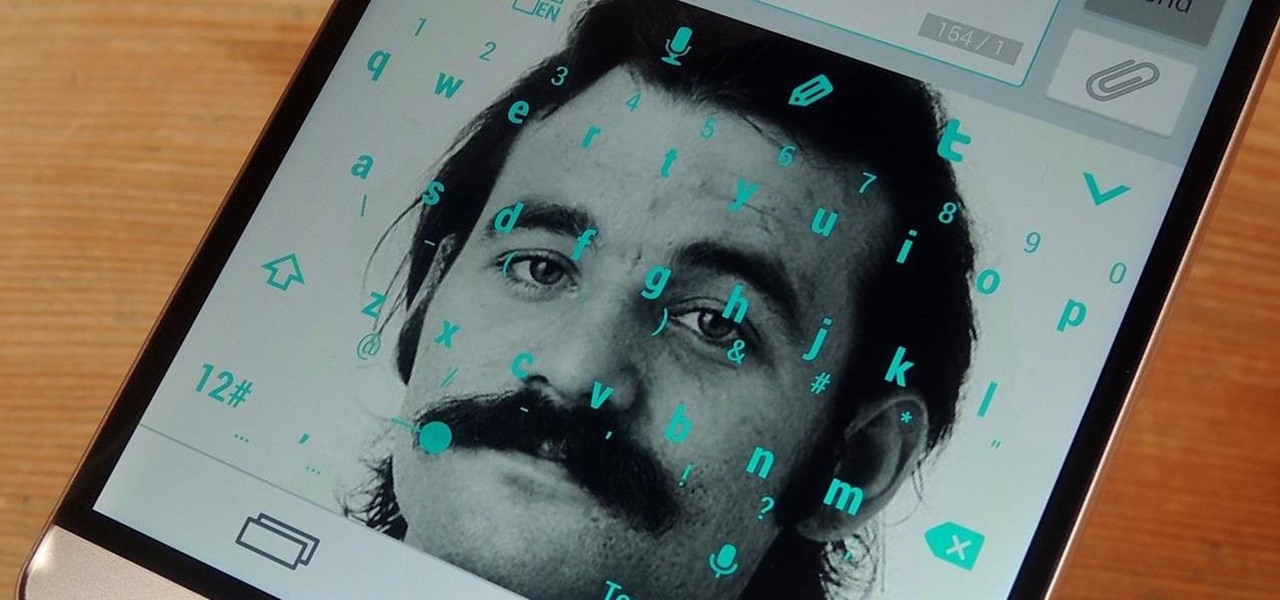
Accumulating approximately one million downloads on the Google Play Store in less than 72 hours from its initial release, TouchPal instantly became a favorite among Android users.

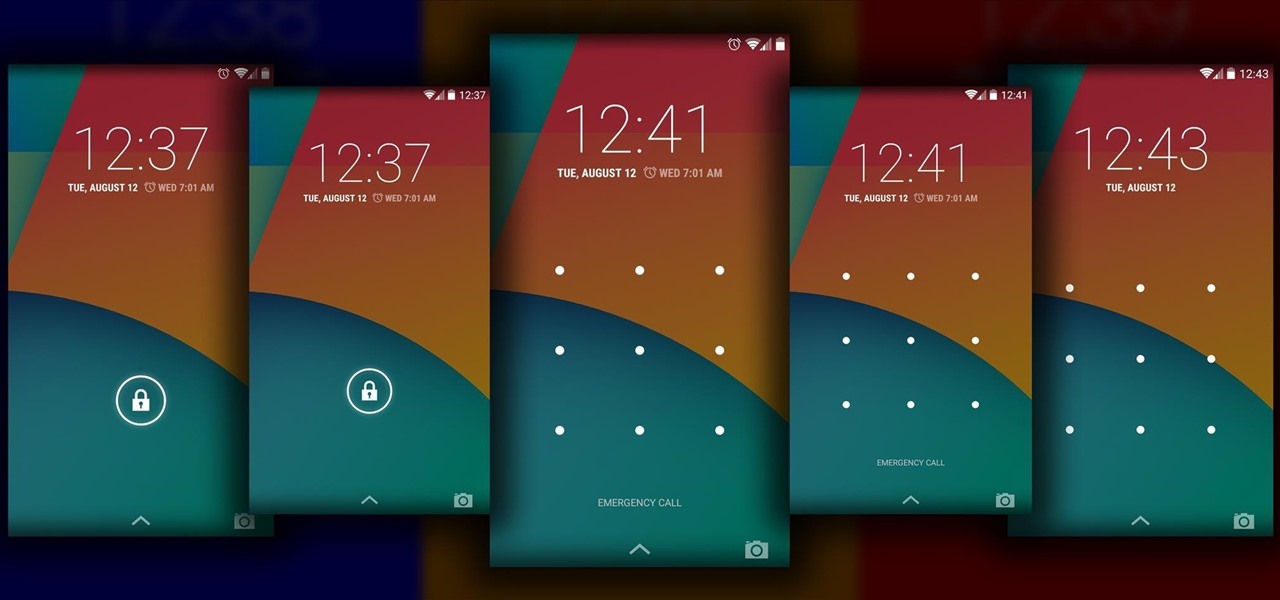
The Android lock screen interface is an integral part of our everyday use. For those of us who use lock screen security, it functions as a barrier between the sensitive data contained within our smartphones and potential outside access. Even if you don't use a pattern or PIN to secure your phone, you still interact with the lock screen every time you go to use it.

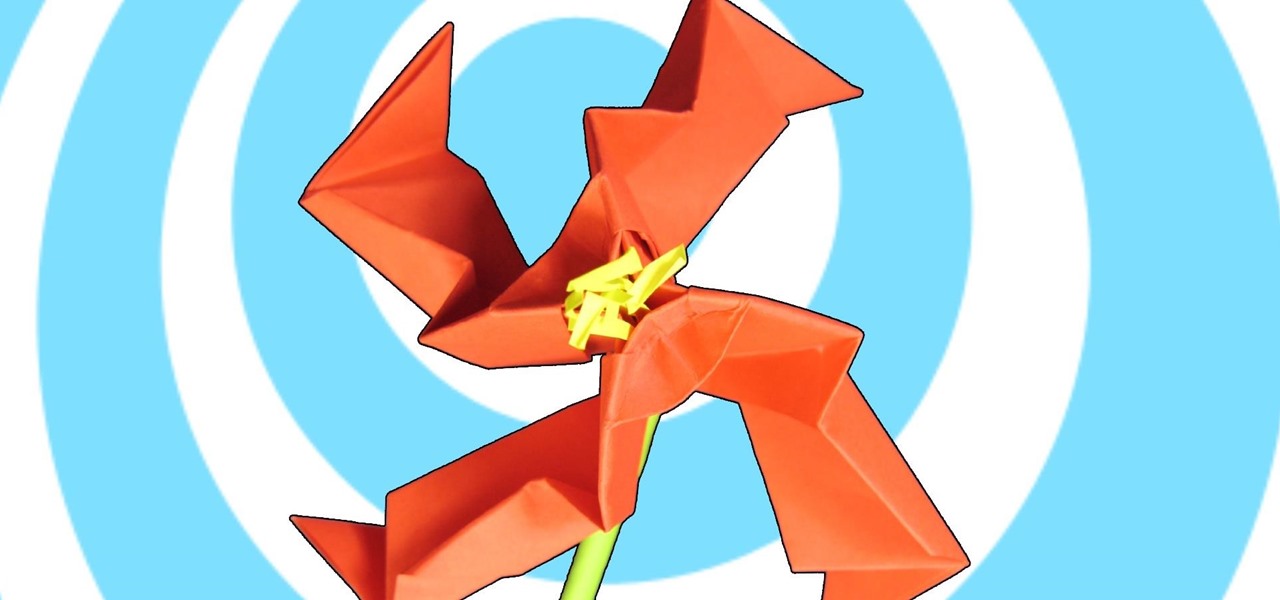
Learn how to make a paper origami teo flower instructions. This origami flower is my improvisation, and I haven't seen any similar flower from the nature. I named the flower to my wife Teofila (Teo) because i gave to her the first model of a complete paper flower :). The model is easy and the stamens make the flower looks one idea more beautiful :)


