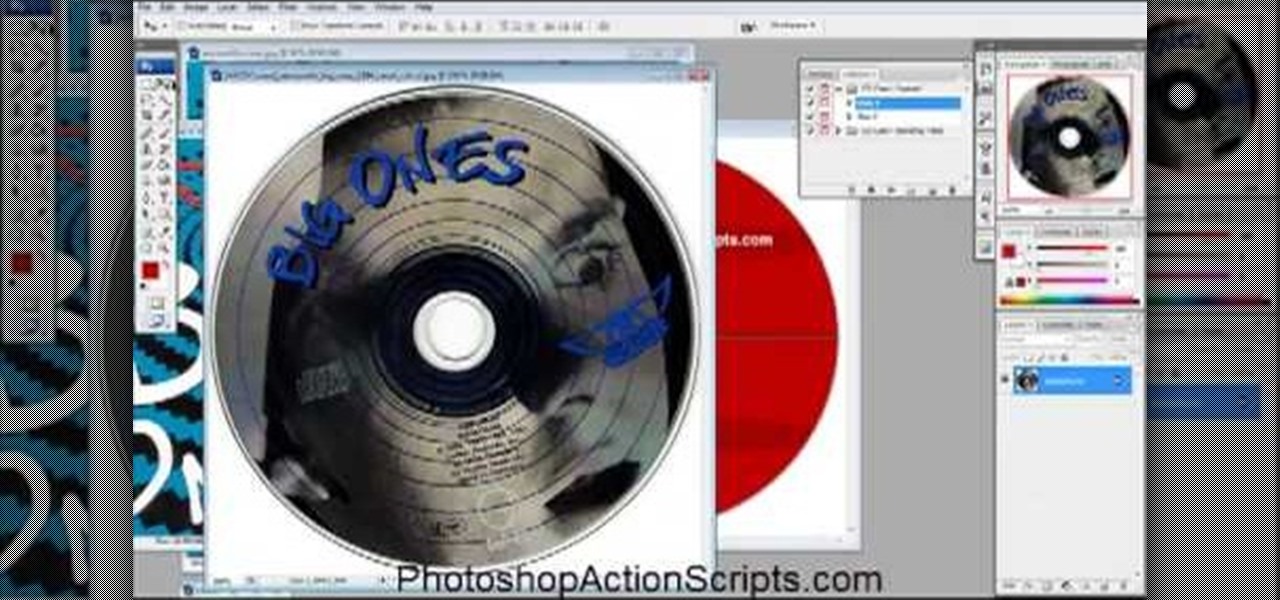
This video is about how to make a CD cover. First, open up the image that you have. Then, you need an action script. Click on the action's palette and pick which CD cover you want to do. Then you click step one which will run a template for you to set everything up and place your graphic in. The next thing to do is to slide the graphic image on to the template through the select tool. Then, click free transform found on the edit toolbar and just double click the image. The next step is to edi...

The Fennec Fox is a beautiful animal native to Northern Africa. This video art tutorial from Drawing Now demonstrates how draw a cartoony, adorable little example of on yourself. Here are the artist's instructions:

If you use the mobile Slack app, whether for work, school, or play, you know that the background color in discussions for channels, threads, and direct messages is white and that most of the text is black. Unlike with the sidebar, there's no way to customize the colors that appear here, but you do have one other option: dark mode.

The default look for Kodi is a menu that shows all of the possible media playback options available to the media player. From movies to radio, Kodi's main menu has an option to meet your needs. But everyone's needs are different, and sometimes we don't want all of these options.

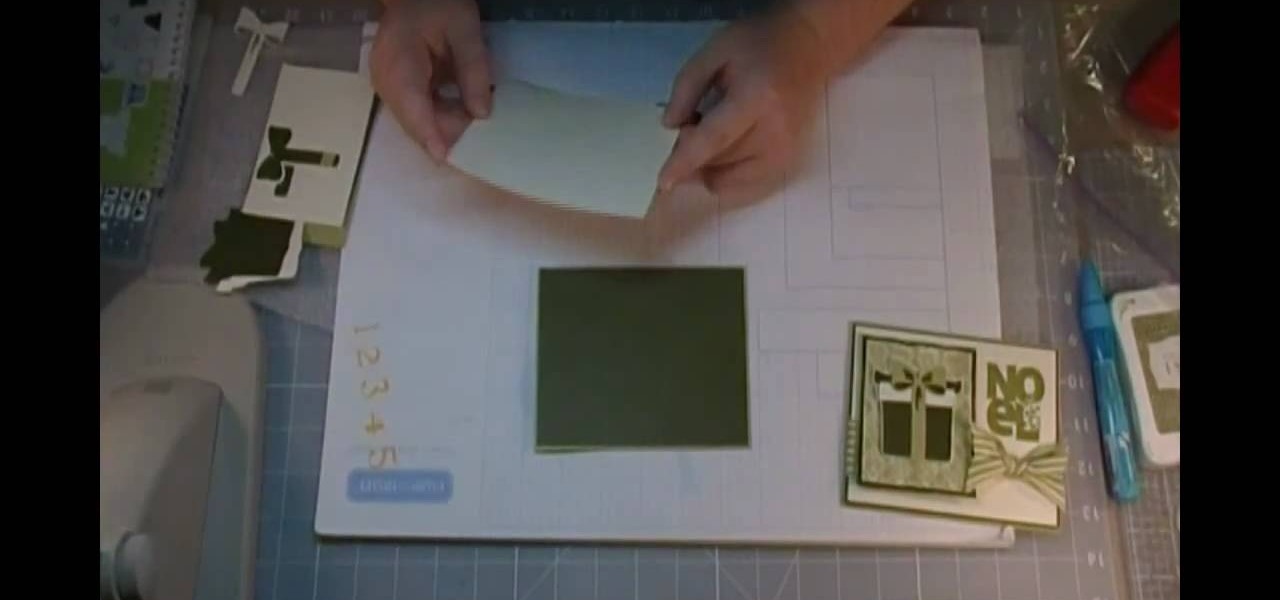
In this video, we learn how to create a Disney inspired Christmas card using Cricut. First, you will need to grab a green card stock and the background, then us ea cream colored card stock to place over the top of this so the green just looks like a background. After this, line this with a small black line all the way around. Then, cut out a gift and stick it onto a holiday piece of paper. Wrap a piece of ribbon around this, then add in a holiday sentiment on the side of the paper. Once finis...

In this web development software tutorial Paul Wyatt shows you how to use repeat images for Dreamweaver backgrounds. You’ll learn how to use AP (absolutely positioned) Divs in Dreamweaver, and create tiled backgrounds with ease. If you don't know how to use repeat images for Dreamweaver backgrounds, this tutorial will explain it all.

This video will walk you through the process of creating your very own icon to use for your email by using Adobe Photoshop. Photoshop is a great tool to use for a variety of purposes and in this instance can make the perfect icon in just minutes.

Simon Plant of ProPhotoInsights.com shows how to use Photoshop to blend colors in images. He uses a photo of his son standing in front of Stonehenge to take us through each layer of the photo to alter the levels of hues, saturation, and opacity. The key to blending colors is a matter of playing with different hues and saturation levels in Photoshop to get the subject in the foreground to match the background. Follow Plant's thorough tutorial to find out how to get professional looking photos ...

In this video, we learn how to change the color scheme in Word 2007. First, click on the Word orb in the upper left hand corner. After this, go to the options menu to change your settings. On the new window that pops up, you will see an option to change the color from blue to silver or black. Choose which color you want to have as your background on this software, then click on "ok". Now your color scheme will be changed to not reflect the blue that you usually see when you star this program ...

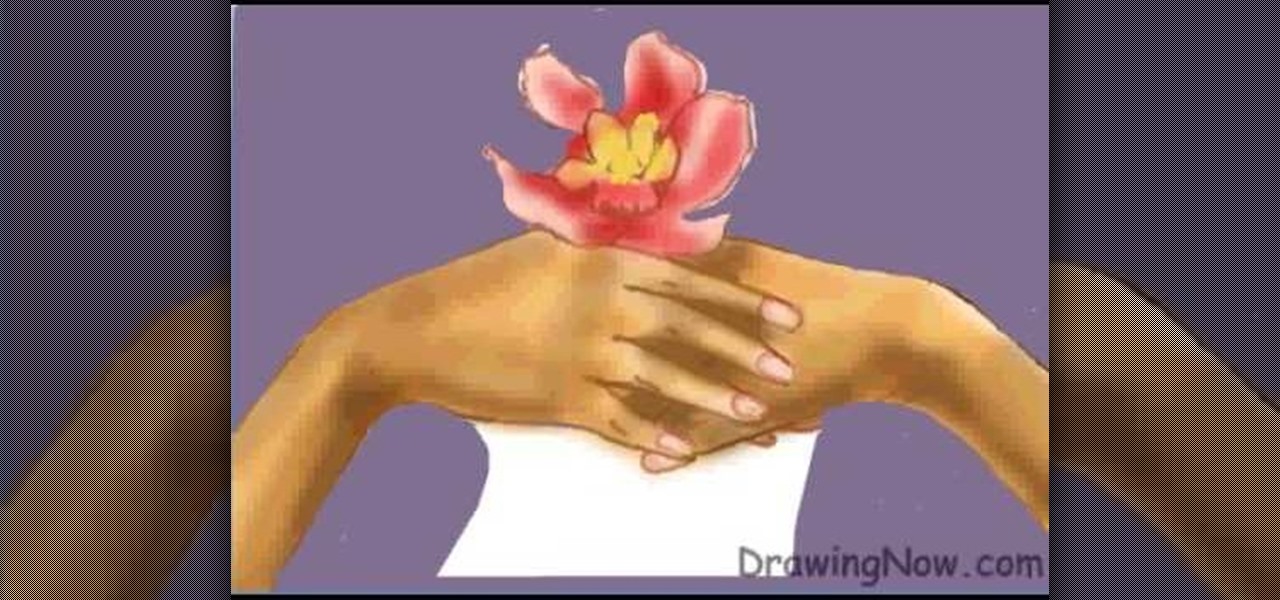
In this video, we learn how to draw two clasping hands. Start off by drawing the two hands holding each others hand. Next, draw a circle above the hands like they are holding something. After this, draw a large flower on the circle and then start to erase the base lines from the drawing. Draw in the fingernails on the picture, then color in the skin color on the nail. Color the flower any color that you would like, then draw in the background to any color you prefer. Shade the wrist of the ar...

In this video, we learn how to draw a cartoon fish with scales. First draw a circle for the body of the fish, followed by the details of the face and then the fins and tail. After this, color the background to look like the color of the sea. Now, take a black paintbrush and outline the details and body of the fish. Start to add in scales around the body that are small and colored red. After this, draw bubbles coming out of the fish's mouth. Color the fins and tail yellow, then color the eye b...

While there are many customization options available for the Samsung Galaxy Note 2, they aren't always easy. The large selection of custom ROMs and difficulty implementing certain hacks and mods can be a nightmare for anyone not well versed in all things Android. But the good news is, it doesn't always have to be complicated.

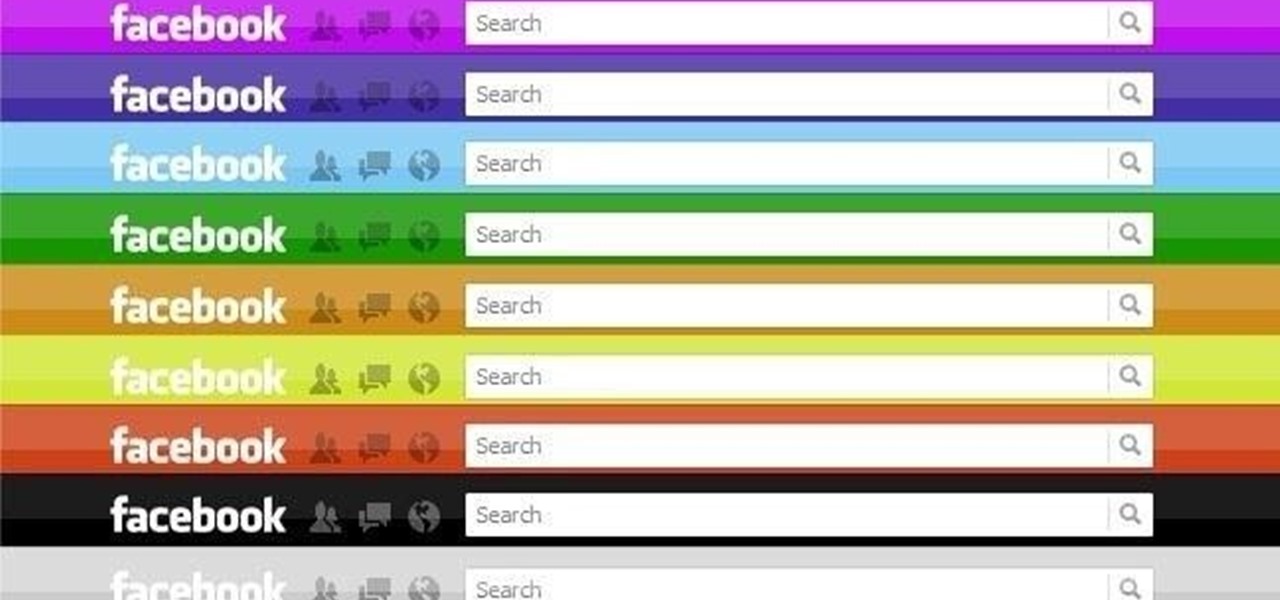
Facebook has always been notoriously difficult to customize. Personally, I think this is an improvement over MySpace's totally open platform (some people should not use code), but users should still have the option to change a few things if they want. While you'll never be able to choose your own background image or add an obnoxious number of aWeSoMe quiz results to your profile, there are a few browser plugins that let you at least change the color scheme.

Once you've learned to draw sculptural forms in perspective you will naturally want to begin placing several objects within a common space. You would like to draw a background. The trouble is, when drawing in perspective, there is no flat background. It helps to map out the space using halfway points to make note of significant objects. Watch this four part instructional video to draw several objects against a single background.

This Chroma keying tutorial shows you how to use Color Ranger in Photoshop to remove a solid background.

In this tutorial you will learn how to take a high resolution background image and increase the color intensity and give it a surreal effect using Photoshop CS2.

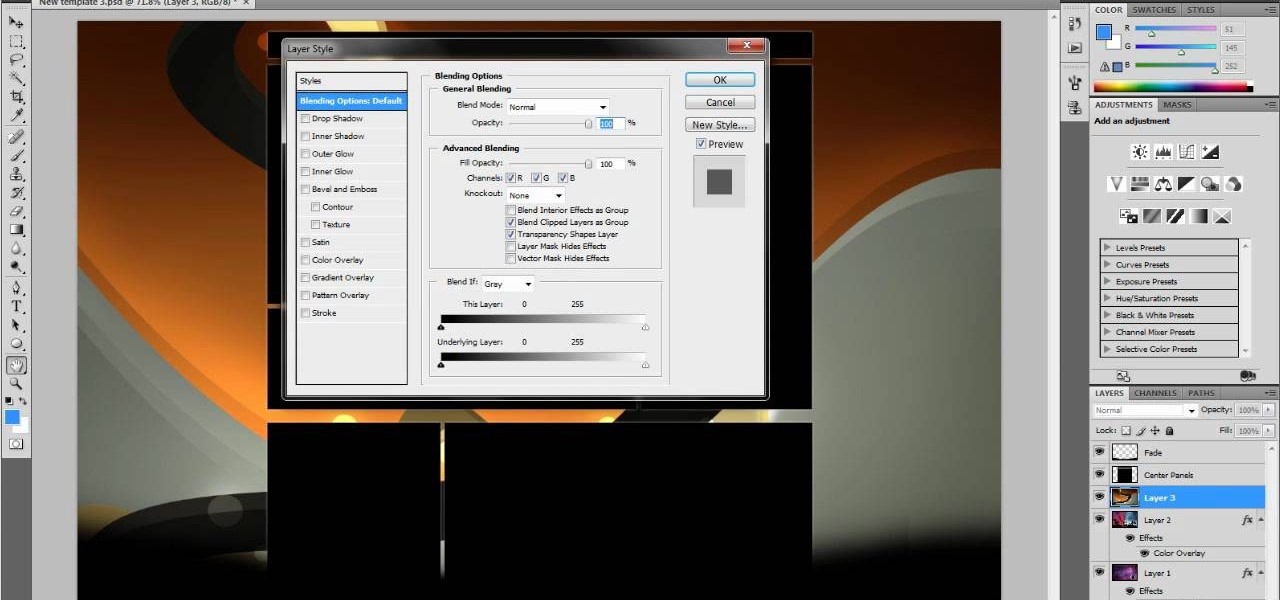
This tutorial takes four separate photographs and then uses several Adobe Photoshop techniques to blend them into a single background image. Using the layering and color overlay technique, this video demonstrates how you can get this unique and clever photo effect.

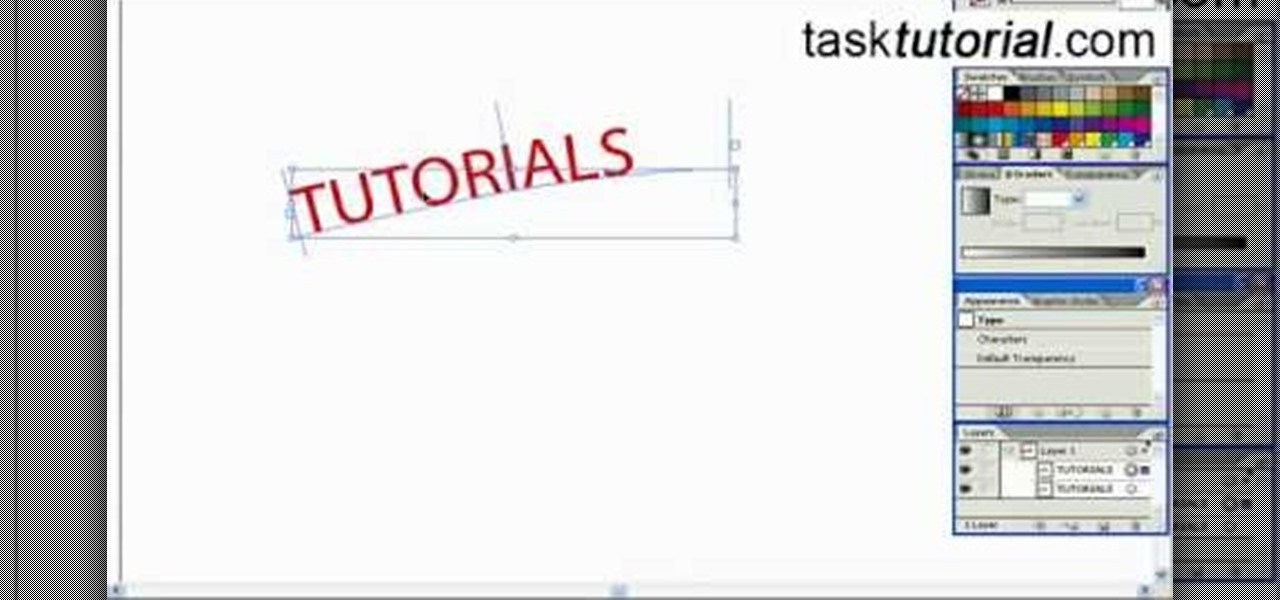
In this tutorial, we learn how to create a cool blend text effect in Illustrator. First, open up Illustrator and draw a path, then change the color to black. After this, click on the line and type in your desired text. Increase the font size to 36 points, then select the red color. After this, copy your path and select the duplicate button. Now, move the duplicated path and change the background color to yellow. Now, scale the path and resize, then place on to of the red path. When finished, ...

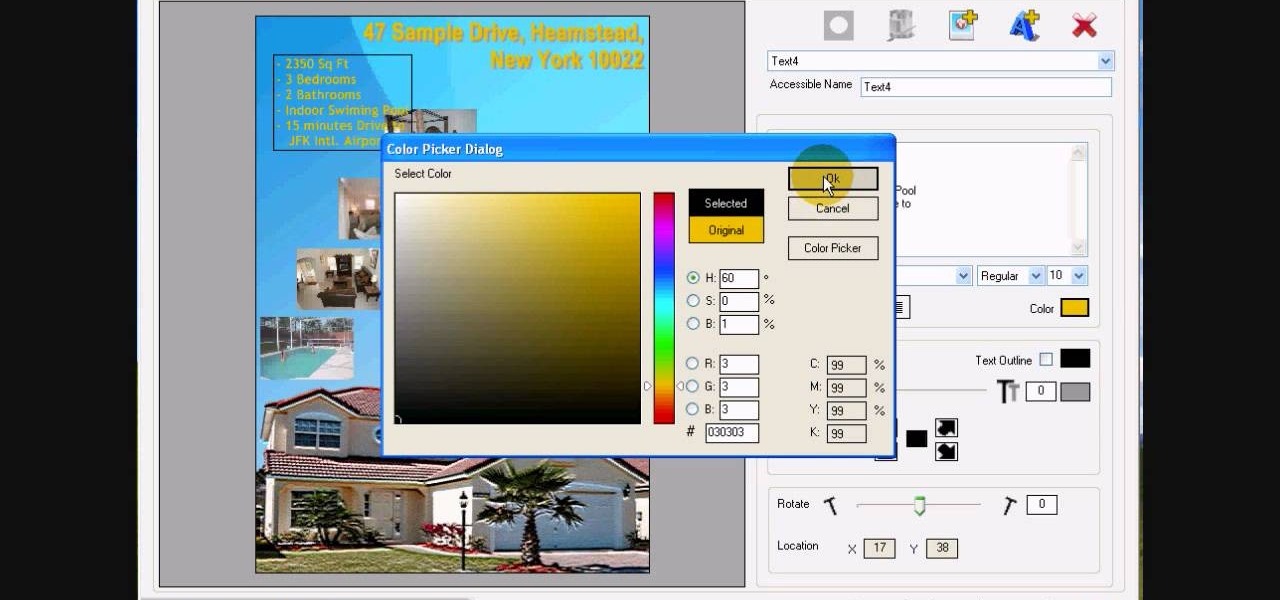
In this tutorial, we learn how to design custom flyers using Easy Flyer Creator. First, start a new deign in the software, then delete all graphics so the page is blank. Next, add in a background to the flyer and resize it to fit onto the entire page. Now, right click on the picture and choose 'set as background'. Now, add another picture on the page, then move it to your desired location to fit on the bottom of the page. After this, you can edit the picture further, if needed. When you are d...

In this tutorial, we learn how to create stencil graffiti. First, take a picture and then separate into four layers. After you do this, you will draw out each layer and then cut each of them out. After you do this, synchronize all of the layers. Next, spray paint the background color. Last, you will add color to the actual picture then wait until it dries. This is a great idea for wall art for your home, and it adds a unique touch. Make sure to take your time with this when painting on the st...

In this Software video tutorial you will learn how to make a book cover in Photoshop. Go to file -> new. Give it a name, set width 900, height 1200 and resolution 300 and click OK. You can change these settings if you like. Go to your paint bucket tool and paint the background black. Then go to layer -> new ->new layer -> OK. Now select the elliptical marquee tool and holding ‘shift’ drag from the top left hand corner and make a circle. Go to your paint bucket tool and paint the circle with a...

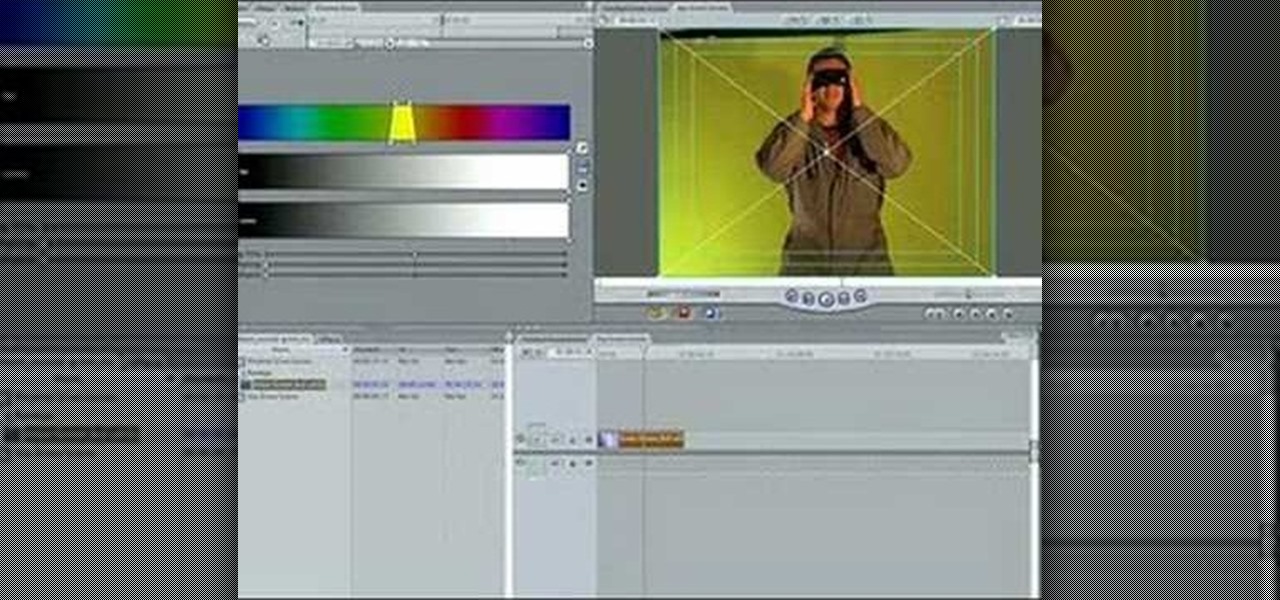
Let FiveSprockets help you get rid of the green screen effect in your videos and add great backgrounds to your movies at home! By using the Final Cut Pro program, follow along as you set your green screen clip in the display. From there you select the Effects, then Video Filter and follow it down into the Key menu. Grab the eyedropper and select the green color and make it fade away with just a few simple clicks. You can crop out any areas that didn't fade away, or use the softening tool to f...

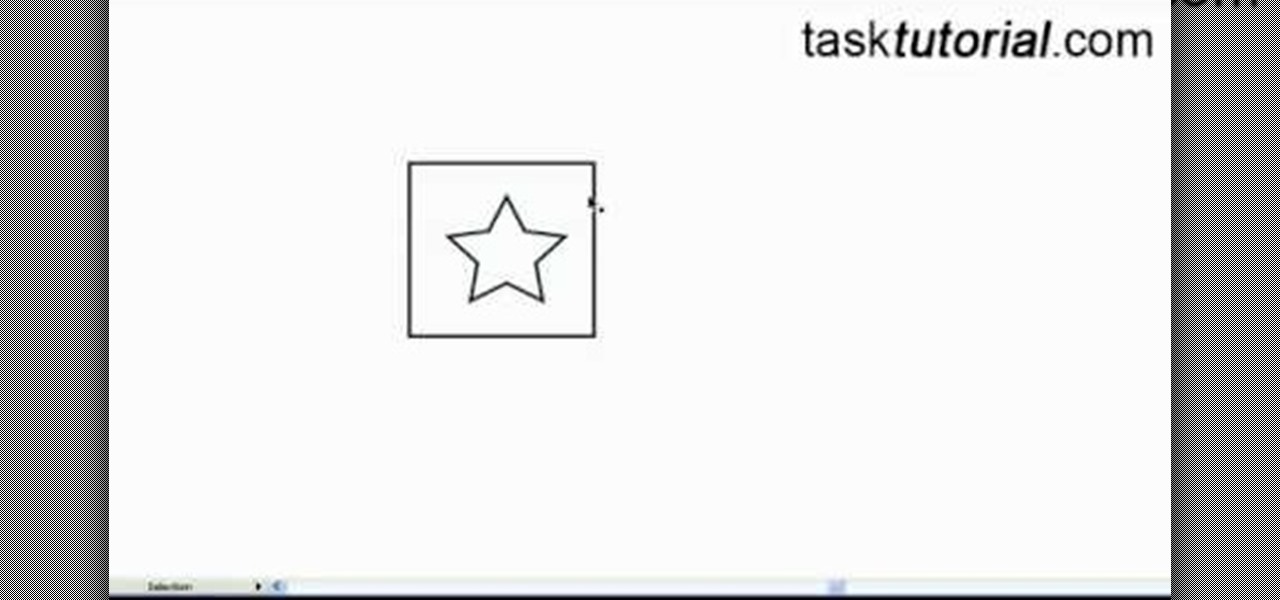
This video tutorial by Tasktutorial shows you how to create a simple swatch in illustrator. Select the star tool, draw a star and select the path and scale it down as shown. Change the fill color to white, the stroke color to black and the stroke weight to 2 points as indicated. Select the rectangle tool and draw a background for the star, bring to back, change the fill color to blue and de-select the stroke as directed. Align the shapes using the align tool and select both paths and bring in...

Hardware and home improvement expert Ron Hazelton describes his strategies for using invisible shelving brackets. To begin with, he advises that a shelving installation, invisible or not, be installed beginning at the center point, because upon attaching the main support, it will automatically be leveled. Ron suggests that mounting brackets have the same color as the background, so that the brackets depend not only on being hidden for the most part, but that the portions that are present do n...

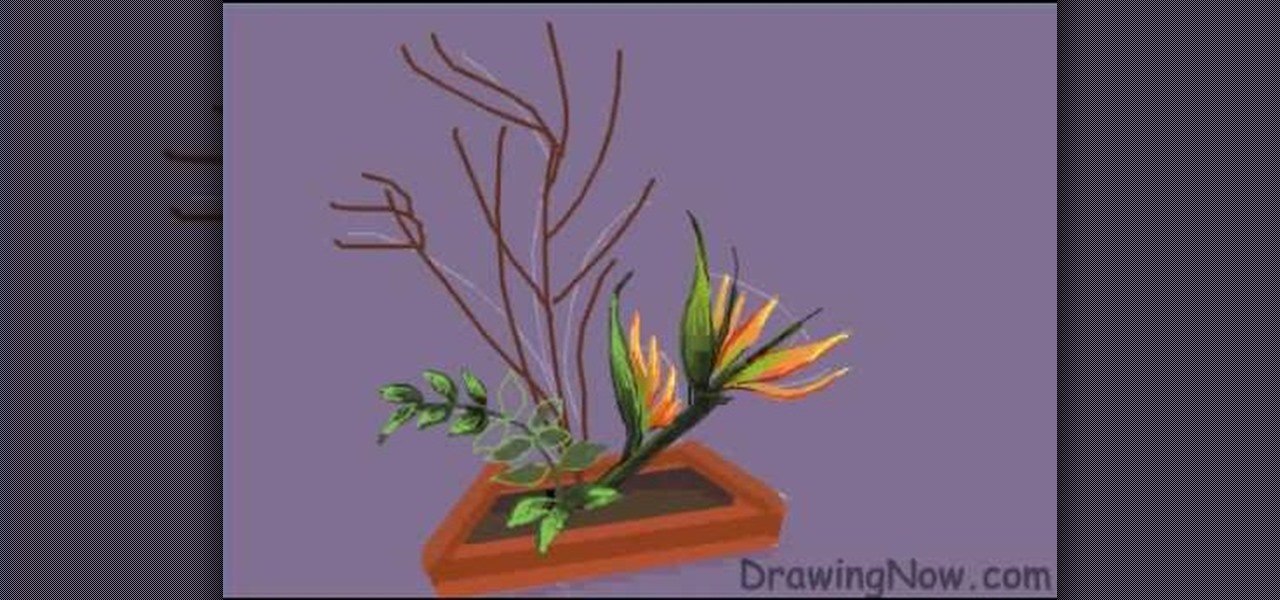
In this tutorial, we learn how to draw an arrangement of flowers. To start this off, you will need to draw lines on the paper where you want each of the flowers to go. Once you get this figured out, draw on each flower individually. After this, add in the detail to the flower to make it look more realistic. From here, fill in the colors to the flowers and then color in the stems on them as well. After this, you will make a box that they are sitting in and color the bottom of it brown for dirt...

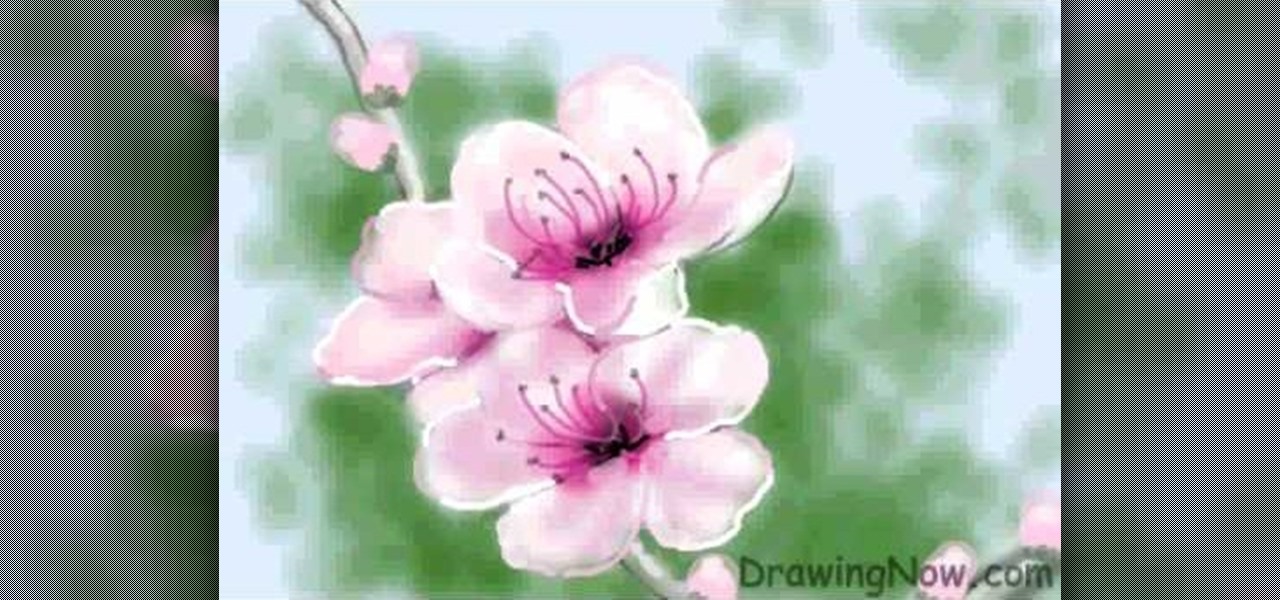
In this tutorial, we learn how to draw a peach blossom. First, draw the vine where the flowers will be. Then, draw the petals for the flowers, creating a basic outline. From here, you will color in the middle of the flowers with black and then a darker color of what the petals will be. After this, color in the petals and then create the background of the drawing. Next, color the vine in where the petals are on. Then, add white to the edges of the petals to show light hitting them. When finish...

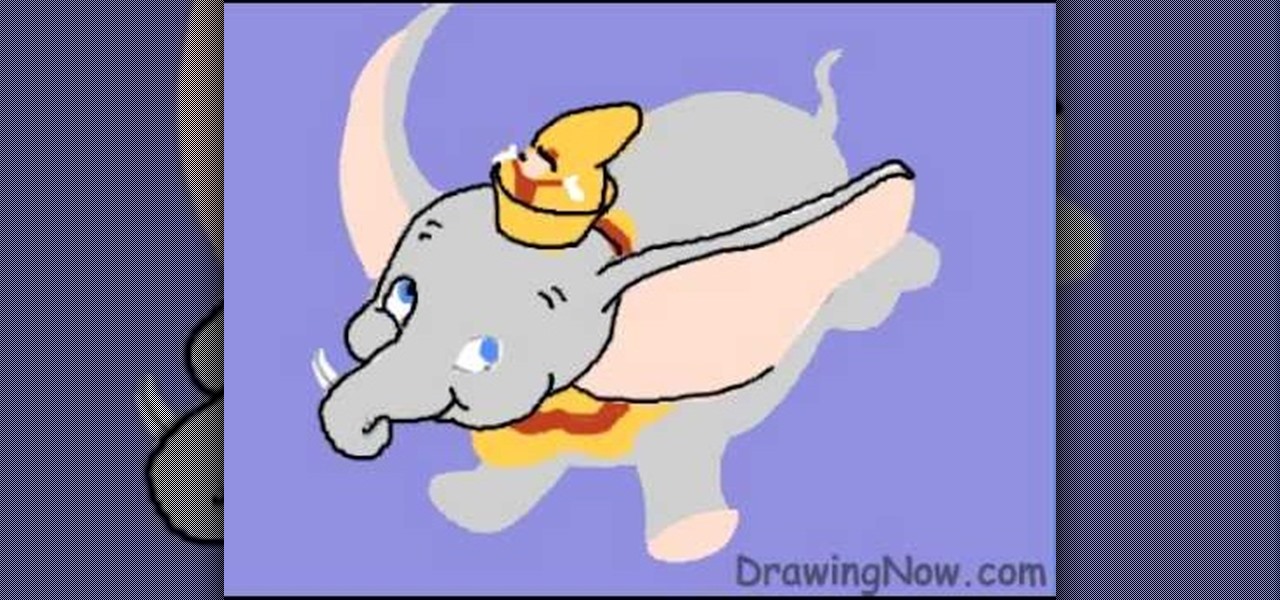
In this tutorial, we learn how to draw Walt Disney character, Dumbo. First, draw the ears flying out in the air, then draw the head outline around it. After this, draw in the trunk outline, the eyes, and the hat. Next draw in the body and legs of the character as well. Next, color the background of the drawing and then start coloring the character in with gray. Next, use a paintbrush to outline the body, then add in any details you see fit. Color in the inside of the ears and then color in th...

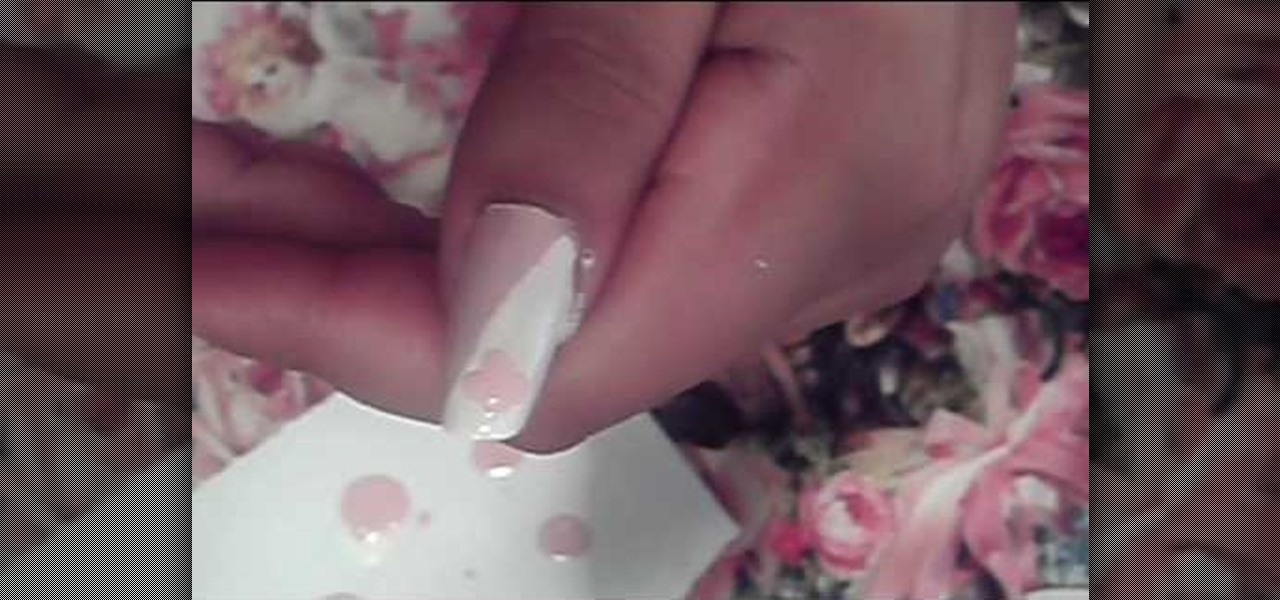
Love4Nails demonstrates how to paint nails with a pink and white sparkly design. First, apply a hydrating base coat. On top of the base coat, apply the color of your choice like a light pink color. Then, create the side swipe which is about half of the nail. Create a straight side swipe in a white color. You may need to do two coats. Then, create a flower with the background color on the white polish. Add a pink rhinestone to the flower. Repeat the technique making a white flower on the pink ...

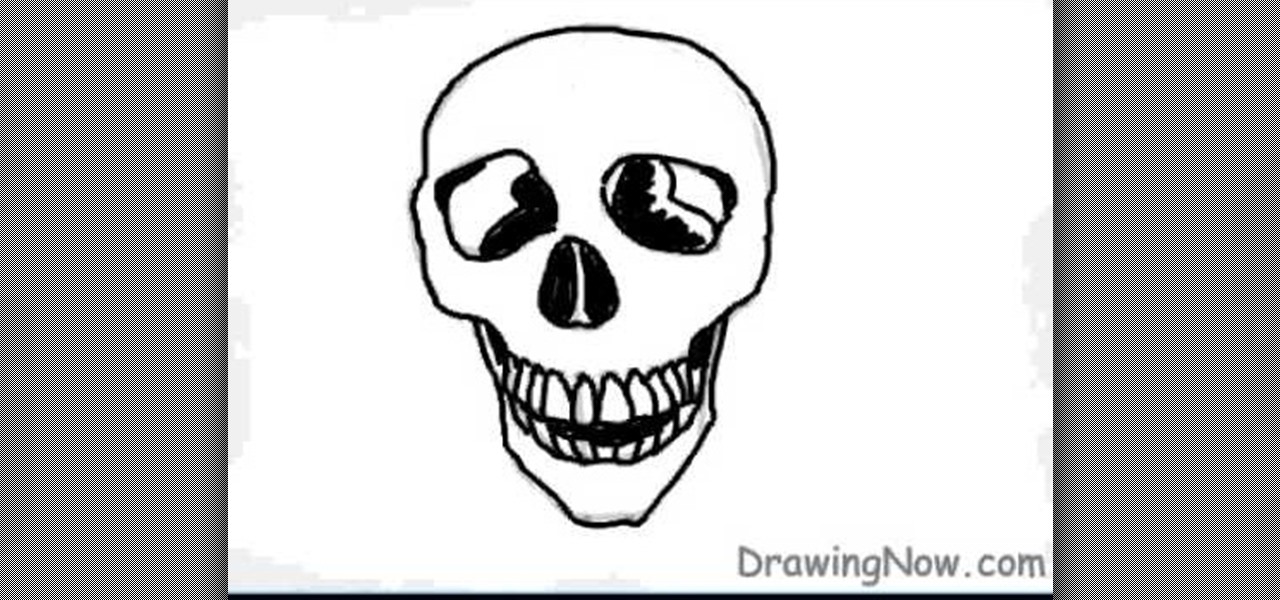
In this video tutorial, viewers will learn how to draw a skull using a computer. Start by drawing a circle for the head and a rectangular shape at the bottom. Draw a line in the center as a guideline. Then draw the eyes, nose and mouth. Now outline the skull and add the details. Shade in the eye sockets, nose and mouth. Now you can erase the guideline. Start coloring the skull to a preferred color. Then add in a darker color around the skull to shade it. Finally, outline the skull and color t...

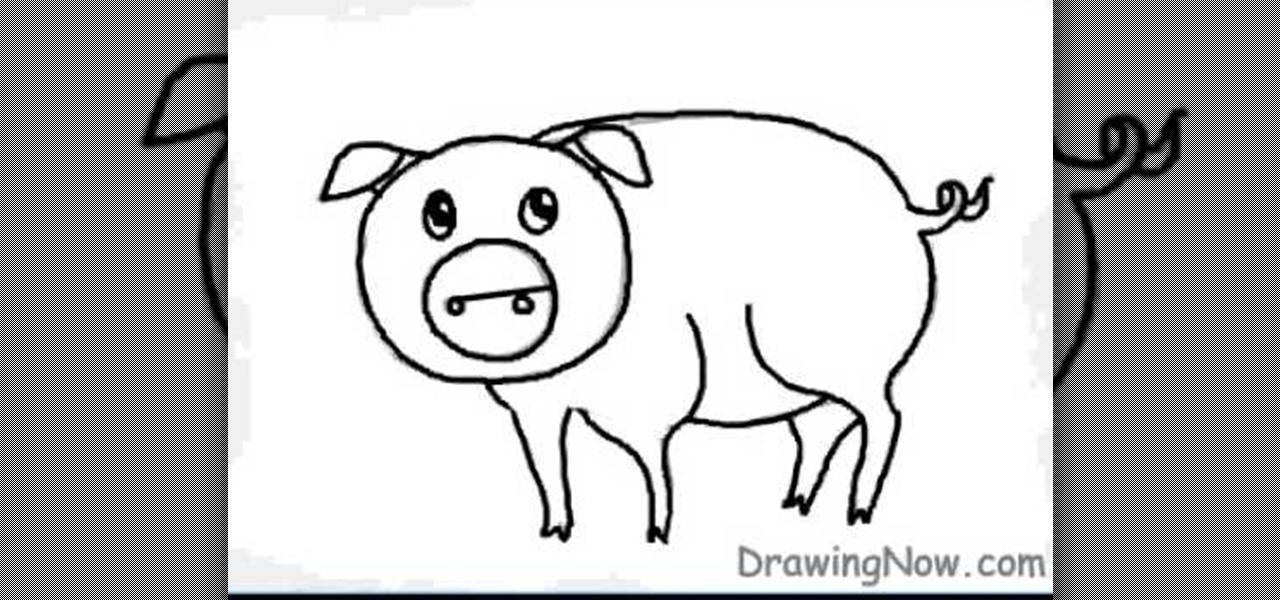
First neatly draw the outline of the pig, then color the outline with a darker shade as this is the base of the character. Next draw the eyes, nose, and the small curly tail which complete the outline of the pig. For the base color a slightly bright pink color should be selected to shade the inner part of the pig i.e. the stomach, legs, and face. A shiny touch should be added to the face to give it a brighter and happier appearance. The background must be colored also with blue and brown. The...

Are you bored with the similar font styles? Open Adobe Illustrator, click the text tool. Select Arial font, bold & italic and a size of 48. Type some text and give its fill color-white and stroke color-black. Duplicate the layer text by going into layers. Then change the duplicated path's color to black. Then create a new background with some different color and keep it below all layers. You can change the opacity of the text for a shadow effect. This will help in bringing innovative presenta...

I've been on a customizing kick over the past few weeks, showing you sweet mods for your Samsung Galaxy Note 2 like interactive live wallpapers, app and settings backgrounds, status bar tweaks, and more. But, I'm not done yet. There's still plenty to softMod on your Note 2, and today I'm going to show you how to customize your Quick Settings toggles.

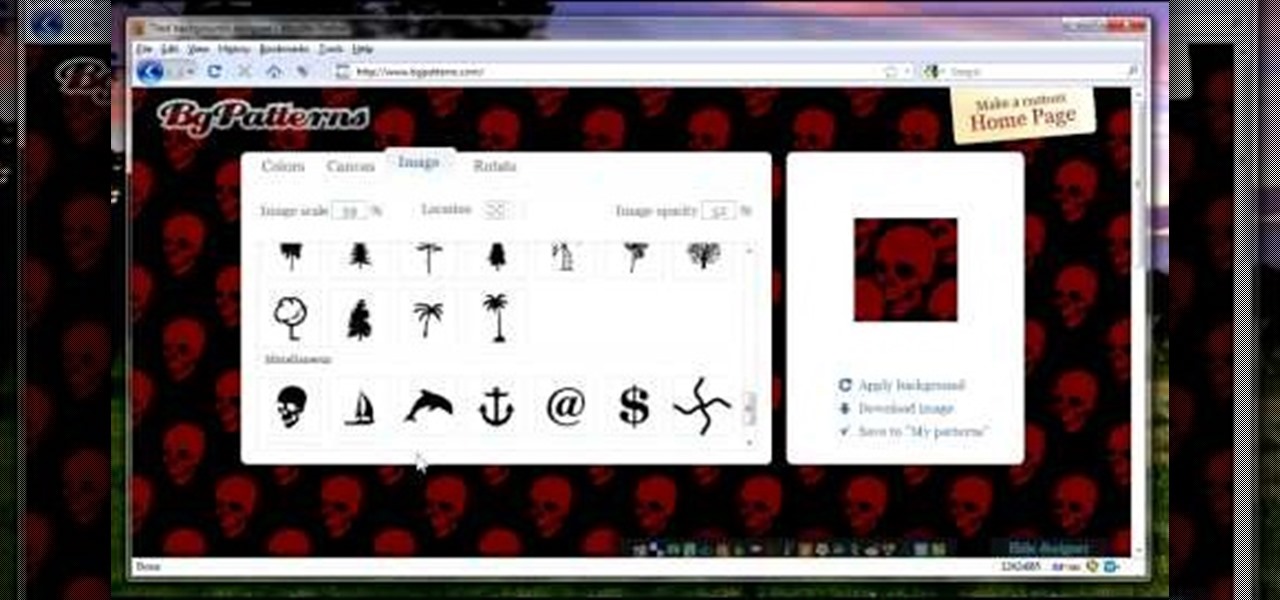
In this video, we learn how to create background patterns for web pages. First, go to the website BGPatterns. After this, the page will load and you will be able to create a custom home page. There will be a default pattern displayed on the page, but you can change this pattern and the colors as well. You can do a number of different things to make this page completely customized to how you want it to look. When you are finished, you can apply the background to your web page, save it, or down...

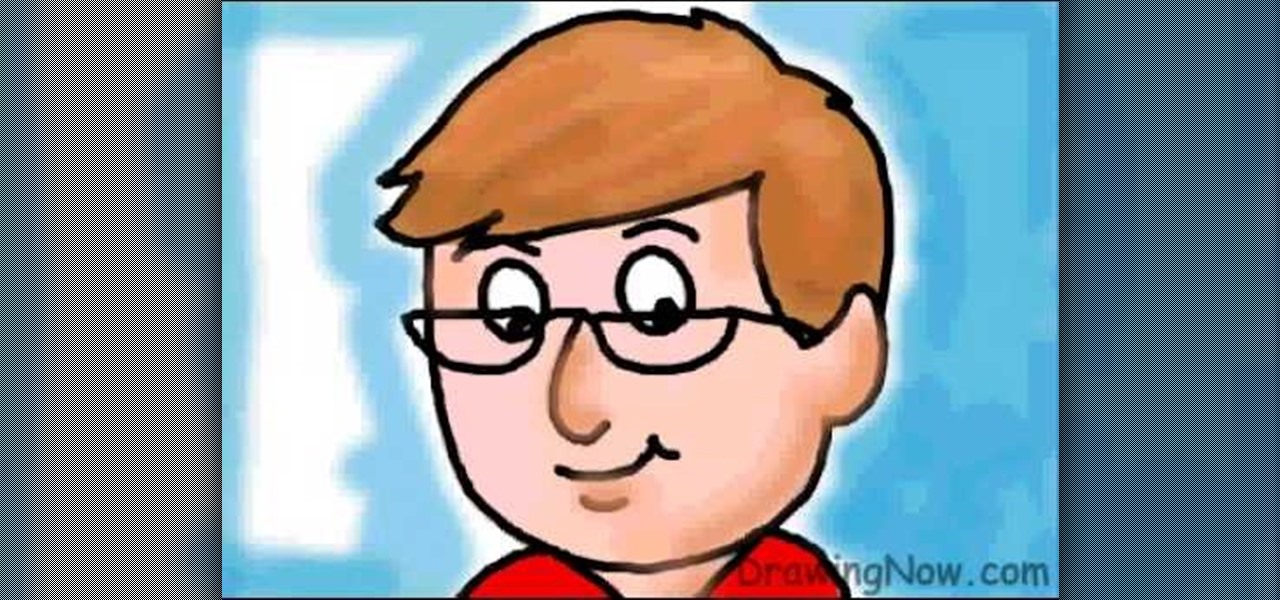
In this tutorial, we learn how to draw a cartoon dad. First, draw the oval for the head and then draw the hair and the facial features on with an outline. After this, color in the skin, hair, and collar of the shirt. Next, add in details for the hair and the face to make it look more realistic. Then, color in the shirt and outline the head and rest of the body with a black thick paintbrush. Draw on glasses to the face underneath the eyes to give the dad an older look. Then add shading and whi...

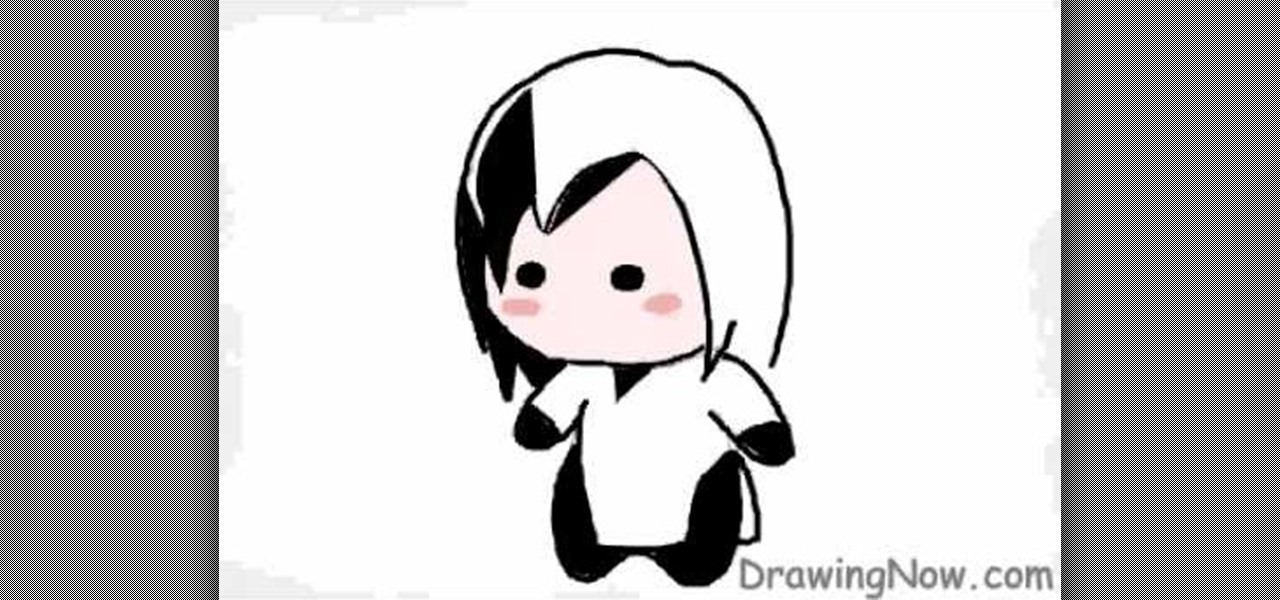
In this tutorial, we learn how to draw a Chibi Orochimaru from Naruto. Start off by drawing the outline for the character, then add in the details for it as well. After this, you will start to draw in the shading and the additional lines to give it more details. Then, you will need to erase the background lines that you used as a guide to draw the final product. From here, you will start to shade in colors on the character and then draw in any additional details or facial features. To finish ...

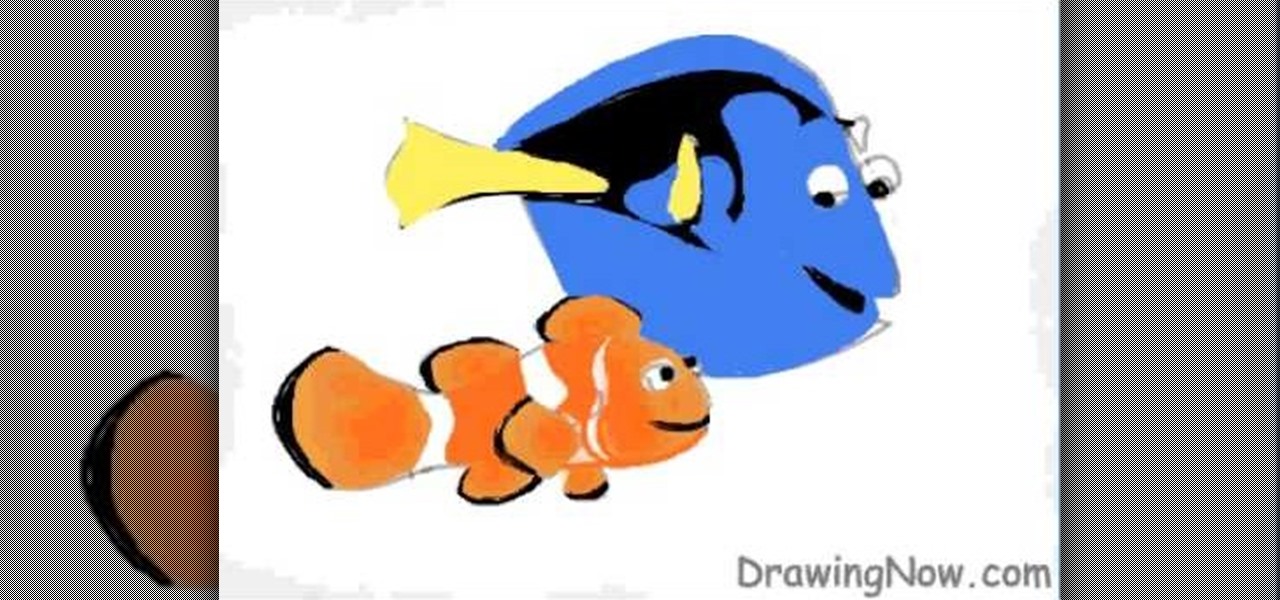
In this tutorial, we learn how to draw Nemo and Dory from Disney! Start off by drawing the bodies of both Dory and Nemo. Make sure to get the pattern of Nemo draw out correctly. After this, draw on the eyes and the fins for both of the characters. From here, use a black marker to draw on the scales of the fish as well as the rest of the details on the face. After this, color in Dory with yellow, black, and blue. Then, color in Nemo with orange, black, and white. When finished, color in the ba...

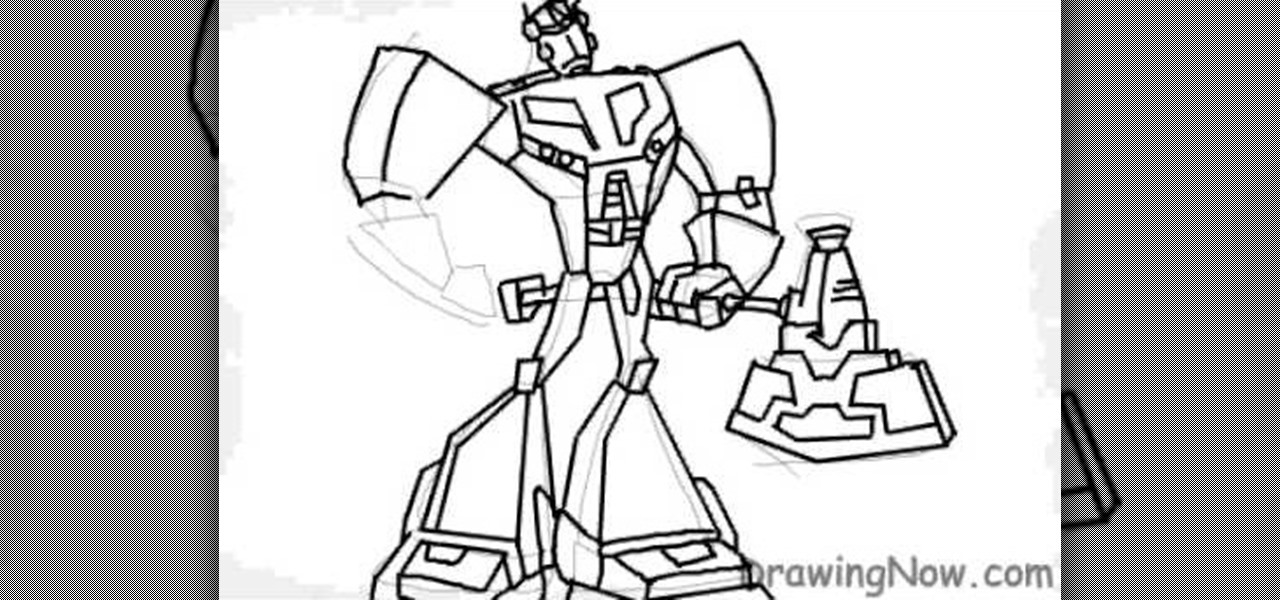
In this tutorial, we learn how to draw Optimus Prime of Transformers. Start off by drawing the outline of the entire body of the character. Make sure to add in the large arms and feet as well. Next, draw over this to make a more elaborate outline including the details for Optimus Prime. Once you have all the details draw, erase the background lines. Ten, color in the character and add in lines and shading to make it look more realistic. Once you have done this, then you will finish off with a...

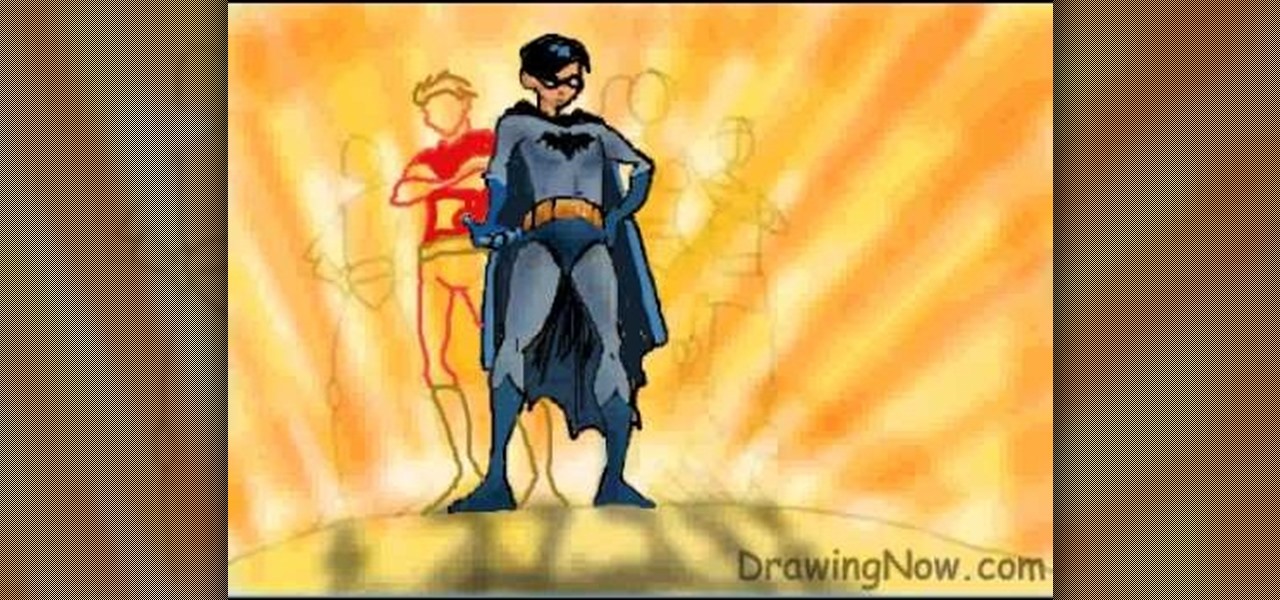
In this tutorial, we learn how to draw the cartoon Teen Titans. Start off by drawing the basic outlines of all the characters. Use circles and basic lines to draw out the outlines of them all standing together. From here, draw in the color for the background behind them, then start adding in details for each of the characters. Draw in each of their outfits, as well as facial features. Use lines and shading to make the characters look more realistic. Color them with the appropriate colors for ...

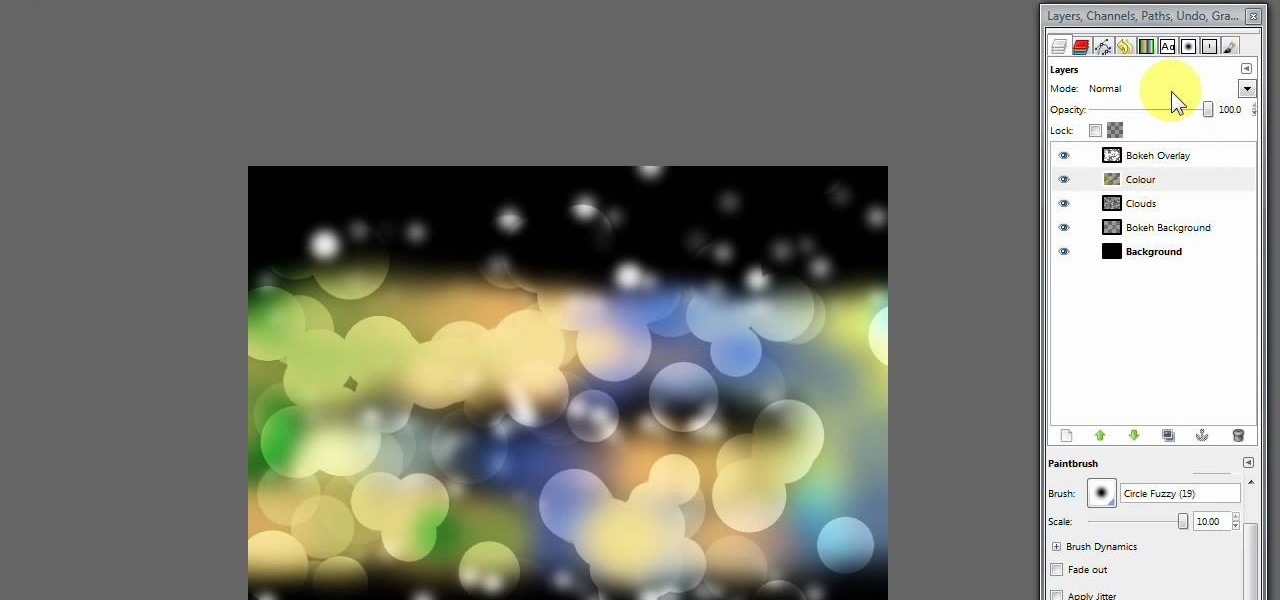
In this video, we learn how to create a modern bokeh effect in GIMP. First, start a new image and then change it to the size that you want. From here, click on the paint can and then fill your box up with a color. Then, create a new layer and name it "bokeh background". Click on this layer and then use the paintbrush tool to paint a small brush with color onto it. Start to paint on small dots and you will see that there are small tiny star like dots that start to appear. Then, fade these out ...

In this tutorial, we learn how to make stencils in GIMP. Start with heads or faces if you are new to this. Then, use the rectangle tool to select the head. Then, go to image and fir canvas to selection. Now, remove the background by using the background tool. Once finished, go to colors, then threshold. The image should turn black and white. Turn the dial to the right, then turn it to the left to make it lighter and darker. Find the spot to where it shows detail but it's not distorted, then h...
