Paper embossing stamps a design into the paper, but doesn't allot for any color. Ink and chalk can both be applied to an embossed design for color and to bring out the shape of the embossing. Ink can add vibrant color, while chalk adds a soft finish to the embossed design. Watch this video tutorial and learn how to use ink and chalk on embossed paper.

This video tutorial will show you how you can mix henna in order to dye your hair. Henna hair dyeing does not induce a dramatic hair color change for most brunettes and darker hair colors.

Using Aperture, you can easily convert images to black and white and add color tints to enhance your photos.
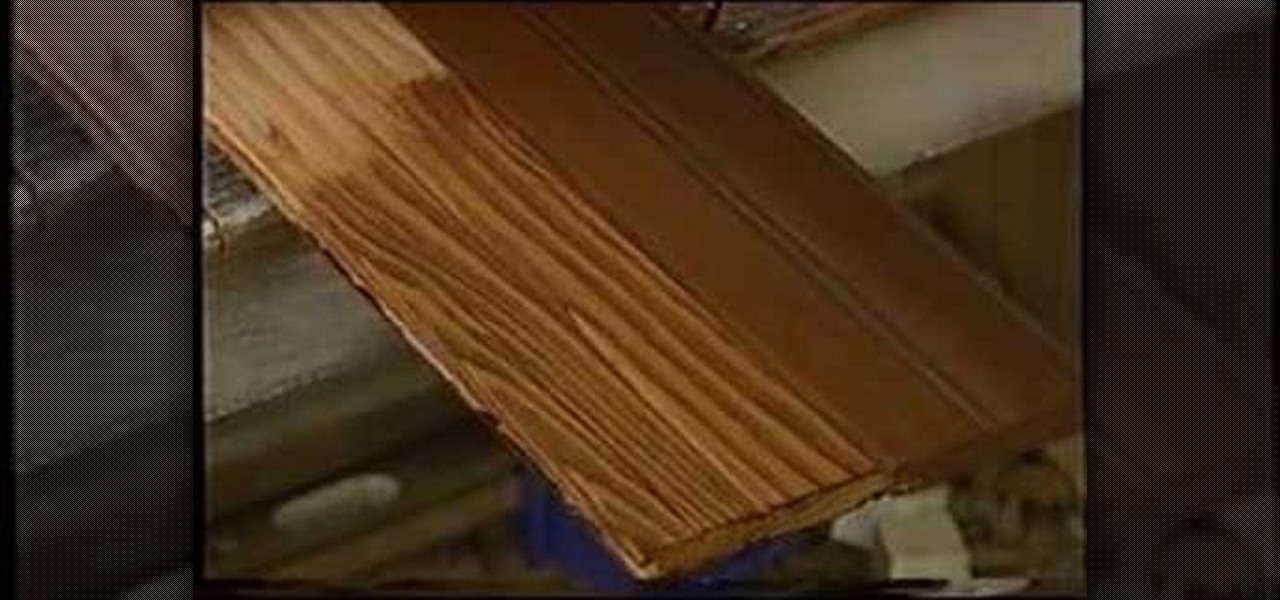
Tim Carter demonstrates how to stain wood to get the color you want. Watching these video tips allows you to be able to apply wood stain to match almost any color. If you get the right color stain and apply it properly, your new piece of wood will match color-wise and allow the grain of the wood to show through.
Tim Carter demonstrates how to blend or mix paint colors to get the perfect color for your job. Great video shows how blending paint colors really is easy and useful on any paint job.
Watch this video to learn how to traditionally hand-color silver gelatin black and white photographs.

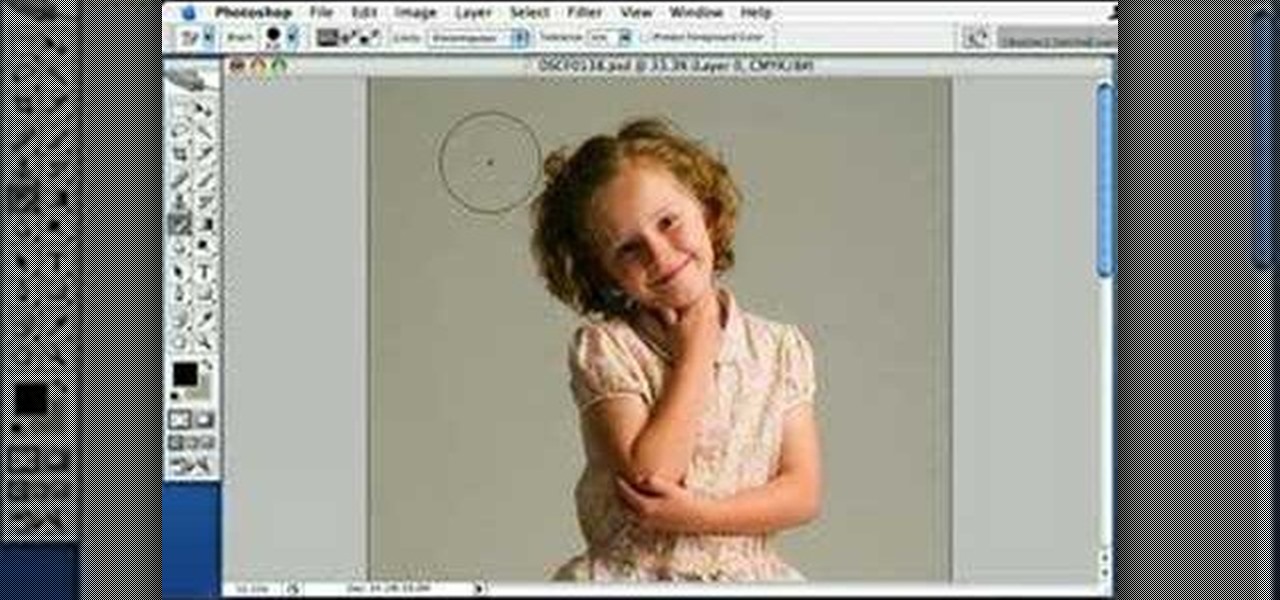
If you find yourself needing to quickly remove the background from an image in Photoshop, take a moment to play with the background eraser tool.

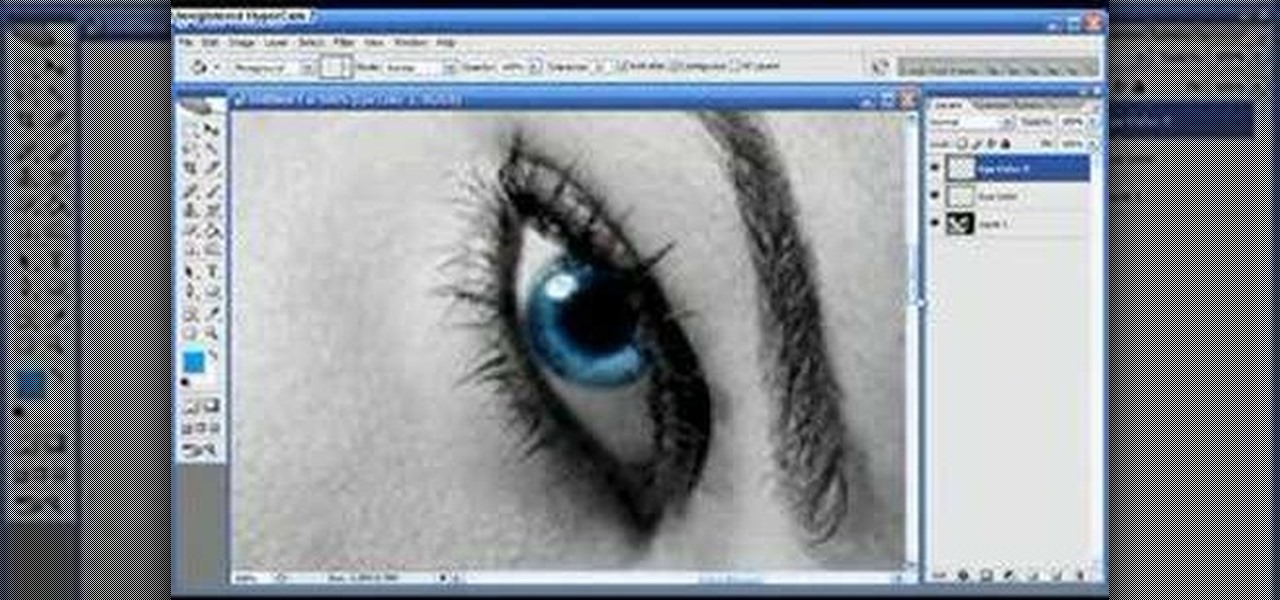
This quick tutorial explains how to change the color of the eyes in a photograph using Photoshop.

You've seen them at Disneyland's Fantasia. And in big budget movies like "Waterworld" and "Lord of the Rings." Spectacular, glowing fire effects that seem to ripple with the wind are a staple of action movies, and though it may seem like you need a super good video editing team to create such light shows, all you really need is some household chemicals.

Kuler is a beta Adobe application at labs.adobe.com. It allows you to choose color schemes using rules or completely at random, then export the colors as an Adobe Swatch Exchange file for use in all of the Creative Suite applications. In this video tutorial you will learn how to create color schemes using Kuler.

If you're new to the Bluetooth hacking world, here's a little background on using Linux BackTrack to hack a Bluetooh device: Linux Backtrack is a Live DVD device that offers security tools - like password crackers - that allow you penetrate networks.

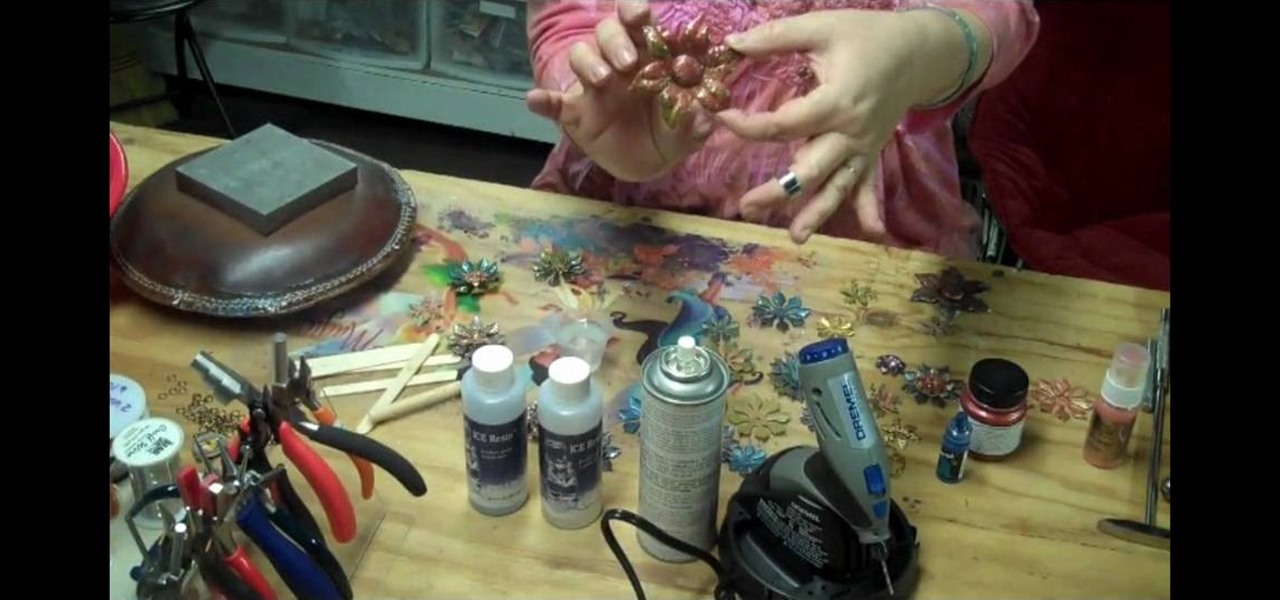
If you enjoy creating vintage inspired jewelry, then there's no way you can get around not using brass stampings. Already infused with a rusty colored hue, they're very antique-looking and their colors can be altered. Check out this jewelry crafting video to learn how to color vintage flower brass stampings using materials including acrylic paint and resin.

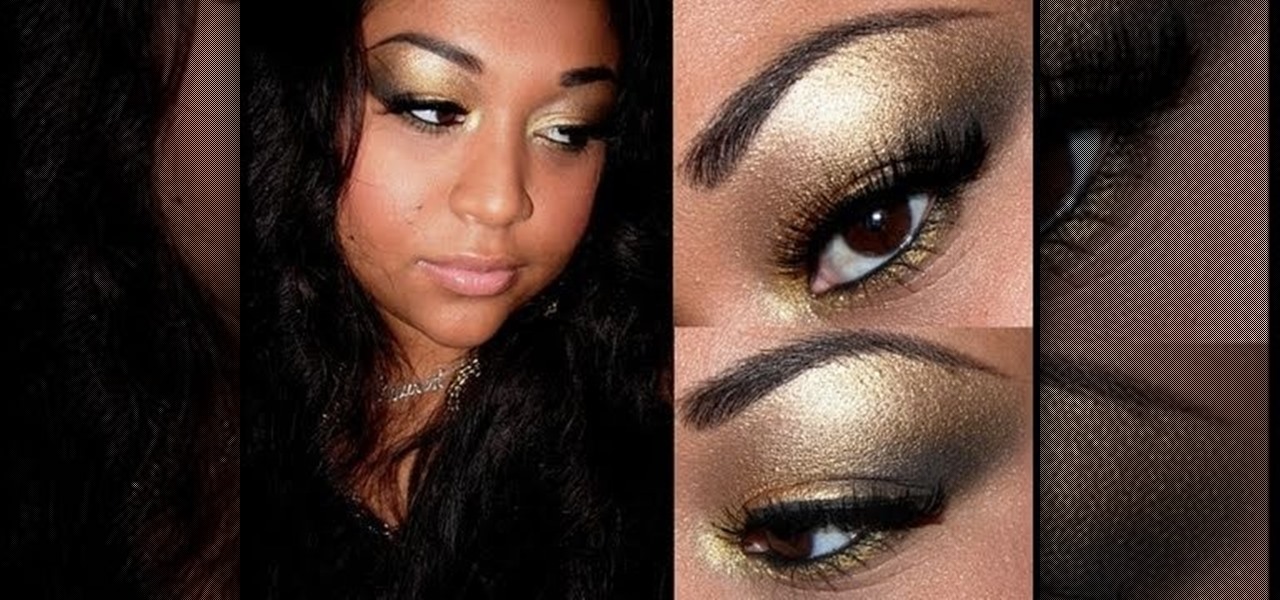
You should always base your eyeshadow color choices on the color of your eyes, but there are in fact some colors that look amazing on everybody. One of these universally flattering hues is gold. Whether you have brown eyes or green, gold brings out the tiny golden flecks in your iris.

In this video from MegaByteTV we learn how to keep your Windows desktop clean. He keeps only 3 icons on his desktop. Have a master folder. Put all of your most used things in there. Also use something called RockDock as he says in the video. In the dock, you can then expand and see all of your files in your master folder. This is neat and organized way to keep your desktop free from clutter. It also opens up your desktop to have a nice background image which you can select yourself. At the ma...

In this video we learn how to make a candy DNA model. First, purchase some black licorice and another color. Grab two each from the pack and then purchase some gummy bears. After this, pick out four different colors from the gummy bears bag. Take your scissors and put the licorice together. Cut one inch pieces so you end up with six of them. These will represent the sugars in the molecules. Once you do this, you will take the string and push it through the holes that are in the licorice. Laye...

For all of you who are knot fans, here comes a video tutorial showing step by step and in detail how to tie an Emperor's hat knot that realistically resembles one of the hats worn by Chinese emperors in the old days. In this video, a white piece of rope hanging from a hook is used against a black background. You will see each one of the twists and turns in slow speed (not in slow motion) so that you can easily follow what is being shown. The final result is a complex knot done in less than fi...

In this tutorial, we learn how to draw Omoi. first, draw the outline of the character with a thin pencil mark. After this, draw in the features of the face and include the details on the eyes. From here, start to draw in the bangs and the hair around the head. Next, you will draw on the headband on the forehead and then decorate the inside with the usual sign. Next, you will draw on the ears and finish with the details on the face. After this, draw on the upper body and then clean up any back...

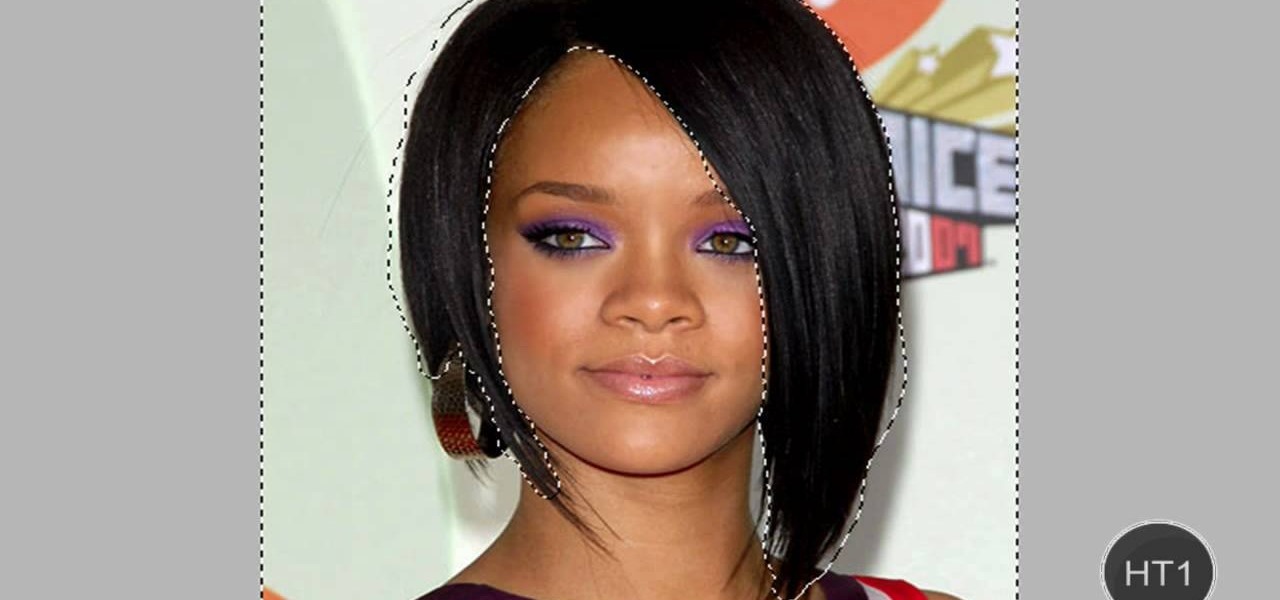
In this video, we learn how to change hair color in Photoshop CS3 and CS4. First, open up your image and zoom in on the hair. From here, you will click on the selection tool with a circle to select your image. Now, make sure this is the perfect size for the entire image. Right click and make sure it's sized out right. Now, select the hair and a red marker will appear. Select the whole surface of the hair, and as you get to the short hair use a smaller circle tool, don't worry about the smalle...

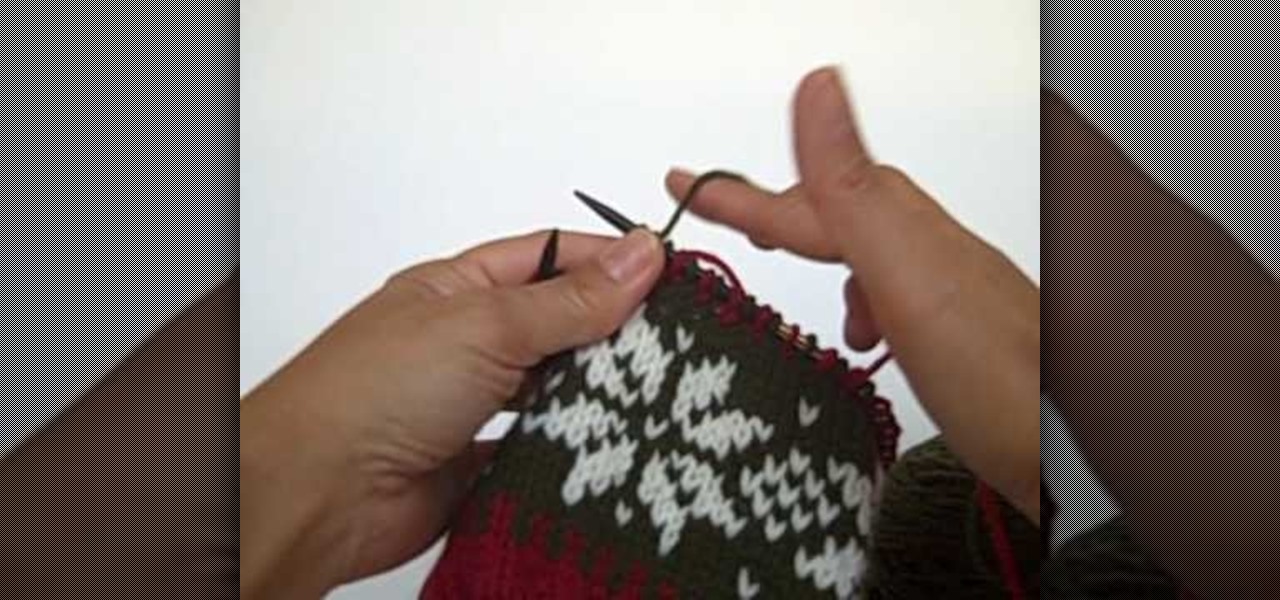
In this video, we learn how to knit with two colors of yarn. Carry your yarn in the hand that you are most comfortable with. Then, don't tension it around your pinkie so you can control the yarn. Now, put your dominant color over your forefinger and the accent finger on the bottom of your forefinger. This way, you will be able to turn your hands to decide which color is going to go up and over the needle. Once you have this technique down, you will be able to continue to knit until you have t...

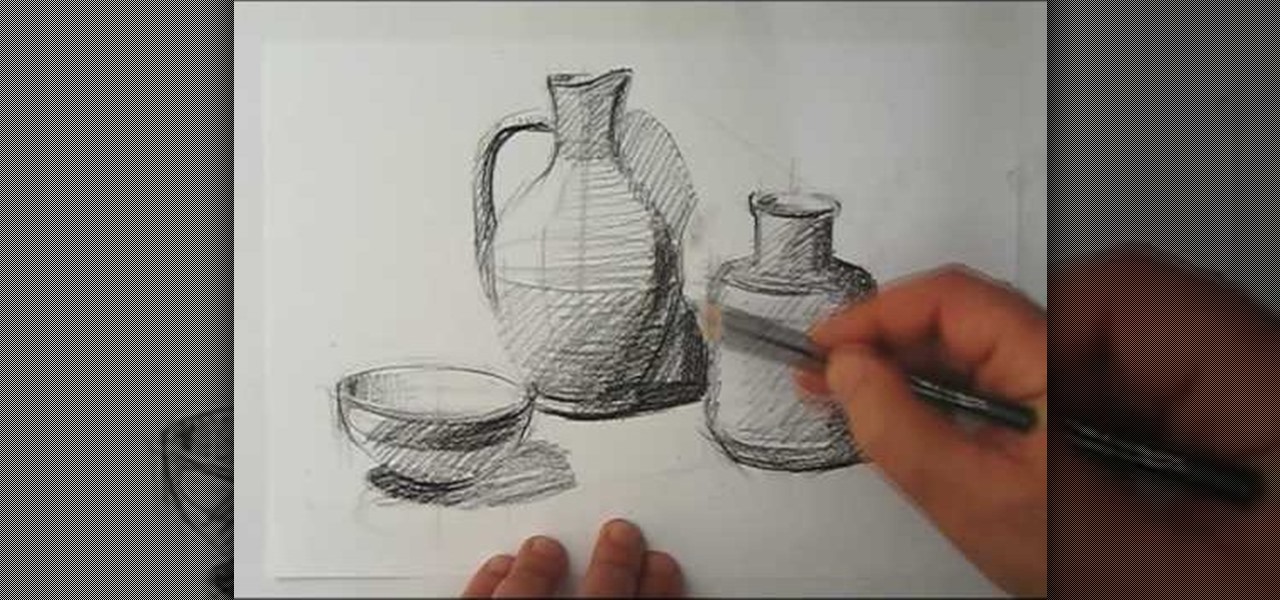
In this tutorial, we learn how to draw a still life. First, you will use the side of the pencil to draw the outline for the still life drawing. After this, continue to draw the outlines for all the objects that are in the model. Start to slowly add in the details, using the light touch of the pencil. As you continue, use the side of your pencil to shade and then use your eraser to blend. Continue to add in additional details as you go, then erase any background lines when needed. Enjoy drawin...

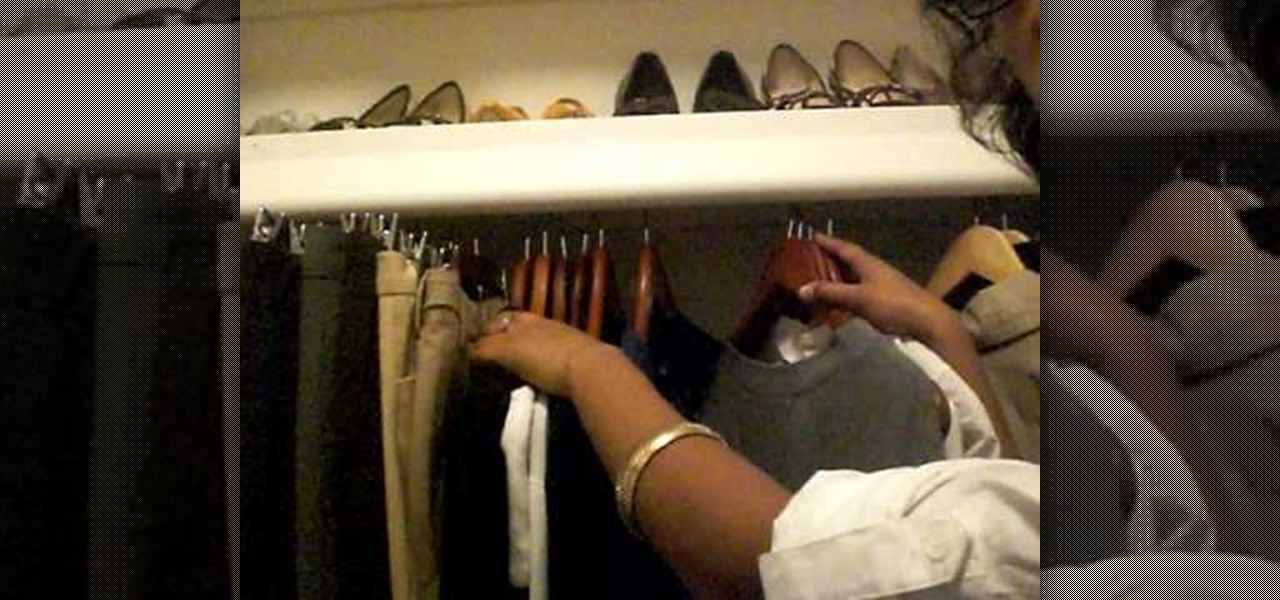
In this tutorial, we learn how to organize your closet by establishing a wardrobe system. If you have tops that you wear during the day, put these on a different colored hanger than your nighttime tops. Color code these in your closet and then hang up your nighttime tops with a light wood or your choice hanger. If you have other random tops, you can hang them according to how you would wear them the most. Dresses can be hung on another color hanger and then pants can be worn on another color ...

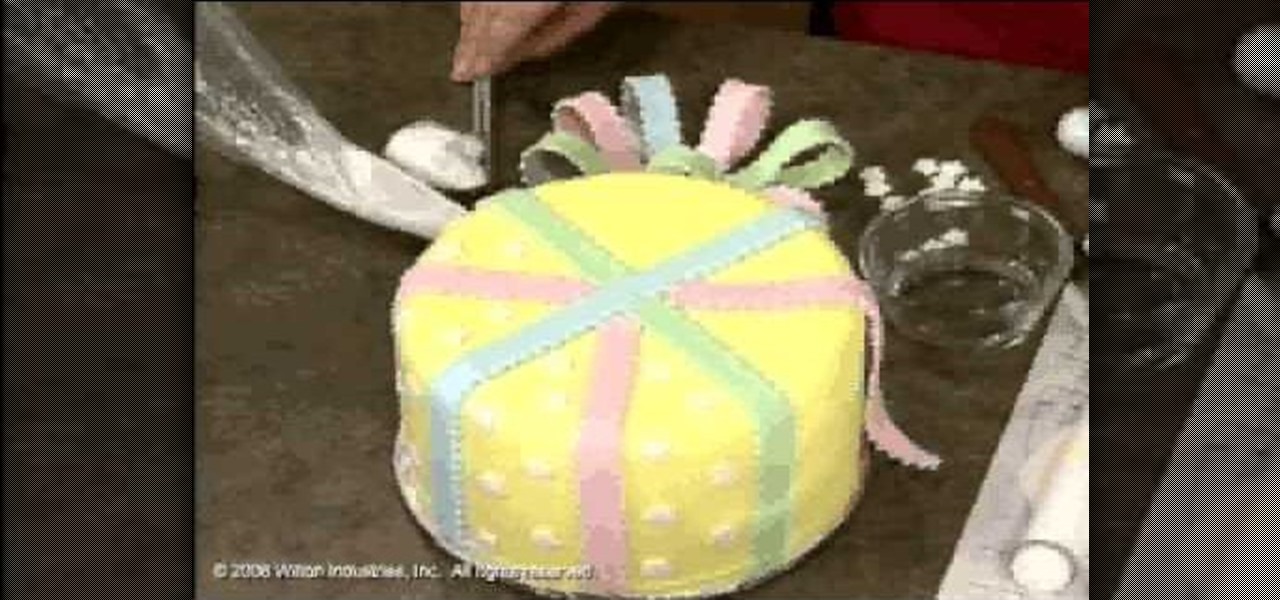
In this video, we learn how to use fondant when making & decorating cakes. Fondant is a dull type of sugar paste that you can form different shapes with and add colors to. When you add the color to the fondant, simply work it with your hands until the color runs all the way through and is smooth. Roll it out when finished, then you can apply it to the cake. To apply it, you will simply drape the fondant over the cake so it's hanging off on the sides. Then, flatten it out on the top and sides ...

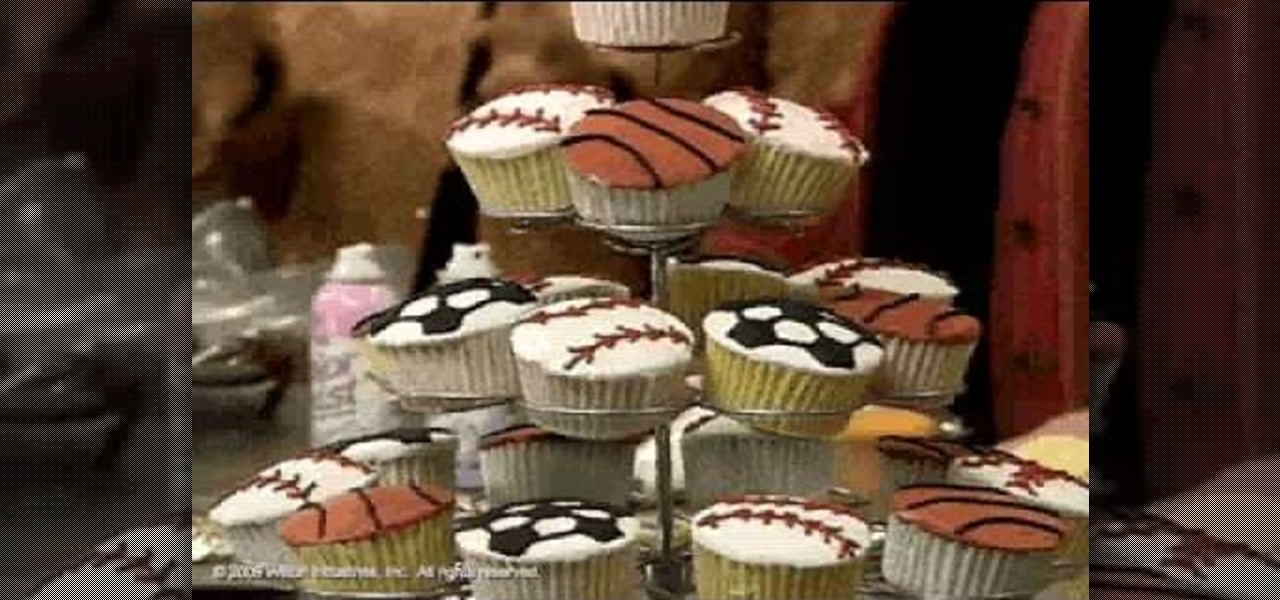
In this tutorial, we learn how to get creative the next time you make cupcakes. The first way to make a cute cupcake is to cover it with tall icing and then sprinkles, you can add a candle for a birthday. You can use different colors of icing to make it more exciting, then add a sugar color decoration to the top of it. Use airbrush in a can to color the icing on top of the cupcake. Kids can help you with this and have a lot of fun! You can also make a sports cupcake by using different colors ...

In this tutorial, we learn how to draw Danzo. To start, you will draw the outline with the light touch of the pencil. After this, draw in the final outline darker and then erase the background lines. Next, you will add in the details around the character and then add in lines to show creases and make it look more realistic. From here, you will add in shading to make the drawing have some more depth. After this, you will finish up by cleaning any stray lines with an eraser. You can also use th...

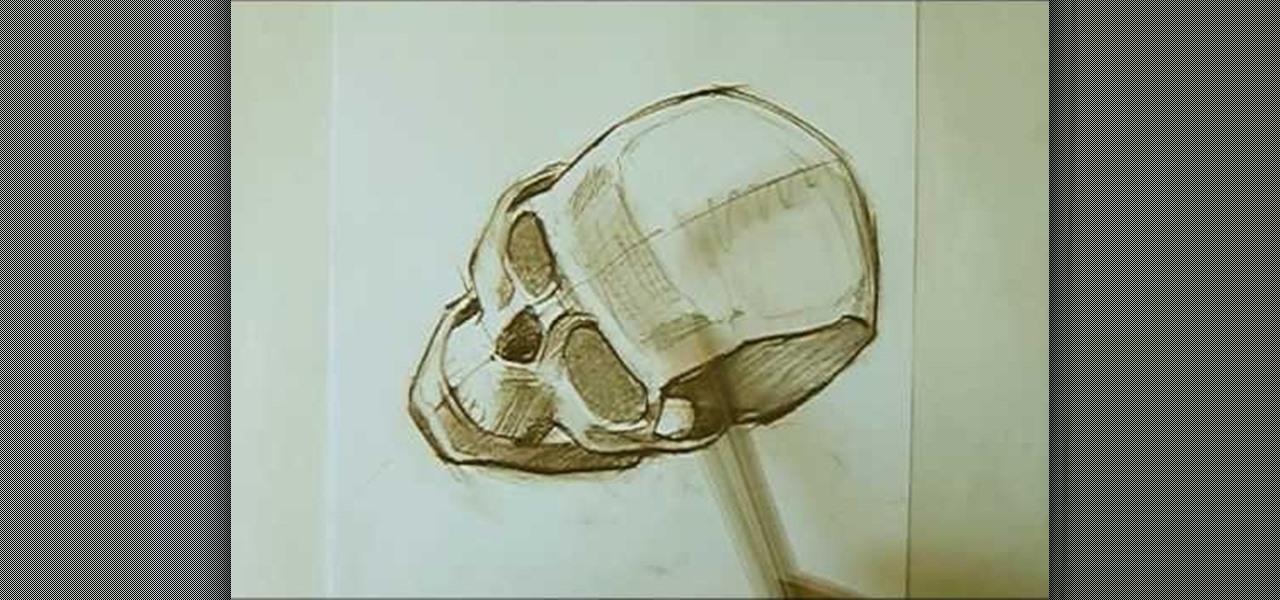
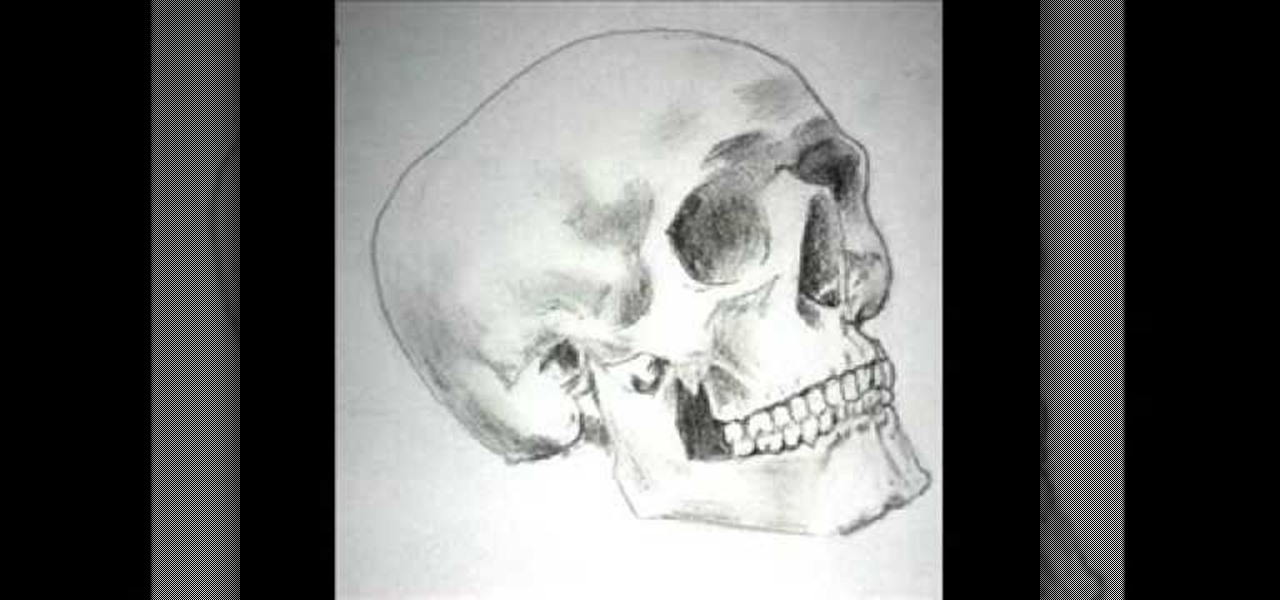
In this tutorial, we learn how to draw a skull with proper proportions. First, draw the outline of the skull with the light touch of a pencil. After this, use the pencil to draw two crossing lines that are the same length. Next, draw in the features of the face and head using the lines on the drawing. From here, you will start to add in the details to the features of the face and erase any background lines. Use the side of your pencil and the top of it to shade in the sockets and lines. To fi...

In this tutorial, we learn how to draw Kazekage Gaara. First, draw the outline of the character using a pencil. Then, draw in the features of the face and the hair as well. From here, draw in lines on the clothing to create the folds and make it look more realistic. After this, continue to add in details on the clothing to show the arm and the backpack on the character. Start to add shading to the character and the clothing until you finish the drawing. Clean up any stray or background lines,...

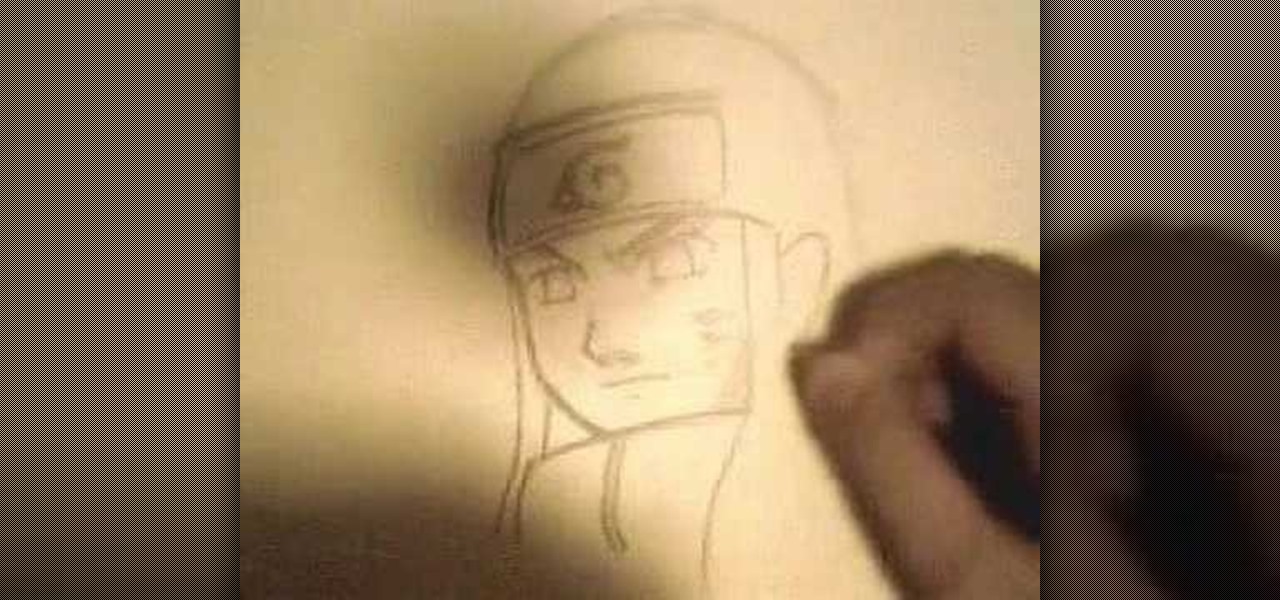
In this tutorial, we learn how to draw manga Neji. Start off by drawing the outline of the character. Don't forget to include the parts where the facial features, limbs, and hair are at. From here, you will use a darker pen to draw in the rest of the character. Next, you will start to draw in the additional lines and shading to make the character look more realistic. Once you do this, you can start adding some color! Use any colors that you would like or use the normal colors that are on Neji...

In this video we learn how to draw hands without references. First, draw the basic structure of the hand using a photo to make sure it's true to size. After this, draw on boxes and circles to create the wrist, hand, and the knuckles. Then, you will draw on straight lines for the bones in the thumb. After this, start to add details of the fingers and make out their basic shape. As you continue with details, erase any background lines and start to add lines in for wrinkles on the skin. Finish t...

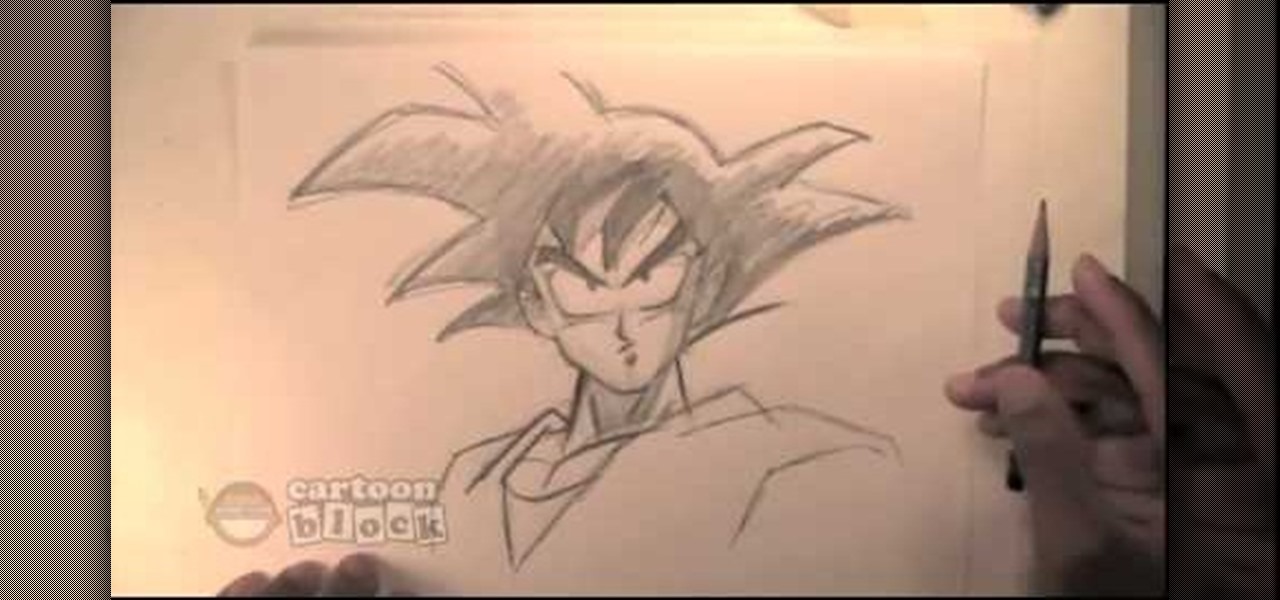
In this tutorial, we learn how to draw Goku. First, you will start drawing the outline of the face, including the features of the face. After this, darken around them by drawing with the pencil. From here, draw in the hair on the top of the head and the ears on the side of the head. Next, you will draw in the neck and the rest of the body as well. Add in lines on the body to show the contours and the muscle on the body as well. Finish this off by adding in shading and erasing any background l...

In this tutorial, we learn how to draw a skull. First, select a picture of a skull that you want to draw. Then, sketch a few lines so you know where you are going to position the sockets in the eyes. Also do this for where you're going to position the nose and mouth cavities. Then, erase any unwanted background lines. From here, you will draw over your original sketch and then tone the eyes and the sockets. From here, you will tone and add shading to the rest of the skull and the areas behind...

In this video, we learn how to manage two different colors of yarn with Eunny Jang. You can do this all on your left hand, right hand, or with both of your hands. It's all about what is most comfortable for your, even if it's something different. Start out with all your yarn in your right hand then knit with one yard at a time. This means to just knit as usual by dropping the yarn and picking up the next color. This can be a bit tedious because you will be constantly stopping and starting. Yo...

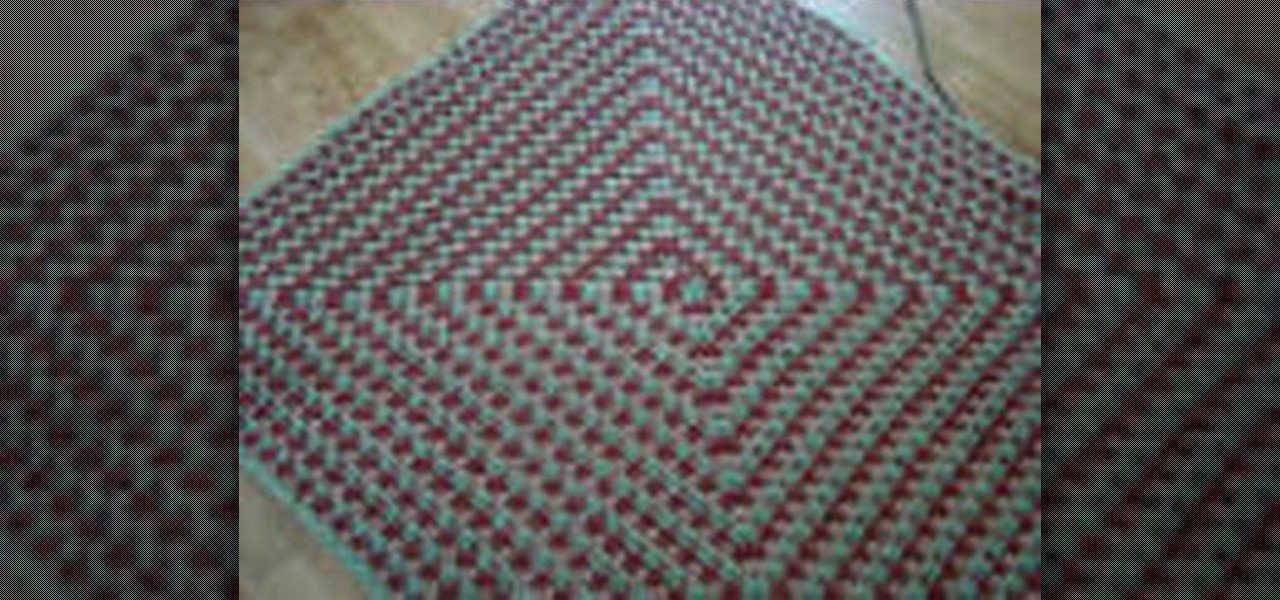
In this tutorial, we learn how to crochet a super fast 3 color granny square. Start out with your first color on the crochet needle. Then, chain four and put the needle back into the first chain. Before you pull everything tight together, you will move your middle finger into the stitch with your thumb so when you pull it will wrap around your fingers. Then, chain three and do this over twice more to create the outlining area around the hole. From here, you will use two other colors using the...

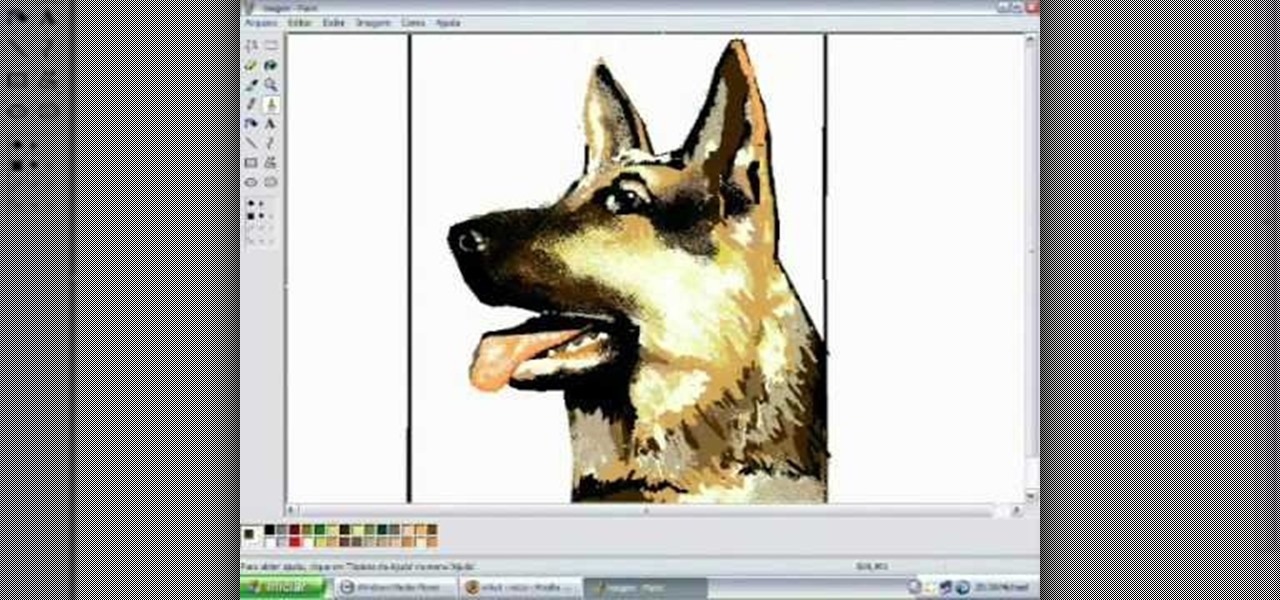
In this tutorial, we learn how to draw a dog in MS Paint. You will do this by using Paint and your mouse, not using a tablet or a pen on the PC. Start out by drawing the outline of the dog in the middle of the page. Next, fill in the nose, mouth, and eyes with black. Then, color the tongue and draw on the ridges of the teeth in the mouth. From here, you will spray paint the color of the dog onto the edges. Spray brown around the edges, then add in white, tan, black, and other colors to make t...

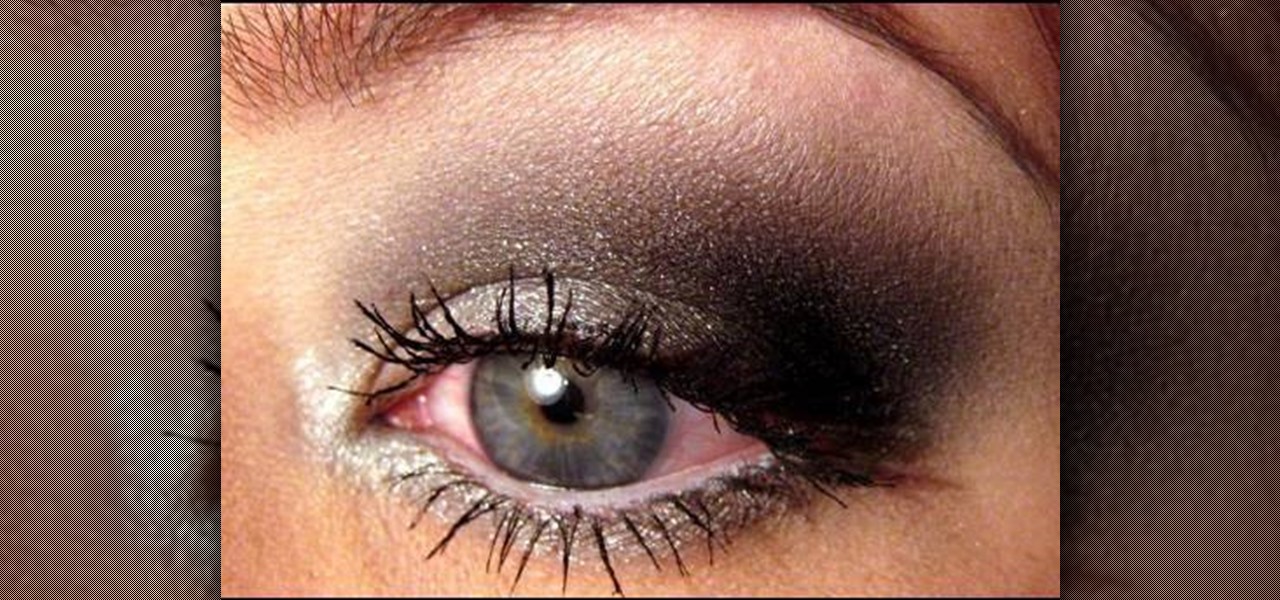
In this tutorial, we learn how to apply a silver smoky makeup look for a hooded eye. Start out with a silver color brushed all over the eyelid. After this, brush a darker color in the crease of the eye, blending in the outer corner of the eye. From here, blend this up towards the brow bone. Place black on the outer corner of the eye to deepen the area, then blend out. After this, apply a light shimmer underneath the brow for a highlight and blend with the bottom colors. Apply the silver color...

In this video, we learn how to draw Karin. First, start drawing a circle and then add the eye line to help you place the eye. After this, draw in a triangle at the bottom of the circle as a reference to where the chin will go. Then, draw in a line for the body, then circles for the body and shoulders. After this, draw in the neck and then draw the rest of the body. Now, draw in the hair and the details of the face. Once you have finished this, erase the background lines from the face and then...

In this tutorial, we learn how to draw Tenten. To start this character, draw a light circle along with lines in the middle for reference points. Use a bolder line to draw the chin and then the eyes, nose, and mouth. also make sure to draw in slight eyelashes and eyebrows above the eyes. After this, draw a line around the head and erase the background lines. Draw ears on the top and then start to fill in the hair for the bangs on the front of the face. Finish this off with a headbands, then dr...

In this video, we learn how to apply eyeshadow. First, you need to see what your skin tone is and research colors that work best with it. Then, you need to get the right tools. Once you have the right brushes and eyeshadow colors, you are ready to apply. Some brushes that might work include: fluffy, straight, small and large. Now, close your eyes and dab the eyeshadow onto your choice of brush. Brush the color all over the eye, making it darker on the end of the outer edge of the eye. Then, a...

In this tutorial, we learn how to draw Train Heartnet. Start off by drawing a circle for his head, then lines in the head for reference of where the features will go. Next, draw a stick for the body and draw circles where the shoulders and wrists would be. After this, draw in the neck and the upper body. Draw in the clothes after this, adding in as much detail as you would like. Make sure to add in shading and lines to make the clothes look more realistic. Next, you will need to draw in the f...

In this tutorial, we learn how to create a toned-down, everyday makeup look. Start out by priming the eyes, then brushing on a light nude color to the entire eyelid. After this, brush a darker color onto the crease of the eye and blend the two in together. Next, take a light nude shimmer color and brush over the eyelid on top of the other colors. Next, take this color and brush it up to the brow bone to create a highlight. Add in a dark brown color in the crease of the eyes, then blend in to ...

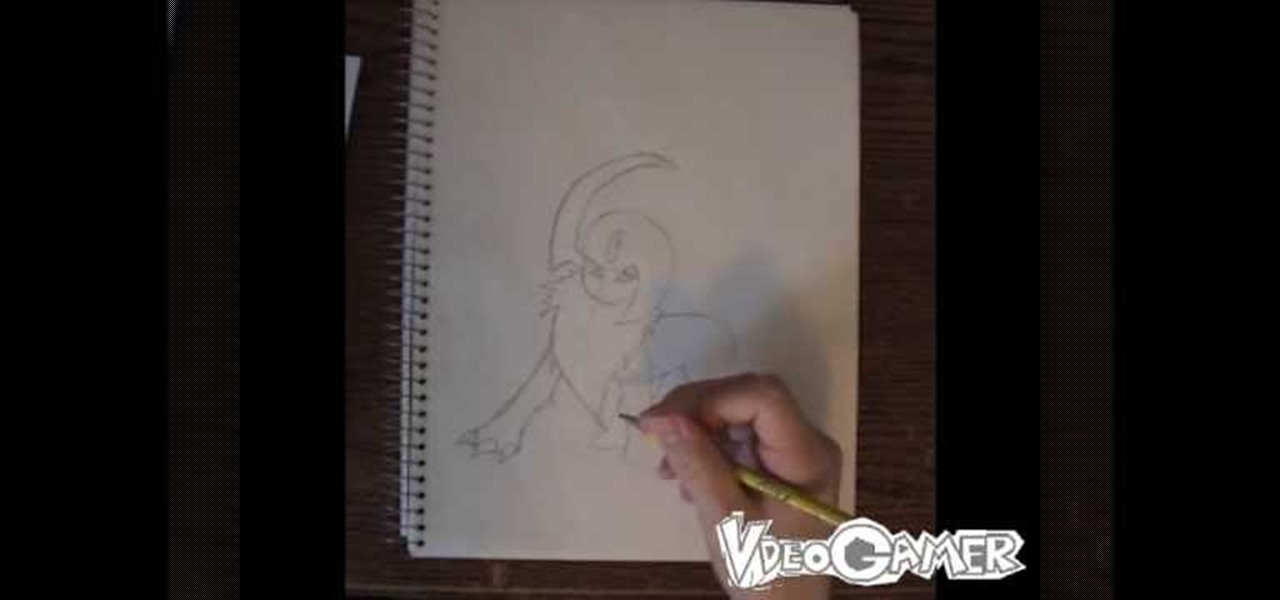
In this tutorial, we learn how to draw Absol. Start out by drawling the outline of the character, starting with the head. After this, draw on the details of the body, including the claws that are on the feet. Next, you will draw on lines for the fur that are on the main part of the upper body. Draw on the tail towards the read, then draw a large wing on the upper and lower body. You will also want to draw on a flat background to show that Absol is standing up. Add in details and shading to th...


