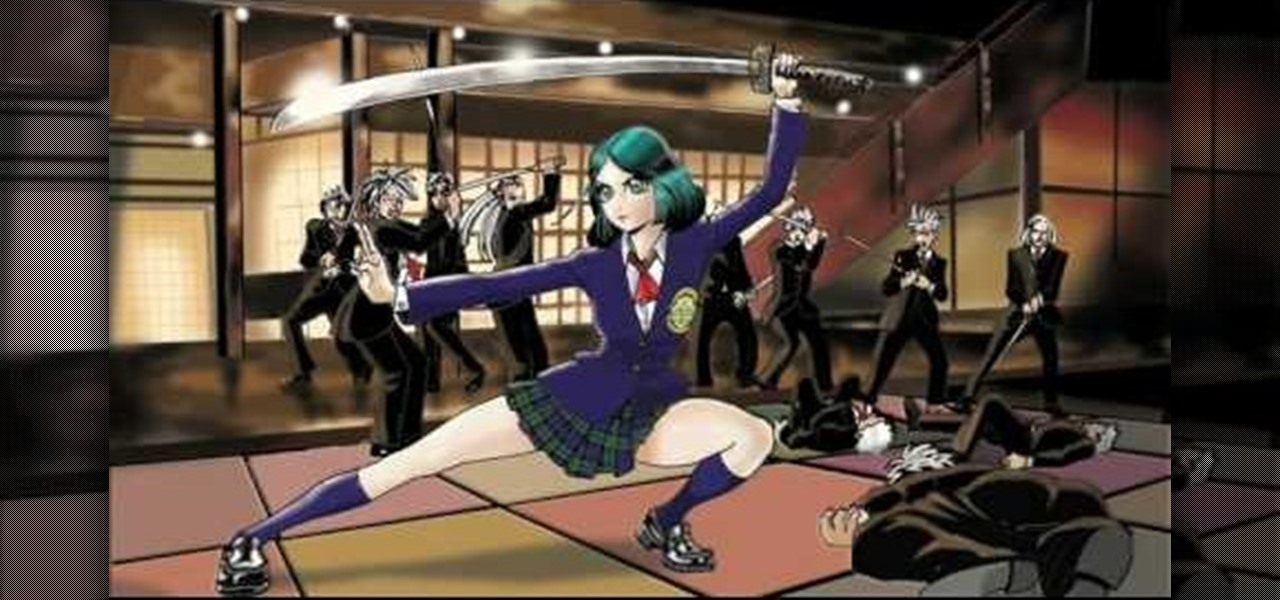
In this tutorial, we learn how to draw a female anime or manga school girl. Start out by drawing the outline of the character, then drawing in the details along the middle and the body of the character. Use circles inside the body to create a references as to where the body joints would be. Then, draw in clothing on the body and add a sword in the hands of the girl. After this, draw in additional details to the drawing and then focus on the face. Draw in the facial details, then add the hair ...
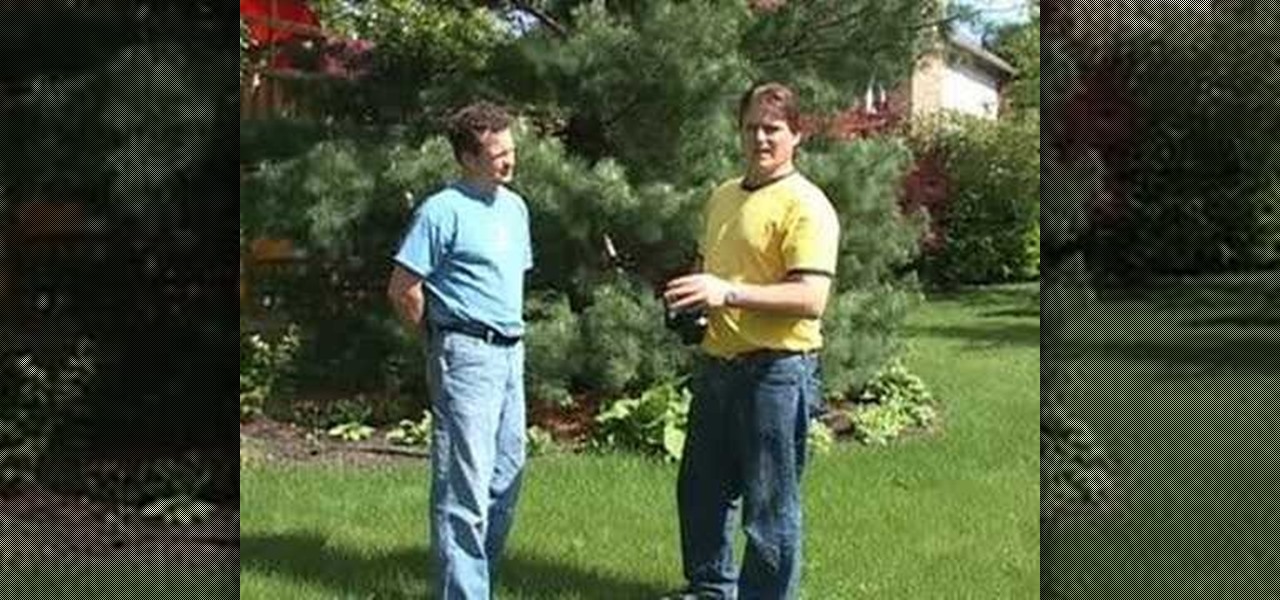
In this tutorial, we learn how to use AV mode & High Speed Sync (flash). First, go to AV mode and change the settings to 2.8. When you do this, your shutter speed will blink at 250. To fix this, hit the lightning bolt with the "h" and change it to the high speed setting. Now, your camera will be able to use the high speed shutter with the flash as well. Now, take some shots of your subject in the sun and you should be able to see a huge difference. The background should come in crystal clear ...
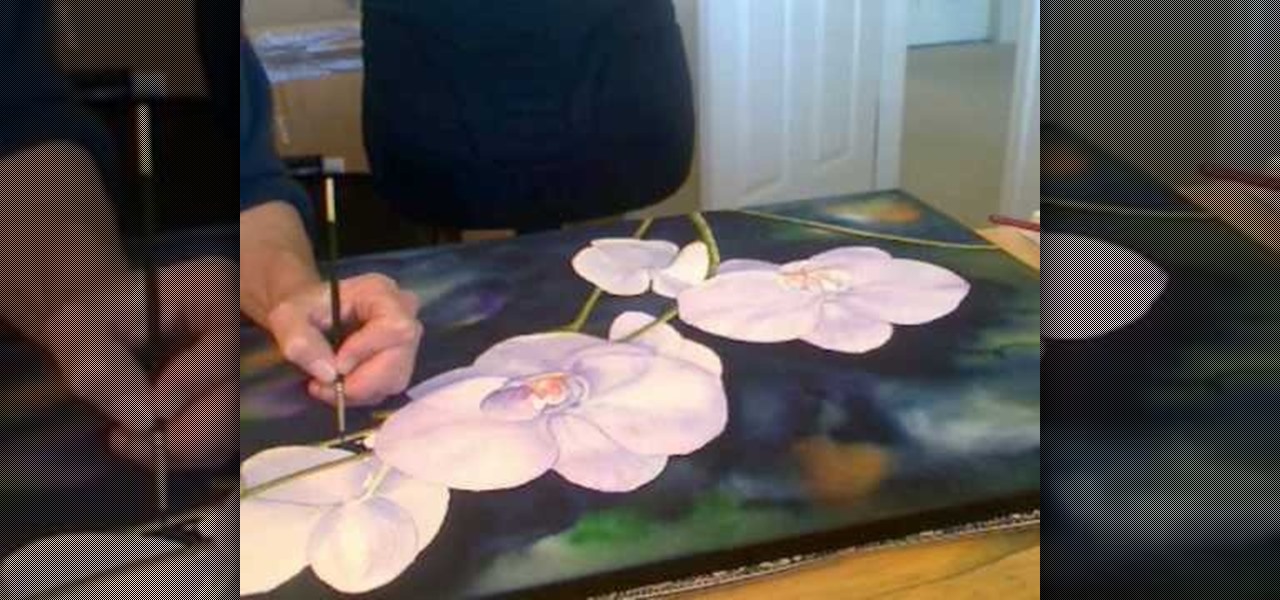
In this video, we learn how to pain orchid flowers with watercolor paints. Start out by using a light lilac color on the petals. Use a thin brush to push the colors around on the picture so you have slight shading around the different petals. Use a darker purple color in the middle of the flower. Then, use a yellow color in the very middle. Add in a green leaf and stem on the bottom of the flower. Use a paper towel to smudge any excess moisture or water off of the flower to make it more prist...

In this video, we learn how to draw a funny cartoon bird in CorelDraw X4. Start out by opening up CorelDraw and using the pen to sketch out the shape of the bird. There is no set way to draw this, just be creative with the drawing. Add in the hair, eyes, beak, and body to the bird. Give it crazy eyes that are different sizes and wacky colors. Fill in the bird with different colors, also filling in the colors of the eyes and adding in details to the beak. Continue on to fill in details and col...
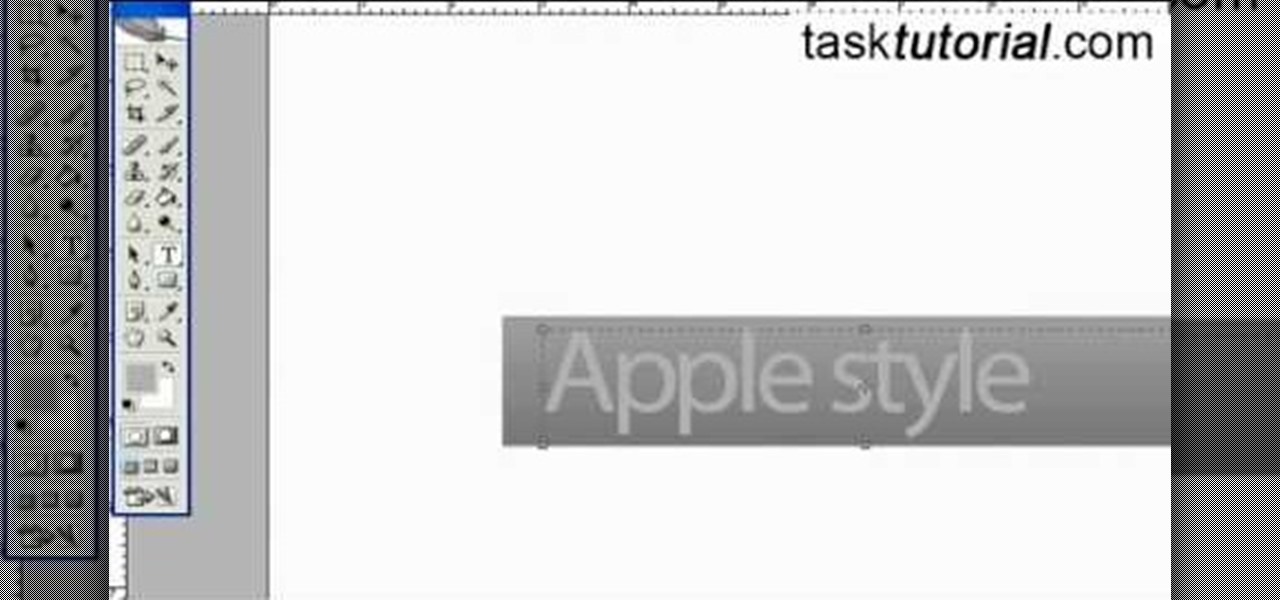
First select the rectangle tool and draw the bar. Now you have to open up the layer style and choose gradient overlay. Now you need to edit the colors as showing in the video and then go to drop shadow option, you have to change the opacity of it to 20%, distance to 2 and click ok. Now type "Apple style" in new layer as showing in the video, set the size of text to 72pt. Now open layer style for the text and choose color overlay and set its color to dark grey, go to drop shadow and choose nor...

In this video, we learn how to create a compelling resume. When you talk about your prior experience, write down something that you learned from your work background, preferably something that matches the job you're applying for. Employers are looking for something you were taught in your experience. Write down any accomplishments you received while on the job, and how well you did them as well. If you're graduated, let them know when you are available for full time work and when you are grad...

Go to your admin page of the Joomla and click on extensions and choose install/uninstall and there you can install your extensions. First you need to know what is extension, there are three type of extensions, one is called component, second is module and third is plug-in. components are like stand alone or application, like anything from video gallery, forms etc.

In this tutorial, we learn how to create a sea nymph makeup look. Start by applying purple shadow the eyelids, then apply a darker purple color over the top of it. Now, on top of this, blend a black to the eyelid colors, then line the top and bottom of the eyes. Draw a rough outline on your face next where you are going to apply the sequins. Start to color in your face where the sequin face mask is going to be, and color it blue and bright yellow, or whatever matches your mask. When finished,...

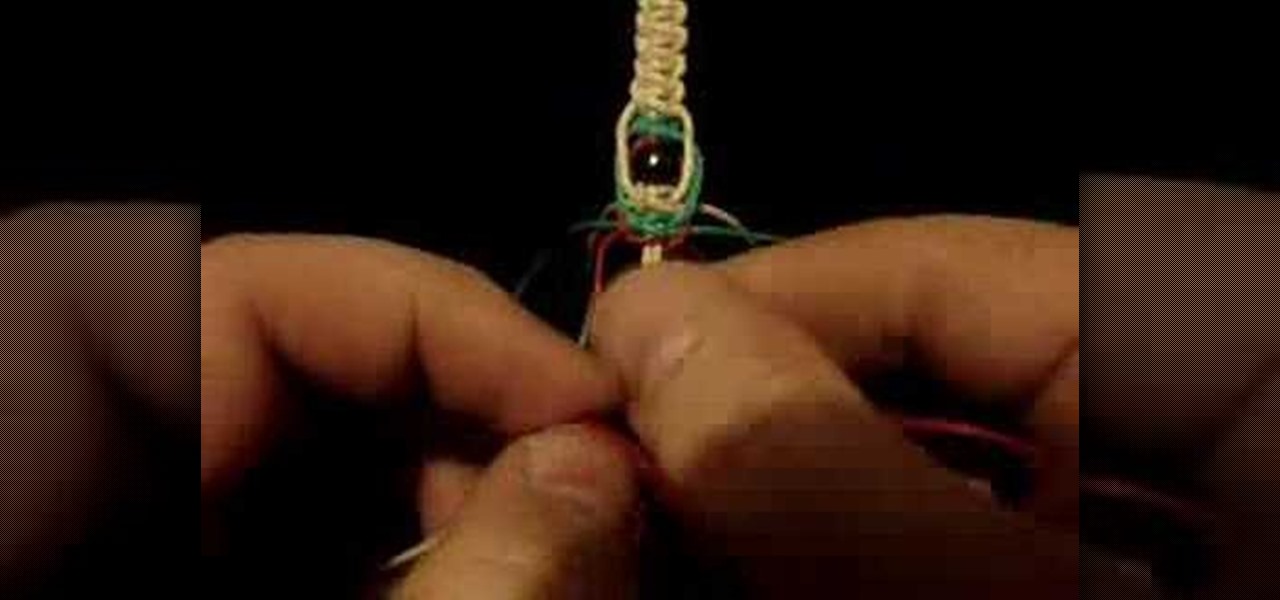
Phish bone keychains feature a highlighted midsection with three different colors of hemp (in this video we use regular rafia-colored hemp, red hemp, and green hemp) that surround wooden beads.

In this great two-part video you'll learn how to change the basic color scheme of the Arjuna X theme on WordPress. The video uses the program GIMP, a free image editing program as an alternative to Photoshop, to help create new images for your header and page.

Have you ever tried to erase the background on an image so you can use the object image to layer with another document? You can do it in Adobe Photoshop, but if you don't know what you're doing, it could take hours… days to extract that image you want. But with Photoshop Elements, there's a handy tool called Magic Extractor that helps you get some of the dirty work out of the way, so you can concentrate on the finer details. Watch this video to see how it's done.

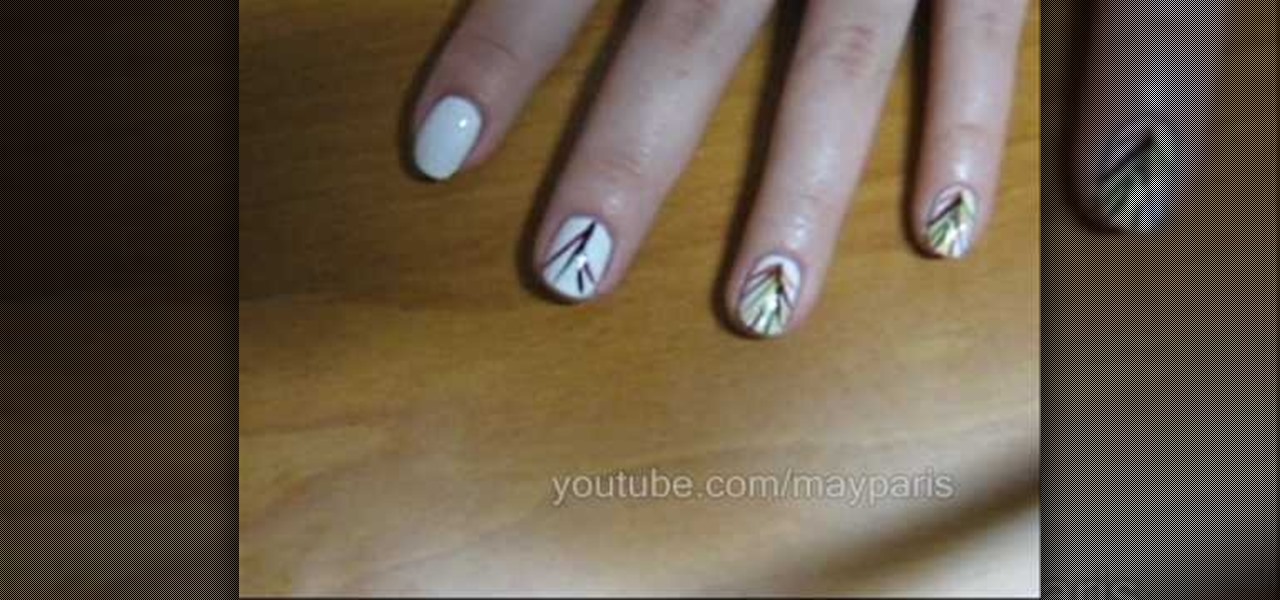
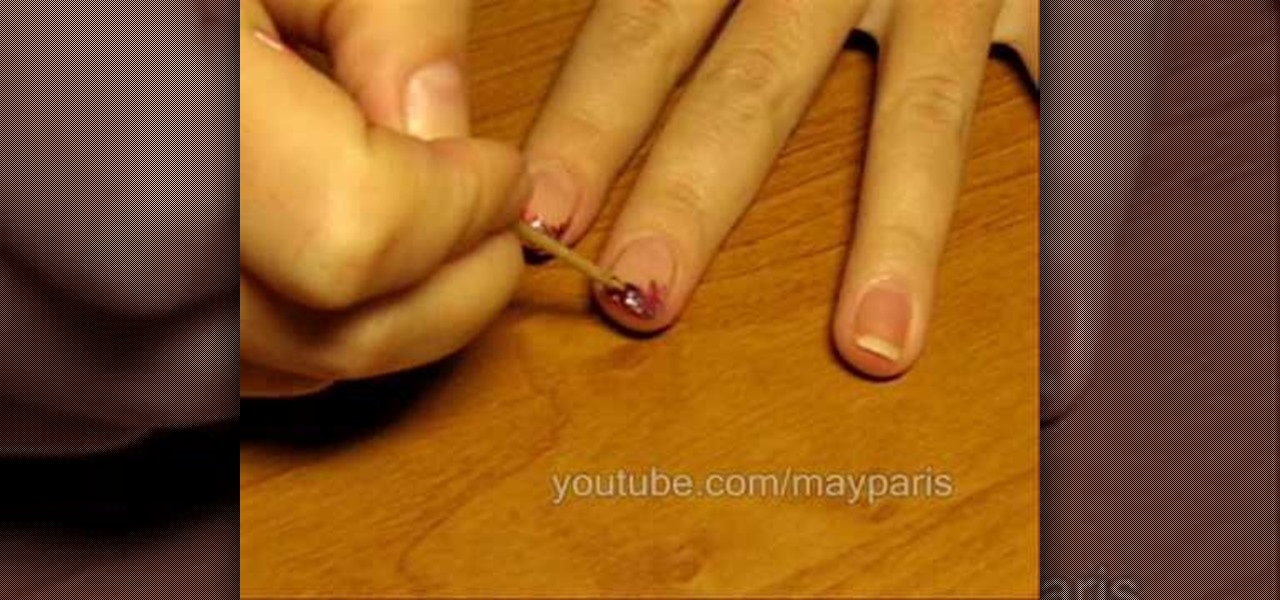
In order to paint palm trees on your nails, you will need the following: white matte base nail polish and a variety of other colors. You will need toothpicks, if you do not have fine brushes in your polish.

In order to create/paint a vintage French manicure, you will need several different nail polishes and a toothpick. You can use any combination of color that you want: e.g. neutral and purple and golden rose 10 and golden rose 31.

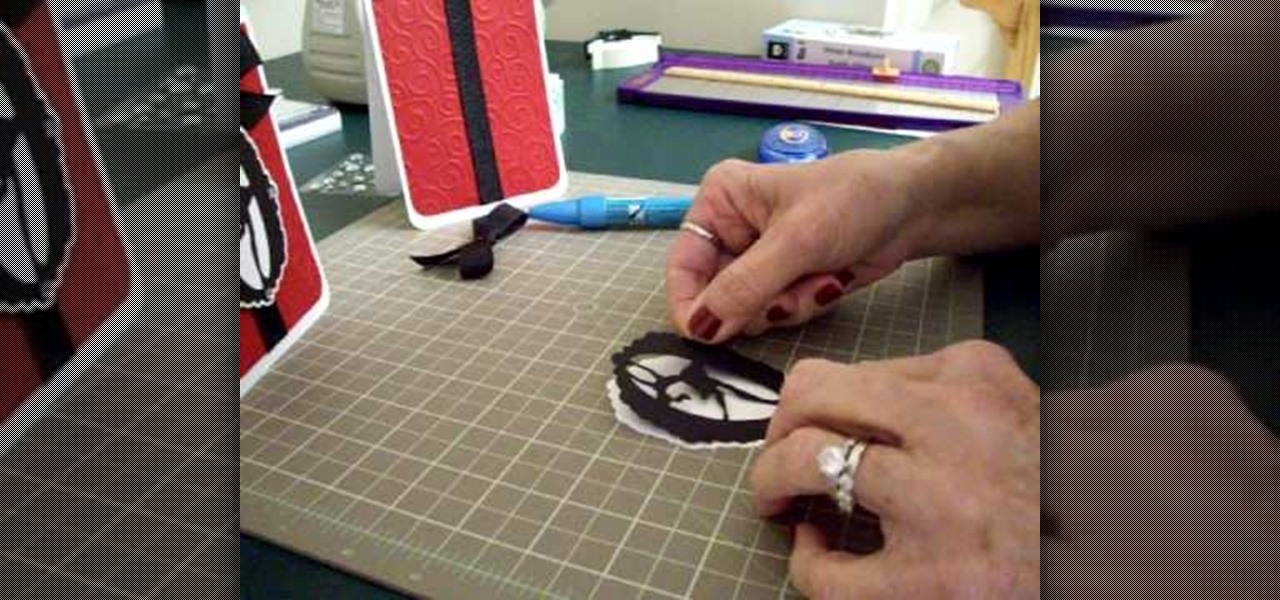
Make a simple, elegant card using Winter Woodland. Go to page 50 of manual. Cut tag and skater at 3 inches. Use 8 1/2 x 11 cardstock and cut vertically to 4 1/4 inch. Fold from top to bottom. Round corners of cardstock and red matte. Make red matte 4x5. Run red matte through cutter bug using swirls folder. Insert between two plates and run through. Place black grosgrain ribbon down the center. Stick to front of card. Glue skater to background. Place square crystals around skater. Create and p...

In this video, we learn how to use and understand depth of field in photography. If you look at a photo, the depth is how deep the picture looks. You can change the depth by changing the aperture to make the depth of field look shorter or longer. The lighting can also change the depth of field and what you can see in the background. A big aperture will give you a large depth of field, with a small amount of light. If you want a big depth of field in a landscape, then you will use a maximum ap...

In this tutorial, we learn how to start using Twitter. First, you will want to log onto Twitter and click on the "sign up now" button. Enter in your information and then start your account. Now you can start to follow people and have them follow you as well. Enter in your status update in 140 characters or less. You can start to make friends and learn what the new trending topics are around the internet! Be careful to stay away from the spam accounts and change your background along with your...

In this tutorial, we learn how to use Fiskars Decorative Edge scrapbook layout. First, you will need to pick out the templates, pictures, and paper that you want to use for this project. Now, place the stencil over the card stock and cut out the stencil shapes you want, stars work best if you are doing a fun child theme. Now, apply these to your base card stock, and arrange a frame over the background. Now, apply the picture to the page and add on the stencils you just cut out. Add in quotes ...

In this video, we learn how to create tiny planets in Photoshop. First, unlock your background layer and create a line in the middle of the image. Now, select the bottom that is underneath the line and drag it down to the bottom of the canvas. After this, make your image into a square by resizing the image with your tools. After this, you will need to rotate the image 180 degrees, then select "polar coordinates" in the distort tools. After this, you can rotate your canvas back around 180 degr...

In this video, we learn how to make fake blood for Halloween. You will need: small bottle, teaspoon, cut, clear syrup, red and blue food coloring, and corn starch. First, pour some syrup into the cup, then add in 2 tsp corn starch and mix together. Next, drop in some red food coloring and mix together. After this, add in blue food coloring and mix it together so you have blood red colors in the cut. When you are finished, you will have fake blood that you can use on Halloween at home and it w...

In this video, we learn how to use different brush types and colors in water coloring. While you are creating a painting, you will notice that you need to use different types of brushes to create different effects on your canvas. There is nothing wrong with this! You can use many different strokes and brush sizes to achieve what you want on your painting. Pay attention to what stage of the painting you are in, as this will help you decide what types of brushes to use, depending on the style y...

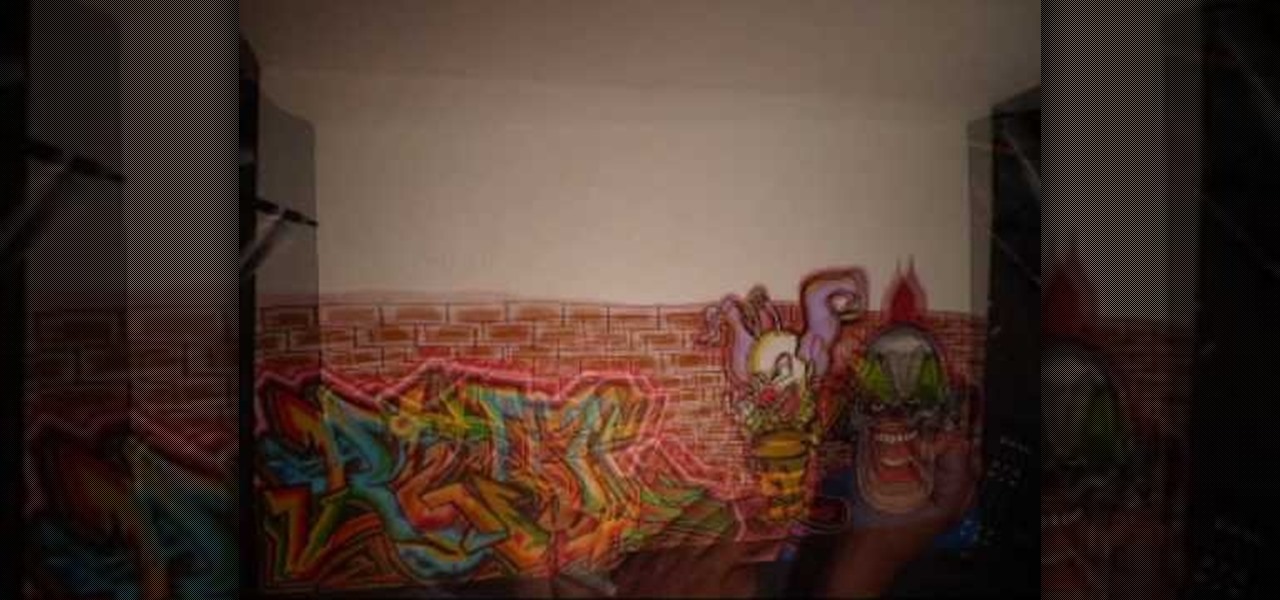
For this fun drawing tutorial, graffiti genius Wizard does two things he's never done before: 1. He graffitis his own last name, "Real," and 2. He colors in his graffiti, which includes clowns that could scare the pants off of the Joker, a bumpy brick wall, and a teeny bumble bee/clown hybrid who's more creepy than cute.

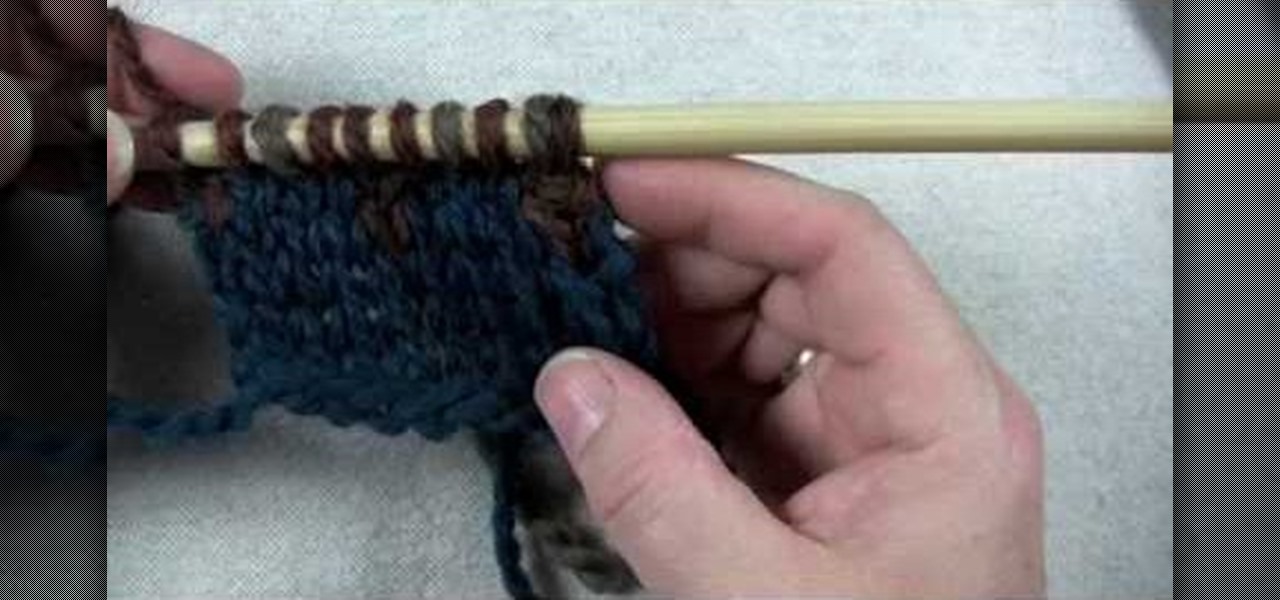
In this tutorial, we learn how to use a stranded color work pattern. Start with a basic pattern to help you learn how to do this. Use a chart to help you keep track of where you are and what you have done. Use a sticky not over the rows so you don't get ahead of yourself. Start off with the color that is first, then continue on to do the other colors that are on that row. When finished with this, remove the sticky note and continue onto the other colors that the chart shows. On the first stit...

In this tutorial, we learn how to draw a cartoon puppy First, draw the oval head, followed by triangles for ears. next, draw the body underneath with four legs coming out of the bottom like the dog is sitting down. Add on a squiggly line for the tail next to the leg. Now, color the ears and back legs light brown, then add eyes, a nose, and a mouth onto the face. Draw a circle around the nose and mouth, then color in with lighter brown/tan color. Now, color the rest of the dog a darker shade o...

In this video tutorial, viewers learn how to draw a vampire. Begin by using the paint bucket tool to fill the entire background in black. Then start drawing the vampire in transparent blue. Sketch the outlines of the face and draw curves for the guidelines of eyes, nose and mouth. Now erase half of the face and fill it in black. The other half of the face is filled with tints of blue and purple airbrush. Finish by adding the details with opaque shades of blue, purple and white pencil lines. T...

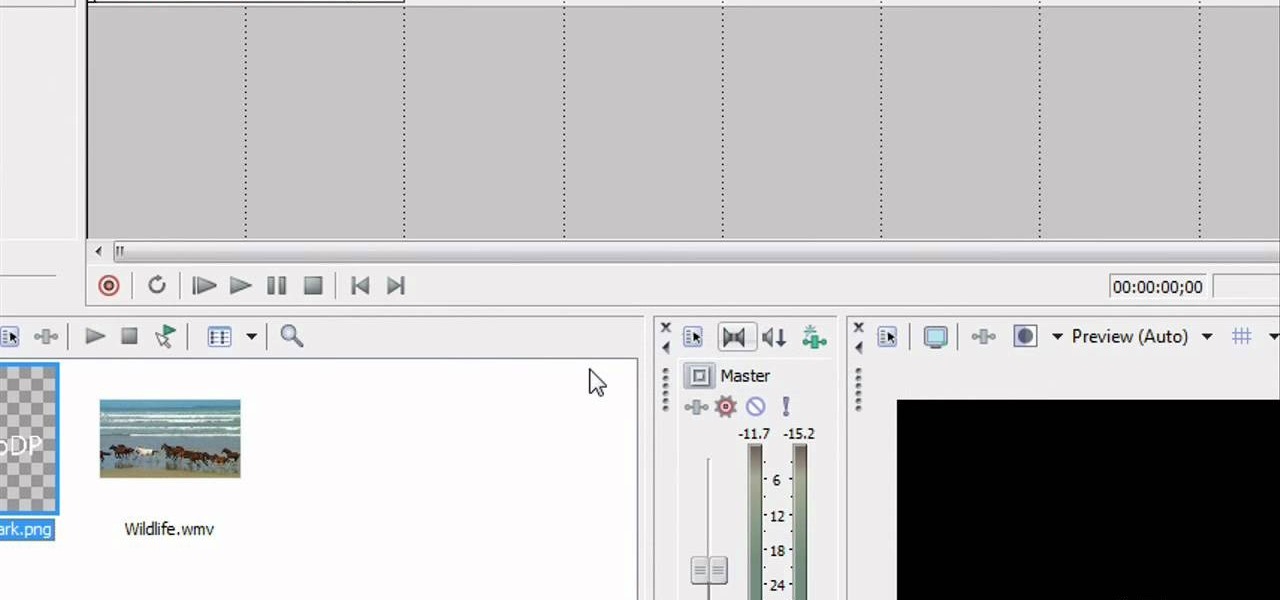
In this video tutorial, viewers learn how to add watermarks to videos in Sony Vegas. Users will need to begin by creating the watermark image in a photo editing software. Once created, make the image into a transparent background and save it as .PNG format. Now load the video into Sony Vegas and place it into the time-line. Then open the image in Sony Vegas and add it into the video time-line. Finish by panning the watermark image to a smaller size in the corner and extend the play time. This...

This video tutorial is in the Software category which will show you how to "Photoshop' someone into an image. It is like cutting and pasting one image over another. First open both the images. Ctrl and click the person's image that you want to move over. Drag the cut out image over the other picture where you want to superimpose it. Then click "edit', resize, rotate and position the image where you desire. Then go to "Image Adjustments' and adjust the brightness and contrast to match with the...

In this tutorial, we learn how to write a research paper for school. To begin a research paper, start in the library. Grab books that all pertain to your subject, and research as much as you can. You can also search online to get background information on your subject. Make sure you cite your book on a note card in the correct format. Now, you can begin to write your research paper by starting out with an introduction paragraph that captures the attention of the reader and has good facts in i...

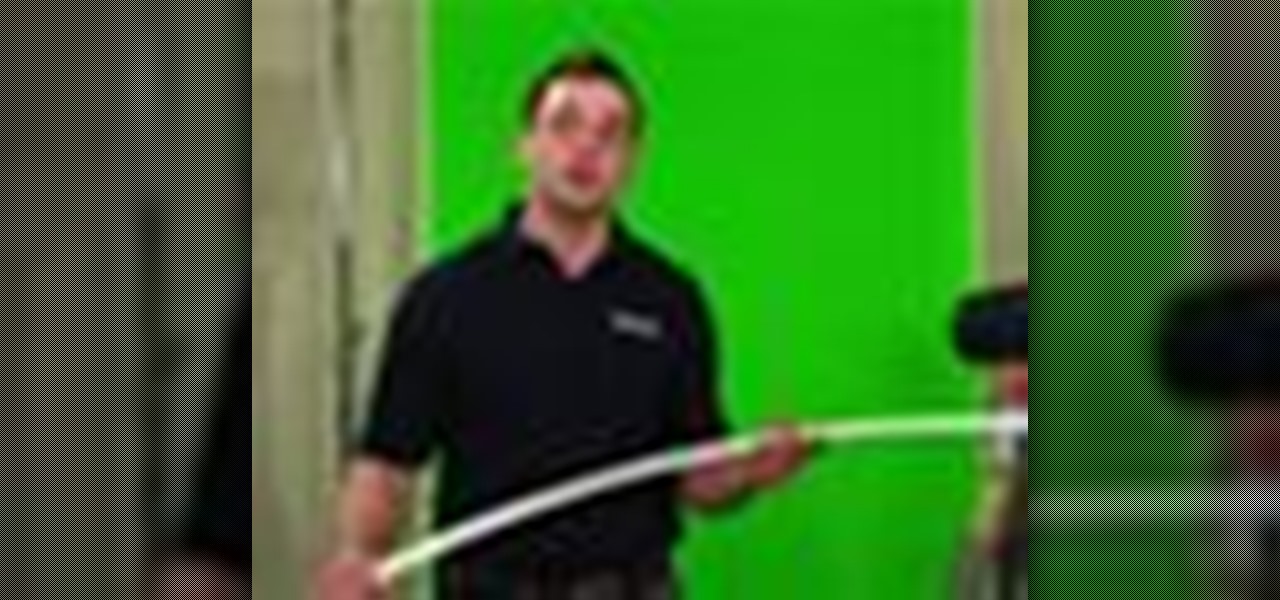
In this video tutorial, viewers learn how to build a green screen. The materials required for this project are: two 10 ft long PVC pipes, measuring tape, saw, duct tape and pipe elbows and couplings. Begin by marking the two PVC pipes with 6 ft on one side and 4ft on the other. Then cut the PVC pipes in half. Now connect the frame together with the pipe elbows and couplings. Build support to the fame by adding some duct tape. Finish by attaching the green cloth on the frame and tape it at the...

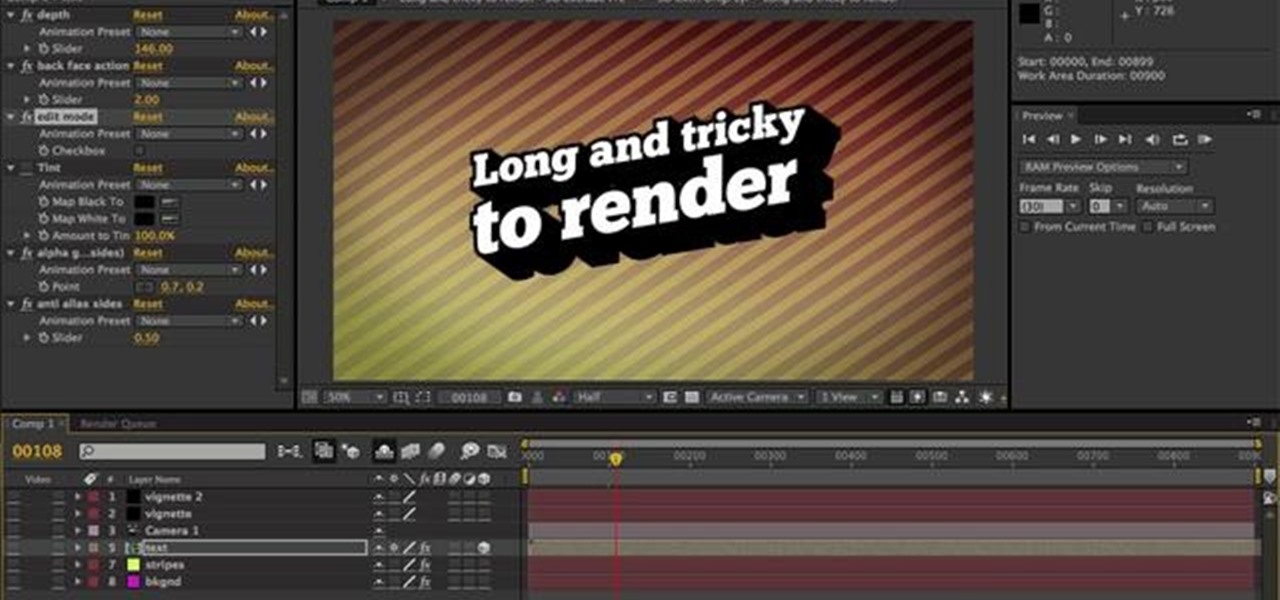
Learn how to render projects in Adobe After Effects CS4 or CS5. This guide also covers the use of background renderer, creation of output modules and render settings templates, memory, multi-processing and disk-cache preferences, as well as showing a basic preset for rendering FLVs and Quicktime H.264 out of After Effects. The tutorial is aimed at users at a basic to intermediate level. Whether you're new to Adobe's popular vector editor or a seasoned graphic arts professional just looking to...

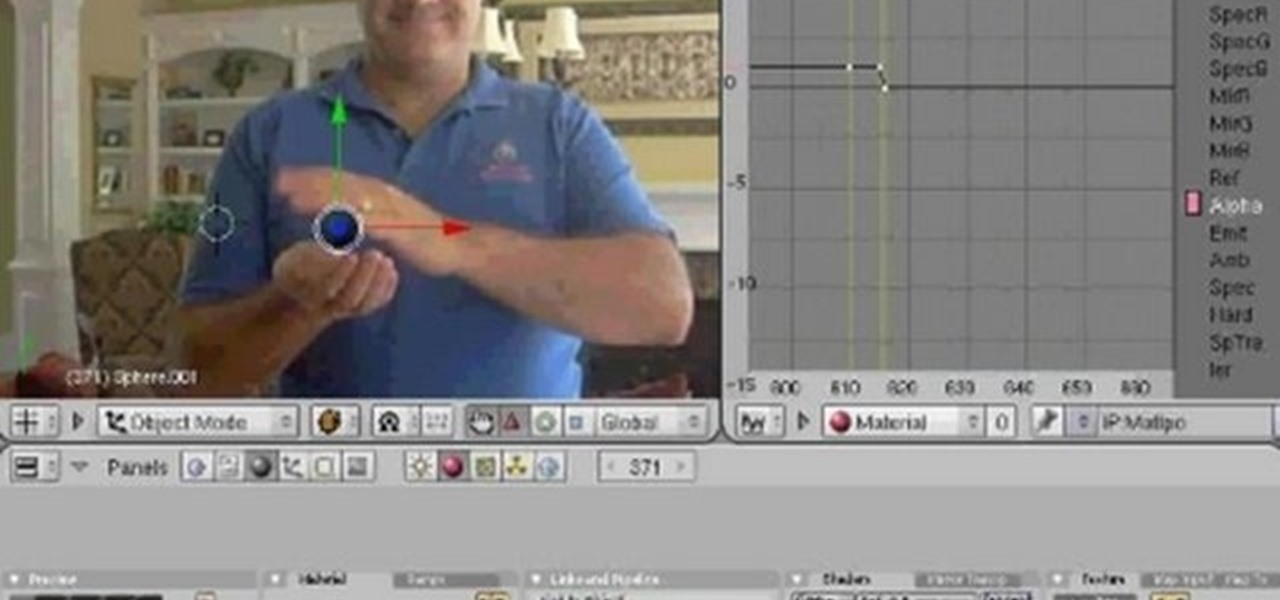
In this video, I match move a 3D virtual object on top of a movie which is set as the background image. This tutorial will show you how to integrate your CG objects into a real-world video. Whether you're new to the Blender Foundation's popular 3D modeling program or a seasoned graphic artist just interested in better acquainting yourself with the application, you're sure to be well served by this free video tutorial. For more information, including detailed instructions, take a look!

can't get enough of the vuvuzela, the traditional horn that sounds like a swarm of bees at every game of the 2010 World Cup? Check this out! YouTube has added a mini-app to all of their videos that will allow you to push one button and turn on the sounds of the horns in the background of any clip! If you can't wait to watch your videos like you are sitting in the stands at the big game - today is your lucky day! Enjoy!

In this Fine Art video tutorial, you will learn how varying your lens Aperture can affect Depth of Field. Depth of Field is defined as the range of the photograph that appears to be in focus. This can be controlled by using the aperture settings. With a wide aperture like f/1.4, f/2 or f/2.8, only a small range of the image will be in focus. This is used to isolate the subject from the background. But, if you have a smaller aperture opening like f/8, f/11 or f/16, you will get a large depth o...

First, outline the upper portion and lower portion of the right eye. Make the upper line darker than the lower one. Copy and paste this to create the left eye of your anime artwork. Create the eyeball using the Circle tool. Create two more circles inside the eyeball - one bigger and the other smaller. Make eyelashes by using a set of curved lines. Create at least three thick strands of these eyelashes. Create another circle inside the eyeball that intersects the two smaller circles created ea...

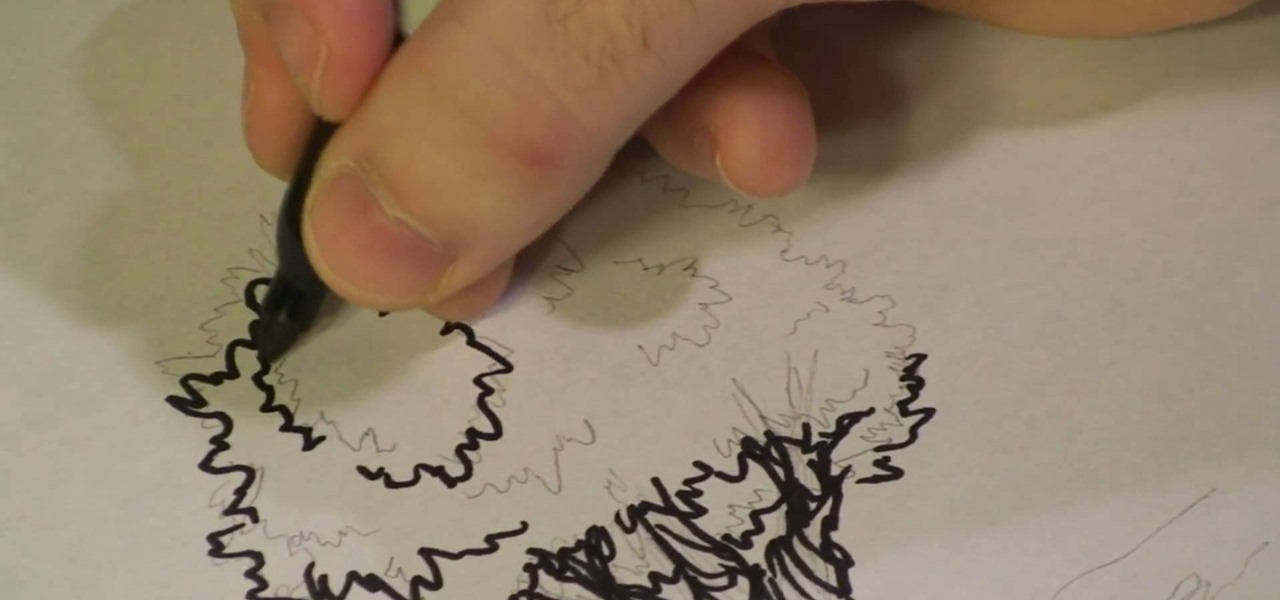
Michael Weisner, an animator and a graphic designer, shows us in this video how to draw an olive tree using a piece of writing paper and a writing utensil. First, it should be taken into account that olive trees are grown in rocky soil, which other trees cannot be grown in and the soil around the base of the tree should be rocky ground. Next, proceed to the trunk of the tree, which is a curved and branching structure. After that, we are shown to move on to the leaves of the tree, which are cr...

In this video tutorial, viewers learn how to create a carbon fiber desktop wallpaper using Adobe Photo-shop. Begin by creating a 20x20 pattern with the rectangle marquee and gradient tool. Then go to Edit, select Define Pattern and name the image. Now create a document with the dimensions of your monitor screen. Then go to Edit, select Fill and select the pattern that you have created. Then go to Filter, select Render, click on lighting effects and configure the image's lighting. This video w...

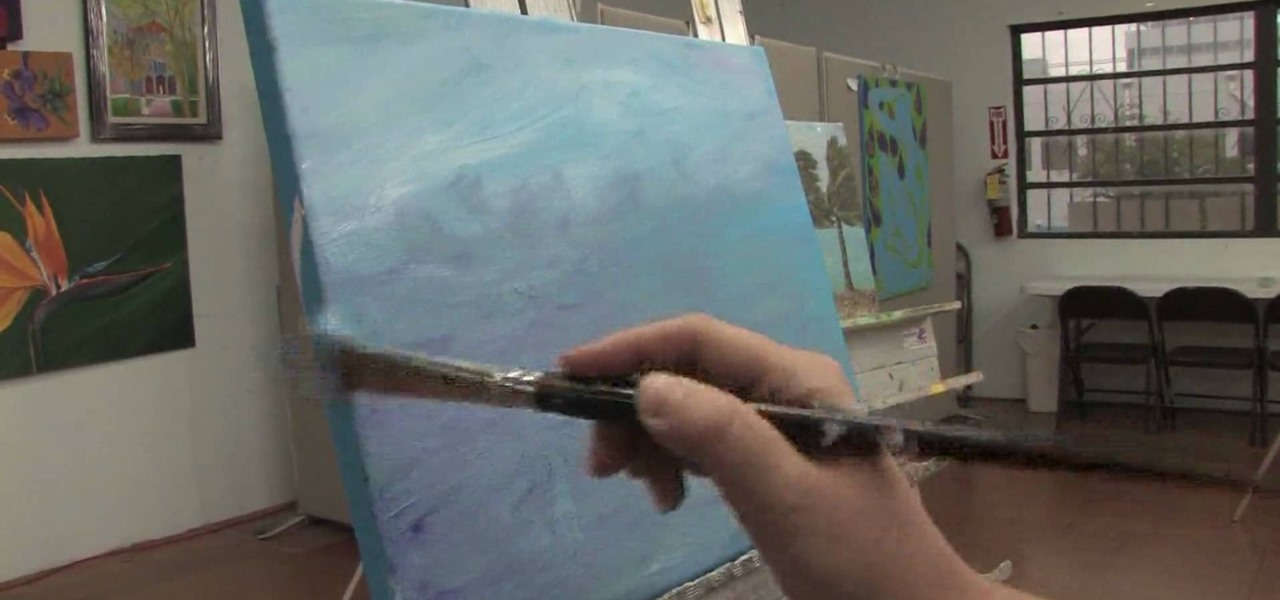
In this Fine Art video tutorial you will learn how to paint an ocean in your composition from Angeline-Marie Martinez, a professional artist. She shows one of the ways of painting an ocean in this clip. Her canvas is already painted with a back ground of the sky on top and water at the bottom. Her palette has a lot of colors like light and dark shades of blue, green and white. Take some white paint on the brush and pick up some of the other colors as well and paint on the canvas. The waves of...

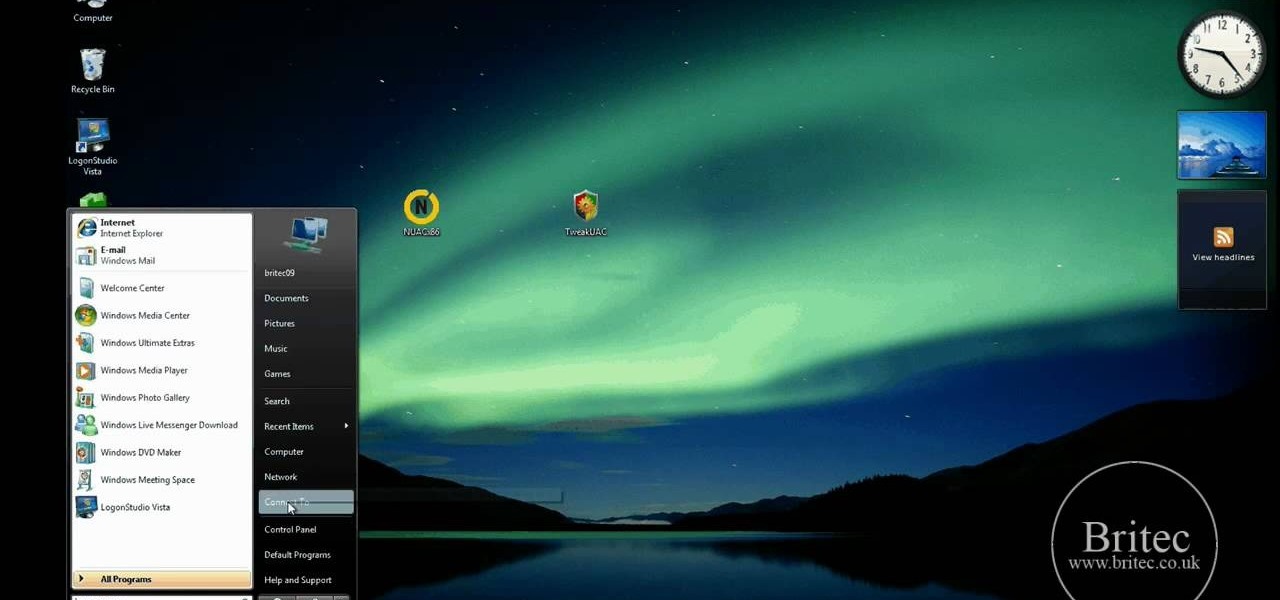
In this tutorial, learn how to disable the annoying UAC or User Account Control on your Windows Vista computer. This clip will show you how to do this without compromising your security.

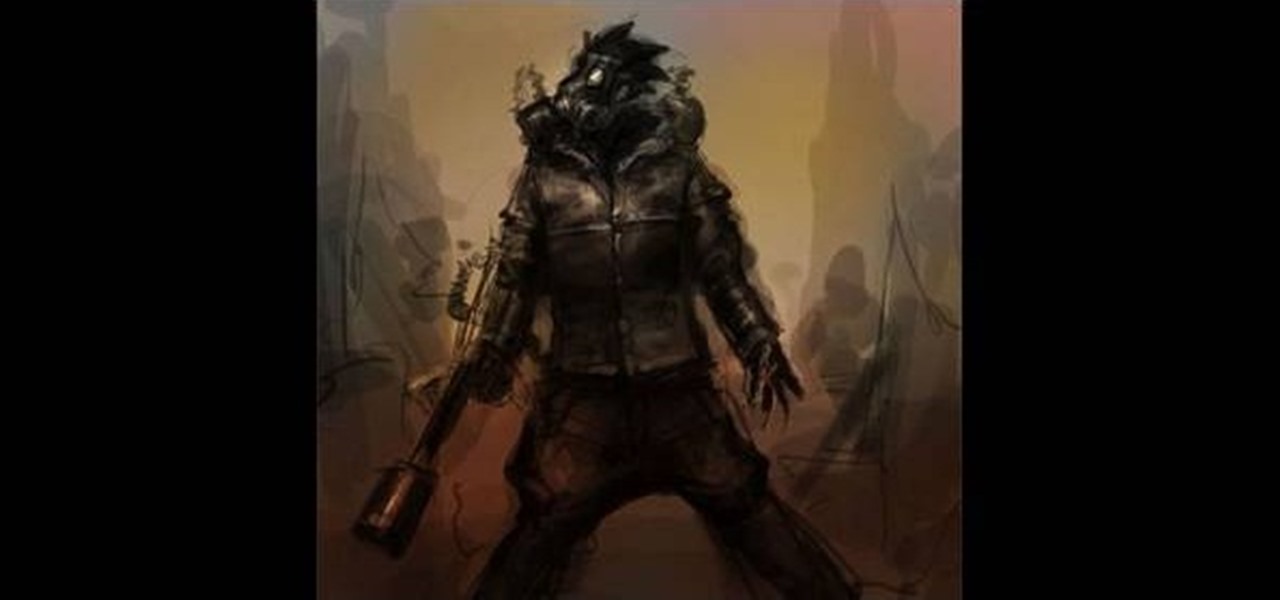
This speed-drawing tutorial demonstrates how to draw a futuristic soldier character with a flamethrower and a gas mask on your computer. It moves very quickly, but if you can't keep up you can reference the artist's step-by-step sketches where he breaks down the steps he takes in copious detail. The background is intentionally vague so that you can fill in whatever you like, most likely a post-apocalyptic setting of some kind. A good view for any comic book, fantasy, or science fiction artist.

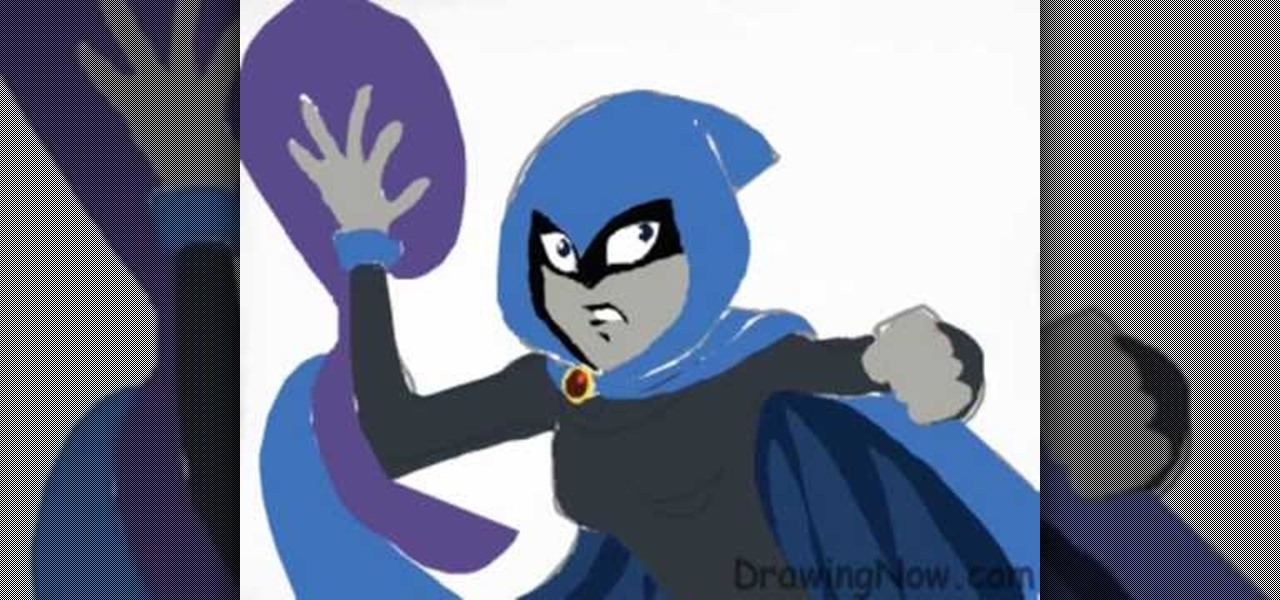
Teen Titans is one of the most tragically underrated American children's cartoons of all time. Fortunately, Drawing Now one of our favorite art instruction groups, has created this video tutorial on how to draw one of the shows iconic characters, Raven. Here are the artist's step-by-step instructions:

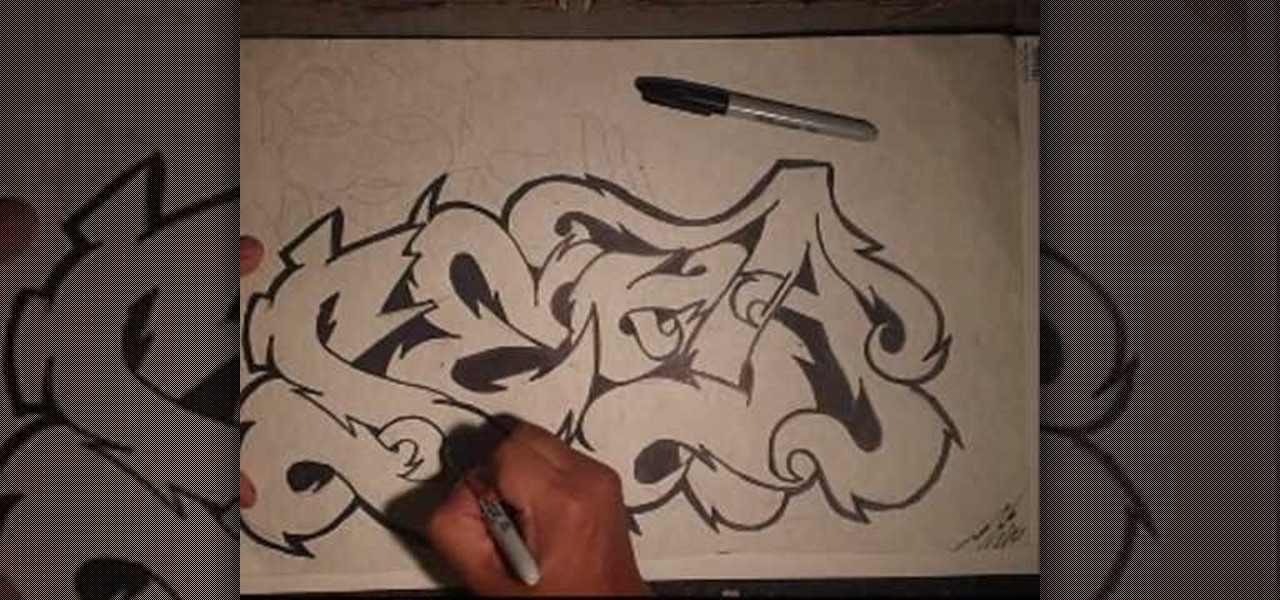
This video demonstration shows established graffiti artist Wizard creating a tag of the name SESA. It features a figure in the background sticking his middle finger thorough the second S in the name. The elaborations around the letters and the types of curves he used in this particular design have little bit of a Japanese flair to them, a different sort of style for Wizard, but one that this master of graffiti tags handles with the same skill with which he handles all of his other tag designs.


