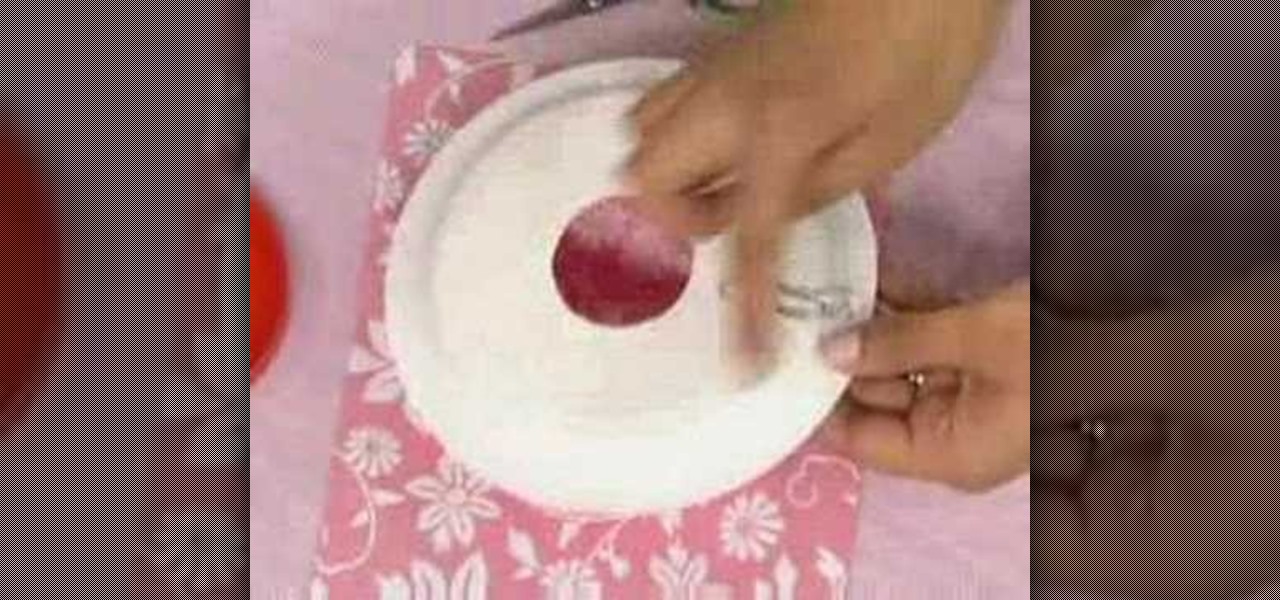
This is a fun activity that children can do. Parents Magazine and Better TV shows you how kids can make a beautiful Mother's Day Bouquet. You will need paper plates, scissors, paper clips, colored paper and colored pens.

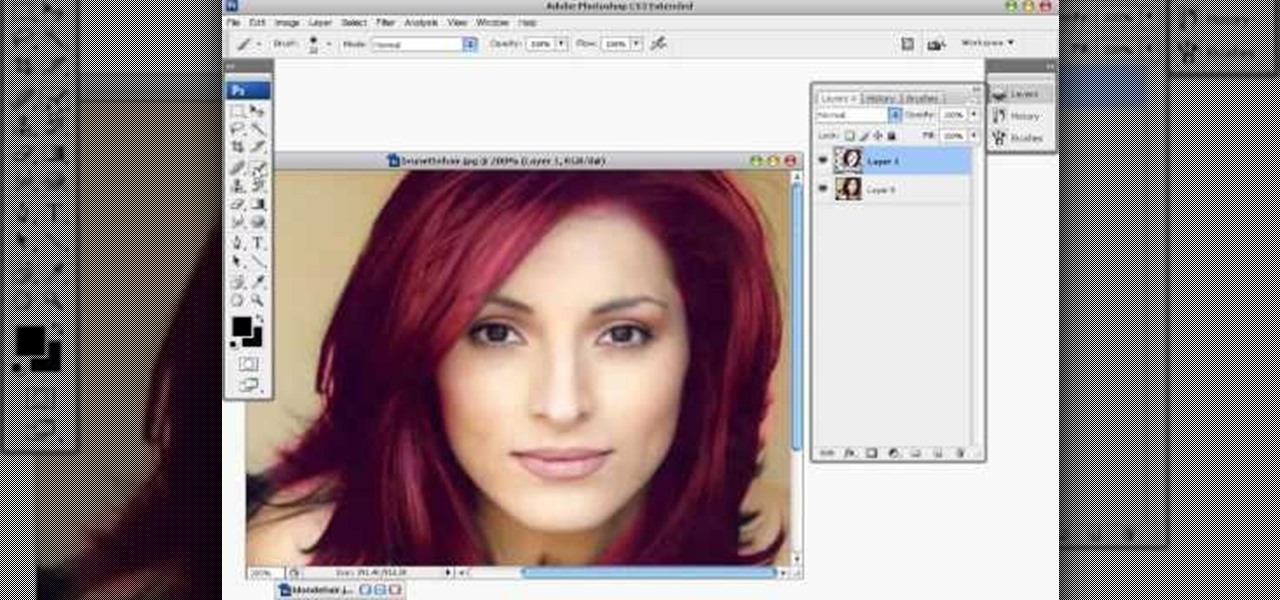
This video tutorial shows you how to change someone's hair color in Photoshop.
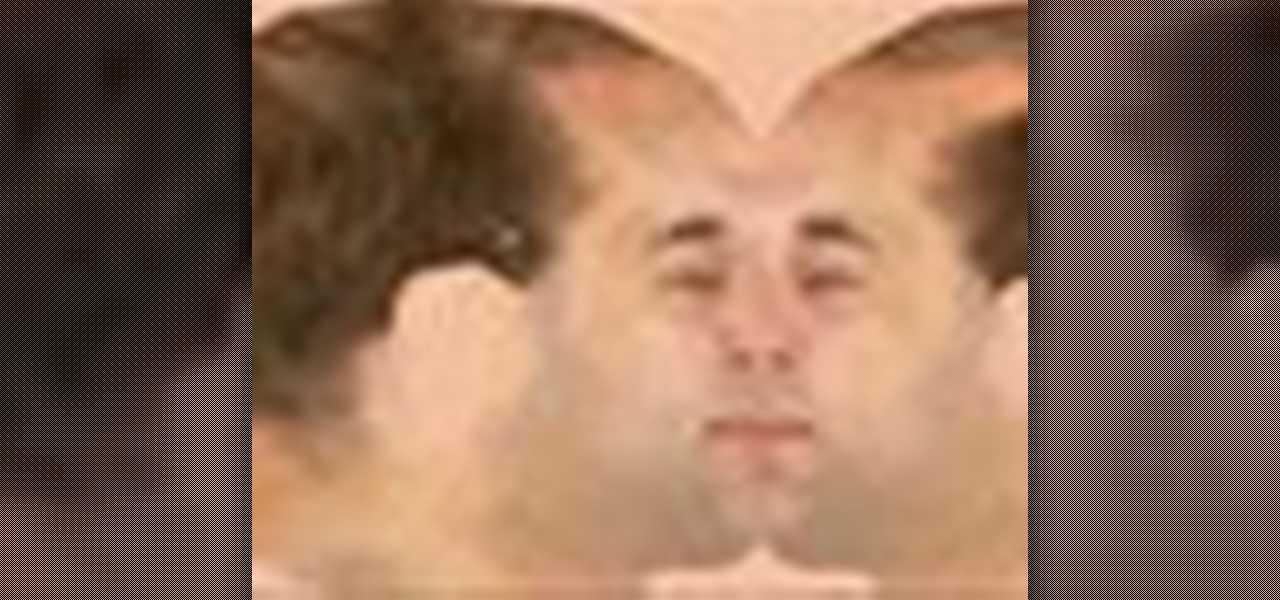
This 3ds Max video tutorial goes over how to create bump maps and how to quickly create one using your existing color map as a starting point in Autodesk's 3D Studio Max digital graphic modeling software in conjunction with Adobe Photoshop. It will also cover how to breakup your bump map with high frequency noise at the shader level for those closeup shots.
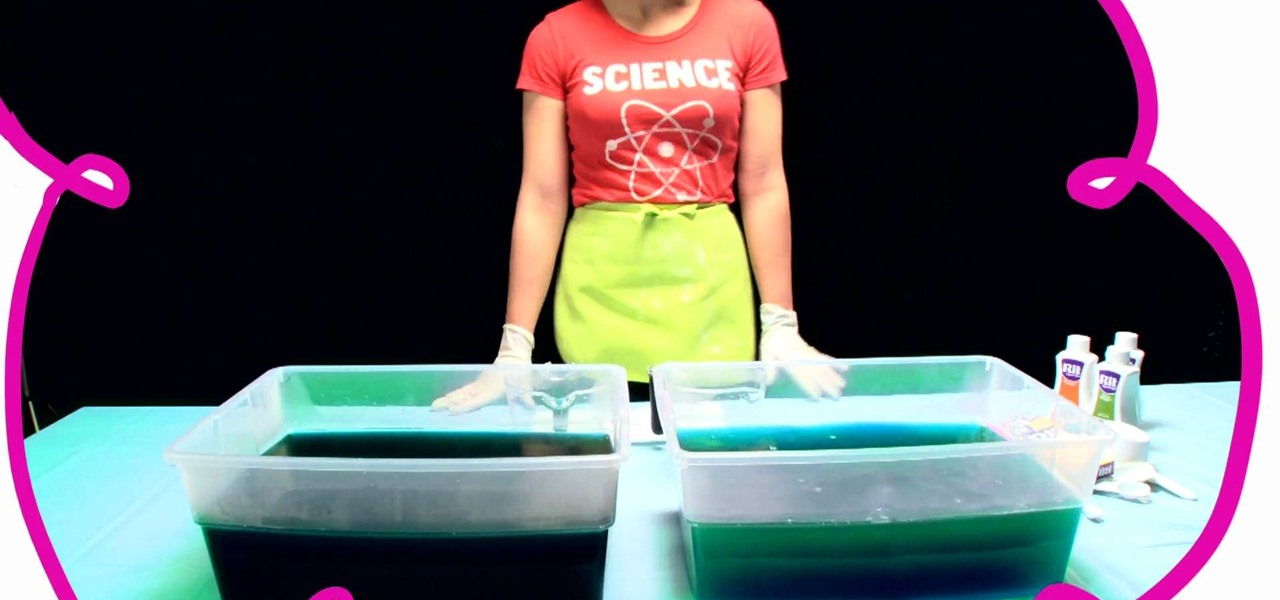
With just a few drops of colorant, you can make a unique variation on your standard container candles. See how to marble them with color with these simple steps.
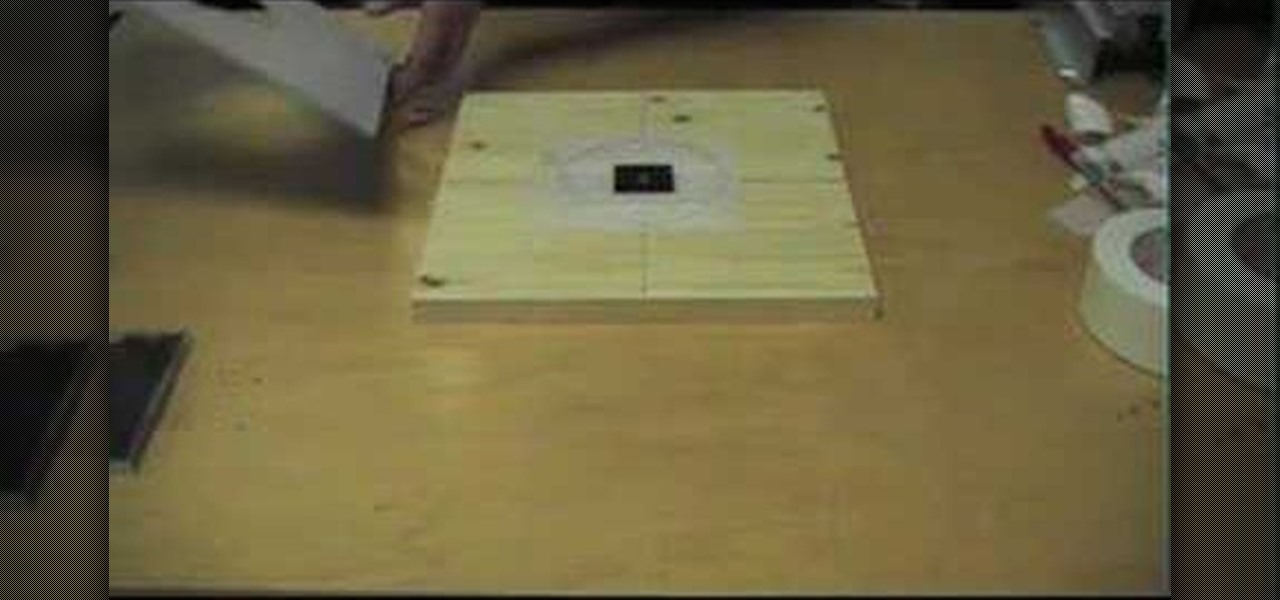
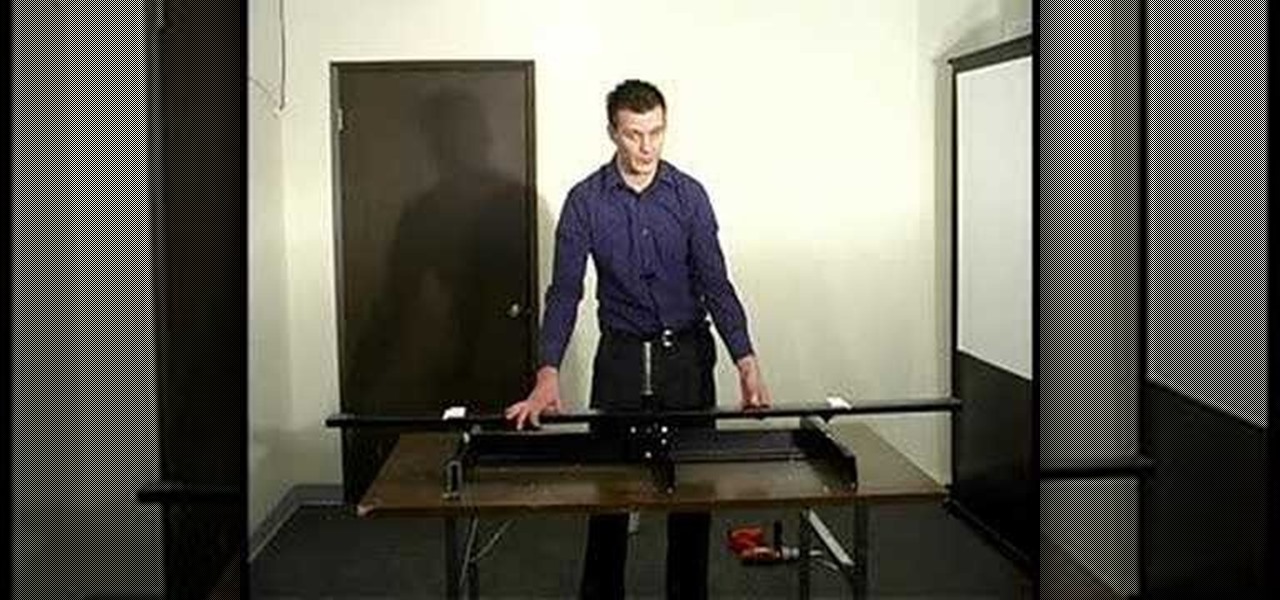
If you have ever screen printed, you most likely have been asked to print CDs. Here is a simple way to create a CD platen for under $15. This type of printing generally requires a vacuum frame, but not if you use the DIY CD Platen. It holds the CD in place extremely well and can be used to print more than one color. Print one color and let it dry completely before printing additional colors.

Learn how to draw and paint snowy, rocky mountains for manga, anime, comics and illustration in Photoshop. This step by step video shows you how to do so by laying down the base color, blocking in shape for painting, assigning value and color composition, and refining detail for the final concept painting.

This tutorial teaches you how to change the eye/hair color of someone using the quick mask feature of photoshop.

This tutorial explains all about using color in Sony Vegas Pro 8. It should work in version 7 and 6 as well.

How to assemble and adjust a six color, two station table top screen printing press.

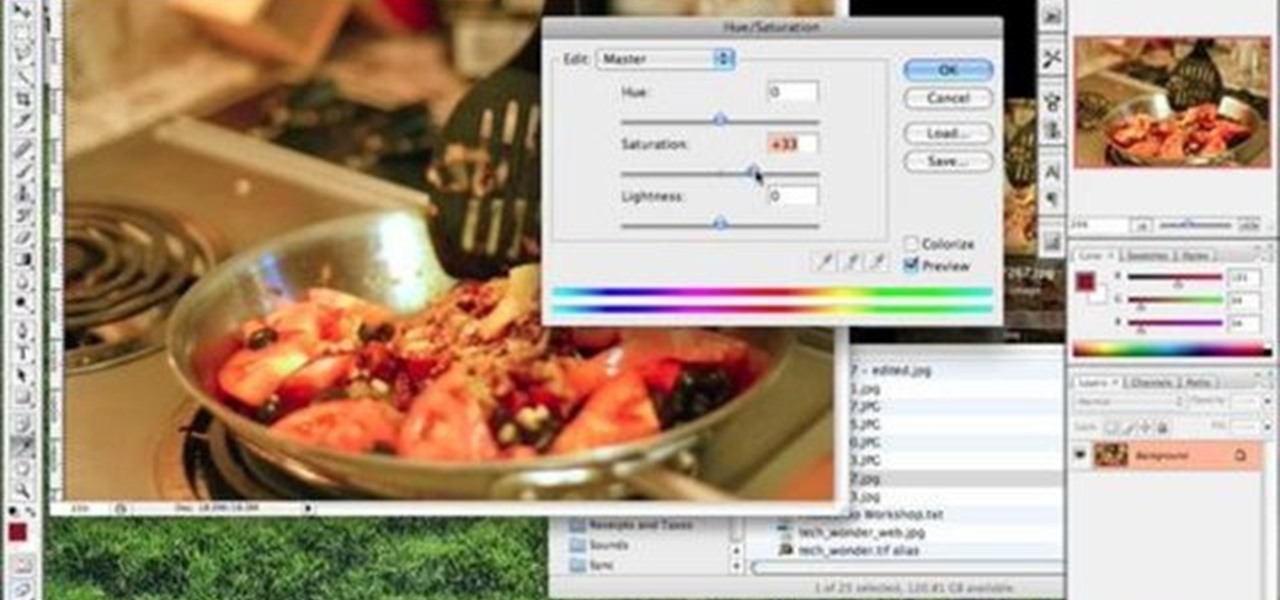
Once you've adjusted the levels of a photo, the next thing you want to do is color correct. The Photoshop techniques used here compensate for bad AWB (auto white balance) settings on point and shoot cameras, or in situations where you had less than ideal light.

This tutorial shows you how to enhance someone's eye color in Photoshop.

Learn to use a Layer Style, Color Overlay to create variety on a 1 layered document in Photoshop and generate a PDF slide show presentation containing 4 color variations!

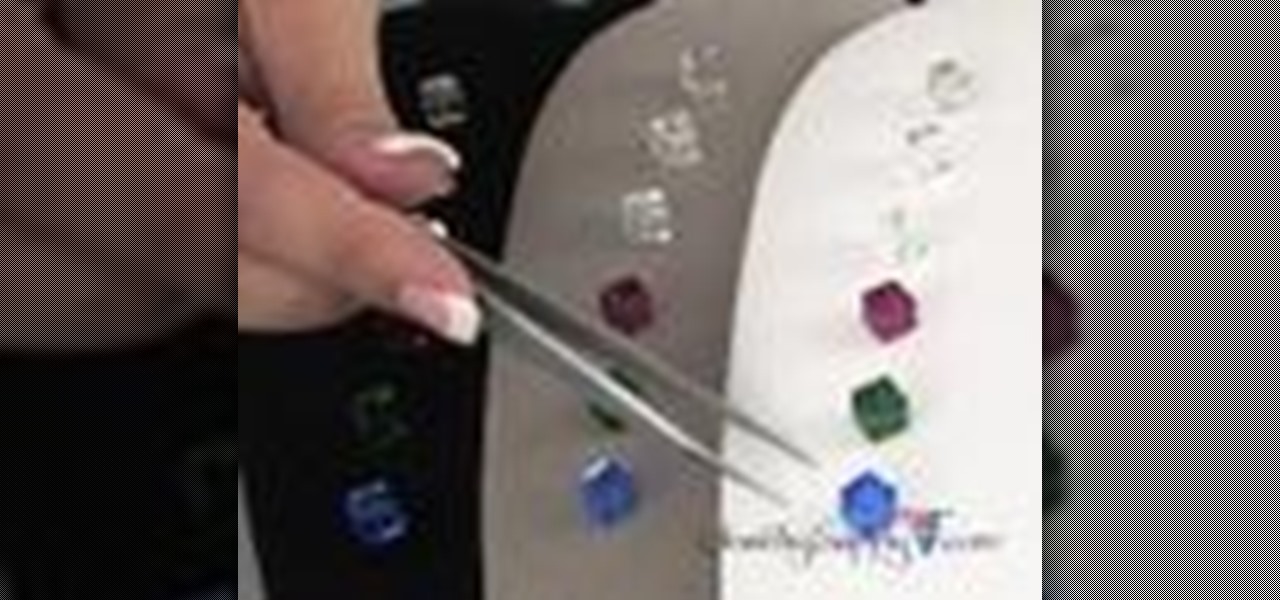
Don't know how to display all the beautiful jewelry that you have designed? Watch this video to learn what jewelry display colors will best complement your designs.

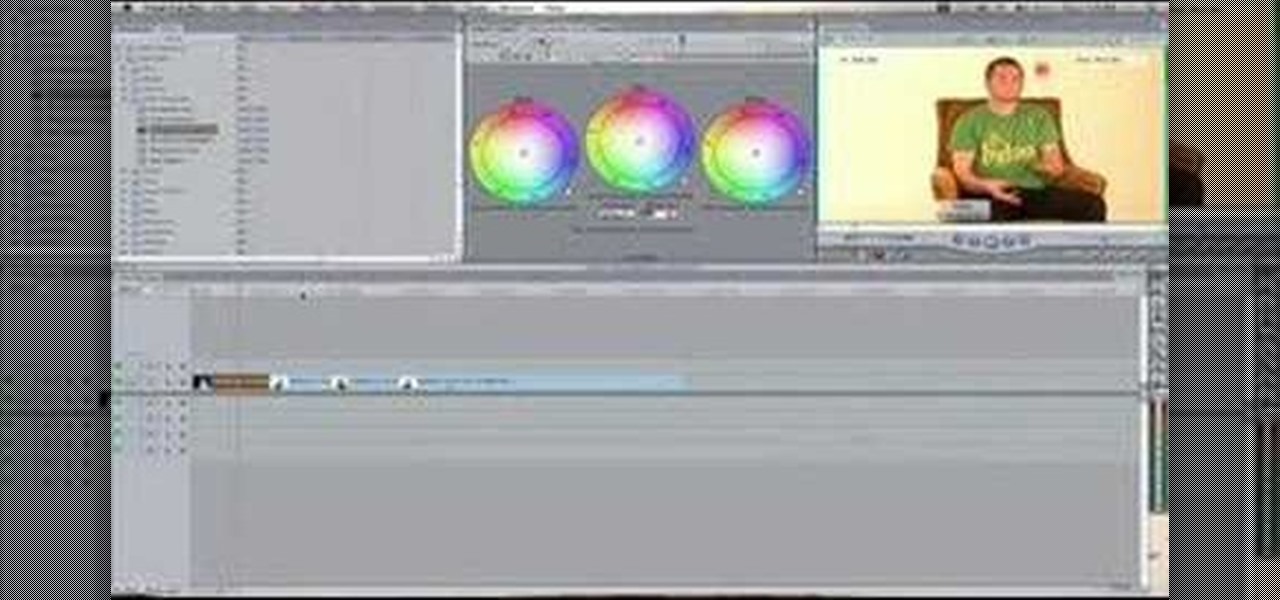
Master broadcast editor Bill Cammack teaches us and Matt how to match color hue in Final Cut Pro. Learn as Master Bill explains the basic technique used for matching shots.

Master Bill Cammack guides Matt and viewers alike through the process of correcting white balance using Final Cut Pro's three-way color corrector effect.

Learn how to change the color of someone's eyes in an image using Photoshop.

In this episode on Halo 2 Tricks TaurineDippy shows you how to change your character's color in game.

Learn how to instantly change the colors of objects in images using Adobe Photoshop.

The Red Cine Application is essential to learn if you plan on shooting with the RED ONE camera. This tutorial goes over color settings and grading.

Benny from askbenny.cn teaches you how to say some basic colors in Mandarin Chinese.

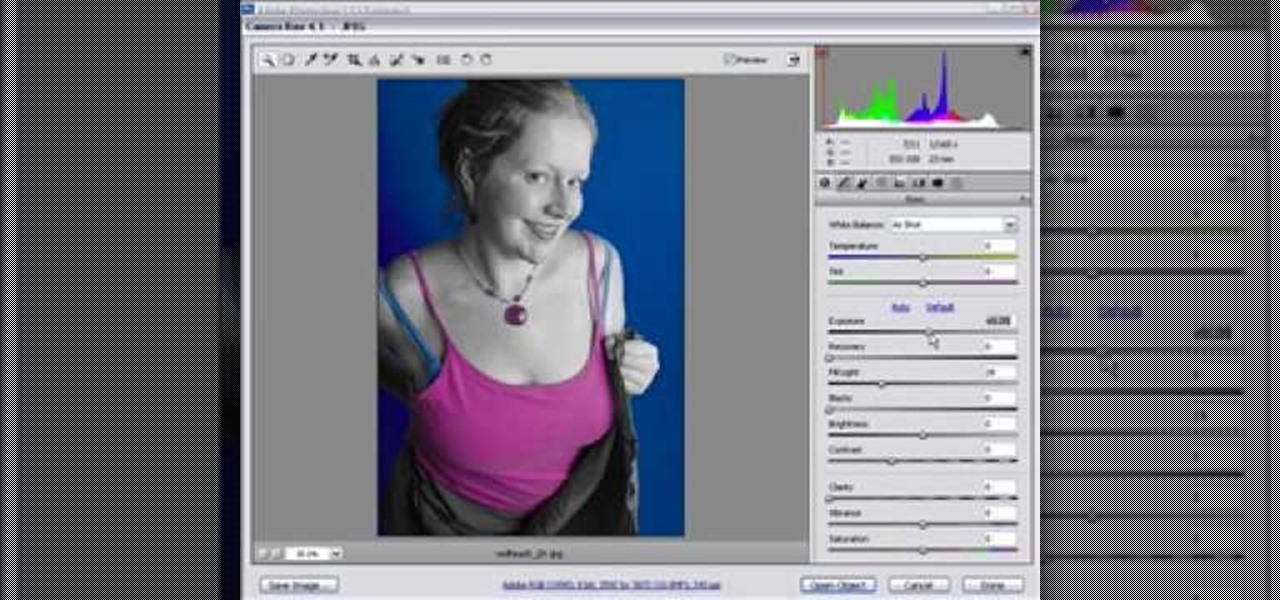
This is a Photoshop tutorial from NewDarkROom.com This tutorial will show you how to make selected areas of your images color while the rest remains black and white.

Mark from Videomaker magazine offers up his knowledge to help you stylize your videos color using computer software. Find out what tools you need, and how to use them.

You can learn how to change hair color with Photoshop. You can turn a brunette into a redhead. You use the brush tool over the area you want to colorize.

Want to create unusual effects on your photos? In this video tutorial you will learn to create a stylized portrait using a two-tone rendering. Learn to mask by color range and to blend with control. This video will give you a good grasp of the manipulation tools available so make sure you experiment with them for yourself.

In this video tutorial you will learn to create the Sin City effect where one portion of the image is in color while the rest is in black and white. Learn how to use layer masks to do the job. You could have as many layer masks as you want as you add in more colors to your images.

In this video tutorial you will learn to perform some basic image corrections on your photographic images. Learn how to improve the color and sharpness of your images. The video has some great tips on using Curves.

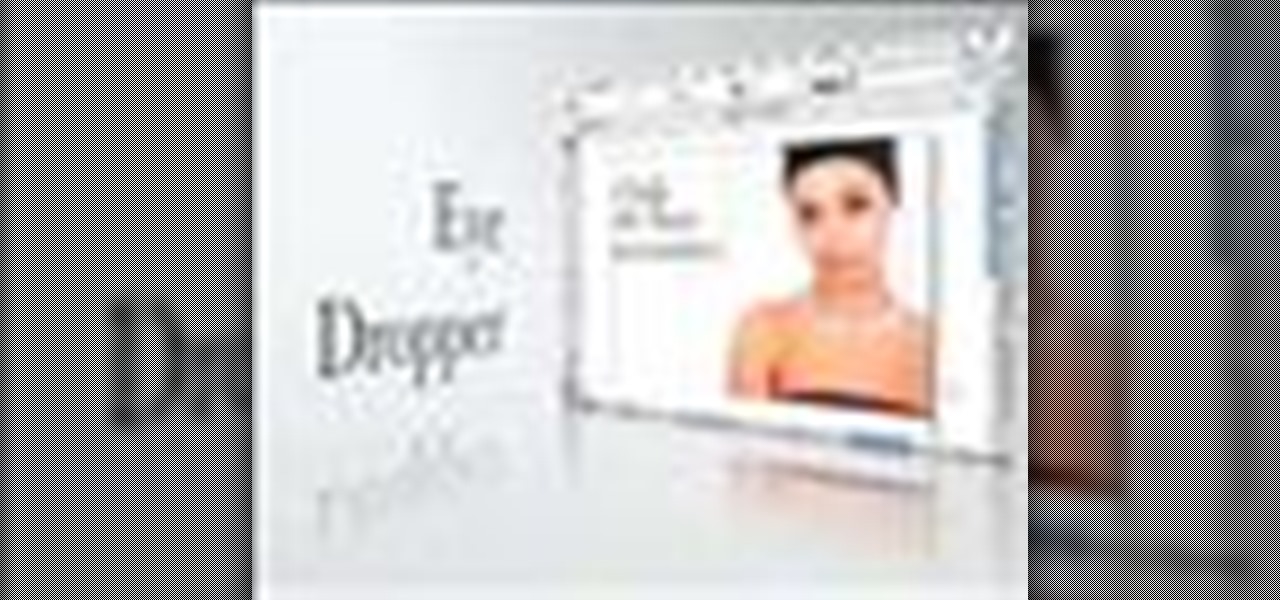
InDesign's Eye Dropper Tool offers more than meets the eye. With InDesign CS2 you can sample just about anything thing and re-apply it over and over again. In this video we'll learn how to sample colors from images and apply those colors to text, and we'll also see a neat trick that allows you to sample frame attributes and apply them to other frames.

The fourth room in the Color software that's part of the Final Cut Studio of Apple, is the ColorFX tab. This section of the software allows you to create different looks by combining different effects nodes.

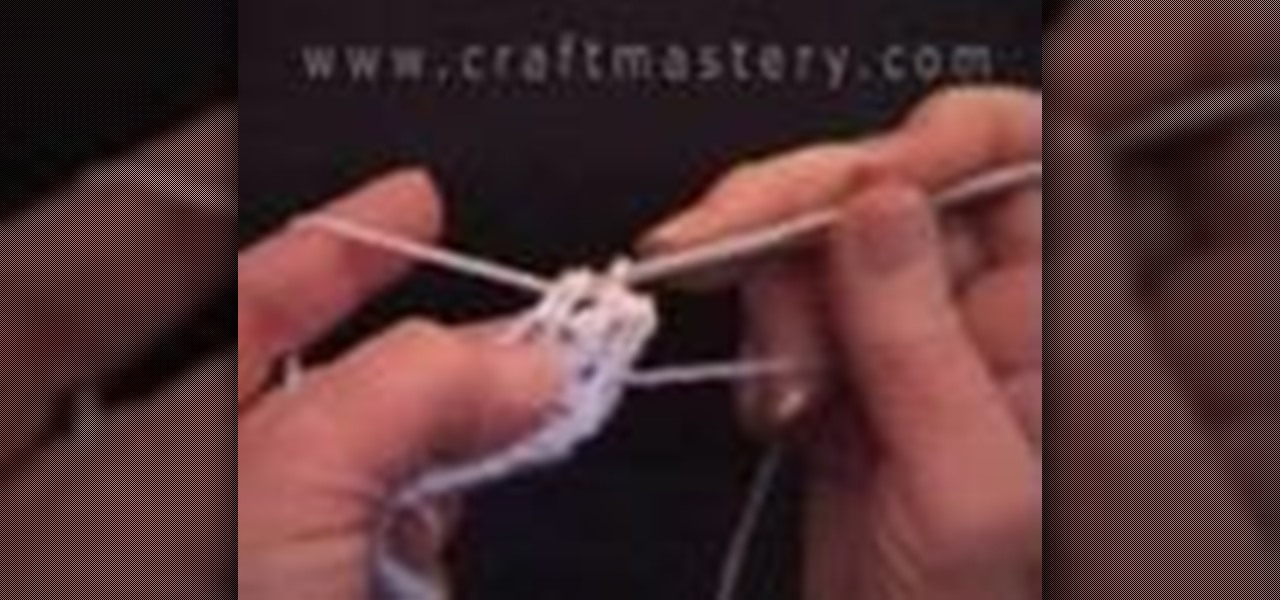
Detailed demonstration of how to change correctly to new color yarn in your crochet project. This requires an intermediate crocheting ability.

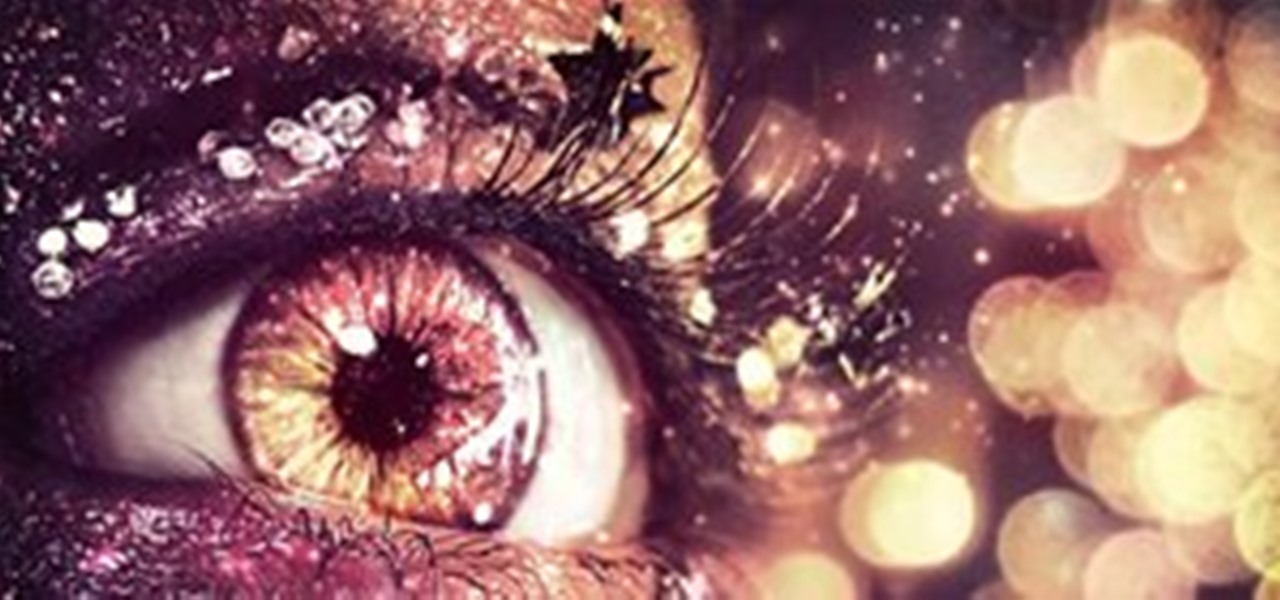
Bokeh (which translates to "blur" in Japanese) is a photography technique referring to the blurred areas of a photograph. Basic bokeh photographs often have one point of focus, while the background falls away into a dreamy, blurred haze.

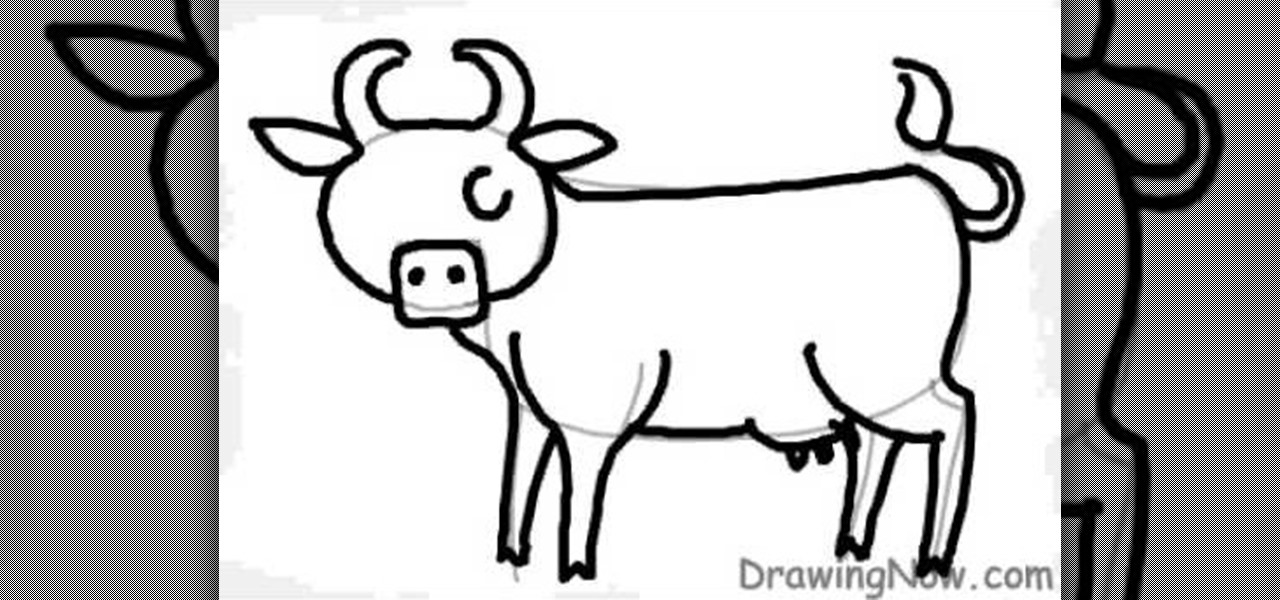
In this tutorial, we learn how to draw a cartoon cow. First, use gray pencil lines to draw the guidelines for the cow. After this, draw on the ears and the face, as well as the features of the face. Then, draw on a large oval for the body and then draw in the legs and the utters. From here, draw in the spots on the cow as well as the tail and the features for the tail. Use pink for the inside of the ears and the nose, as well at the utters. Finish this off with a blue sky background and save!

In this tutorial, we learn how to crochet a jumbo pinwheel swirl stitch. This has the same line count as the smaller, but it will have larger lines that the normal. You will be creating a larger distance between the two colors. Start off at the bottom wrapping it twice around your finger, then pulling it over and pushing it up. From here, you will do sets of eight to create the pinwheels along the design. After this, you will start to create the next level, which will be with a different colo...

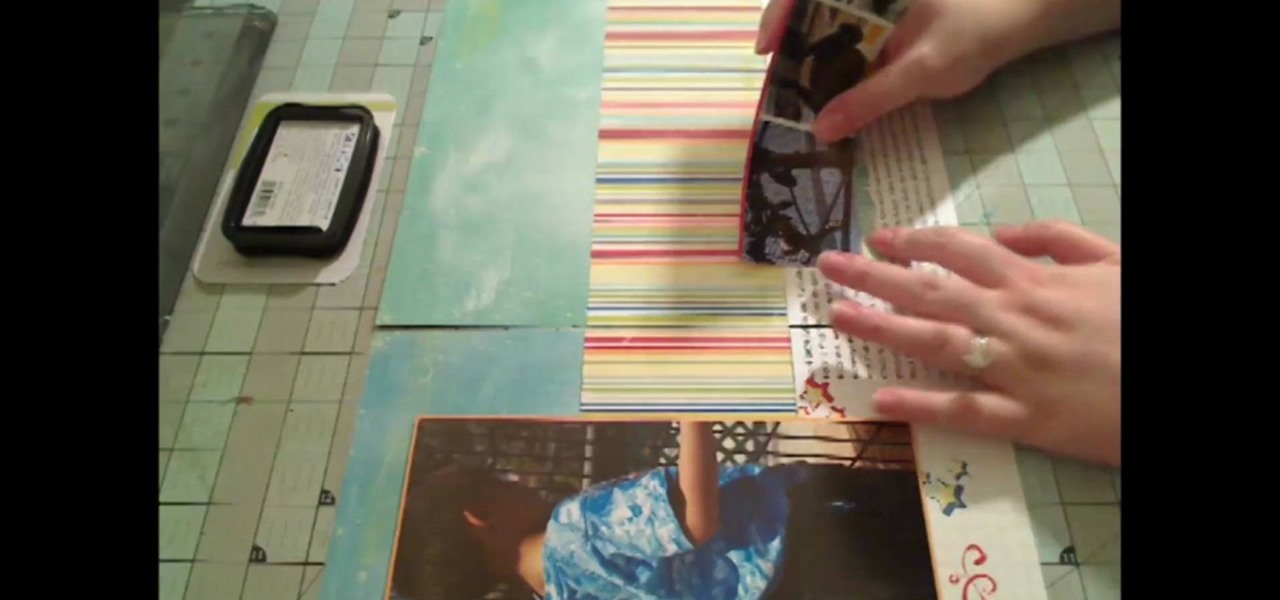
In this tutorial, we learn how to make a 12" by 24" two-page scrapbook layout. First, you will need to gather all of your papers and stickers that you want on your pages. Also, grab your pictures you want to use. Next, figure out where you want to place your photo, then glue it down. After you do this, add on an additional photo in another space of the paper. Place a background underneath the picture first if you want to give it a matted look. Also make sure to place in any stickers that you ...

Mario is one of the most recognizable character in the world, and if you own an XBox 360 you can't play any games featuring him. He can still be a part of your gaming life though if you follow the steps in this video and make your XBox 360 Avatar in the likeness of Mario.

In this video, we learn how to design your own clothes with ombre dying. Start off by mixing up a dark color and a light color in 2 gallons of water each. Now, take your piece of fabric and place it into warm water until it's covered. Now, place this on a hanger, then dip the top into the dark color for eight minutes. Then, place the fabric in the lighter color for one minute. Then, place this under cool water upside down until it runs clear. After this, wash it in the washer and dry it, then...

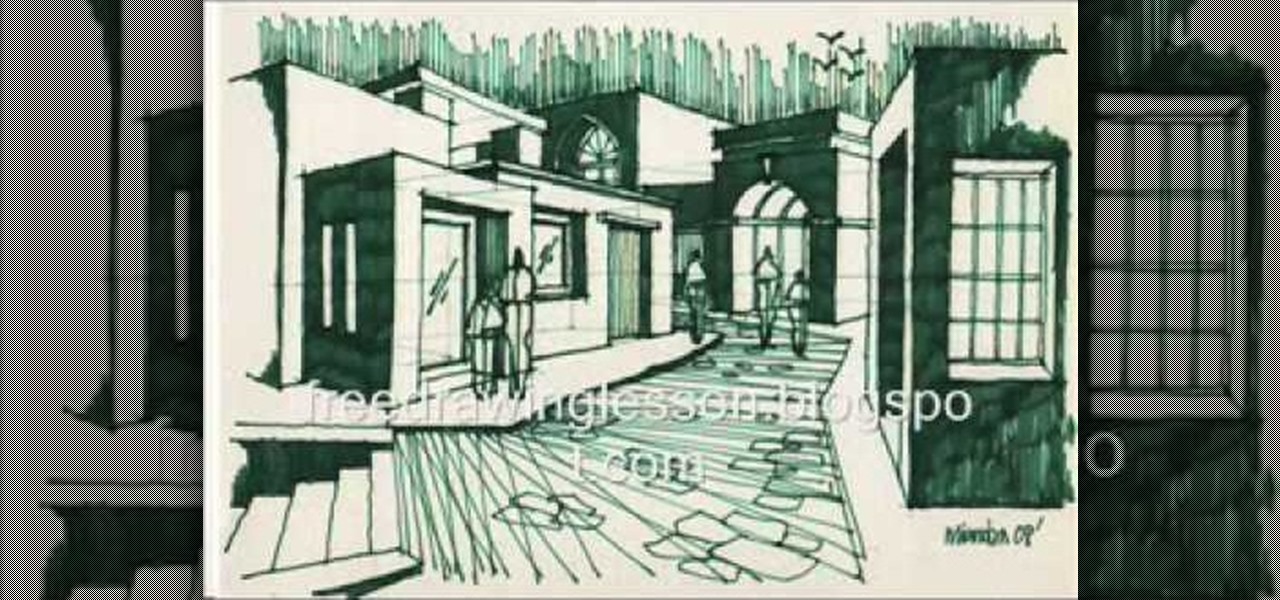
In this video, we learn how to draw a simple scenery. Start by drawing a horizontal line across the page. From here, draw reference boxes along the middle of the line. Now you can start filling in more details, making buildings out of the boxes. After this, make people outside of the buildings, then make a street and trees in the background. Fill in shading and lines to make the picture more realistic. The key to this is to learn how to start with your reference point to make everything flow ...

If you're sick and tired of you laptop dying all the time, then the answer may be right in front of you— power management. In Windows 7, it's easy to control your power settings to help you laptop's battery last longer. Watch and learn from none other than Microsoft.

In this video, we learn how to apply burnt orange to eyes for this fall. Start out by applying primer to your eyelids, followed by using airbrush foundation over your entire face. Next, find a burnt orange colored eyeshadow from any brand, and brush it on the crease of your eye. Next, brush a copper color onto your eyelid, then brush the burnt orange color on the outside crease of your eye and blend into the middle of your eye. Then, brush the color lightly on the bottom waterline of your eye...

In this video tutorial, viewers learn how to get high definition wallpapers using Google. Begin by opening your web browser and go to the Google website. Then click on Images from the top menu and type in "HD wallpapers" in the search bar. Now click on Google Search. In order to get the best picture quality, be sure to select Large images from the Showing drop-down menu. Once you found an image of your liking, click on the image to have it full sized. Now right-click on the images and select ...

In this video, we learn how to draw a cartoon dragon with a big head. First, draw the outline of the dragon, making the head much larger than the body. After this, add in small details to the dragon using the light pencil mark. Next, take a bold marker and trace over the pencil lines that you made, filling in the eyes, nose, teeth, wings, tail, ears, etc. After you do this, color the dragon completely green. Then, take a darker green color and apply it to the edges and where you want shadowin...


