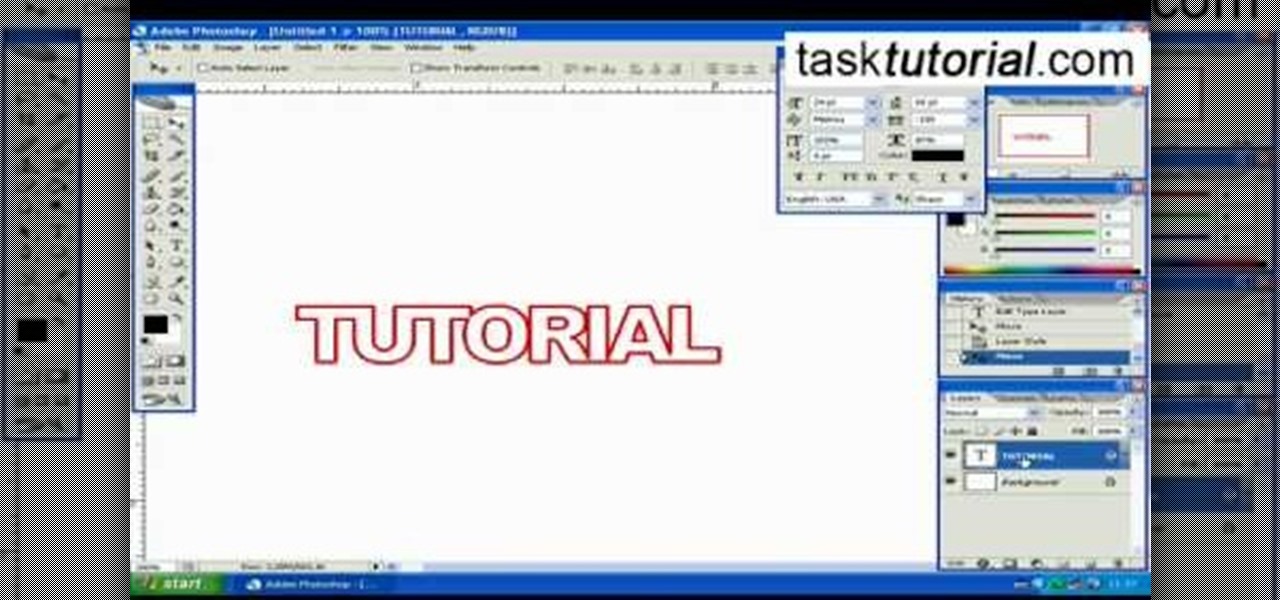
This video will teach you how to create a basic logo in Photoshop CS3. In order to create a logo you need to follow this simple steps: 1. Go to File -> New and create a new document with the width and height 500 px. Set the RGB Color and the background transparent. 2. Fill the background with a black color. 3. Create a new layer and create a perfect circle. 4. Select Blending Options and Gradient and use a light red color to fill the circle. Add the text and use some effects for it. The video...
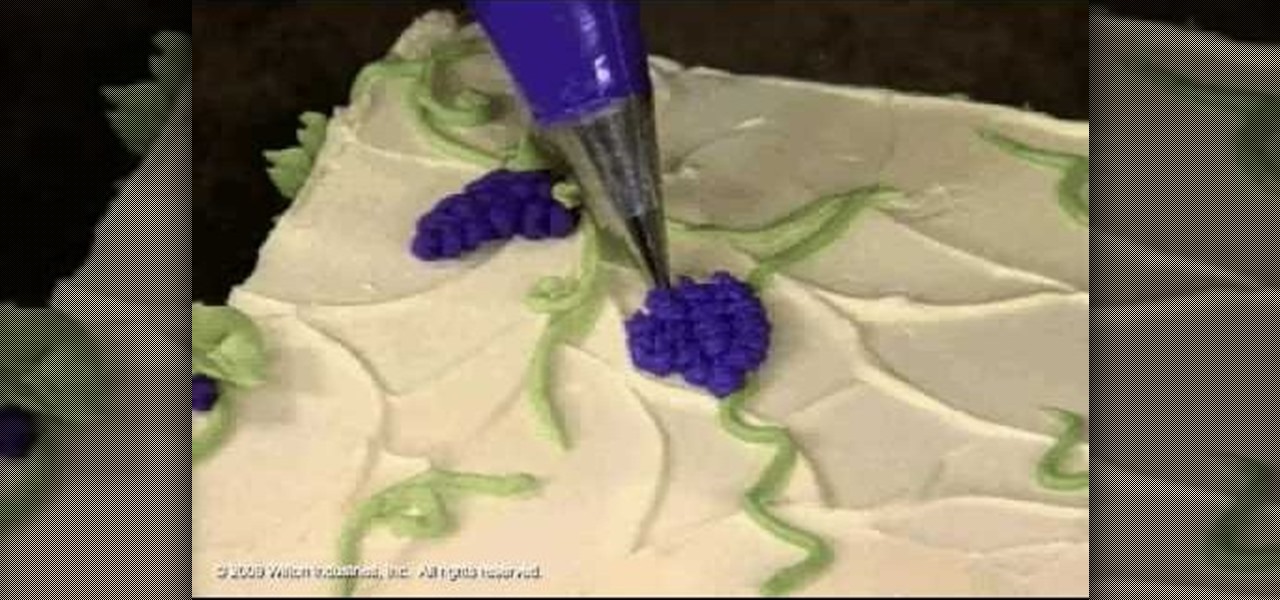
This video teaches the secrets of making and decorating a vintage celebration cake. First bake your favorite cake, apply cream over it and get it ready to decorate. Start by using green icing color pipe and design some vines on the cake. Now with violet icing color design the grapes by making beads and make some leaves with a big green icing tip. Use buttercup yellow icing color and make a leaf border all around the cake.

This is an instructional video on how to fold an octahedron with Post-It notes. Use 3 different colors of Post-It notes. Take 2 Post-It notes in the same color, fold it horizontally and diagonally to make four squares. Fold diagonally the sticky side, you will end up with a cross or a star. Put the tight corner between the gap, alternating the color. That's it! You will end with an octahedron Watch this video and make an octahedron using Post-It notes by yourself.
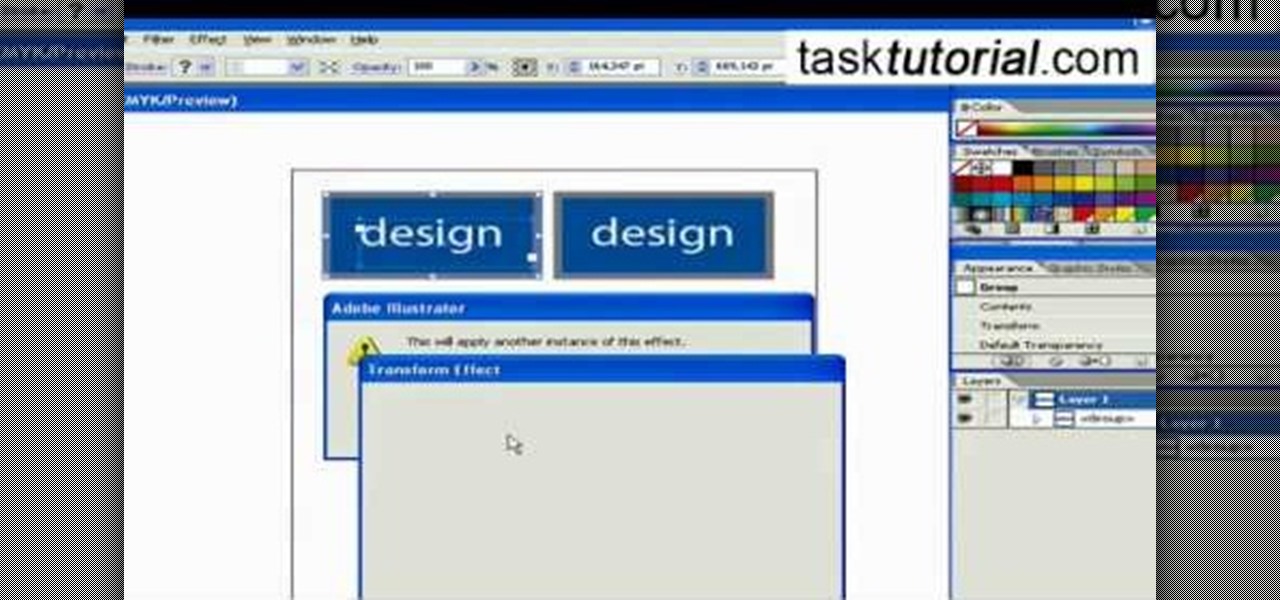
This video takes us through the procedure of creating a transform effect in Illustrator. First, choose a rectangular box and fill color in it. Input some text inside the box. The font and the color of the text can also be changed. Then position the text properly. Make a group of the shape and text. Now go to effect and choose transform. Transform is a very powerful effect which lets us create duplicates. Now select the number of copies, for example, one copy. Select preview. Now set the point...
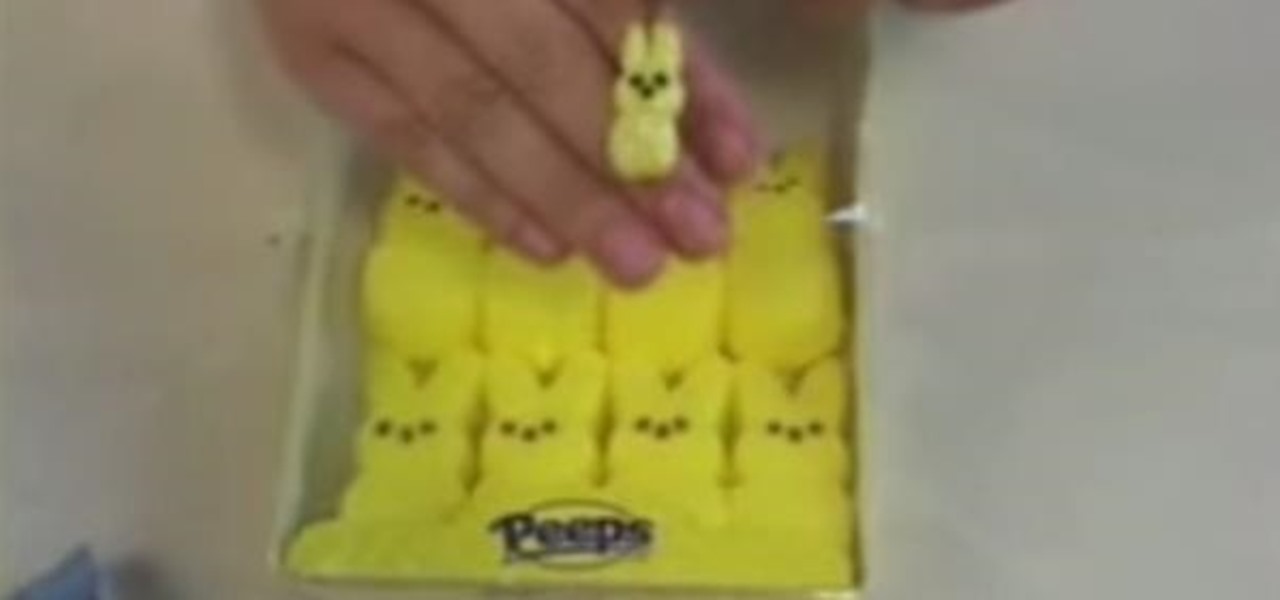
In this video from Polymer Clay Productions, we are shown how to make earrings out of polymer clay marshmallow Peeps. They use holographic yellow glitter for the sugar, polymer clay, and Sunny Side Up yellow coloring. Use a clay color and glitter color that match. Have some real Peeps handy for reference.
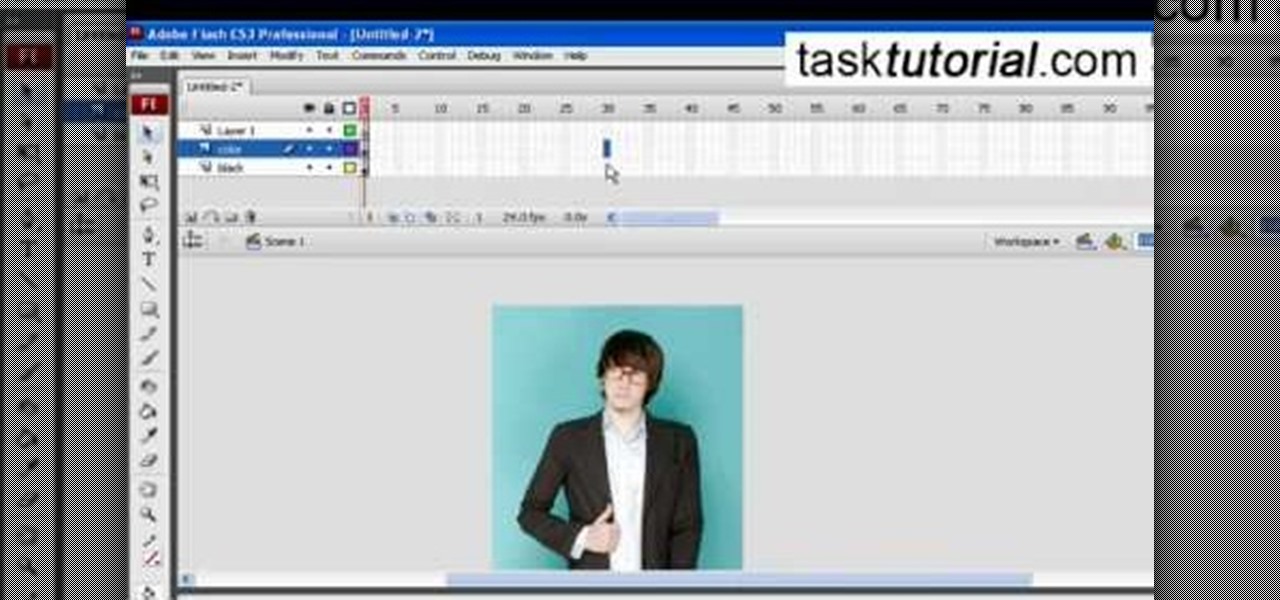
If you don't know how to turn a black and white image into color animation in flash, then this is the perfect video for you. This tutorial is perfect for newcomers! In the video, you will learn how to import images, make layers, and transform them into movie clips. This video will show you the best and easiest way to turn a black and white image into color animation in flash. This video is what you are looking for!

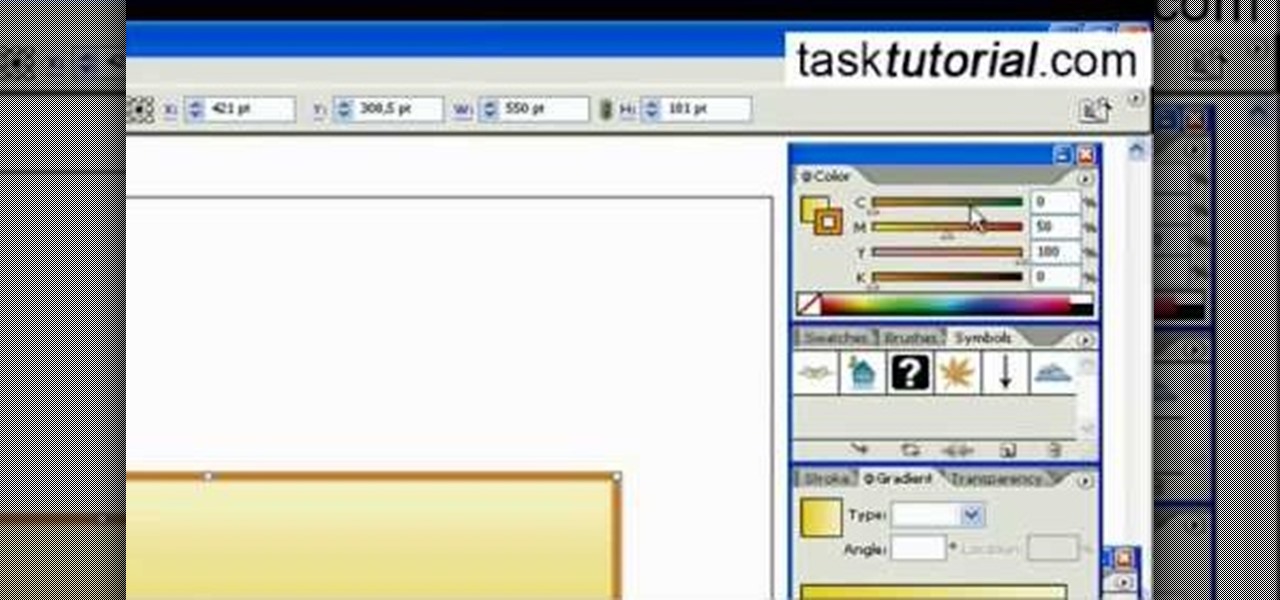
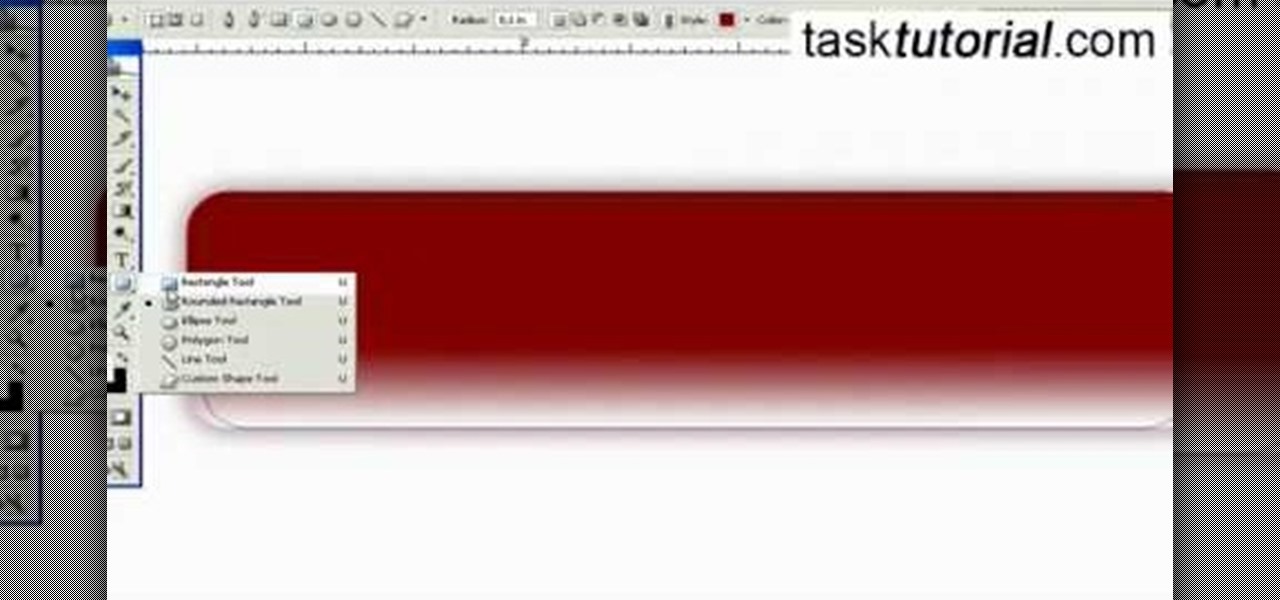
In this video tutorial by Task Tutorial we learn how to create a YouTube subscribe button using Adobe Illustrator. The first step to creating a button is to select the rectangle tool and draw a bar and then select a gradient fill. Next create the first color in the gradient and then the second color in the gradient. After that you'll want to change the gradient angle and also change the stroke width. Then you'll want to edit the stroke color to 9.6%. Then select the text tool and create your ...

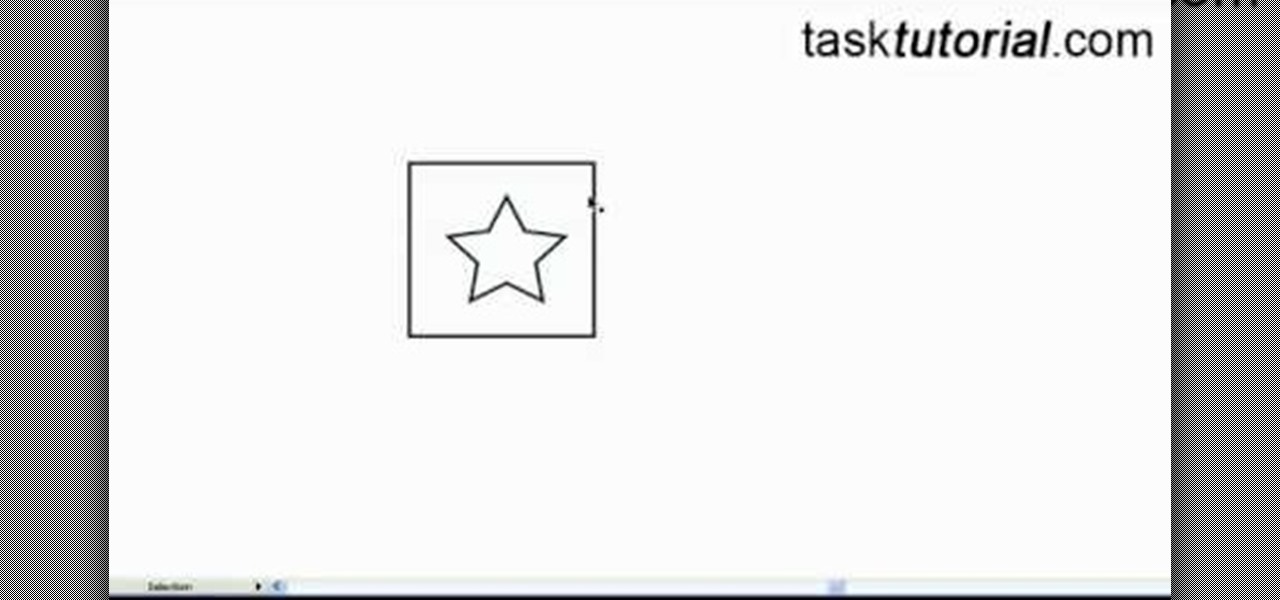
This video tutorial by Tasktutorial shows you how to create a simple swatch in illustrator. Select the star tool, draw a star and select the path and scale it down as shown. Change the fill color to white, the stroke color to black and the stroke weight to 2 points as indicated. Select the rectangle tool and draw a background for the star, bring to back, change the fill color to blue and de-select the stroke as directed. Align the shapes using the align tool and select both paths and bring in...

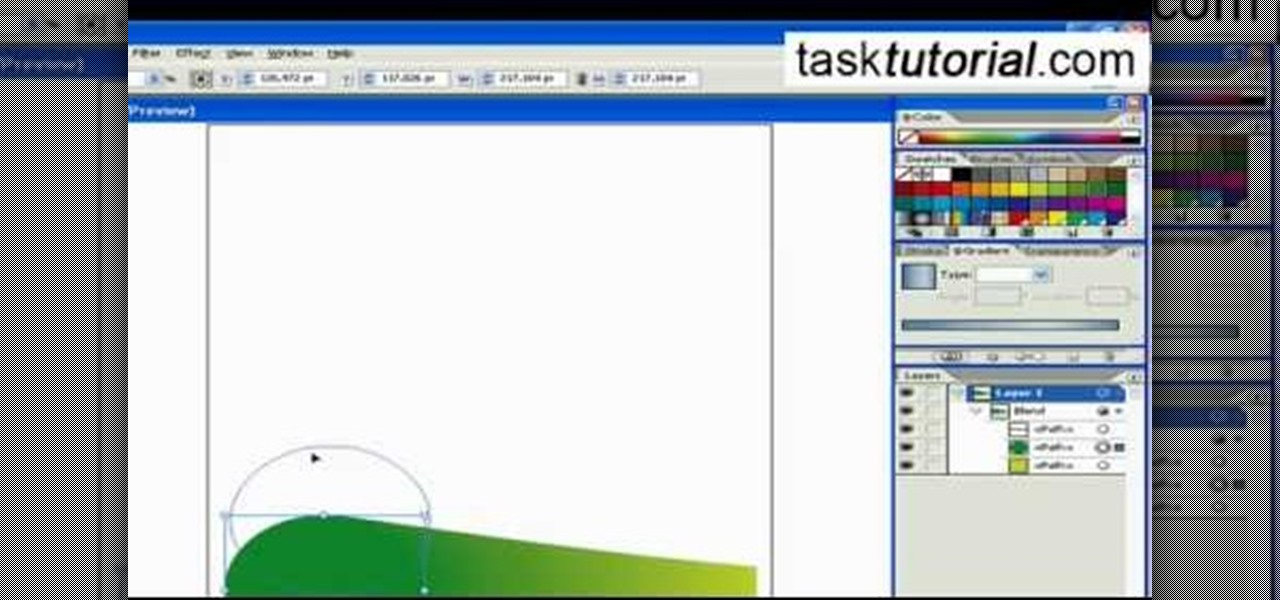
Learn how to blend shapes and colors in Illustrator with this tutorial. Open Illustrator and put the circle with color which you want. Put the square on the color you want. Select the object, go the title bar select the object and then select the blend. You will be shown the result on the screen. Select the square and circle where you place the object by click and drag method. Go to the object and select the blend and choose the blend options. Change in specific steps which you want in the sc...

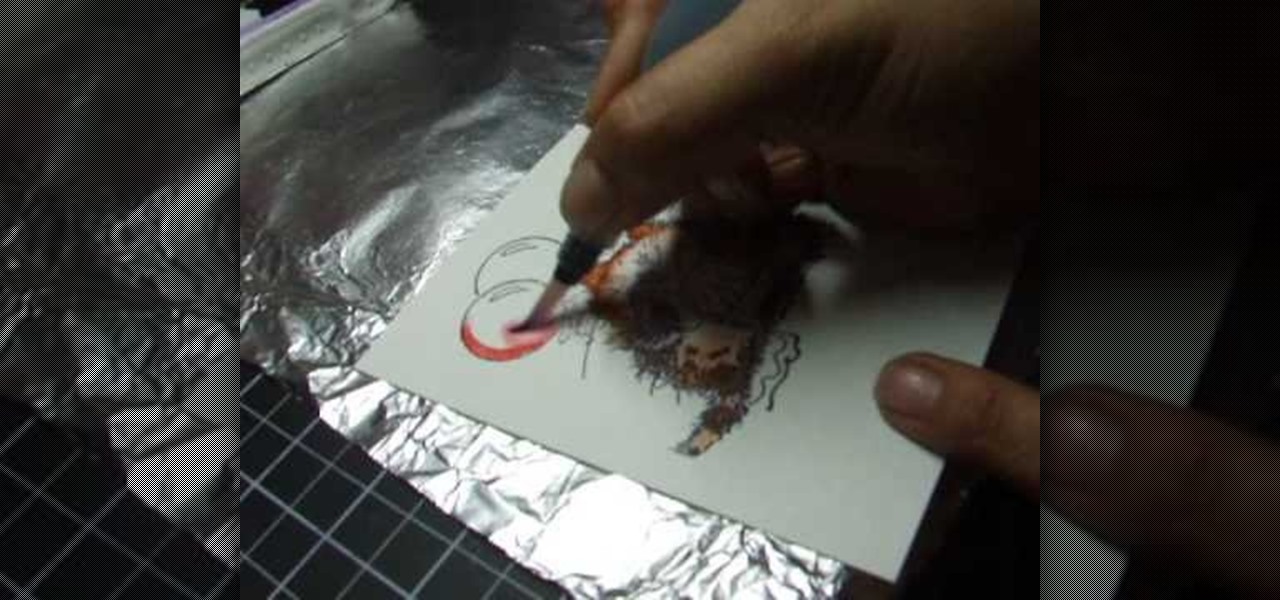
Maria Bell demonstrates to create the watercolor project, add color to the watercolor paper by first outlining the image or the shape with the SU marker. Then, distribute the color from the edge of the image or shape to the center of the image or shape with an aqua painter or watercolor brush. Fill in the images with shading details as desired. The technique produces gradient shading and a quick spread of colors without the use of watercolor pencils or crayon. Painting watercolors with SU mar...

This how-to video is about how to create a simple text effect in Photoshop.

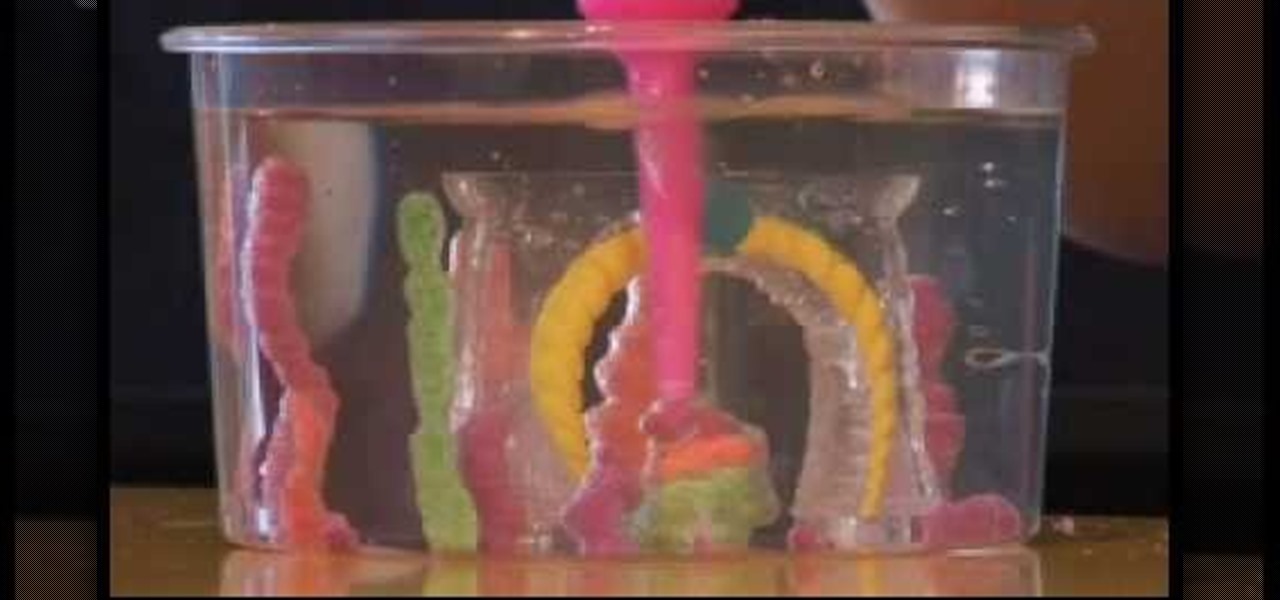
This video explains how to set up an Aqua Sand gift box. The first step is to place the mold into the tank, and then fill with water. With a half-full bottle of Aqua Sand, by placing the nozzle face-down to the bottom of the tank and lifting upwards, you are able to create colorful towers. You can create multi-colored towers by starting with a wide base, then changing colors as many times as you wish while you move upwards. Users can also fill the mold with various colors of Aqua Sand, add de...

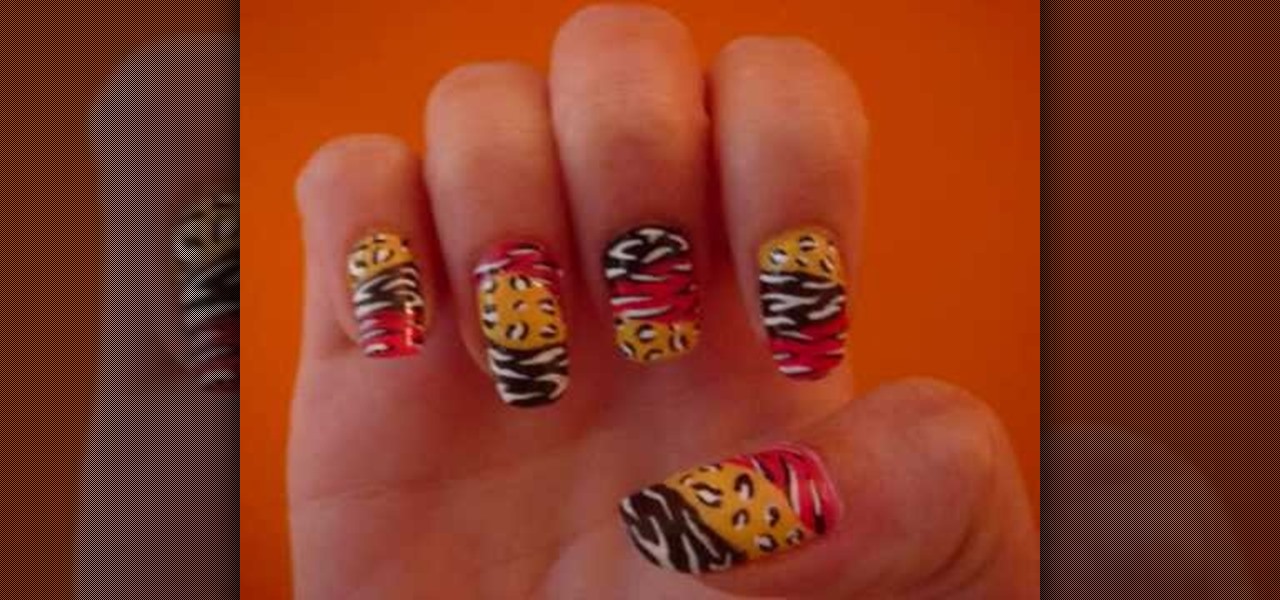
In this video she shows you how to paint party animal print nails. She starts out by showing you all that you will need. First a top coat is used on all of the nails. Next she paints each nail in three different colors, and the colors are pink, black, and yellow. She makes sure that each nail follows the same pattern. She then paints each section in three different animal prints with a small detail color. Last she makes sure that she ends with a top coat and gives them plenty time to dry.

In this Photoshop tutorial the instructor shows how to create a glossy sphere. Now to get started open the tool and select the oval tool. Using the oval tool create a sphere shape. Draw holding the shift key button and set it to green color. Now similarly draw ellipse and give it white color. Create a few more ellipses this way. Now go to filers and then glowers and then Gaussian glower. Now go to shape free and select gradient and set the gradient. Now you can apply color changes to it and g...

This video will show you have to make a glass bar in Photoshop. Adobe Photoshop is a great program for manipulating photo and adding interesting effects to your pictures. The glass bar is distinctive because of it’s colored shading.

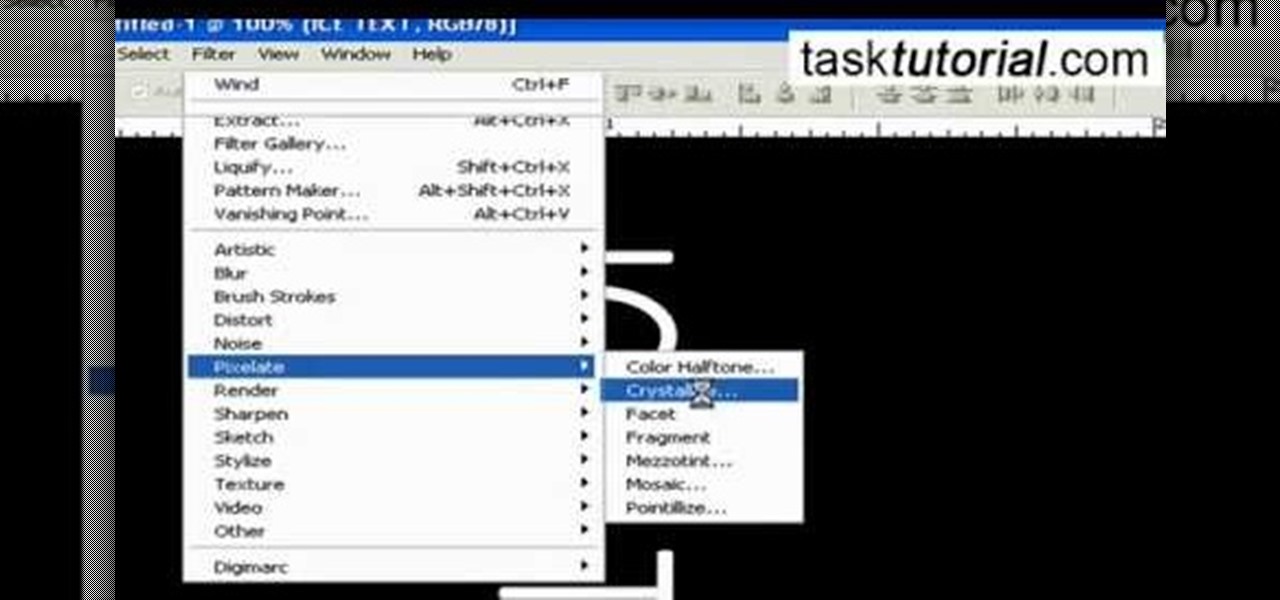
It is a tutorial that how to make an ice text effect on Photoshop. First create a new layer select paint bucket tool switch black color and paint the layer now create an other layer, choose type tool then switch the white color and create a text "ice text" after go to layer pallet merge the layers after that again create another layer select paint bucket tool and select black color now select ice text layer then go to image menu rotate canvas click clock wise then go to filter choose crystall...

Lauren, AKA QueenofBlendingMUA has joined the ranks with the other YouTube beauty gurus. Lauren is a makeup artist with a large collection of eye makeup & nail art video tutorials. Her eye makeup look span from everyday makeup to creative, more expressive party looks. Her nail art/ manicure looks are also lots of fun. Check out this nail art tutorial video to learn how to create a neon color block nail art design. Search QueenofBlendingMUA on WonderHowTo for more beauty videos.

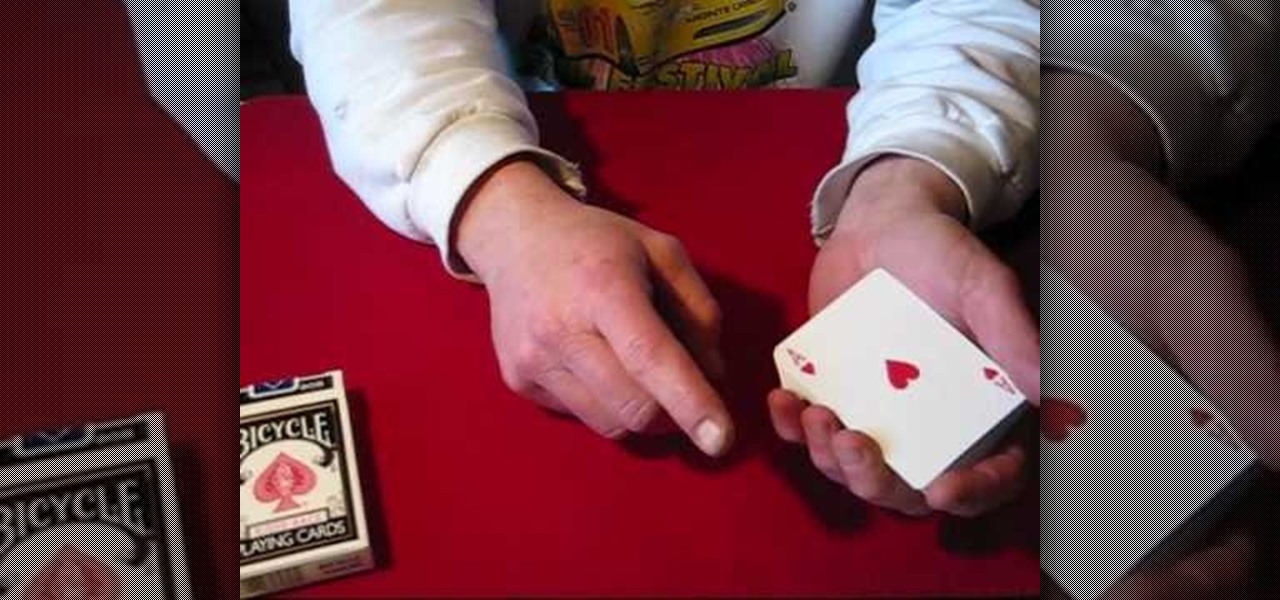
A nice discreet move to change the color of the top card or face of the top card of a deck. This is slightly more advanced card trick to perform when doing an up-close card trick.

This software tutorial shows you how to use the Colorista plug-in for After Effects to do basic primary color correction. Colorista is an easy-to-use color correction plug-in that delivers great results quickly from within Final Cut, After Effects, Motion, Premiere Pro, or Avid systems. The tutorial is for new Colorista users.

This how-to video from makeup master Laura details a great smoky brown eye that will enhance the color of blue eyes. The demonstrator used these cosmetic products, MAC shadetsick sharkskin, BOBBI BROWN stonewash nudes palette, MAC mascara zoomlash, NARS lipliner bahama, and Stila convertable eyeliner onyx, but similar colors and textures will create comparable results. Follow along with the steps in this video makeup lesson and learn how to recreate this smoky brown eye look for blue eyes.

This software tutorial shows you how to use the pop color effect in Photoshop Express. This tool is a great way to instantly turn your photos into eye-popping images with Photoshop Express, a web application using Flex or Flash technology.

In this lesson, learn what white balance is and how to effectively use this function on your digital camera. Also learn how to use the photo filter function in Photoshop to eliminate and correct color casts created by various light sources. Watch this video photography tutorial and learn how to use white balance on a digital camera and how to correct colors with after-effects lens filters in Photoshop.

Send cool designs spinning on warm summer breezes. Learn how to create a spiral spinner from Crayola Color Surge paper and markers with this arts and crafts tutorial. You will need Crayola Color Surge paper and markers, crayons, markers, colored pencils, scissors, and paper plates. This is a great project to do with your kids on a rainy spring day before summer begins. With this how to video you will be able to create summer breeze spinners with your kids.

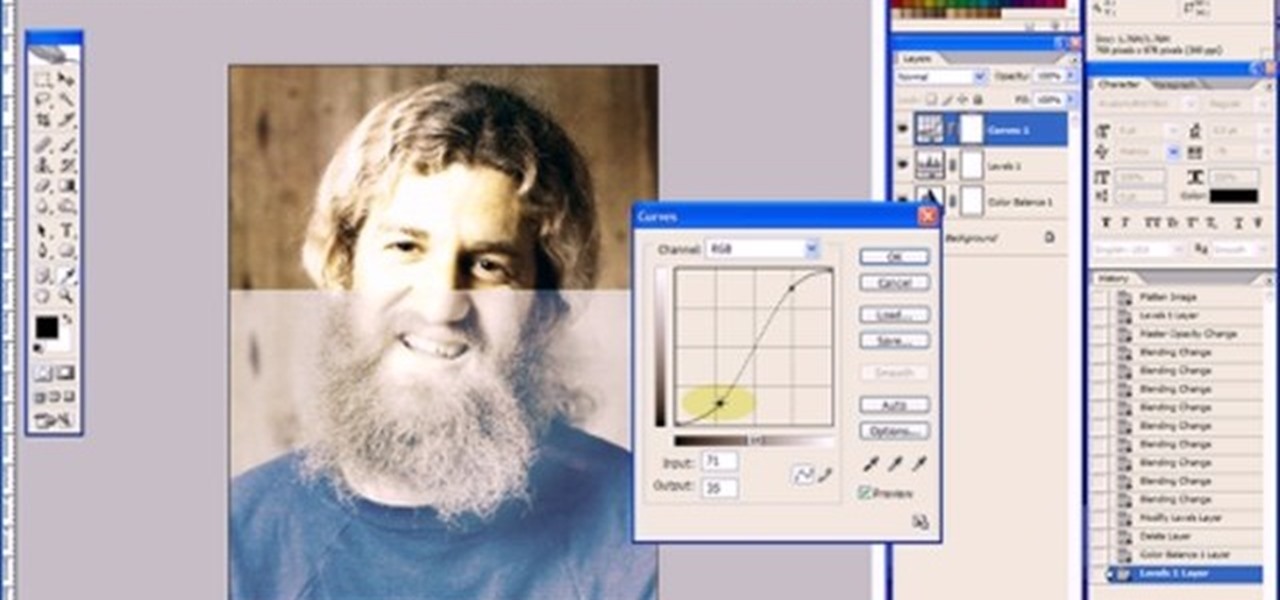
This Adobe Photoshop tutorial covers using adjustment layers in Photoshop CS2 to help out a badly desaturated photo from the early '70s. Learn to use Photoshop levels, curves and color balance tools to color correct and fix faded old photos.

This Houdini 9 software video series focuses on examples of when and how to use Attribute Transfer. Part 1 covers Attribute Transfer One Point:

In this Houdini 9 video series, you will take a look at the new dynamics shelf tools in Houdini 9 and see how easy it is to create fairly complex simulations very quickly.

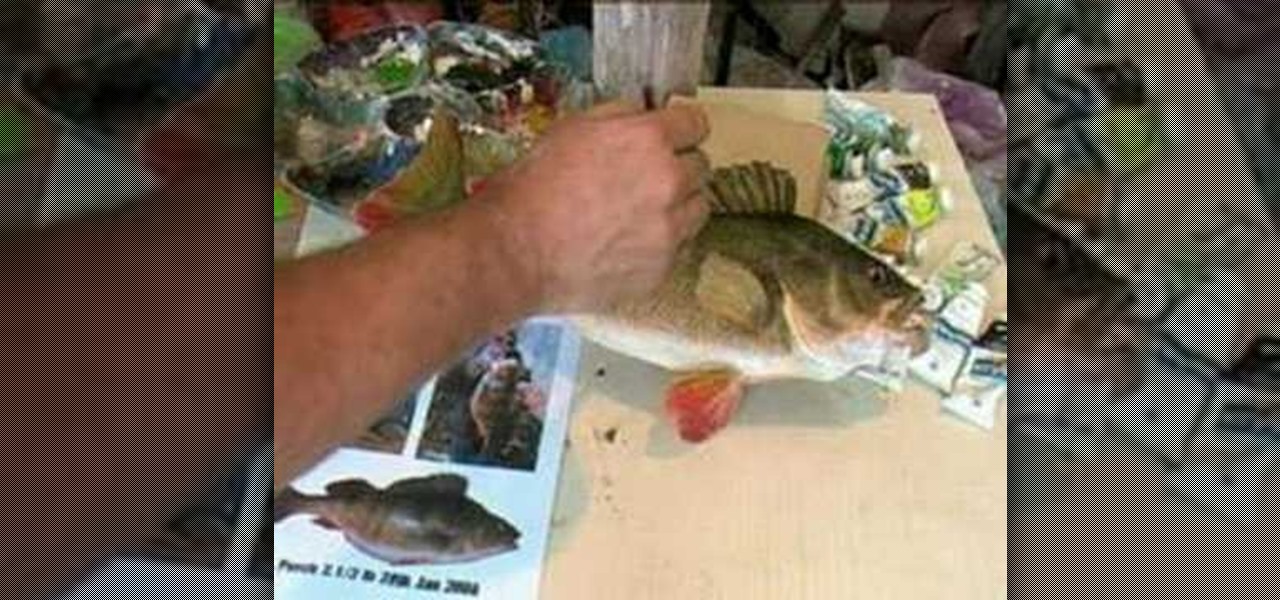
The colors on a dead fish can get a bit dull, but a little bit of acrylic paint will add a life-like vibrancy to the stuffed taxidermy mount. The demonstrator walks through the steps of adding fresh and realistic color to a perch mount with the help of some paint. Watch this video taxidermy tutorial and learn how to paint a stuffed perch with acrylic paints.

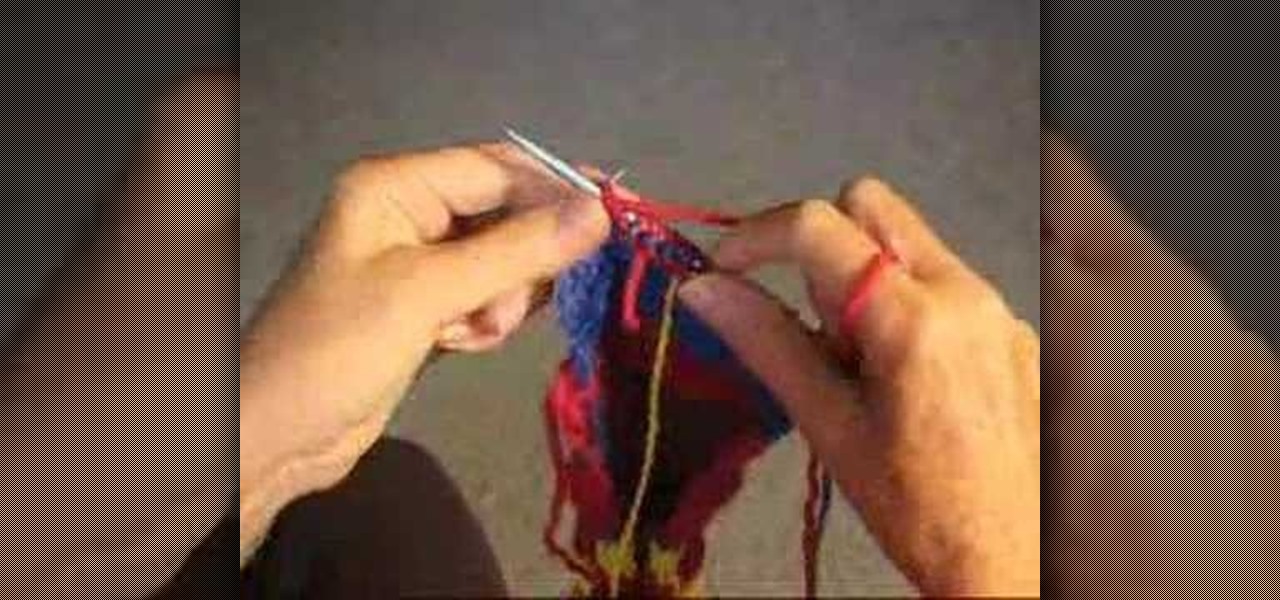
An easy, up close, demonstration of how to add color to your knitting on a Purl Row by Judy Graham. Learn how to knit from these simple and clear instructions.

An up close demonstration of how to knit a

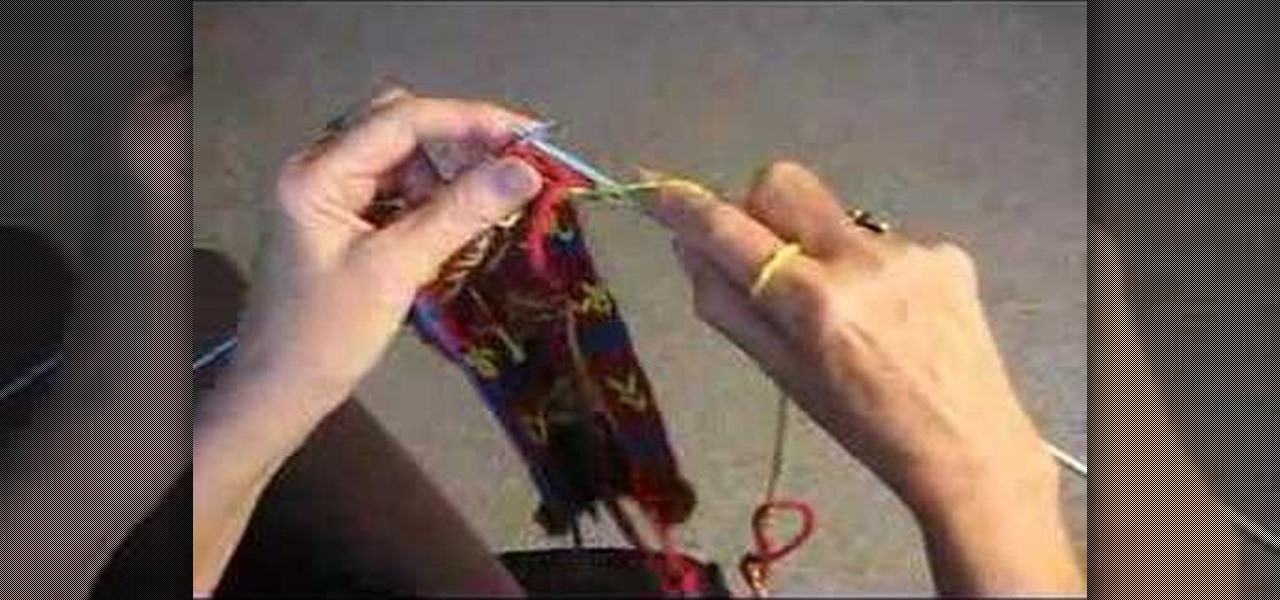
An up close demonstration of how to knit a checkerboard pattern stitch by Judy Graham. The checkerboard pattern stitch will be a two color pattern. Learn how to knit from these simple and clear instructions.

In this video tutorial you will learn to use the Photoshop extract filter to extract images from the background. The trick works best for erasing mostly solid-colored, contrasting backgrounds. Photoshop also does a nice job of getting rid of the color halo problem – but you may have to do some additional touch-up work at the end.

This tutorial covers how to use different filters in Final Cut Pro 6 and specifically goes over how to use the color correction filters since these are some of the most important filters used. Easy to understand and see, this video tutorial is worth watching.

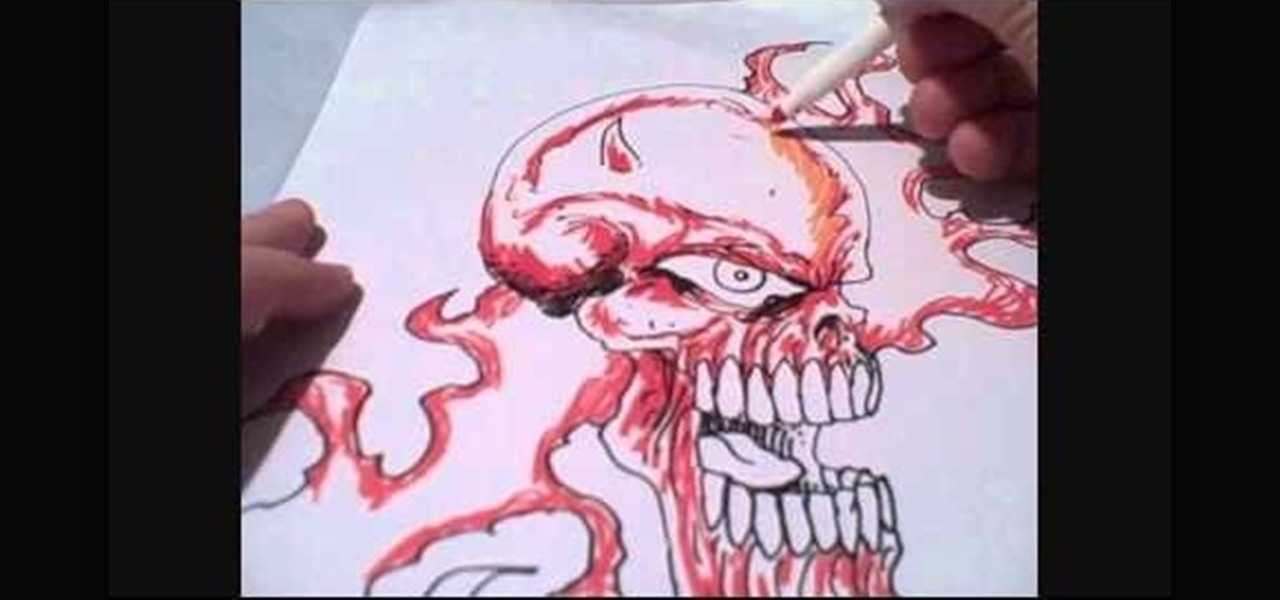
The Crayola washable supertip markers are an ideal tool for any artist, young or old, who wants to bring sharply defined, bright color to their drawings. This video demonstrates how to color simple line drawings using these basic markers.

Walls looking a little drab and dreary? Try color washing your walls, a two-step process that'll give your walls a vibrant look. Pick out your color, prep your walls, do a base coat of the walls, and then apply glaze. It's very simple, and at the end of it, you'll have amazing looking walls that look vibrant and cheerful.

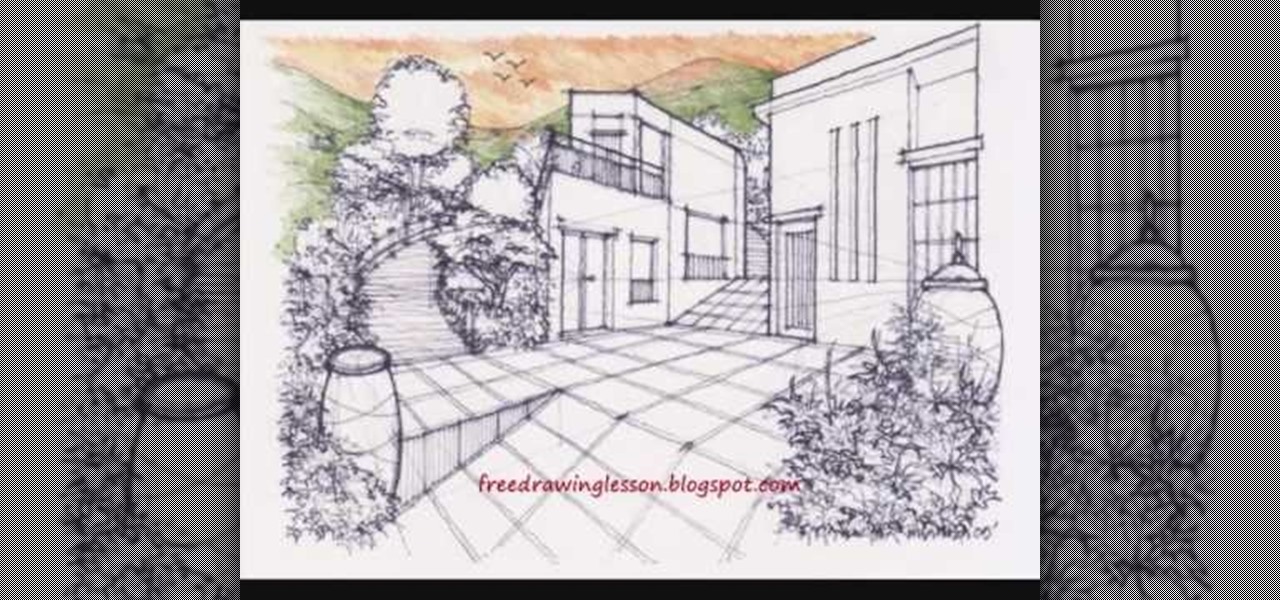
In this video, we learn how to draw and color landscape scenery. First, draw your starting point, making a horizontal line. After this, draw other reference points on the paper, then start to draw in lines to see where your structures are going to be. After you do this, make trees on the paper, then start to fill in details of plants and flowers around the trees. Draw in buildings and stairs, making mountains and hills in the background. Add as many detail as you feel needed, and then start t...

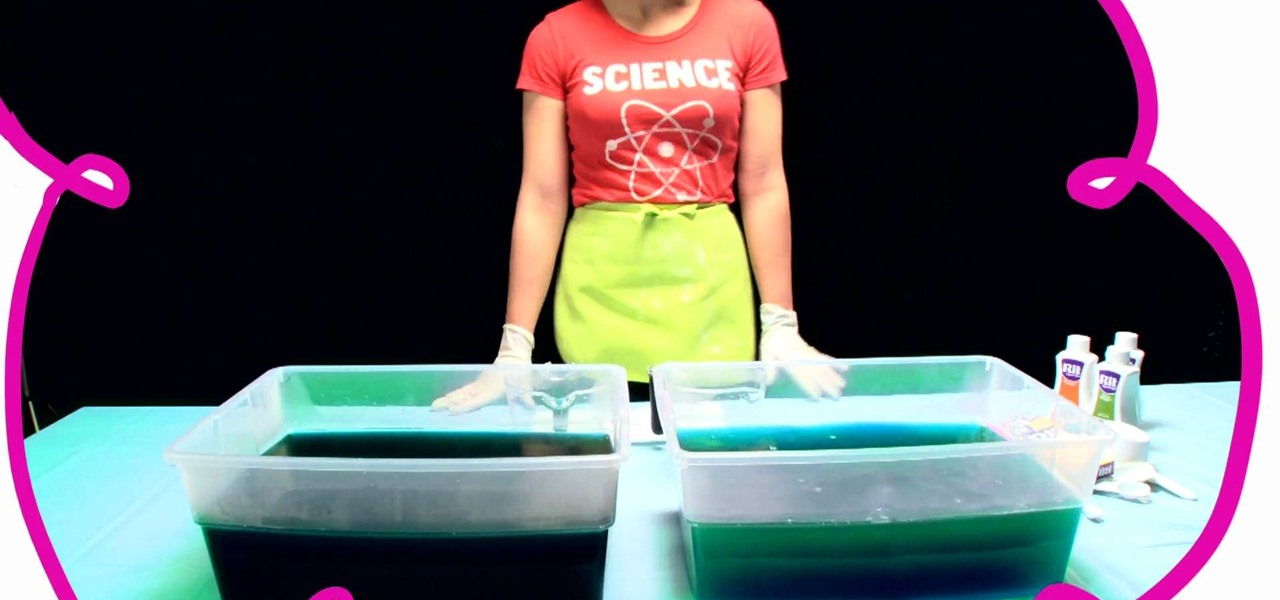
In this video, we learn how to design your own clothes with ombre dying. Start off by mixing up a dark color and a light color in 2 gallons of water each. Now, take your piece of fabric and place it into warm water until it's covered. Now, place this on a hanger, then dip the top into the dark color for eight minutes. Then, place the fabric in the lighter color for one minute. Then, place this under cool water upside down until it runs clear. After this, wash it in the washer and dry it, then...

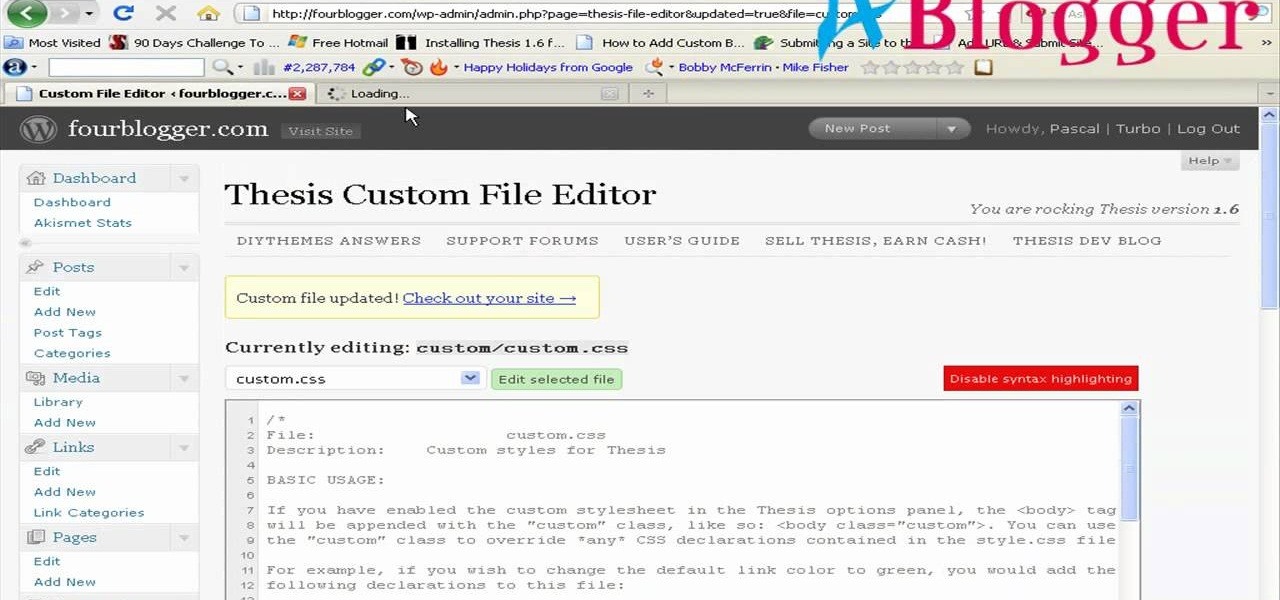
First you need to go to your site and click any post you want and see the simple heading and now you want to change the background. To do this, first you need to go to your word press admin and then click custom file editor in thesis options it will open your code window and here you will have to paste the code which is showing in the video. you will have to paste it in custom.css. After pasting the code you have to click the green save button.

Need some help figuring out how to play the free edition of My Coloring Book on your Apple iPhone? This video tutorial presents an overview of the game's essential rules and objective. For more information, including detailed, step-by-step instructions, and to get started playing My Coloring Book Free on your own Apple iPhone 3G, 3GS, 4 or iPod Touch, take a look.

In this video, we learn how to apply burnt orange to eyes for this fall. Start out by applying primer to your eyelids, followed by using airbrush foundation over your entire face. Next, find a burnt orange colored eyeshadow from any brand, and brush it on the crease of your eye. Next, brush a copper color onto your eyelid, then brush the burnt orange color on the outside crease of your eye and blend into the middle of your eye. Then, brush the color lightly on the bottom waterline of your eye...

In this video, we learn how to draw a cartoon dragon with a big head. First, draw the outline of the dragon, making the head much larger than the body. After this, add in small details to the dragon using the light pencil mark. Next, take a bold marker and trace over the pencil lines that you made, filling in the eyes, nose, teeth, wings, tail, ears, etc. After you do this, color the dragon completely green. Then, take a darker green color and apply it to the edges and where you want shadowin...


