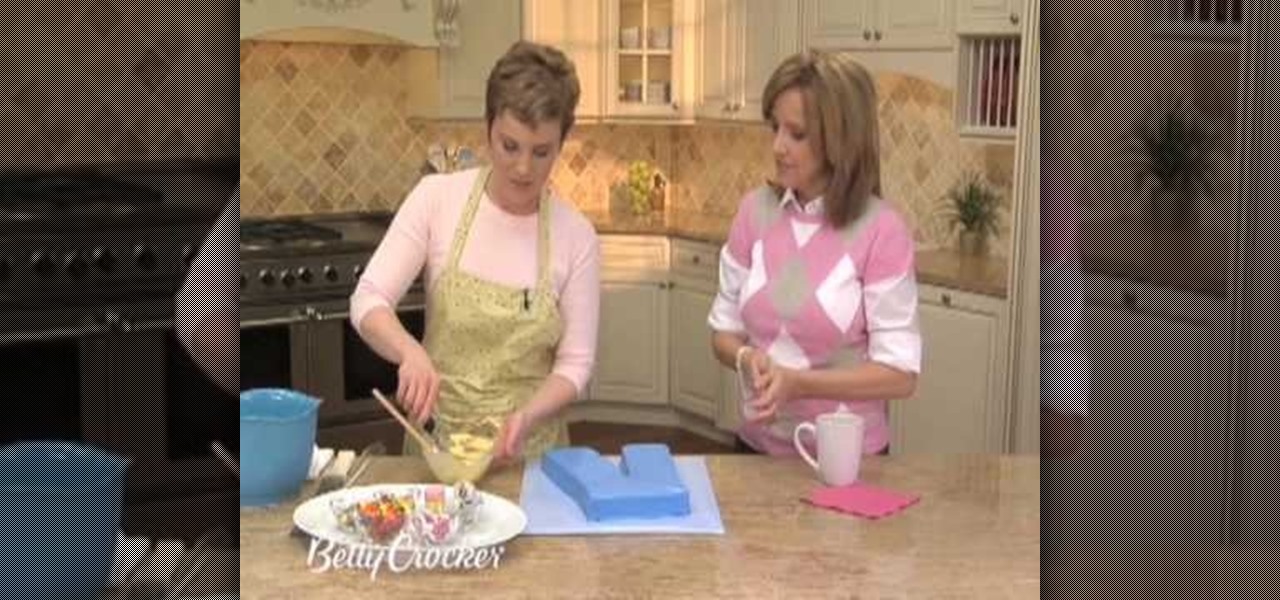
In this video, we learn how to make a pants shaped cake. You will just need to take a pre-made cake (any flavor) and cut it into a jeans shape using a cut out you can find on www.bettycrocker.com. Set this aside and make your favorite frosting colors that you want to use in this. First, put the blue jeans color onto the cake and then start adding other colors to make pockets and stitches on the jeans. You can also add candies and other items to make this cake look more like jeans. You can dre...
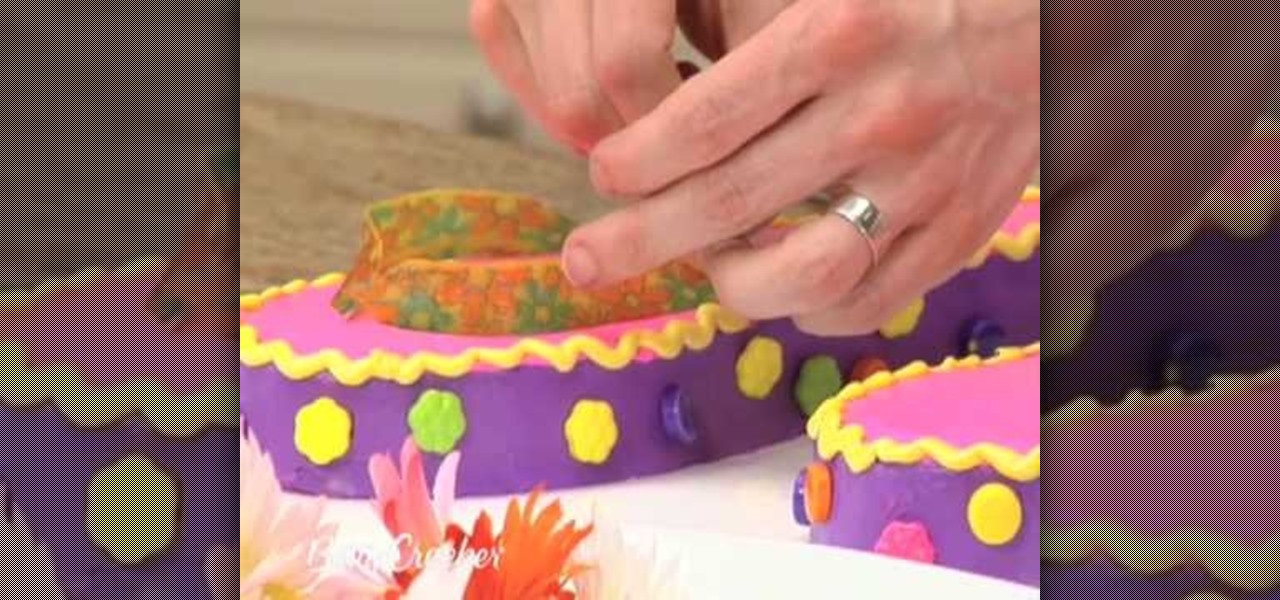
In this video, we learn how to decorate and make flip flop cakes. To begin, grab your pre-made chilled cakes and cut them out according to the shapes you print from www.bettycrocker.com. Now you will spread a thin layer of your choice color of frosting onto the flip flops and chill for 30 minutes. Once chilled, place a different color frosting coat to where the soles of the flip flops are. You are now ready to decorate, so take a different color of frosting and pipe lines onto where the flip ...

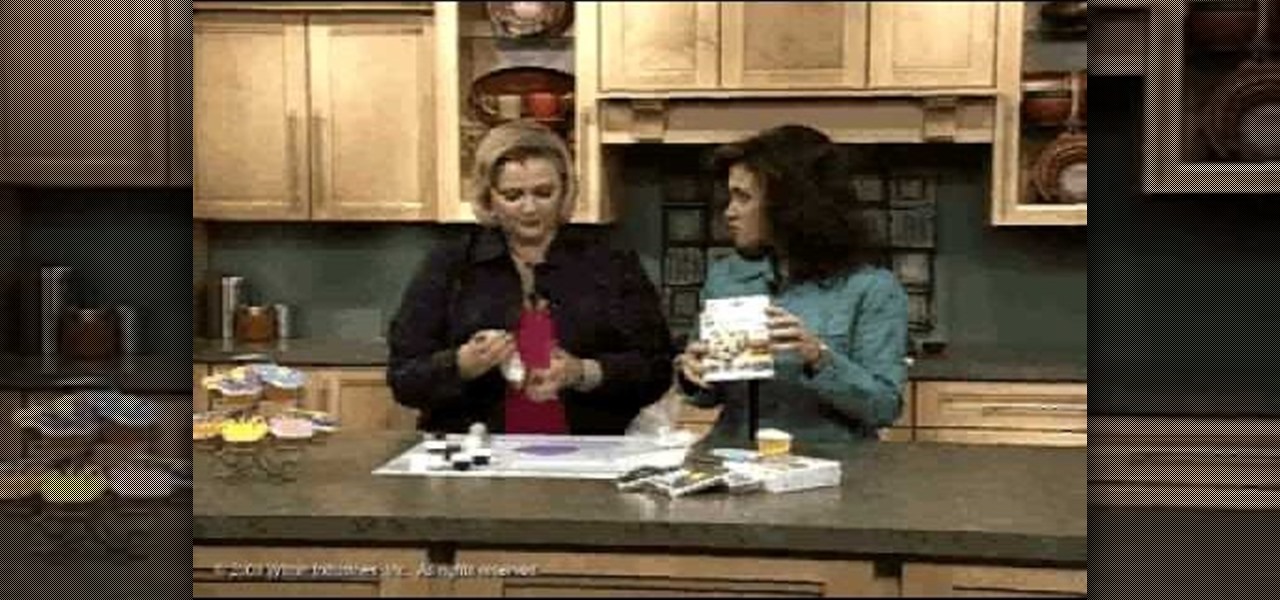
New to Microsoft Excel? Looking for a tip? How about a tip so mind-blowingly useful as to qualify as a magic trick? You're in luck. In this MS Excel tutorial from ExcelIsFun, the 327th installment in their series of digital spreadsheet magic tricks, you'll learn how to create a Gantt Chart that will include highlight the workdays one color and weekends and holidays another color.

You will need pliers, scissors, fake flowers, stem wrap tape, and some pretty ribbon! Start by separating all of the flowers. Try and create a set of flowers that look nicely together. Match pretty colors with pretty colors. Make sure it is balanced on all sides and not too much of one color in one spot. Then wrap all of the stems together with the tape wrap. Then use the pliers to trim the stems. Then tape all of the stems together. Then you should wrap all of the stems in tissue paper. Cont...
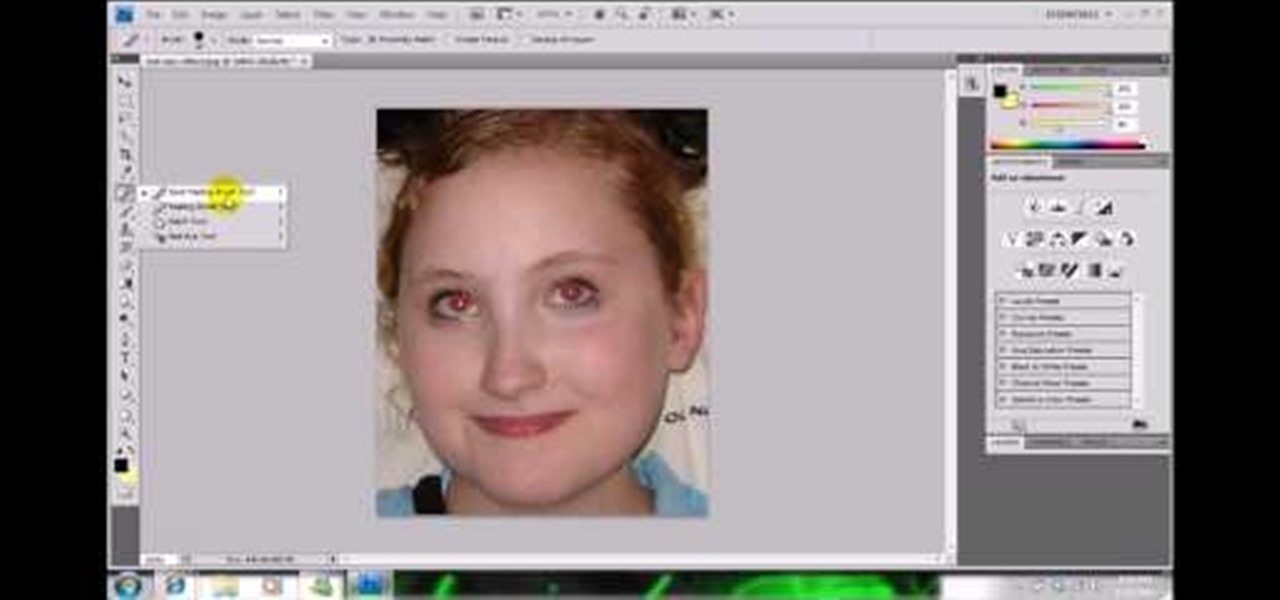
In this video, we learn how to get rid of red eyes while using Photoshop. Make sure you have Photoshop open with your picture up and you're ready to go. First, on the left hand side you will find a "healing brush" tool (which is 7 tools down from the top), click on that and then click "red eye tool". Next, you will click on each of the red eyes in your photo. After this, it will change the color of your red eye to the normal color. If the photo needs changed, you can also change the contrast ...
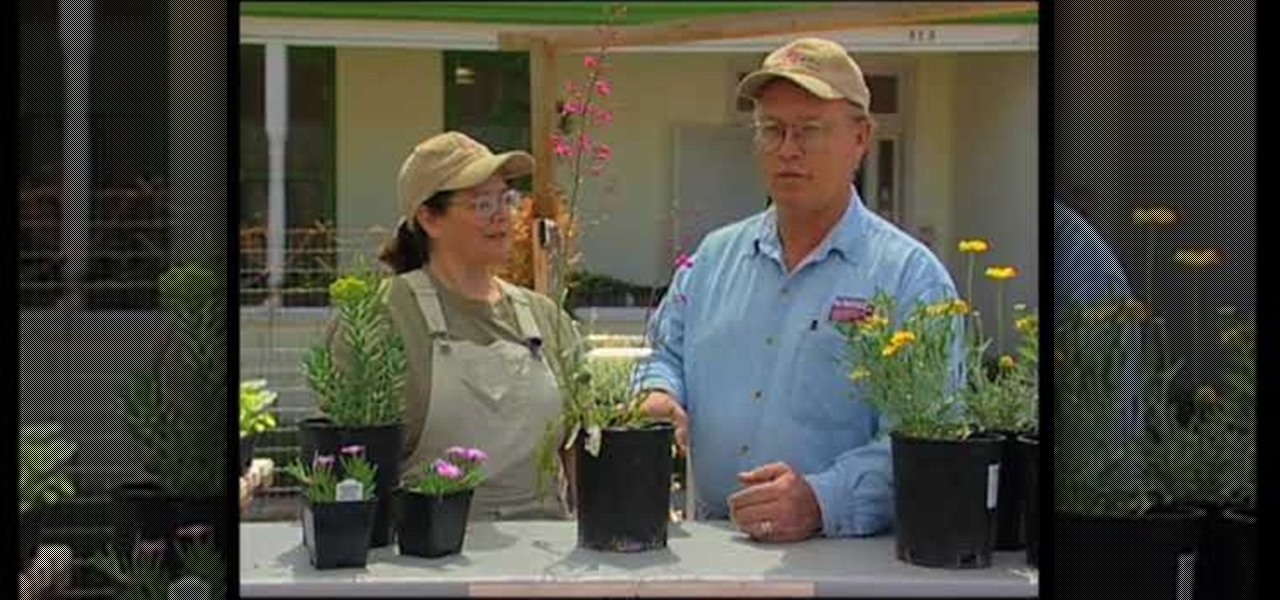
Southwest Yard and Garden featuring John White, Dona Ana County Extension Agent, hosts a 6 minute clip with co-host Master Gardener Valois Pearce both of Dona Ana County, New Mexico host a short web show featuring plants that can easily survive on smaller amounts of water over typical plants. They begin by discussing the full sun Ice Plant, which comes in many species and colors as well as their hardiness, but unfortunately are easy targets for wildlife. They then move onto the Gopher Plant, ...

This video shows you how to draw peter pan step by step. The instructor begins the video by having a preset outline to follow that must be copied to understand how the character will be formed correctly. The face is the first object placed on the outline followed by the shoulders and then legs. After this step the picture will appear completed and colored in leaving the student to have to pause the video and follow the lines carefully with much reflection and reviewing. The coloring for this ...
CIA360MODS teaches you how to change the LED colors on your XBox 360 power brick. You need pliers, tweezers, a screwdriver, a soldering iron and smds. Unscrew the screws from the power brick and then take out the fan from inside. Follow the schematics and use the tweezer to grab the smd. Solder your new smd where the old one was. If you remove the green one, you can add a blue one instead and only that color will change in the power brick. Remember to be careful when doing soldering and keep ...
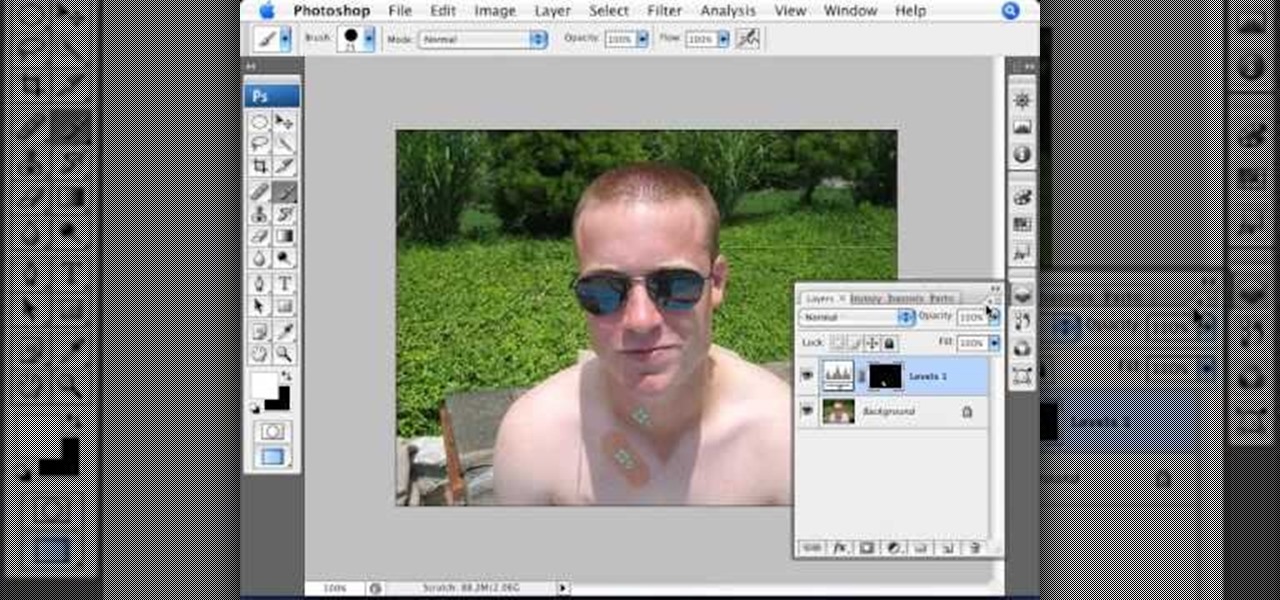
In this Photoshop tutorial, learn how to use the software program to remove tan lines from a photo subject. To complete this editing process in Photoshop, follow the steps in this tutorial to learn how to utilize a layer mask, eye dropper tool, and adjust colors. By following the steps in this Photoshop tutorial, you can tan the parts of a subject's skin by learning how to blend colors within the software program so that someone comes out with a more even skin tone.
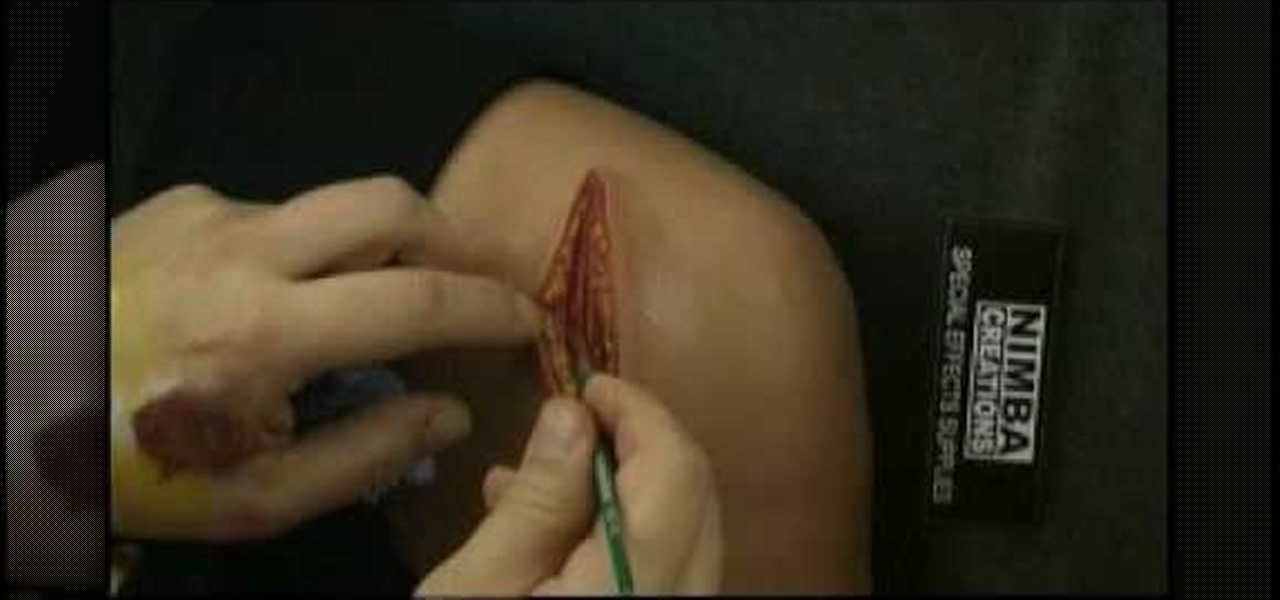
This video describes the coloring techniques to make a realistic gelatine prosthetic wound. The presenter chooses to use grease paint as it applies easily to the rubber gelatine wound mold. First, apply a base color to mimic that flesh tone around the wound and blend it until it matches the skin tone. Next the presenter applies red and pink tones to the wound, the idea is to mimic the color of raw meat. Highlights are then applied inside the wound to simulate fat underneath the top layer of s...
A lot of photos look fantastic when you first take them, but you start to notice some issues with the image when you get a good look at them on your monitor. The color will be nice, but there is noticeable room for improvement in the raw image. You can enhance the color in your image by using automation in Photoshop. This video will take you through the necessary steps to make your final image livelier and more vibrant in Photoshop.
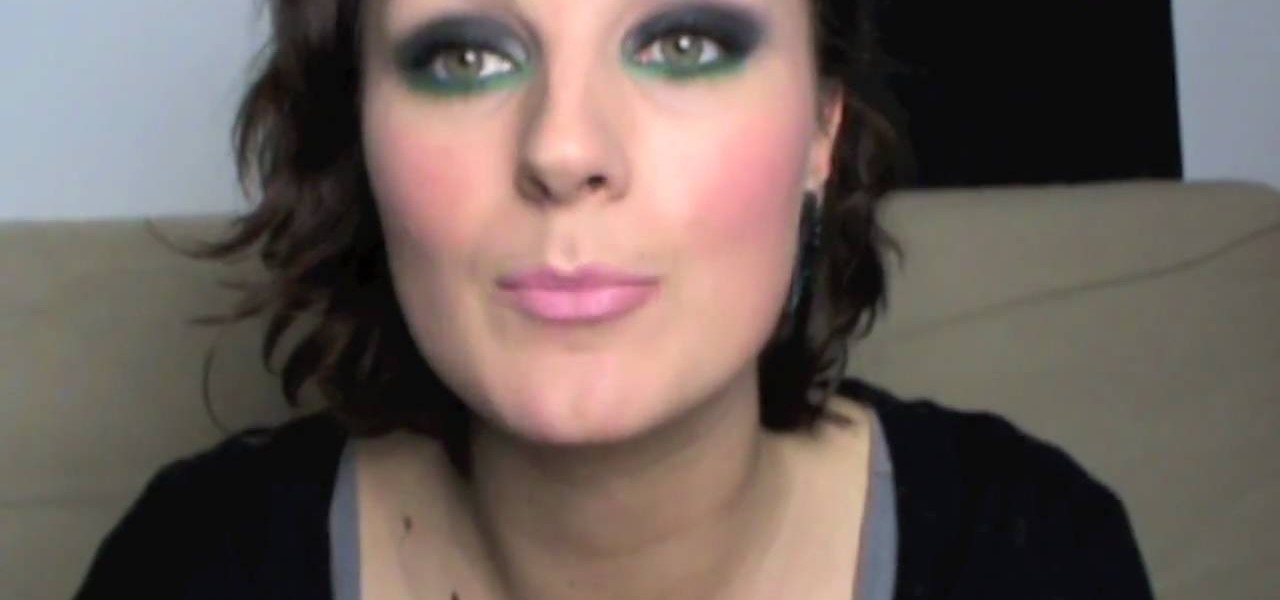
Fashion Face brings you a video that teaches how to create smoky eyes with a twist of green, and then shows you how to finish up your whole face.
In another great video from FashionFace TV, we get a full face look inspired by the iconic beauty of Raquel Welch.
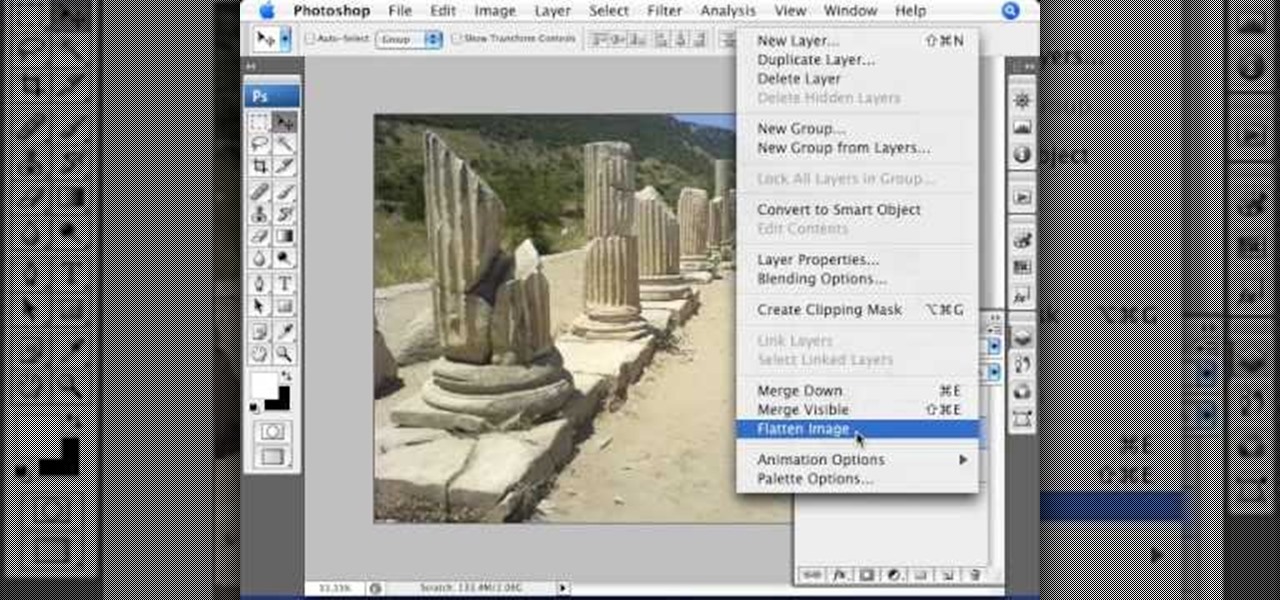
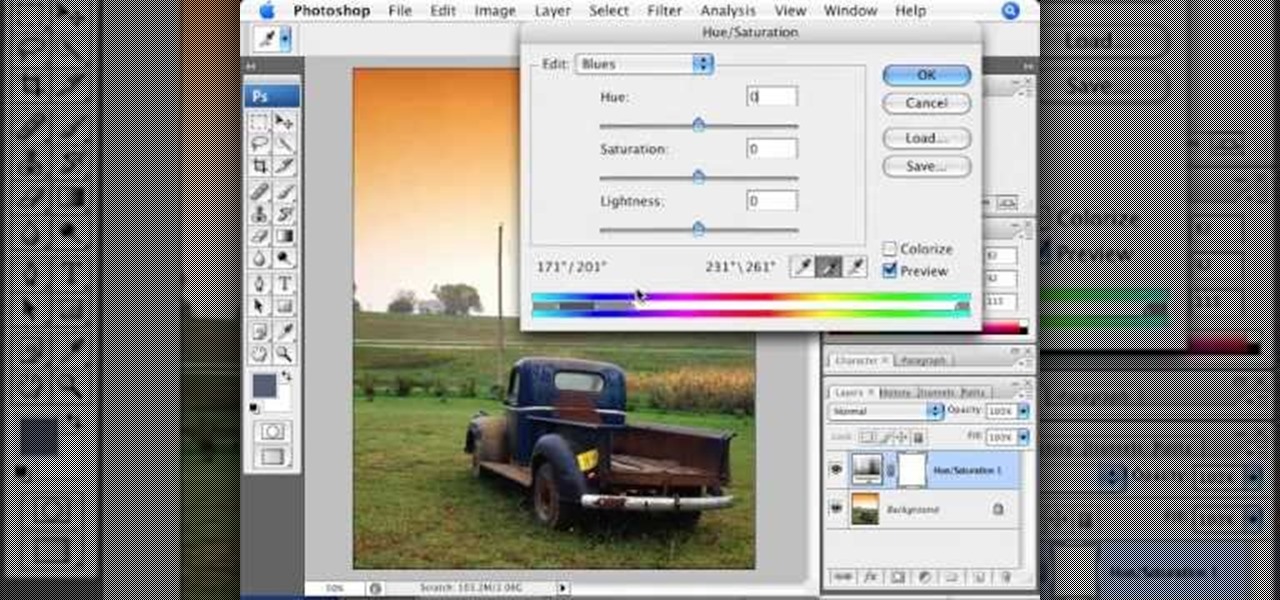
Adjusting the color of specific objects within your images in Photoshop is crucial. Sometimes fine tuning the color of just one component in an image is required. While an image may be adjusted globally at once, this approach lacks flexibility. This tutorial will show you the proper steps from the creation of an adjustment layer to the appropriate and functional calibration of the hue and saturation options. Get the most out of these tools and maximize your productivity in Photoshop.
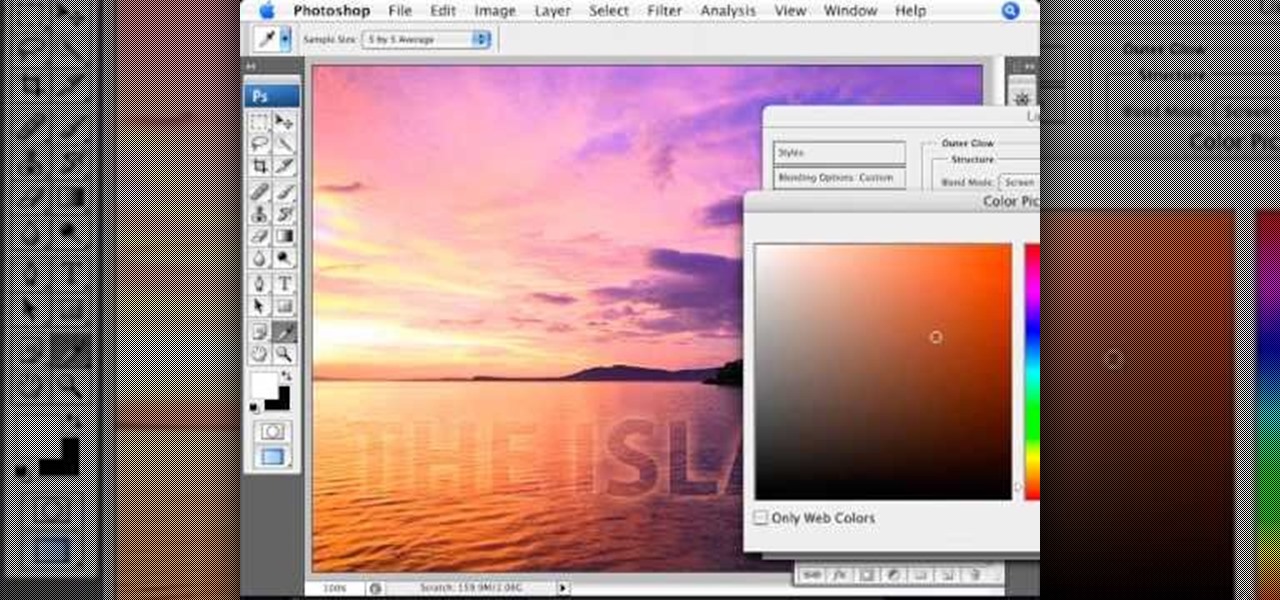
Learn how to create glowing text in Photoshop with this awesome video! 1. Write any text using text button T on the selected image as a background. Write a suitable text and place it somewhere. 2.Select the text and make it Bold. 3. right click and set Opacity and Fill options. Opacity changes the color of the text as well as its effect. Whereas Fill changes the color only . If you have set it to 0% then you can't see the text if its exist also. Set Opacity to 100%. 4. For glowing text select...
Looking to get super creative with your shoelaces? In this video, fifteen different shoelace styles are gone over with diagram as to how they were done. Such styles include the checkerboard, the double back, loop back, sawtooth, riding bow, twistie, lattice style, footbag, ladder, bushwalk, bi-color, display, hidden knot, and the zipper style. Use two different colored laces when doing these styles to jazz things up!
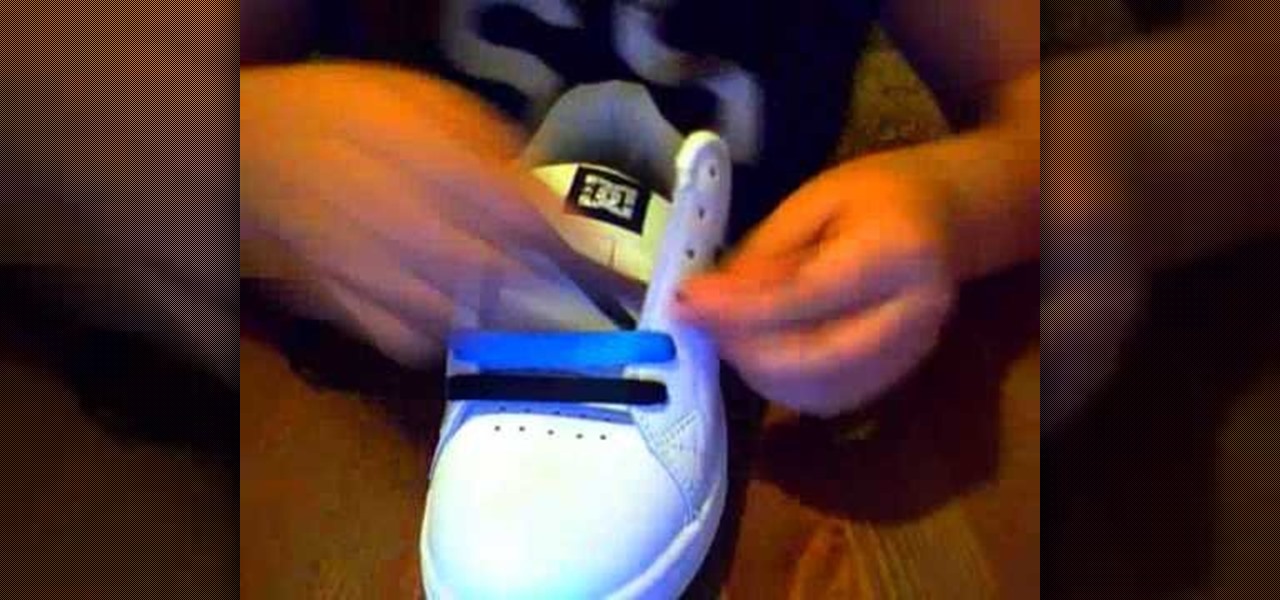
Wanting to try something new with your shoe laces? Have some fun by tying your shoes with two different colored laces, bar style. This look is funky and fresh, perfect for school or an afternoon out with friends.
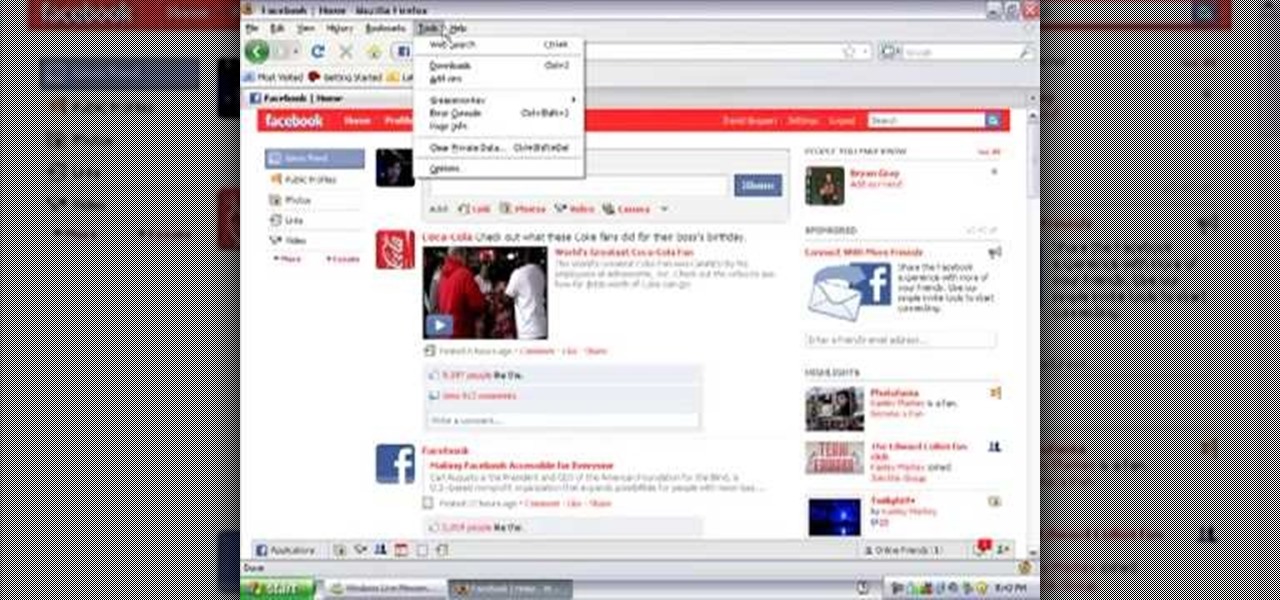
In this video, learn how to change your Facebook color scheme from boring blue to something new! In order to complete this, one must be using the Firefox browser. If you do not have Firefox, you can download it here. In addition, you will need to download Greasemonkey and a Facebook script, both available at the links below. Good luck!
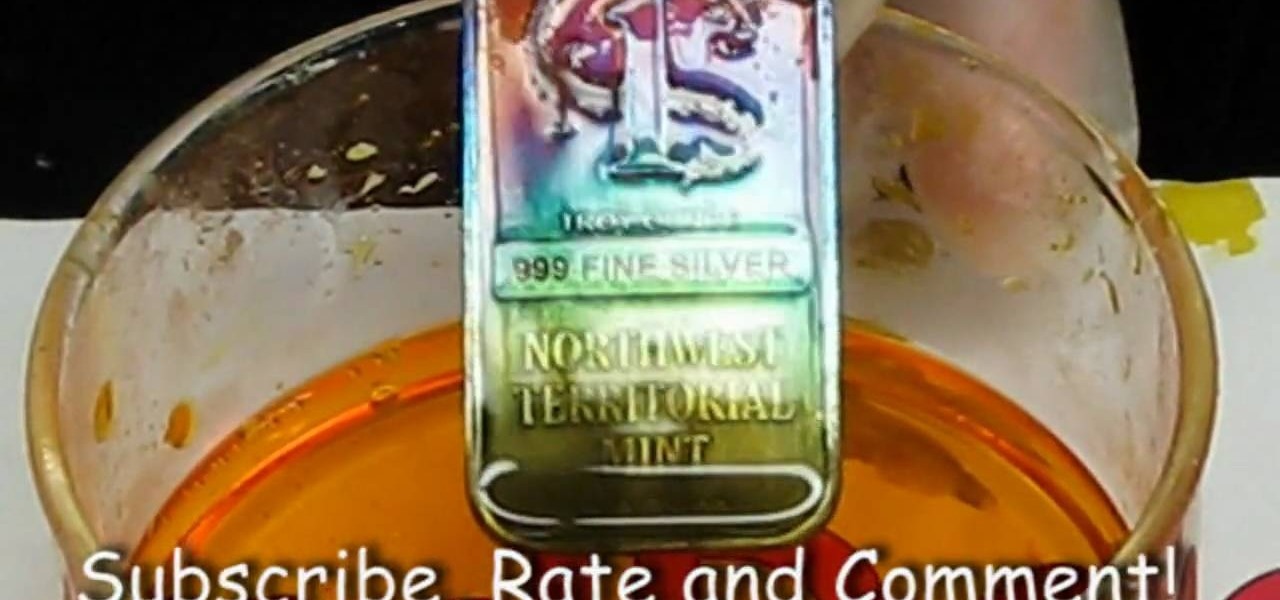
Watch this science video tutorial from Nurd Rage on how to make silver different colors by electrochemical anodizing. Without using paint, you can give a silver surface various colors by anodizing it.
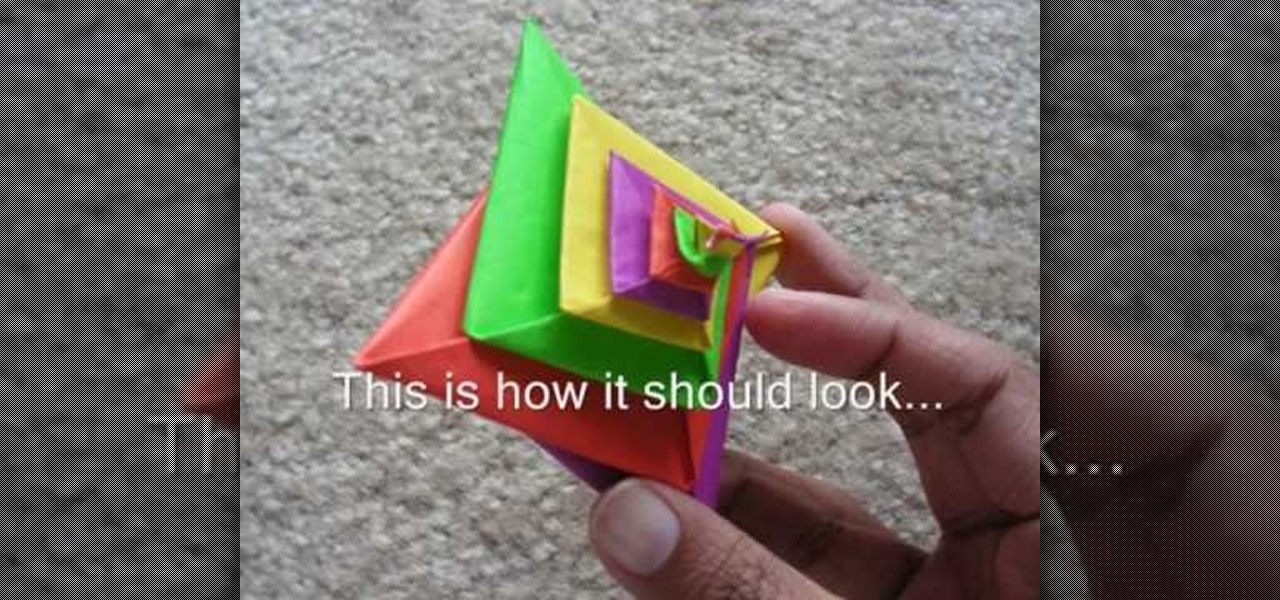
This video explains how to fold the Spiral by Tomoko Fuse. You need 4 sheets of paper of different colors of any combination of your choice. 2 sheets of 2 colors each would give you a dual colored spiral.
Have you ever taken a photograph indoors and found that all the colors turned out wrong? Everything may have looked far too yellow or far too blue. It was not the fault of your camera. Instead, you probably forgot to set the white balance. What is white balance? Lets find out.
To draw snowy pines in colored pencil, depict the tree with snow weighing down the branches and with snow dunes in the background. Learn to depict snow on trees with tips from a professional illustrator in this free instructional video on drawing. All you need are a few tips and tricks to master the art of drawing snowy pines.
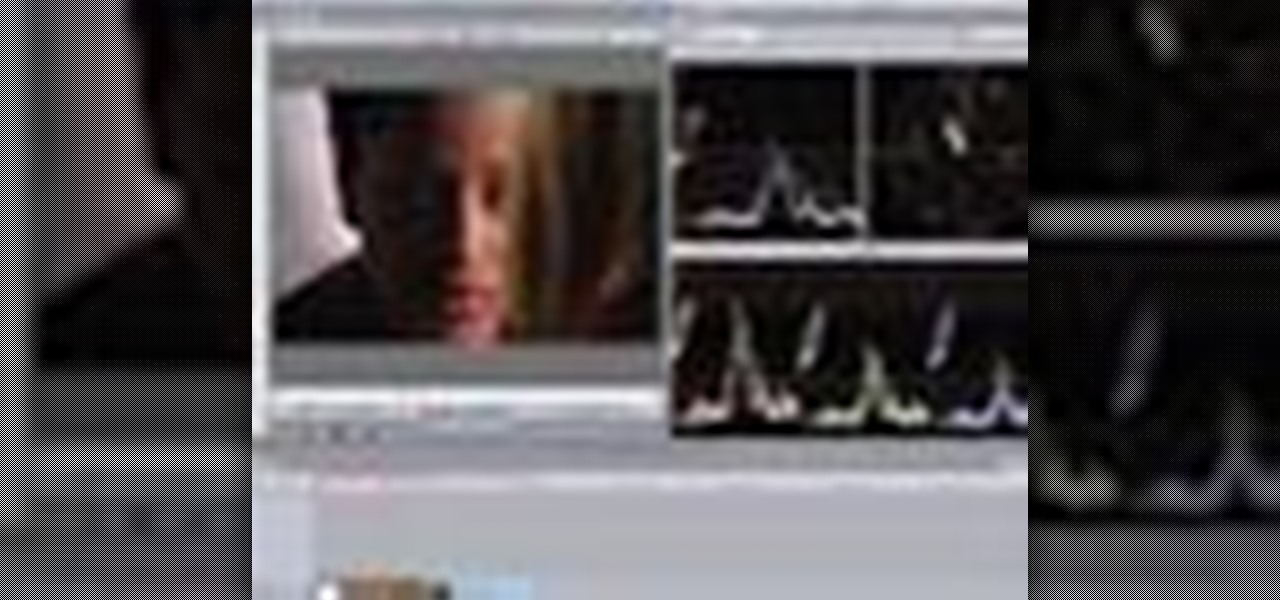
This software tutorial shows you how to use the plug-in Colorista to color correct in Final Cut Pro. This is an introductory tutorial which will cover the basics for new Colorista users within the Final Cut Pro software. An easy-to-use color correction plug-in that delivers great results quickly from within Final Cut, After Effects, Motion, Premiere Pro, or Avid systems.
Using Aperture, you can easily convert images to black and white and add color tints to enhance your photos.
Watch this video to learn how to traditionally hand-color silver gelatin black and white photographs.
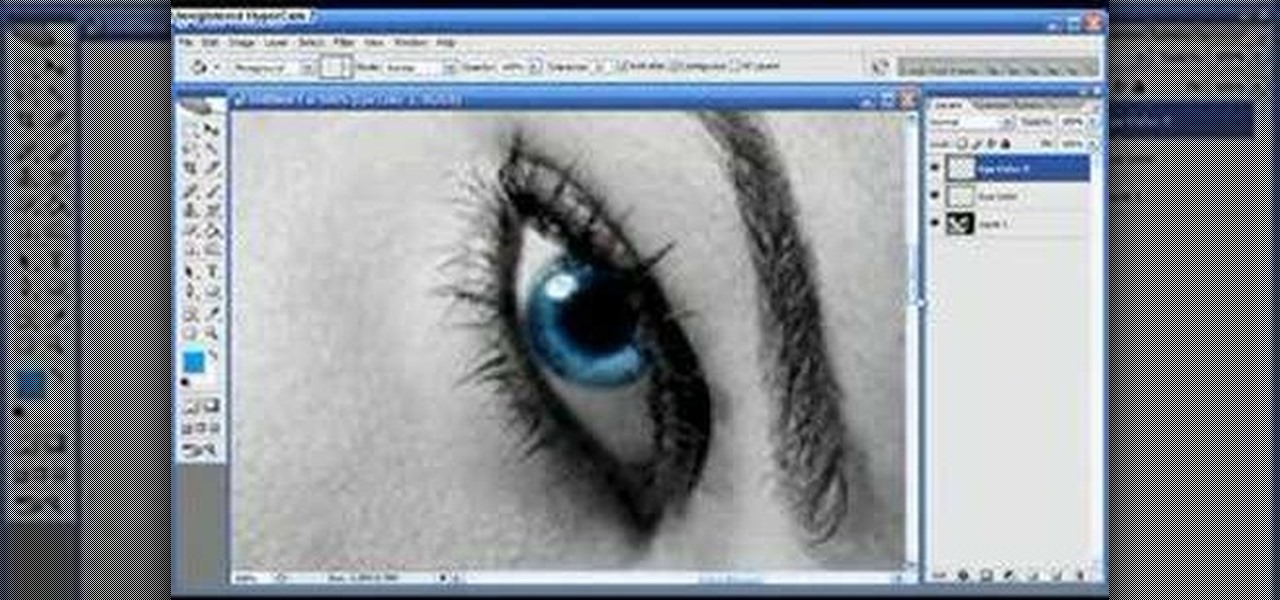
This quick tutorial explains how to change the color of the eyes in a photograph using Photoshop.
You've seen them at Disneyland's Fantasia. And in big budget movies like "Waterworld" and "Lord of the Rings." Spectacular, glowing fire effects that seem to ripple with the wind are a staple of action movies, and though it may seem like you need a super good video editing team to create such light shows, all you really need is some household chemicals.
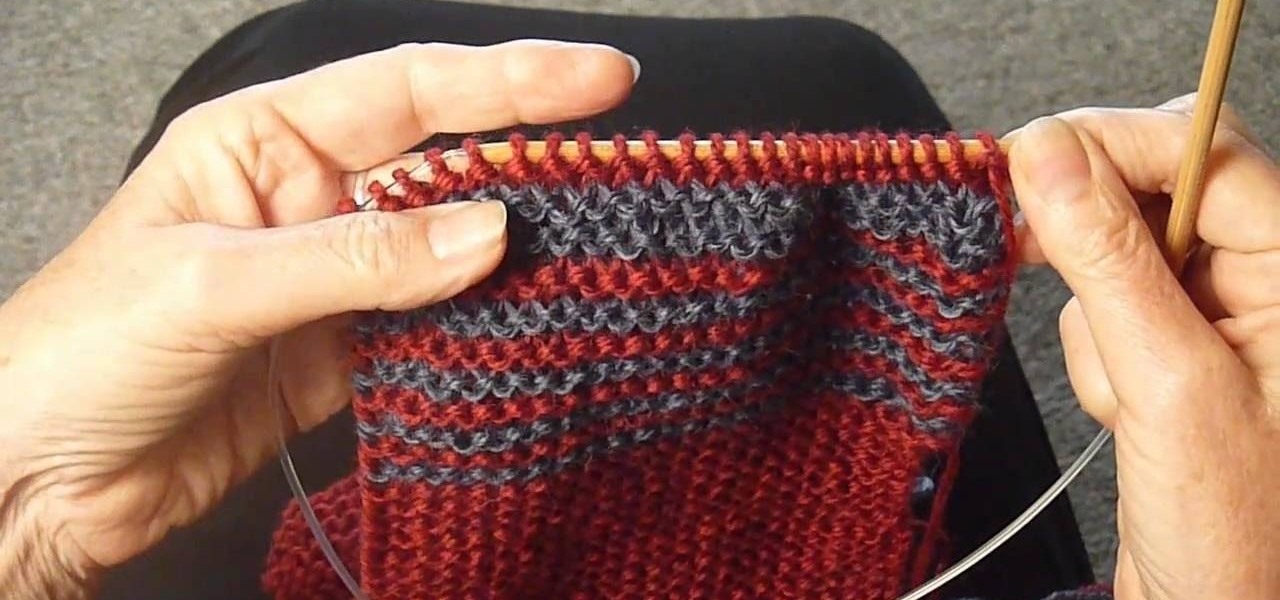
This video will show the lowdown on knitting four-row stripes. Actually, this works with any knitting task requiring over 2 rows, where you want to change the colors of your yarn. Master knitter Judy Topaz walks you through the whole process.
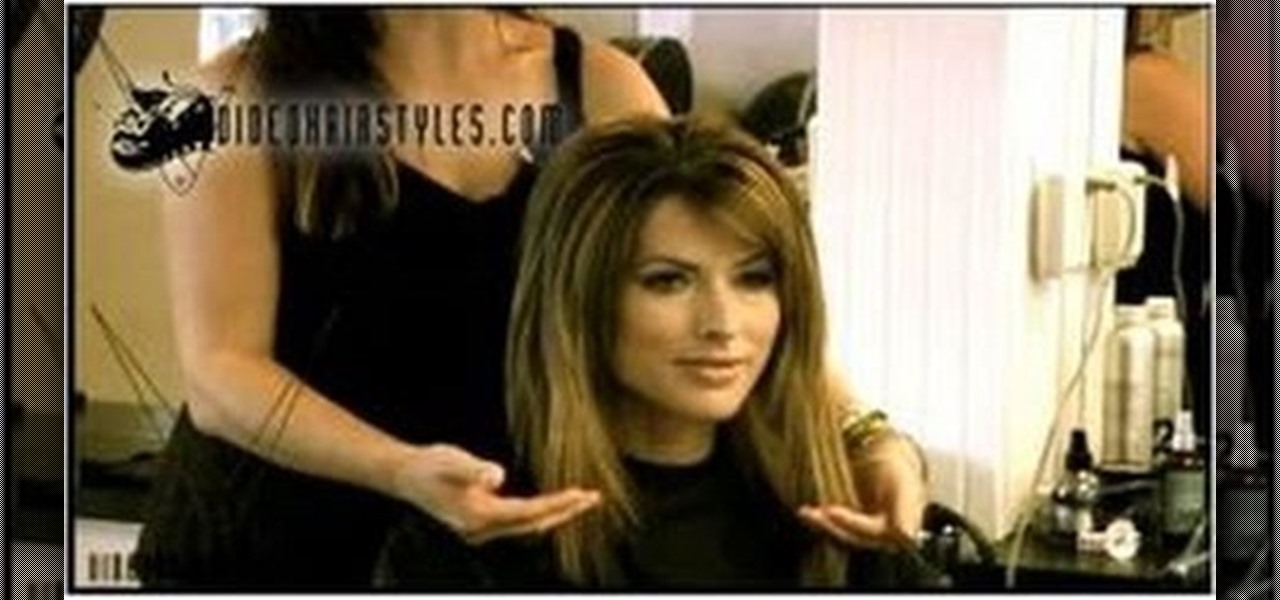
Highlighting your hair at a salon - or maintaining a certain shade - is a real pain in the bedonkadonk. After all, good color maintenance means salon visits every month or two, which costs quite a hefty penny.
Most of us have family who live far away in different states or even different countries. While we'd love to have all our family with us on Christmas, it's much more likely that we'll be giving them a call on Christmas and mailing them some gifts.
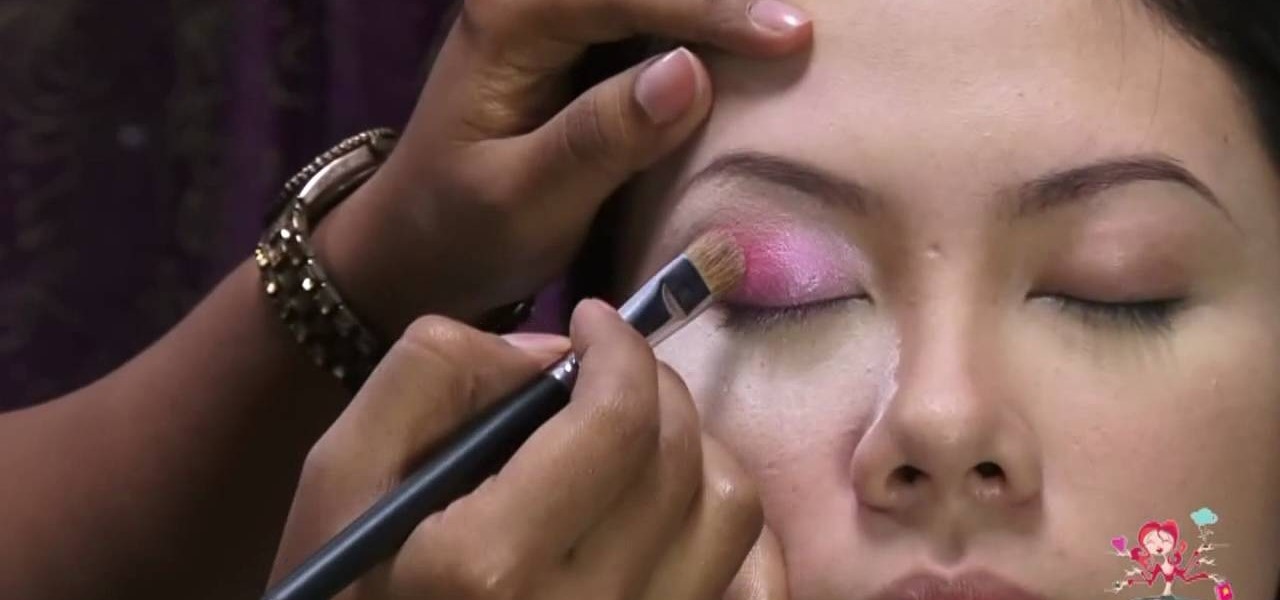
Not everyone has the aplomb to stage name themselves after a color and keep their hair that color forever, but Pink has done just that. If you want to imitate her remarkable good looks without the dye job, watch this video to learn how to do your makeup like hers in the music video for her song "Raise Your Glass".
In this video, we learn how to make & decorate puffed-up petal cupcake. Start off by placing the food coloring inside the fondant and then rolling it with your hands. After you roll this out in one color, then cut it into thin strips. Pinch the sides together and then let them sit to keep their shape. From here, you can combine these together to create a beautiful flower on the top of your cupcake! These should dry overnight, then you can stick on the cupcake for a very unique flower that's u...
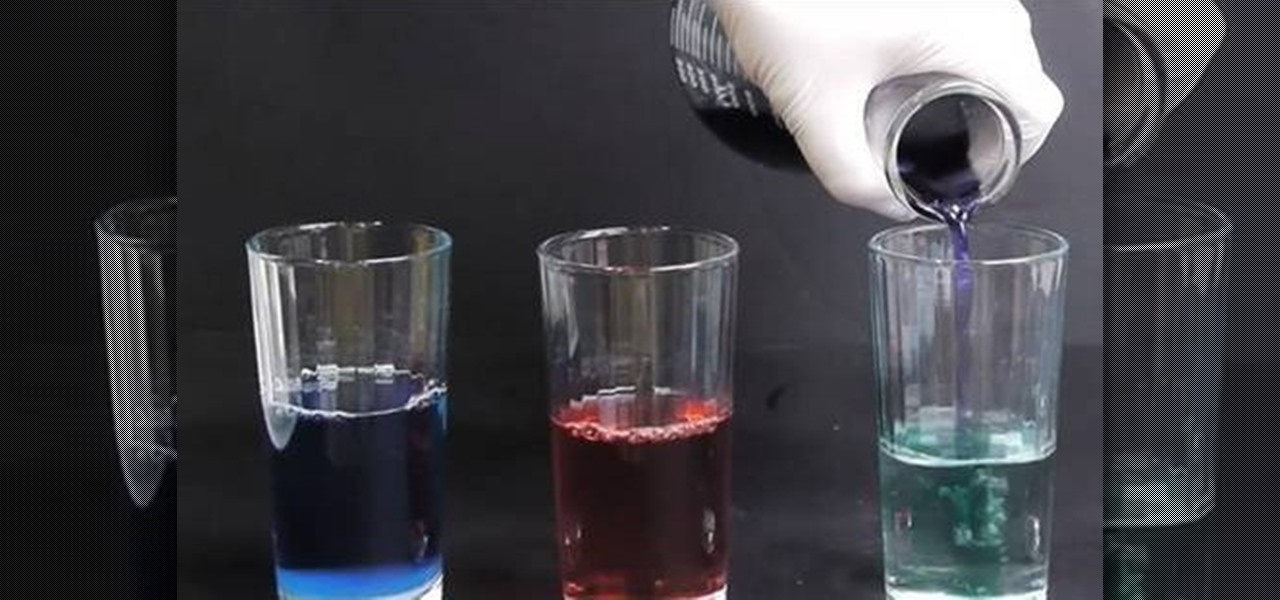
Get a red cabbage from the grocery store, and tear up about two or three leaves and put them in a glass jar. Cover the leaves with water and microwave, then strain out the leaves. You can mix the extract with different household chemicals and watch the color change!
This is a fun craft to do with your child which teaches them how to make a Turkish-style pair of slippers. All you'll need is some colored cardboard, decorative ribbon, glue, scissors, colored markers and a few decorations to put on the shoes.
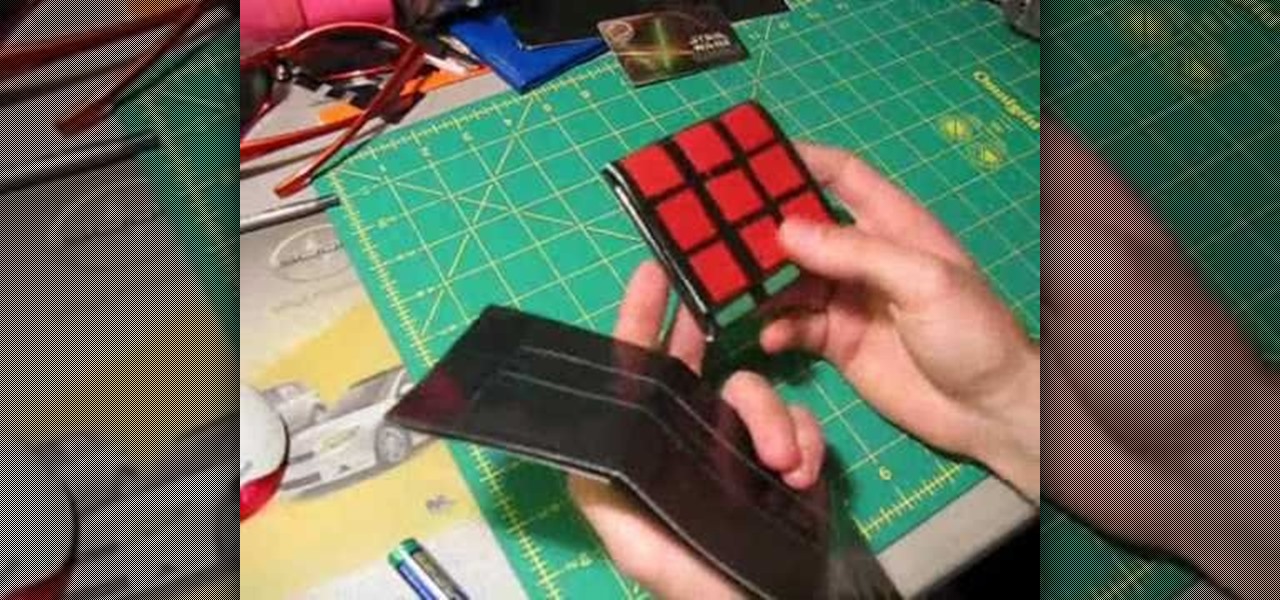
Make a basic tri-fold wallet out of duct tape, but add two extra flaps that let it fold out into a cube. And each cube face has the square box pattern associated with Rubik's Cubes, so it looks like an actual toy when you unfold it. You can make the whole thing just using a few different colors of duct tape.
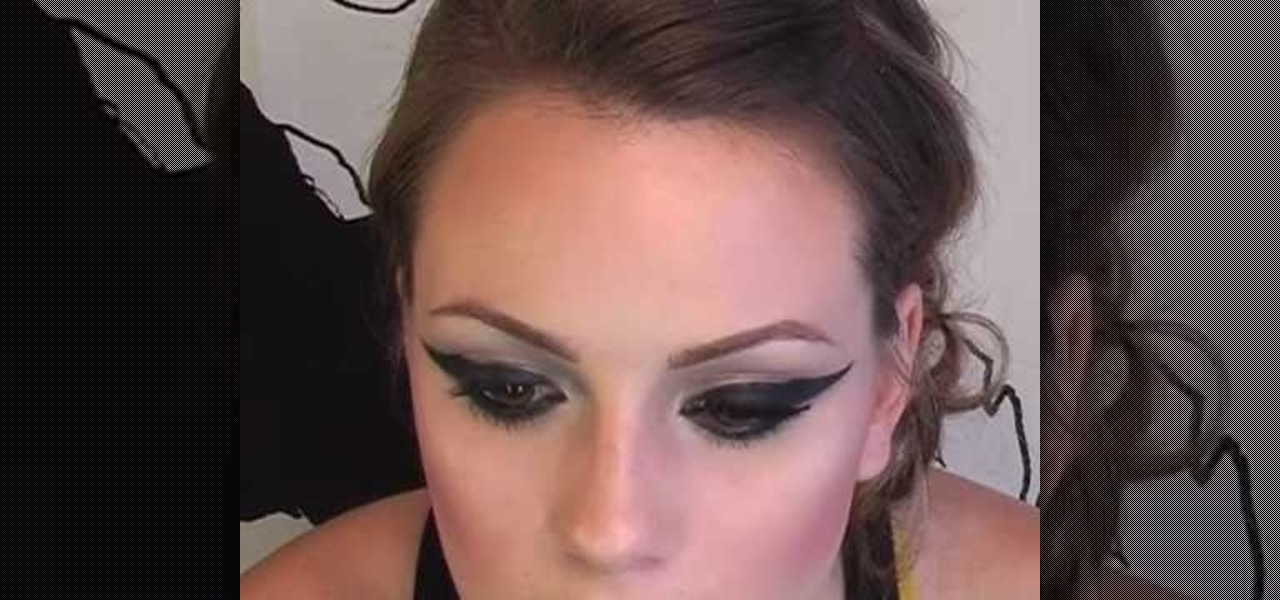
Generally we recommend you keep your eye makeup natural when going out to the office or even out for cocktails (easy transition from daytime makeup, and also you could pair it with a red lip).
A perfect gift for any ladybug lover on your gift list this holiday season! Make an easy and simple ladybug - all you need is four-ply yarn in two different colors (nominally red and black, but you can use any color you want) and a size eight crochet needle. Then follow along to get your own ladybug!
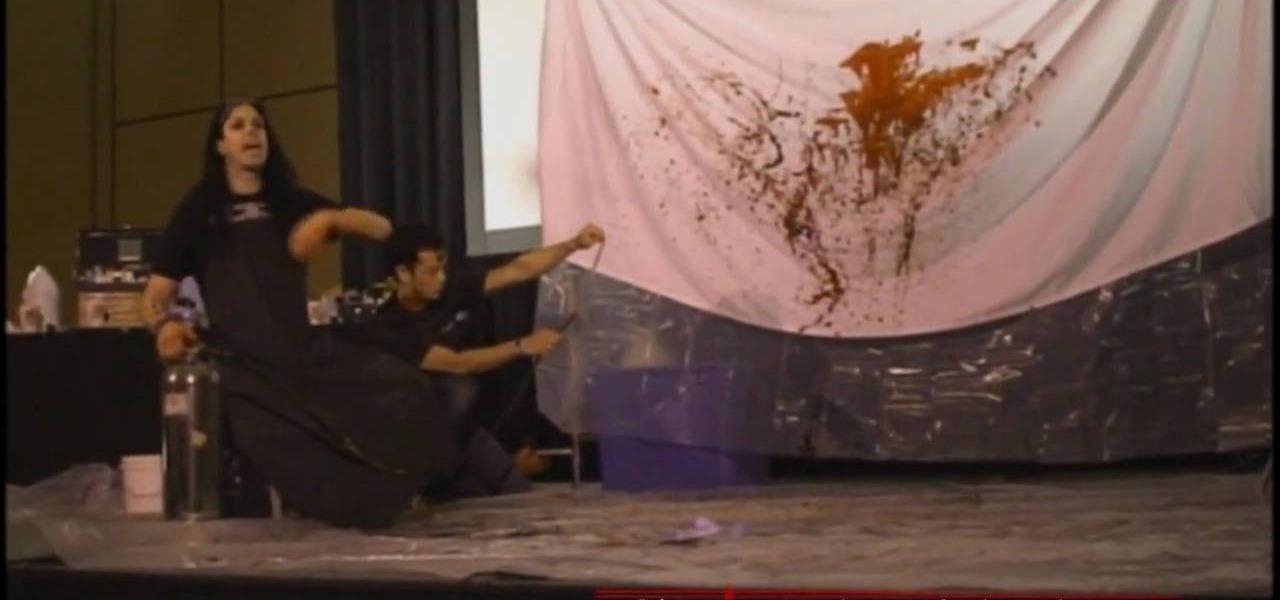
In this tutorial, we learn how to create fake blood effects. The easiest blood formula is to use soap and red food coloring, nothing else. It's the easiest blood to make and looks more realistic than anything else. You can also make blood out of different things if you want to make a more expensive version. Make sure you always add in red food coloring and make it dark to match the color of real blood. The liquid should flow so it looks like real blood. To create blood splatter, you will take...
Maximize the display capabilities of your LCD computer monitor! Set up your contrast just how you want it by using test patterns, adjust the backlight, adjust the color display for over- or under- saturated colors, and then play with your monitor presets.
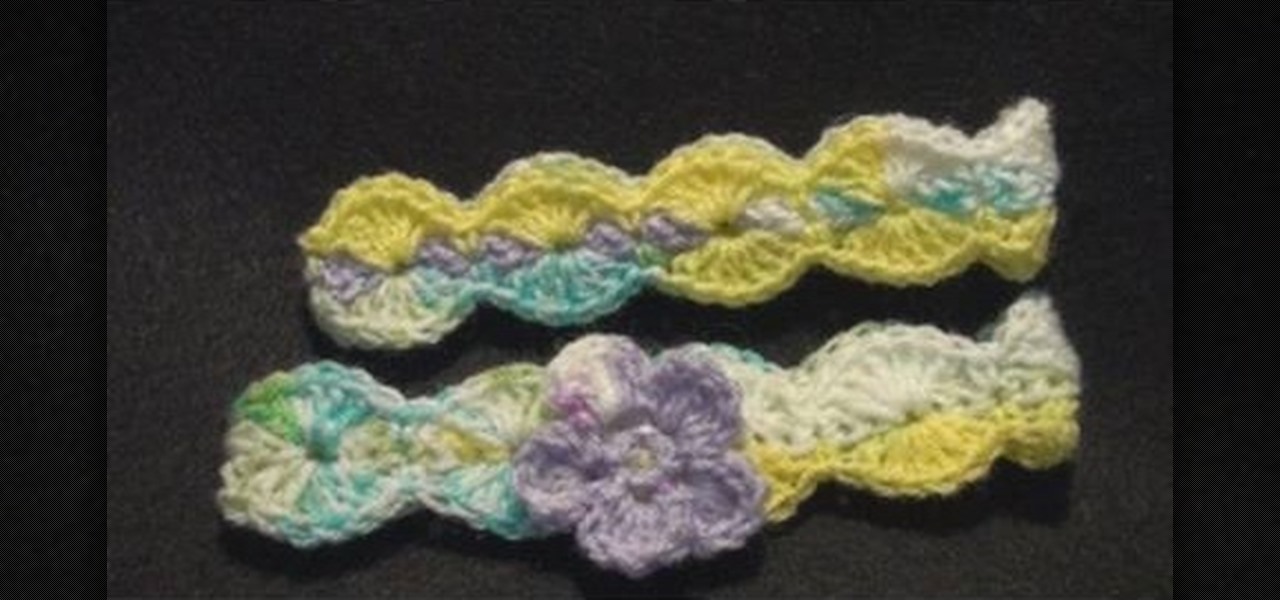
In this tutorial, we learn how to crochet a left handed headband with optional flower. To start, you will make the foundation by crocheting a single crochet 54 times. Once you have made the base, you can take another color and start to crochet it on top of the first foundation. You will use a single crochet on the top, then to make larger humps double crochet for part of it. When you reach the end, take another color and repeat the same process going over the last color. You can continue arou...