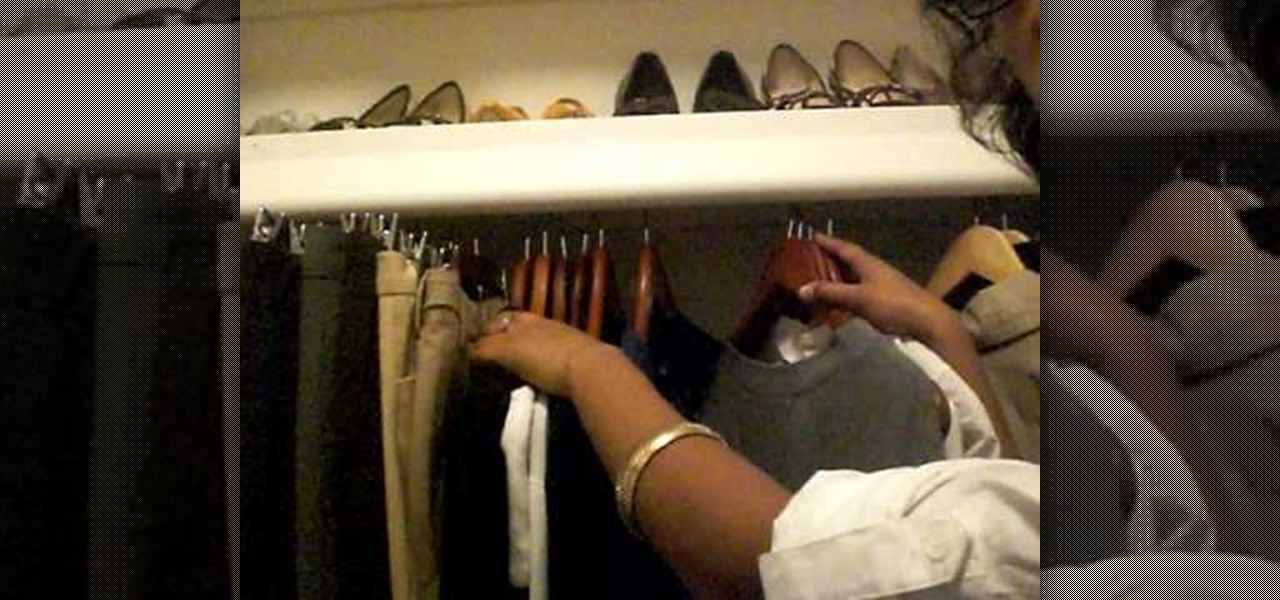
In this tutorial, we learn how to organize your closet by establishing a wardrobe system. If you have tops that you wear during the day, put these on a different colored hanger than your nighttime tops. Color code these in your closet and then hang up your nighttime tops with a light wood or your choice hanger. If you have other random tops, you can hang them according to how you would wear them the most. Dresses can be hung on another color hanger and then pants can be worn on another color ...

In this tutorial, we learn how to make a colorful paper turkey. For this, you will need: colored paper in red, orange, yellow, white, black, purple, and brown, a bag, scissors, and glue. Now, take the orange, purple, and yellow papers and cut out two teardrop shapes of each. Then glue them to the top of a brown paper bag. Then, cut out eyes using the black and white papers. Glue these onto the top of the bag to make the eyes, then use the brown to cut out the sides of the turkey, and glue on....

In this video, we learn how to create a marbleized water look with icing. This is a colorful and eye catching way to put icing on a cake to make a memorable piece! First, spoon your icing into a small bowl and then make a rice cereal treat and shape it into a circle. To start to decorate this, you will pipe on green icing to the sides and front of the ball to make it look like a fish. Then, pipe some of the icing onto a flat surface with red confectioner's sugar. Once this is covered and hard...

If you're a fan of Tinkerbell, then this video is for you! We learn how to draw Disney's magical fairy, Tinkerbell. Start off by drawing the outline of her body and wings. Then, draw over this to make a 3D version of her. From here, you will start to draw in the details of the face and the body as well as the clothes. Once finished, you will color in the skin, wings, and clothing. Use shading and lines to make the character appear more realistic. To finish this up, add a colored background an...
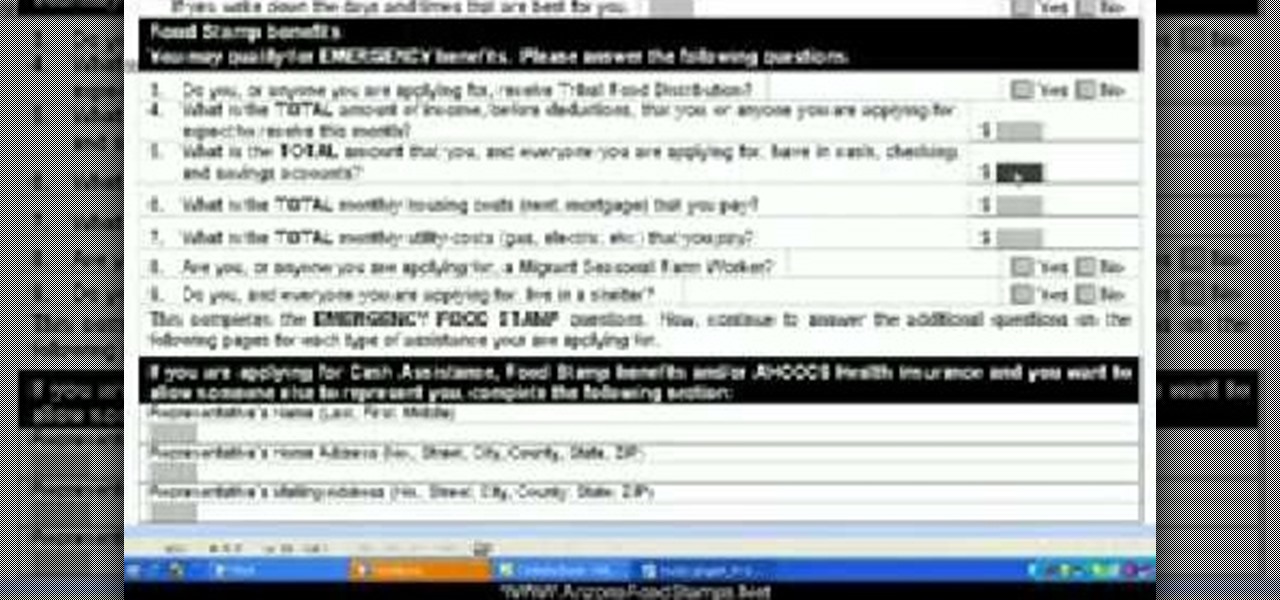
In this video, we learn how to apply for Arizona food stamps. First, you will need to go online and print out the application to receive food stamps from the state. You will also need to print out the information that you will need to bring with you as well as look for an office that is closest to your location. Fill out all of the sections of the application until it's complete. Make sure to use the correct colored pen and don't leave out any information. If you do leave something out, this ...

When it comes to flats, a girl can never have too many. Comfier than high heels and a hell of a lot more fashionable than running shoes or sneakers, they strike the perfect balance between form and function for everyday use.

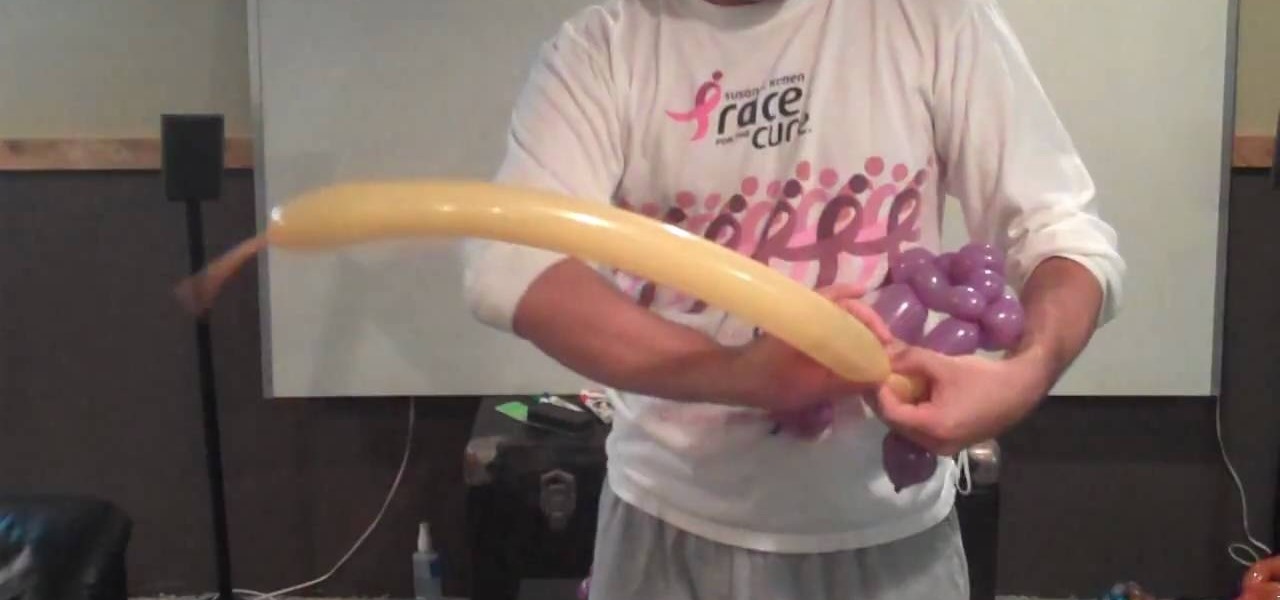
In this video we learn how to make a balloon monster truck. If you're new to creating balloon creatures, this may be a bit difficult for you so follow along. Start out with a tan colored balloon and a purple balloon. Twist these together to start creating the truck. You will be twisting many bubbles into both of the balloons so you need to make sure you keep space in the balloon for air. Once you finish this, you will twist four more brown balloons into circles on the sides to make the tires....

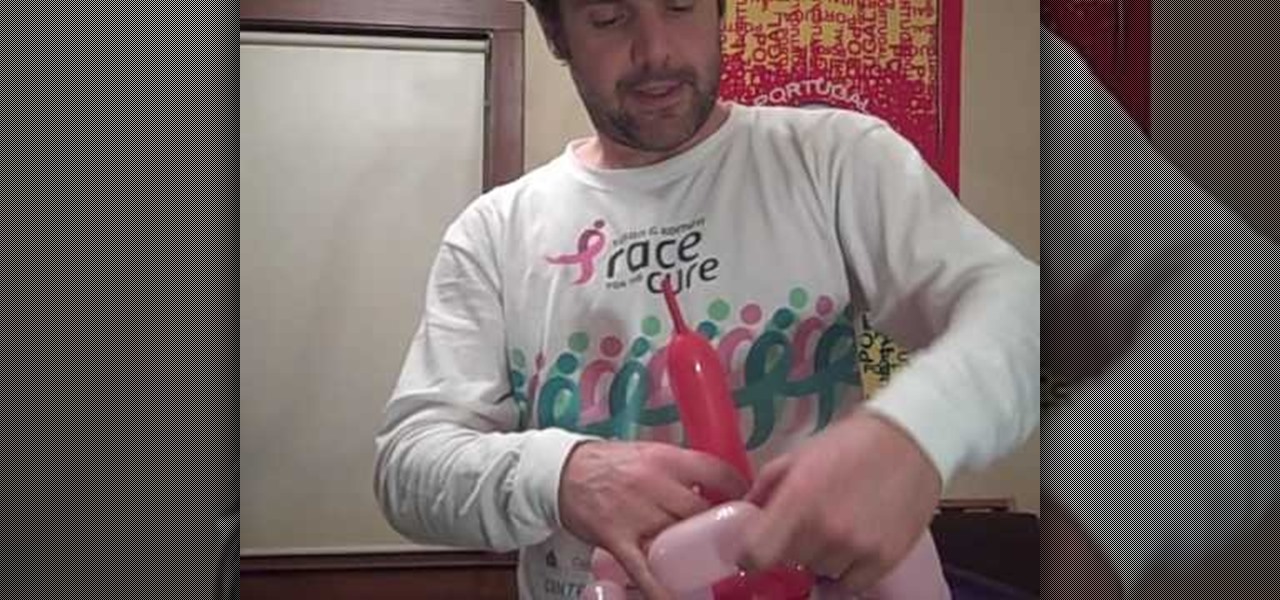
In this video, we learn how to make an Oscar award out of balloons. First, you will need to grab some gold colored balloons and have a slight idea on how to make balloon animals since this is an intermediate practice. To make this Oscar award, you will need a total of 260 balloons. Start out by making the base of the balloon and then work your way into baking the middle and the top. As you go, you will need to twist many of the balloon into each other and learn the techniques for blowing thes...

In this video, we learn how to make a colorful tutu. First, you will need to grab all the colors of fabric that you want to use on your tutu. Then, roll up the fabric of each color carefully, then cut it out to the length you have measured for your subject. After this, cut out one more smaller section of fabric from each piece until you have done this with all of the colors. Now, using a piece of ribbon as the waistband, tie each piece of colored fabric onto it, alternating colors each time. ...

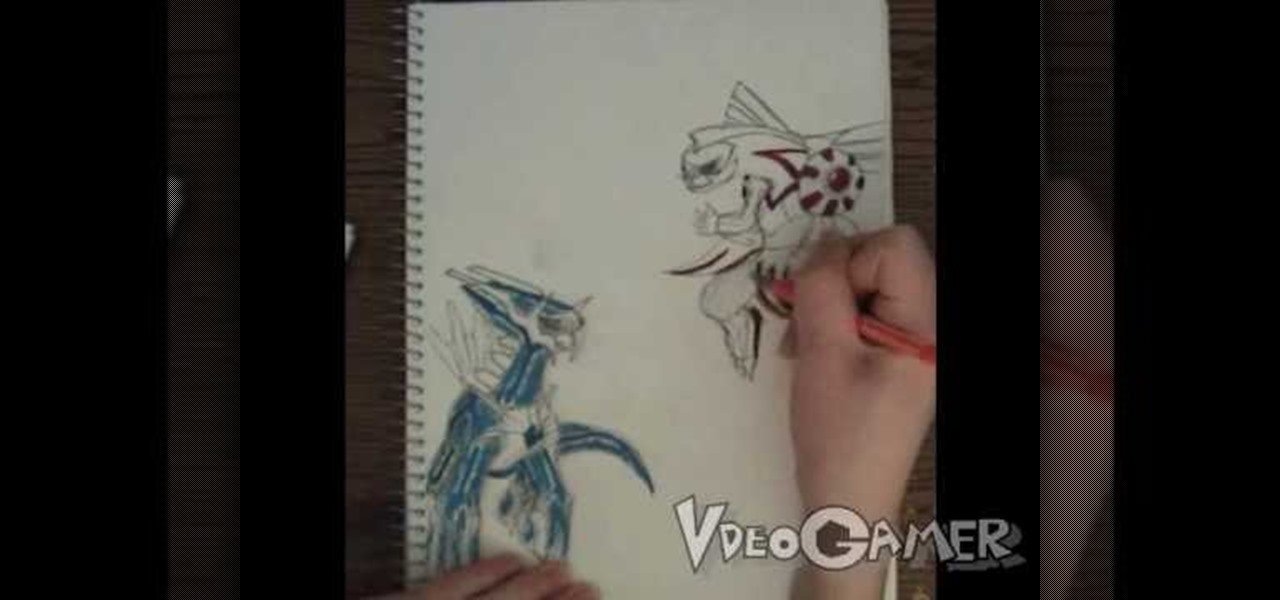
In this tutorial, we learn how to draw Palkia vs Dialga. First, you will need a pencil, pen, sketch paper, and colored markers on hand. Now, start to draw the characters by drawing the outlines of their bodies first. After you have completed this, start to draw in the details of both the characters. Make sure to draw in even the smallest details that are featured on their wings and throughout their body. Next, you will use a pen to shade in some areas darker and trace over, then use the marke...

Balloons come in various shapes and sizes and if used properly, can be combined to create complex shapes that mimic real life objects. Choosing the correct color of balloons also adds to the realism in the completed object.

In this video, we learn how to get a vintage glam makeup look. First, apply a base to the eye, then apply a white shimmery shadow to the entire eye. After this, apply a brown shadow on the outer part of the eye to the crease of the eye. Blend this upwards, then apply a vanilla colored eyeshadow underneath the eyebrow and blend. Next, take an eyeliner pencil and smudge it into the lashes on the upper lash line, winging it at the outer end. When finished, smudge the color out to the edge of the...

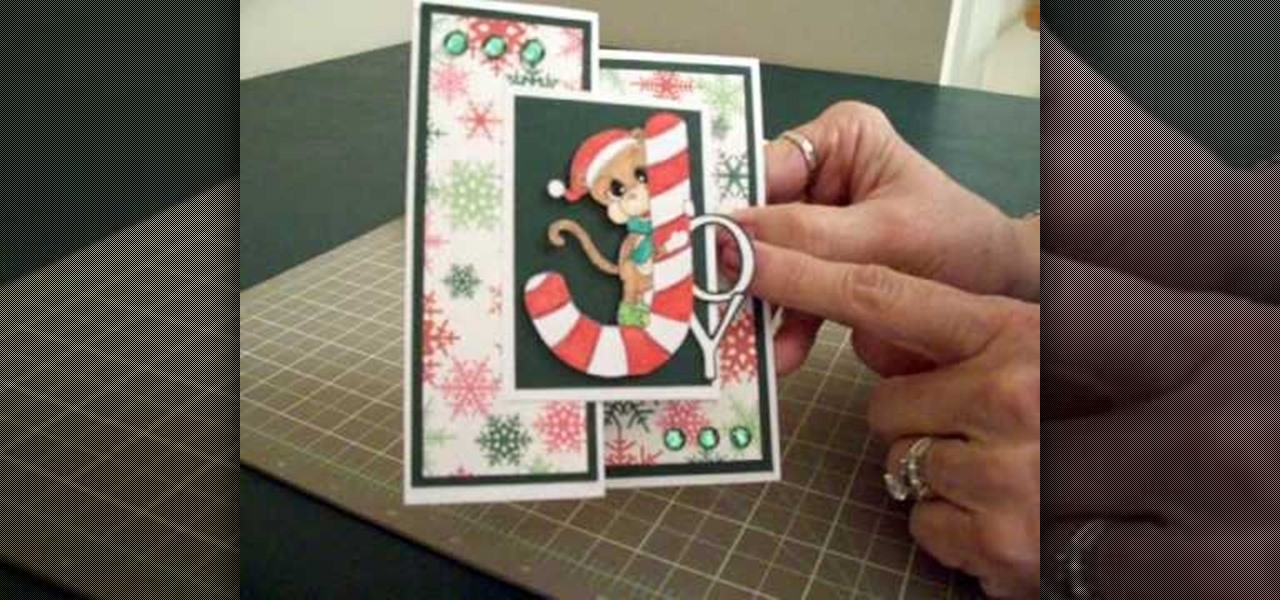
In this video, we learn how to make a Joy S-fold Christmas card using Cricut George. First, fold the card and mark it so it's in the S shape, then stamp the background of the card with colored snowflakes in different sizes and shapes. After this, use a black outline along the sides of the papers, then add in a black piece of paper to the middle of the top fold. Apply a monkey with a Santa hat to the front and wrap him around a J shaped candy cane. Add in the letters "o" and "y", then add in a...

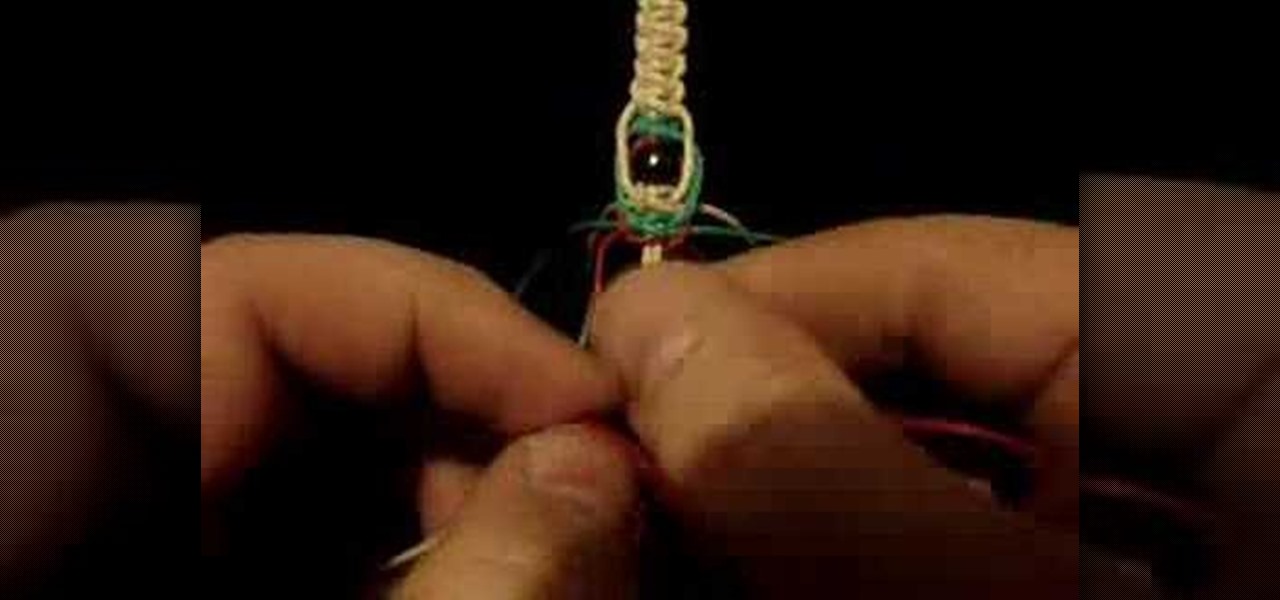
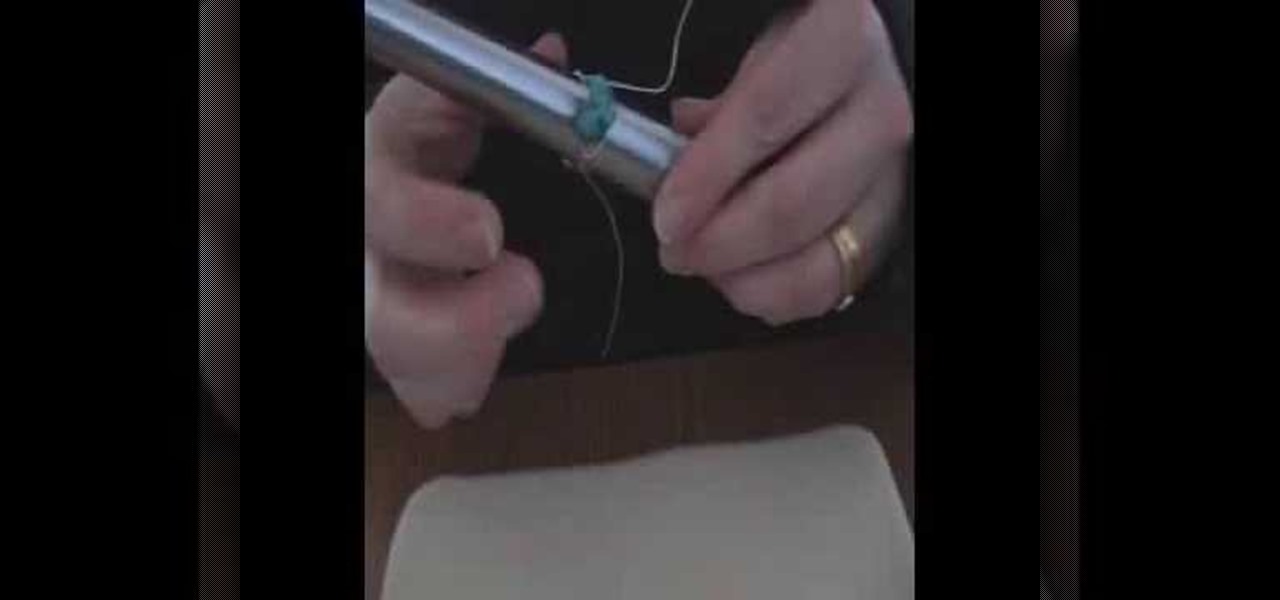
Phish bone keychains feature a highlighted midsection with three different colors of hemp (in this video we use regular rafia-colored hemp, red hemp, and green hemp) that surround wooden beads.

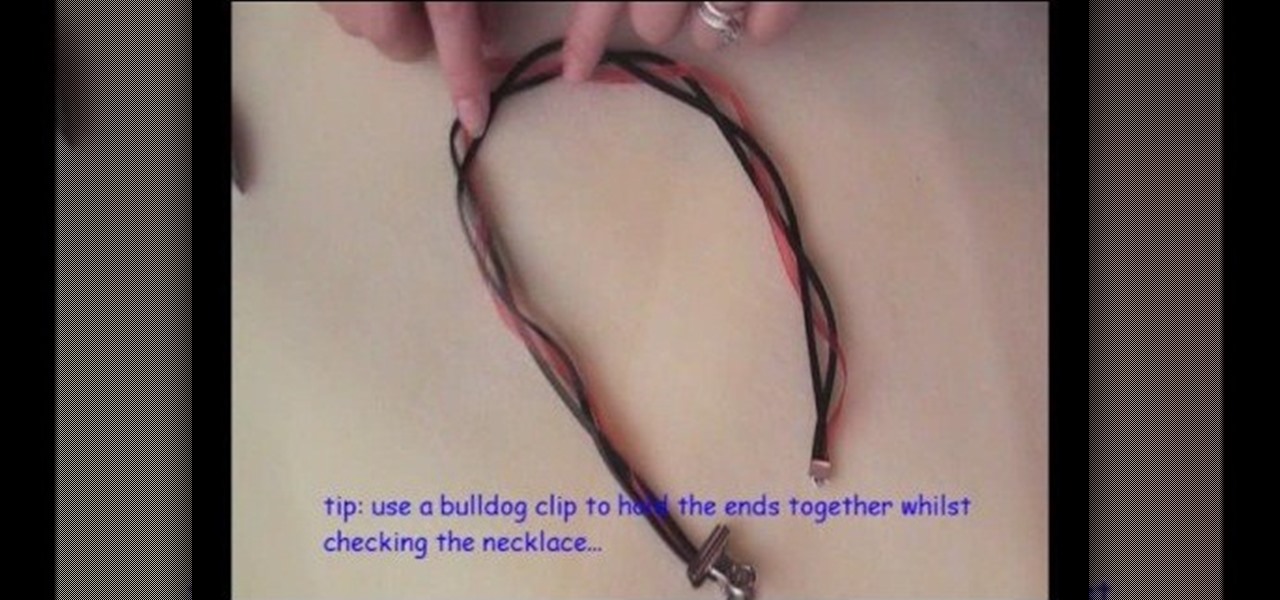
Yeah, we know the title of this video sounds confusing (dichroic what?), but a tri-strand necklace with a dichroic glass pendant is simply a fancy term for a necklace composed of three strands with a glass pendant hanging from the bottom.

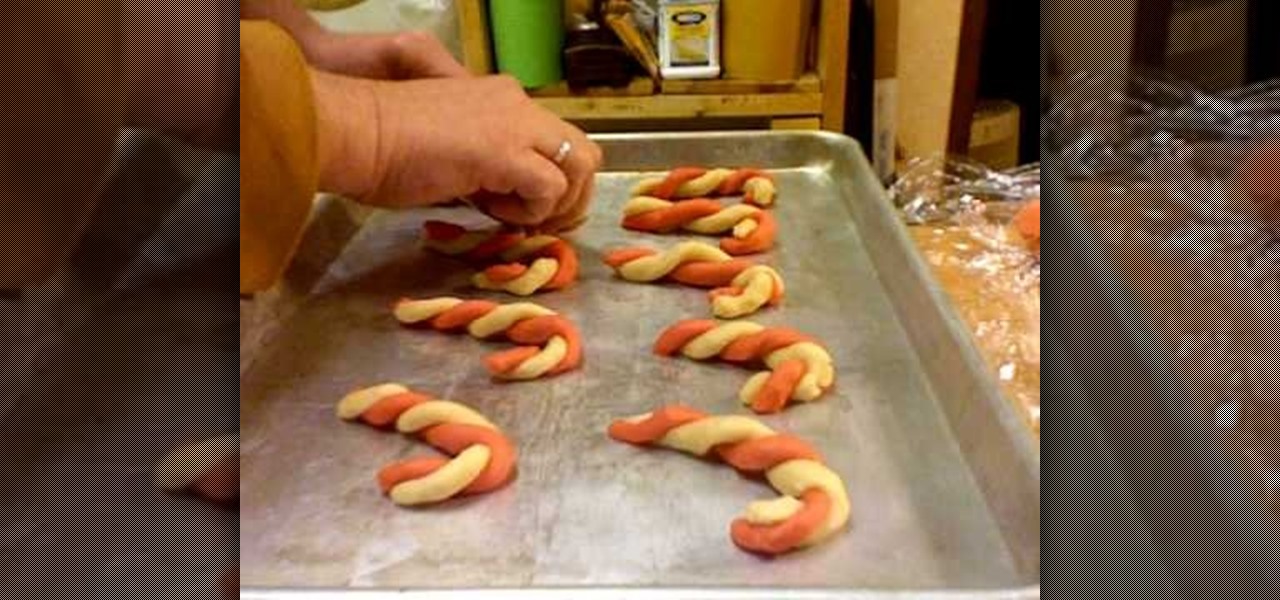
It's that time of year again! The air is a whole lot nipper, lights dance around sidewalks as you drive past shopping centers, and the scent of warm gingerbread and sweet cookies fills your nostrils when you enter your home. That's right, it's Christmas, and what better way to celebrate this festive time of year than with cookie making?

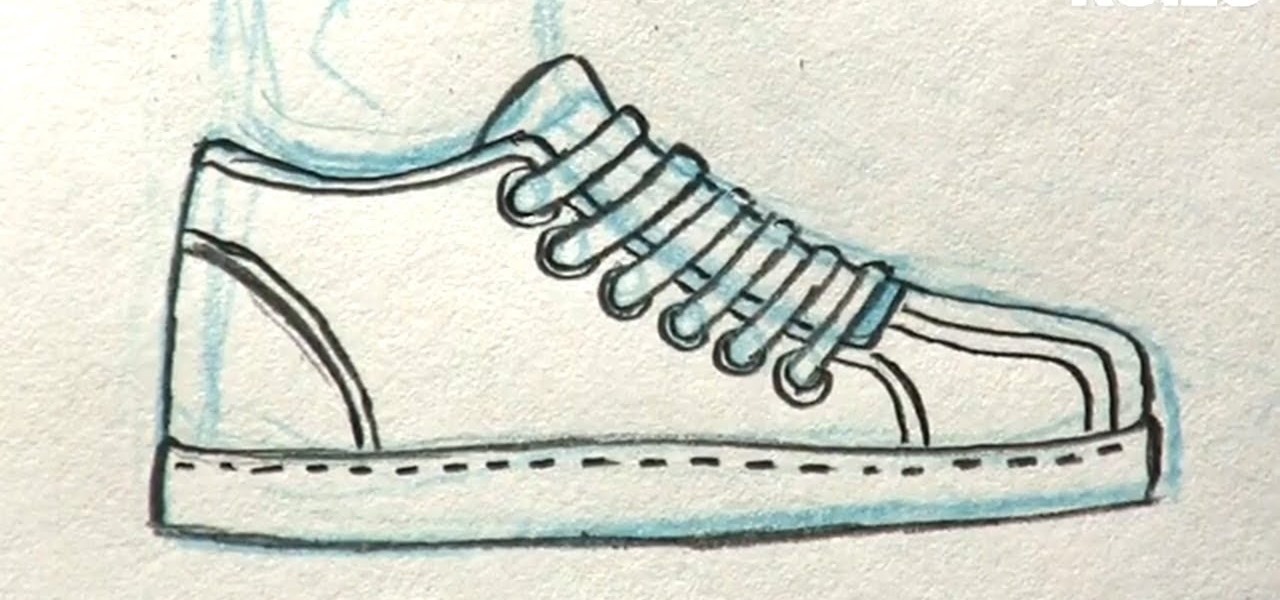
In this tutorial, we learn how to draw manga shoes. First, you want to sketch the basic shape of the foot. On top of this, you will draw a rough shoe shape with a different colored pencil. Next, draw in the details of where the laces are going to go, and where the lip of the shoe will be. Also draw in the soles and any other details you feel you need. Switch over to a black pencil to draw in darker details and add in shading throughout the drawing. When you are done, sign your name by your dr...

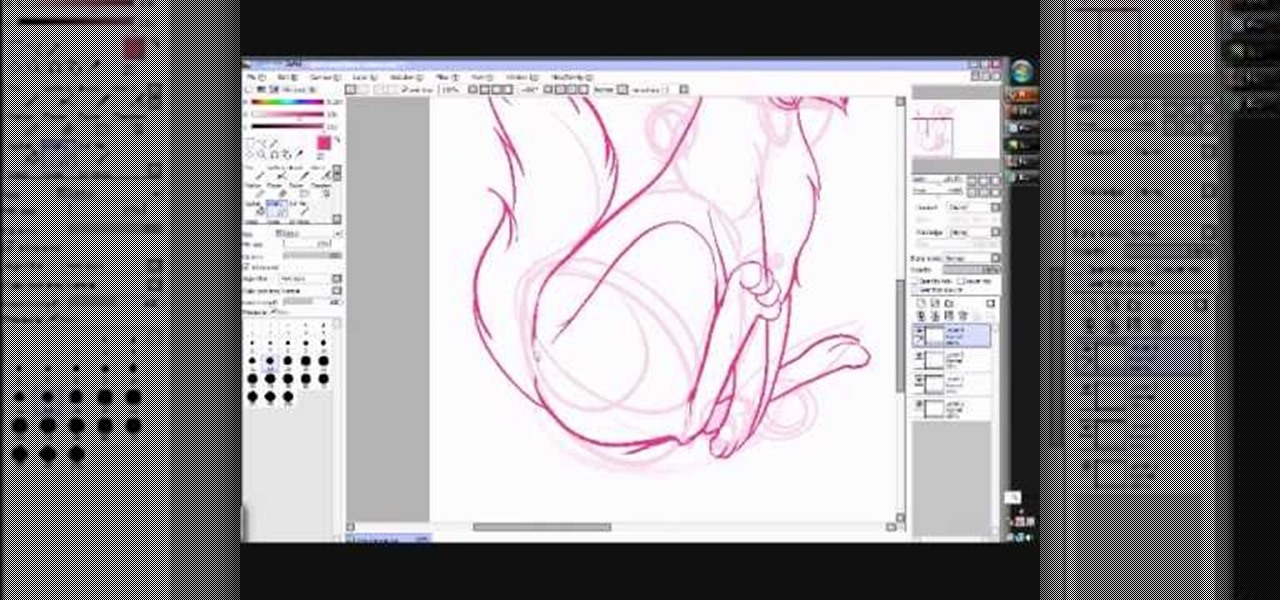
In this tutorial, we learn how to draw Neopet cartoon cats. First, use a small brush to create the outline of each of the cats. Use light strokes to make the outline, then start to add in the details onto the cat with a darker colored brush. Add in the details of the face, including the whiskers, mouth, and eyes. Don't forget to add on the ears as well. Erase and lines that are on the back of the drawing, so all you see is the darker and more exact lines. Continue on drawing the body, making ...

In this video, we learn how to make chocolate dessert cups for an event or party. First, tape a cupcake pan and paint pink colored hot chocolate into a shape at the bottom. Next, add in melted chocolate to the individual cups. After this, place in the refrigerator for 10 minutes, then push the cups out of the trays. Then, you can place icing or cream into the middle of them and serve to guests. These only take a short amount of time to make, and everyone will love them. It's a great way to ke...

In this tutorial, we learn how to draw Shadow the Hedgehog. Start off by drawing the head and then add in the spiked hair. After this, draw in the details of the eyes and continue down to the arms and the rest of the body. Draw in the feet and a gun in the character's hand. Now, use a pen to start drawing the outline over the pencil marks that you just made. Continue on to draw in details on the picture that make it look more realistic. After this, color in the picture with colored pens and u...

In this tutorial, we learn how to get a baby doll inspired makeup look. First, apply primer to the eyes, then outline your eyes with white eyeliner in the shape you want your eyes to be. Next, use black liner to outline around the white that you just applied, then a brush to blend it out. After this, use a shimmery white color to highlight underneath the brows, then brush a purple over the black liner to make it a softer color. Next, apply more white to the areas that you originally drew the ...

In this video, we learn how to draw a cartoon fish with scales. First draw a circle for the body of the fish, followed by the details of the face and then the fins and tail. After this, color the background to look like the color of the sea. Now, take a black paintbrush and outline the details and body of the fish. Start to add in scales around the body that are small and colored red. After this, draw bubbles coming out of the fish's mouth. Color the fins and tail yellow, then color the eye b...

In order to make an "I love you, Mommy" pop-up card, you will need the following: scissors, card stock, glue, and markers.

In this tutorial, we learn how to set up and light an inexpensive green screen. First, use the backdrop with anything that is a lime green color. You can use anything from a green colored wall to a green blanket. Put one light on both sides of the screen, then place blue color over the lights. Place the camera in front of the green screen and look at the lighting to make sure the lighting is right in the area. When you are ready, use software to change the background to different places. When...

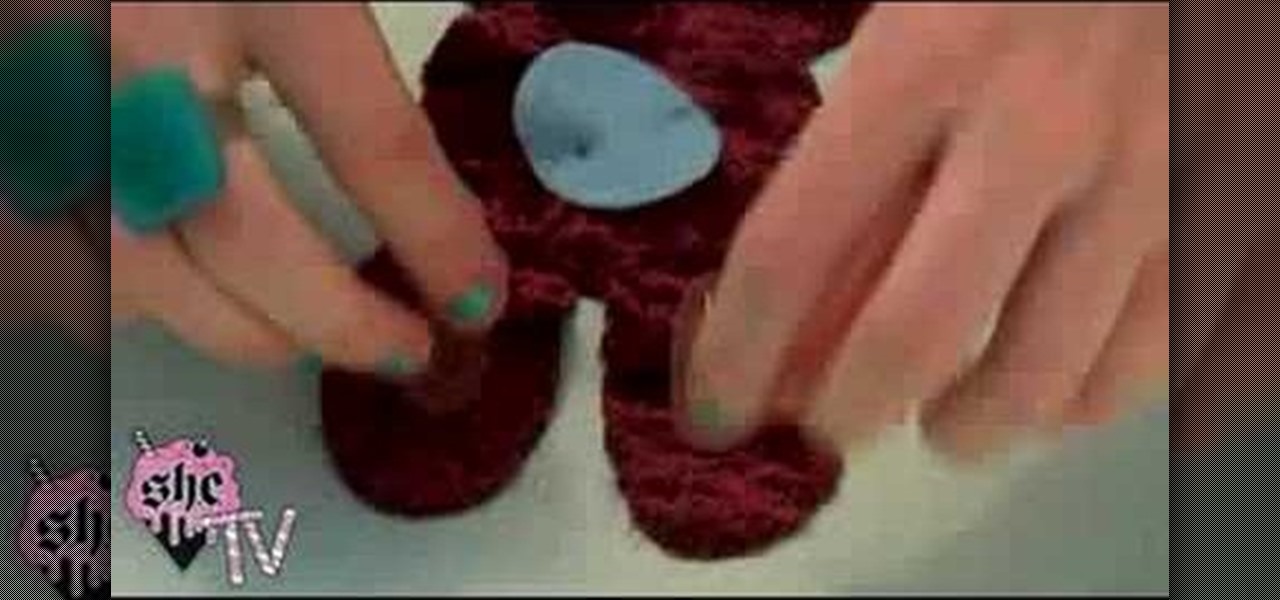
This video teaches us how to make a plush rabbit. Start off with a piece of fabric, then cut out the shape for the bunny out of this fabric to make two sides. After this, cut out the color for the eyes out of various other colored fabrics. When finished, sew the eyes onto the bunny and then sew both sides together. After this, fill the bunny with stuffing and then sew the entire thing together. When you are finished, you will have a small and cute plush rabbit that is not only made cheap but ...

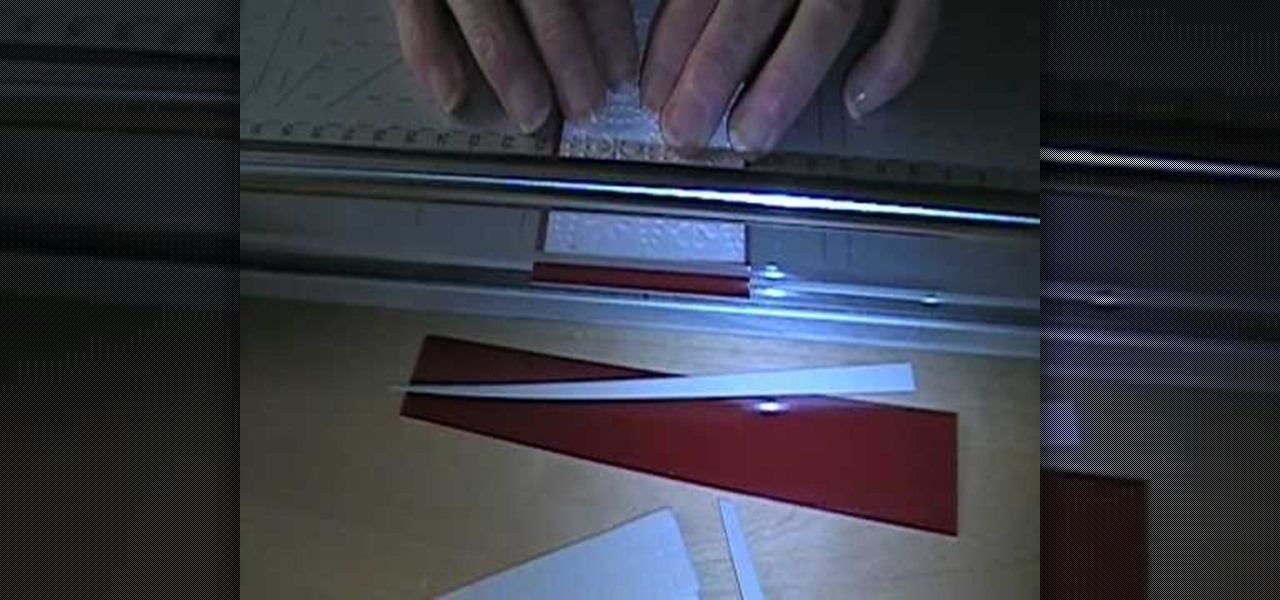
This video tutorial is in the Arts & Crafts category where you will learn how to make a multi-layered embossed floral gift card. Take a piece of 11 x 8 1/2 inch Stampin' Up card stock and fold it in half. Next you punch out layers of colored paper of rose red, very vanilla, regal rose and blush blossom colors of different sizes as stated in the video using the Boho Blossom Paper Punch. Now you take a Sizzix Big Shot Die and cut out a craft paper and set the cut outs aside. Now you got to stam...

Walk into L.A. hotspot Kitson any day of the week and you're sure to find a teeming collection of celebrity endorsed jewelry, at least half of which are bohemian and breezy, made out of skilled wire wrapping and exotically colored gemstones. They're pretty, yes, but unless you have a celebrity's budget they're also hard to attain for the average person.

This video shows us how to make a DIY long vest out of a scarf in no time! You will need: a wide scarf, matching thread, other colored thread, safety pins, needles, and scissors. First, measure yourself shoulder to shoulder and add 15cm to that number. Next, measure 30cm on each side from the very middle of the scarf. Now, mark that spot with a safety pin and measure out another 30 cm on both sides, marking those spots as well. Now, bind the last two safety pins and sew from the bottom up to ...

In order to make cuttlebug cards, you will need the following: cuttlebugs, ribbons, two sided tape, a trimmer, and cardstock.

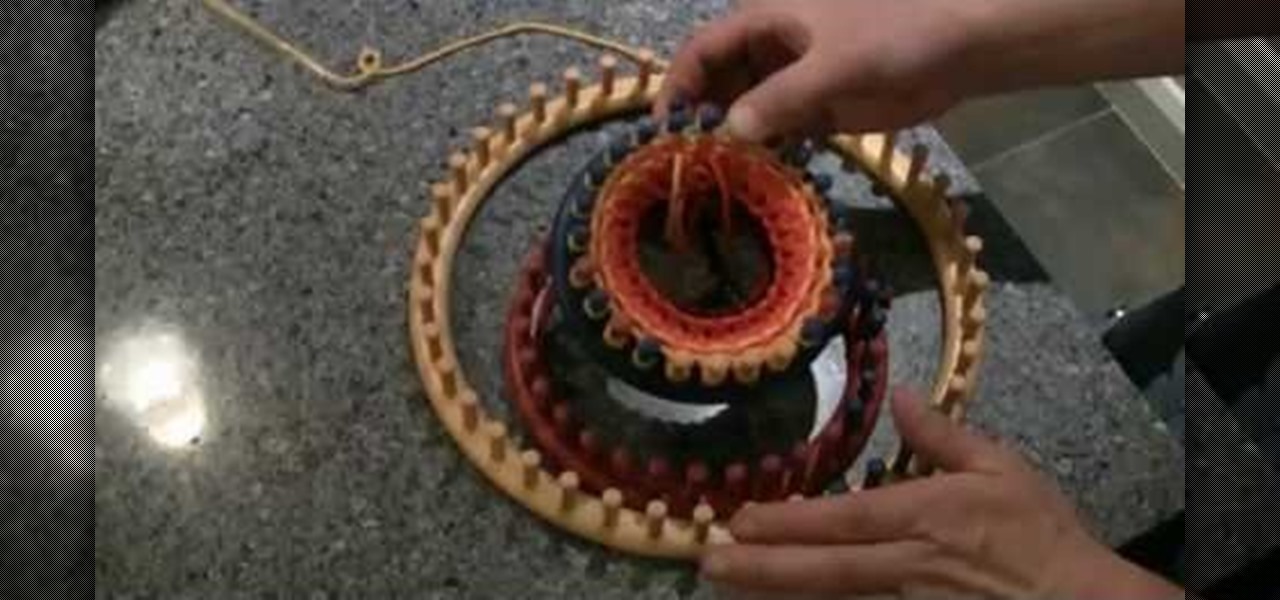
We all know that color coding is important because it helps us to quickly organize things based on visual cues. As students in high school, we used differently colored page tabs to denote different subject matters, and some of us color code file cabinets for easier and faster access. The same principle goes for this tutorial, which teaches you how to color code a knitting loom.

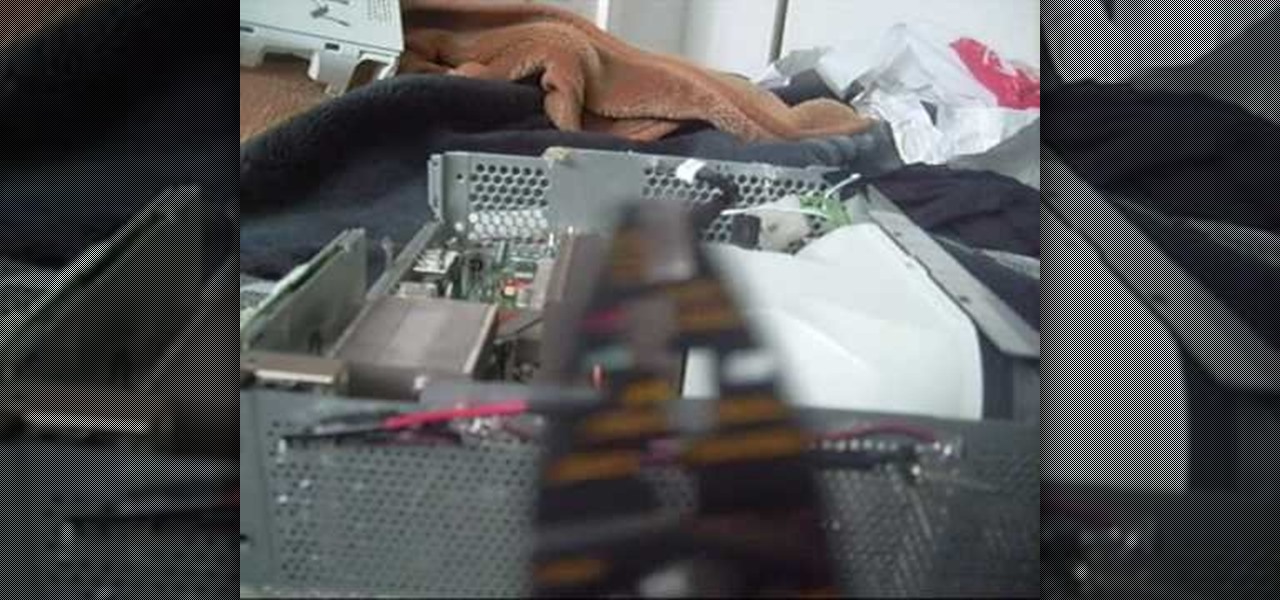
Installing colored LED lights in the cases of various electronic devices is nothing new. People have been doing it to PC cases for years. THe XBox 360's massive size and power make it a particularly tempting target. This two-part video will teach you how to put some LED lights in the case of your XBox 360 console, making it look very much cooler. Impress your fellow gamers with this easy mod!

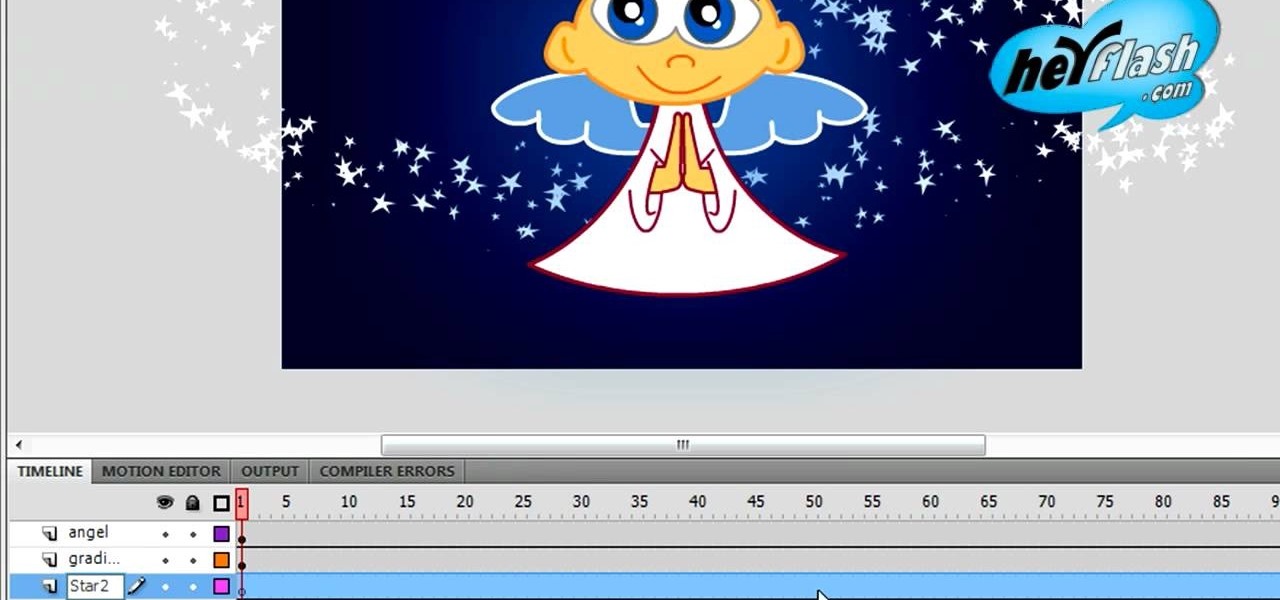
The custom spray brush tool in Flash CS4 is a powerful one indeed. It allows you to spray colors in shapes governed by movie clips, which is very handy for making your paint brush tool match areas that you have to color in frequently. This video will show you how to use the tool effectively to create colored images quickly, adding objects like twinkling stars to your movie with ease. This will make it both more interesting and easier to make!

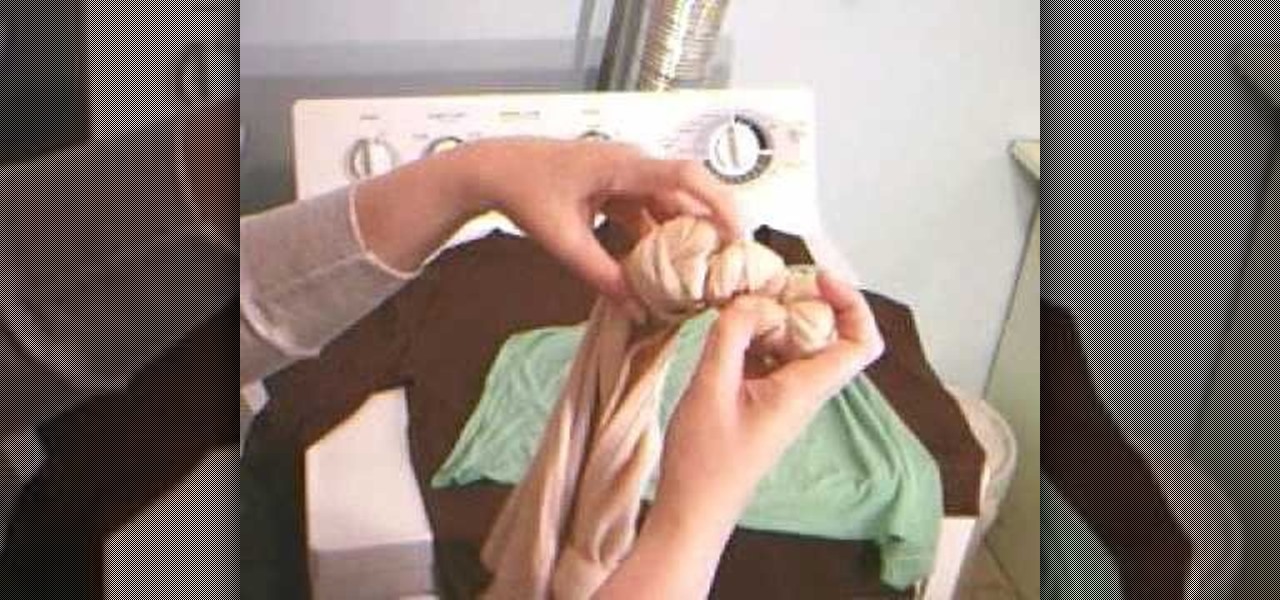
Do you love the 1960s flair that tie-dye gives your clothes, but hate tracking pre-dyed stuff down at hippie stores? This two-part video teaches you how to make your old plain-colored clothing tie-dyed using the knot technique. Revitalize your closet using this technique without ever having to set foot in a specialty store!

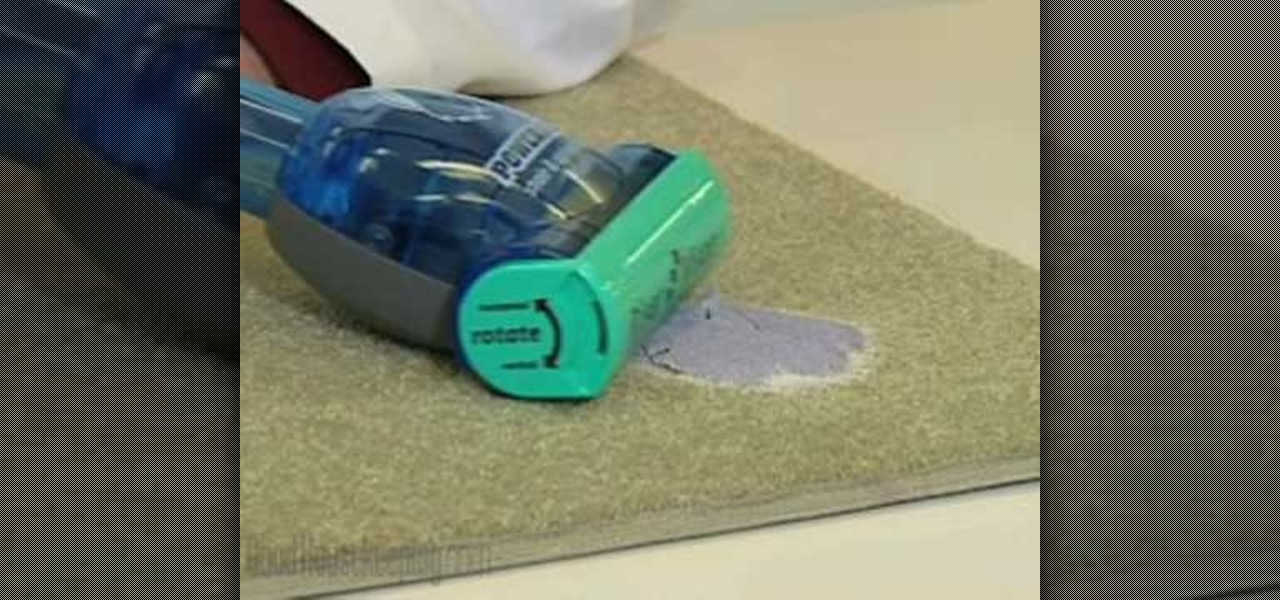
If you have ever spilled red wine on a light colored carpet, you know it is the last thing you want to do. You can use regular table salt to get that stain out. Just pour a good amount of salt over the wine and leave it over night, the salt will absorb the wine and you will be able to clean it right up.

In this free ballooning tutorial, learn how to make your very own multi-colored balloons (agates) by using a very simple (but difficult at first) technique called "the blend". The blend actually rips apart the balloon while melting other parts together. Tip from Mr. Fudge: "Do NOT use the whole balloon. It makes it too difficult and you end up with large lumps in your final product."

Are you looking for a unique type of flower that will never wilt or die? Check out this tutorial for a cool, homemade alternative to the silk variety. All you need to make these flowers is some funky colored paper.

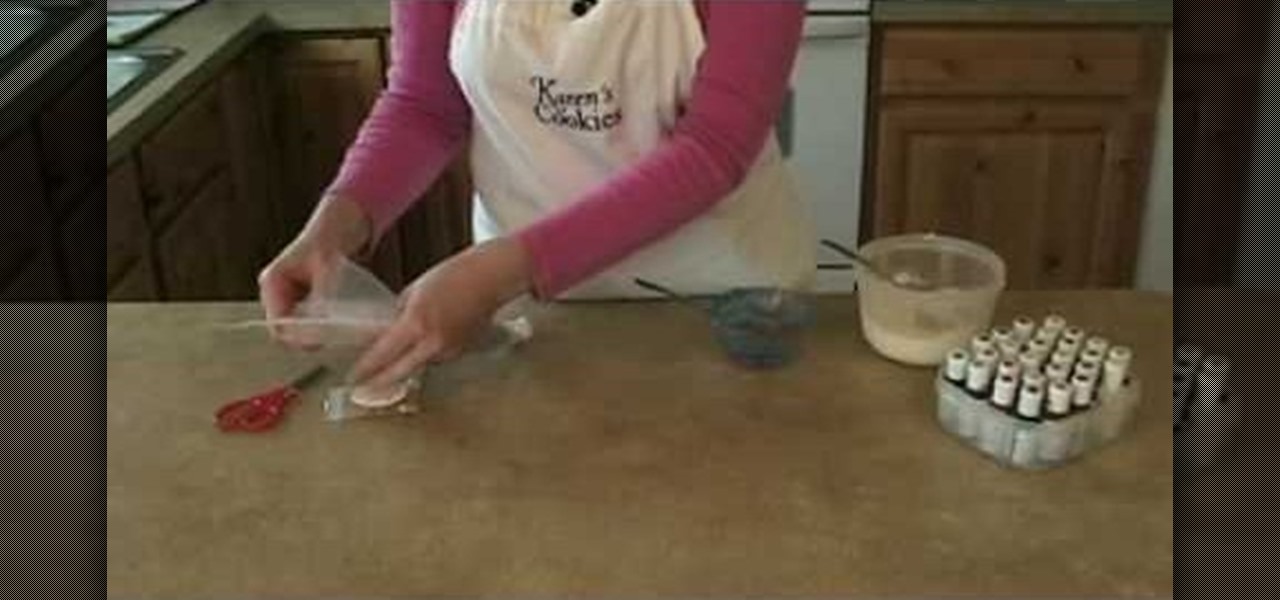
Karen shows you how to mix your colors and fill your bags. This example uses red blue and black. Begin by mixing blue. Start with royal blue coloring and add it to your frosting and mix it well. Dump the colored frosting into the middle of a sheet of plastic wrap. Roll it up in the plastic wrap, twist the edges, and now you have a little pouch with your frosting. Now take a bag with a coupler, and stick the plastic pouch of frosting in it. Pull it tight and rubber band the top of the bag, the...

Jenniesbarn has created a video tutorial about how to make hand-dyed crinkle seam binding. She says that crinkle seam binding is popular because it has a vintage look. To begin, she uses a mister to spray water on a ribbon strip in order to allow the strip to crinkle easily and allow color to absorb more evenly when dyed. Afterwards, spray the dye and tossle the ribbon at the same time. It is possible to blend different colors by spraying a different colored dye afterwards. Once the desired c...

In this Arts & Crafts video tutorial you will learn how to create a box to hold a mini album or small cards. Take a shiny card stock 10.5 x 6 inches. On the 6" side, score at .5" and 1" on both sides. On the longer side, score at 3, 3.5, 7.5 and 8 inches. Cut out the corners on the flap side of the card as shown in the video. Do a step cut on the other side of the card as in the video. Round the four corners with a corner rounder. You can do some stamping now if you want or you can also glue ...

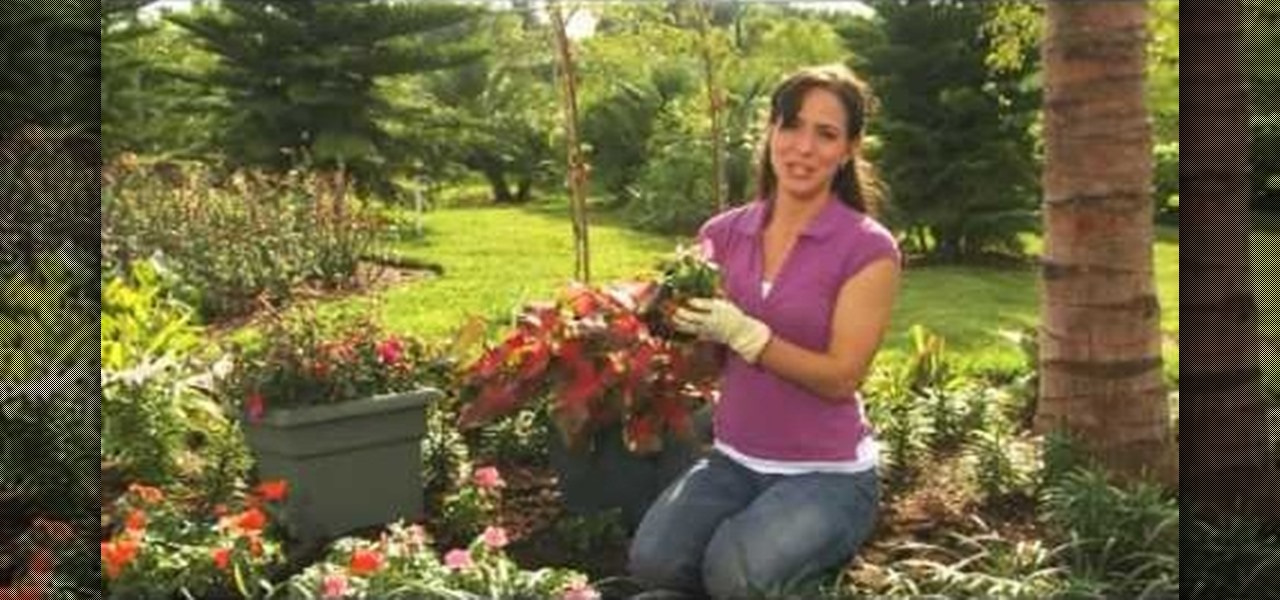
If you have a shady yard, you can still have a colorful garden. You just need to pick the right plants that do well in the shade. Caladium is a leafy plant with bright colored red, pink and green leaves. They do not tolerate cold weather and should be brought in over winter. Impatiens are popular annual flowers that grow in the shade. They look nice planted around the base of a tree or in containers. The flowers come in shades of pink, coral, white and red. Fuchsia is a beautiful flowering pl...


