
How To: Decorate cupcakes with some helpful tips
How to decorate cupcakes with some helpful tips


How to decorate cupcakes with some helpful tips
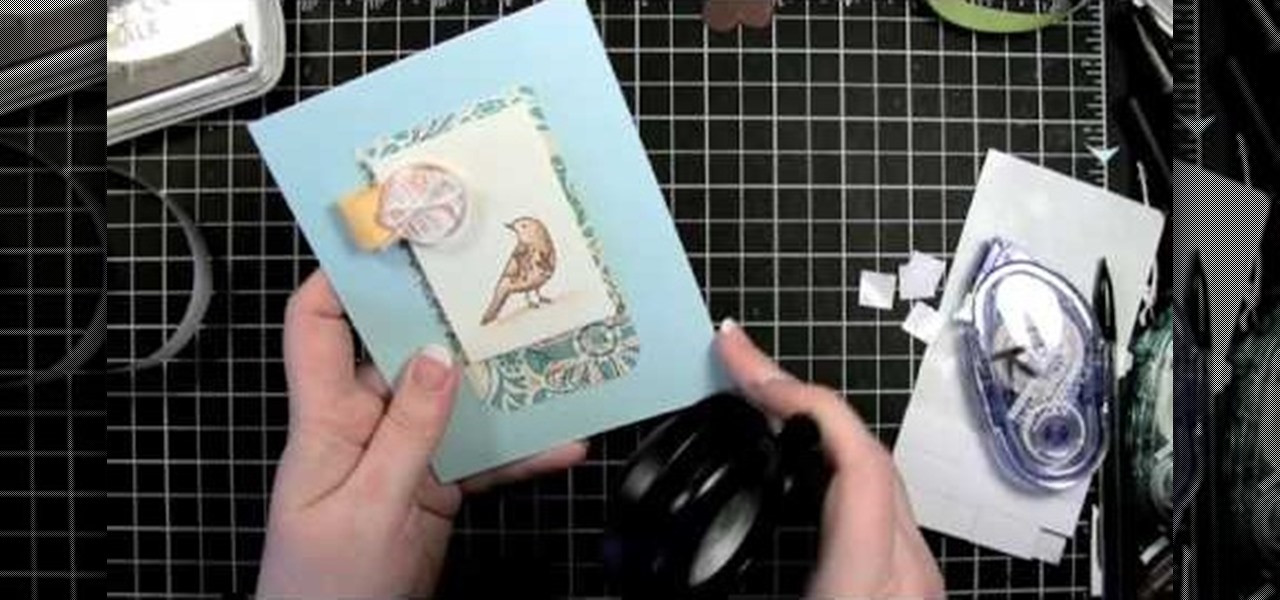
This video demonstrates how to emboss a button and then use it as an emblishment on a card. Start by covering your stamp with clear VersaMark Ink. Holding your button with pliers, carefully press your button onto the stamp. Next, take your embossing powder and sprinkle it on to the button. Then apply heat to the button. You are now ready to make your card. Ink your bird stamp using chestnut chalk ink. Place it at the bottom of your card stock. Using a blender pen, color in the bird and any ac...

In this video we are shown an easy way to draw a fox using Photoshop. First, start with a rough sketch on a separate layer. Rough in the head, ears, snout, and eyes. Make a new layer and outline your previous drawing. In this layer put in more detail such as the jagged outline of the fur and the details of the face. To colorize your fox, put in a new layer under the outline layer. The fox should be colored a dull orange, with dark brown shadows for the ears and white under the muzzle and on t...
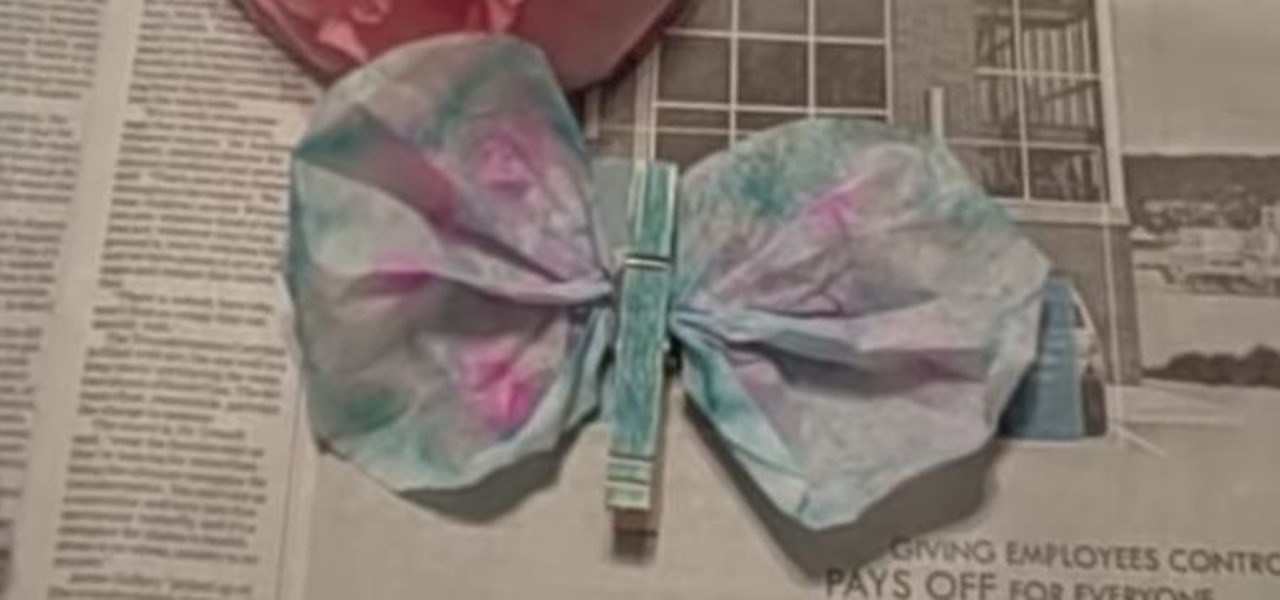
Learn to make beautiful coffee filter butterflies and flowers by watching this video by Kim Janocko. The following materials are required to make them:

Marble your home decorationsItems needed: Marobu easy marbling kit with 6 paints, a bucket of water and items to decorate.Make sure the water in the bucket is deep enough to submerse the jar. Add 6 or 7 drops of green, blue and black paint into the water. Stir. Put your hand in the jar and dip it into the bucket of water. Clear the paint from the water for the next project. Place red, yellow and white in the bucket of water and stir. Add the candle. Place it on the side to dry. Clear the pain...
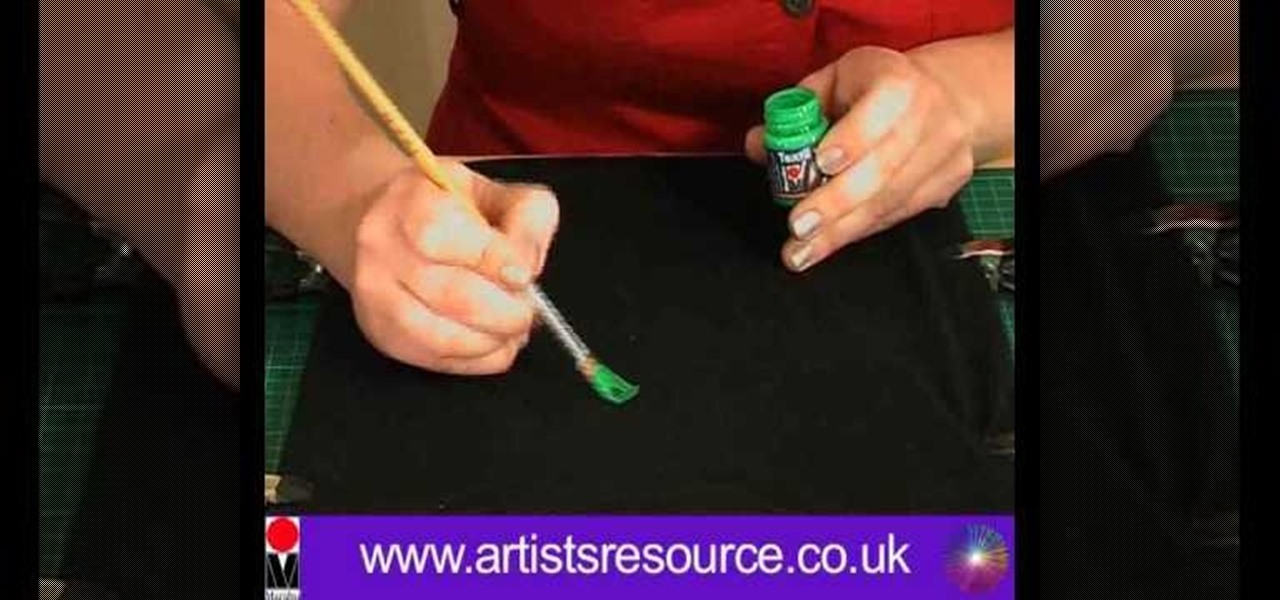
Learn how to ‘Paint onto your T-Shirt’ by watching this video. Materials required for this include the following:•Marabu Textil Plus Start Kit – 6 colors included with paint brush•Marabu Metallic Outliner Paints•Crocodile clips•Masking tape•Pencil•Design printed from the computer•Tracing paper•A large cardboard wrapped in cling film•A dark colored T- ShirtBegin by placing a tracing paper over the design and secure it to the table using masking tape. Next, use a pencil to trace the design on t...
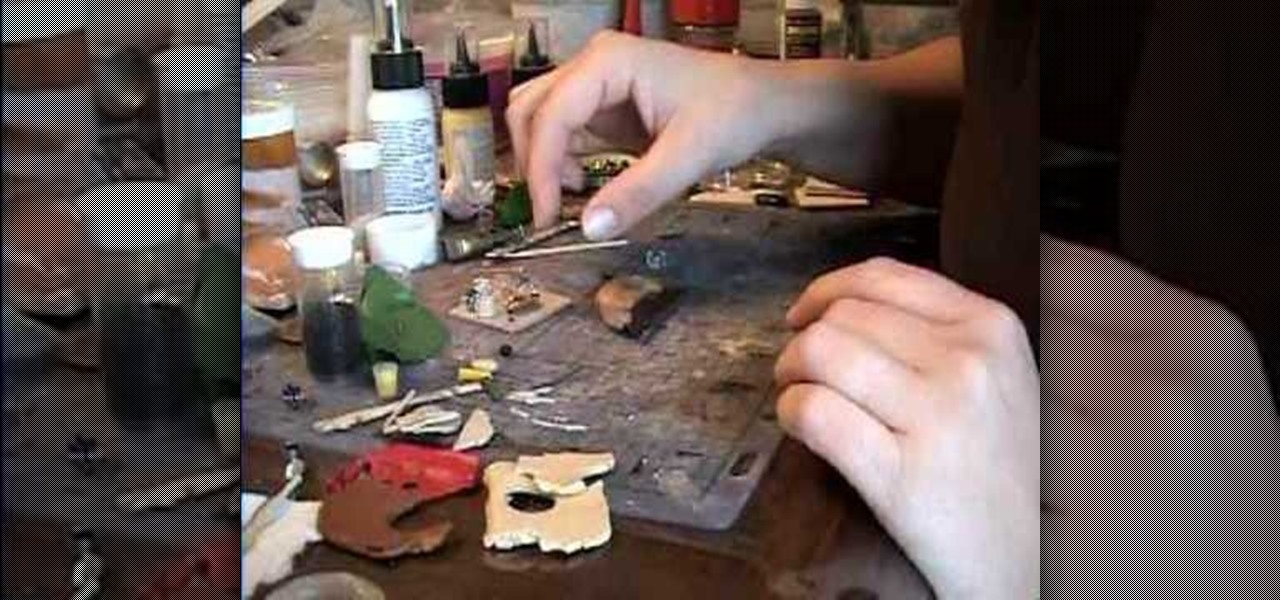
Create a loaded hot dog perfect for any dollhouse kitchen! Learn to create a hot dog topped with ketchup, mustard, sauerkraut, cheese, onions, and relish all out of polymer clay! First start the onions out of translucent clay. Roll it out in the pasta machine and cut off little strips and bake them. For cheese take strips of orange clay and cut them at an angle. Do this same technique for the relish, the sauerkraut, mustard and ketchup. To create the hot dog roll out a brown colored piece of ...

Whip up a quick & easy basic dessert for the finger food lovers of the world, chocolate lovers, and those that just plain love delicious sweets! In this video, learn how to make toffee cookies out of saltine cookies.
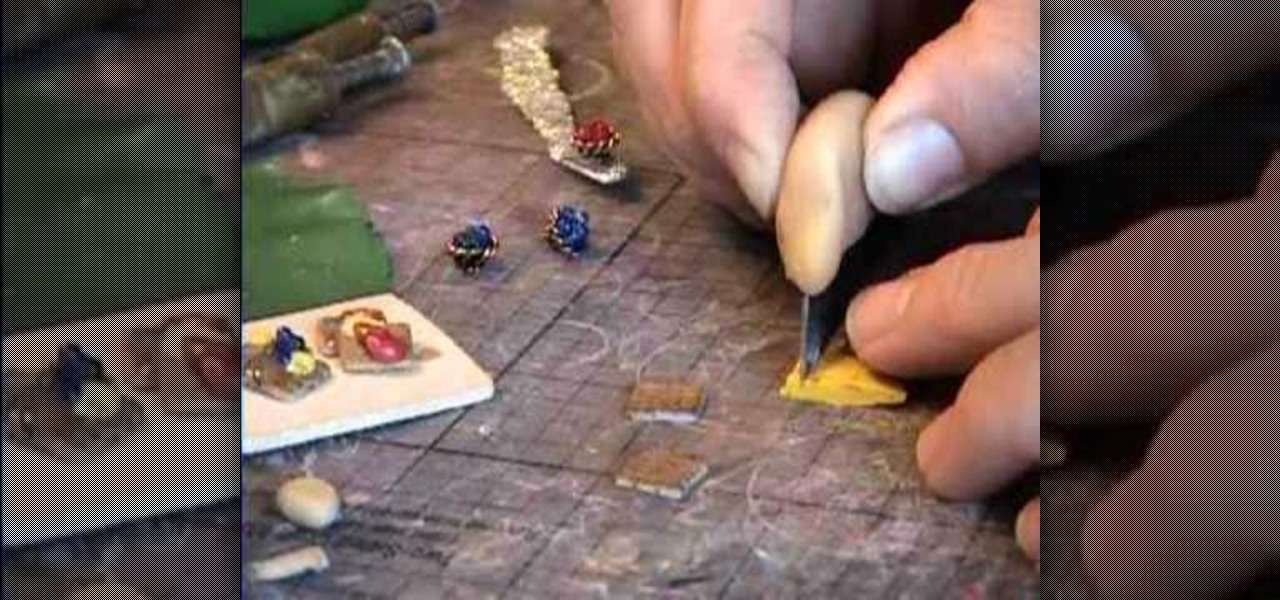
Garden of Imagination demonstrates how to make miniature blueberry polymer clay waffles for use in a doll house. Starting with a small ball of either ecru-colored clay, or pearl-white, you can blend in tiny black glass pebbles to resemble blueberries or raisins. The ball is then pressed onto a small strip of dry-wall tape that has an open weave to it, to make waffled impressions. The strip with the clay on it is run through a pasta-maker at a setting of “four” to flatten the clay into the mes...

To begin take a 28 gauge copper sheet and cut out a pattern that you wish your earrings to be. Your pattern can be any shape that you wish. Cut out both earrings. Next sand your two earrings so that a texture will begin to arise on the copper sheet. Then you can color the copper with colored pencils to add the colors that you would like. Now with a break machine feed the copper sheet into the break in order to form the texture on the earrings. Then take a pair of pliers and exaggerate your pa...

In this video tutorial, viewers learn how to make a tied fleece blankie. Select any colored fleece and a coordinated patterned fleece. Purchase one yard of each fleece. Cut the fleece so that you have two pieces of 36 x 30. You will need a pair of scissors and a ruler. Sandwich your fleece together and lay it on a flat surface. Make your first cut at the 4 inch mark. Continue to cut in on strips until you reach the end of the fabric. Then turn the corner and cut a 4 inch square out of the fab...
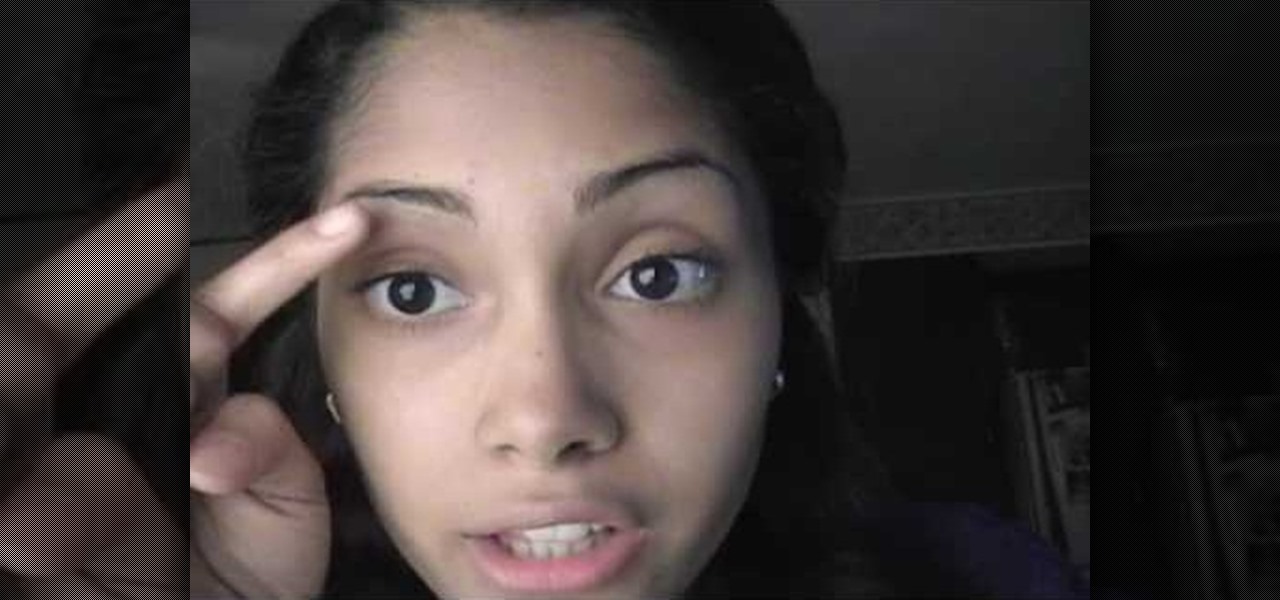
This is a video on how to shape your eyebrows. The tools used are a razor and a shining agent. The purpose of the Shining agent is to ease the pain of this process. The key to success of this process is to keep this lines that you cut straight. If you want them arched, do it straight. If you want them arched you need to make sure that when you do make the cut to not start arching immediately or they will come out looking thin. The consistency of your cut should stay the same until you get to ...
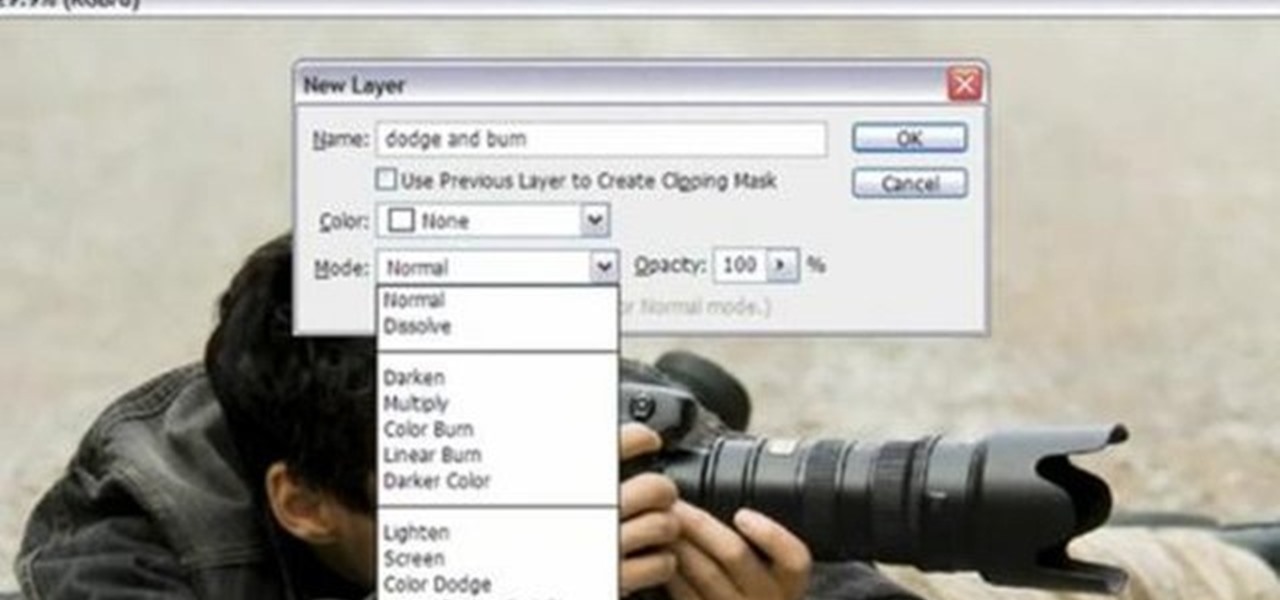
Yanik Chauvin demonstrates how to do Non Destructive Dodging (lighten) and burning (darken) of images using the tools in Photoshop. He shows the image of a man lying on earth with his camera. To start the work he wants to make a new layer which can be done in two ways either by clicking on the ‘layer’ button on top of menu or by pressing down the alt key and clicking on the new layer at button of the layer palette. It will bring up the dialogue box. He named it “dodge and burn” and from the l...
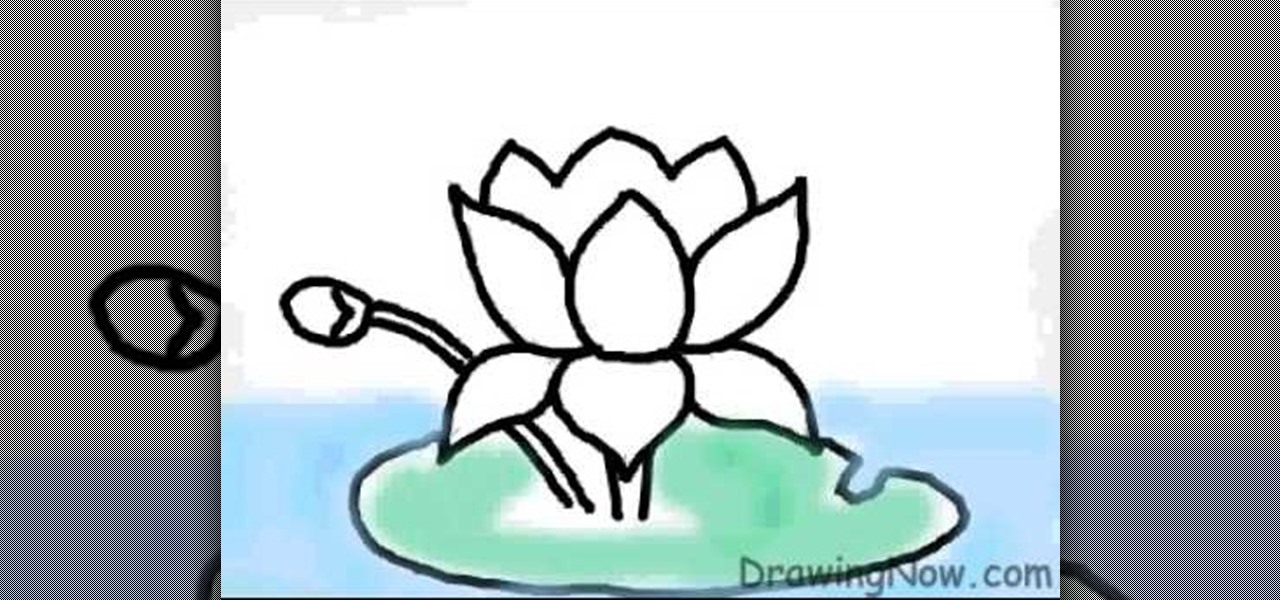
Learn the art of drawing a ‘Lotus Flower’ on your computer, by watching this video. Begin by drawing a faint outline of the flower at the outset. This is done by drawing an oval shape first. Then a straight line is drawn below the oval, along the center. A semi-circle comes next, touching the extreme ends of the oval shape. Similarly, a mirror image of the semi-circle is drawn, below it. The petals of the lotus flower are then outlined in dark, from the center and on either side symmetrically...

This video takes us through how to create a paper flower. To begin you will need between 5 and 8 pages of colored tissue paper for each flower you want to create. There are multiple options for the paper so mixing and matching is definitely okay for this project. Next, you want to lay the paper one on top of the other so it creates a neat stack, the neater the stack the easier it will be to fold. Now fold the paper stack like you would to create a paper fan until you reach the end. You want t...
1) Make sure the paper used to make the origami water lily is a true square. One can use the paper one happens to have on hand, but anything heavier than lined notebook paper is best. 2) Work on a flat and hard surface so that all creases and folds are precise. 3) Place the paper square on the flat, hard surface so that the edges are facing in every direction. Be sure to have the colored side down if the paper is two sided. 4) Fold the paper in half from top to bottom. Crease the fold then un...

Make simple snowflakes from paper. You can tape these snowflakes to a window for a nice winter decoration or paste them onto a piece of folded construction paper for a great winter card.
This video tutorial is about how to install Adobe Shockwave Player in Internet Explorer browser. This video tutorial is provided by ClearTechInfo.com. One can clarify any computer technology-related doubts using this site.
Looking to wow the next party you attend? How about a card trick? Leave your friends begging for your secrets by performing this bit of sleight of hand. Learn how to do the "Dream Queen" card trick with help from this video.

This video shows you how to get the Lady Gaga makeup look. 1. Pink colored base - use pink color make up and press on top of the base. Make it even and apply the powder everywhere.
Don't throw out your wilting plants! There's a chance you can bring it back from the dead. Your wilting plant can be spared and revitalized with a little help & these easy steps.
If you have a stack of old t-shirts that sit in your dresser, unworn, why not get some use out of one of them by transforming it into a scarf? Save some money... You'll have scarves for days with this technique!
Looking to appease your creative side? Paint with oils! You Will Need:

The days of asking mom to wrap your presents are over! In this tutorial, learn how to tie a perfect bow for your present out of ribbon.

Ever wanted to have your own window into the infinite? By using this tutorial by Shooting Eggs, you can create an infinity mirror that will show rows of colored lights that seem to recede into the distance forever. It's a trippy illusion you can create with simple and inexpensive materials you'll find in many craft and hobby stores.
Cookies might be delicious already without any additives, but icing is a must have. This video shows you how to ice your cookies to add to the deliciousness.
With quick preparation you can perform a mind boggling card trick for your friends. You Will Need
Grilled peaches are a tasty way to end a barbecue. You Will Need
Grilled pineapple makes a juicy side dish to whatever you’re barbecuing. Step 1: Clean the grill
Everybody into the pool! Or the ocean! But not before you take measures to prevent your hair from getting fried.
Why justify the cost of buying a corsage from your local florist? Make an affordable corsage yourself that reflects your personal style.
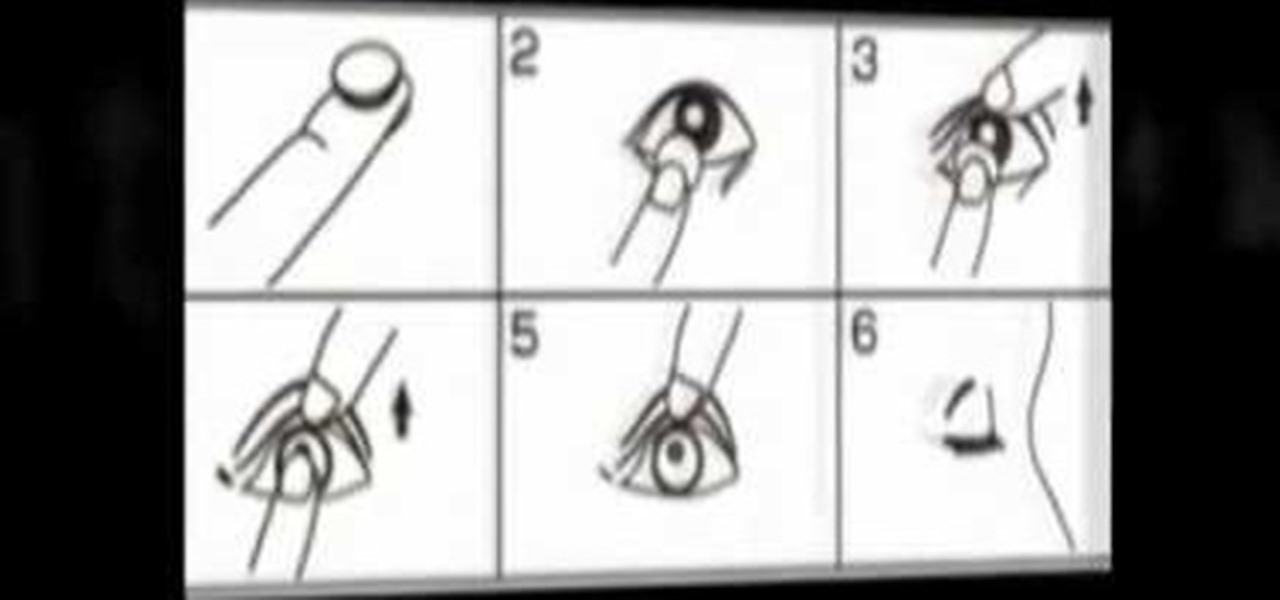
Watch this video tutorial from QQContacts.com to learn how to insert and wear contact lenses in six easy steps.

Step away from the tequila shooters and stop the morning-after agony before it starts. You Will Need

Leave room on the outdoor grill for some zucchini and squash, two vegetables that make a nice accompaniment to whatever you're cooking up. Watch this video to learn how to make grilled zucchini and summer squash.
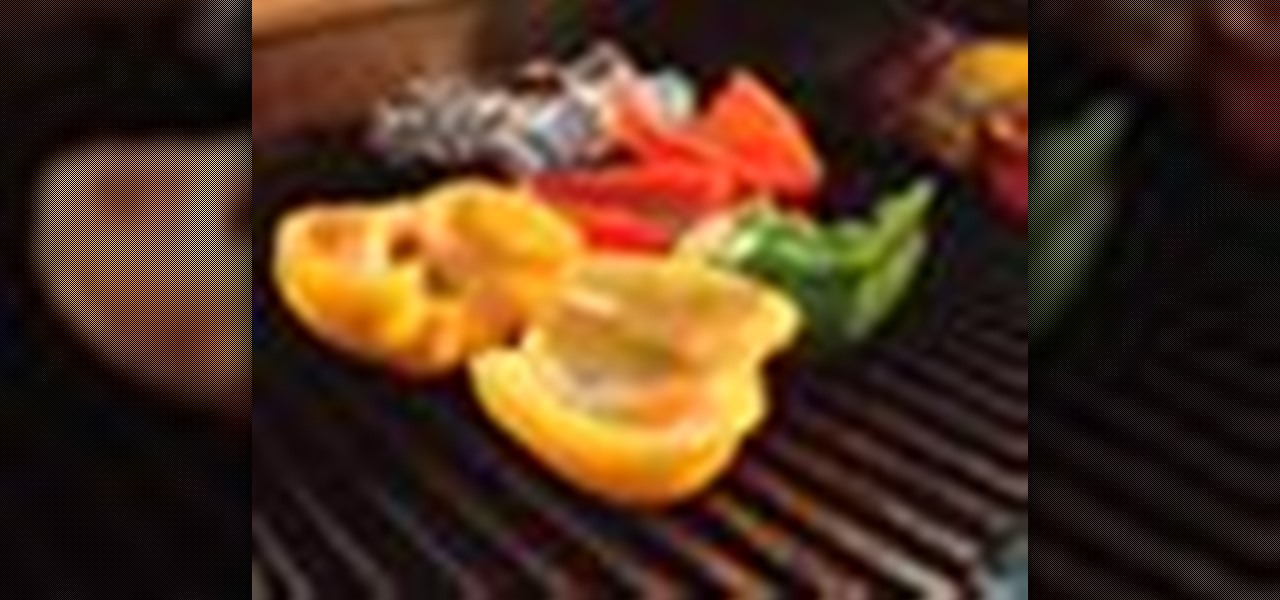
Throw some red, yellow, and green peppers on the grill for a colorful and delicious side dish. Watch this video to learn how to make grilled bell peppers.
Learn to please a true coffee connoisseur with a hand-crafted caffe macchiato. Watch this recipe video to learn how to make your own Caffe Macchiato at home.
Make your own glass beads with this easy instructions. Learn how to make colored glass beads with rods and torches in this free jewelry making video series.

Check out this video to see how to collect blood with the BD Vacutainer Eclipse Blood Collection Needle.

Origami isn't just folding paper, it's a form of art. So, if you want to try a new creative way to express yourself, and if you like birds, try out this tutorial on folding an origami paper swan.
Pressure washers are a great way to clean a brick patio - if you do it right! The pressure washer can harm the surface you are cleaning or even yourself. The basic operation of the pressure washer is to take the low pressure from you garden hose and increase the pressure with a special pump. The pump uses either a gas powered engine or an electric motor to boost the pressure.