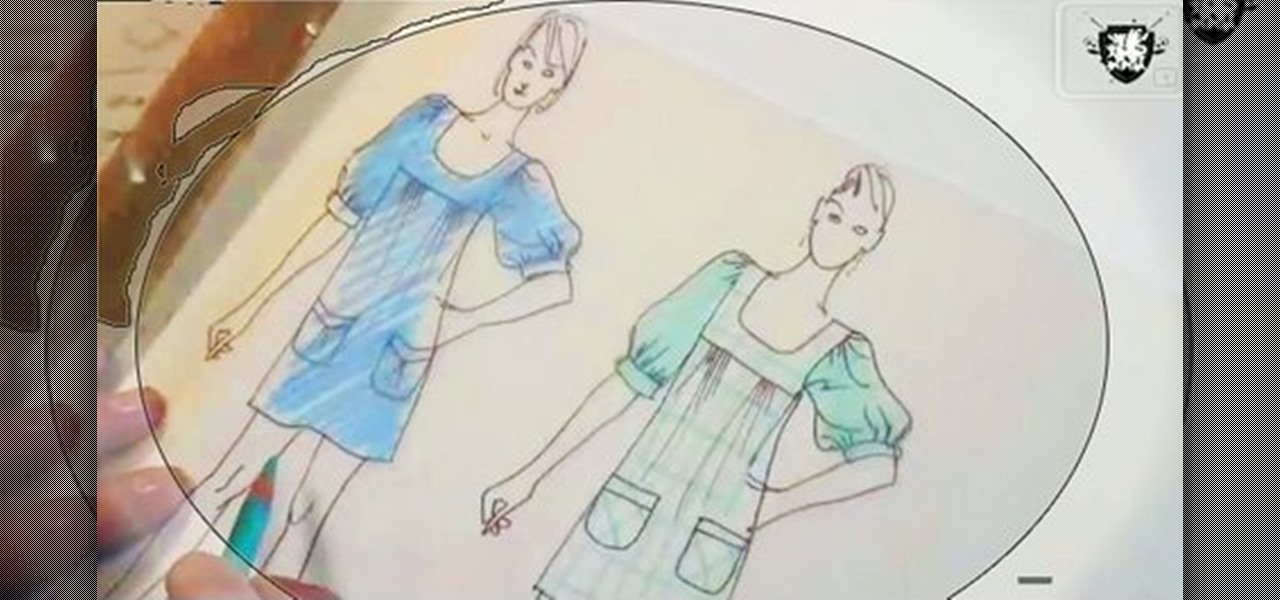
In this video, we learn how to draw a fashion sketch. Start off by using a fine pen and drawing the silhouette of a woman. Draw on the outfit to the woman, adding in all the fine details. Draw in ruffles of the clothing as well as the prints of clothing you are going to use. Use a colored pencil to color in the picture so you know what colors you want the clothes to come out like. Shadow the model slightly to make it look more realistic, then finish up the details of the image. When finished,...
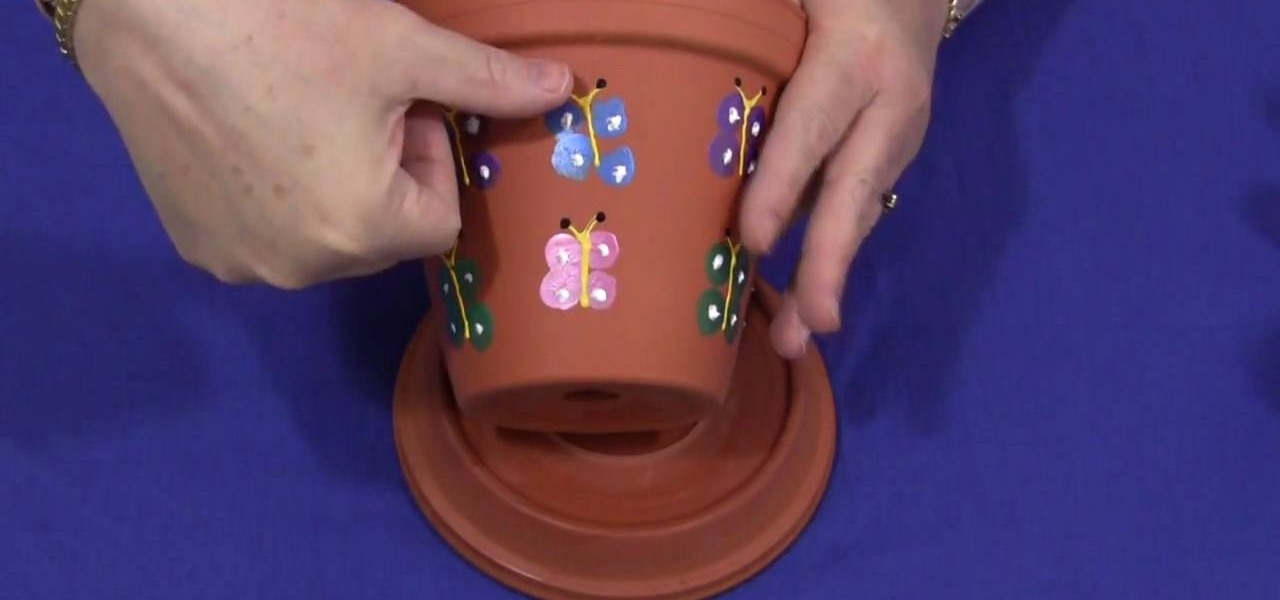
Shelley Lovett teaches us how to make a thumbprint butterfly clay pot in this tutorial. First, start off with a medium sized clay pot and several different colored paints. To make the butterflies, have your kids dip their thumbprint into paint and make a butterfly. Make two thumbprints on each side of the butterfly body. Use a paintbrush to paint in the body and head of the butterfly. When finished, use a sealer to secure the paint on the pot, then let dry completely. You can now use these po...

In this video, we learn how to make a floral arrangement. Start off with the biggest flower you are going to use, and build around that. If you have a white flower, pick a bright colored one to go next to it. Remember to use different flowers and colors to mix and match and make beautiful bouquets. You will also want to remove the bottoms of the stems and tuck smaller flowers in between the bigger ones. Creating color contrasts can help make an eye-popping floral arrangement. You can start bu...

In this video tutorial, viewers learn how to make shadow puppets. Users will need a good, strong light and good positioning of the light. It is recommended to use white or any bright colored walls. Users learn how to do 2 types of shadow puppets in this video. The first type is a swan. Simply hook the arm out. The forearm will be the neck and the biceps will be the body and feathers. Then flap the 4 fingers and thumb like a beak. The second type can be a variation of animals. Simply stick out...

Join the retro Adobe movement! With this video tutorial, you'll see how to quickly and easily create a colored eye with Adobe Photoshop. You'll be creating alternate Photoshop icons in no time. Whether you're new to Adobe's popular raster graphics editor or a seasoned professional just looking to better acquaint yourself with the program and its various features and filters, you're sure to be well served by this video tutorial. For more information, including detailed, step-by-step instructio...

In this Arts & Crafts video tutorial, Ana Maria, Origami artist, will show you how to fold an origami paper pyramid. For this you will need a square piece of paper; preferably colored. Fold the paper in half, open it up and fold in half in the other direction. Open up and fold all corners to the center point of the paper. Now fold it in half in both directions. Open up the last fold and fold one of the edges inwards. Open up again, unfold the adjacent flap and lock the flap down as shown in t...

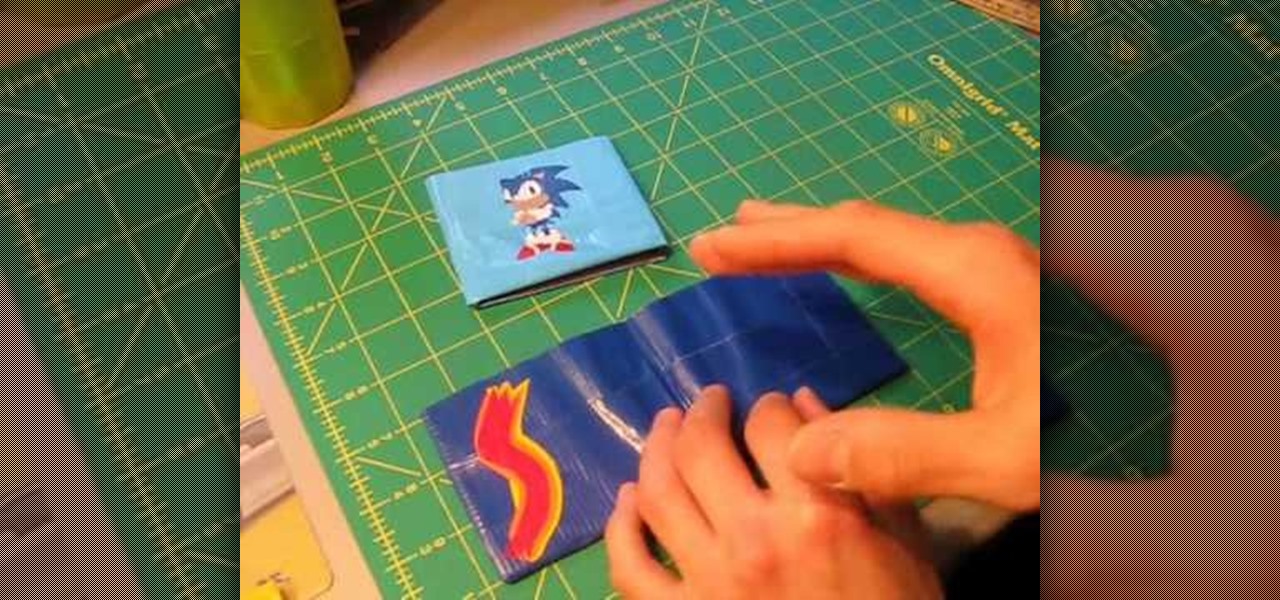
Most of the duct-tape aficionados out there who are watching this video are probably familiar with duct tapes incredible versatility as a material for making backpacks, tuxedos, and other accessories and clothing items. What many don't realize, however, is the extent of the decorative options made possible by the wide range of colors that duct tape is available in. This video teaches you how to make very cool designs out of colored duct tape and use them to decorate a credit card holder. This...

Watch this video and you'll learn the simplest and most effective way of creating your own ethernet crossover cable. Starting with a general overview of what you'll be needing a crossover cable for, this video walks you step-by-step through the process of stripping the cable, separating the color-coded component cables within, organizing them for easy transfer to an rj45 adapter, and finally, crimping. Special detail is payed to organizing the colored cords, since they must be placed in preci...

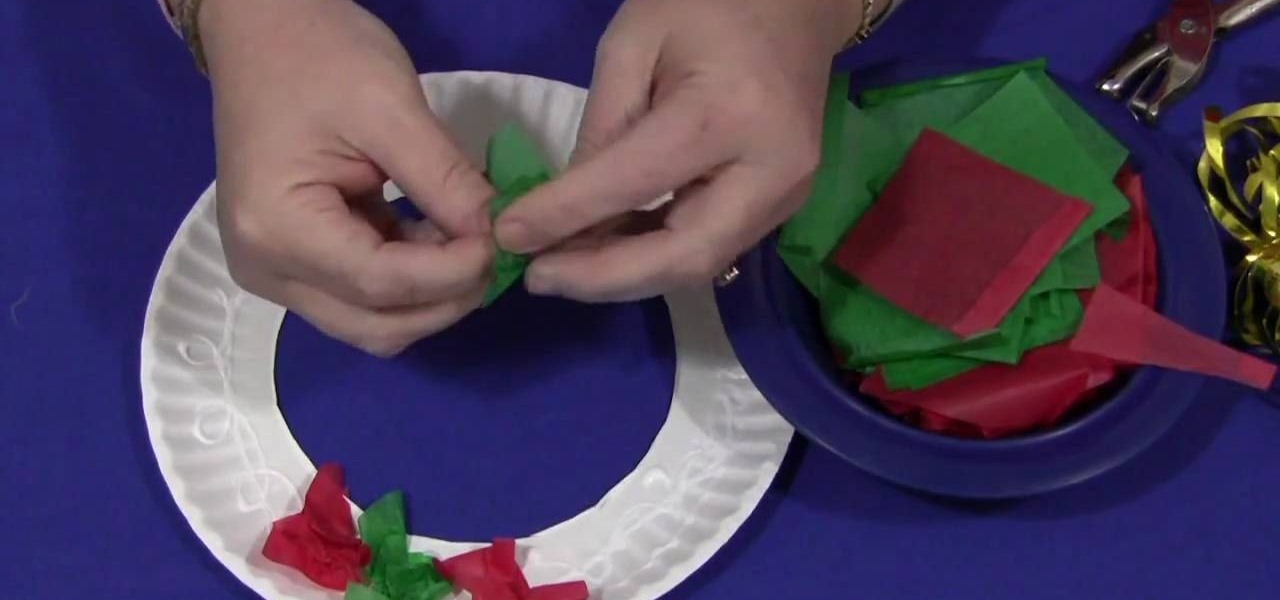
This is a demonstration of making a wreath with tissue paper. For this you will require tissue papers cut into squares, golden colored yarn, golden dust. For tools you require a pair of scissors, a hole punch, glue, paper dish. To start with cut the bottom of the paper dish neatly so that the uniform rim remains. Now apply glue to the rim in the form of spots and streaks. Now take each of the tissue paper pieces crush them and press on the glue. When the whole rim is covered with crushed tiss...

Shelley Lovett has some tips for helping a young child learn how to use scissors. The first thing you need to do is make sure you have paper and child size scissors available for the child to use. A full sheet cut in half is usually more manageable for a young child to work with. Have the child take the paper and just make cuts into the paper however they feel comfortable. Using colored paper can make it more interesting for them. After that very beginning practice stage has been accomplished...

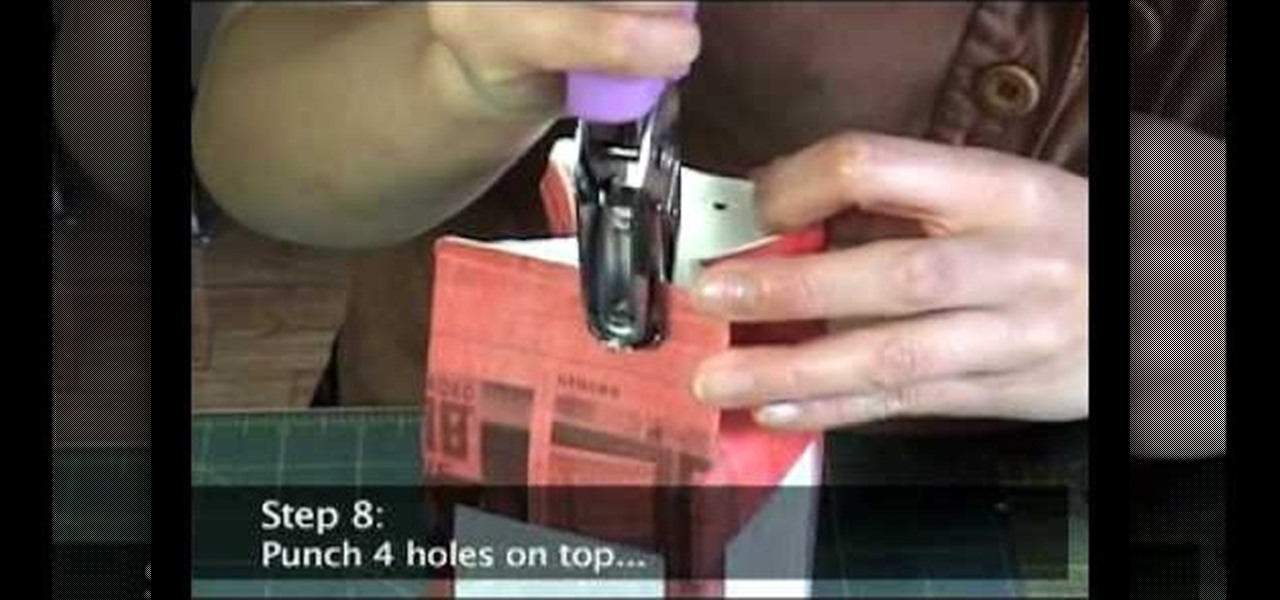
In this video tutorial, viewers will learn how to make a milk carton lantern. This lantern uses recycled items. The materials required for this lamp are: a milk carton, unryu paper, colored newspaper, raffia, ruler, glue gun, hole puncher, X-acto knife, glue stick and scissors. Flatten the milk carton. Draw a rectangle with each panel and measure about 1/2" form each of the sides. Measure about 3/4" from bottom and top. Cut out the rectangles with the X-acto knife. Glue the newspaper to the c...

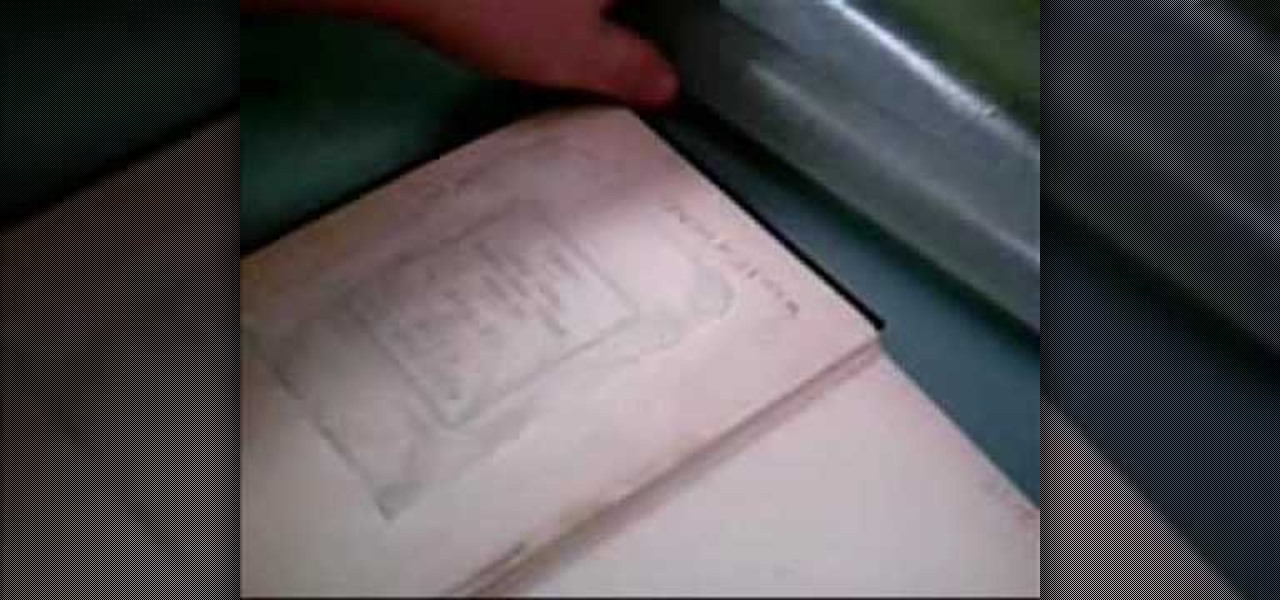
To remove a bookplate, you will need paper towels, wax paper, distilled water, water colored paper, a weight, and a blunt knife. Cut the paper towel slightly larger than the bookplate itself with scissors. Wet the paper towel and blot it dry with another piece so it is damp. Fit the paper towel over the bookplate, put the wax paper on top of it, and let it sit under the weight for twenty to thirty minutes. Once the paper towel has soaked into the bookplate, gently peel the bookplate off with ...

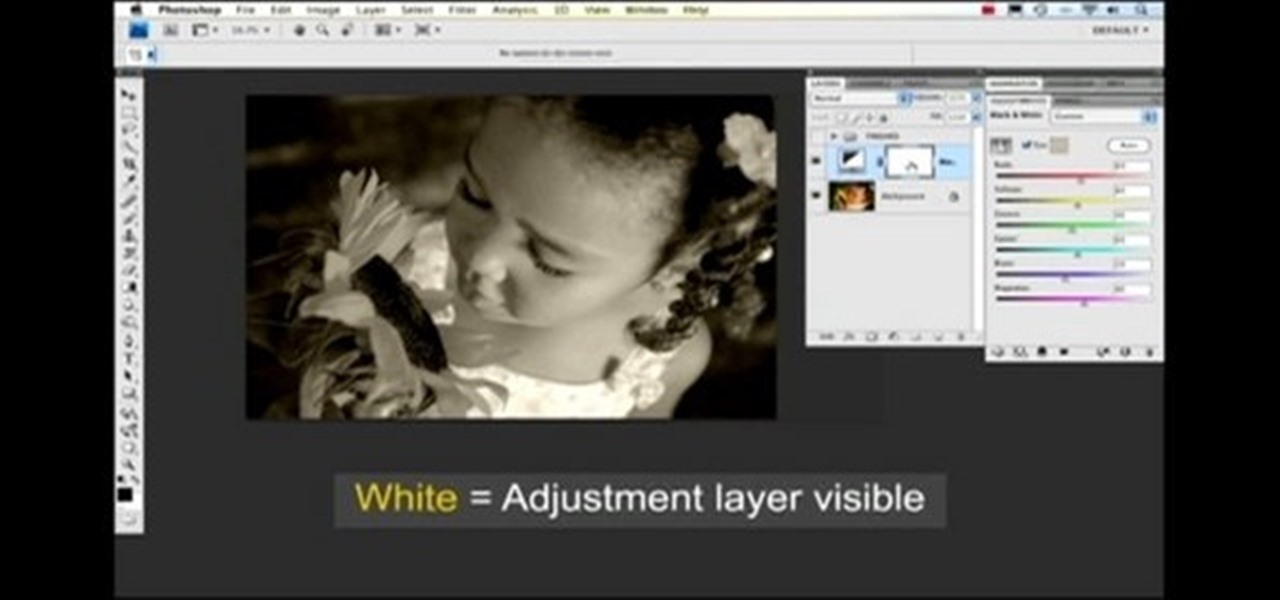
Nichole Young demonstrates how to hand color using layer masks in Photoshop CS4, which also works in Photoshop CS3. The procedure can be summarized in two stages: turning the picture you would like to edit black and white and then bringing color back into it to give it a hand-colored look. The black-and-white effect is achieved by creating a new layer over the background layer. The next step is to give the picture a warm look by adjusting the layer’s respective color balance. Then bring the c...

In the video Robert Steinken, who is a hair stylist tells that choosing a hair color is a very important task. Firstly it is important to go to a professional stylist who knows the products well. There are a lot of hair products in the market and each has a different effect on the hair. In the salon the professional can show you a color chart and show little pieces of hair which were colored to compare with your present hair color. They can tell what will happen once the product is applied on...

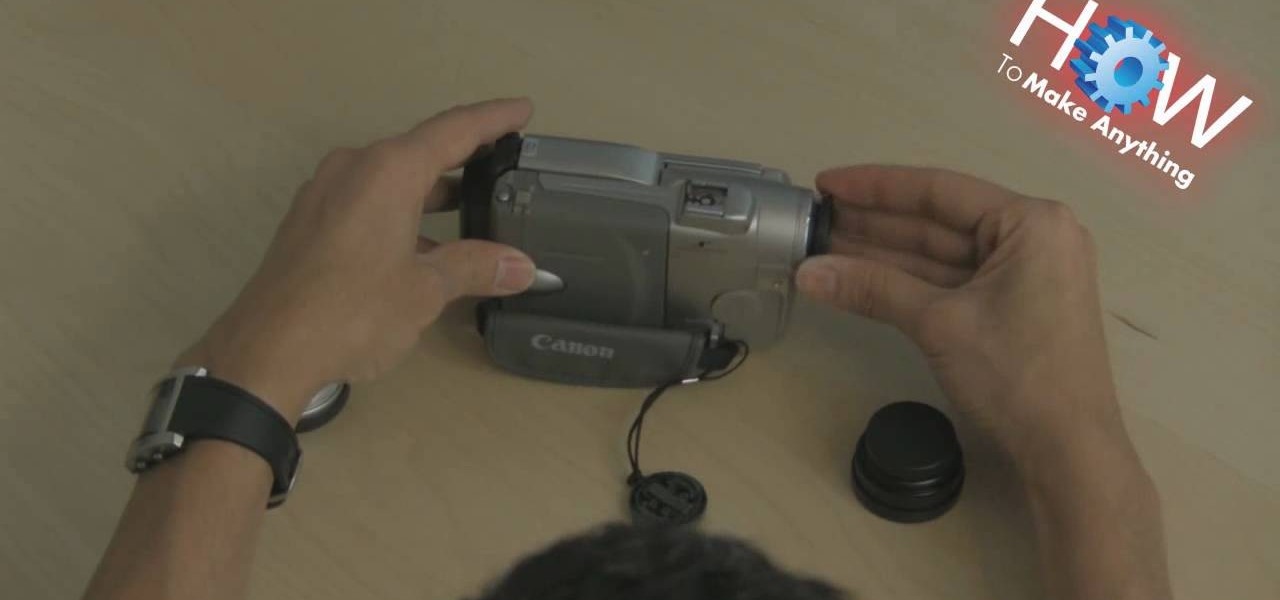
Make sure you have the appropriate lens for your digital camera. Look for markers on the lens that correspond with any mark on the camera body. Different brands have different markers. Some have square dots while some have red dots. Line these marks In one hand, hold your camera body firmly pointing to you. While holding it, push the lens button. Firmly hold the bottom of the lens (where the lens meets the camera body), and twist. Some cameras let you twist clockwise, others counterclockwise....

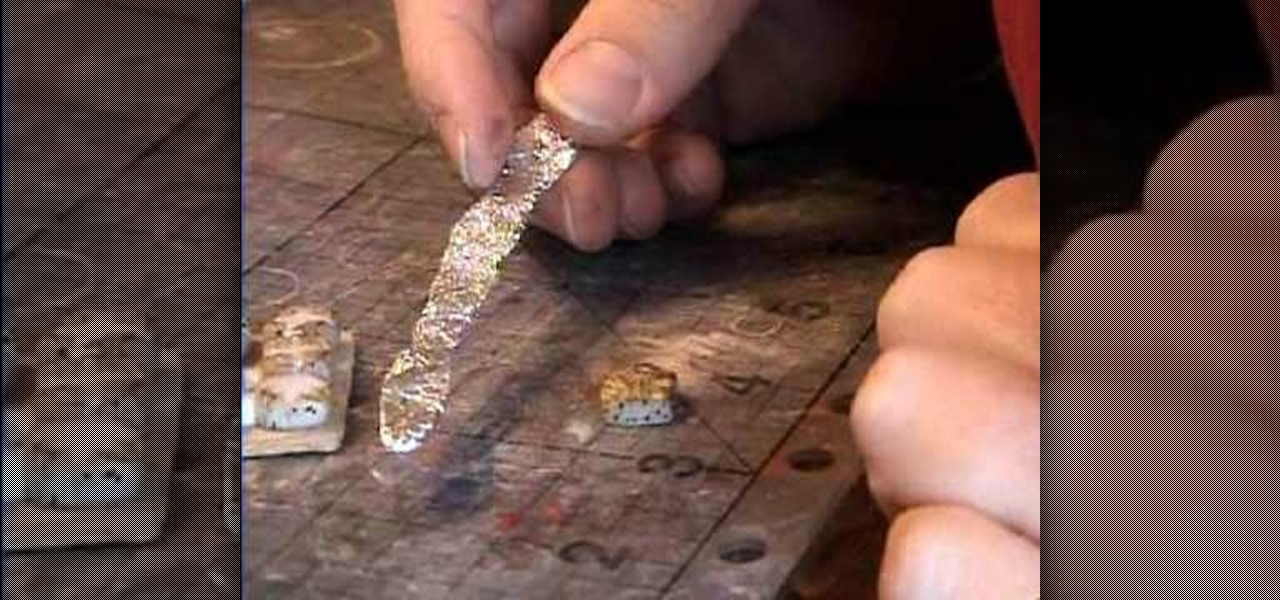
Watch this video to create realistic hot cross buns for your dollhouse! Start off with some white clay, and glass marble beads. Take your clay and make a nice little ball and pour in some of the marble beads. Squish the clay together so all the little "raisin" beads get mixed in. Roll it through the pasta machine on setting number one. Next take your square cutter and press it down on the clay. You then have your first hot cross bun. Use different colored chalks to color the bun. Then bake yo...

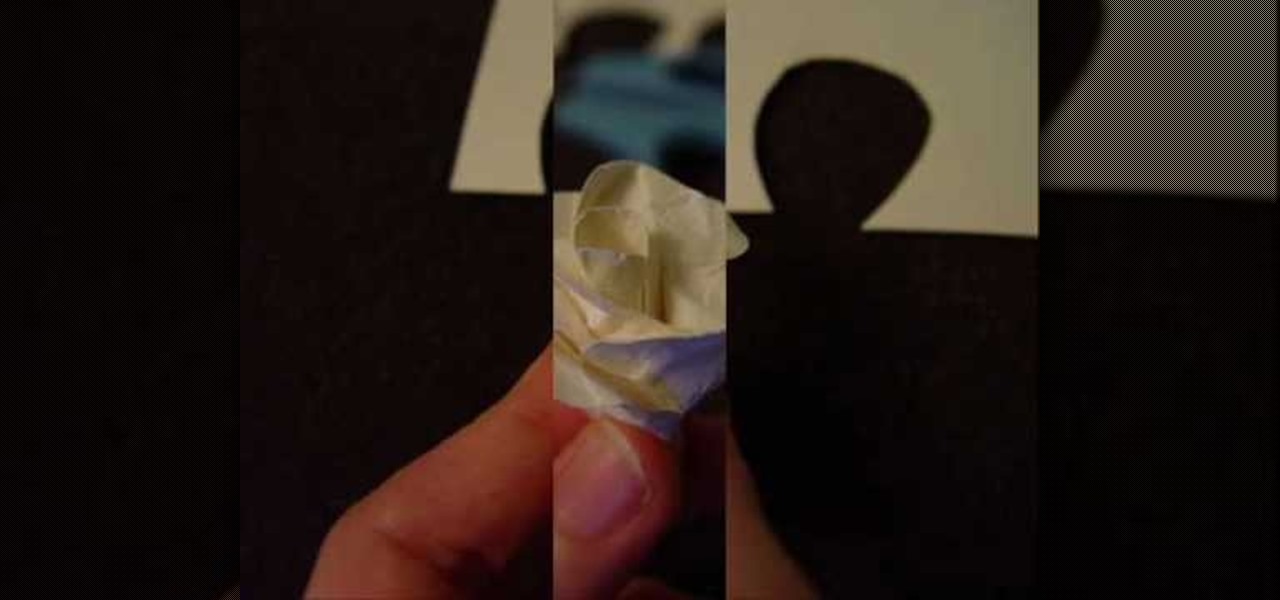
This tutorial demonstrates how to make simple yet beautiful paper roses using only a few materials. The image displayed at the end of this video is just one example of how realistic a paper rose can look. In order to do this, you will need at least one sheet of plain or colored paper, tacky glue, wire and a pair of scissors. Initially, you must first cut your paper in to the shape of your pedals, then crumple them up. Crumpling your pedals not only makes them more flexible, but can also add a...

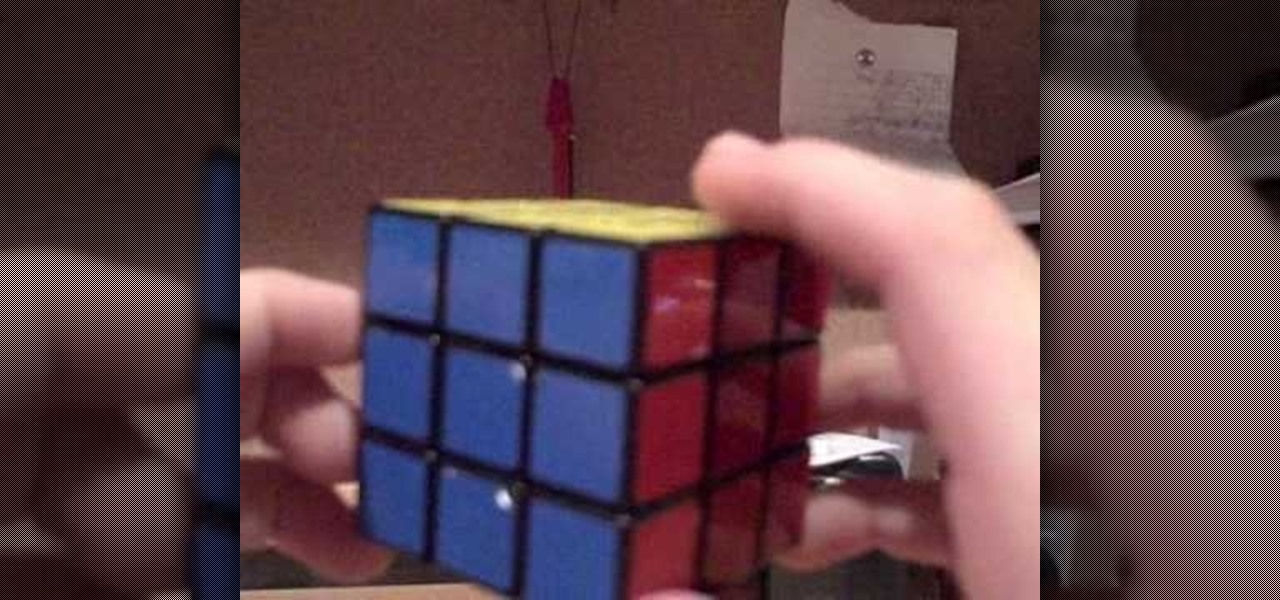
Has a Rubik's Cube got you stumped? This video demonstrates how to understand notation in a three-by-three cube. Step one of the video is to understand that there are three types of pieces in a cube. One is a center pieces, these demonstrate what the color of the side must become. Next, is an edge piece. This is one piece with two stickers. Lastly, there is a corner piece. This is a corner on the cube. It has three stickers. Finally, once you understand the notation of the pieces of the cube,...

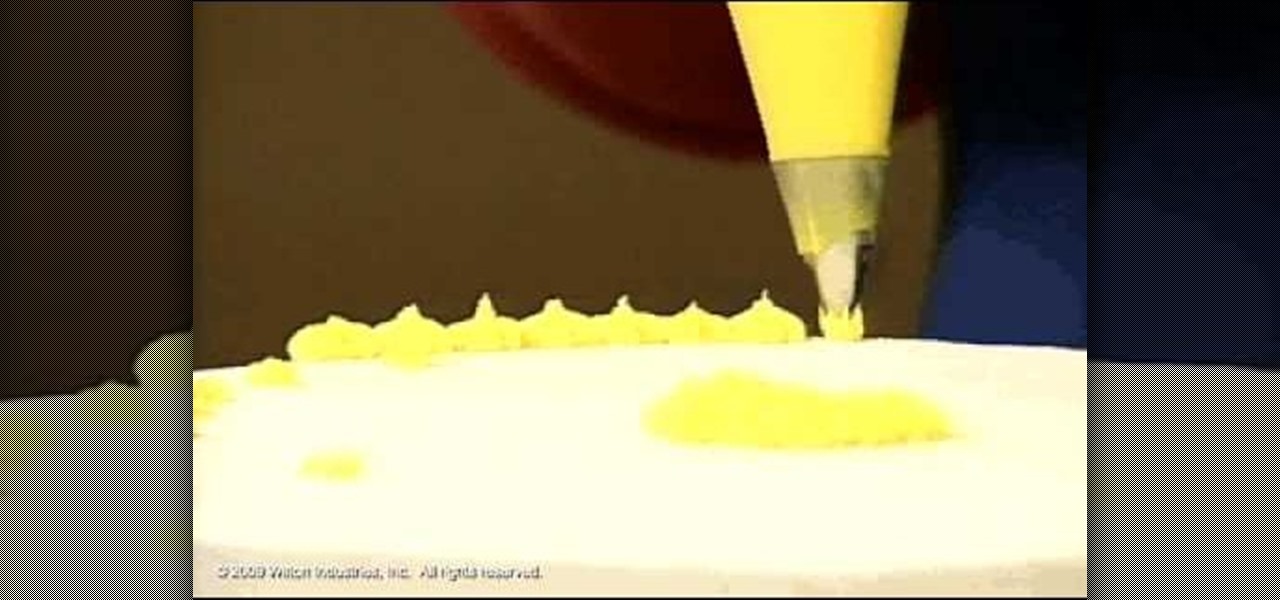
Decorating Tips demonstrates how to use the star tip to decorate a cake or cookies. Use a medium consistency icing and position the bag at a 90 degree angle. Hold the tip 1/4 of an inch above the surface of the cake or cookie. Use the count squeeze, stop squeezing and stop to create a delicate star look with a size #13 star tip. With a size #18 star tip, shorten the count and put the icing stars right next to each other to fill in a cake. Use different colored icings as accents. You can also ...

In this video from FiveSprockets we learn how to light an interior space while filming on a budget. For this you need two Chinese lanterns which he found for $2.95 each. You need 2 light bulbs which he found for $3.95 each. Make sure you get extra ones. Then get a couple of pan lights. They are day light and mood light. They were $7 and $5. You also need a multi colored gel pack which is $6.00. He uses C-stands to hold the lights up but he suggests coming up with other ways if you don't have ...

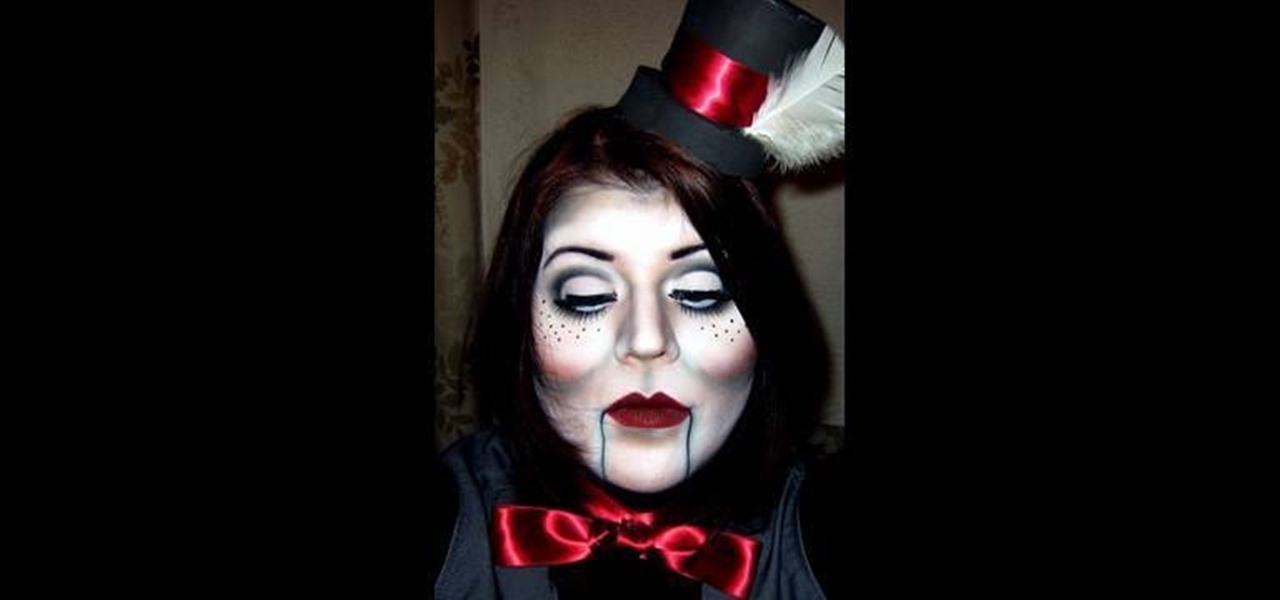
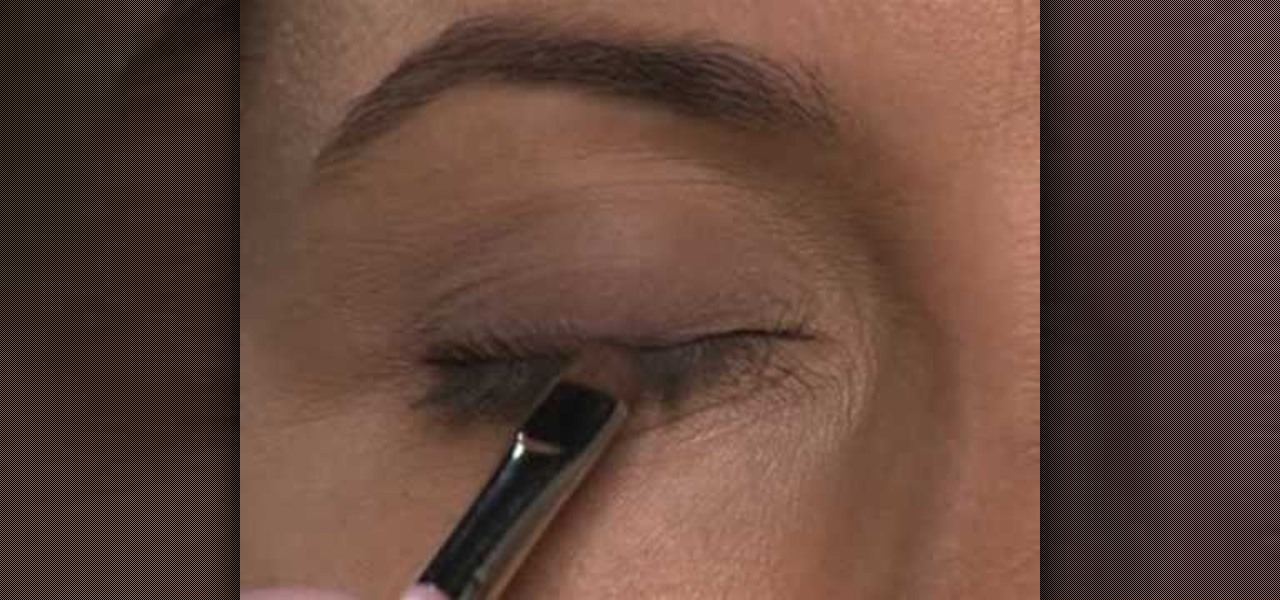
You can't be dumb to pull off this ventriloquist dummy look. This is a perfect look for any Halloween party or event, or even if you just want to scare a couple of friends. In this video Youtube user goldiestarling gives us an instructional video on how to emulate a ventriloquist dummy look for any occasion. To achieve this look you will need a number of colored matte shadows, your application brushes, and about 15 minutes to get this awesomely spooky look.

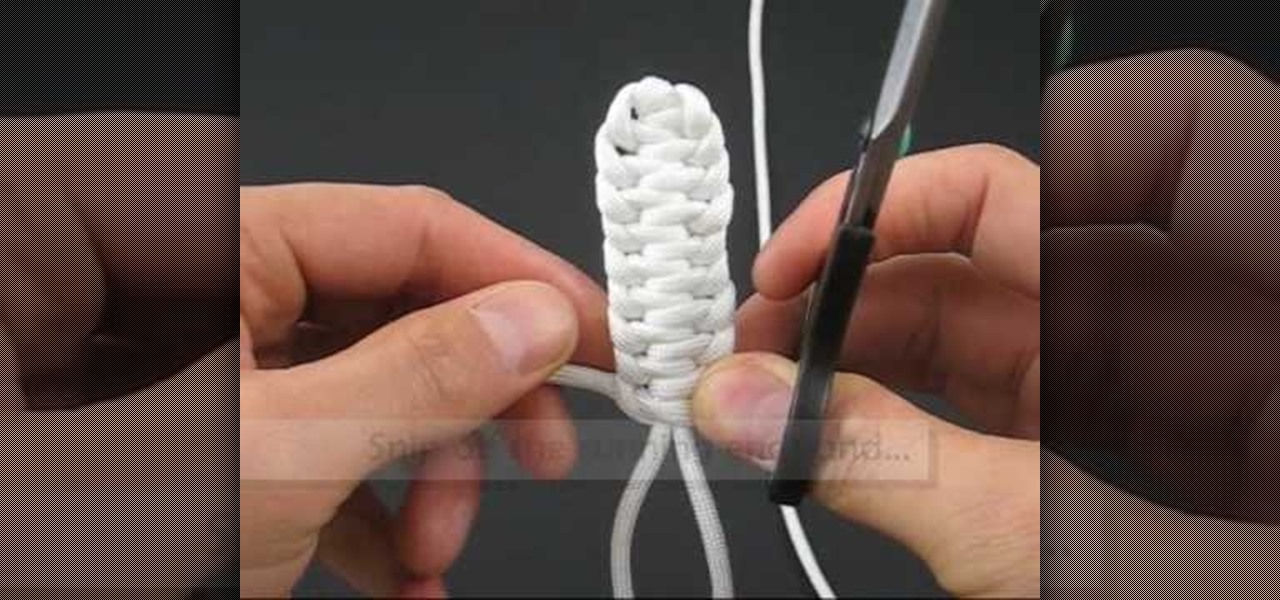
This video describes the technique used to tie a single Genoese bar knot. The presenter shows what the completed knot looks like, and then shows the technique used to tie the knot. The process for tying this knot is similar to braiding as the ends of the string are looped around and through the previous section. Each segment must be pulled very tight or the knot will fail to reach the correct shape. The hitches continue until the desired length of the knot is reached at which point the excess...

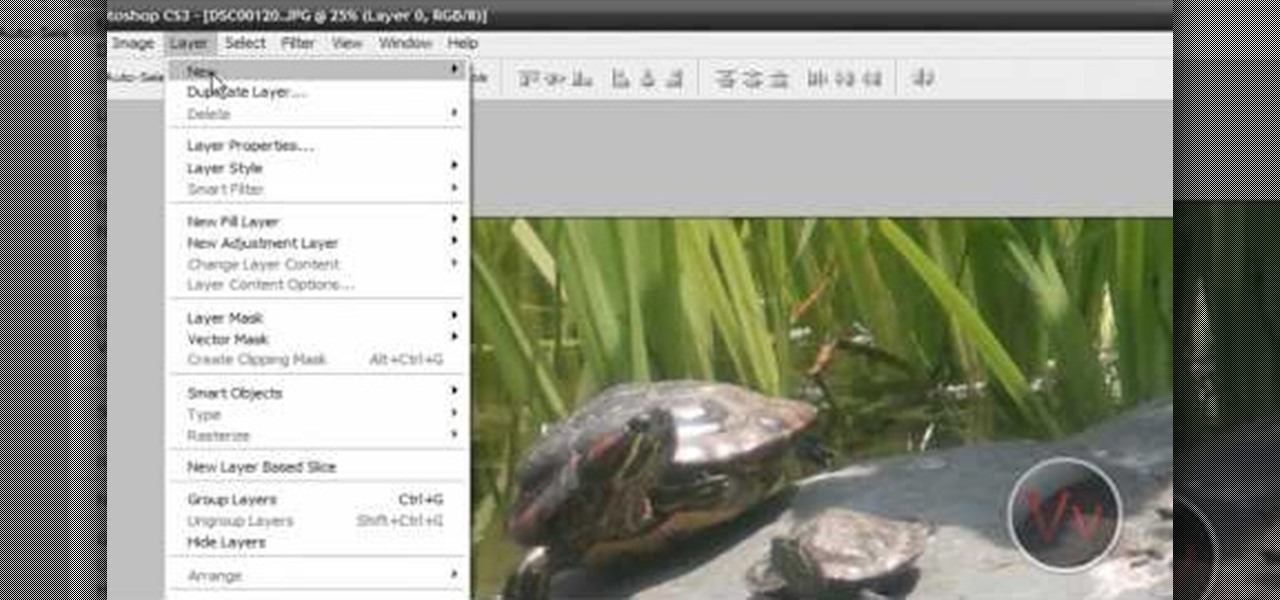
This video tutorial by VvCompHelpvV gives you two methods to achieve the Sin City effect in your photos using Photoshop. The Sin City effect is making the main subject of the photo appear colored while the rest of the photo looks black and white. In the first method the subject should be selected using a pen-tool using the settings mentioned. After that right click on the selected areas and make the feather radius 3, inverse the selection and go to image > adjustments and de-saturate and your...

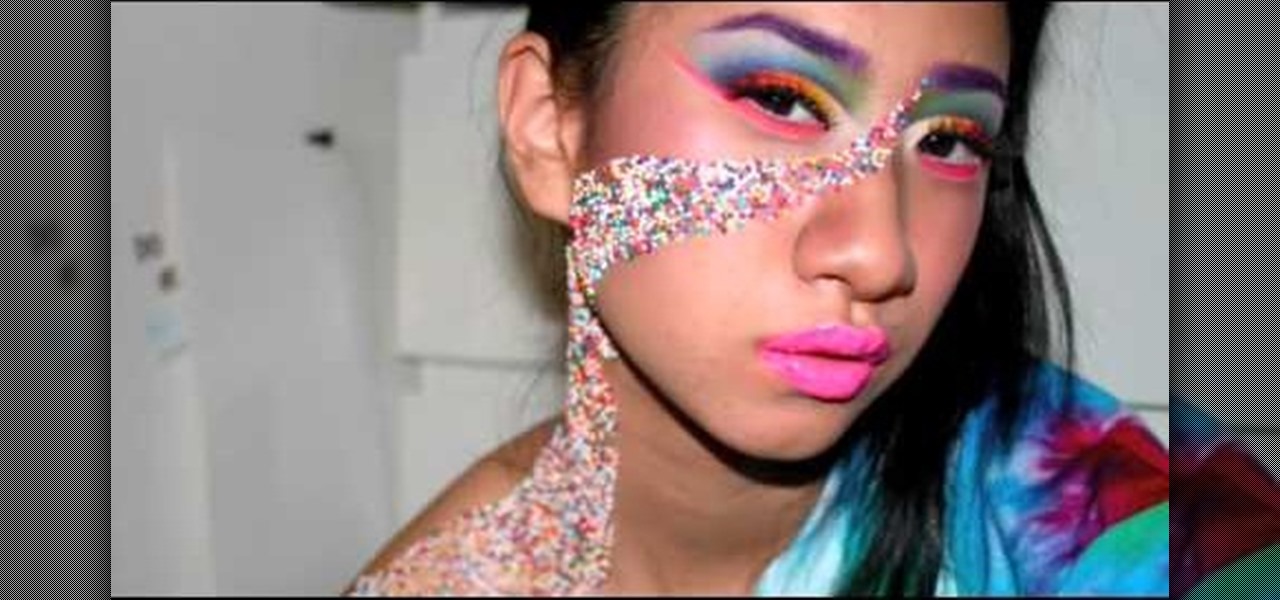
Aspiring makeup artist demonstrates how to apply nonpareil sprinkles to achieve a candy-inspired look Purchase rainbow-colored nonpareils (tiny round sprinkles). These can be found in the baking aisle at your local grocery store. Apply sprinkles using a clear sticky lip-gloss. Create unique patterns, such as this swirl from the corner of the eye to the collar bone. Pair with candy-inspired jewelry and a chunky bun positioned high on the head to finish the look. Follow these suggestions to tur...

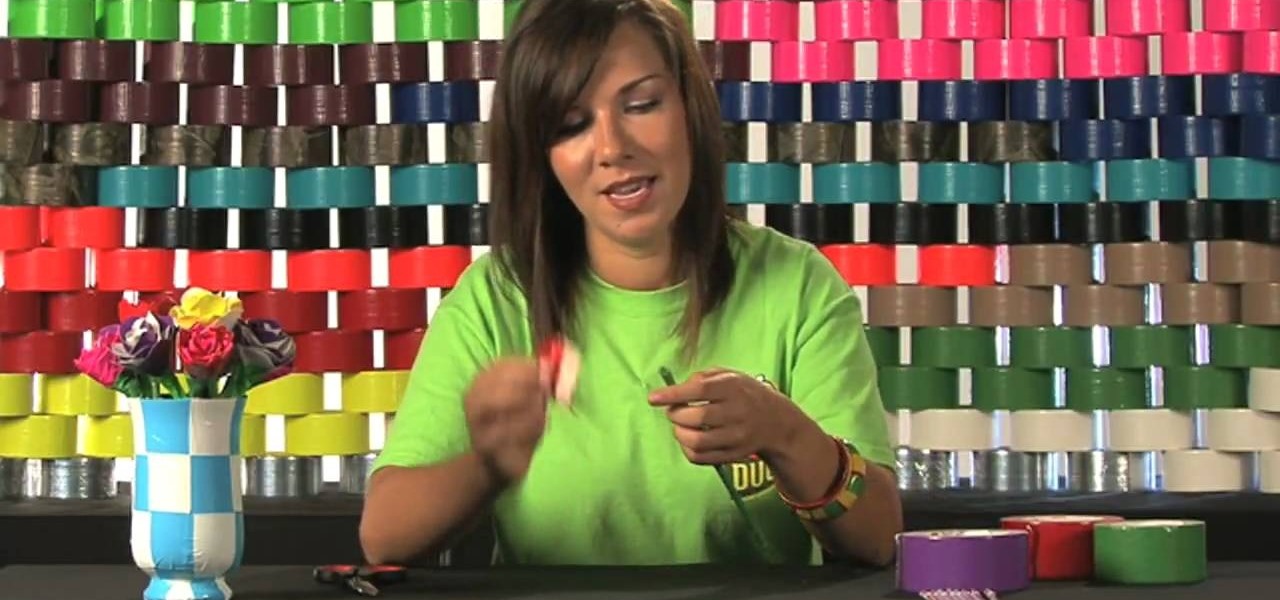
Sick of your flowers dying after just a few short days? Want to give your sweetie a bouquet, but can't afford the high florist prices? Make flowers out of duct tape! That's right, duct tape. This instructional video shows you step by step how to go from household material to decorative flowers. With some colored duct tape, a straw, and a pair of scissors you to can make custom flowers out of something you can pick up at the hardware store.

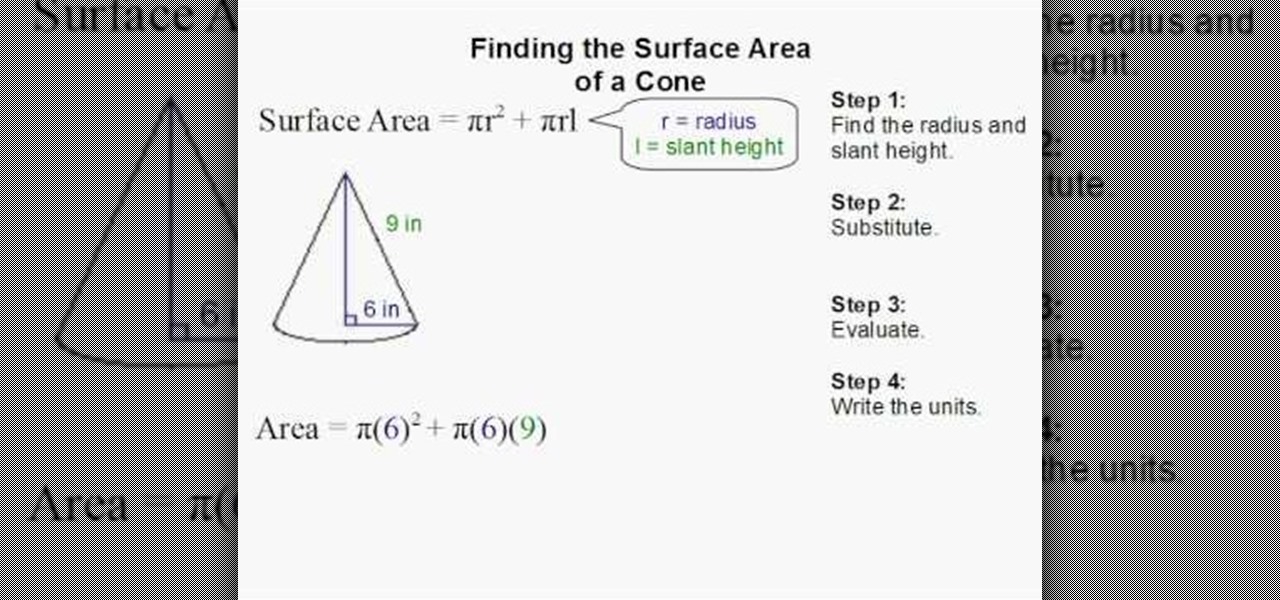
In this how-to video, the author, , Davitily, has a simple drawn out diagram of a cone figure and it's measurements, and also has the mathematical formula of how to find the surface area of this and any other cone figure.

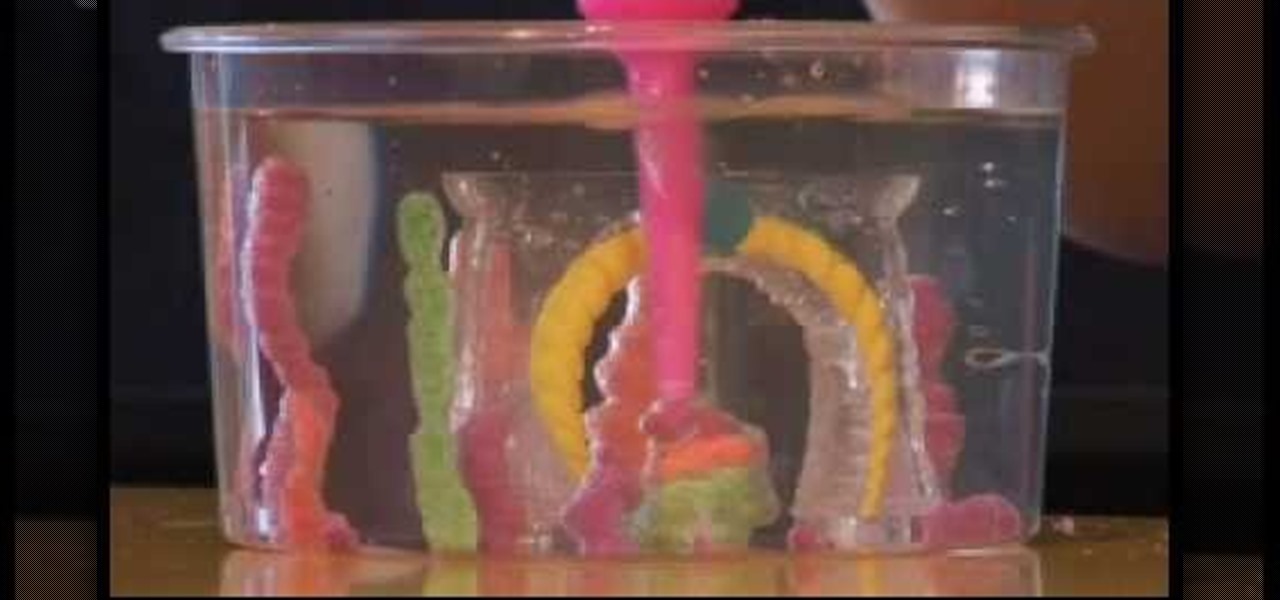
This video explains how to set up an Aqua Sand gift box. The first step is to place the mold into the tank, and then fill with water. With a half-full bottle of Aqua Sand, by placing the nozzle face-down to the bottom of the tank and lifting upwards, you are able to create colorful towers. You can create multi-colored towers by starting with a wide base, then changing colors as many times as you wish while you move upwards. Users can also fill the mold with various colors of Aqua Sand, add de...

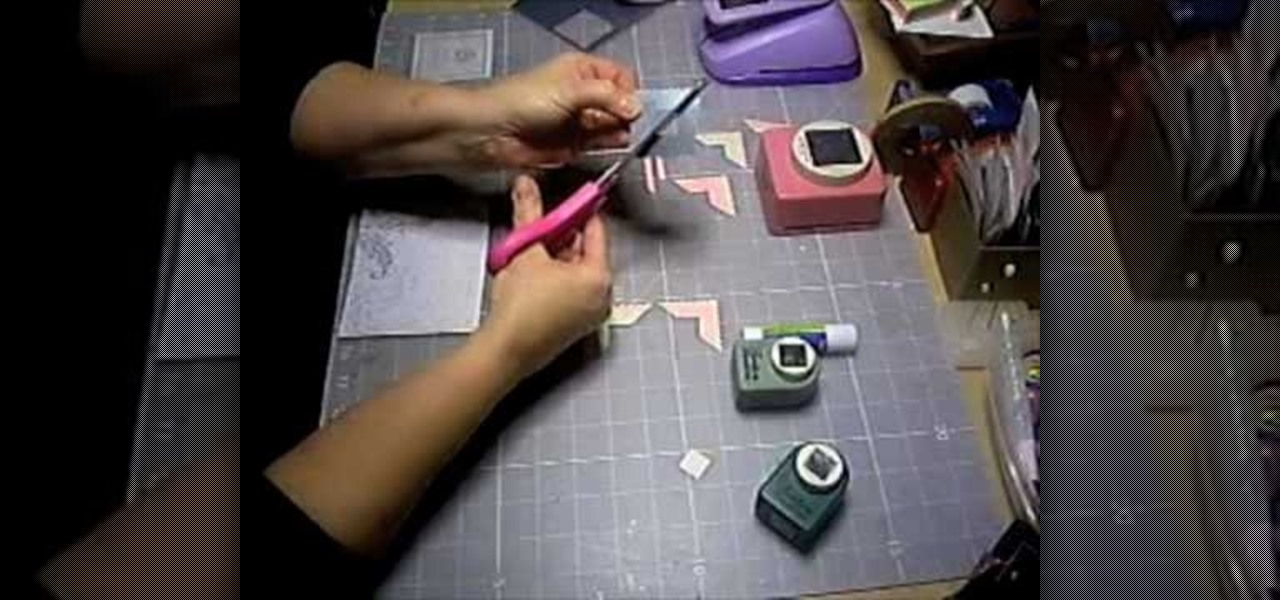
This video shows Joanne McKenzie working at her table talking about making her oversized/giant photo corners for her paper cutting projects. Using an assortment of different sized and colored punches, she explains how to use the punches, saying the smaller one is the better one to start with. She talks about using the next size up and then centering the paper to be cut from corner to corner and layering the different cut out corners for decoration. Very clear and professional.

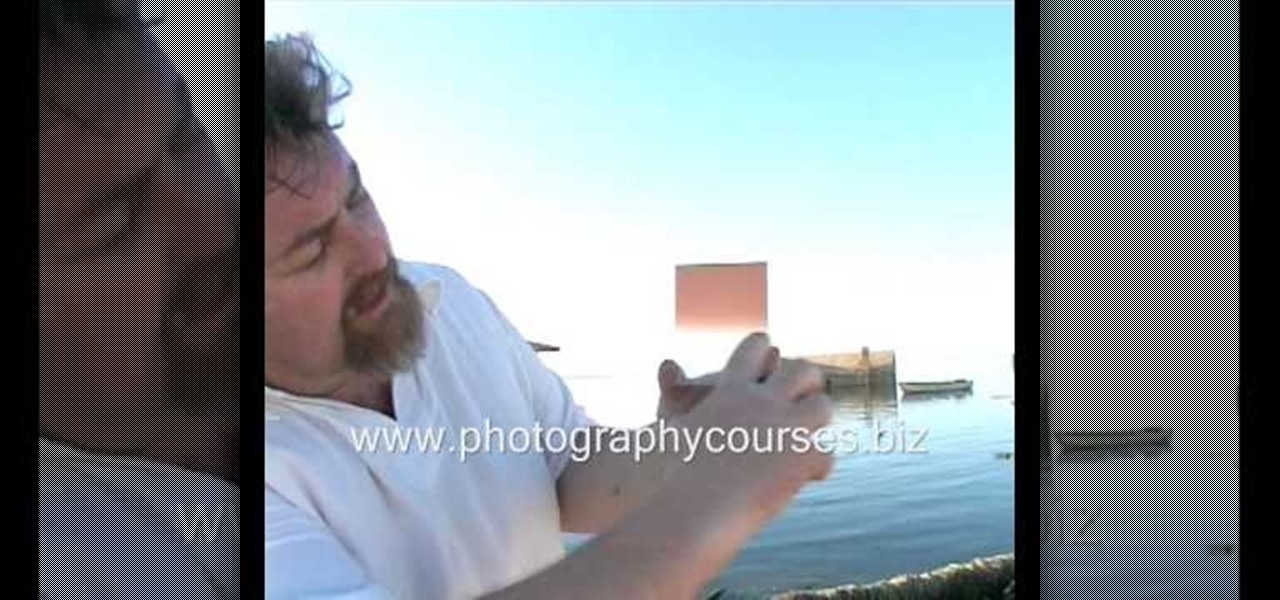
This video is about shooting a sunset photograph.

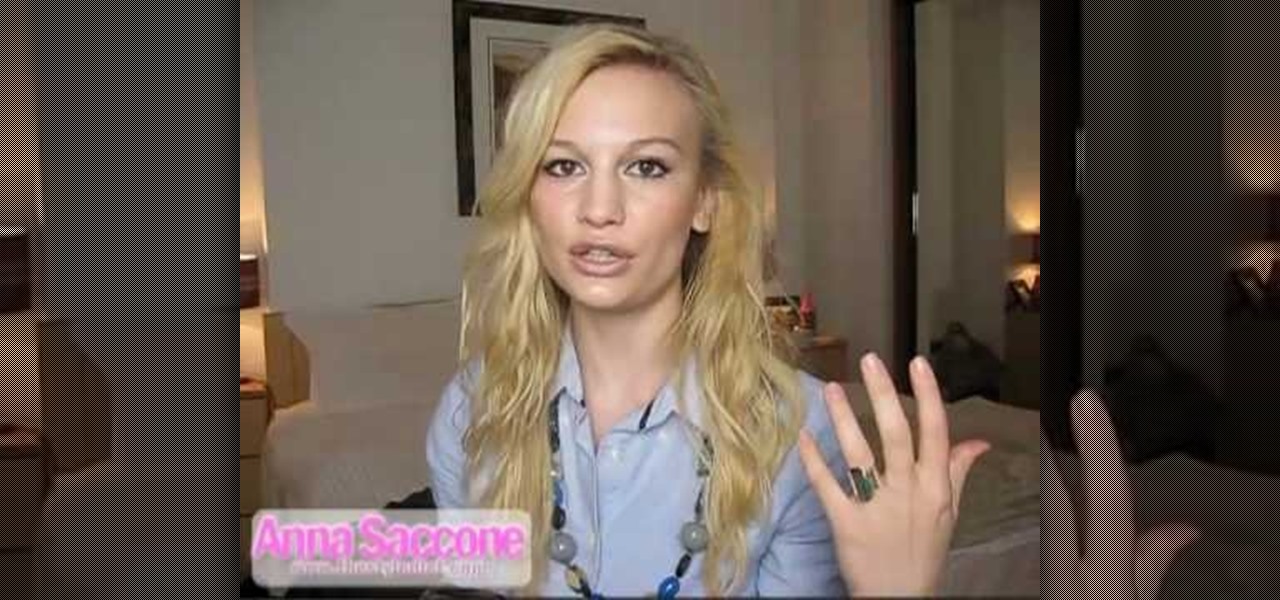
For all you women out there who do not fall into the normal categories, Anna Saccone offers some styling tips for both tall and petite women. For petite women, Anna suggests that you should wear just one color in order to elongate your body and fool people into thinking that you are taller. If it is not possible to wear simply one color, it is suggested that you have a 2 to 1 ratio of color in your outfit and that the colors do not clash too much, as this will seem to cut your body in half, e...

Using the improper types and colors of makeup may in fact add years to your appearance rather than take them off. This video shows some simple tips to reduce signs of aging in less than ten minutes. For example, rather than using shimmery eyeshadow, which can in fact enhance wrinkles and fine lines, use a matte colored eyeshadow in order to blend the lines in your face. Using light, non-heavy lip liner and moisturizing lip gloss will make your lips look fuller, giving you a more youthful appe...

With the proper techniques you can have fuller-looking lips. Start by using a flesh-tone pencil to outline your lip line. This adds volume to thin lips. Then fill in your lips with the same flesh colored pencil. This helps your lipstick stay put all day long. Apply two coats of your favorite moisturizing lip stick. Dot your lower lip with clear lip gloss and press your lips together to blot the gloss. Gloss lips look plumper than lips with just lipstick applied.

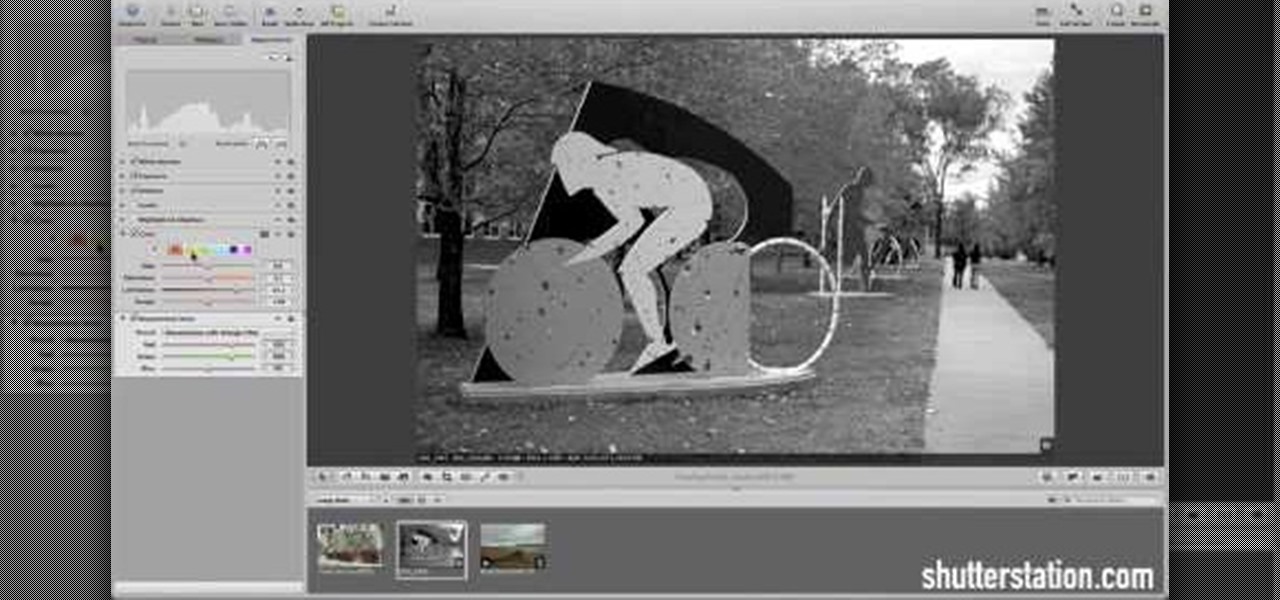
New to Apple's Aperture 2? Aperture 2 offers photographers a streamlined way to speed through edits, make essential adjustments, and deliver photos online and in print.

This is a video walkthrough of the "Prologue: Financial District" level in Mirror's Edge for the Xbox 360.

This is a video walkthrough for Chapter 1: Flight (PT. 1/2) in Mirror's Edge for the Xbox 360. The game has a realistic, brightly-colored style and differs from most other first-person perspective video games in allowing for a wider range of actions—such as sliding under barriers, tumbling, wall-running, and shimmying across ledges—and greater freedom of movement, in having no HUD, and in allowing the legs, arms, and torso of the character to be visible on-screen.

This is a video walkthrough for Chapter 2: Jackknife (PT. 1/2) in Mirror's Edge for the Xbox 360. The game has a realistic, brightly-colored style and differs from most other first-person perspective video games in allowing for a wider range of actions—such as sliding under barriers, tumbling, wall-running, and shimmying across ledges—and greater freedom of movement, in having no HUD, and in allowing the legs, arms, and torso of the character to be visible on-screen.

This is a video walkthrough for Chapter 2: Jacknife (PT. 2/2) in Mirror's Edge for the Xbox 360. The game has a realistic, brightly-colored style and differs from most other first-person perspective video games in allowing for a wider range of actions—such as sliding under barriers, tumbling, wall-running, and shimmying across ledges—and greater freedom of movement, in having no HUD, and in allowing the legs, arms, and torso of the character to be visible on-screen.

Pack some fun for your next gathering of family and friends. Imaginations run wild with everyday picnic supplies and your favorite Crayola Crayons and Markers. You will need crayons, markers, colored pencils, scissors, glue, tape, and picnic supplies (paper plates, napkins, cups, and plasticware.) This is a great project for summer parties with lots of children or just the young at heart. With this how to video you will be able to have a fun summer picnic craft challenge at your next family g...

Send cool designs spinning on warm summer breezes. Learn how to create a spiral spinner from Crayola Color Surge paper and markers with this arts and crafts tutorial. You will need Crayola Color Surge paper and markers, crayons, markers, colored pencils, scissors, and paper plates. This is a great project to do with your kids on a rainy spring day before summer begins. With this how to video you will be able to create summer breeze spinners with your kids.

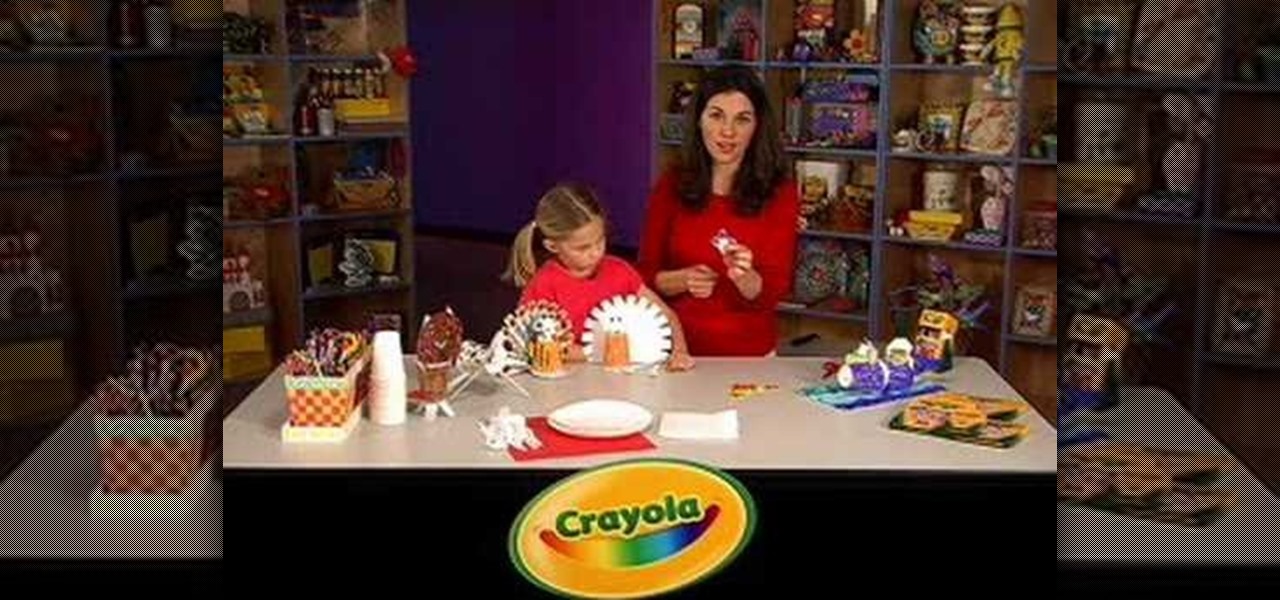
We know that your Thanksgiving dinner guests will be inundated with food during your feast, but it's an awful nice gesture to send them home with something sweet as well. Rather than packing up a huge take out box with turkey leftovers or a piece of pie, why not hand out a small bag full of candies?


