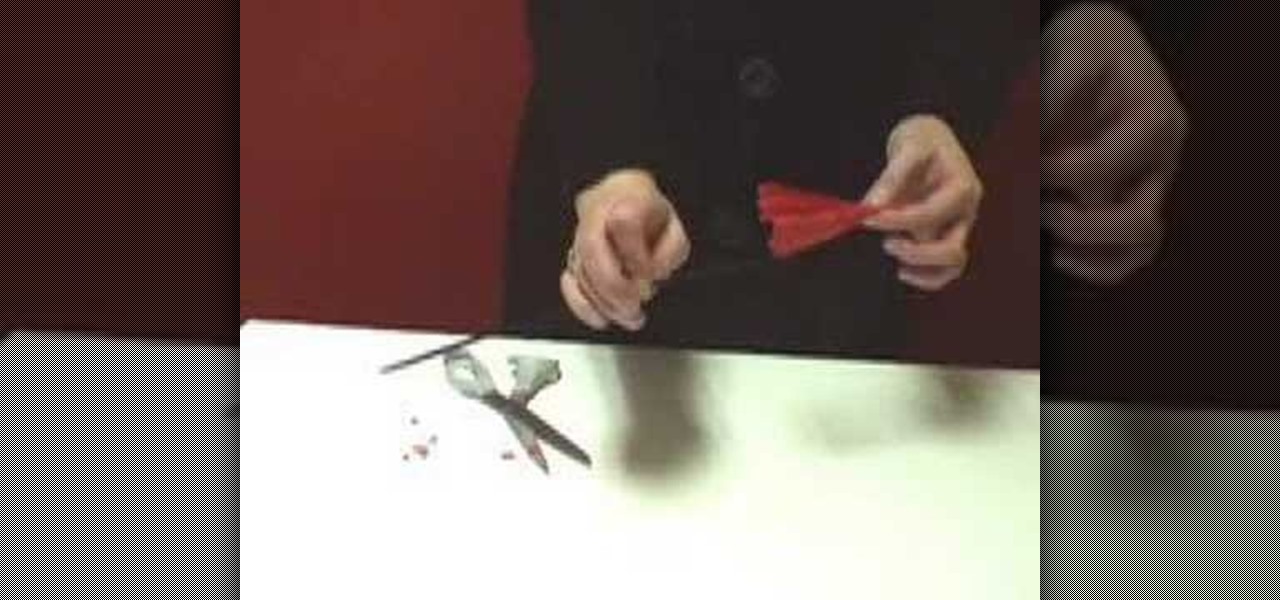
Not to diss real flowers or anything, but while they're pretty and all up front wrapped up in that tight bouquet, after a few days they start to look more dreary and sad than the last Nicolas Sparks movie.
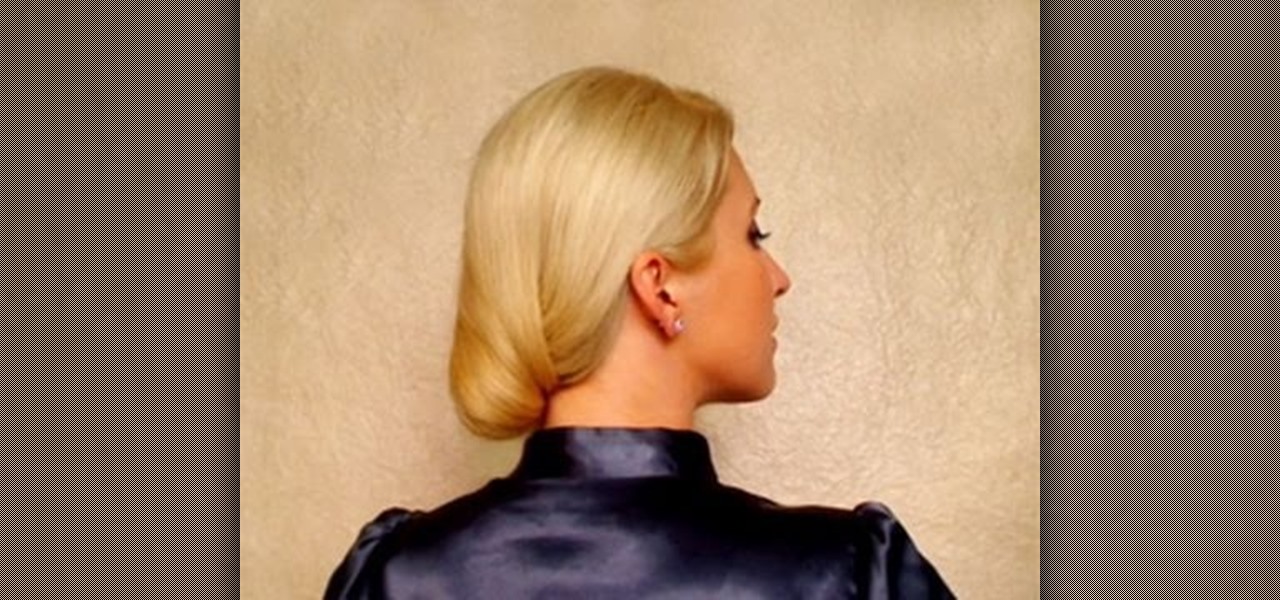
Got a wedding to attend? Got a wedding of your own coming up? Then you need to not only make sure not only that your makeup matches the elegant occasion, but also your hair. Rather than going with done and done again high buns, why not create this classic low rolled bun?
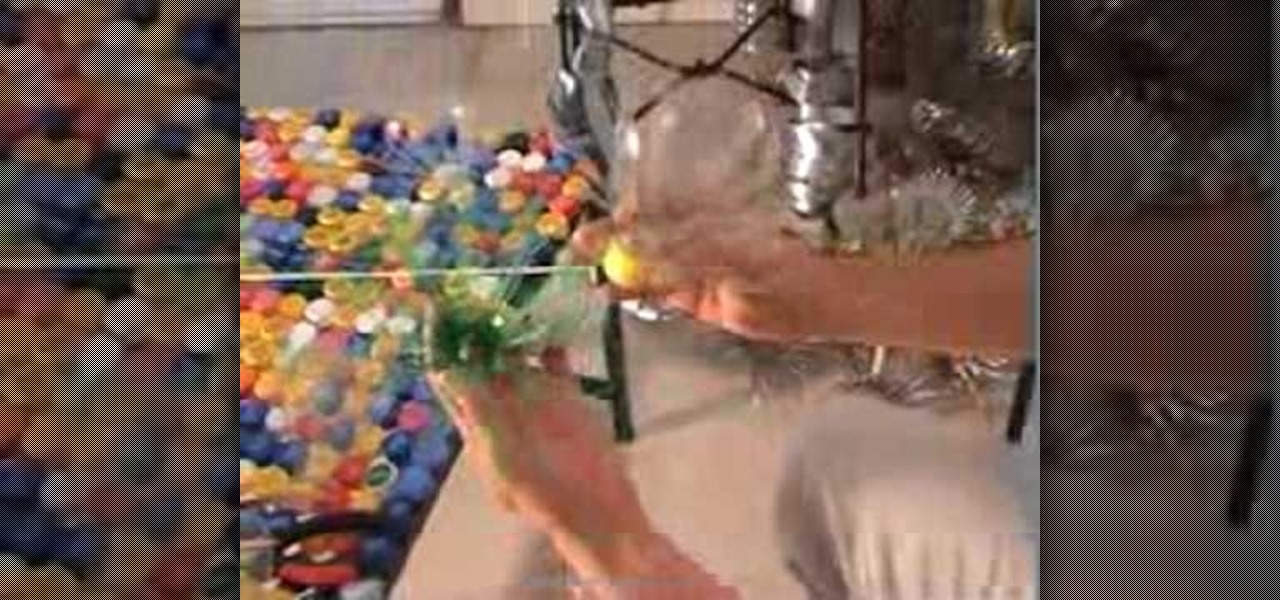
In this tutorial, we learn how to recycle plastic bottles and make decorative flower art. Start out by cutting around the cap of the bottle until the body is cut off. Then, cut small slits in the bottle until it's completely cut up. From here, you will spread these out so they are opened up like petals. Take different colored plastic bottles and repeat this process. When you're finished, you will then attach these together using heat and use them as decorative art for your wall! This is great...
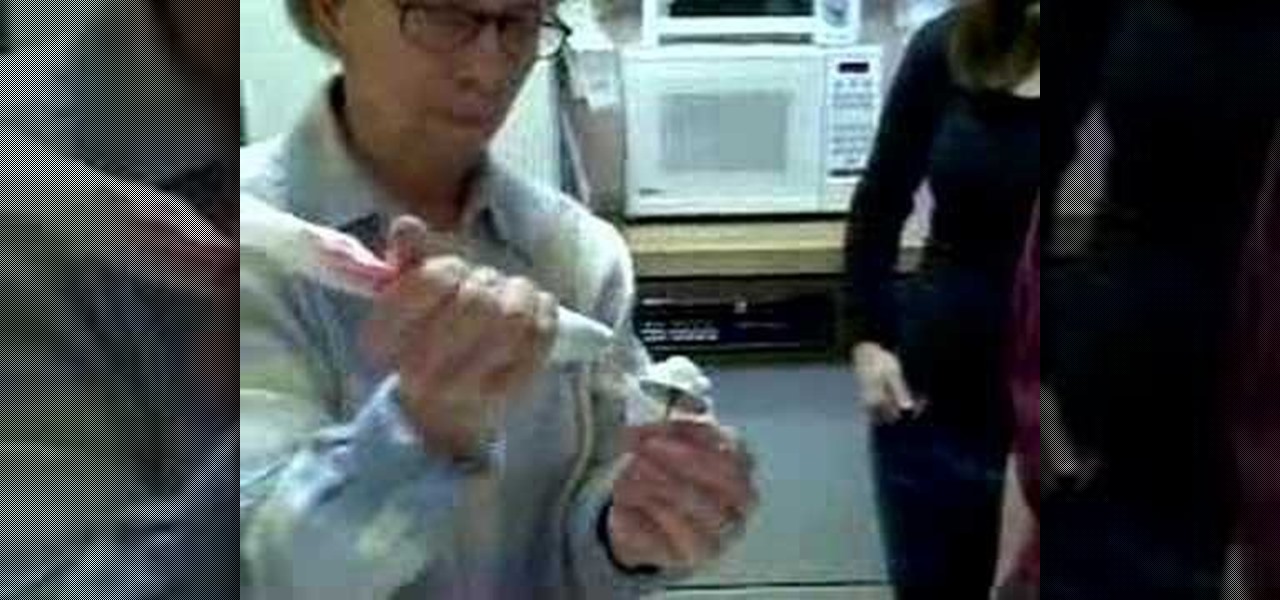
In this video, we learn how to make a cake American beauty rose. First, place your icing into a plastic bag and then place the tip inside of it. From here, you will twist the surface where you are putting your rose and let the icing roll into a round shape. After this, make additional rows of petals until you have the size of flower that you want to create. When finished, you will have a gorgeous rose on your cake or cupcakes! Add in green icing to make leaves on the side of the flower and yo...
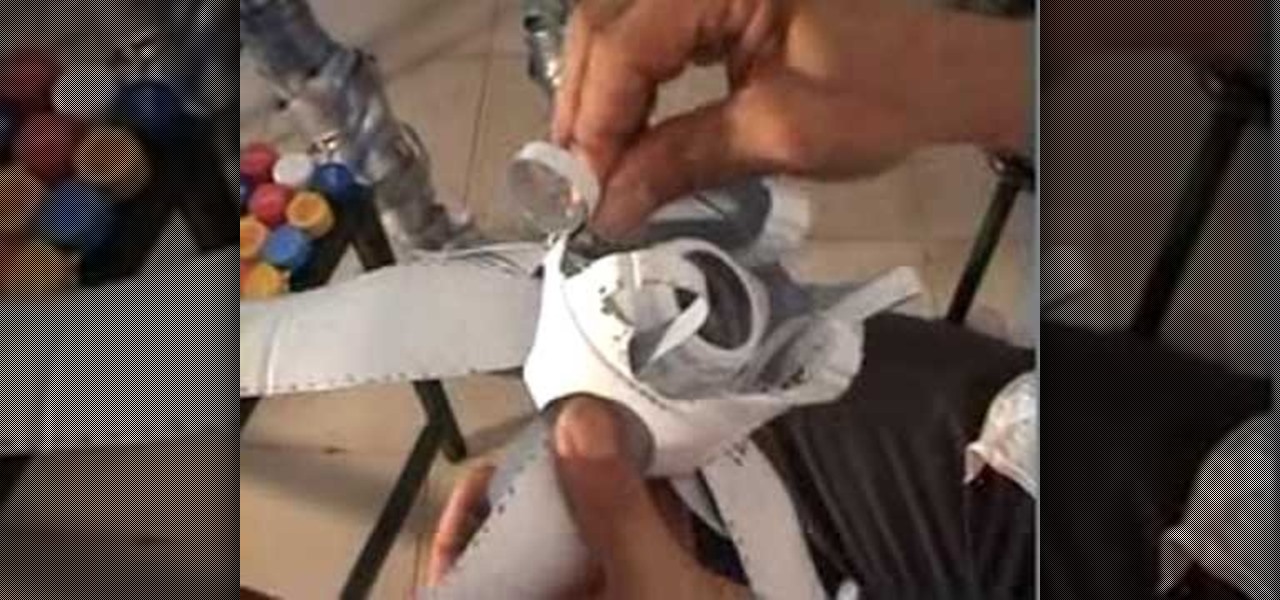
With this video, we learn how to recycle milk bottles to make decorative flowers. First, mark eight coupled marks on four sides of the bottom of the bottom. Then, poke holes into them and cut into them with sharp scissors. From here, you will continue to do this all the way around the bottom of the bottle until you have created petals. Then, cut above these to make long oval types of shapes and then spread the petals out on the bottom and on the top. Pull the longer petals into the open areas...

This video will show you how to draw roses in MS Paint or using a pencil, a marker, a sheet of paper and some colors. Just follow these instructions from the video. The first thing that you will need to draw is the sketch of it. Complete the tulpin with all the details just like in the video and continue it with the flower. Now make two more flowers and now you can use the marker over the sketch. The last thing to do is to color the drawing with the colors used in the video. And now you're done.

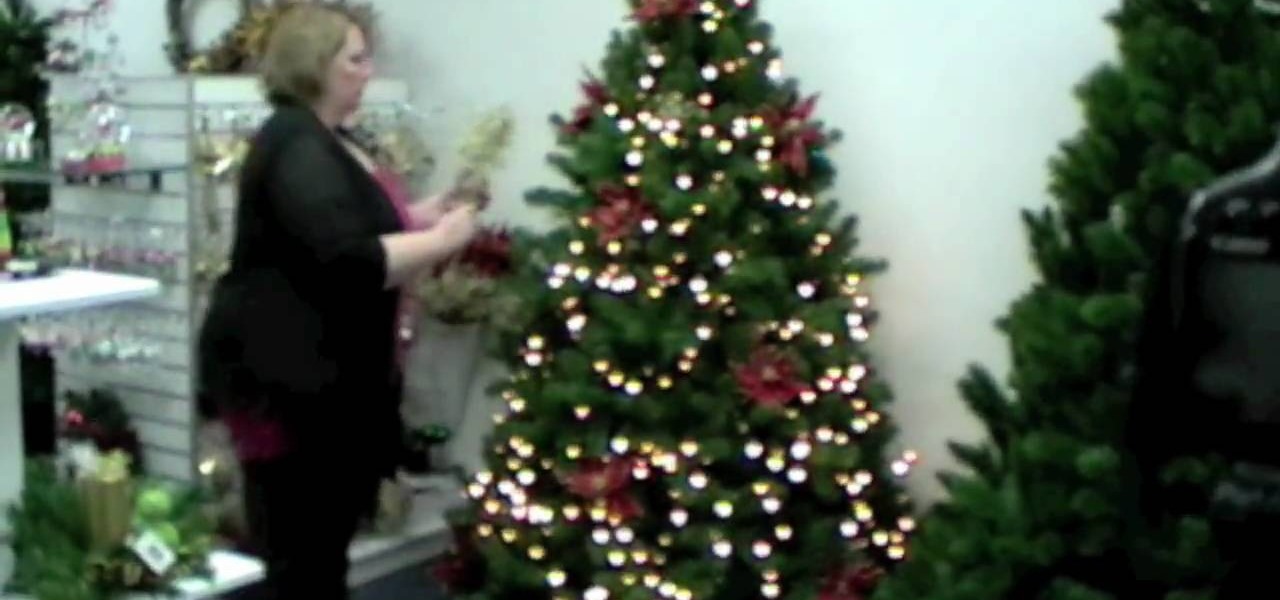
In this video we learn how to decorate your Christmas tree inexpensively. If you have a lot of different decorations, you can place them in your tree. You can use poinsettia flowers to place inside your tree next to each other to create a design or pattern throughout the tree. This will not only look great, it's cheap! Place in various other fake flowers in the tree that you have laying around the house. After this, you will have a beautiful tree that you have decorated with things that are j...

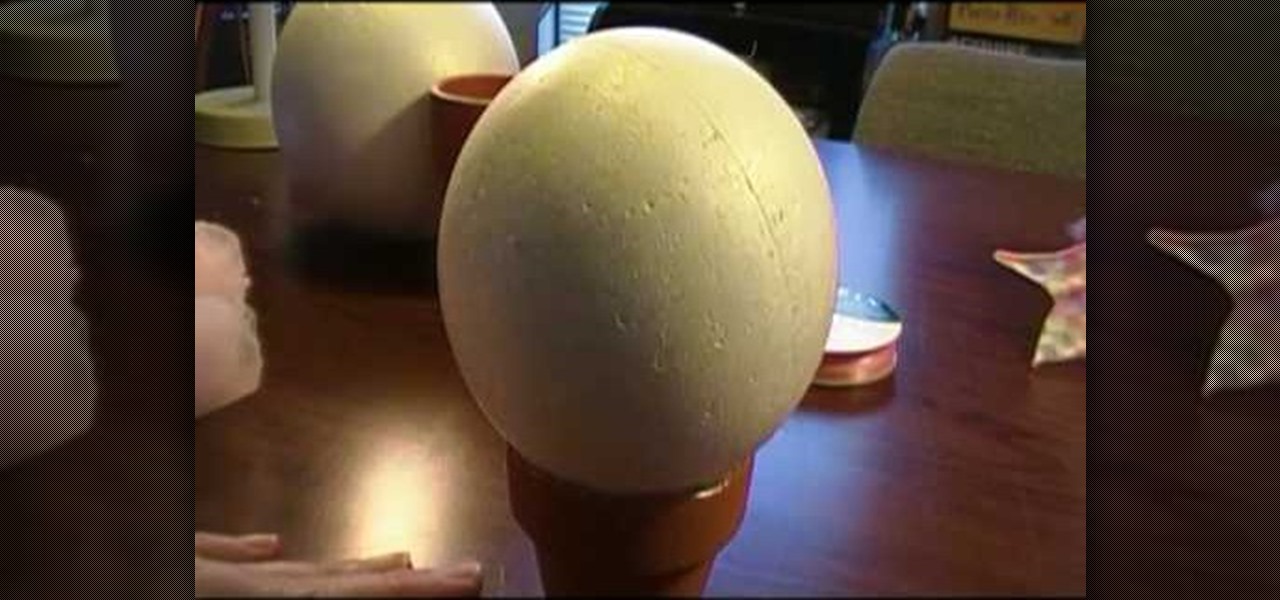
In this video we learn how to make a baby and child hat stand. First, you will need to purchase flower pots from the store along with Styrofoam balls. Use different sizes of balls to fit the size of hats that you are creating. Use marbles to weigh down the flower pots. From here, you will use a hot glue gun to glue the ball to the stand and then let it cool From here, you will be able to use this as a stand for your hat. This will help your hat set after you are done decorating it and display...

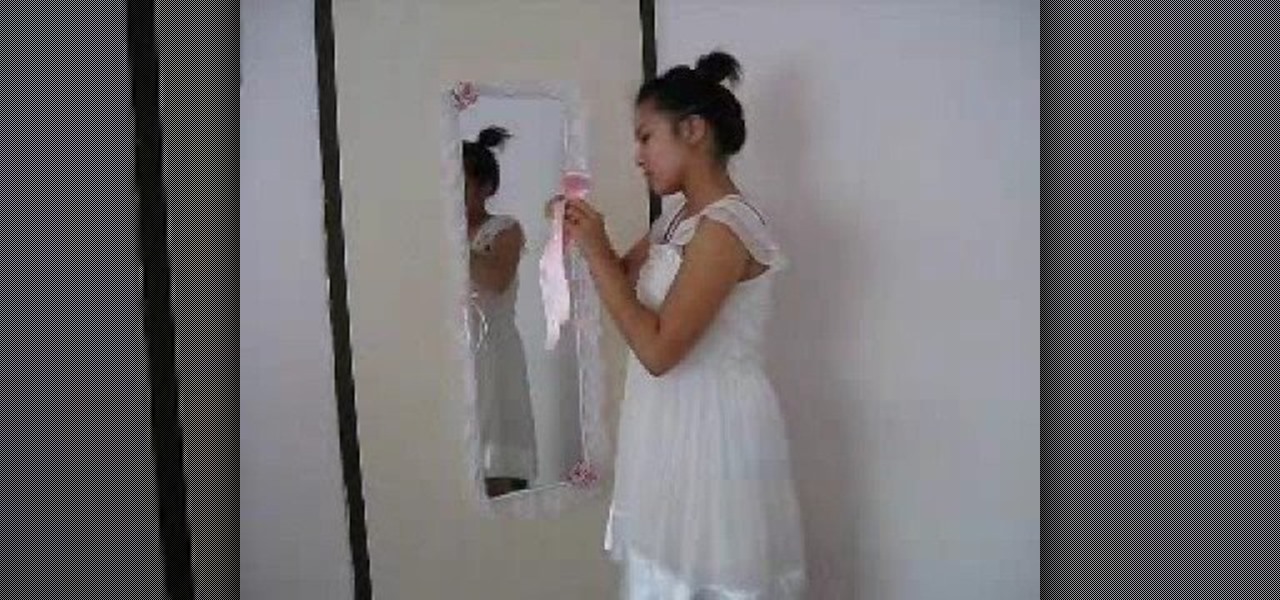
In this video we learn how to makeover your mirror with accessories. First, grab lace, string, ribbon, fake flowers, and anything else decorative that you want to hang around on your mirror. Once you have all of your supplies, get to work! Use double sided tape to stick to the sides of the mirror so you can safely stick on all of your accessories. Start out by taping some lace or ribbon around the mirror. You can also tie some ribbons and place those as on as well. If you have fake flowers, t...

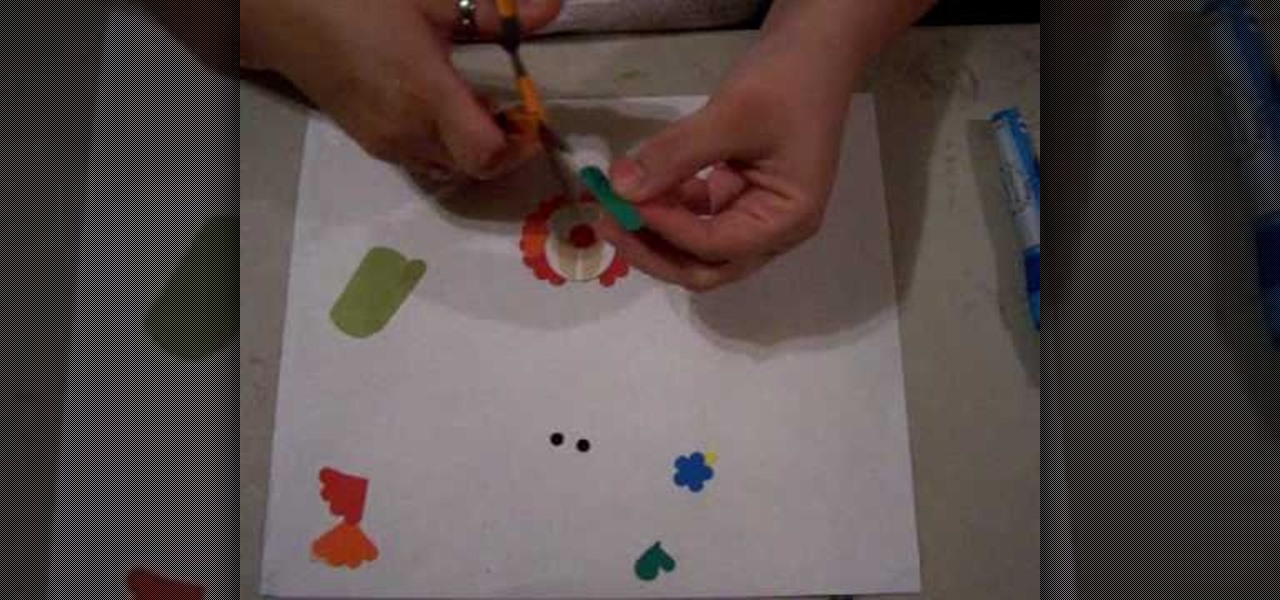
In this tutorial, we learn how to make a clown punch using Stampin' Up! products. You will need: a red scallop circle, green key punch, orange scallop circle, heart shape, circle, oval, red circle, flower, black eyes, and a yellow small circle. After you have these punched out, make the hat out of the green large and oval shapes, then apply the flower to the top of the hat. Next, glue the circle behind this, then cut up the orange and red scalloped circles to create hair on the sides. Next, a...

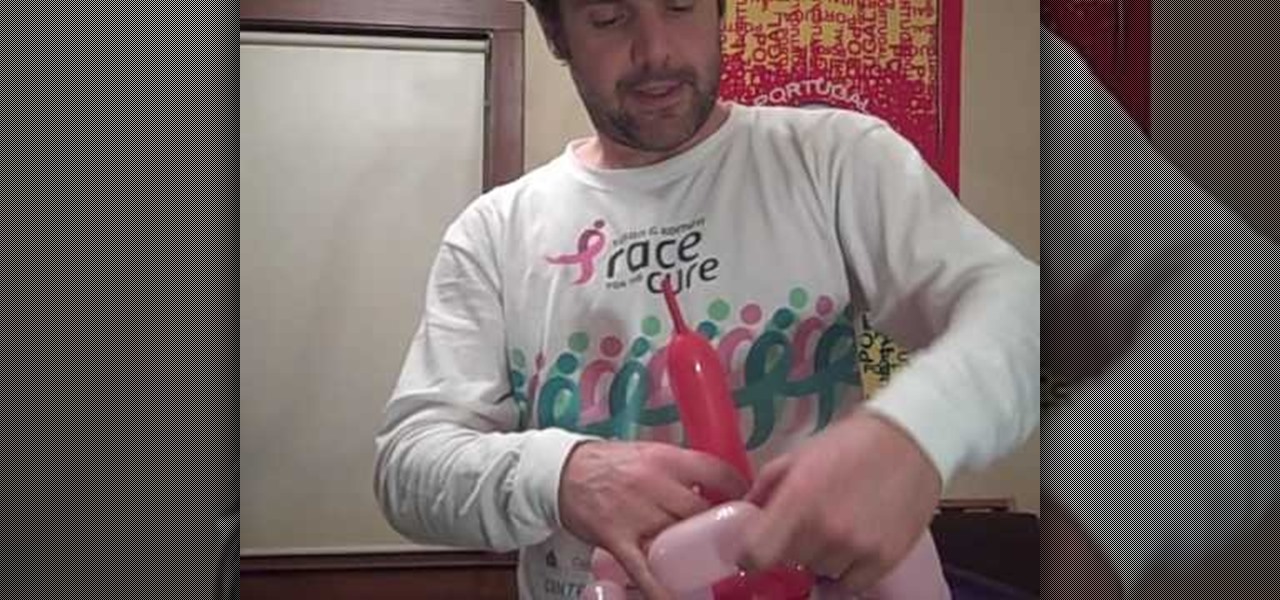
Balloons come in various shapes and sizes and if used properly, can be combined to create complex shapes that mimic real life objects. Choosing the correct color of balloons also adds to the realism in the completed object.

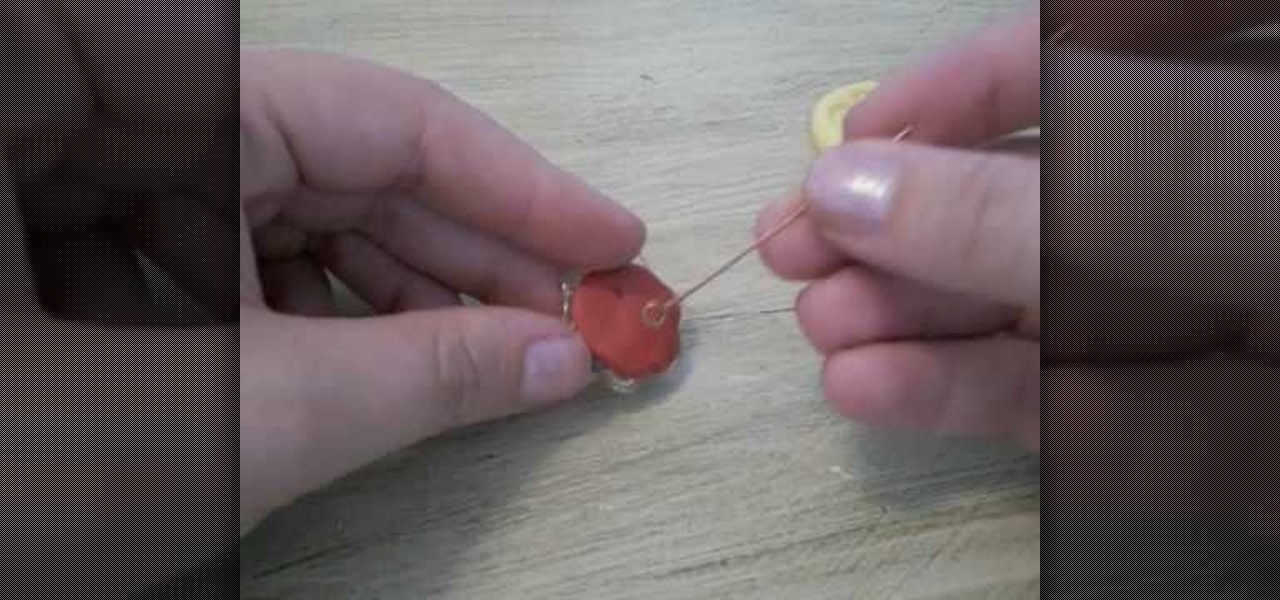
In this video, we learn how to make a beaded 7 petal faerie flower pendant. First, string 14 beads on an 18 inch piece of string. Next, create a circle in the beads, then tie it off. After this, add three blue beads to your first pico stitch, then go through two more beads after this. Continue to do this all the way around the bracelet until you reach the other side. After this, go through the first pico stitch and add one red bead, followed by blue and red beads to make petals. Continue this...

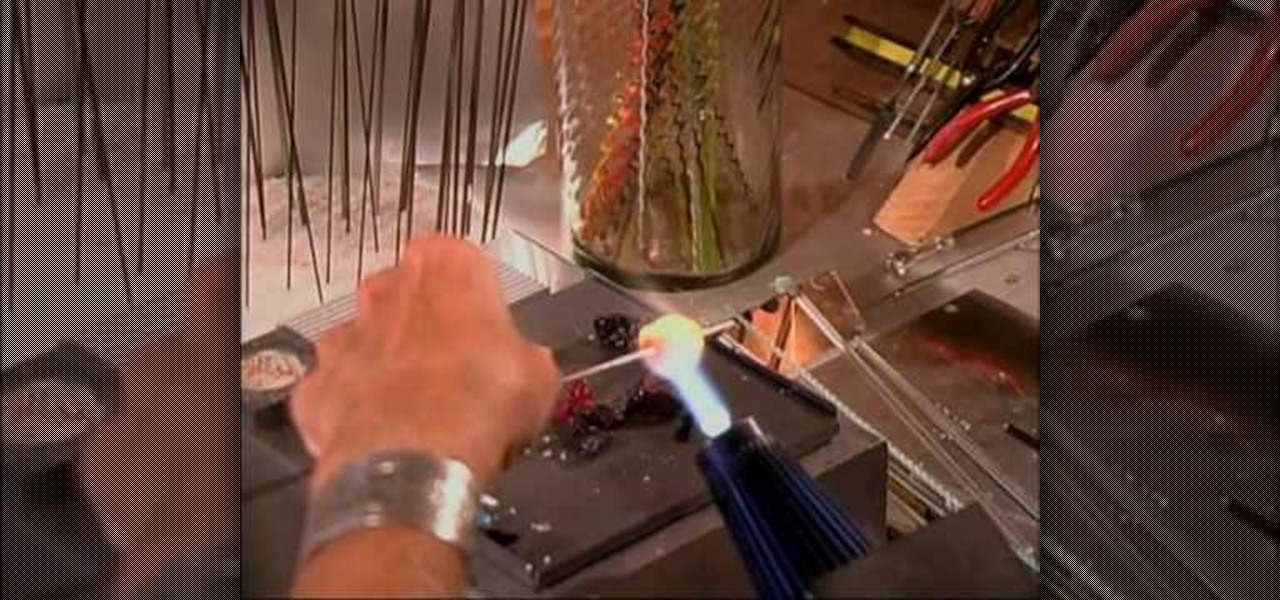
One of the coolest beading effects is the kind that suspends various materials - from flowers to Latticinos - in a clear glass case. Swirled or marbeled shapes can also be added for interest, but either way the resulting work is like looking into a prehistoric block of amber and peeking around at such curious fragments.

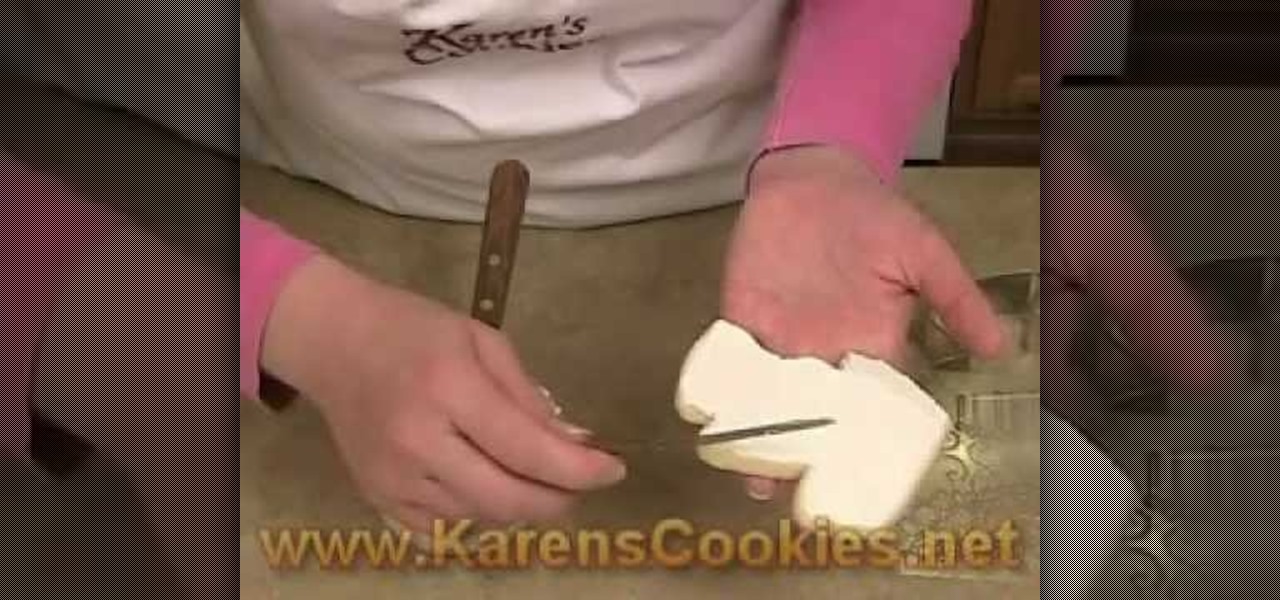
What's one way to add interest to your cookies without carving out an entire afternoon devoted to crafting neverending sets of peonie flower fondant flowers? Using cookie texture mats. Texture mats are usually pounded onto fondant and candy clay to create an interesting pattern, but they can be used on buttercream icing as well.

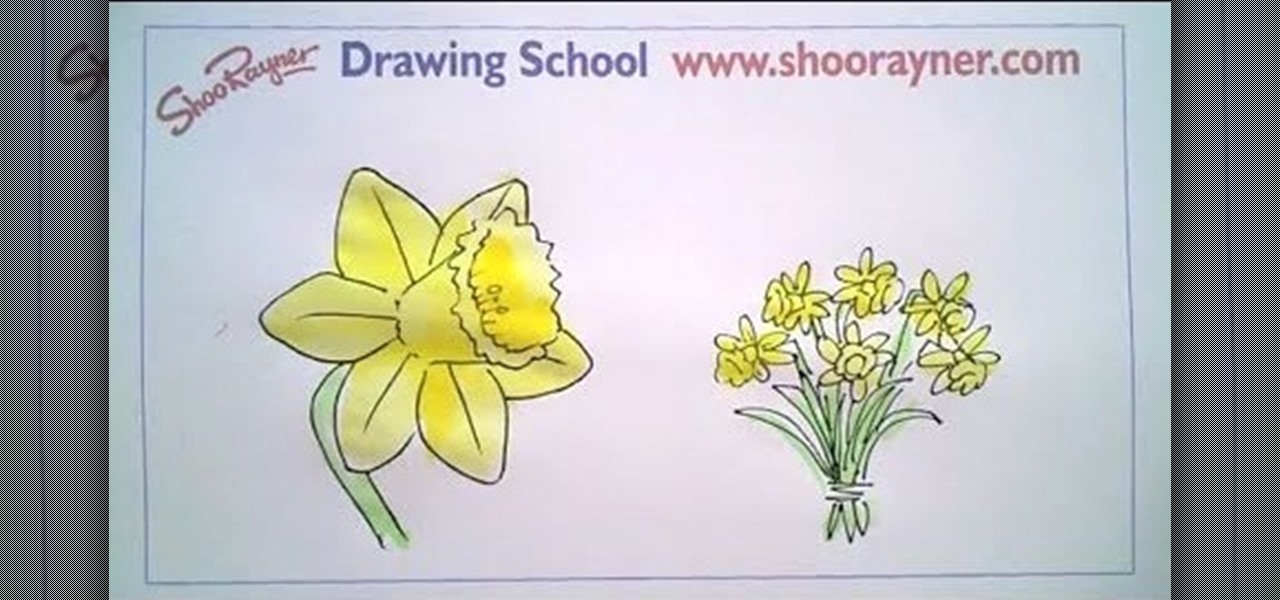
In this tutorial, we learn how to draw a daffodil for St. David's Day. Start off by drawing a circle to measure out where all of the different petals are going to go, then draw a circle in the middle you know where the middle will go. Next, start to draw out the petals onto the circle. After this, draw the middle of the daffodil with the seeds that are in the middle. After this, draw the lines that are in the middle of the leaves. You might want to use a real flower for a reference picture on...

In this tutorial, we learn how to draw a rose, step by step. start off drawing the petals of the rose, making the inside of the flower first. After this, start to draw in more details and draw around the inside of the flower, making the rose larger and larger. After you have done this, draw on the stem underneath where the petals are, and add leaves onto the stem. Continue to add in any details that you see fit throughout the picture. When you are done drawing, color it if you prefer, then si...

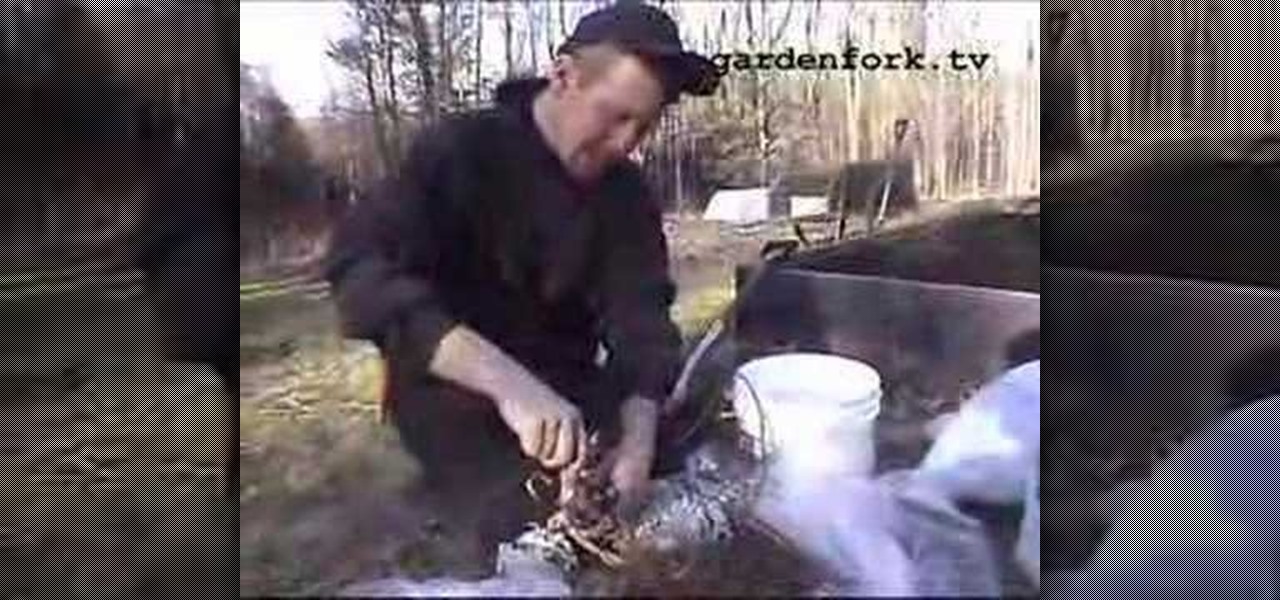
In this video, we learn how to transplant raspberry bushes. First, you will want to add in soil to your raised bed or garden where you have your other plants. After you get the soil in and have mixed manure in, cut the bands off of your raspberry bushes and put them in a bucket. The bucket should have water and flower food inside of them. After you have placed the flowers into the bucket, you will then be able to place it inside of the soil. Then pour water over your soil and wait for your bu...

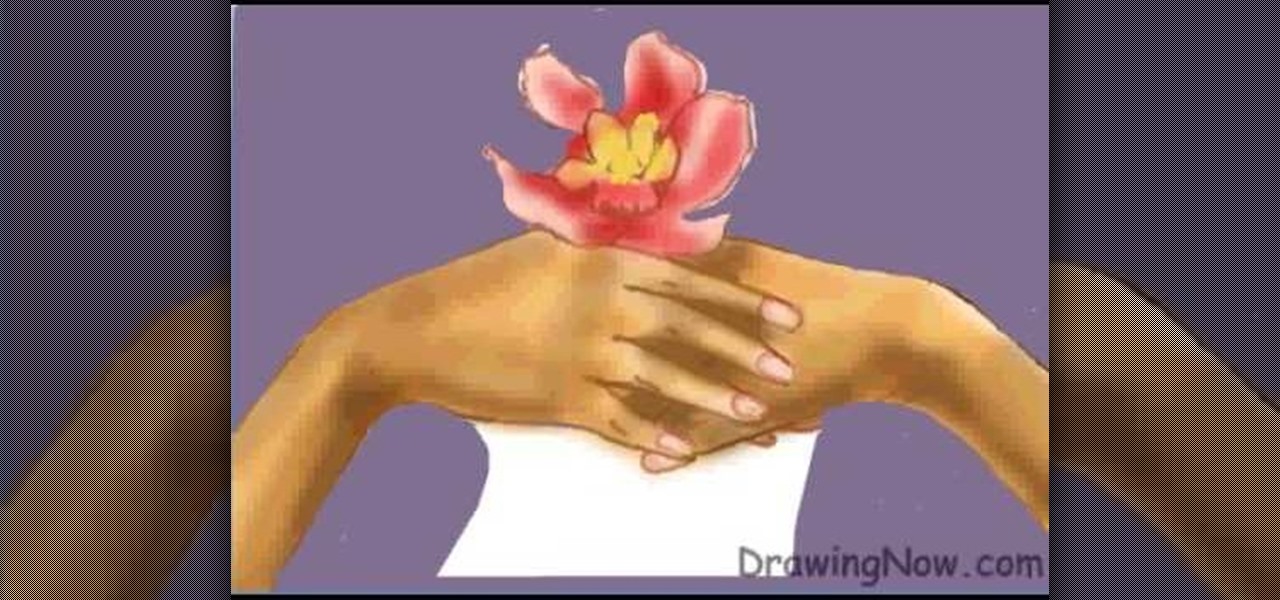
In this video, we learn how to draw two clasping hands. Start off by drawing the two hands holding each others hand. Next, draw a circle above the hands like they are holding something. After this, draw a large flower on the circle and then start to erase the base lines from the drawing. Draw in the fingernails on the picture, then color in the skin color on the nail. Color the flower any color that you would like, then draw in the background to any color you prefer. Shade the wrist of the ar...

In this tutorial, we learn how to plant narcissus bulbs. To pick out the best bulbs, look for a nice healthy sprout and a nice firm bulb. These plants grow very fast and they grow during the winter. You can plant these and within 2-4 weeks you will have flowers growing. You can plant either a small or large bulb, just make sure it's healthy. To plant these, you can either grow them in rocks and water or soil. To grow in soil, place the bulb all the way into the soil then pour water into the p...

In this video tutorial, viewers learn how to make a paper rose with a napkin, Begin by orienting the napkin lengthwise. Then pinch the napkin corner with your right index and middle fingers. Now wrap it around the fingers. With your left hand, squeeze to create the size of the rose flower. Then hold the flower with your left hand and twist the stem. Now hold the end of the stem twist and pull the corner upward to create a rose leaf. Pinch the leaf into place and pull the excess napkin downwar...

A good cupcake is a good cupcake - there's no reason to add extra stuff like pretty designs or fancy holders when it tastes like Heaven on our tongue. But this tutorial presents a truly ingenious way to package cupcakes that we're really digging.

Are you looking for a unique type of flower that will never wilt or die? Check out this tutorial for a cool, homemade alternative to the silk variety. All you need to make these flowers is some funky colored paper.

In this Arts & Crafts video tutorial you will learn how to make a lily flower from folded paper with origami. For this, you need a square sheet of paper. First you fold it in half and then fold it in half in the other direction. Next you fold it diagonally across to form a triangle. Then fold it again across the other diagonal. Open up the paper and push the diagonal folds inwards slightly so that the center point is pointing upwards. Then press the folds in to form a triangle. Take one of th...

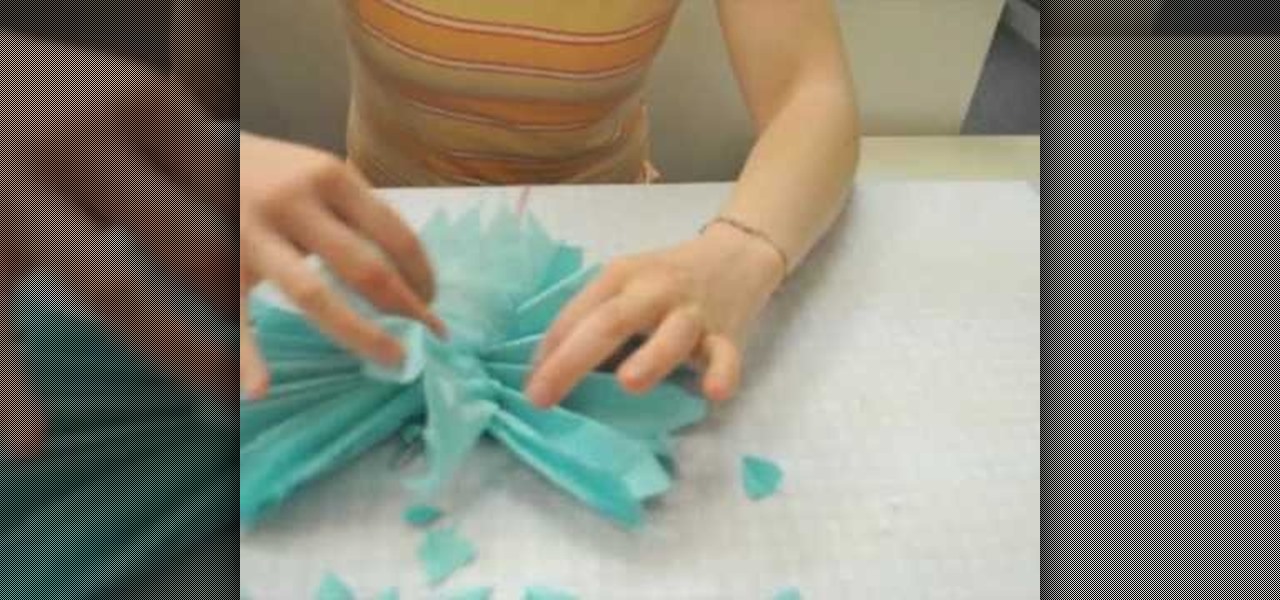
This video shows you how to make a puff flower ball using tissue paper.Spread out a tissue paper,of any colour,on a table.Keep one of the short ends of the paper,facing you and away from you.Then fold it back and forth,from one short to the other side until the whole of the tissue paper is used up.Fold this into half and release.Take a piece of ribbon and tie it on the center.Give the edges a pointed, partyish look by cutting them using a pair of scissors.Now take a single piece of tissue pap...

This video shows how to paint your nails with a very attractive red and yellow nail art design. Using a glitter nail polish, dip it in yellow glitter powder. Pat it on the nail, rather than brushing it on. Then apply large glitter shimmers randomly all over the nail, and this forms the background.

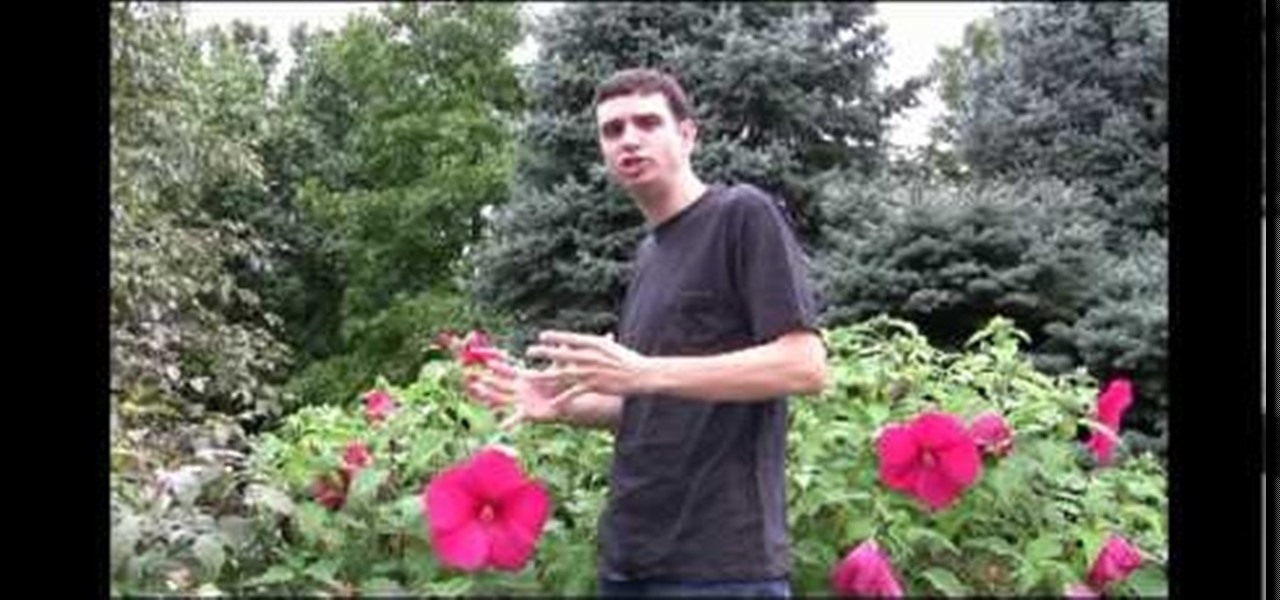
In this video, we learn how to take care of hibiscus plants. These can grow anywhere from 3-10 feet tall, so make sure to take care of these! Some extra steps to help are to: plant these in a well drained area and water it, let it drain and water it again. During the winter, mulch the flowers and it will survive. Make sure you pinch the flowers that are dead to keep your plant looking gorgeous and make sure you trim any dead branches that make the tree look dead. Doing these small steps will ...

Orchids are amazing flowers to grow, but you have to do it just right. If your orchid is starting to wilt or is no longer growing properly, check out this tutorial and get useful tips on how to revive it. In this video, Tom and Joani Maccubbin show you the best ways to re-pot and clean up orchids to keep them living for years. So, before you add this lovely flower to your garden or home decor, make sure you check out this advice, so you can enjoy them for a long, long time.

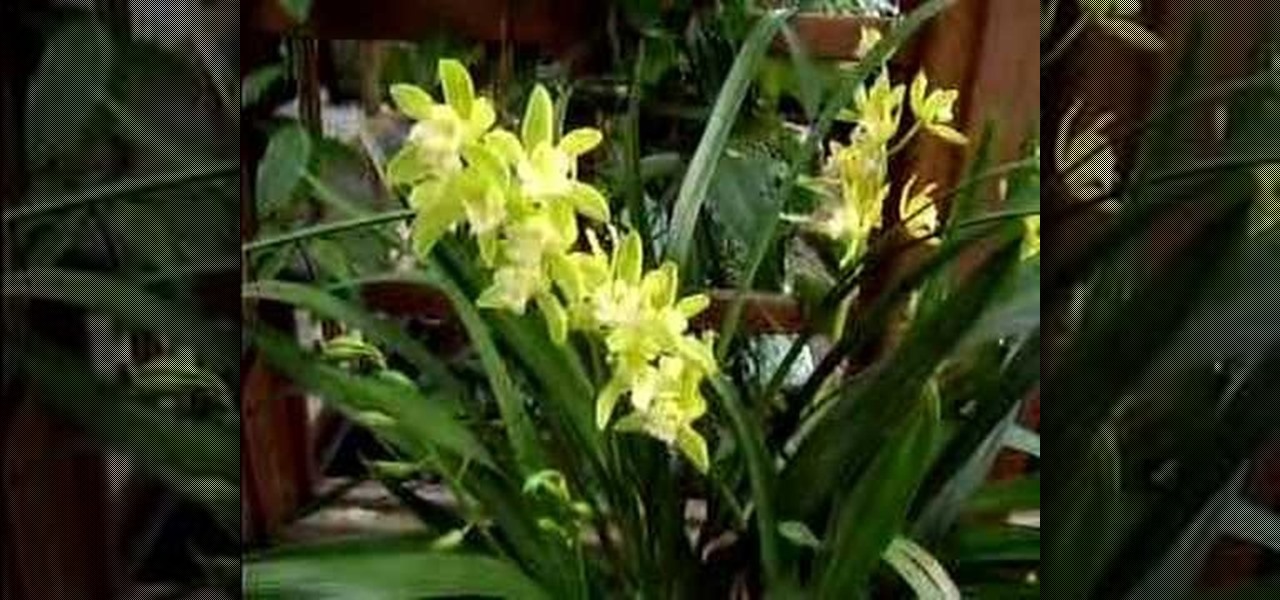
Cymbidium orchids are beautiful flowers. They are perfect decorations for spring time, Easter and many other occasions. If you are thinking of using these lovely flowers around your home or garden, check out this tutorial and learn how to care for them properly so that they last a long time.

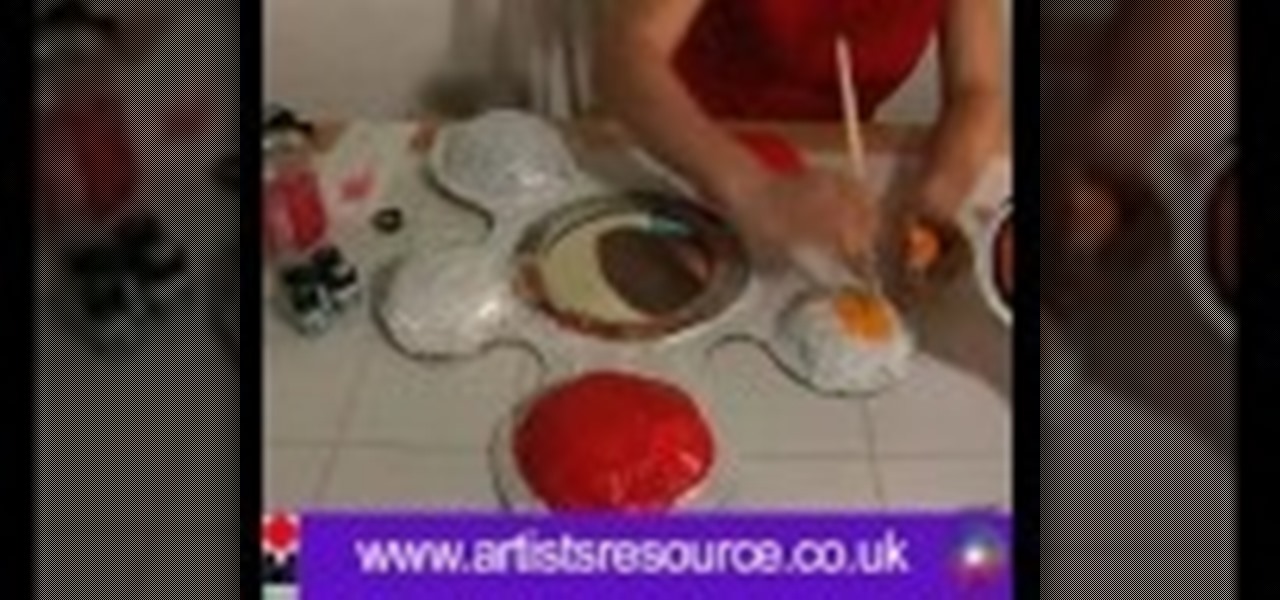
This illustrate us how to make paper mache mirror. Here are the following steps.Step 1:Take a piece of cardboard and make two circle on it with two different circumference.Step 2: Now cut through the outer circle as well as the inner circle to obtain the rim.Step 3 : Now take a sheet of cardboard and cut it in shape of a flower.Step 4: In the center of the sheet place the rim.Step 5: Now along the petals of the flower stick a pile of rounded newspaper.Step 6 : On this newspaper and cardboard ...

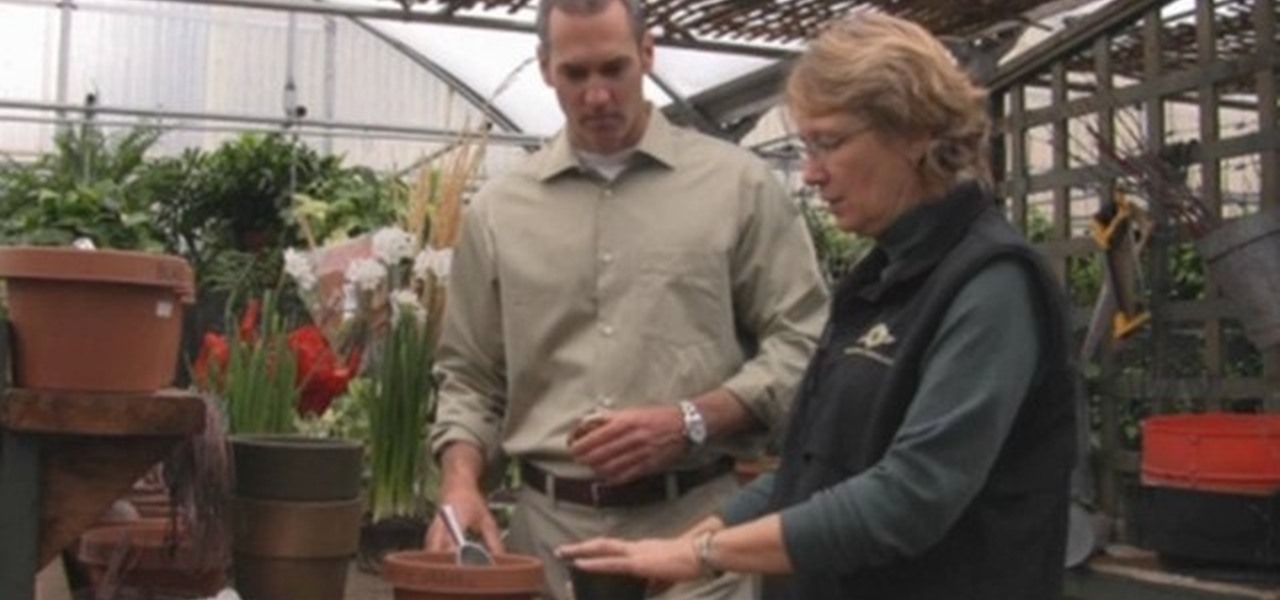
We are shown by a nursery manager how to grow Paper White Narcissus. While not hardy outdoors they are simple to grown indoors. We are shown how to grow in a vase or pot. For the vase, pebbles are placed on the bottom then about two inches of water. The bulbs are put tips up roots down, then a little more pebbles on top. The potted version is filled with a moist soil and water mixture. The bulbs are placed identical with soil lightly on top. With the pot a flowering support structure is place...

Harvesting garlic scapes is a simple and very easy task. Grab some small clippers and then head out into the garden. Make sure you have harvested it before it has sprung its flower. Also make sure you cut it before the scape has curled around (at the top of the scape and where the flower will form), it tastes better and is nice and tender. Locate the scape and make a small mental note on where your going to cut it. The best location to do that is, as far down as the last set of leaves (near t...

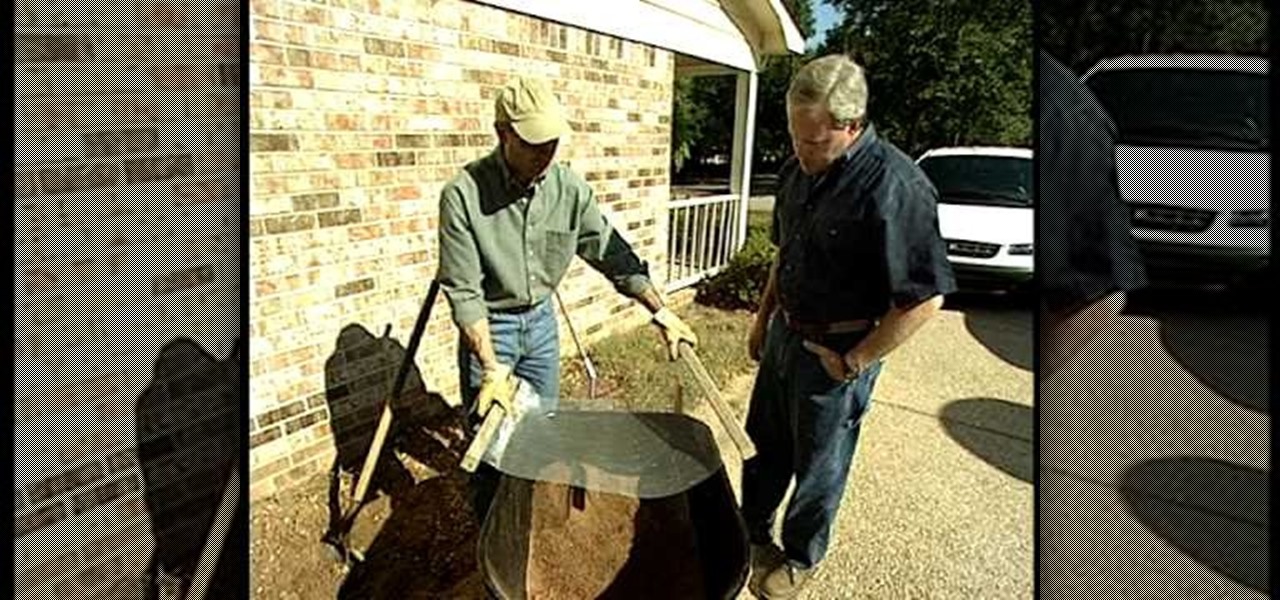
Danny Lipford shows us how to filter rocky soil in a flower bed in this informative video. By stapling 2 pieces of 2x2 to a hardware cloth, a mesh is produced that can be clipped onto a wheelbarrow. A home-made sifter of this variety, without a solid frame has the distinct advantage that you can pick it up and toss the filtered out rocks to the side after use. The sifter could also be used to filter the clumps that appear in fertilizer bags, or even masonry sand. The resulting filtered soil i...

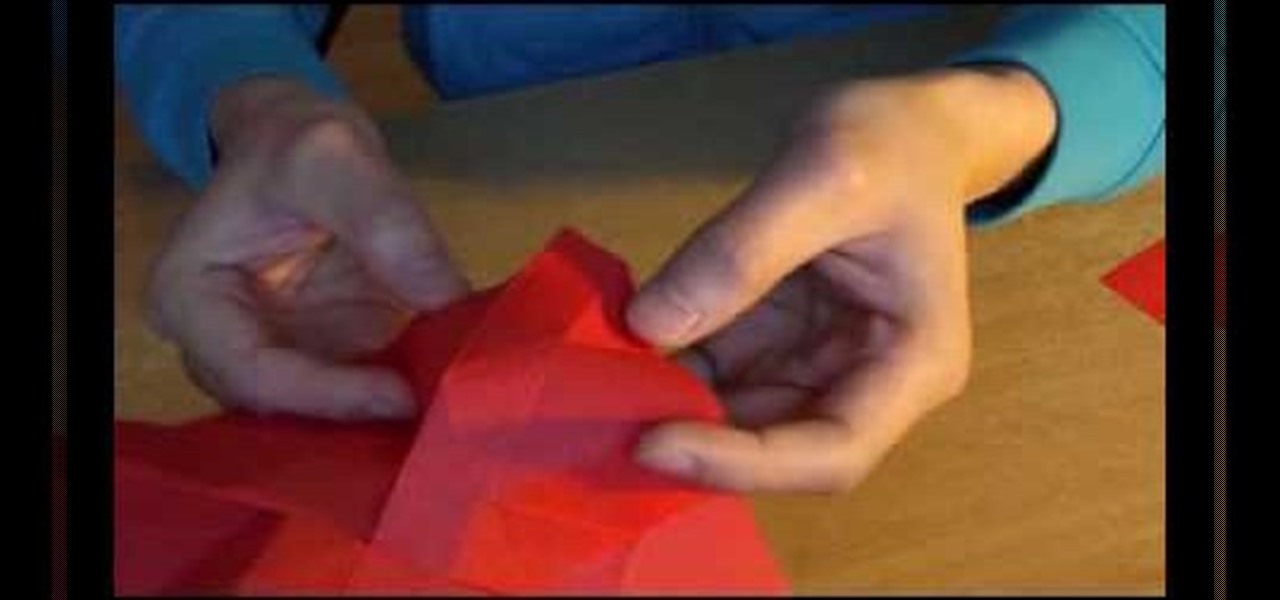
Make an origami rose for your love on Valentine's Day. This easy to follow video shows you how with romantic piano music to calm you while doing it! Start with a piece of red paper then make the initial guide line folds. You then start by folding in the corners then making more guide folds. Then the edges get folded in as you slowly start to see the flower develop. Then, you make a fold in the center and start to work your way around as the flower takes shape. A twist starts at the center the...

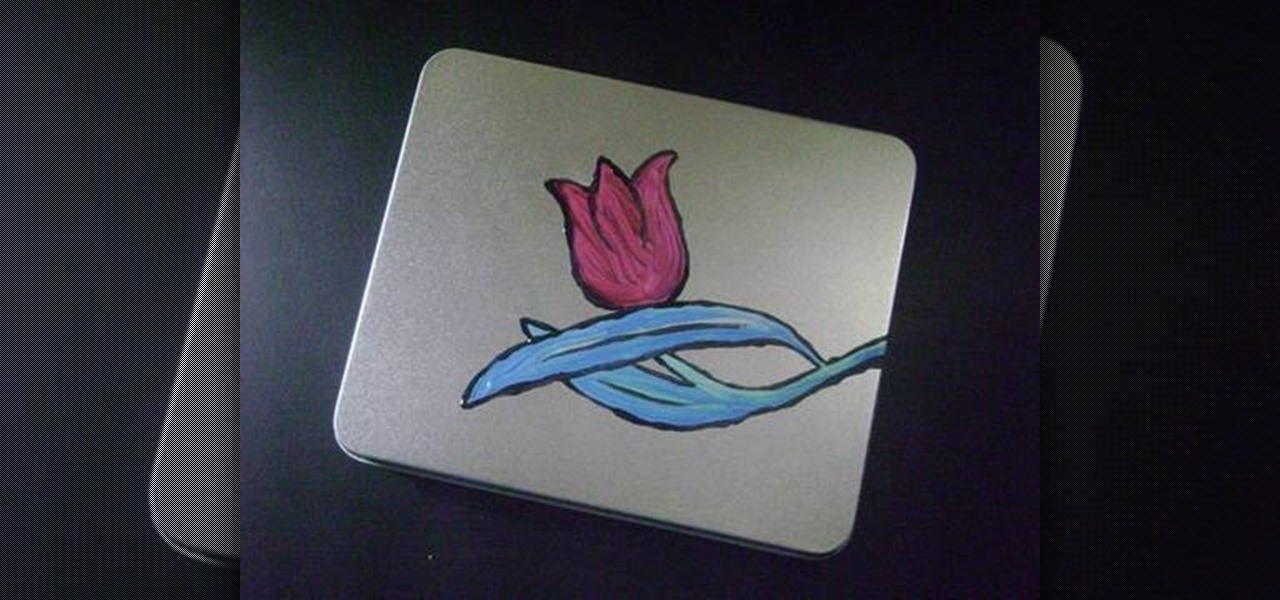
Simple Kids Crafts demonstrates how to make a decorative painted tin case for a mom's jewelry. To make the decorative case, you will need one recycled tin case with a lid, paint, and thick and thin paintbrushes. First, use the thin paintbrush to paint green stems of grass on the tin. Then, use the blue paint and a thick brush to paint grass blades on the tin. Use the red paint to paint a large red flower on the tin case. Let the paint dry. Use a thin paintbrush to accent and outline your flow...

Feng shui helps to create positive energy at your home. It drives away the negative energy from your home. Eventually the people living in that home will get good thoughts. Thoughts make a person good or bad. Thoughts can make you rich or poor. You can change your life by making some simple changes at your home. This space lift can do wonders for you. In the energy map, wealth area is at the far left hand corner of the house. dry flowers bring negative energy and losses to your home. Therefor...

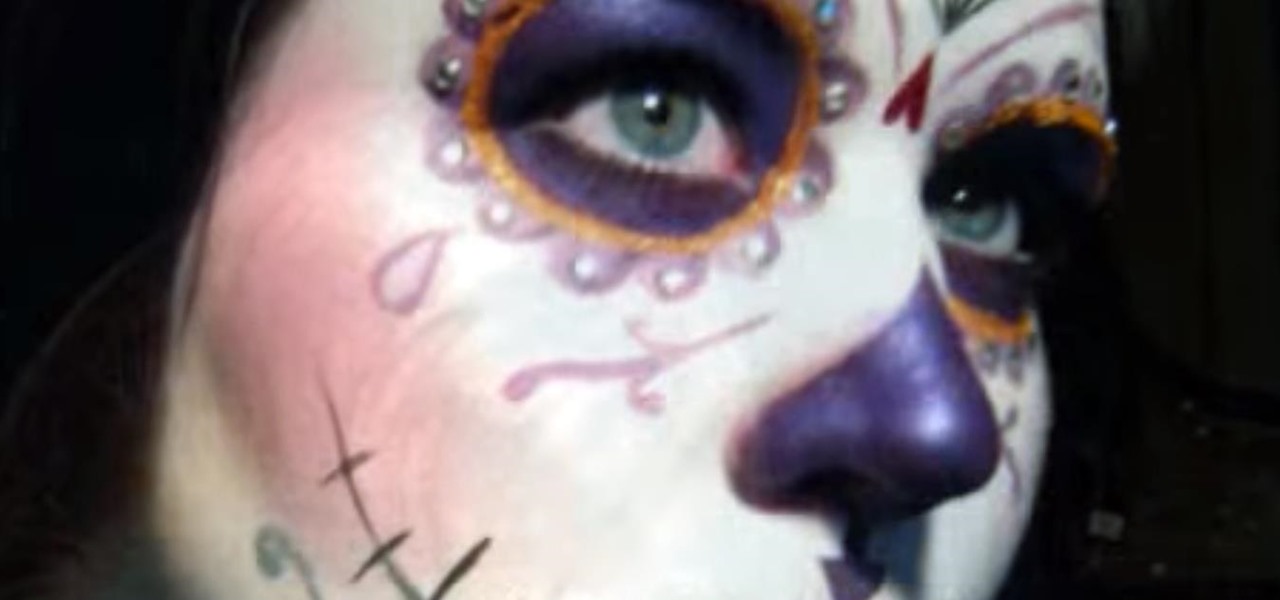
YouTube user goldiestarling teaches you how to apply a purply sugar skull makeup look inspired by Sylvia Ji's Purple Crush painting. Use a white eyeliner to create the sockets of the skull, then go around the nose area. Color the whole face using a creamy white pencil and add red blush on the cheeks. Use a creamy purple color to fill in the sockets and the tip of the nose. Draw small flower petals on the edges of each socket. Use a black color to draw a spider web on the forehead. Then draw b...

She begins by taking something she has molded with Amazing Mold Putty. She uses Magic Gloss resin which cures with UV light to fill the silicon mold and sprinkles some glitter onto the resin. She emphasizes that she's doing this indoors, because the resin will harden when exposed to light. She takes it outside to cure in the sunshine and says it will take about 15 minutes to cure. When it's done, she rolls a ball of Pardo clay. She pops the molded piece out. She presses the molded resin piece...

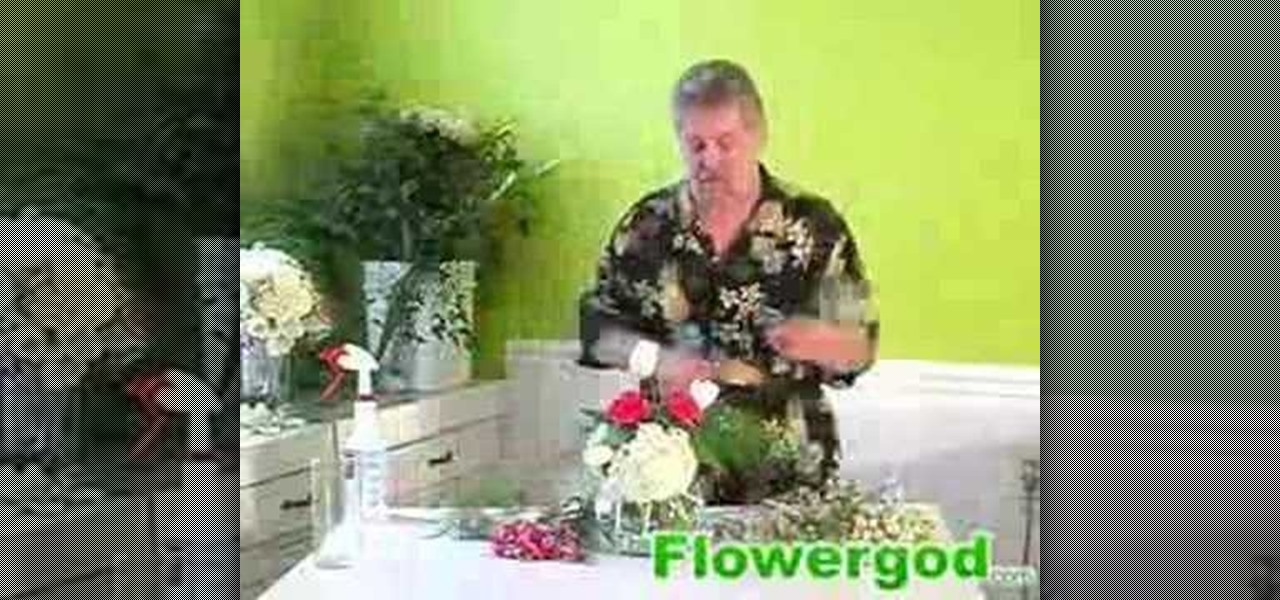
This is a time lapse version of Flowergod episode 28. In this episode the Flowergod designs a bubble bowl centerpiece for a wedding. The demonstration focuses on color and flower choice as it relates to theme, floral depth and composition, and the overall shape and balance of the piece. Flowergod discusses techniques for arranging and concealing stones while emphasizing the bowl, as well as some general do's and don'ts for any floral arrangement. This centerpiece features white hydrangea, whi...

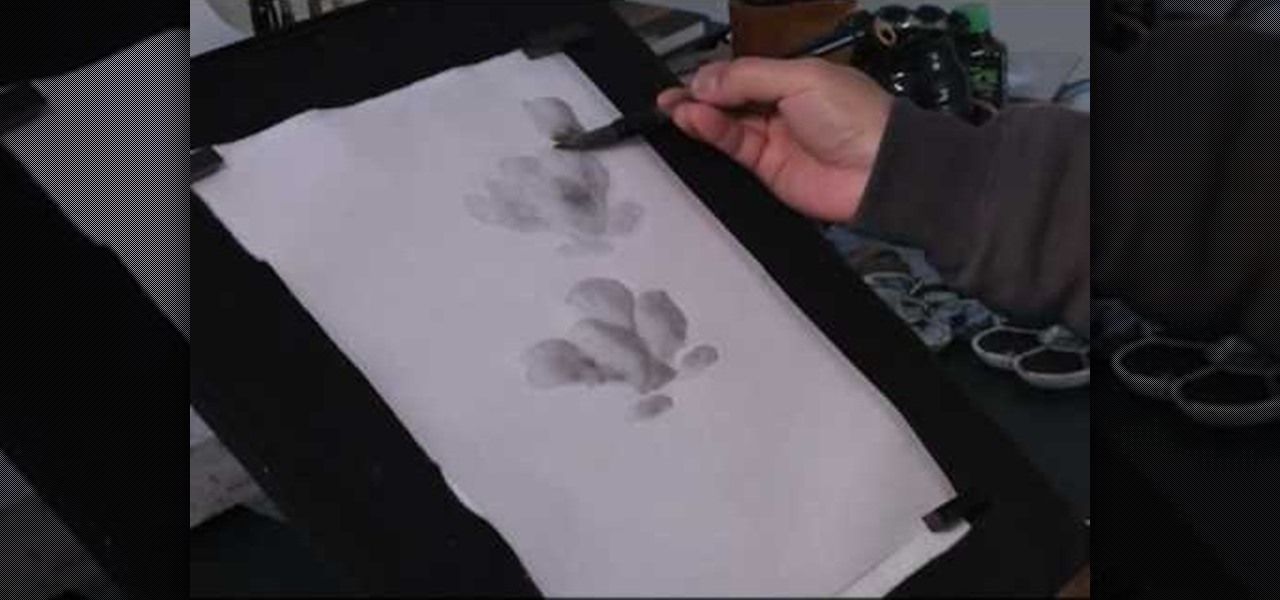
This video demonstrates how to paint a magnolia in ink and water, Chinese style. Make gray ink by mixing water with the black ink. Squeeze the brush with a piece of tissue and dip it in glue water made of peach sap powder mixed with water. When he begins to paint, half the brushstroke is gray and half is clear water. In this way you can use the brush to get darker and lighter shades of gray to make the magnolia flower shape that appears to be shaded. He then uses a stiff brush and black ink t...

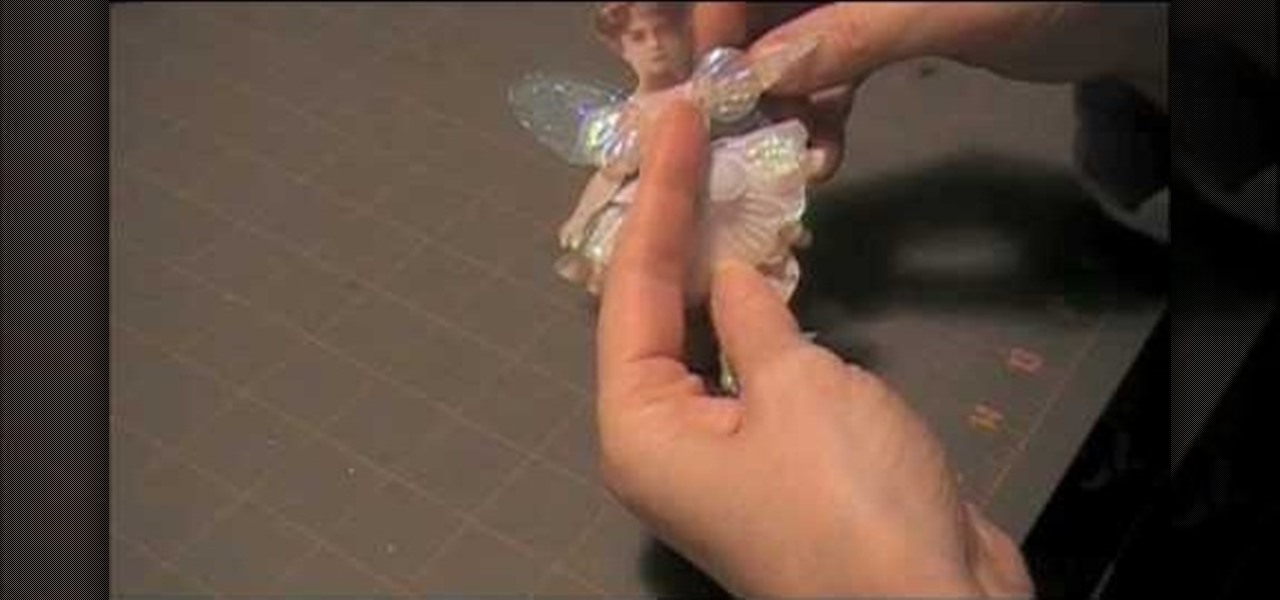
In this video tutorial learn how to make a jointed flower fairy paper doll sitting on top of a trinket box. You will need three strips of paper and two circles cut out of paper. To create the box, curl the strip with a pencil. Then adhere scotch tape to the strip and tape the strip to the circle to create a box-like structure. Cover the perimeter with a larger strip of paper in whatever design you want to use. Follow these same steps to create a larger box. Fit these two pieces together and a...


