In this video, we learn how to mix automotive or car paint. To begin, you want to look at your car information to find out what kind and color of paint they used on it originally. Once you have this information, you can take it to an automotive shop and they can do a code search for what to mix together to get this specific color. You may have more than one option on how to make the color, depending on what it is and what year your car is. Next, you can have the paint made and tested to see i...

To use borders in Microsoft Word 2007, you begin by clicking on the Page Layout tab. Next, click on Page Borders. This will open a window. Page borders will border the entire page. You are able to custom choose the width of the lines, the style of the border, or the color of the border. The color drop down menu will allow you to choose automatic colors or custom colors. You can also choose to remove one or more of the sides. You can decide which pages to add borders to, as well. There are als...

If you make a flub at a store and buy a shirt in the wrong color you're usually stuck with it (unless, of course, you were smart and saved the price tag just in case). But in Final Cut Pro, anything is possible, even changing the color of a shirt to fit your taste.
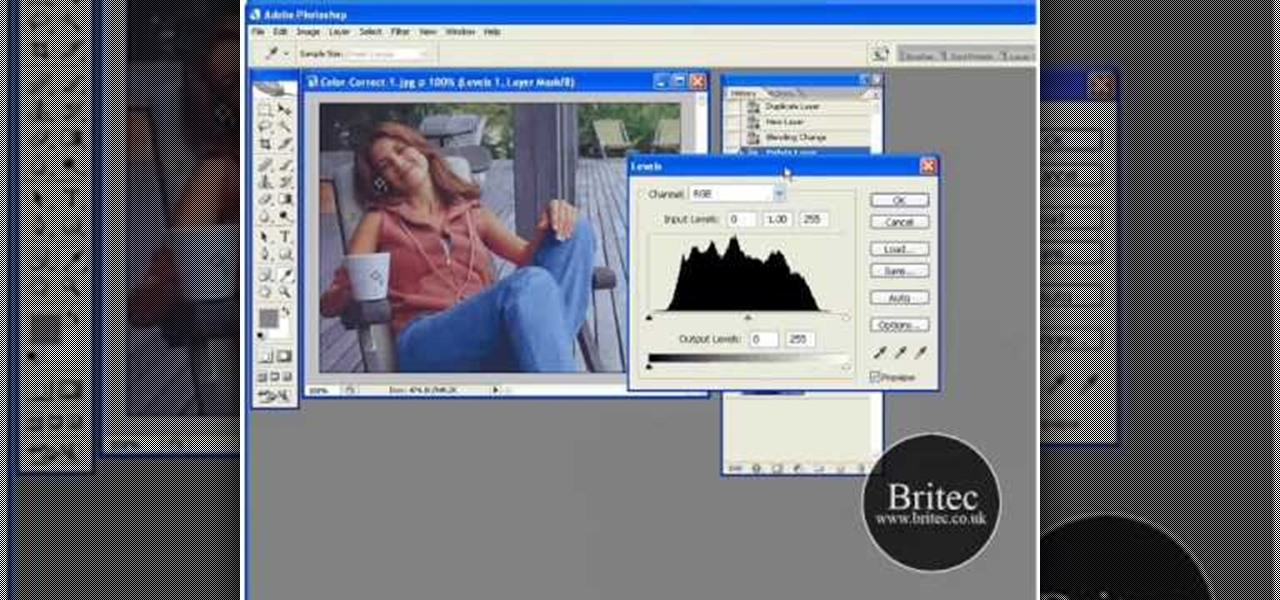
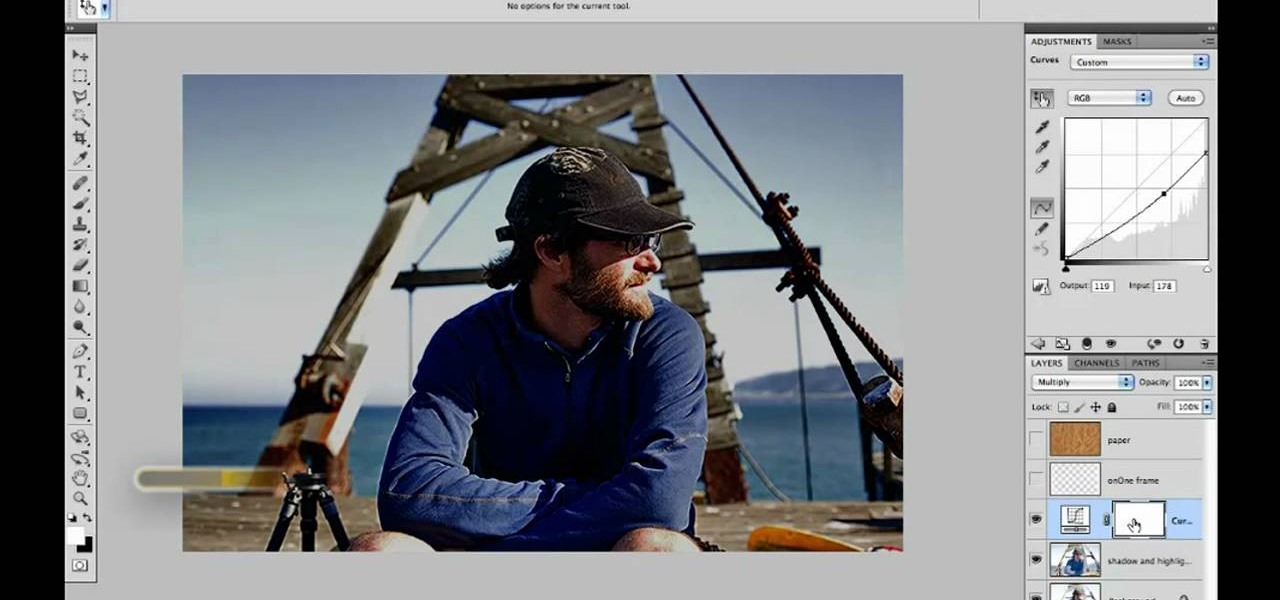
Want to color correct a digital image within Adobe Photoshop? Whether you're new to Adobe's popular image editing software or simply looking to pick up a few new tips and tricks, you're sure to benefit from this free video tutorial from the folks at Britec Computer Systems. This video offers a step-by-step guide on how to color correct images using Photoshop's curve adjustment tool.
If you want to paint a fade on your model cars you should first pick colors that will work well with each other. First, you should plan out your step. Divide the car into parts of the car where you will places your colors. You should designate where you mixing and solid areas are before you begin to paint. You should carry your mixes far and blend them well. When you do this, you'll want to lift up your airbrush a little bit. For fading, go to a solid color, and as you go to a new color lift ...

Sydus 93 teaches You Tubers how to read a binary clock by demonstrating the following process: A binary clock is made up of four rows and six columns of colored or uncolored dots. The rows, from bottom to top, represent the numbers one, two, four and eight. From left to right, columns one and two represent hours, three and four minutes and five and six are seconds. In order to tell time using the binary clock, begin at the left of your chart and simply determine which dots are filled in and a...

Before applying any make-up start by thoroughly cleansing the face and moisturizing after cleansing. Start with a good concealer to cover up and blemishes or dark spots. Apply liquid foundation with a stipple brush to ensure all over coverage of the entire face. Now using another brush apply your face powder, you can try MAC skin finish in your own personal skin shade. For the eyes, start with a white shadow and apply all over both lids. Now, take a medium-brown color shadow and apply to the ...
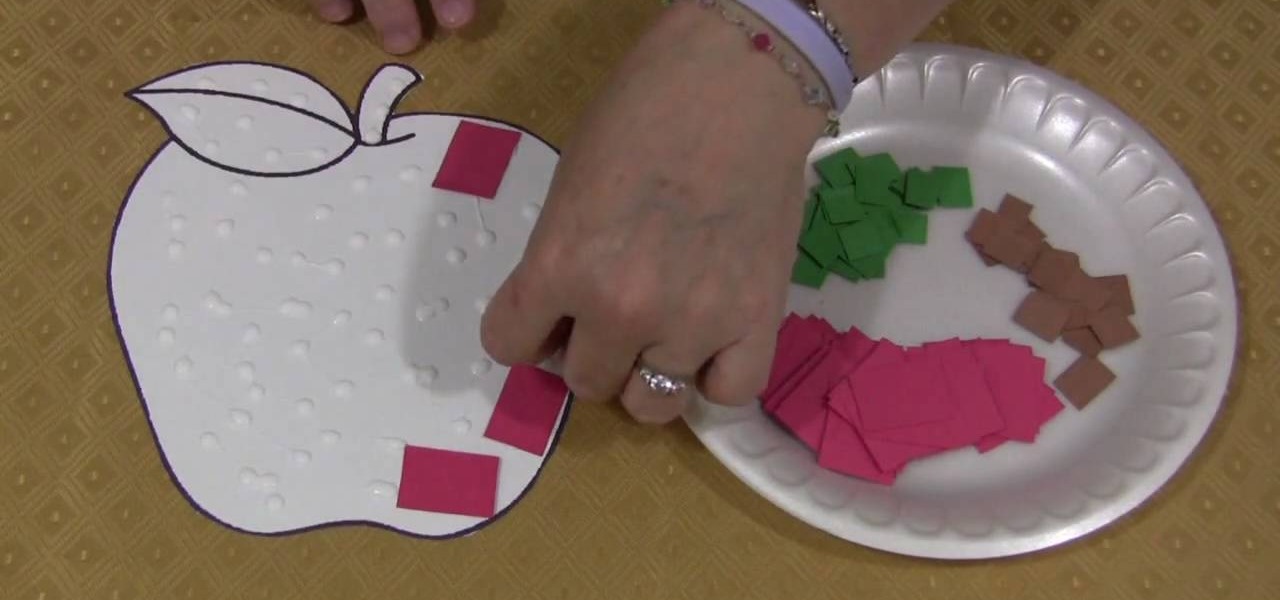
Shelley Lovett of Childcareland shows us how to make a mosaic apple using colored construction paper. This is a fun to do project, which enhances a child's motor skills. The basic outline of the apple is available on the website. It can be printed out and then cut out. Shelley has used red, green and brown colored construction paper, the traditional colors for apple. But she also stresses that we should let children use whatever colors they prefer. It will make the project so much more fun. S...
During Easter, everybody stocks up on the eggs because dying eggs is a great Easter activity. But there's something else you can try… dying and marbling. Watch this video recipe to learn how to dye and marble Easter eggs. A new twist to Easter eggs.
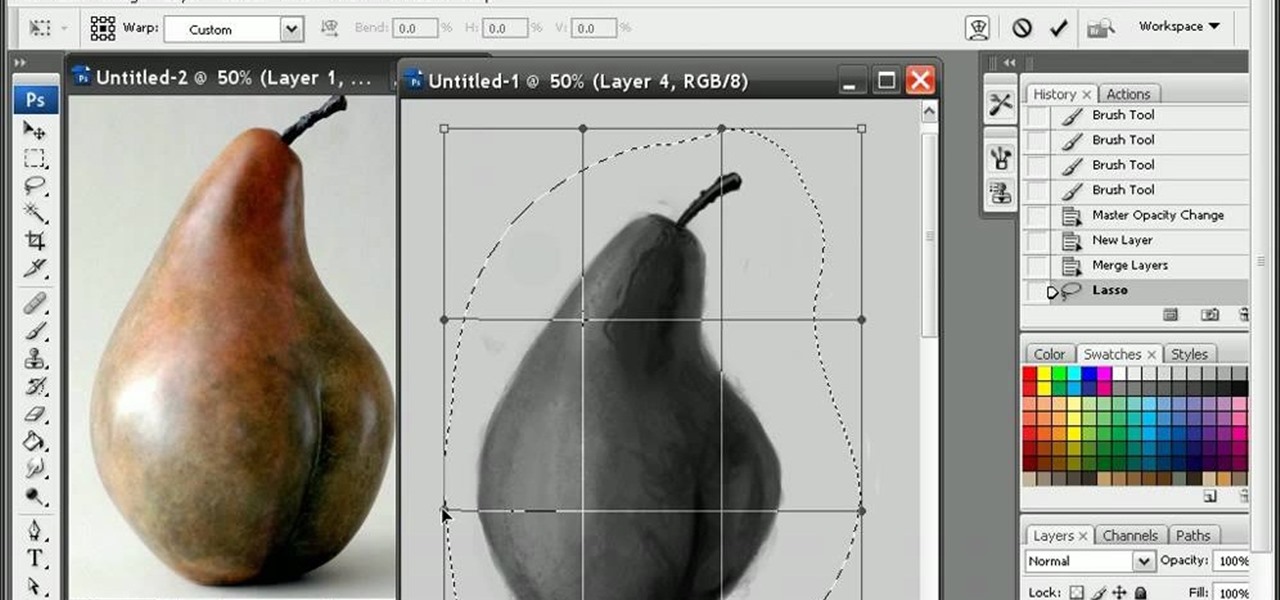
If you are looking to improve your Photoshop skills by learning how to digital paint in it, this video shows you how to do it. To do this, open a new Photoshop canvas and select your brush to paint with. In this example the author shows how to paint a pear for demonstration purposes. You start by drawing a rough sketch, just using your paint brush and reference an image of a pear that you find in this tutorial. Now do the dark textured work on the non lighting side as shown in the video. Now ...
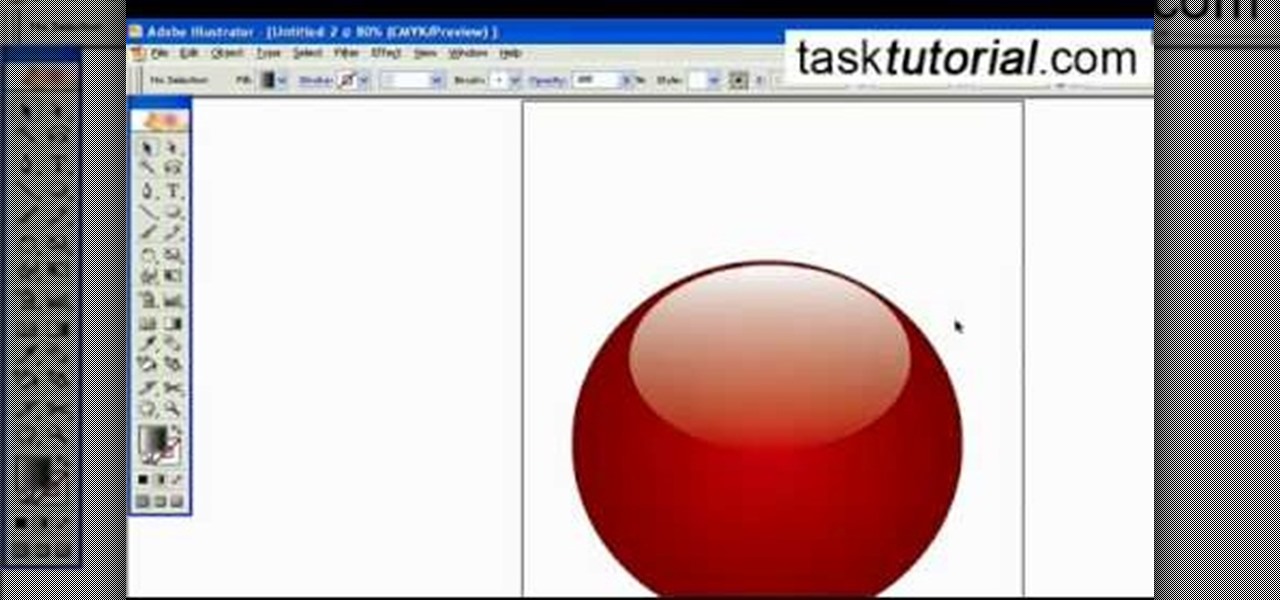
To create a Christmas ornament in Illustrator is very simple if you follow the steps below. Before starting the process one should ensure that all project files used in the tutorial is available. First by holding the shift key draw an oval, then go to gradient and create a new gradient which is at right side of the window. Now select red color and make it darker, then select 'Radiant' from the tool and switch the color positions. Select the ellipse tool once again and create a new shape on to...
Tutvid shows you how to add flare and dramatic color to your raw camera images (usually the format of a DSLR). In a step-by-step guide with narration, Tutvid takes you through the process of using CameraRaw (used as an extension of Photoshop but never really brings it in photoshop) to add desired colors to your picture. Pull up your raw file in CameraRaw, and press "Command" or "Ctrl + R" to open up the editing panel. With an example, he shows you how to bring out lights in underexposed (dark...
This tutorial shows how to make tiny molded roses and leaves that you could put on cupcakes. To start you only need a few ingredients: icing sugar, water, paste coloring, fondant icing sugar, and a piping bag (optional). Mix all ingredients together, then put them in a bag so they stay soft. Make the color of the rose or petals any color you want. Knead the dough so that you will have the color you would like. Next, break off a piece of the kneaded dough and form it into a cone shape. Break o...
To fill a gouge on a table edge you start by using auto body filler. Auto body filler is a two part substance. The catalyst is red and the resin is grey. When they are properly mixed it will be a uniform pink color. To keep the substance from spilling out of the damaged area put a piece of tape on the side of the table. Take some filler and force it down into the cavity formed by the tape along the side of the table. Let it dry for 3-4 minutes. Take the tape off and use a knife to trim off th...
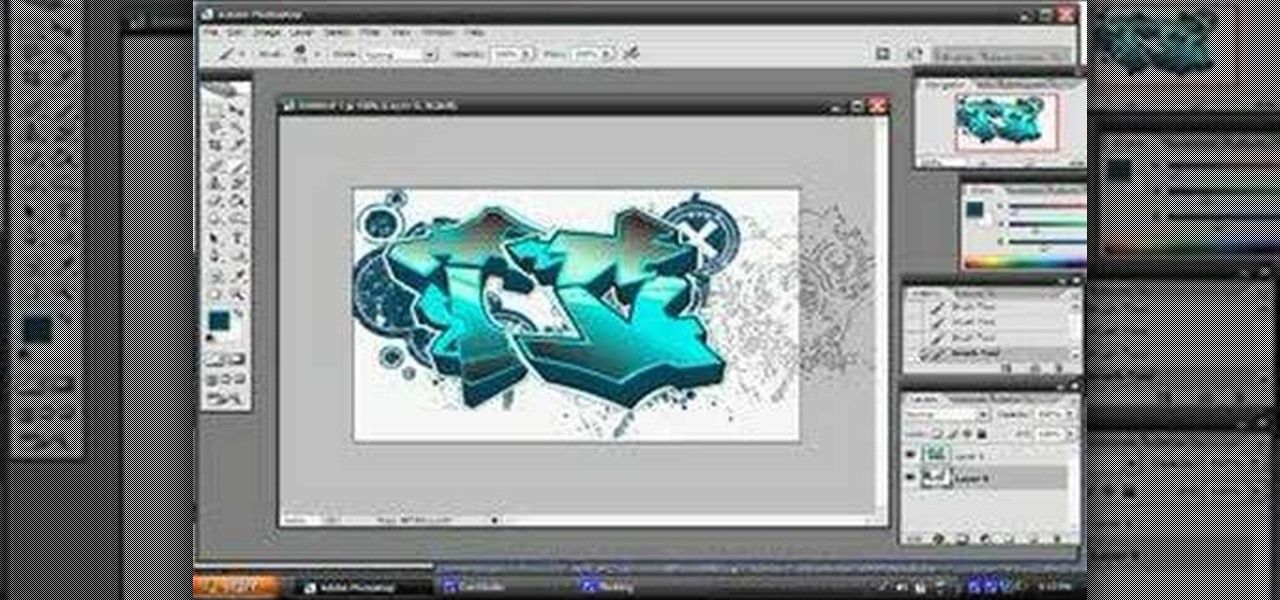
Walagers helps us learn how to make graffiti in Photoshop. First, go to "Select" and click on "Color Range". Use the eye dropper tool to select the color of the background, then press delete. Next, press "alt" and double click on the background layer to convert it to a normal layer. Using the brush tool, select the type of brush you want and the brush's size. Brushes can be downloaded from Brusheezy.com. Use the eyedropper tool to select part of the graffiti. It is recommended to use the same...
This video will walk you through the process of creating your very own icon to use for your email by using Adobe Photoshop. Photoshop is a great tool to use for a variety of purposes and in this instance can make the perfect icon in just minutes.
This video is about how to make duct tape flip flops. For this you need cardboard, scissors, and three different colored tapes. Follow a few easy steps: cut two identical slipper shapes out of cardboard. Paste the first colored tape on the cut pieces. Fold second colored tape three times to make it thinner. With the help of the scissors create a hole and pass the second colored tape through it. Paste the tape at the back. With the last tape, strengthen the joints above the hole.
Learn to create a fashion editorial style color in Photoshop! 1. From CHANNELS button select color of the Model. It will show different colors select as per your choice. 2. Click on Levels it will show the image selected. 3. Right click and select Black&White it will open ADJUSTMENTS button adjust the color. 4. Go back to CHANNELS button they all images will look same. Copy channel Blue and Select Blue copy3 and color model's body and hair with black. 3. Click on ADJUSTMENT button and adjust ...
Open the Adobe Photoshop program. Choose a picture with a head shot. This maybe something that is already in your pictures folder on your computer, downloaded from the internet or transferred from your flash drives, and those photos you may have scanned and saved in your computer.
Simon Plant of ProPhotoInsights.com shows how to use Photoshop to blend colors in images. He uses a photo of his son standing in front of Stonehenge to take us through each layer of the photo to alter the levels of hues, saturation, and opacity. The key to blending colors is a matter of playing with different hues and saturation levels in Photoshop to get the subject in the foreground to match the background. Follow Plant's thorough tutorial to find out how to get professional looking photos ...
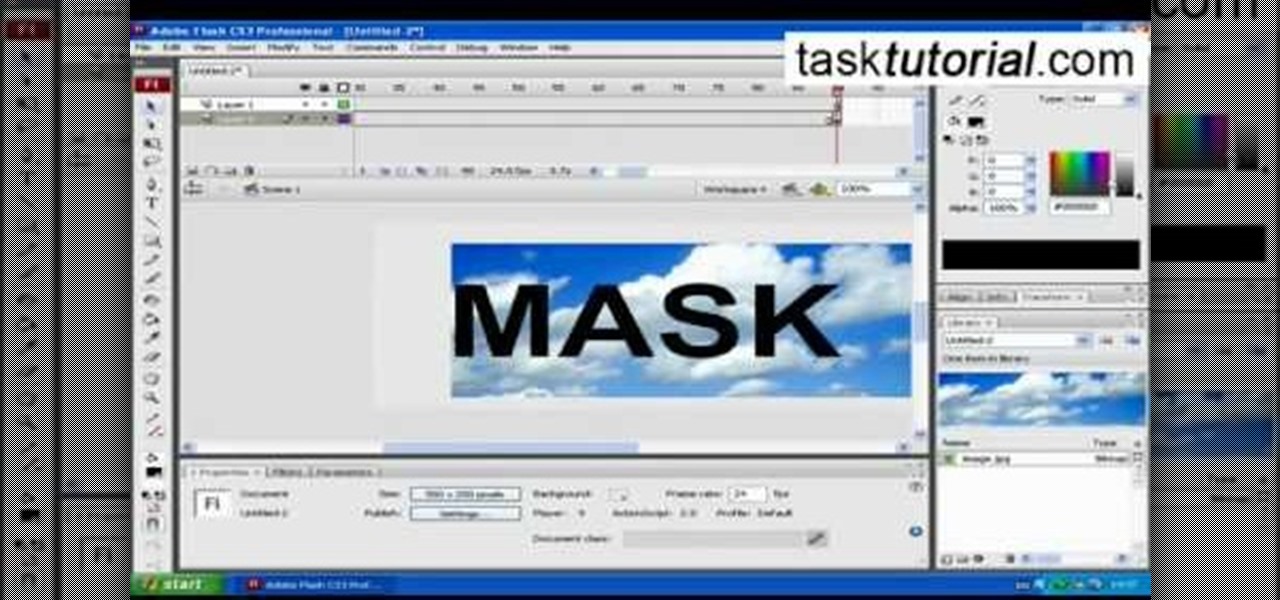
clipping mask Sponsored by SimpleRetouch.com Start by creating a task with the name Mask, then Choose a color and a font size.
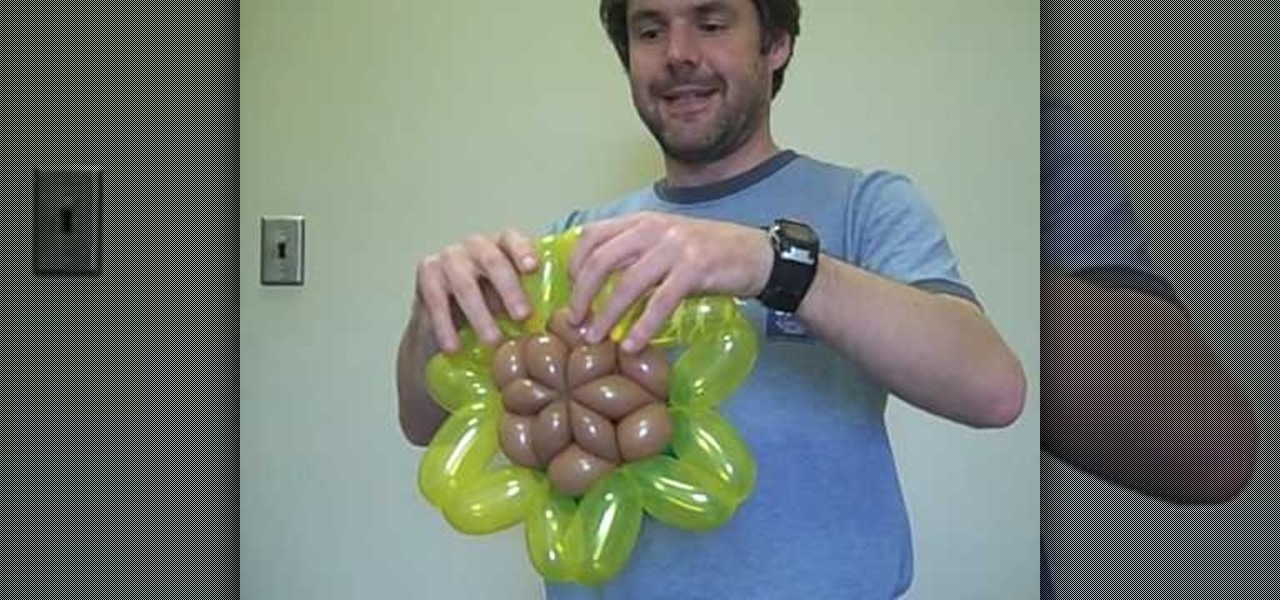
Make a fabulous balloon sunflower with these simple steps. •Take three different color balloons namely yellow, brown or black and green
It's easy to add a new yarn color in the middle of your row. See how to change colors in the middle of the row when knitting, with this easy, up close demonstration by Judy Graham, Knitter to the Stars.
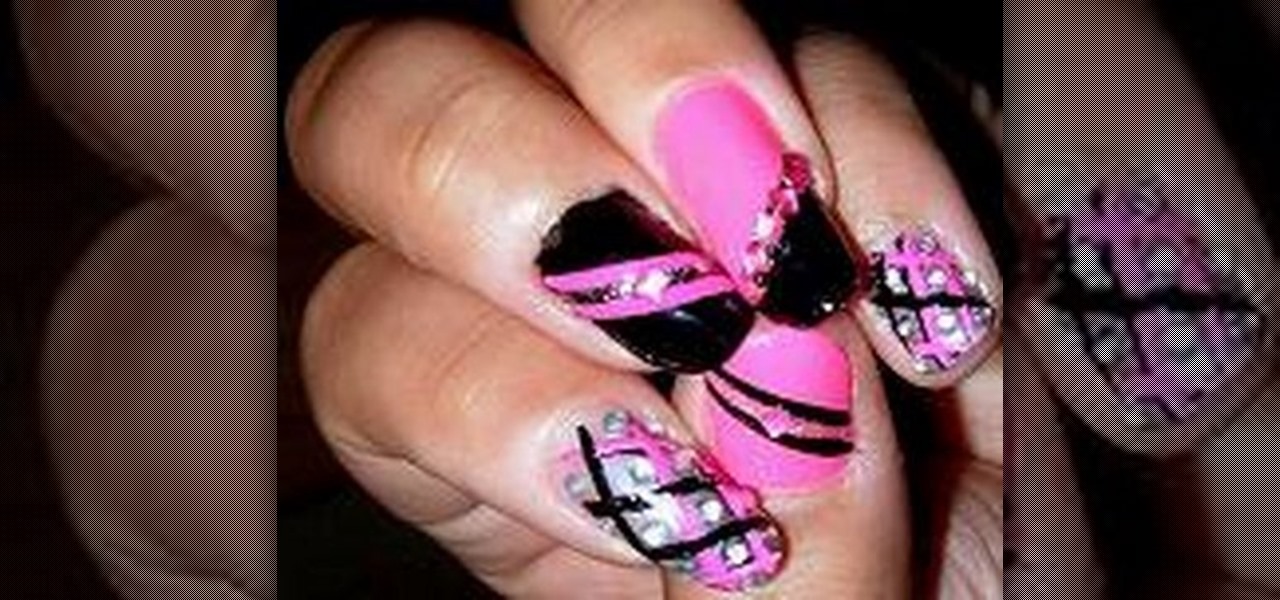
Lauren, AKA QueenofBlendingMUA has joined the ranks with the other YouTube beauty gurus. Lauren is a makeup artist with a large collection of eye makeup & nail art video tutorials. Her eye makeup look span from everyday makeup to creative, more expressive party looks. Her nail art/ manicure looks are also lots of fun. Check out this nail art tutorial video to learn how to create a hot pink and black nail art design. Search QueenofBlendingMUA on WonderHowTo for more beauty videos.
This video shows you how to create beautiful make-up using the loreal hip products. Products Used:
This image editing software tutorial shows you how to create sepia toned images in the freeware GIMP. Learn four methods of applying a sepia tone inside GIMP: color balance, colorize, gradient map and solid color/color blend mode.
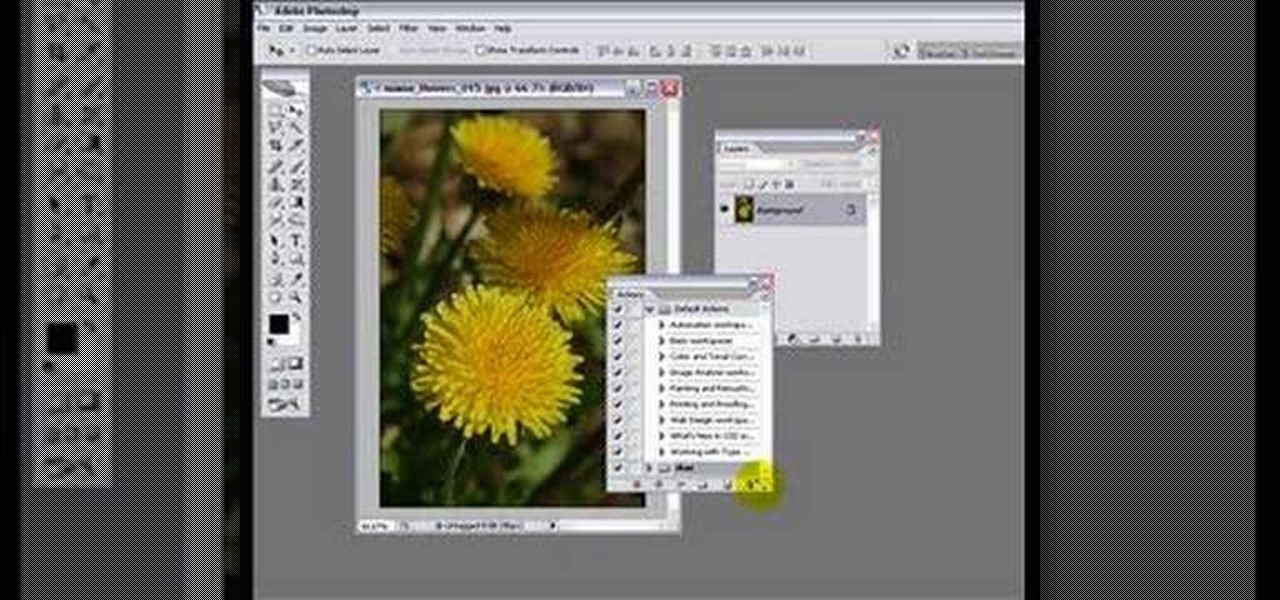
This image editing software tutorial will show you how to pump the color back into images in Photoshop CS3. Extend your knowledge in the use of the variations tool to create a color rich image or fix faded photographs in Photoshop CS3. This tutorial is best viewed full screen.
This Adobe Photoshop tutorial teaches you how to change the color in different images with a variety of colorization methods. Bert shows us how to change colors on shirts, on cars and in our lives, through colorization in Photoshop.
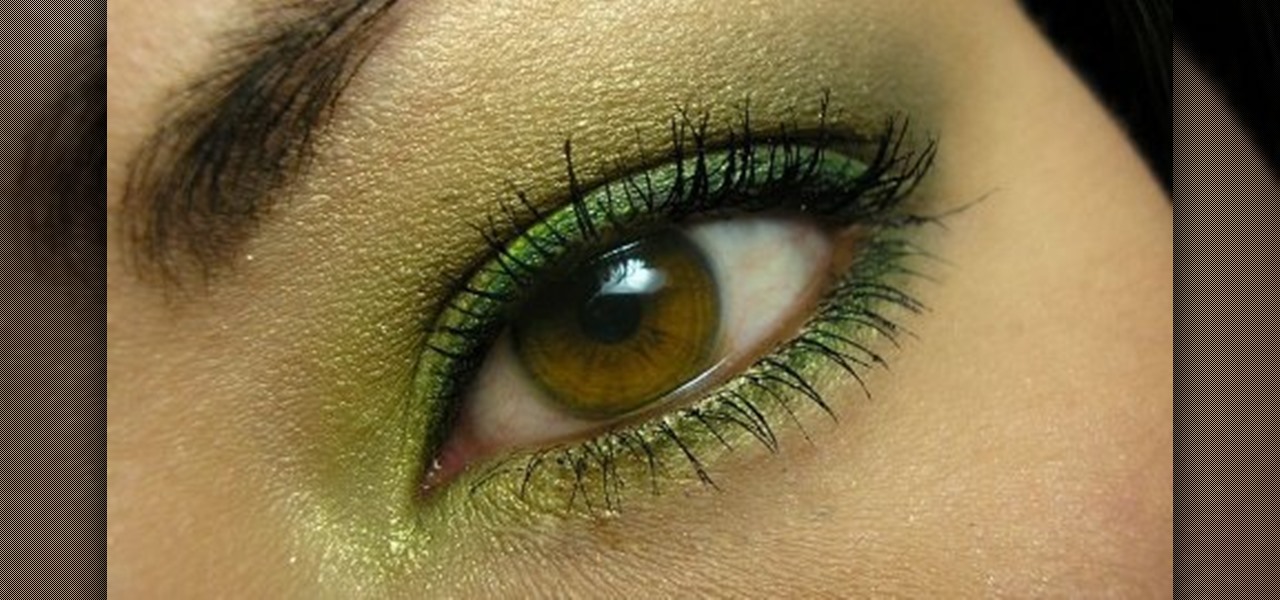
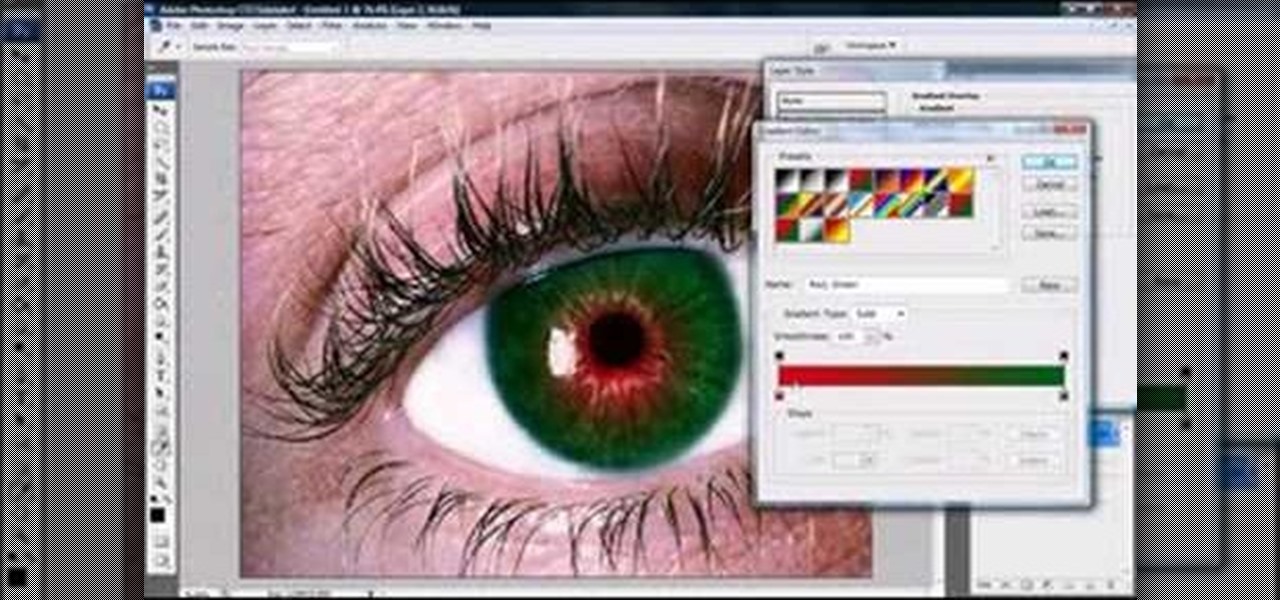
Jordan explains how to change the color of your eyes and keep them looking realistic using Photoshop. You can choose to enhance an existing eye color or change it completely after watching this beginner Adobe Photoshop tutorial.
Short and sweet Photoshop "how to" for utilizing the Invert Adjustment Layer as a means to achieve a color infra red effect. Tutorial also shows you how to make an action of this process so you can simply click a "play" button to achieve it on any color image.
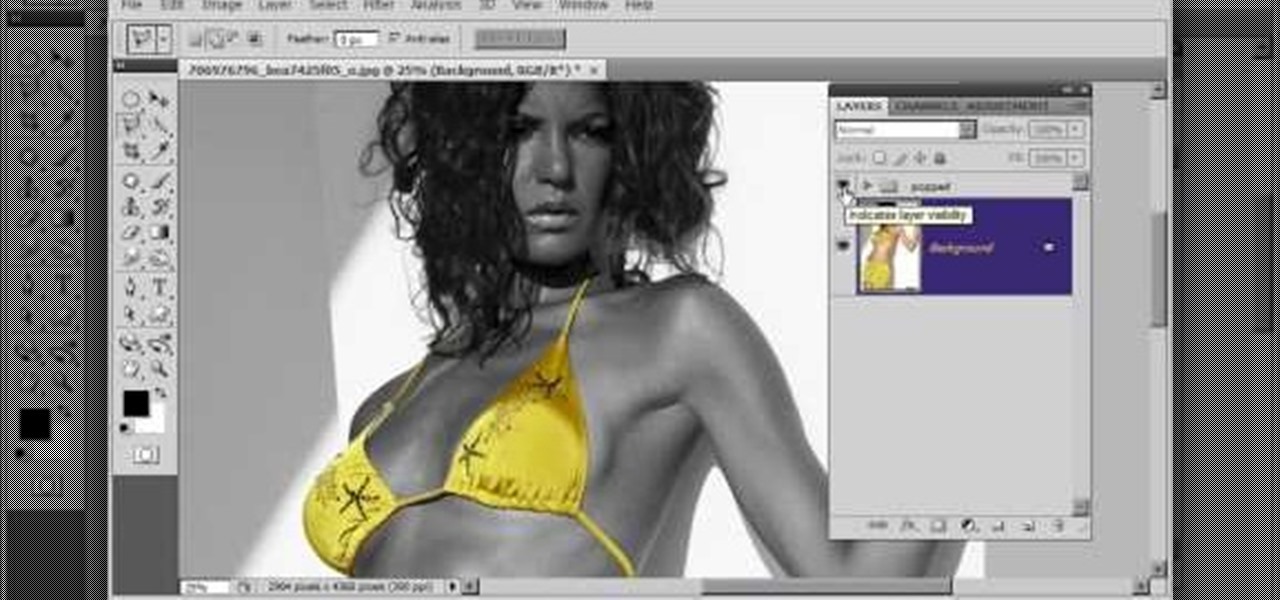
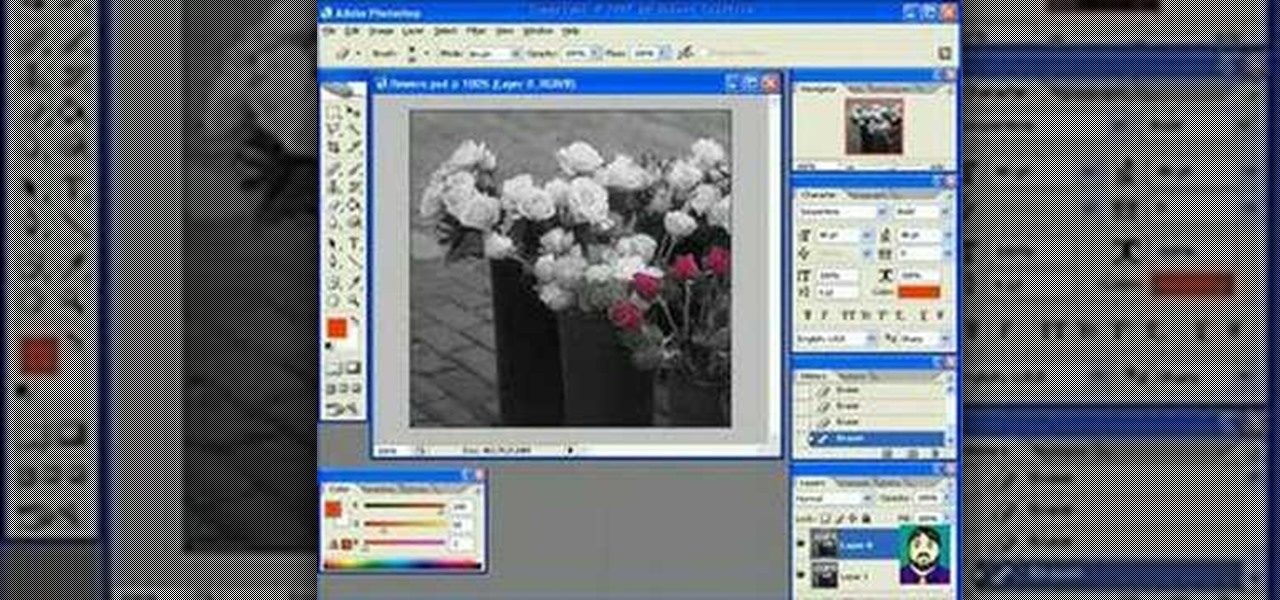
One of the neat things about Adobe Photoshop is the ability to add color to a black and white image. However, it's sometimes difficult to get just the right color. This is a neat trick to get the exact colors in a section of the photo, while leaving the rest of the photograph black and white.
One of the new technologies rolled into Adobe Illustrator CS3 is Kuler. Kuler first appeared on Adobe Labs and has become its own community where people are posting color groups left and right. Now you can not only take advantage of these color groups on the web and download them, but you can also get to them directly in Illustrator CS3.
In order to create 3D lettered signs in lights, you will need to first create an object. Open Illustrator. Type your letters on the page. Adjust the font to the style you would like. Click on "effect". Then, click on "3D". This will allow you to rotate the image for the angle that you will want to see it at.
Looking for a quick guide on how to really make your model's eyes pop when retouching a digital photo in Adobe Photoshop CS5? This clip will teach you what you need to know. Whether you're new to Adobe's popular raster graphics editing software or a seasoned professional just looking to better acquaint yourself with the program and its various features and filters, you're sure to be well served by this video tutorial. For more information, including detailed, step-by-step instructions, watch ...
Want to convert a color or black-and-white image to sepia? With Photoshop CS5, it's easy. And this clip will teach you what you need to know. Whether you're new to Adobe's popular raster graphics editing software or a seasoned professional just looking to better acquaint yourself with the program and its various features and filters, you're sure to be well served by this video tutorial. For more information, including detailed, step-by-step instructions, watch this free CS5 video guide.
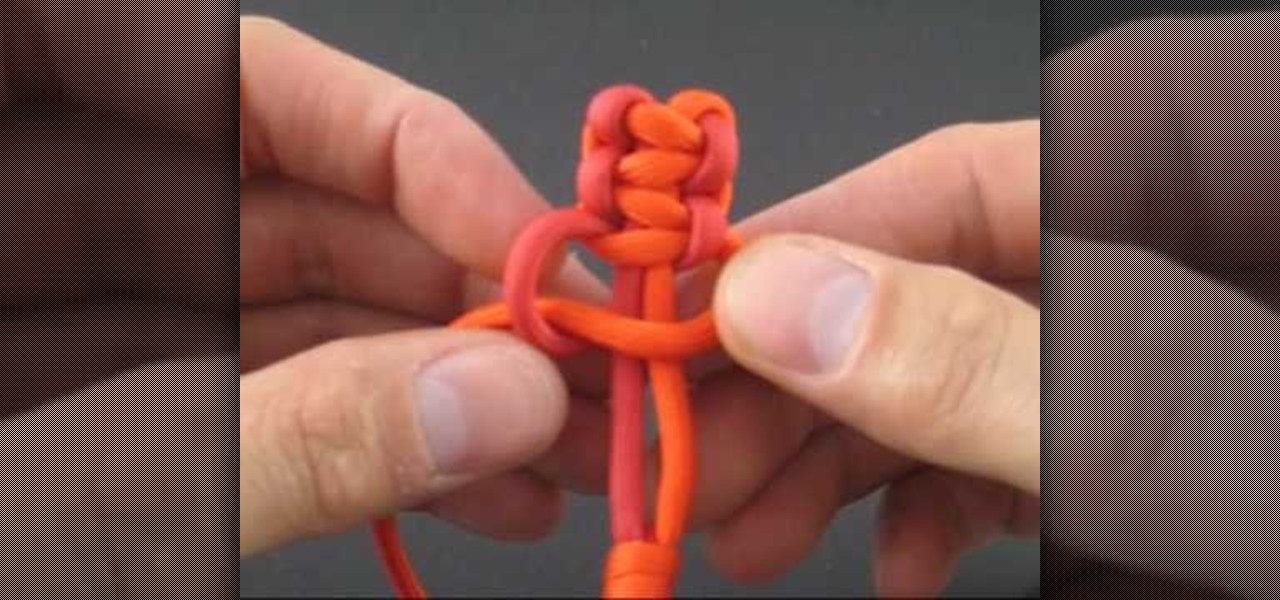
The Solomon Bar is one of the most popular ways to incorporate paracord into a tie. The following video shows how to generate the banded bar, a dual-colored Solomon bar design. This video will show you how it's done! It's easy. So easy, in fact, that this clip can present a complete overview of the process in about 5 minutes' time. For more information, including detailed, step-by-step instructions, take a look.
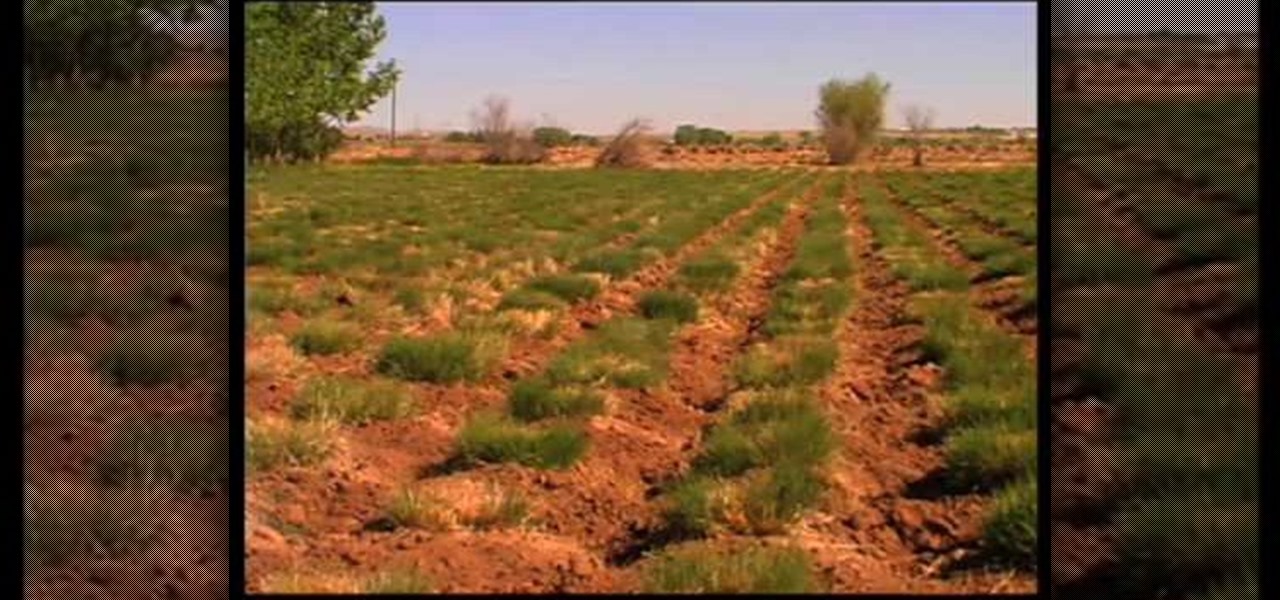
This video shows us several types of ornamental grass that can be used in landscape projects. Although none of these grasses are appropriate for use in lawns, they are great options for those who are concerned about water conservation. Ricegrass is a bunch grass with long stems and silver heads. It is a cool-season grass and will go dormant in hot weather. Little Bluestem grows quickly in the Spring and is known for its variety of colors including blue, green, and yellow. Giant Sacaton is a g...
Photoshopuniverse shows you how to simulate a watercolor painting on Photoshop. With this you can take any photo and make it look like it was a water color painting. Take any photo and then duplicate the layer 3 times including original. Focus on the first layer go to cut out. You want a high edge fidelity, and add the number of levels no more than 5. Add some simplicity and the change mode too luminosity. Go to the second copy layer do a dry brush increase size to maximum. add just a little ...
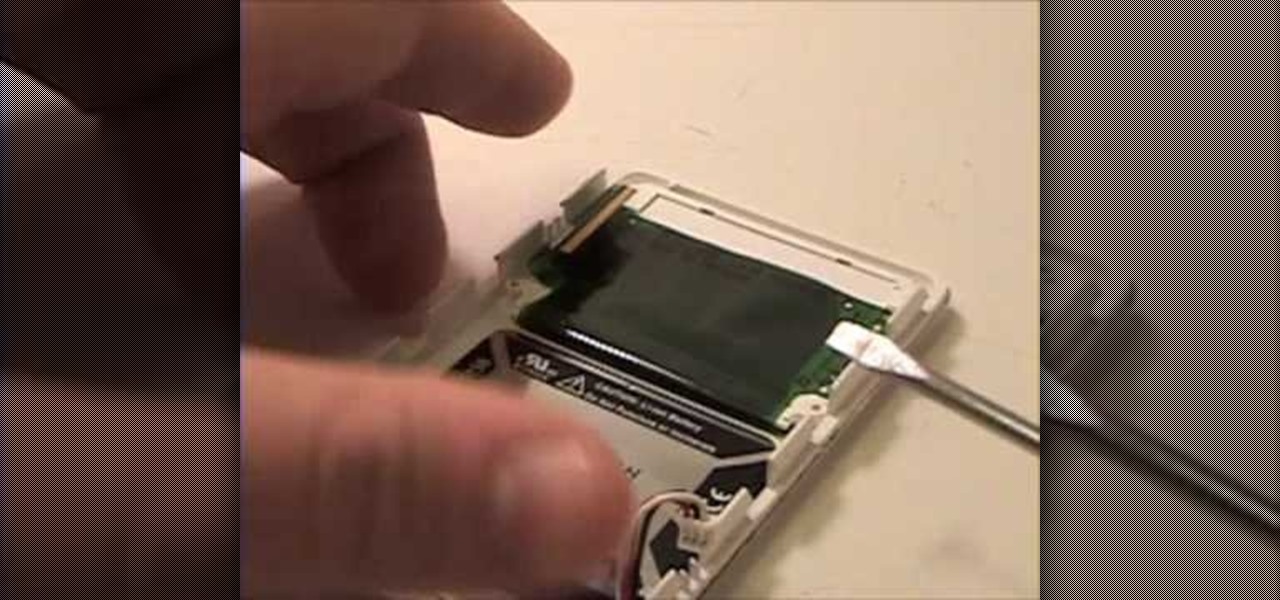
PowerBook Medic is the ultimate resource for Mac computers and electronics repair. They have helpful tutorials on most Apple products including the MacBook, MacBook Pro, PowerBook, iBook, iPhone, iPod, and more, covering topics from disassemblies, to RAM upgrades, to replacement hard drives.
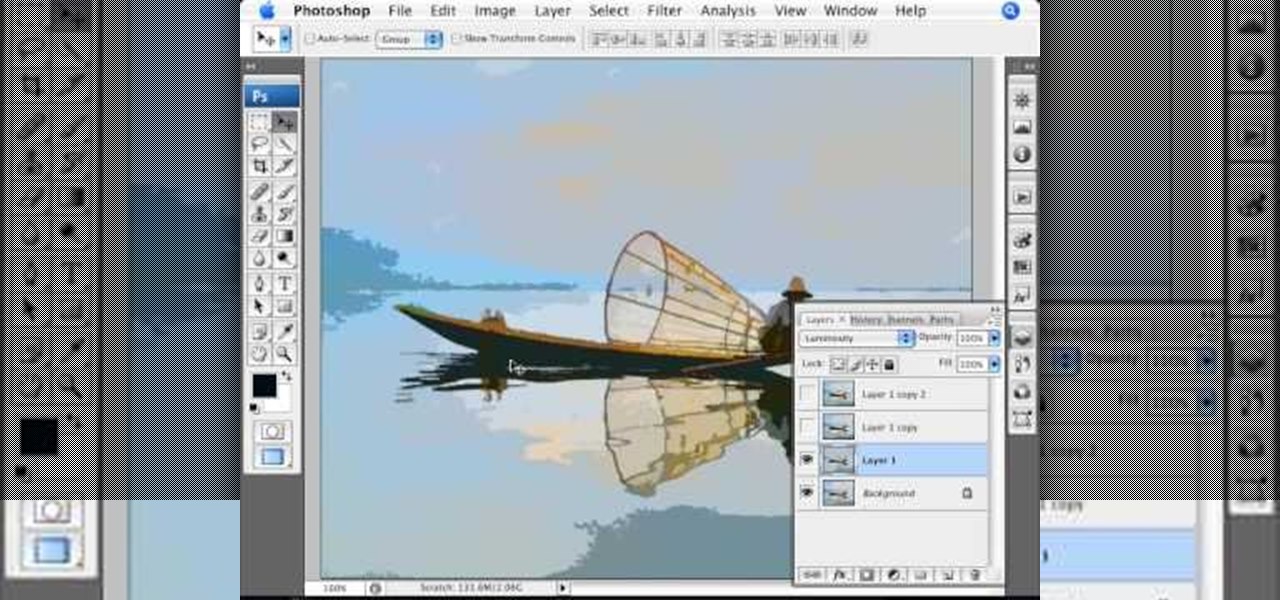
Pixel Perfect is the "perfect" show to help you with your Photoshop skills. Be amazed and learn as master digital artist Bert Monroy takes a stylus and a digital pad and treats it as Monet and Picasso do with oil and canvas. Learn the tips and tricks you need to whip those digital pictures into shape with Adobe Photoshop and Illustrator. In this episode, Ben shows you how to create cloud over a sea in Photoshop.