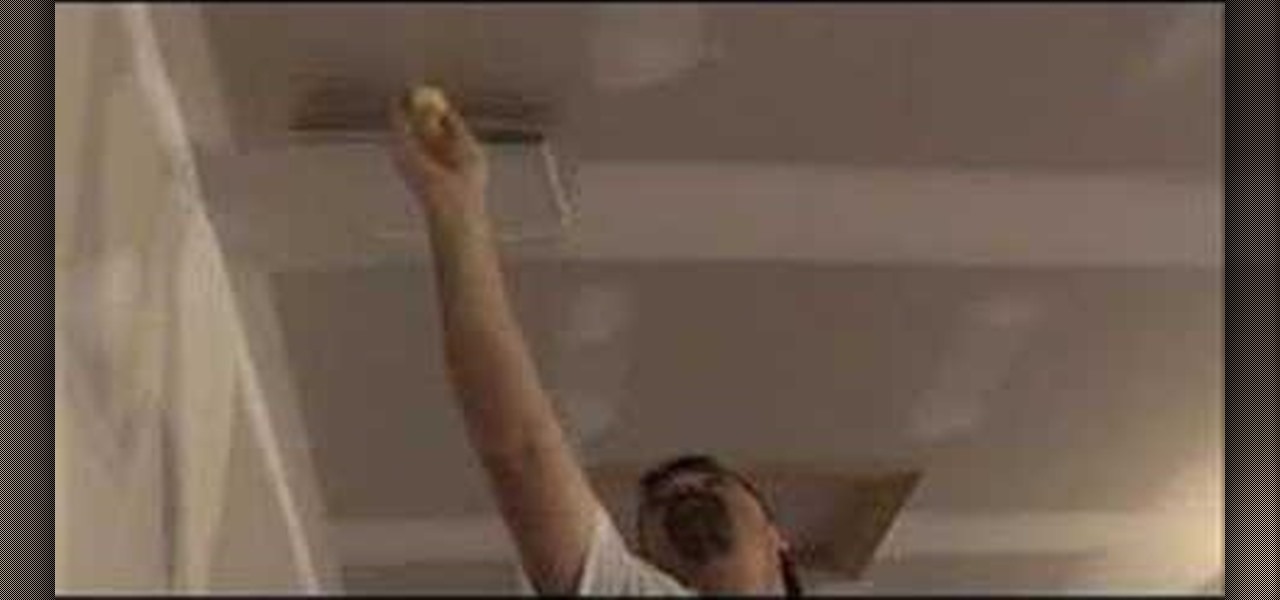
This instructional video demonstrates how to coat ceilings with joint compound, without dripping mud on your face. Spackling is a delicate art, but anyone can create a perfectly smooth surface with a metal putty knife and a fresh bucket of joint compound. Spackling ceilings is one of the more difficult tasks in prepping a room for painting, but this video provides tips on how to lay down thin layers of putty to avoid heavy sanding after the spackle dries.

This is a video demonstration on how to coat cornerbeads with join compound. Spackling is a delicate art, but anyone can create a perfectly smooth surface with a metal putty knife and a bucket of fresh joint compound. Learn how to spackle a corner in thin coats to avoid heavy sanding in the second stage of prepping a room for painting.

Here's how to spot nails and screws with joint compound. This instructional video will show you how to coat nails and screw holes in drywall with a thin layer of spackle. Use a metal putty knife and fresh joint compound to get a smooth surface of spackle and avoid heavy sanding.
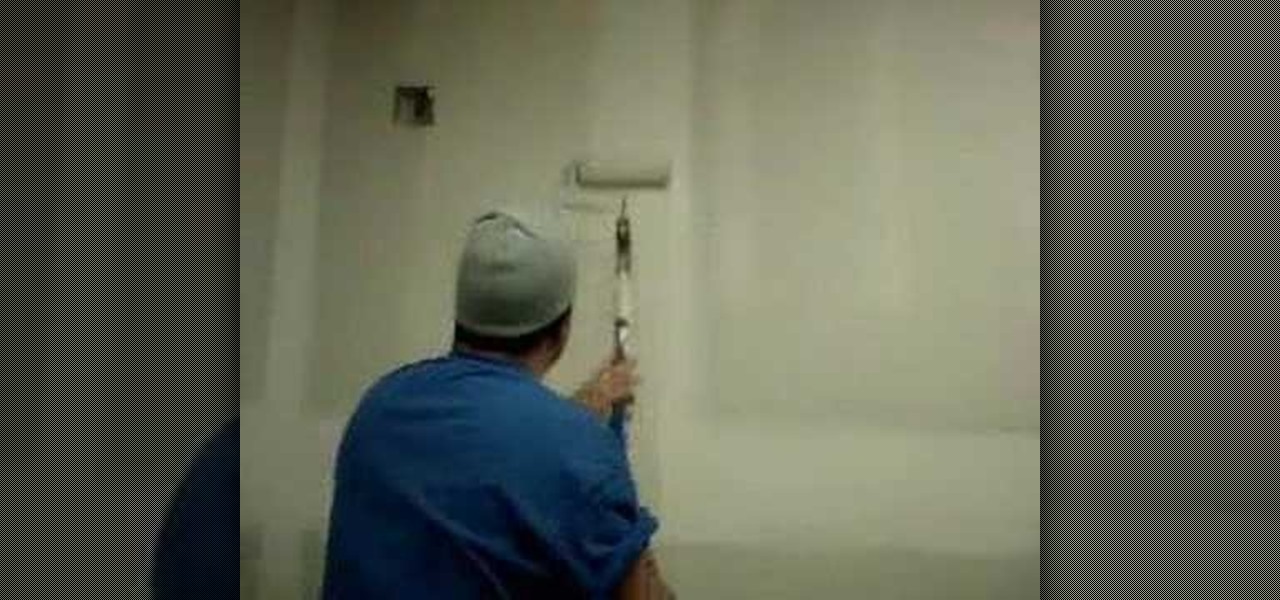
Here's a way to make your drywall project perfect. Mix up some thin joint compound, using more water than normally required for spackling holes in the wall. You can roll the putty onto the wall with a think rolling brush. After the joint compound dries, it only requires a light sanding. Watch this instructional video to create perfectly smooth drywall surfaces with liquid spackle.
Shin splints are painful and can hamper an exercise routine. Learn how to prevent shin splints during cardio in this exercise tutorial. When doing cardio you should avoid heavy impact on hard surfaces, use good cushion and support in shoes, and take duck walks to strengthen muscles. With this hwo to video you can prevent shin splints during your cardio workout.

This Adobe Photoshop CS3 tutorial shows you how to create a basic cartoon effect on images. This is a great tutorial for beginners and just scratches the surface of what can be done with adjustment layers and the artistic filters in Photoshop. This Photoshop cartoon effect tutorial is best viewed at full screen.

This 3D modeling software tutorial shows you how to work with the pen tool in modo 301. The The pen tool can be used for organic or hard surface modeling in modo. Take a quick look at the versatile and intuitive Pen Tool in this modo 301 tutorial.

Modo is a subdivision surface modeler, but that doesn't mean it doesn't provide a path for spline patching, lofting and extruding via curves! And if you are going to use curves, why not drive the Cadillac of curves, the Bezier curve. AKA the "B-Spline". This modo 103 tutorial shows you how to model with bezier curves. Bezier curves will also work in newer version of modo.

This is a short clip examining the use of the Eraser tool for 2D and 3D painting in modo 201 and higher. The eraser tool will erase pixels from the currently selected texture map on a modo model according to the currently selected brush. Choose the size brush you need and simply paint across the surface you need to remove the texture from. Learn how powerful a painting tool the eraser tool is in this modo tutorial.

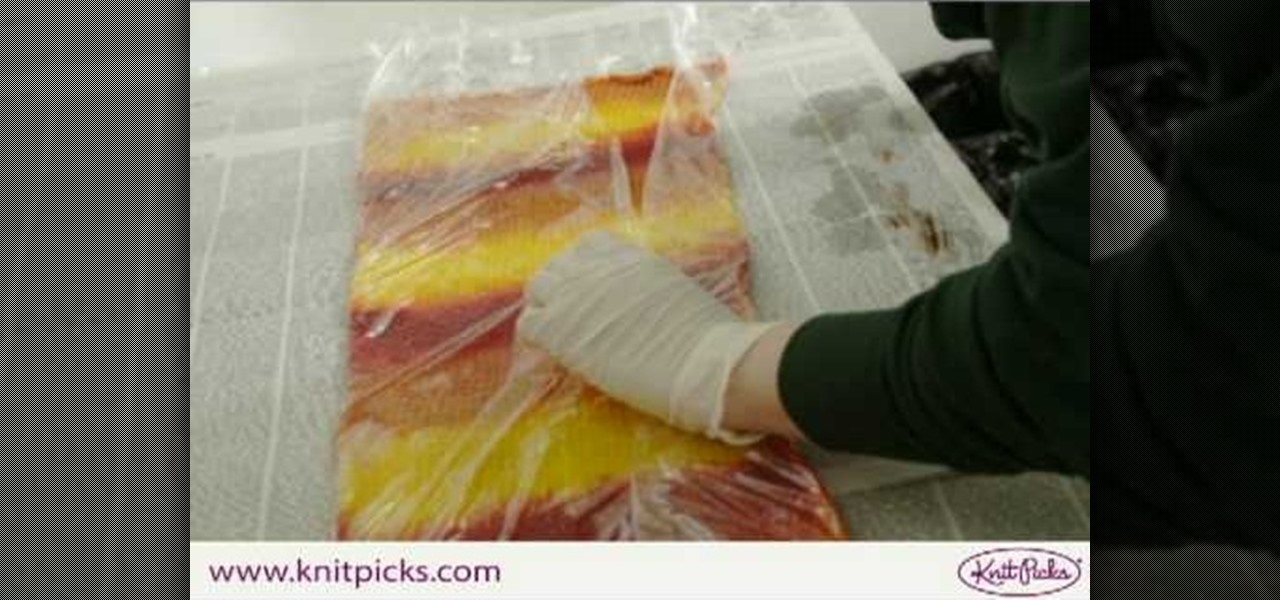
Learn how to dye your own striped sock yarn with this dyeing tutorial. You can dye the yarn so that the dye pattern will be the same for both socks. These knitting dyes are potent and toxic so be careful with your dyeing kit and sock yarns. Make sure to wear gloves and a dust mask and protect your work surface with newspaper plastic wrap.

Learning how to draw is a very much about learning how to see. Watch this instructional drawing video to begin to draw the illusion of depth on a flat surface. Most people can see perfectly fine and understand the concept of depth in space. However, drawing becomes tricky when you must translate a moving object onto a piece of paper. Learn to draw in the page, rather than on the page.

Food grade gelatin can be used as a printing surface. It is soft and malleable and allows for the transfer of shapes and great detail. You will need gelatin, water, a measuring spoon, a spoon, and a whisk. Watch this video printmaking tutorial and learn how to make a gelating plate.

In this week's episode of PixelPerfect, Bert delves into the world of glass. Many useful techniques are used in creating a detailed bottle of nail polish in Photoshop. Watch and learn how to create and work with glass surfaces in Photoshop.

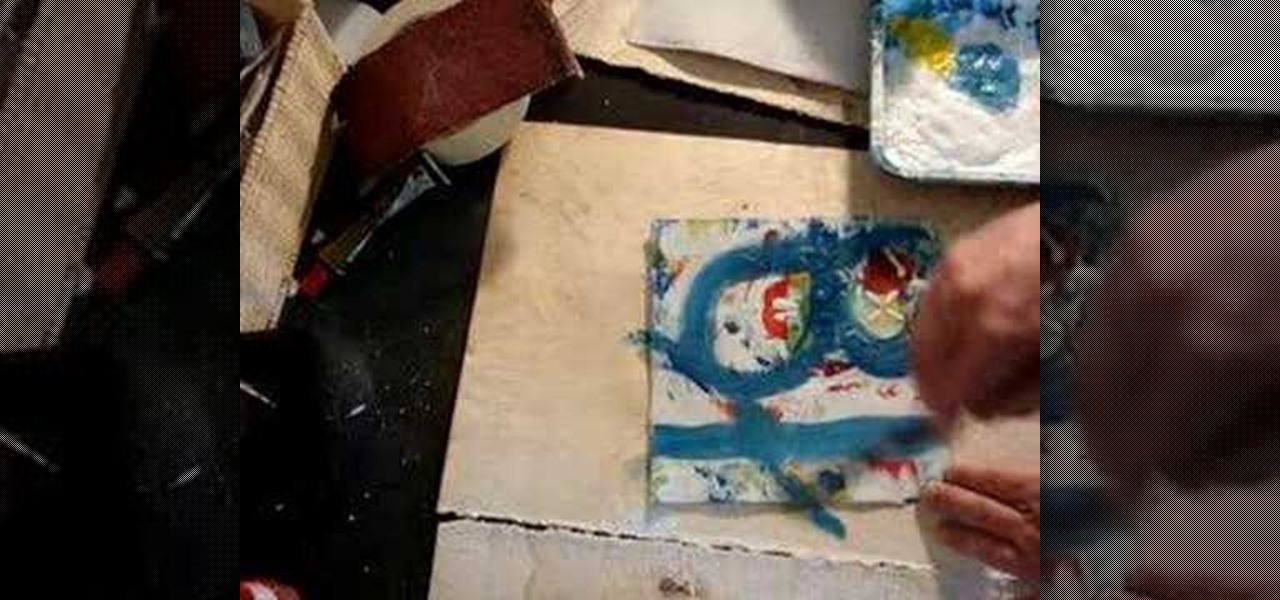
Building up layers of paint and tiling putty to create a marbled effect. Materials used in this video are tiling putty, acrylic paint,

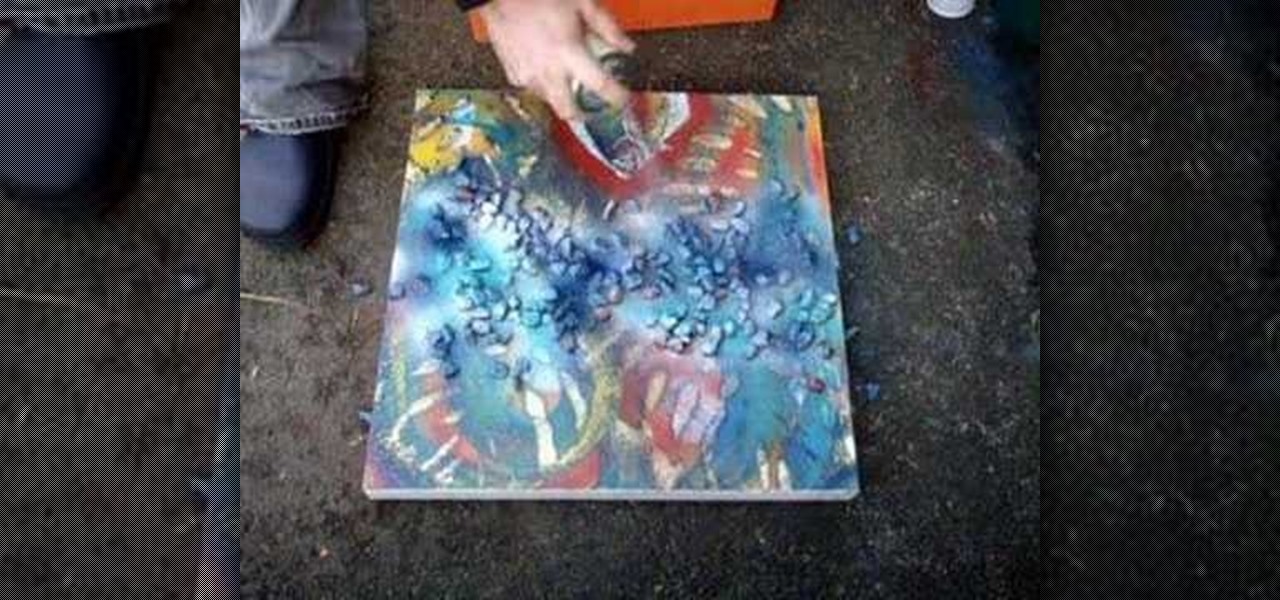
Watch this demonstration of a spray paint layering technique. All you need is some gravel and spray paint to add a unique stenciling effect to the surface of your artwork. Use any object to create negative space with spray paint. Use this technique on collages, paintings, assemblage pieces, and clothing.

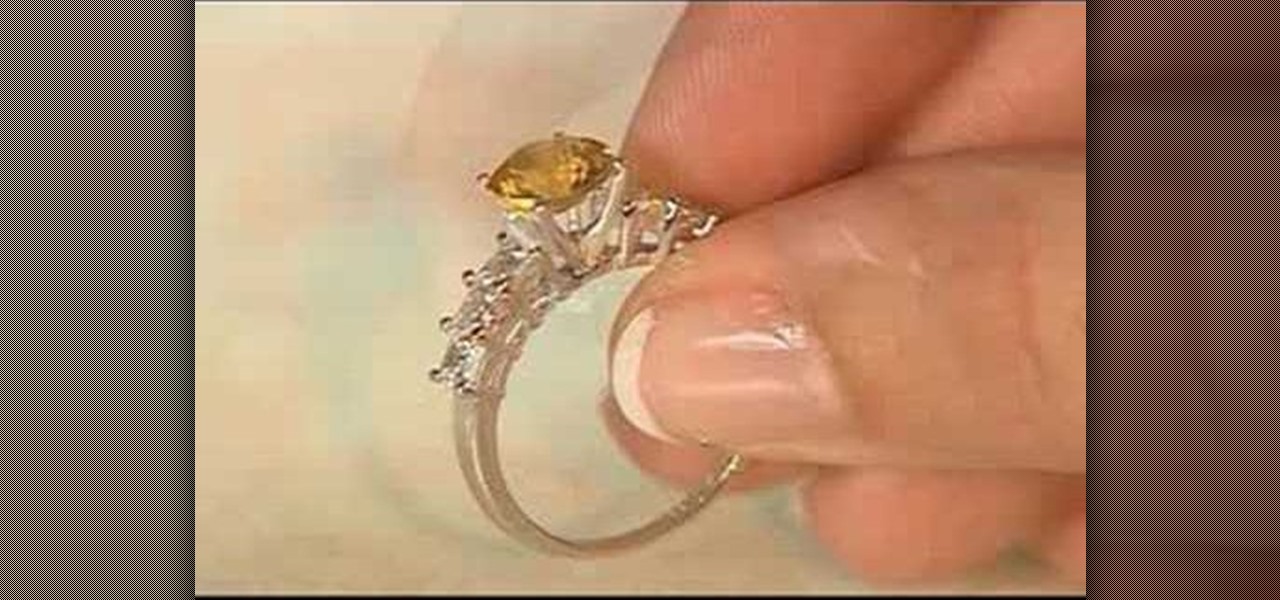
Add to your jewelry making techniques by snap setting gemstones. This jewelry how to video tutorial demonstrates the proper way to snap set a ring. Begin by placing your stone face down on a flat surface. With your casting in hand gently push the ring setting over the gem stone. It should securely snap into place.

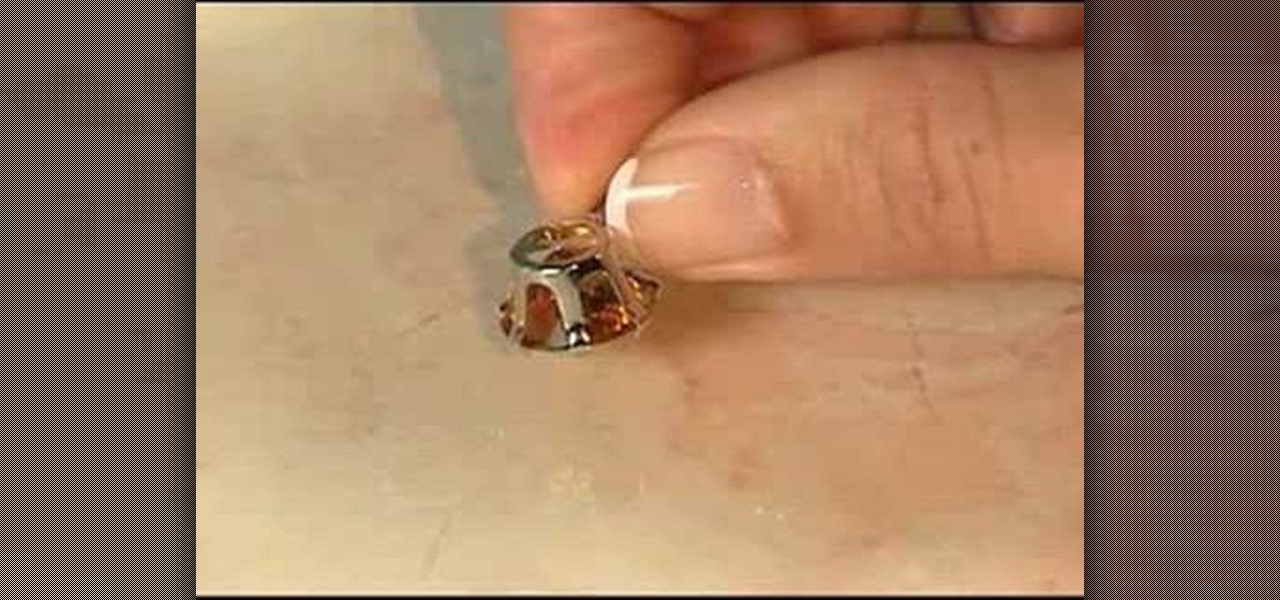
One important part of jewelery making involves properly setting stones. This jewelry how-to video demonstrates the proper way to snap set a six prong pendant. Begin with your stone flat face down on a surface, with your casting in hand gently press the setting down over the gem stone. You will feel it snap into place. To tighten and secure that your setting is in place use needle nose pliers.

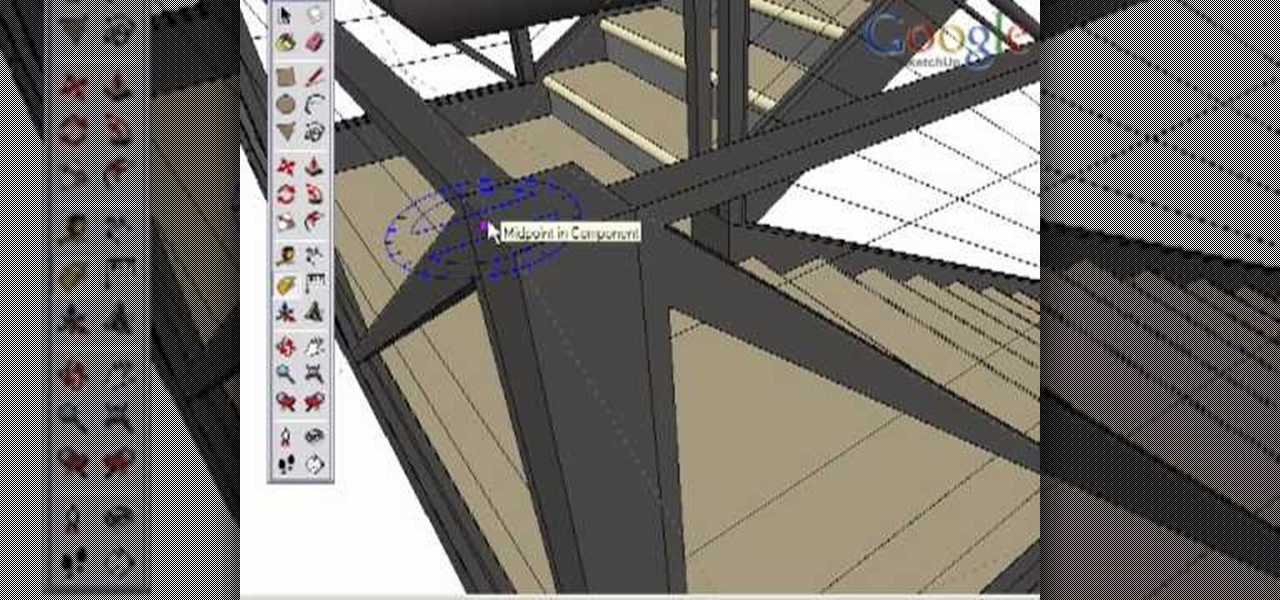
Take a look at this instructional video and learn how to use the protractor tool in Google SketchUp. To measure in any direction or orientation, the protractor will align itself to any surface that it touches. This tutorial covers how to measure angles, create construction guidelines, control the tool orientation, and how to establish roof slopes.

Take a look at this instructional video and learn how to use the eraser tool in Google SketchUp. Keep in mind that the eraser tool only works for edges in SketchUp, and you won't be able to erase surfaces with the eraser tool. This tutorial covers how to erase single or multiple edges easily and how to soften or hide edges with the eraser.

Take a look at this instructional video and learn how to use the freehand tool in Google SketchUp. This tutorial covers how to use freehand to draw free form edges. To do this, simply click and hold the mouse button to draw with the freehand tool. Like other drawing tools, be careful not to cross over edges while drawing, and draw to and from existing edges to properly break surfaces.

This Houdini 9 tutorial takes a quick look at one method that can be used to create a wireframe render of any type of surface which may then be composited over the lighting passes. Learn how to render and composite a lighting and wire pass in Houdini 9.

This Houdini 9 tutorial teaches you how to work with the shelf tools. There are shelves for all the areas of Houdini from modeling to dynamics, to animating and particles. This particular tutorial shows you how to use the viewport and shelf tools to model within Houdini 9 and work with surface operations (SOPS).

In this Houdini 9 modeling tutorial you will learn how to create objects using the sweep sop (surface operator). You can create or animate objects by sweeping them along curves or other objects. Watch and learn how to use the sweep sop in Houdini 9.

In this Houdini 9 modeling tutorial you will learn how to use the surface operator the carve sop. Carving objects is a fast way to model and manipulate them using curves and lines or other shapes. Watch and learn how to use the carve sop in Houdini 9.

The align sop in Houdini is a useful surface operation and modeling tool. In this Houdini 9 tutorial you will learn how to use the align sop when modeling in SOPS.

This tutorial shows you how to make a basic Japanese style book. You'll need two different styles of paper, a cutting surface, a ruler, a paper cutter, and a ruler. Watch this video bookbinding tutorial and learn how to make a Japanese stab book.

When lost out in the wild, or even just trying to get someone's attention, you're going to need to signal for help. A mirror, compass, or any reflective surface will do the trick. Watch this video training tutorial and learn how to use a mirror or compass for signaling.

Watch this instructional cosmetics video to apply M.A.C's Studio Fix fluid foundation. You can use a sponge, a 109 or a 187 brush. Prepare a clean smooth surface to prep products. Choose a moisturizer that works for your skin.

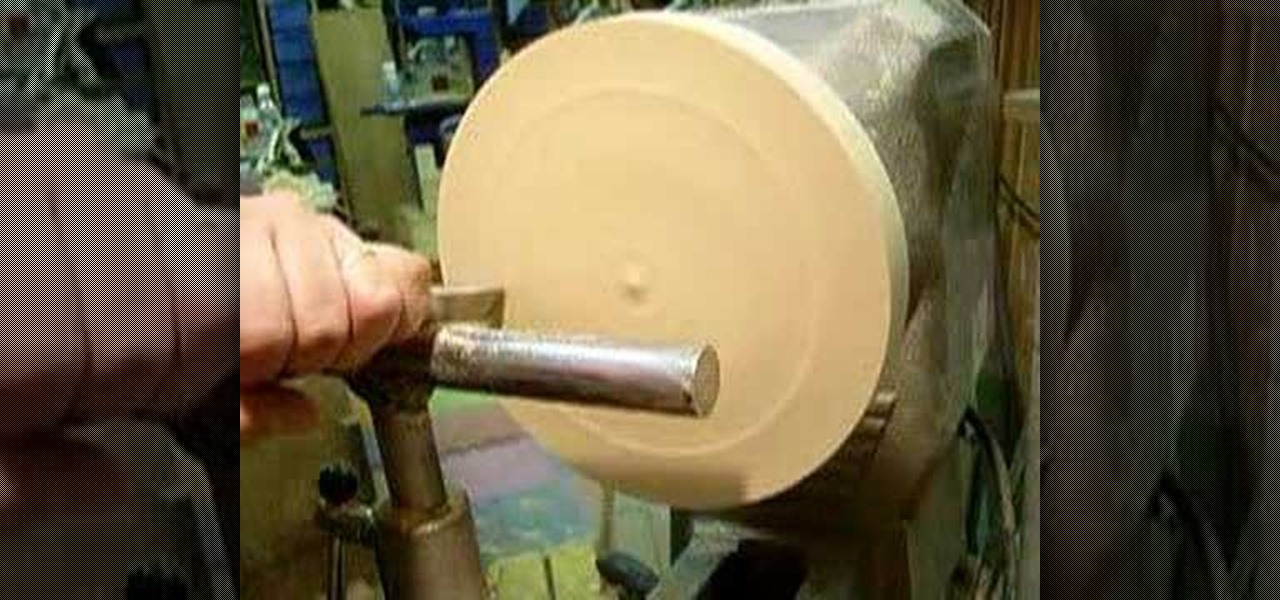
Watch this instructional woodworking video to use this bowl finishing tool. This tool is used to make the very last cuts when carving a wooden bowl. The finishing tool leaves a smooth surface on a wooden bowl.

Watch this instructional photography video that shows how to build a useful, inexpensive tripod for the amateur photographer on a budget. This tripod will be more useful than most commercial tripods with only a plastic bag full of beans. The result is a stable, useful extension with minimal photographic inhibitions that works on any surface. A great how to video for the amatuer photographer.

An After Effects tutorial on creating a pond surface effect and simulating an underwater video. Start with footage of a person looking down at the camera and then "touching" the water, then follow along with this tutorial and you'll have rippling water in no time.

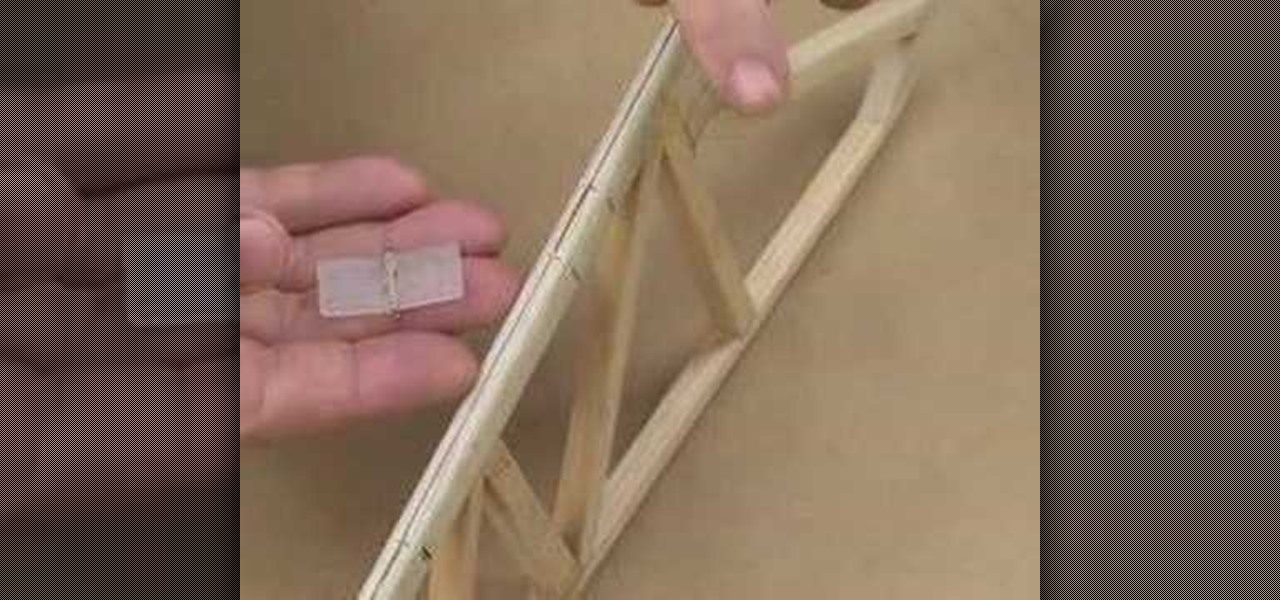
Model Airplane News Editor Gerry Yarrish shows how to install RC airplane control surface hinges. You'll need an Xacto knife, hinge installation tools, and hinge glue. It's a pretty basic procedure. Watch this video tutorial and learn how to attach hinges onto a remote control airplane.

Learn how to setup a Reference Plane

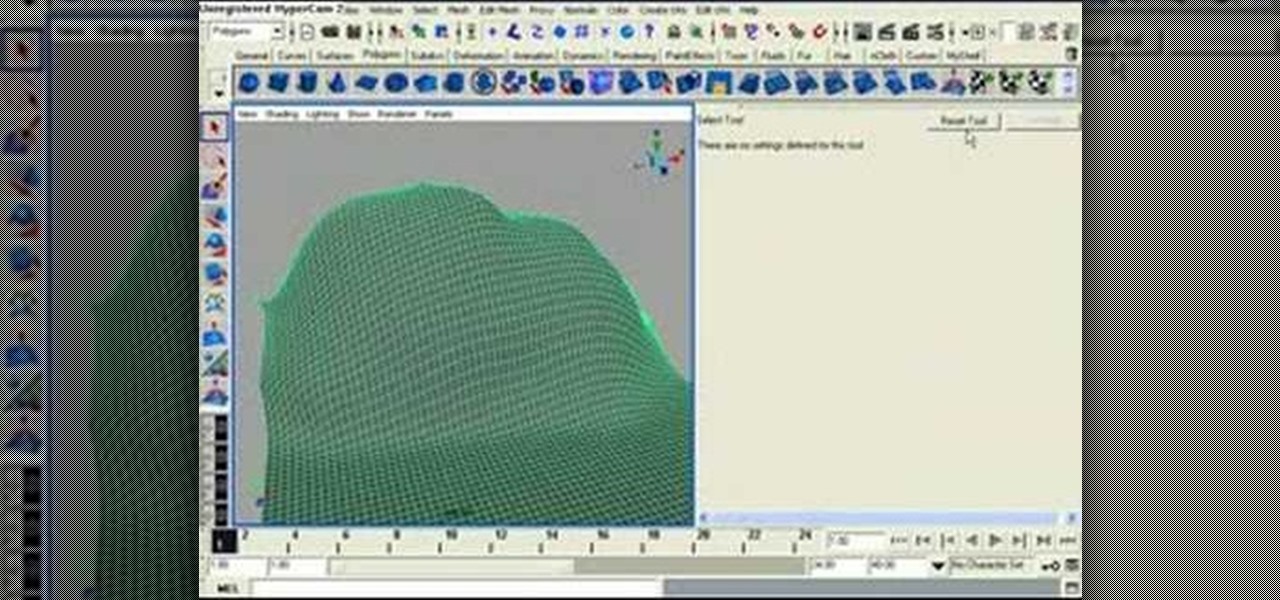
In this software tutorial you will learn how to sculpt geometry using the sculpt geometry tool in Maya. The sculpt geometry tool is like a paint brush that allows you to paint the surface of an object in 3D. It is best used for creating terrains and other organic geometry. This tutorial will cover all the basics of learning to sculpt geometry in Maya.

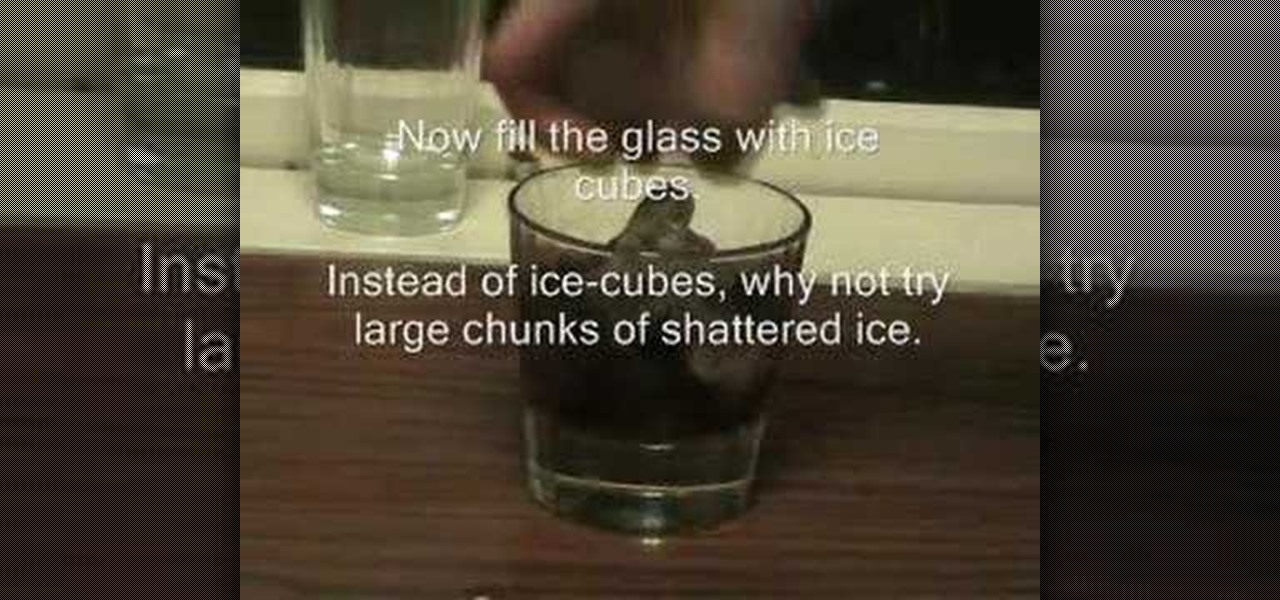
This instructional video takes you step by step in making an old fashioned--a classic cocktail still enjoyed today. Steps:

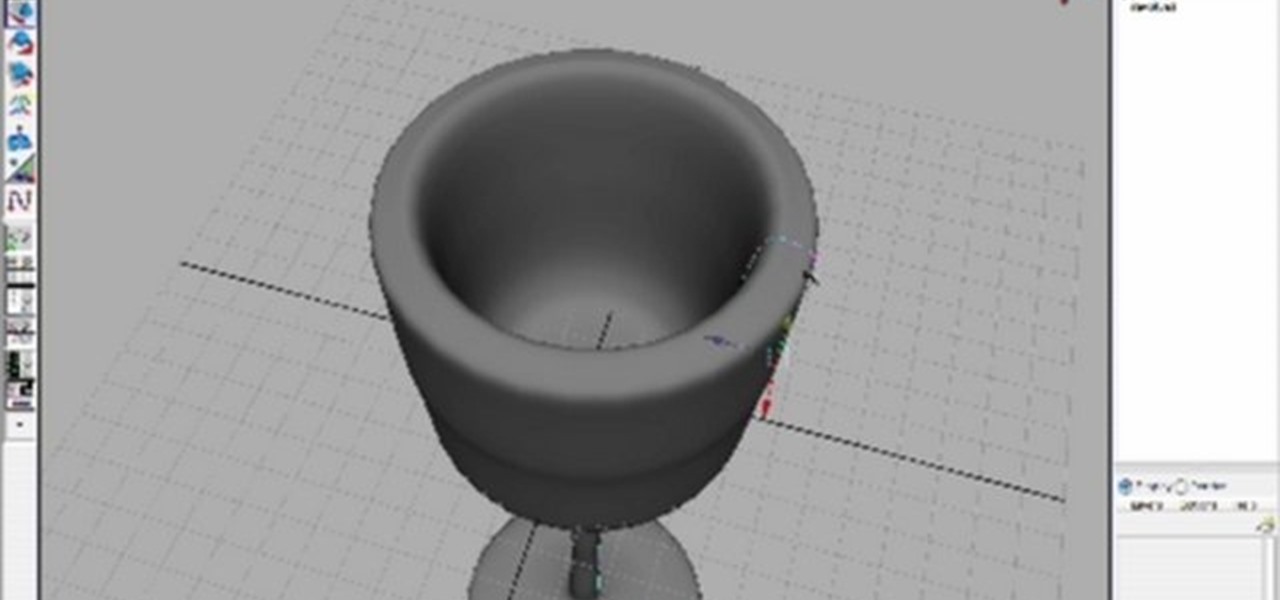
Learn how to manipulate NURBS surfaces using the Revolve, Extrude and Loft methods in Autodesk's Maya 3D modeling and animating software.

Learn how to use the sculpt geometry tool to make modeling polygon surfaces much easier when doing 3D modeling in Maya.

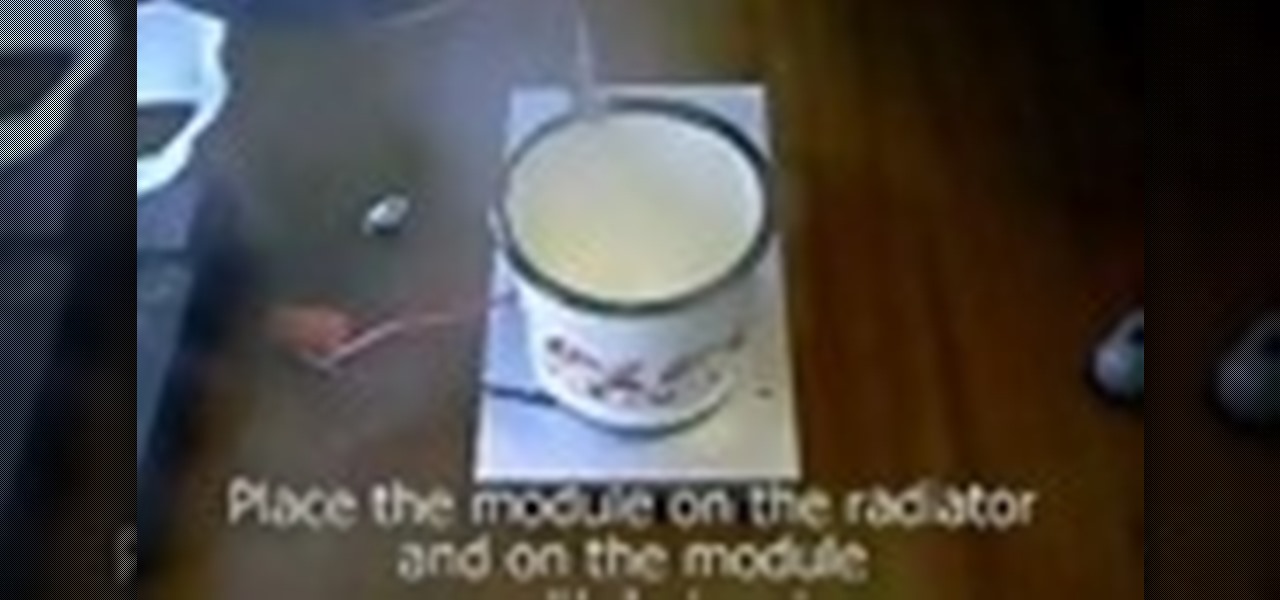
A Peltier module allows you to turn heat into electricity. Because you can place it in areas that are normally warm anyway, the electricity created is "free" in a sense, though it does work best when one side of the module is cold and the other is hot. In other words, all you'll need for this project is the Peltier module and a cooler surface such as soil or water, and a warm area such as a well lit window or warm pan.

This tutorial paper project video will show you how to make your very own greeting card holder. This card stand will keep your cards upright, and it's a great idea to have this on a desk or other surface.

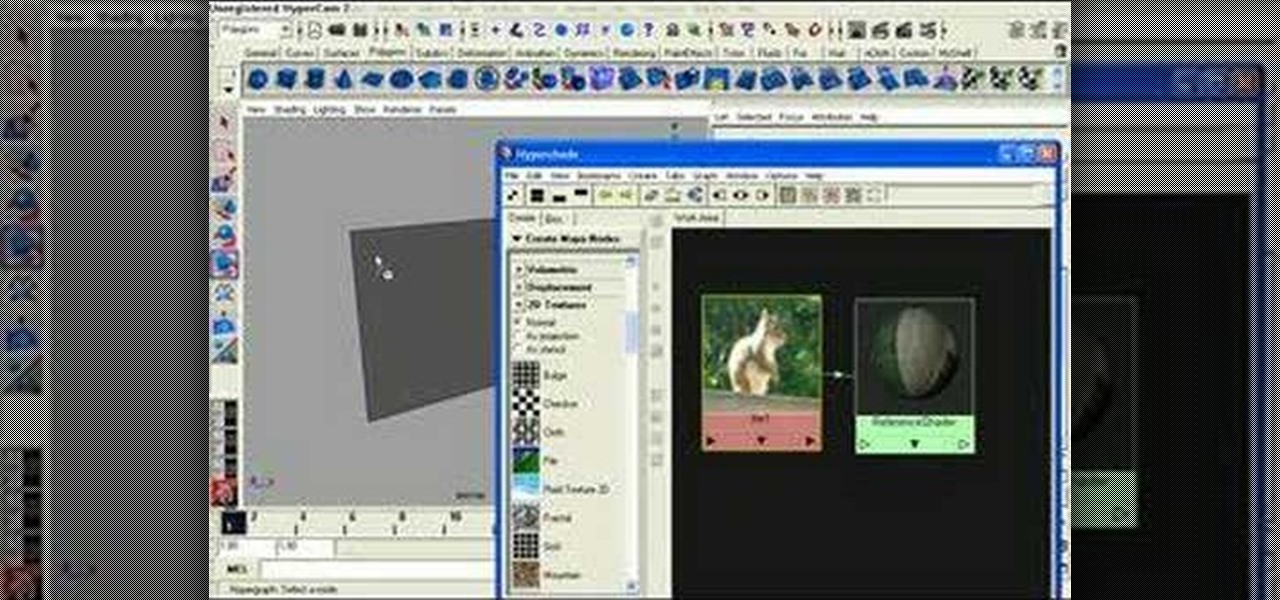
All you 3D modelers and digital animators out there, watch this video to see how to take any photo image and wrap it onto the surface of an object in 3ds Max 8.


