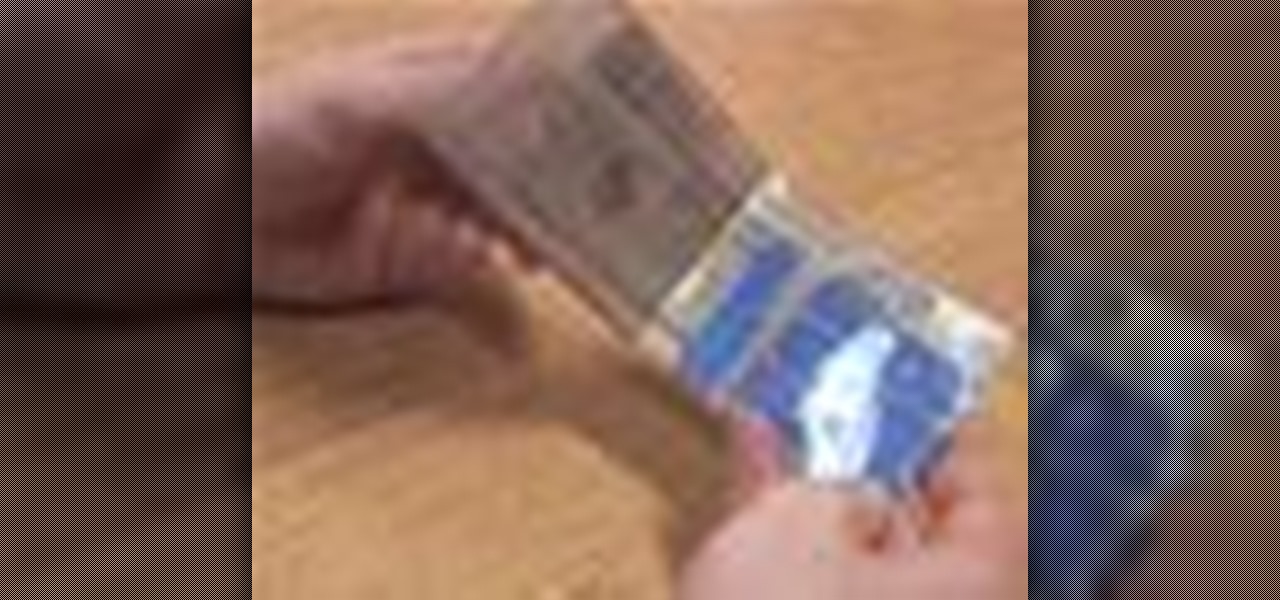
Use these tips to learn how to adjust the "Zip Bind Tool" for your binding width. The zip bind tool will allow you to keep perfectly even bindings from start to finish without using a ruler or doing a lot of measuring. Sewing a neat binding can be one of the most difficult challenges in beginning quilting. Here are two tips for using your zip bind tool correctly.
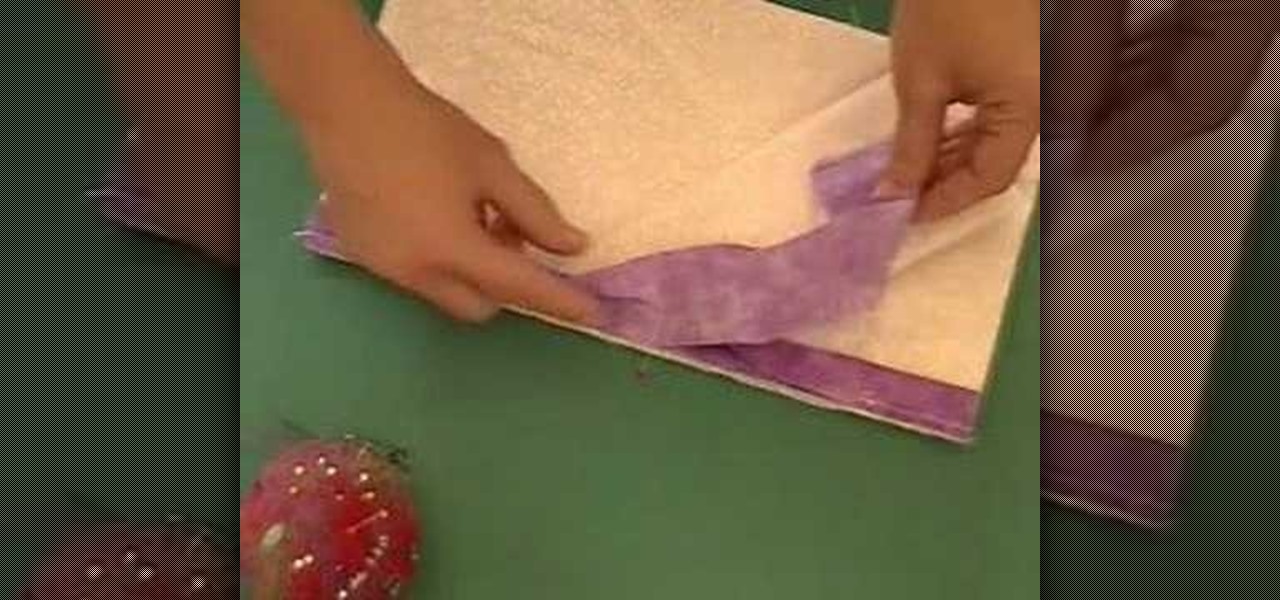
This quilting tutorial demonstrates how to easily join the ends of your quilt binding so that no one can tell the last seam from any other. Review this step by step process to avoid future difficulty when joining binding strips on your quilt. You don't need a ruler and you don't need to do a lot of measuring to try this quilting trick.
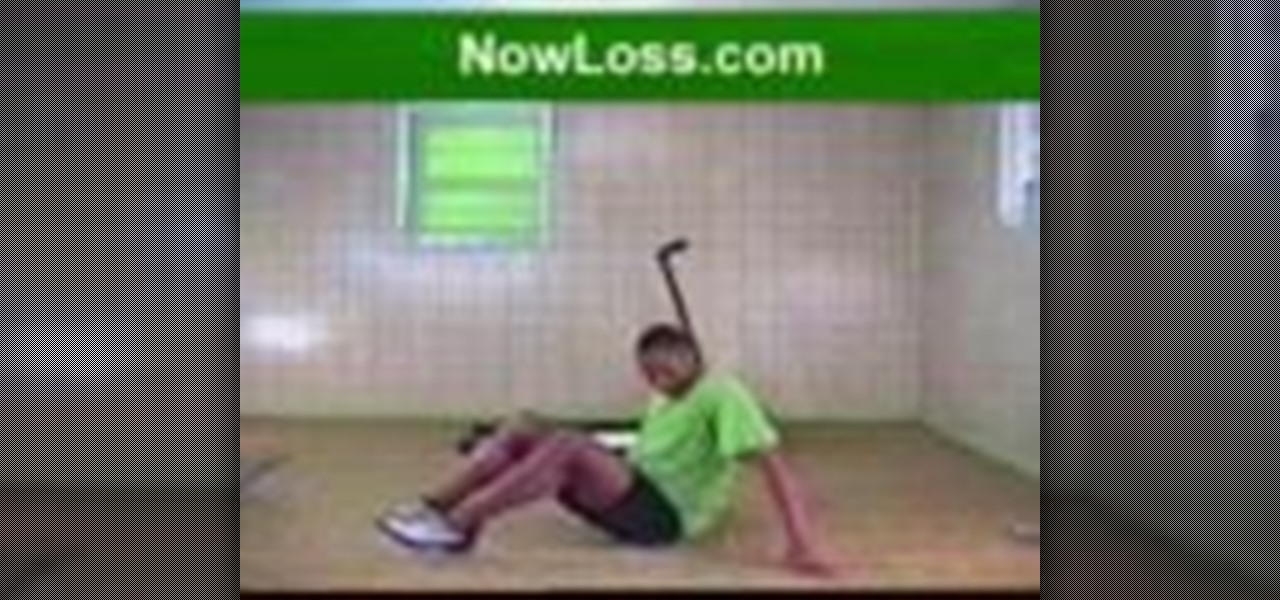
This exercise forces you to contract your lower abs so your lower back will stay flat against the floor and...This exercise builds up the lower and upper abs.

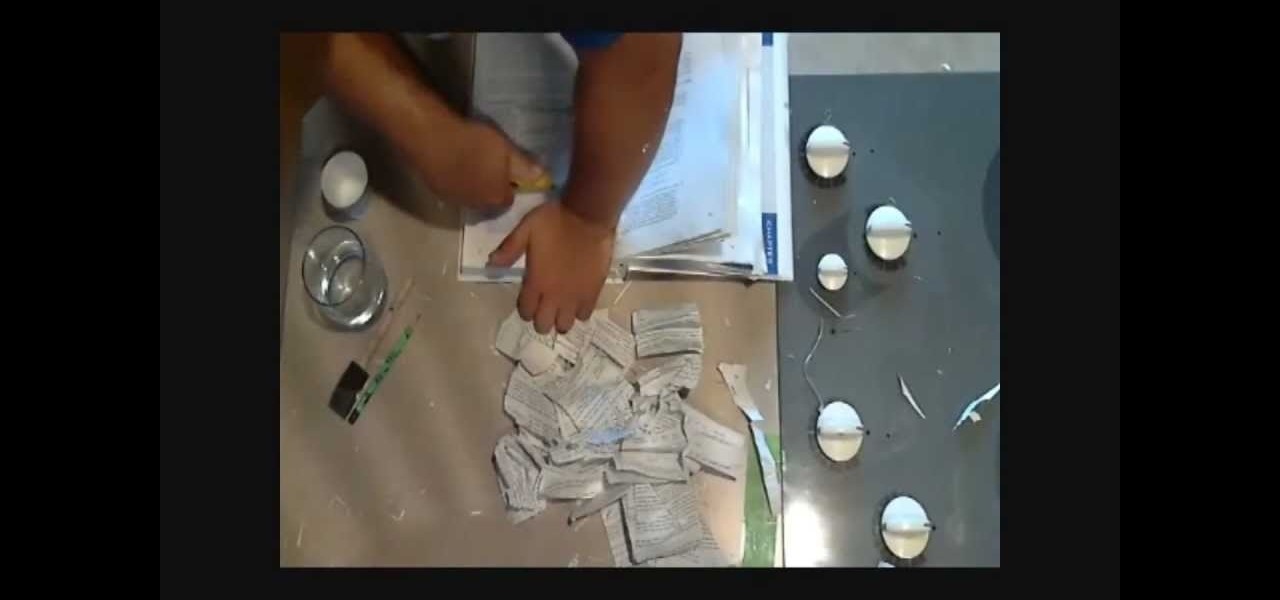
This video shows you how to create a hollow book for keeping secret things inside. To the outside world the book looks normal, but only you know what goodies you have stored inside. You will need an old hardcover book, wood glue, Razor knife, steel ruler, brush, pencil, and cup for water glue mix.
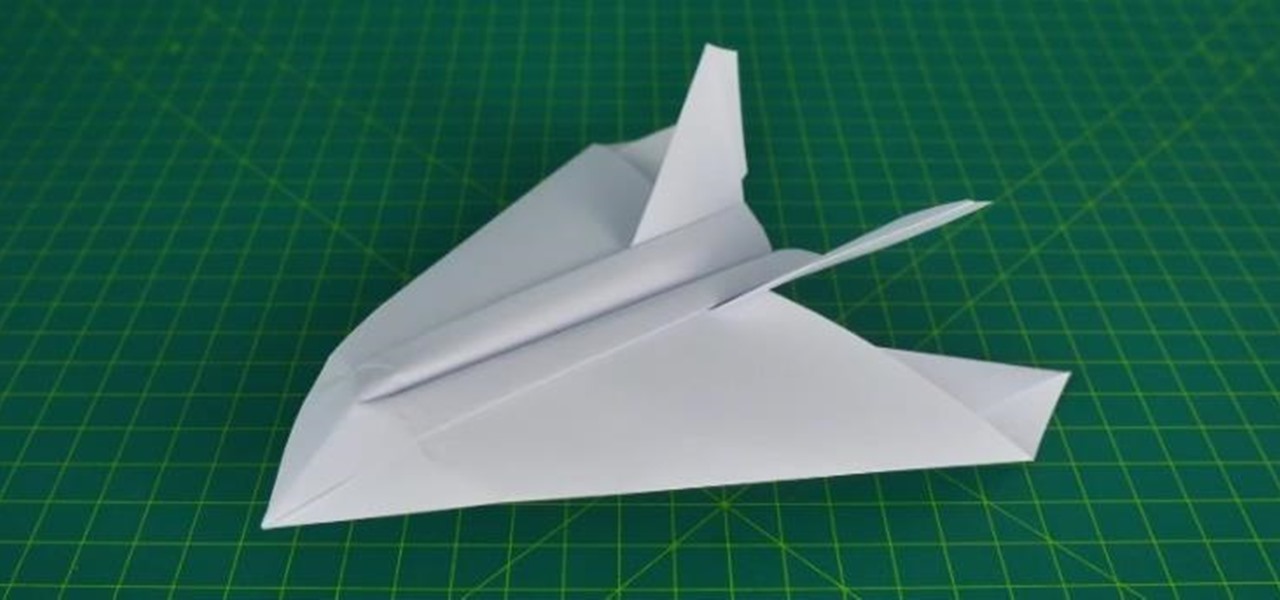
In this video, you will learn how to make origami stealth fighter. This origami model simulates a stealth aircraft.

In this video, I'm gonna show you how to fold a paper jet fighter call F-18 Hornet. This model is designed by Thay Yang.

Step 1: Identify an Old Sweater and Get Your Supplies Get an old sweater that you hardly wear or hit up the thrift shop. YOu will also need:

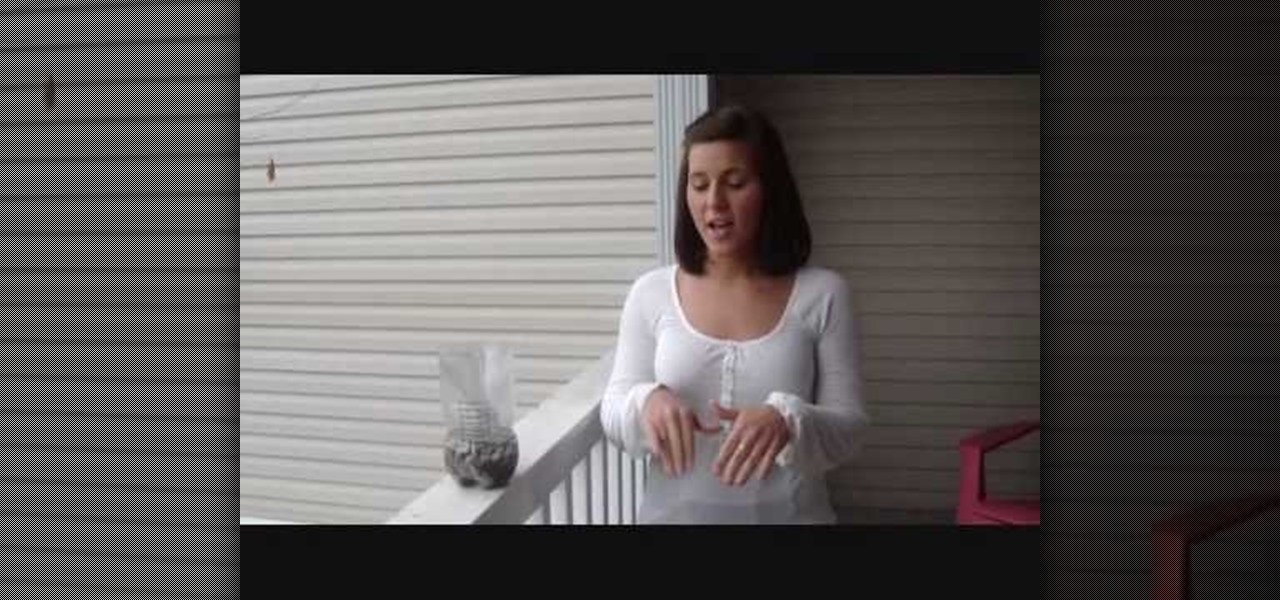
In this how to video, you will learn how to make a rain gauge. First, you will need a 2 liter bottle to collect the rain. You will also need scissors, a ruler, and a permanent marker. First, take the bottle cap off of the soda bottle. Next, cut the top of the bottle off. Now, collect some pebbles and put it at the bottom of the bottle. This will keep the bottle in place. Pace the top of the bottle on top to use a as a funnel. Now, take a ruler and measure 7 cm high on the rain gauge. Mark it ...

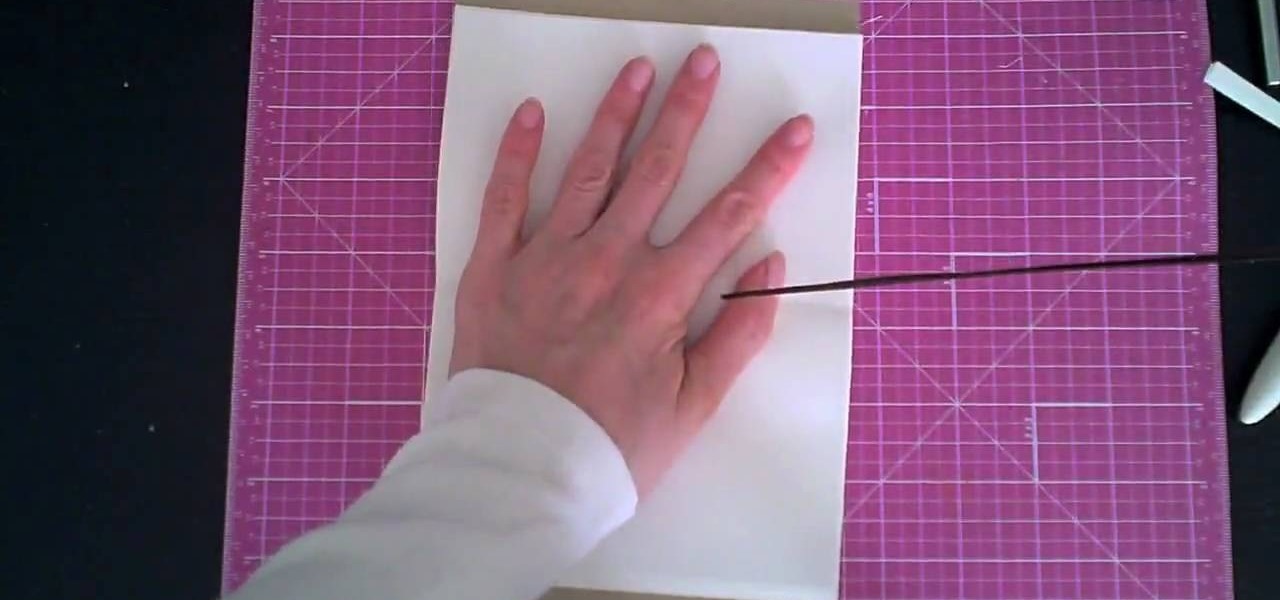
This video demonstrates how to make a notebook with ribbon binding. Take a stalk of plain white paper and it would be 5 1/2" long and 8" wide. Fold it in half. Trim off the excess with a ruler. Then align the edges of the white paper. Put this in a cardstock which is 8 1/2" wide and 5 1/2" long. Cover rapid around the white paper stalk to make sure that it the spine is bounded. Take the grid ruler and center it and mark the center and also 1" from the center at each side to the left and right...

In this Arts & Crafts video tutorial you will learn how to make a stained glass picture frame. This video is from Artists Resource. You will need a Marabu GlasArt kit, some white spirit, a china graph pencil, scissors, a ruler, sheets of scrap paper, lead tape and a picture frame. Take the frame and remove the clips. With the ruler and china graph pencil mark off and draw 6” squares. Rub off the center lines with a tissue. This is where the photo will fit. Next you fill the squares with the g...

This video is about cutting your own hair whether long or short. It's more for maintenance than for cutting a style. You need a pair of barber shears, a spray bottle to keep hair moist, comb, masking tape and ruler. The hair should be freshly washed and wet hair. Comb the hair out. To get the hair even, measure from the ear down or use the ruler and measure 1/4 inch or the amount you want to remove. Pull hair straight and taut. Work one side at a time in small sections. Snip hair straight acr...

Making a storyboard before shooting a movie is like drawing a blueprint before grabbing a hammer and nails. Do it well, and make sure your film is structurally sound.

Bored in your cubicle all day? It's time for helicopter wars! This video shows you how to make a fun and simple helicopter out of some basic office supplies. The materials you will need are: a big paper clip, a smaller paper clip, a large aluminum can (such as from Rockstar or Monster energy drinks), a ruler, Scotch tape, a rubber band, a pair of pliers (if you have a Leatherman multitool, those will work just fine), a pen you can take apart for the long tube, a pair of scissors, and some pla...

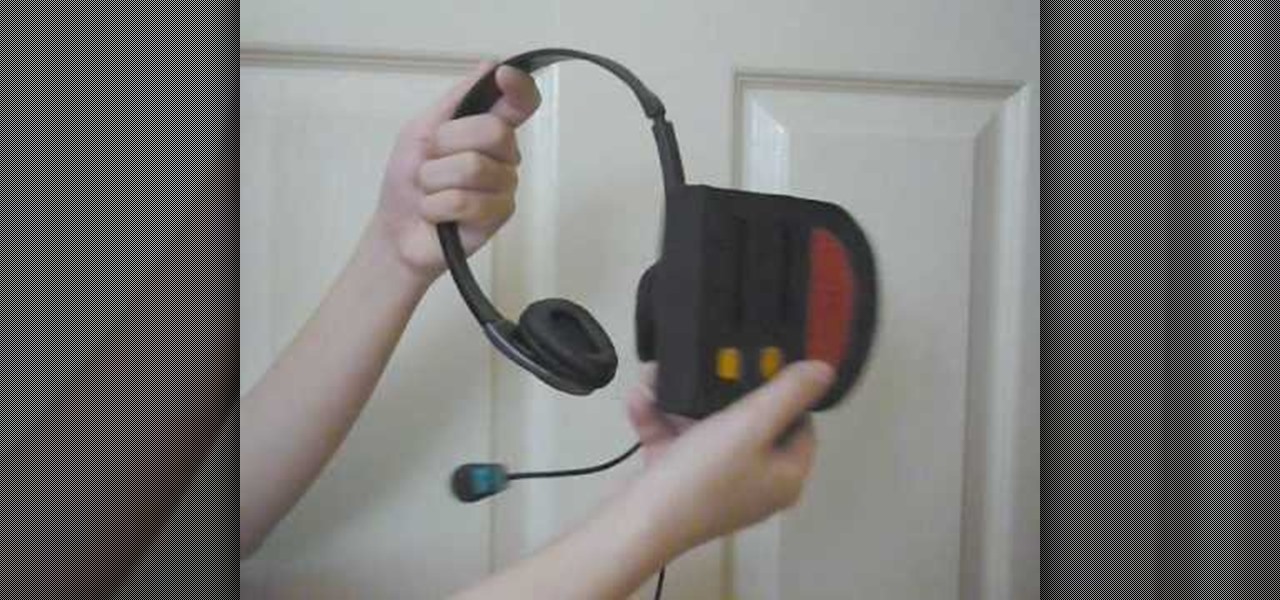
Vocaloids have to be one of the weirdest of the many weird things to ever emerge from Japan. They are basically synthesizer software programs that can sing any song a user creates in the voice of a character created for that Vocaloid. The queen of these Vocaloid characters is Hatsune Miku, who has become something of a cosplay darling since her software caught on. This video will show you how to make her cosplay replicas of her iconic headphones.

Tired of carrying that purse around while you are trying to have a conversation or dance the night away? How about a cute little handbag to swing around while you maintain your social life.

In order to make a striped dress out of t-shirts, you will need the following: t-shirt dress, measuring tape or a ruler, pins, scissors, thread, needles, and sequins.

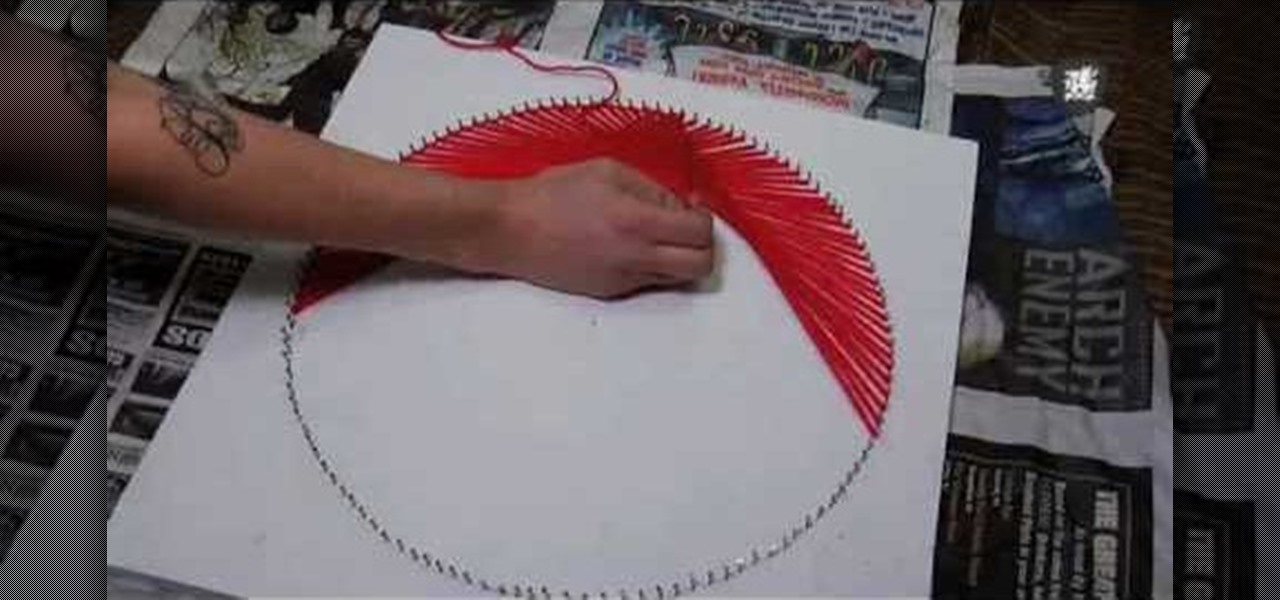
This video is 70's string art tutorial, decor yourself. The way the women is describing, is that you can use anything to do this, get a piece of thick wood, paint it white, use a ruler, and measure halfway, draw a dot. Draw a circle around it, with the dot being in the middle. take nails all the way around the center of the circle, and thread the whole thing, until you turn out with a very beautiful and creative circle design that you can hang on your livingroom wall, theres also other design...

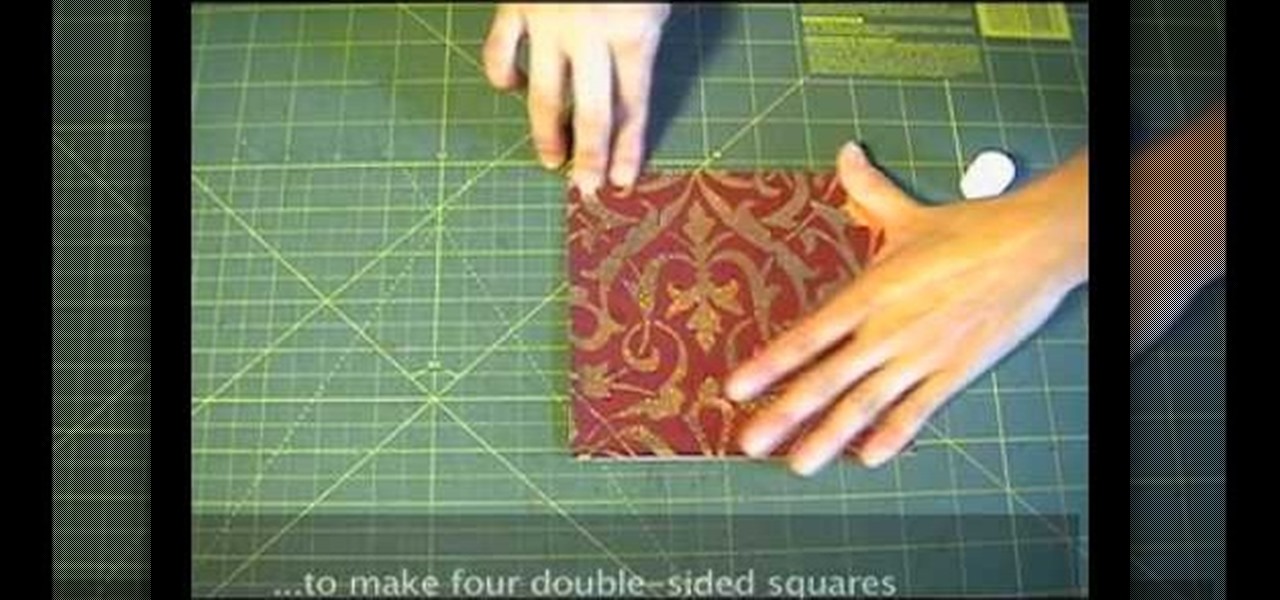
Shiho Masuda Teaches you to make 3-D origami star using recycled materials. The materials required are leftover wrapping paper, ribbons, two 3. 25" cardboard squares, ruler, scissors, glue, double sided tape and an X-acto knife. She cuts out 8 6"x6" squares from paper and glues them back to back to make four double sided squares. The four pieces are folded into 3"x 3" squares and stuck together with double sided tape. The 2 cardboard pieces are covered with paper and 12" ribbons are taped to ...

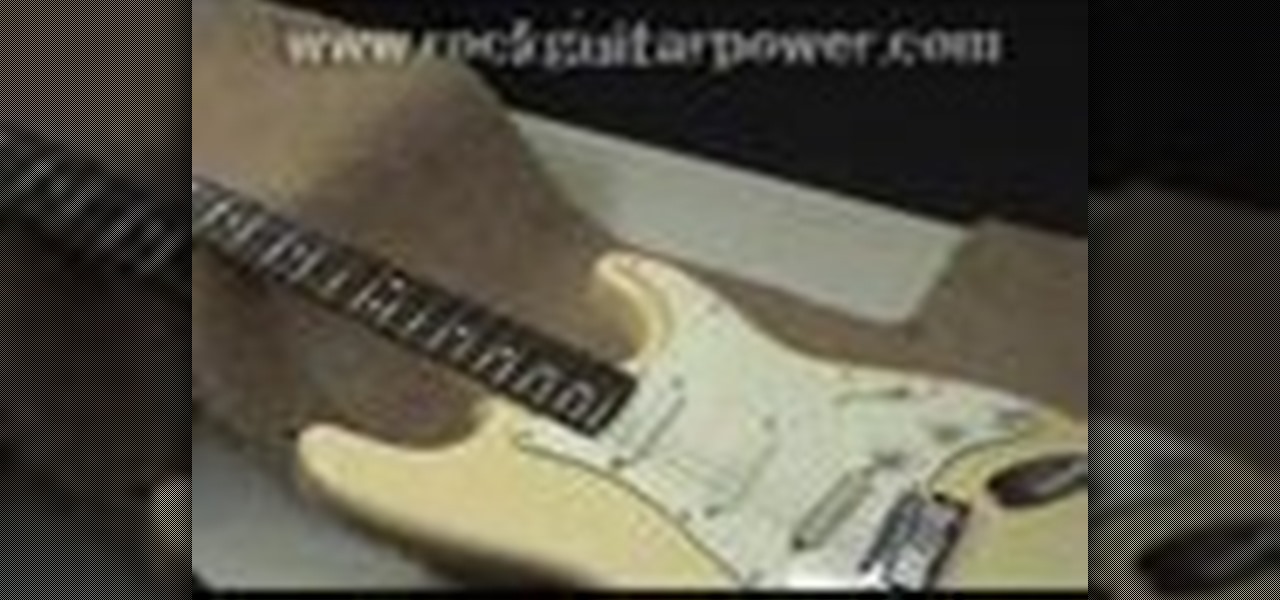
Using a Strat guitar since it has a basic type of string system, this demonstrator shows how to properly adjust the string height of a guitar. In order to do this, one must use an Allen wrench screw or a screwdriver for each saddle, a flathead screwdriver, and a 64th ruler. The viewer is given an example of a height that could be used for a solo guitar. It is important to measure the distance you want correctly by measuring from the top of the fret, not the fretboard to the string. This video...

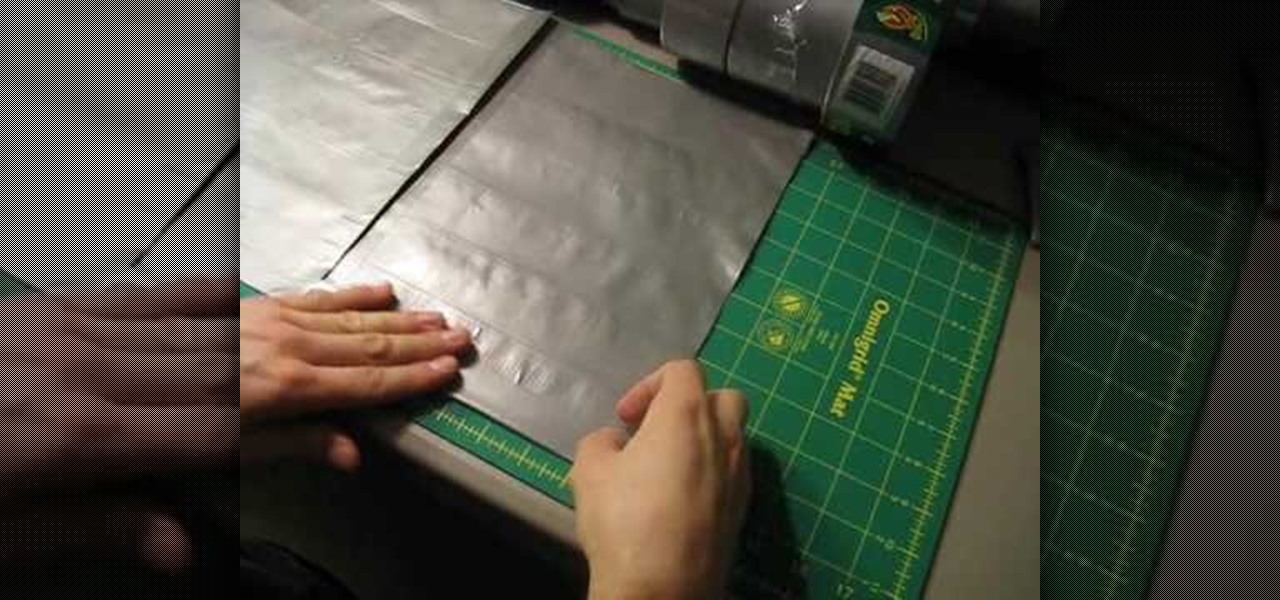
Spend an afternoon creating a new way to carry your papers at school by following this fun tutorial on how to make a folder out of duct tape using only a ruler, some scissors and of course, duct tape. With your new duct tape folder, you can carry your papers and show your creative skills off at school or college. Don't forget to personalize the front with other duct tape creations to make it your own!

Check out this DIY video tutorial from Curbly, the best place to share pictures of your home, find design ideas, and get expert home-improvement advice.

Check out this DIY video tutorial from Curbly, the best place to share pictures of your home, find design ideas, and get expert home-improvement advice.

Don't throw away that old keyboard! You can make a sweet wallet with the circuit sheets inside! Inspired by this Instructables project. Hack together your own cool wallet with this mod video.

Want to make a Rubik's Cube just like Erno Rubik? Of course you do, but before you start making all of the intrinsic mechanisms of the classic Cube, maybe you should start out a little simpler.

This video begins with various examples of male heads being shown from different angles. The artist begins by drawing the outline of the eyes and eye brows with little definition. The outline of the head is then created to give the male head it's size and shape. by using a ruler the distance in between eyes, nose and lips are created then drawn more precisely. The video shows various different ways to shade the male faces features to give realism. The last part of the drawing that is covered ...

In this video, we learn how to safely pierce your lip. Start off by using antiseptic to clean off the needle or tool that you are going to pierce your lip with. Then, mark the spot on your lip that you want the jewelry to go. Use a ruler to help make sure it's positioned correctly on your face. After this, place ice on your lip to help numb it for a few seconds. Then, quickly grab the needle and push it through the mark that you made on your lip. Then, you will need to quickly push the jewelr...

In this tutorial, we learn how to bisect a line segment. First, you need to adjust your compass so the distance from the sharp part and the drawing part is the size of the line. Then, put the sharp part on one side and draw your arc with the pencil. Do this on both sides of the line so your image shows two arcs that intersect each other. Since you have these two intersecting lines, you can draw a line between these to show where the middle of the line would be. Use a ruler to draw this straig...

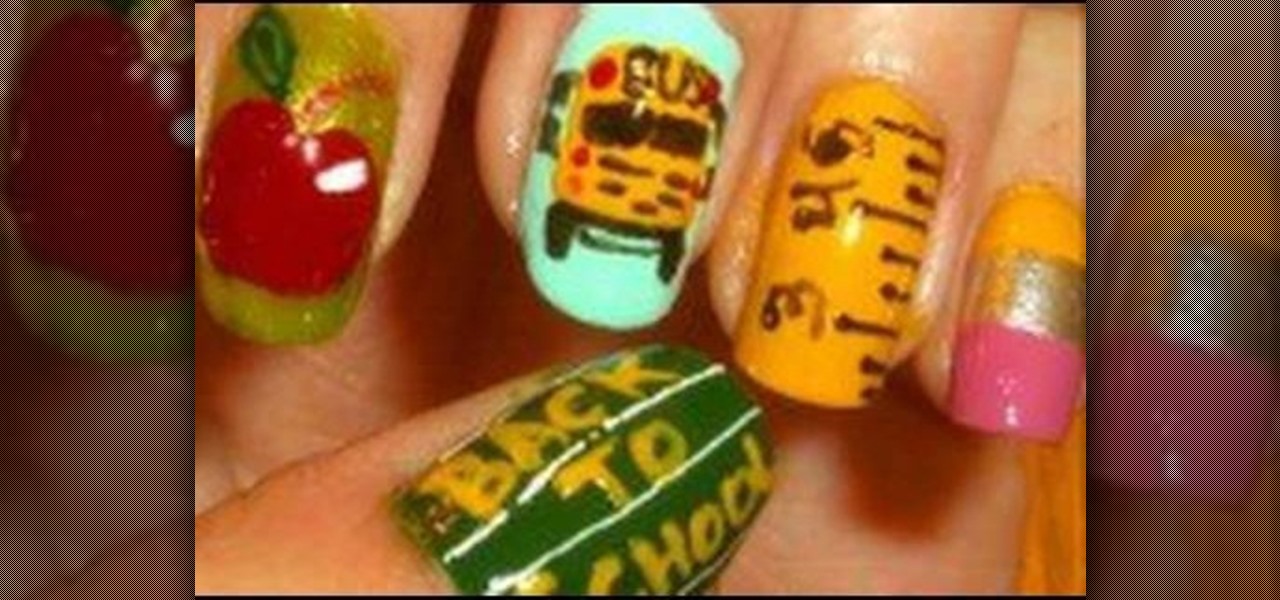
You know what all the girls are going to be wearing when they start school again this September? Nothing, or a boring, single-hued nail polish if they're up for it. So why not stand out in the sea of griege nails by creating your own fun little nail designs?

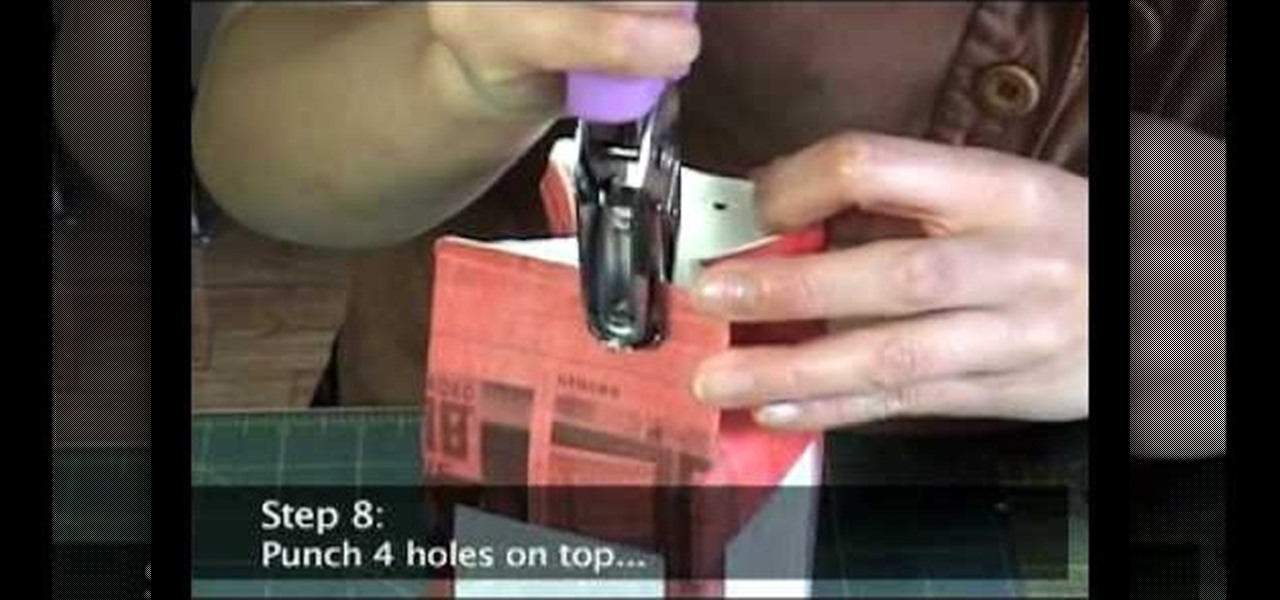
In this video tutorial, viewers will learn how to make a milk carton lantern. This lantern uses recycled items. The materials required for this lamp are: a milk carton, unryu paper, colored newspaper, raffia, ruler, glue gun, hole puncher, X-acto knife, glue stick and scissors. Flatten the milk carton. Draw a rectangle with each panel and measure about 1/2" form each of the sides. Measure about 3/4" from bottom and top. Cut out the rectangles with the X-acto knife. Glue the newspaper to the c...

In this video the instructor shows how to change views in Microsoft word 2007 and navigate around the documents. In Microsoft word 2007 in the ribbon there is a view tab to the extreme right. Open the tab. Now in that bar the default layout selected is the Print Layout which is 'What you see is what you get' layout. Next to it the full screen reading option and clicking on it, the documents opens up as a two page book with all the other tool bars hidden. The next is web layout which is ideal ...

In this video tutorial, viewers learn how to make a parchment cone for cake decorating. A parchment cone is basically the same as a pastry bag. Begin by cutting out a piece of parchment paper. It doesn't matter the size of the parchment but it needs to be flat. Using a ruler and a knife, cut the paper diagonally. Take the longer end and curl it inside. Take the other end and wrap it around to form a cone. Fold the top to secure the cone. Once the cream is in the cone, roll the top and make a ...

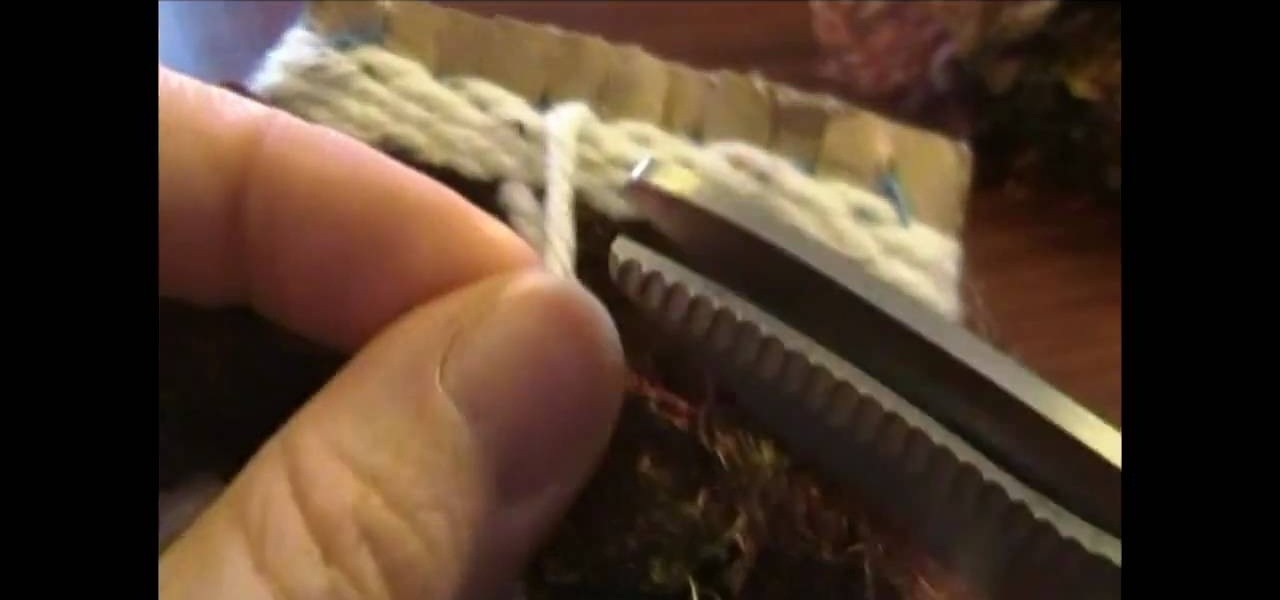
In this video tutorial, viewers learn how to weave a pouch for an MP3 player. The video lists all the materials required to make the pouch. The required materials include: cardboard, a ruler, scissors, yarn needle or bodkin, scraps of yarn or 10 crochet yarn and a marker or pencil. This video provides voice narration and a visual demonstration for viewers to easily understand and follow along. This video will benefit those viewers who enjoy homemade accessories. This is for those who enjoy we...

This video illustrates the transfer of paper patterns on woodworking projects with Lowe's. If you have a pattern in a piece of paper for the woodworking project. Draw the grid for the pattern in a piece of paper. Even though, the piece of wood is six times larger than the pattern in paper. Draw the grid in the wood with One and half inches by the use of ruler. Then check out each and every box of grid in a pattern, trace the shape of each boxes in the wood. After finishing all the grid boxes ...

The user tries to explain to us how to find the distance between two points. It should be noted that we are not talking about using a ruler to measure the distance between two points. The video creator is talking about the math problem that involves finding distance between two points. He uses an electronic white board to explain to us how this is done. He goes step by step and uses a basic equation to help the viewer understand these concepts.

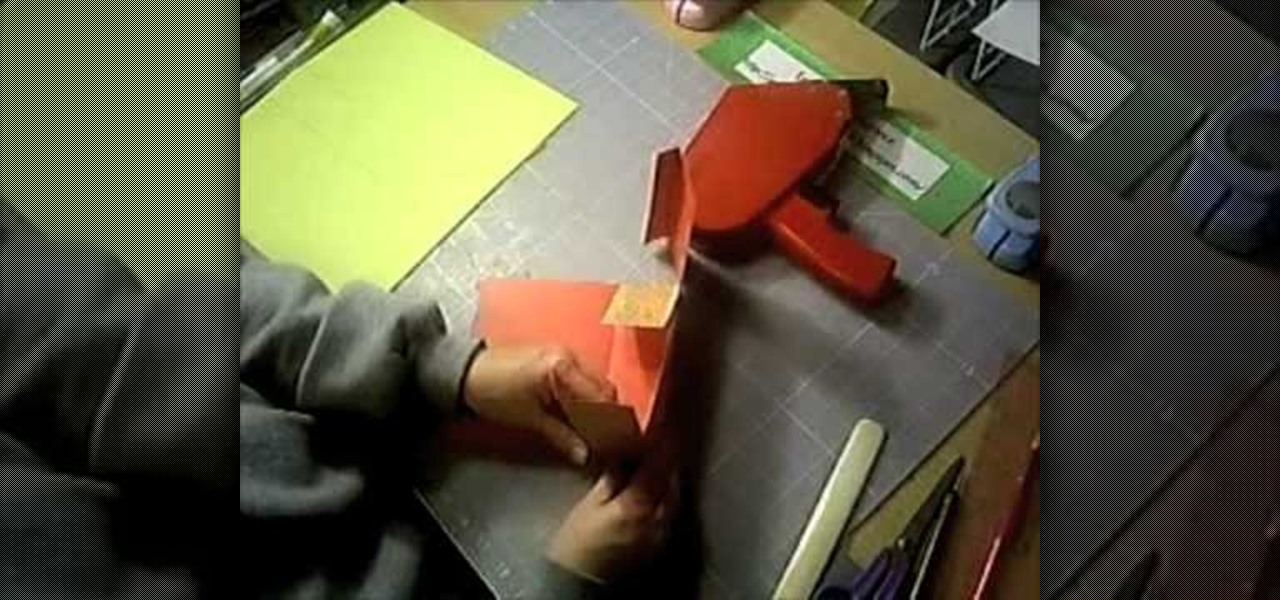
In this video, you will find out how to make a large recipe card file from Emerald City Elegance Paper Crafting. Anyone who loves to collect recipes knows how quickly you can fill up a little recipe box so make this file to keep all your treasured recipes together. You can easily make this divided file to hold four by six recipe cards. To create this file you will need a large piece of card stock, a printable template from the website, scissors, a scoring tool, adhesive, a ruler, and your cho...

You're not really going to smash that guitar are you? It's a piece of art. Parker put together this tutorial to show how to build a prop guitar you can smash and let out all that rock and roll angst. You will need a glue gun, chess pawns, cardboard, duct tape, a gift box, glue, a garbage can, paper, paint, string, and a ruler. Watch this video prop-making tutorial and learn how to build a prop guitar for smashing.

Build stones & cinder blocks for a diorama. Papa Tom teaches viewers how to make a building look like it is made of stone or cinder blocks using the Building and Structure Kit from Scene-A-Rama. This is super easy and tons of fun for all ages. It's great for school or class projects. Use a ruler, a fine point marker, a hobby knife, and a paint brush.

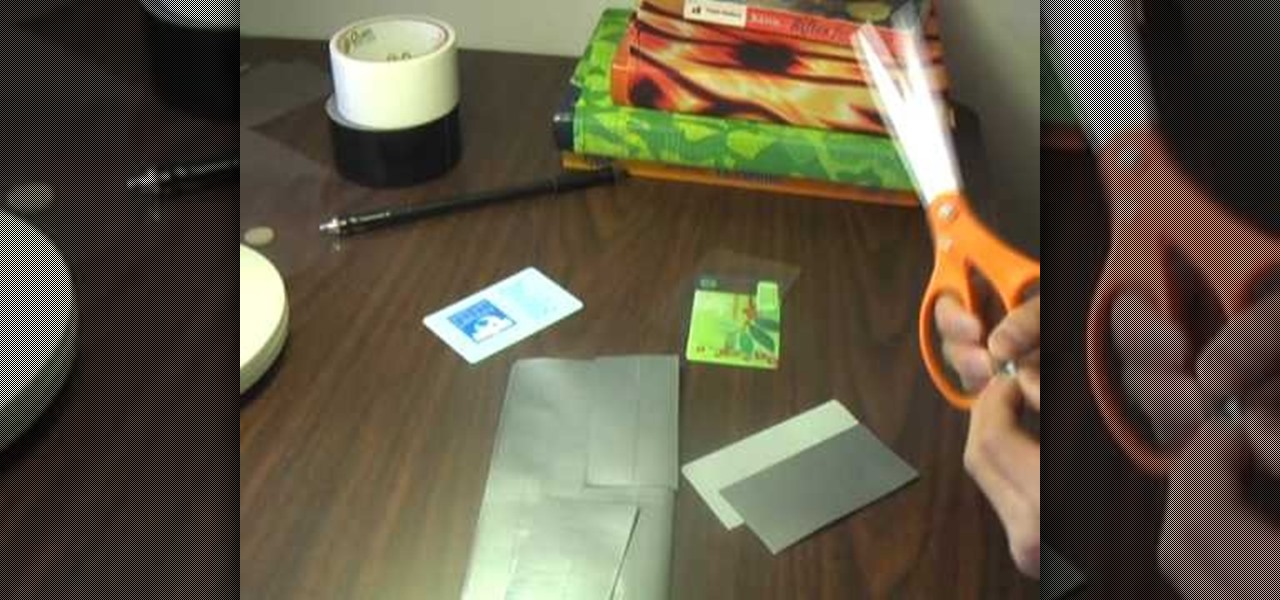
In order to make a wallet with duct tape, you will need the following: duct tape, scissors, a ruler, a pen, plastic, credit card, and a smooth surface. Cut a strip or duct tape 8" long. Place it on a flat surface, with the silver side facing up. Cut another piece. Attach it to the first piece, laying it down at half the width of the first piece. Fold it over. Try to avoid making bubbles. Now, make a sheet by cutting 8 strips and attaching them together in the same manner. With a ruler, measur...

Have something expensive or personal to hide? Something you don't want anybody else to find? A secret book compartment is perfect for concealing your valuables in plain sight. And this video will show you how to make your own hidden recess for your very own book safe. Just grab your desired book, a razor knife and some other materials, like water, glue, a paintbrush, container, pencil, and straightedge (ruler).

This video explains how to make Vincent Valentine's arm guards in under 20mins. The supplies needed to complete this task include card paper, tape, gold spray, pencil and scissors. A ruler must be used to measure the length of your hand and fingers so you can correctly size the arm guards. Card paper is the cut into many small circles and placed around all of the fingers and then painted with gold spray. The hand portion is created by wrapping your hand with card paper and pulling tight befor...


