In this tutorial, we learn how to draw the 8 bit Super Mario. First, use a ruler to make a rectangle on the bottom of the paper, then color it red. Make another one under that, larger than the first. Then, continue to make rectangles under each one, making the shape of Mario's face with just rectangles. Color in the rectangles with a tan color, red color, and burgundy color. Continue all the way down the page until you have created the character's entire body. When finished, color in the rect...
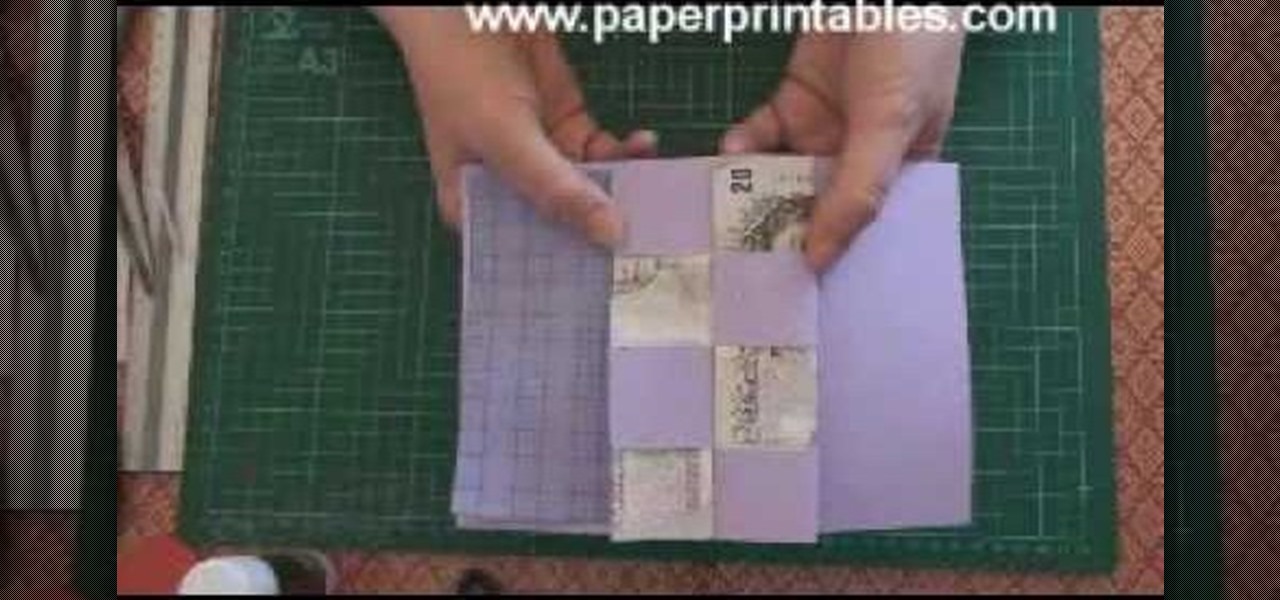
In this video, we learn how to make a pop-up concertina money card. To start, you will first need to take a piece of paper and measure your money on the inside of the paper. Then, cut this out in a strip and cold your money in half lengthwise. After this, measure the depth out from the center using a ruler. Then, fold the paper in half and on the sides where you marked. Then, you will cut three holes in the middle of the paper and these will hold the money in. Stick the bill in the middle of ...

In this tutorial, we learn how to make Splinter Cell prop goggles. You will need: goggles, a saw, pipe, a brush, black paint, duct tape, batteries, chop sticks, glue, a ruler, and a pen. First, mark three cuts on the pipe to 3 cm and 5.5 cm. Now, use the saw to cut these. Then, use sandpaper to smooth all the edges. Next, place these onto the goggles and glue them with a hot glue gun. Next, grab two batteries and wrap them in duct tape. Place these with them and then paint these all black. Af...

In this tutorial, we learn how to draw curvy steps using pencil. To start, you will draw a thin horizontal line with a small point on it. After this, you will draw lines out from this, using a ruler to keep them straight. From here, draw your steps on the bottom of the page using the lines to keep them proportioned and in place. Draw them in a triangle wedge shape and then color them in. Shade the bottom and the sides to give them depth and dimension. After this, draw in the area around the s...

In this tutorial, we learn how to start a drawing with an outline. For your outline, you can use a grid system which will make your drawing easier and more precise. It will also make positioning a lot easier so everything is proportioned. From here, you can start to draw in the outline of what you are drawing. You can make your own grid by using a ruler if you would like to. Once you have finished the outline for your drawing, you can start to add in details using the grids as well. This will...

In this tutorial, we learn how to draw a parallelogram given base, angle & altitude. First, you will draw the base of the parallelogram, using your ruler to measure out the line. Next, you will draw a dotted line perpendicular to the line that you just drew that is 3 cm in length. Then, you will draw another dotted line on top of the one you just drew. This dotted line shows where the top of your parallelogram will be. Then take your protractor and draw it at the angle the problem gives you. ...

How awesome would it feel to be a sexy undead ruler of a vast vampire kingdom? Only Sophie-Anne LeClerq, played by Evan Rachel Wood, would know, though she seems pretty happy in her position. The teenage vampire queen of "True Blood" is one sexy diva, wearing very retro makeup and hair.
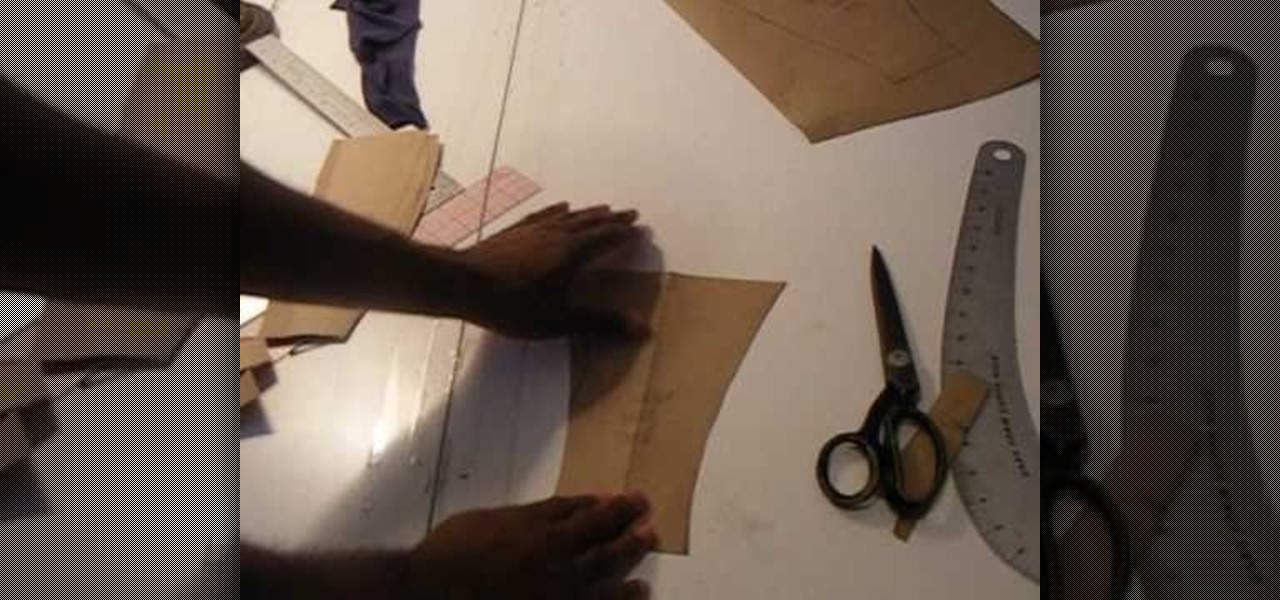
In this 3-part video, Chris White shows you how you can take an old pair of boxer briefs, make a pattern for new boxer briefs, and then create an entirely new one. You'll need some tools, and materials, including elastic, sewing machine with zigzag, serger, stretch fabric, pattern paper, scissors, thread, pins, rulers, and a pencil. Save some dough and make your own underwear that actually fits properly!
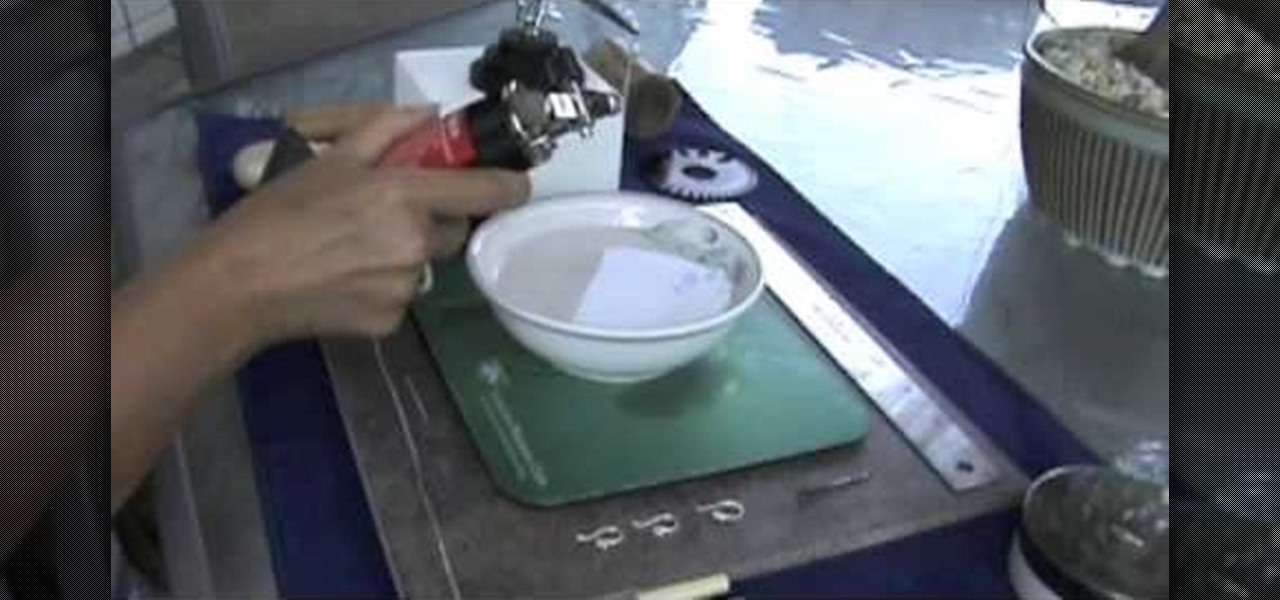
Make fine silver ball earring wires
This video tutorial is in the Home & Garden category where you will learn how to install an interior door set on a pre-bored door. For this you will need a tube latch, straight plates, door plates, two knobs, two sets of ring guides and a spindle. You will also need a tape measure, ruler, screwdrivers, a drill and safety glasses. A pre-bored door has a face and an edge bore. First install the tube latch through the edge bore ensuring that the angle side of the tube face is towards the door ja...
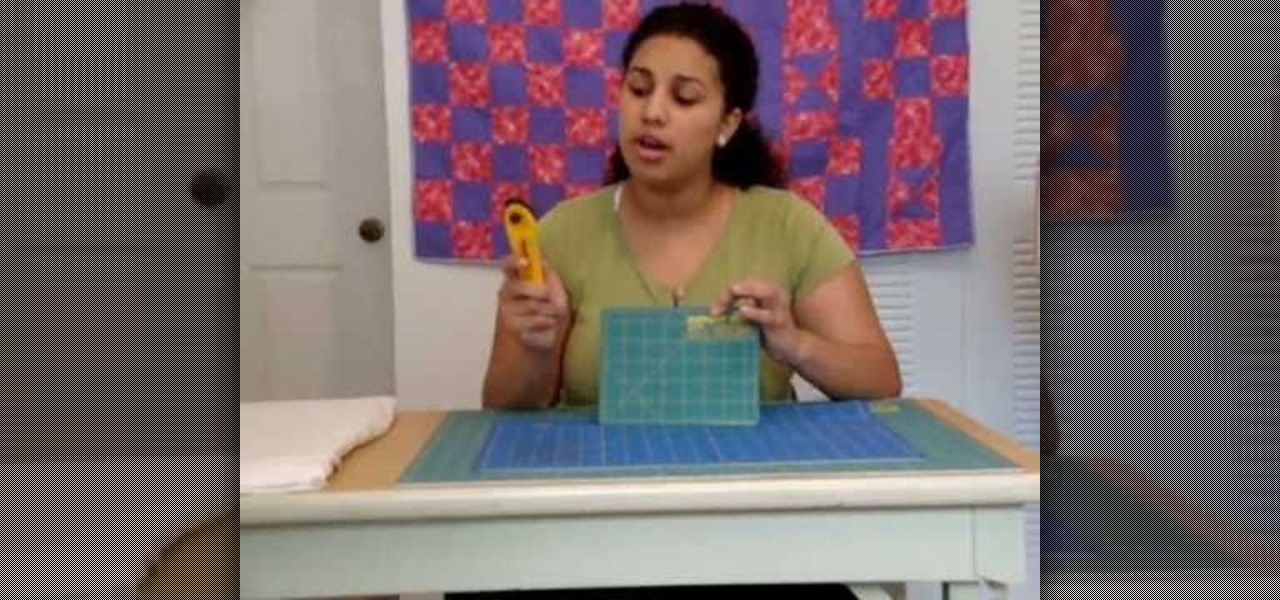
So you've decided that your hobby of blindfolded rock climbing was just a tad too hard and have now taken up sewing. Other than purchasing a few needles and colors of thread, where do you begin?
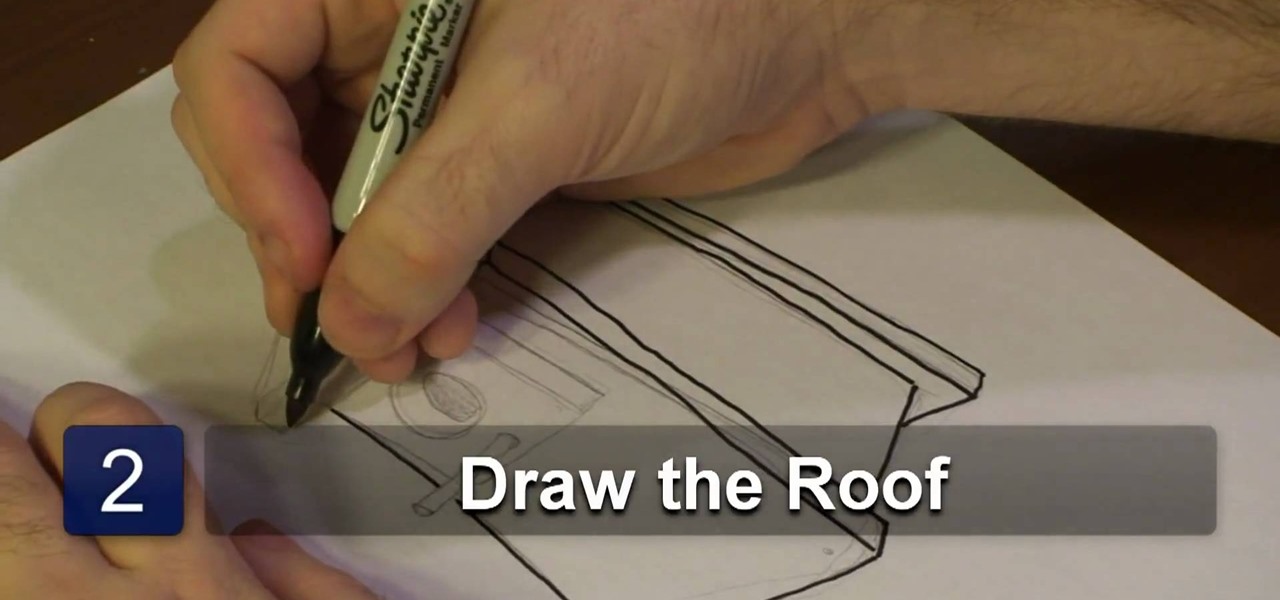
In this video tutorial, viewers learn how to draw an animated birdhouse. The materials required are paper and a drawing utensil. Begin by drawing a rectangular base. A bird house is usually geometric, show the base should only contain rectangle and square shapes. It is recommended to use a ruler, instead of drawing the lines free handed. Add a rectangular roof on top and an entrance in the front. Draw a circle to represent the entry way and add a post. Draw another circle inside the entry hol...
One of the distinguishing aspects of Trafficmaster Allure vinyl flooring is that it requires very little effort to cut the pieces to whatever length you need. All you do is score a line across the piece, then fold it in half! It snaps cleanly into two new pieces. This quick video features a man remodeling his office cutting a piece himself in only 26 seconds, using only a ruler and a knife to score the wood before he folds it.
In this video tutorial, viewers learn how to make a toy parachute. The materials required are: lightweight fabric, ruler, scissors, string, 4 hole button and a toy army man. Begin by measuring a 10x10 inch square on the fabric and cut it out. Fold over each of the 4 corners and cue a small hole. Measure and cut 2 lengths of 36 inch string. Take the string and tie it to one end of the hole on the fabric. Run the other end through the button hole and tie it to the diagonally opposite hole on th...
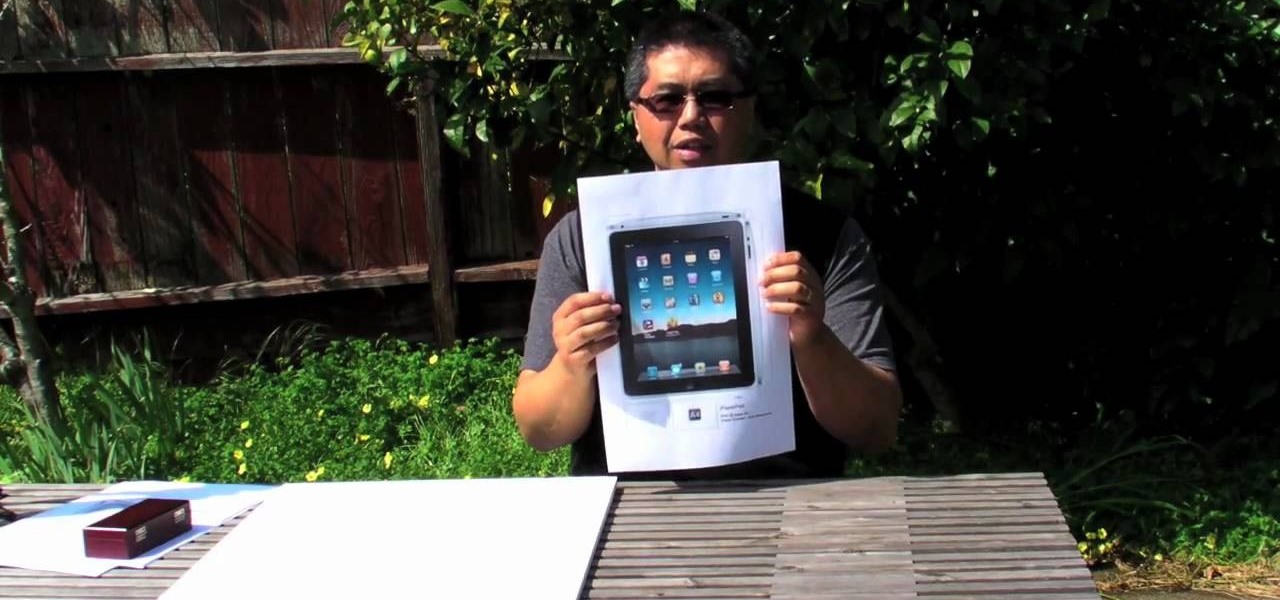
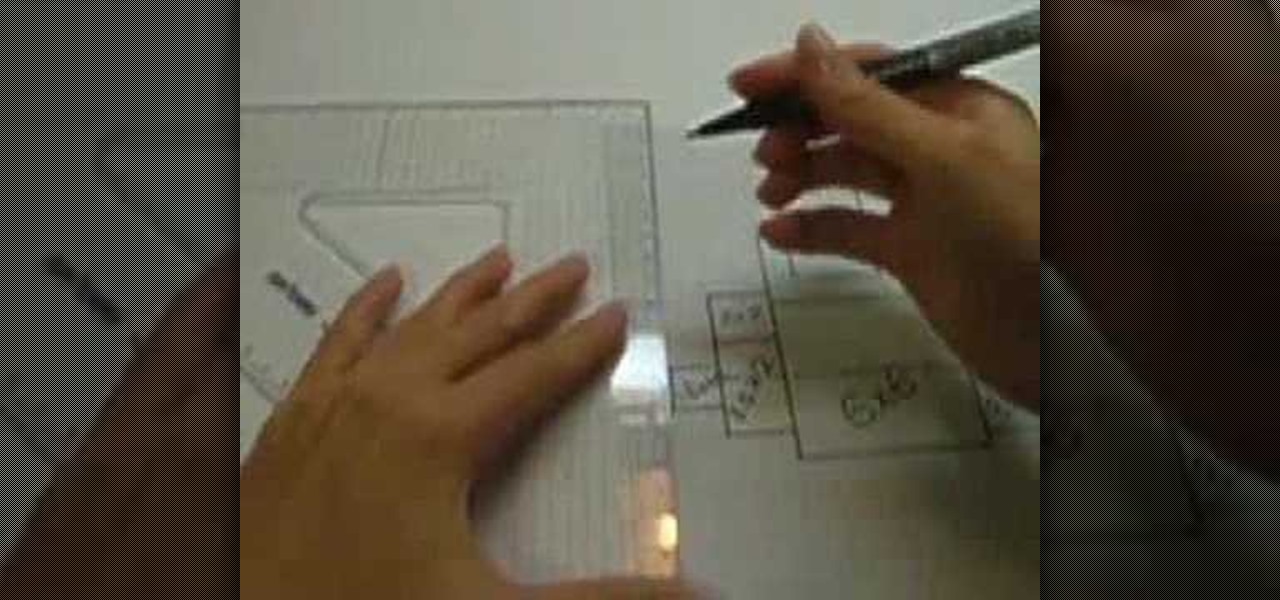
Do you know someone that wants an iPad but can't seem to afford one? Well, here's a great way to do an April Fools Day trick on that friend or family member by giving them a fake home-made iPad. Roman Loyola shows you how to make a fake iPad out of foam and paper. The tools you will need is a half inch thick foam board, a pair of scissors, a glue stick, a ruler, a blade, and most importantly a print-out of the iPad template. Start by cutting out a square of foam board that is the size of the ...
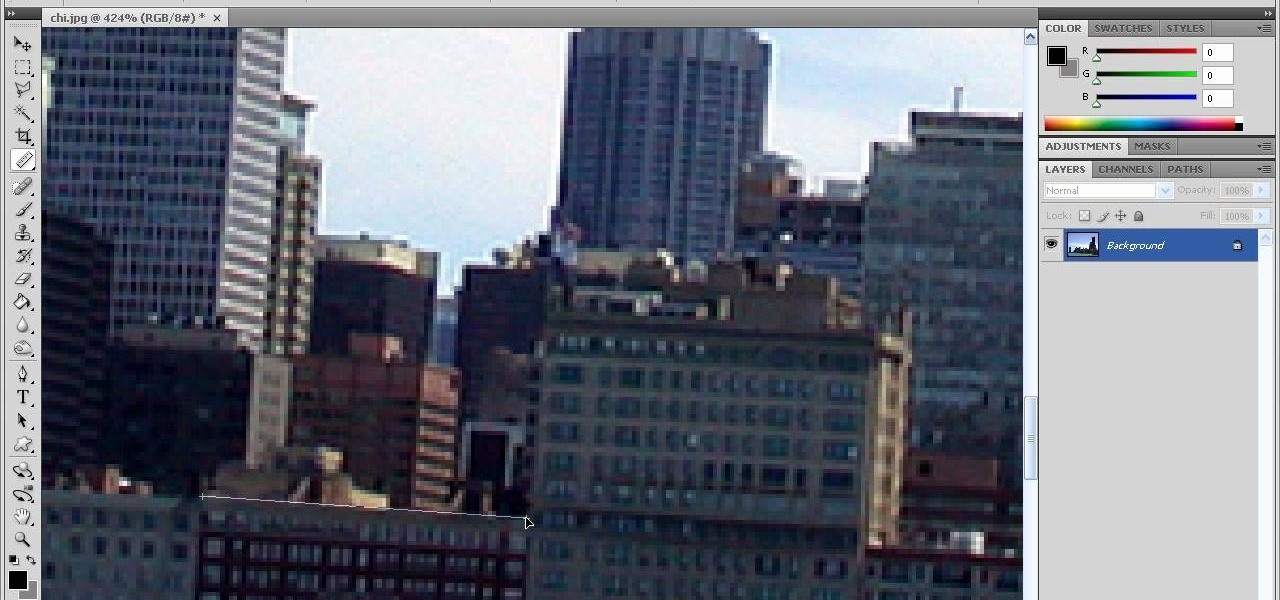
In this how-to video, you will learn how to straighten crooked photos in Photoshop. First, open the photo you want to straighten in Photoshop. Next, use the ruler tool under the eye dropper tool. Select it and zoom in to an area. Find a crooked line to straighten, such as a building rooftop or ground line of some sort. Click, hold, and drag. Next, zoom out. Go to image, image rotation, and arbitrary. Click okay and your image will be adjusted. Go to the crop tool and crop out the spaces. Hit ...
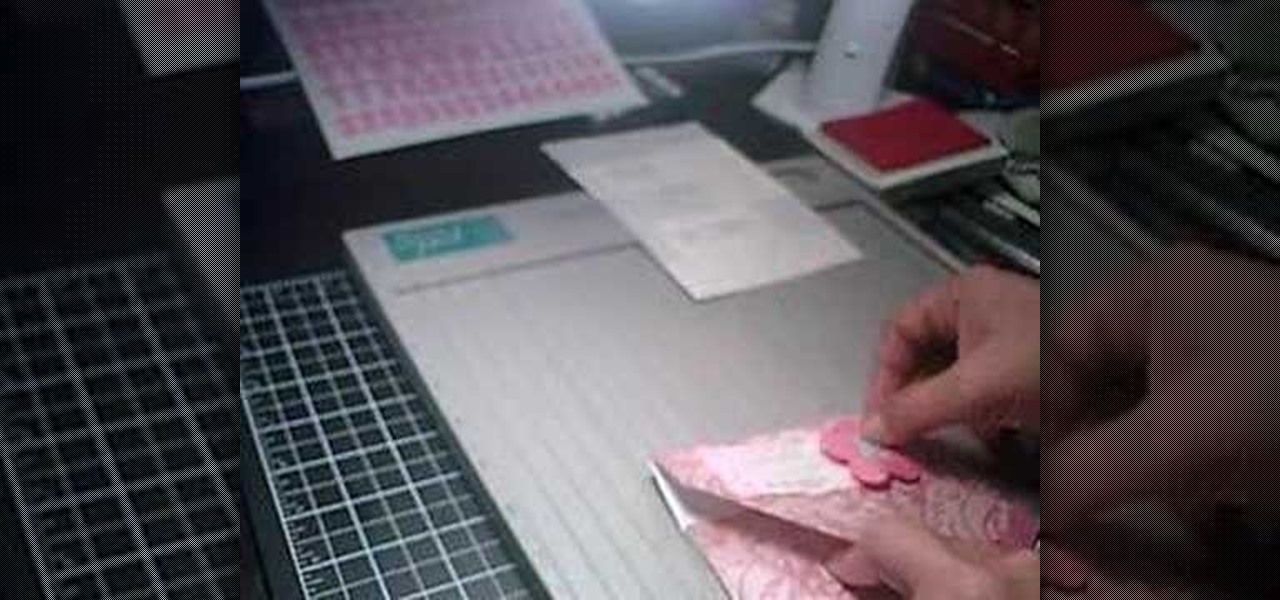
In order to make a Cuttlebug Smoosh Card, you will need the following materials: card stock (at least 3 different prints or colors), a ruler, distress tool, double sided tape or glue, distress ink, watermark stamp pad, decorative accessories, and scissors.
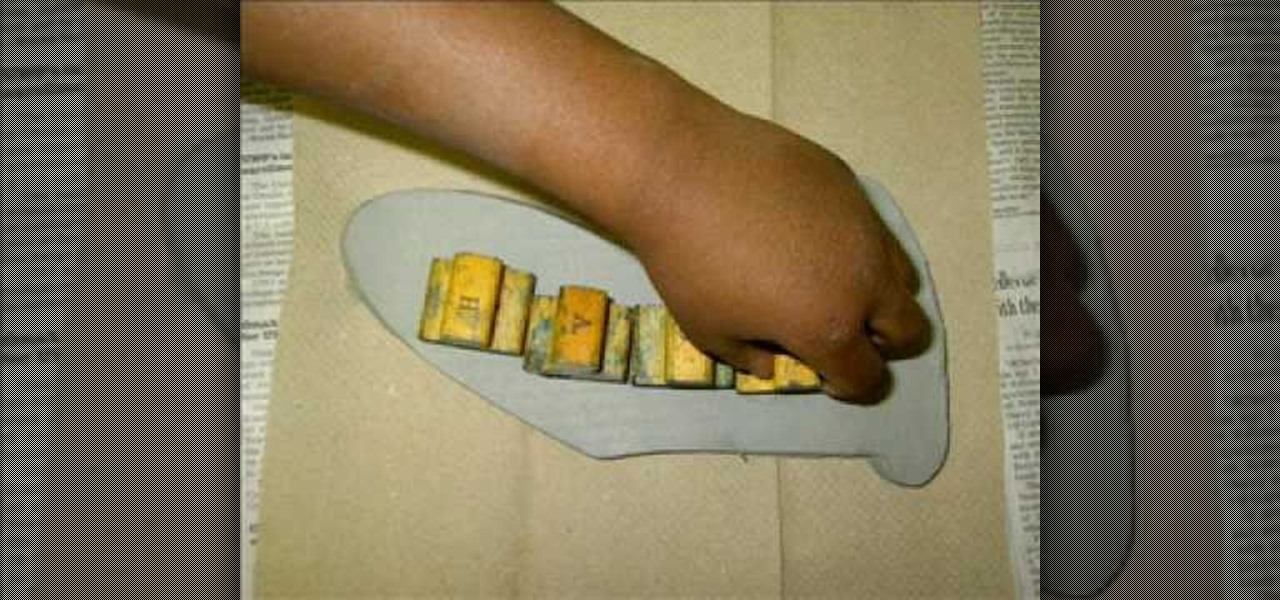
To make a Clay Christmas stocking you need to slice a slab from a block of wedged clay using a wire and two rulers. After you slice the slab trace the shape using a needle and a template. If you want you can add the child's name using stamps. Add decorative stamping. Using a clay extruder, squirt out a clay rope to accent the opening of the stocking. Glue down with slip. Punch out two holes with a straw for hanging. Now you are almost done with your Clay Christmas stocking. You can vary the p...
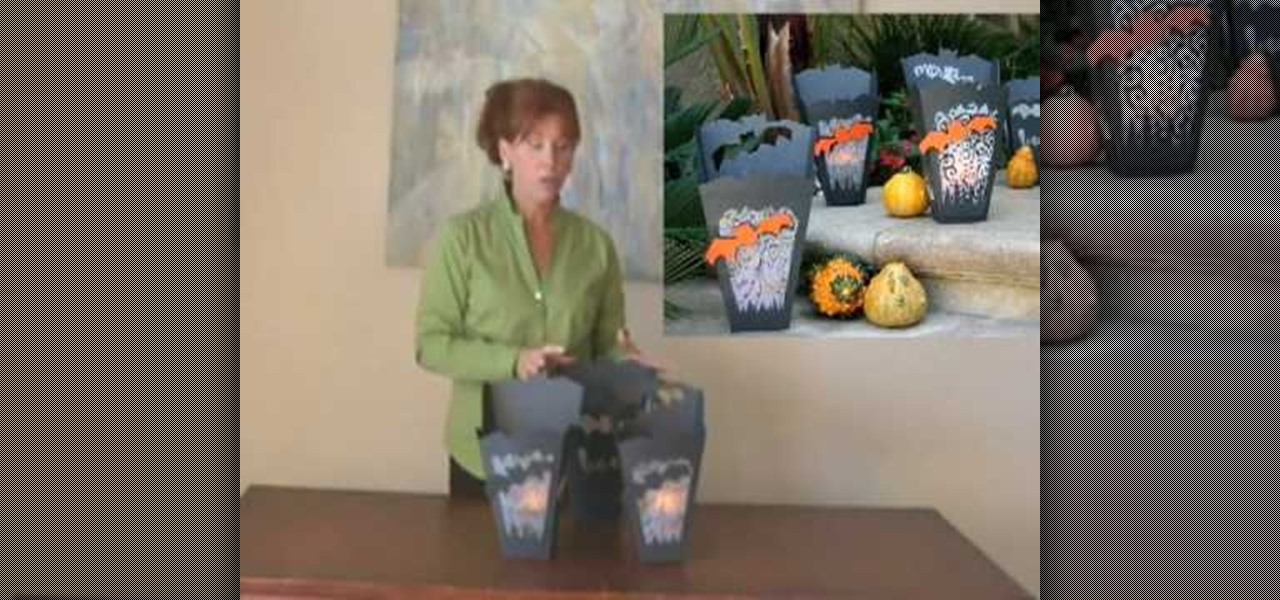
In this video tutorial, viewers learn how to make a Halloween lanterns. Users will need to visit this website: jennadeangeles/] and download the Halloween template. The materials required for this project are: download template, vellum, poster, rubber stamps, metal ruler, glue and orange card stock. Begin by cutting out the lantern with the openings as well. Now stamp the vellum with some black acrylic paint. Finish by closing the lantern with glue. This video i...
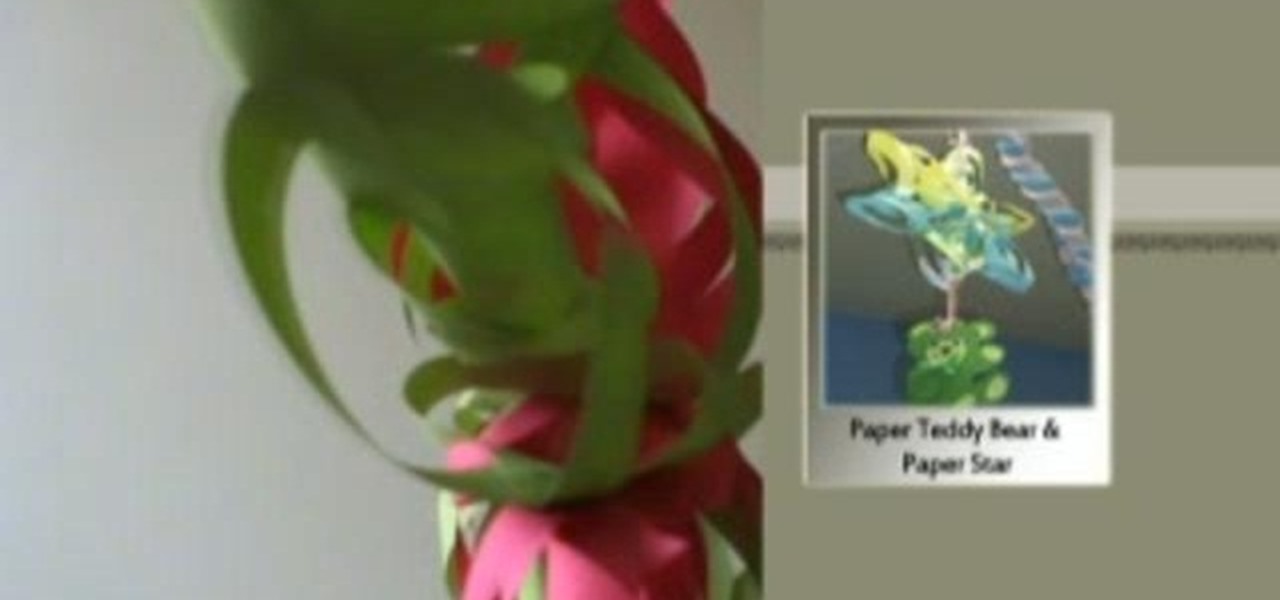
This is a great instructional video on how to make a decorative paper star. The materials you need are color papers, ruler, stapler, scissors, adhesive tape, pencil and cutting pliers. Take a paper and make a square of 20 cm side. Now fold the paper twice and get a triangular shape. Now draw four lines on it. Then cut along the lines with the help of scissors. Take the middle square and staple it. Then go to the back side and staple the ends. Repeat this process and get a star. You can make t...
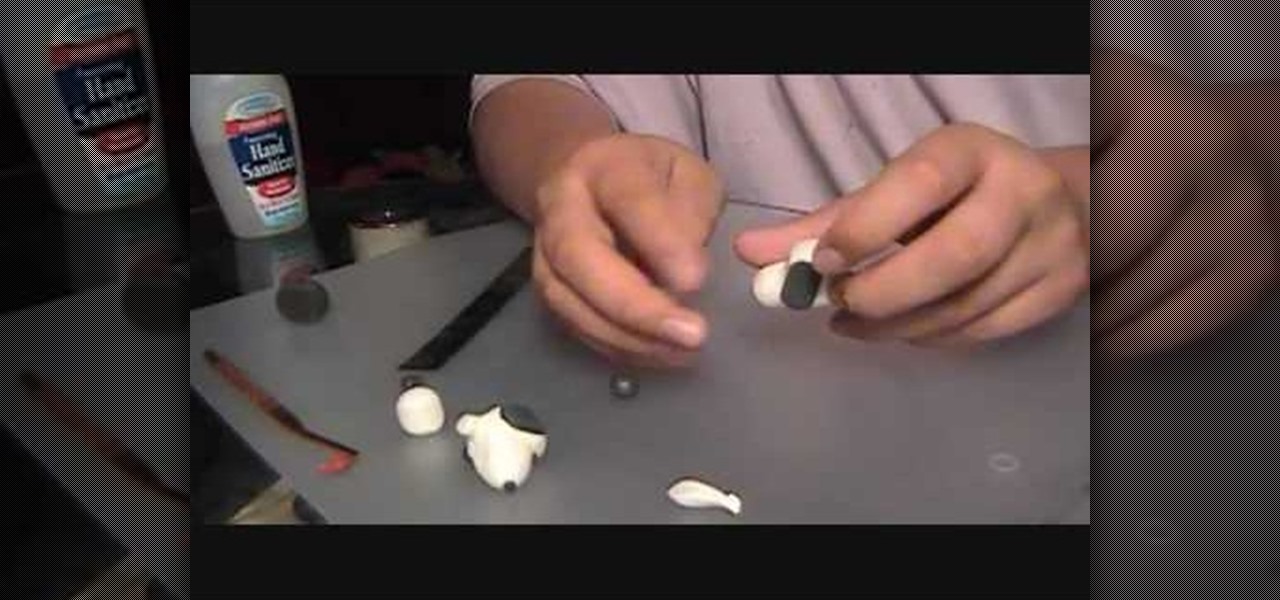
This video describes how to make a snoopy head from a type of polymer clay. You will need both black and white polymer clay, a blending tool and a ruler. It begins with the main part of the head and moves onto creating the correct structure using a blending tool. It advises using your thumbs to smooth away the creases and cracks from the surface of the snoopy head. After the main part of the face is made, it describes how to create the eyes and ears using the black clay. The eyes and ears are...
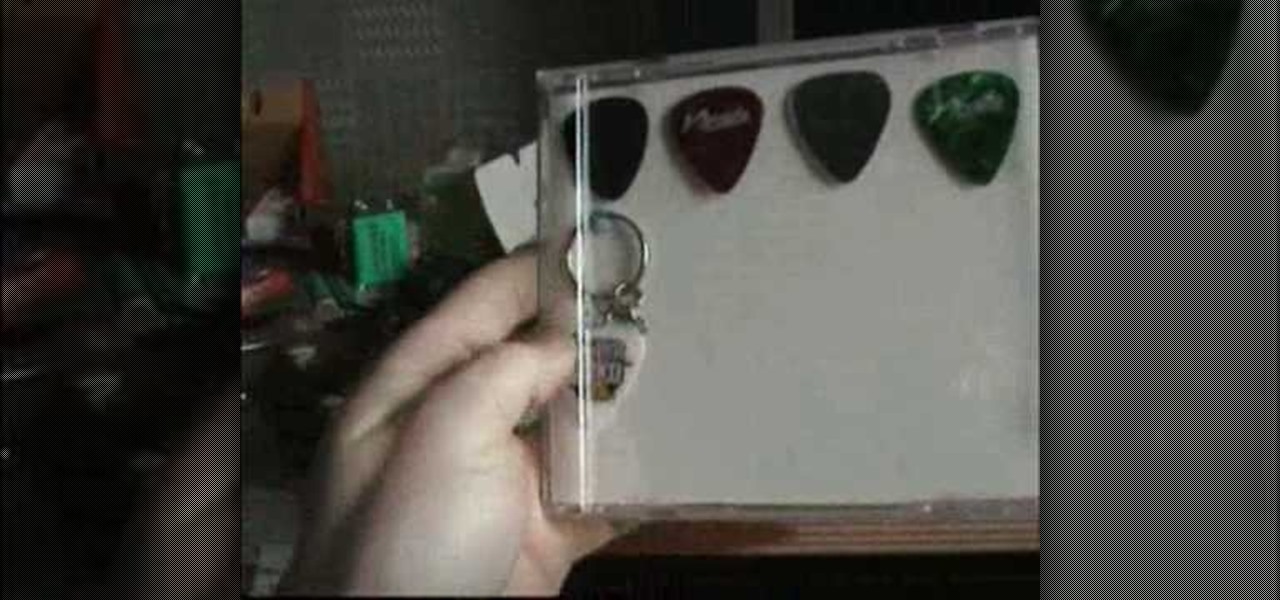
To start off making the guitar pick case, the apparatus you need here is an old CD case, scissors, a pencil, ruler, background design, the guitar picks, blue tack, knife and glue.
CookiesHugs teaches you how to make an adorable hair bow for girls. For this, you will need a ribbon, scissors, glue gun, a hair clip, and a ruler. Cut 14-15 cm of the ribbon. Put clear nail polish on the ends of the ribbon. Fold the ribbon in half, width wise. Glue one side of the ribbon to the crease in the middle. Do the same on the other side as well. Place glue in the middle and fold the top and the bottom together. Wrap a piece of ribbon in on the outside, in the middle. On the back of ...
In this video tutorial, viewers learn how to use the traditional Japanese stab stitch binding to make books. Stab Stitching is used mainly for office documents and in essence is two or more very strong, long staples that bind together loose sheets up to 25mm thick. The video provides all the materials required to make a book. The materials include: filler paper, two sheets of card stock(must be same size as paper), string, pencil, ruler, ice pick, X-acto knife, needle(must be same thickness a...
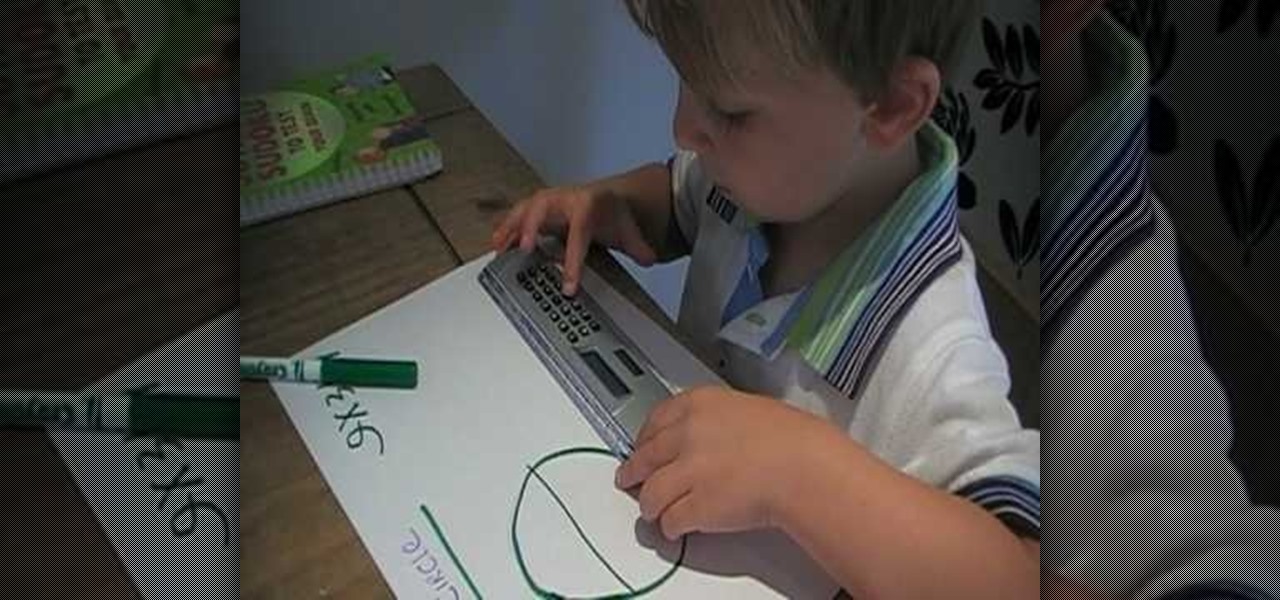
Simonc1973 teaches you how to work out the circumference of a circle. You start with a circle and draw a line across the circle. That's called the diameter. You multiply the diameter with Pi, which is 3.141. The video is even more amazing being taught by Harry Chapple, a 4 year old MENSA member, who is a maths child genius. He simply takes the ruler, measures the diameter and then calculates the result of multiplying it by Pi's value. The common value for Pi is 3.14. For very accurate results...
Learn how to make simple tri-fold cards with these instructions. What you will need: -5 1/2" by 11" cardstock paper -Scorer -Scissors and paper cutter -Pencil and Ruler What to do: -Score the cardstock to 3" by 7 1/4" -Using the 3 3/4" flap, from the corner measure 2 1/2" and mark with a pencil. -Repeat on the horizontal side of the cardstock. -Cut the corners using the marks as your guide. -Round the pointed end with your scissors. -Fold the card at the score line. -Embellish your card as de...
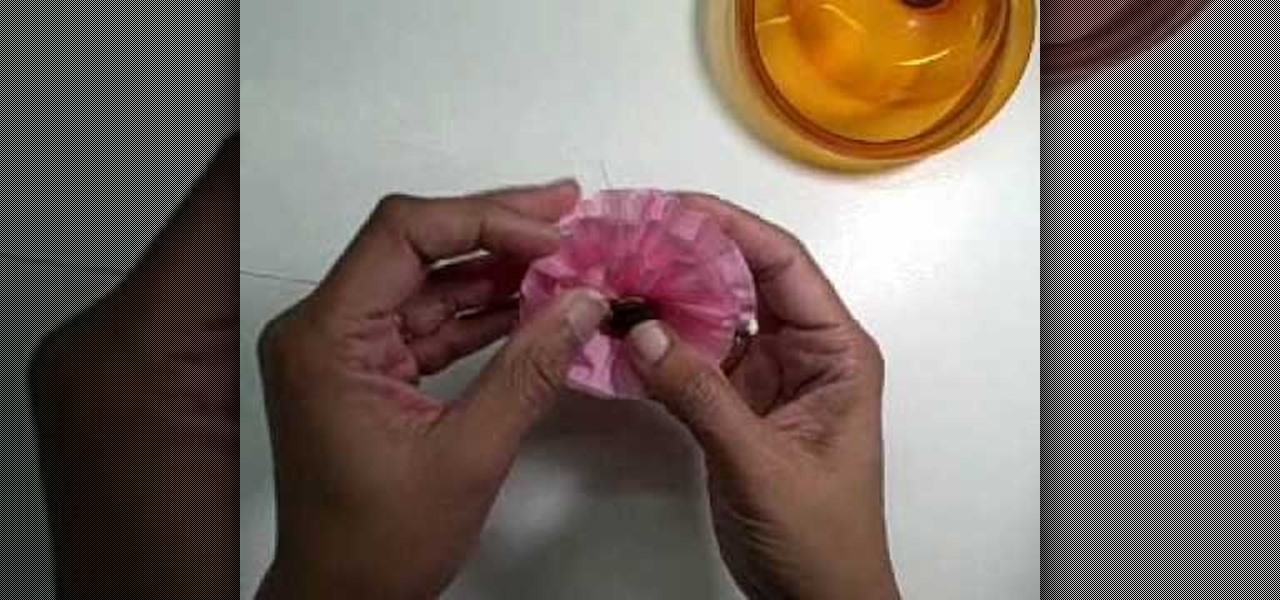
Becca from Amazing Paper Grace demonstrates how to make crepe paper flowers. The supplies needed are a roll of crepe paper, scissors, a ruler, and a sewing machine or needle and thread. Measure a yard of crepe paper and trim it narrower if you want a smaller flower. Use the sewing machine to sew a straight stitch along one edge with the longest stitches. Pull the thread to gather the paper so it curves around to form a flower shape. Layer the curves around in a spiral to form the flower. Feed...
In this video the author shows how to draw a rhombus when given with the values of long diagonal (D) and a short diagonal (d). Now he draws the long diagonal of size D horizontally on a sheet of paper. Now he points the mid point of the line as he explains that the diagonals of a rhombus meet at midpoints. So now he takes the ruler and draws an another line perpendicular to the first line through its marked mid point such that the length of the perpendicular line is d/2 both above and below t...
In this tutorial the author shows how to draw a rectangle with given base b and height h values. First she uses a ruler to draw a horizontal base line of b cm. Now she uses a protractor and marks a 90 degree angle at one end of the line, then draws a straight line of h cm which is the height of the rectangle. Now she finishes the remaining part of the rectangle by drawing similar lines of the other sides. This video clearly explains how to draw a rectangle given the values of its base and hei...
This video is about how to draw a camouflage pattern. For this project you need a paper, ruler and writing utensils. You only have to remember a few easy steps. Draw a square box. Draw out the first pattern layer. Draw out the second pattern layer. Draw out the third pattern layer. Color the first pattern layer with any color, the second pattern layer with any other color and the third pattern layer with any color except the colors you used for the first and second pattern layers.
Save that last slice of pizza! You can reheat it in its own container, using the sun's power. Turn a pizza box into a solar oven.
Whether you're rooting for one of the teams or just love a contest, a pool will have you cheering. You will need:
Melissa Watson from DIY Style shows a way to restructure and re-style something that you already have plenty of, a t-shirt, in this how-to video. Add ruffles and rouching to transform a plain tee into something a little more eye-catching. You will need thread, a ruler, elastic, shears, a marking tool, a tissue-knit fabric, straight pins, and a t-shirt. Watch this video design tutorial and learn how to fashion an old t-shirt into something more stylish.
Watch this three part tutorial to build a miniature ziggurat. Use pink Styrospan high density foam. Assemble this model of a step sided pyramid with a ruler, some glue and an x-acto knife. The pink foam is easy to carve and can be repaired with glue if broken.
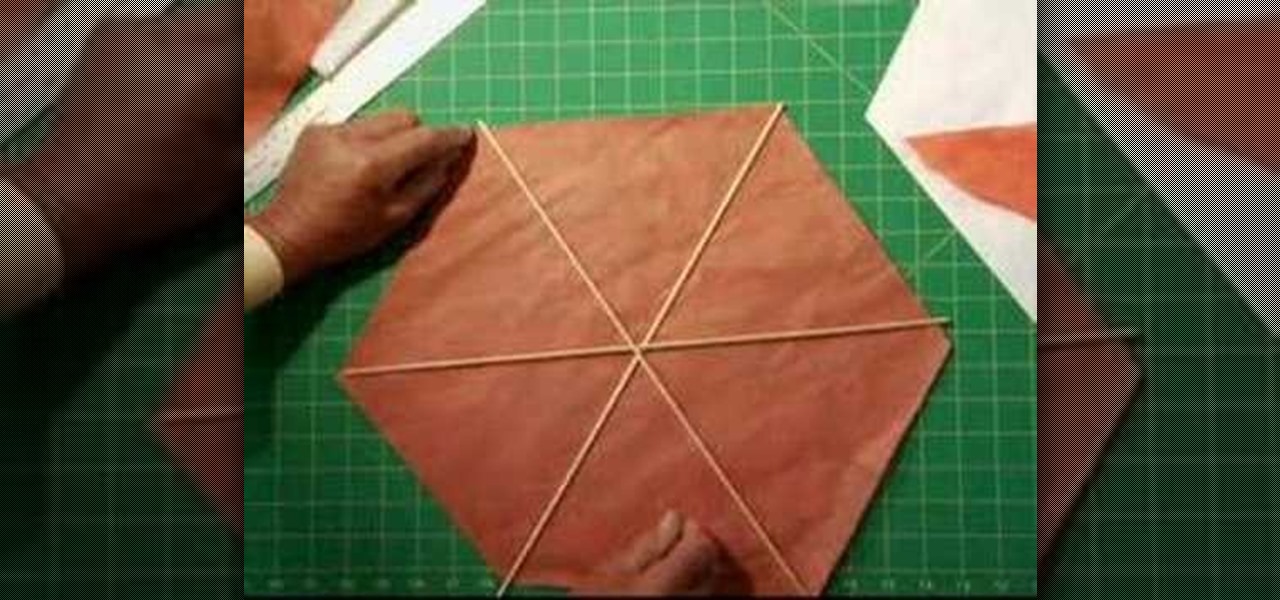
In Bermuda, people celebrate holidays and special occasions by creating and flying colorful kites! Now you can join in the fun and learn how to build this traditional kite.
Learn how to bend a fork in this magic trick. This trick works with pens, rulers, and other similarly shaped objects as well.
These cards have cute little gifts that pop up when you open them. It seems hard to do because you will have to measure, but once you start, you will see how easy it is!
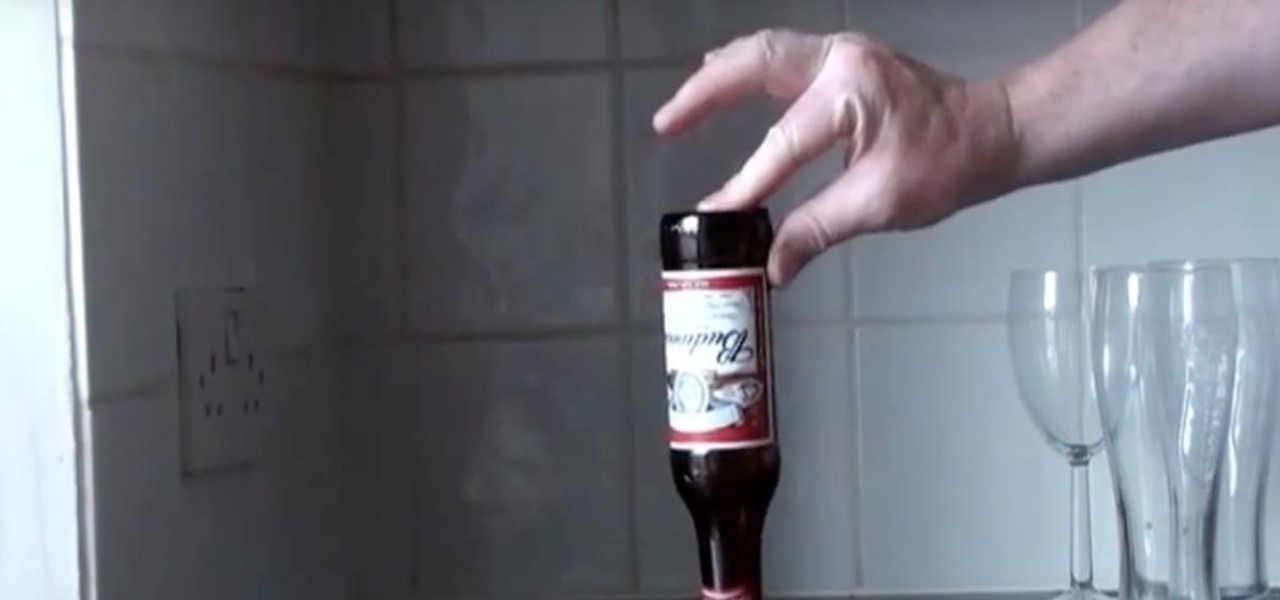
Need some extra cash? Trying to impress a girl? Well, whatever the reason, check out this tutorial and win an interesting bar bet every time.
Chances are, if you're a branding or marketing professional, you've been tasked to come up with a new name for a product, a service, or maybe even a company at some point in your career. Maybe you're trying to come up with a new brand name right now. Well, there are objective measurements for choosing new names, and if you need help figuring these out, watch this video tutorial to learn how to develop a new product or company name that will stand out among your competitors, presented by namin...
Since the Nintendo Wii was first released, it has become one of the most popular gaming consoles in the video game industry. In terms of sales, the Wii has destroyed its competitors, the PS3 and Xbox 360. So there's no denying that the Wii is a pretty popular console. So in this tutorial, the great people at cnet, will show you how to replace your Wii sensor bar. It's really easy to do and will have you back in the game in no time. Enjoy!