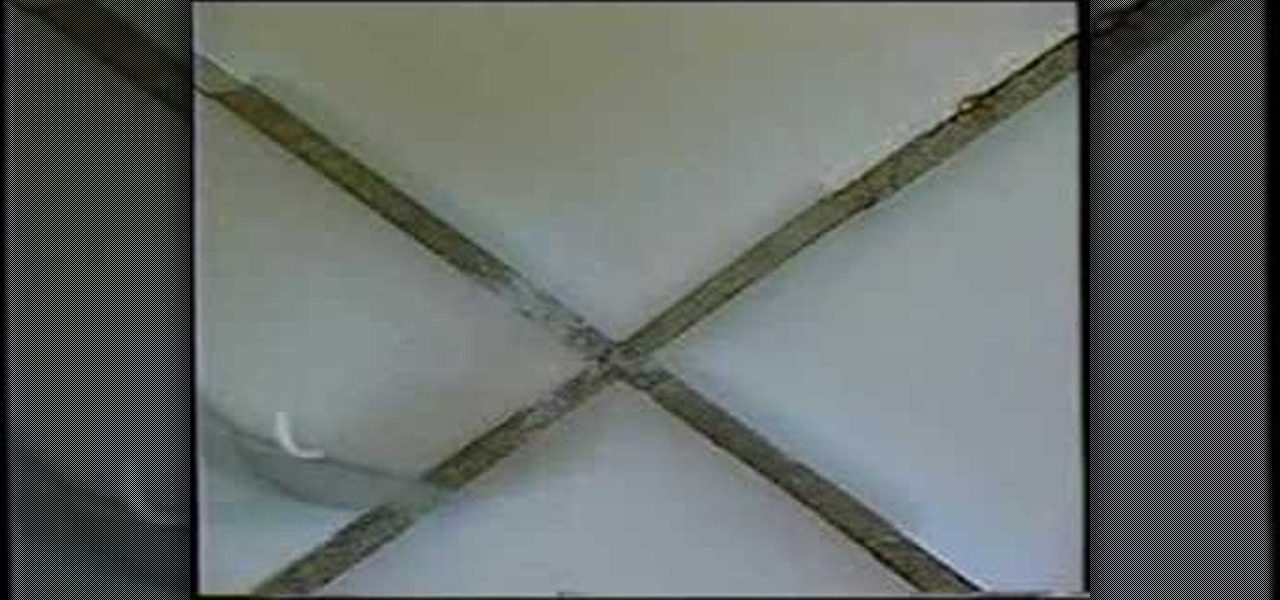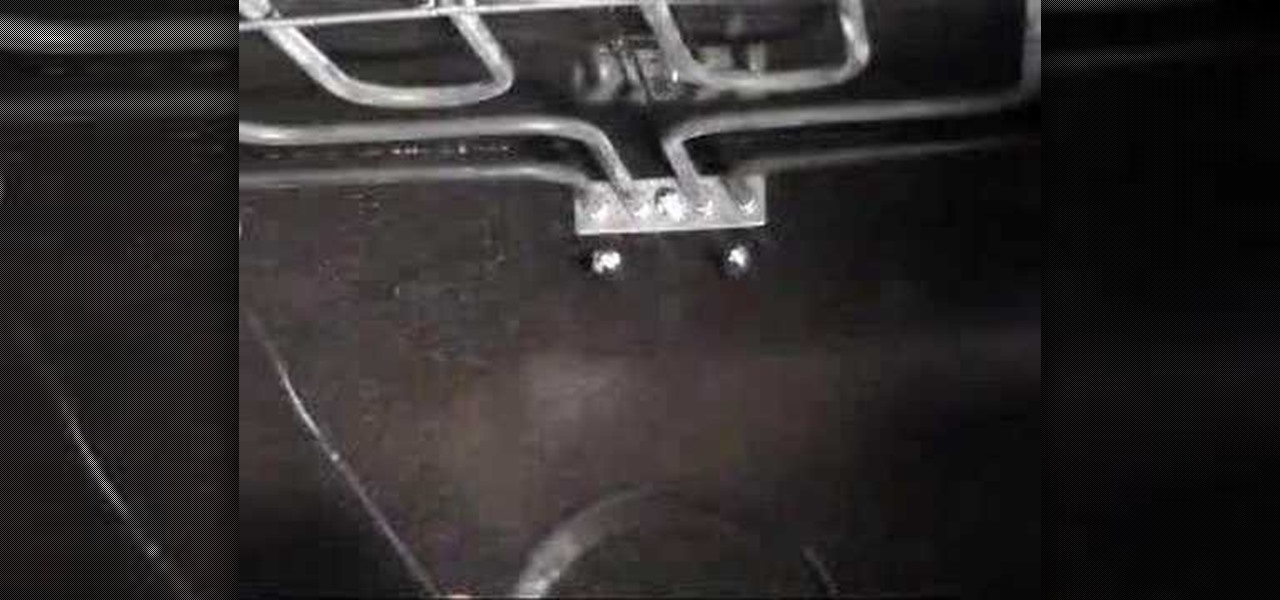
Check out this home repair tutorial video that demonstrates how to replace the thermostat in your oven. Follow the step by step instructions in this domestic appliance repair video to remove your cooker's thermostat oven. Please note that all work should be performed by a qualified person. Make sure to take the necessary precautions to ensure a safe removal of your thermostat oven.
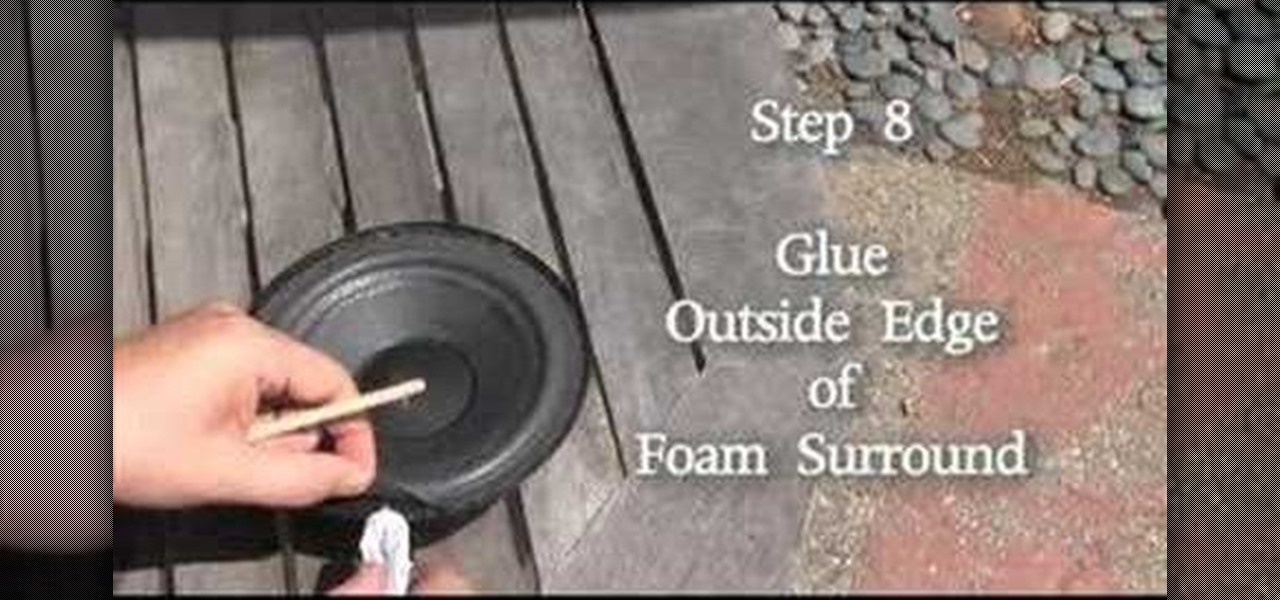
This is a quirky little how to video that teaches you how to repair and replace that worn out speaker surround you wanted to toss out or just bought at a garage sale for $1. Get to that yard sale and repair those old worn out speakers and make them worth thousands again!
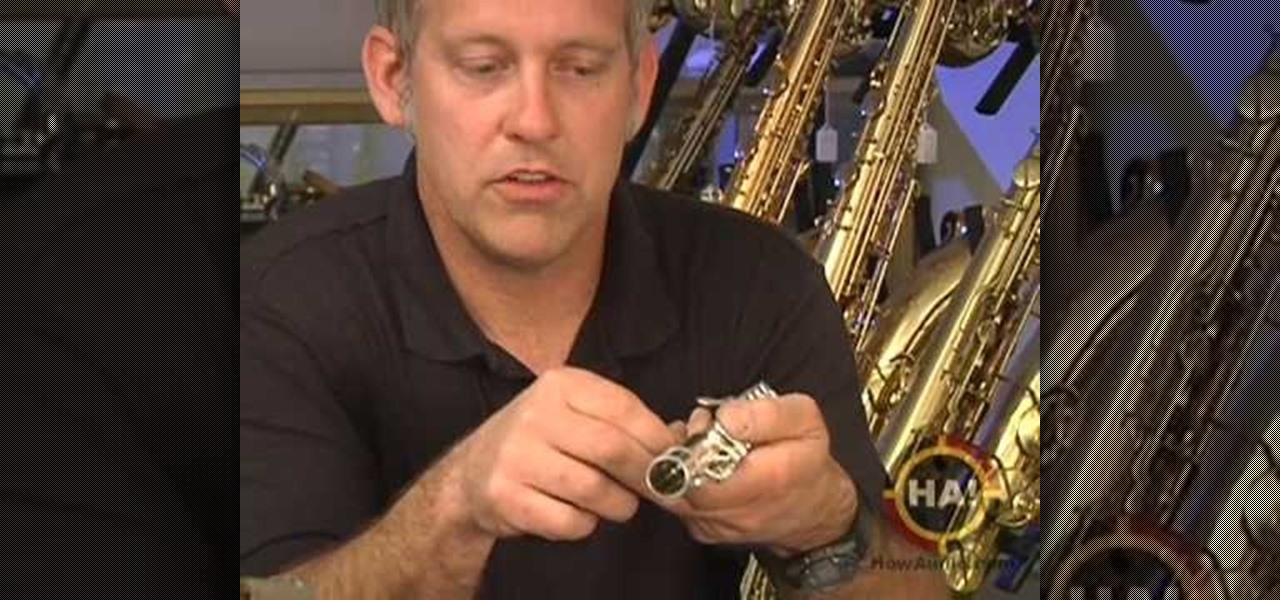
From the title "Woodwind/Brasswind Maintenance & Quick Fixes," master repair technician Jeff Peterson demonstrates some quick fixes for your flute so that you can make it through your gig.
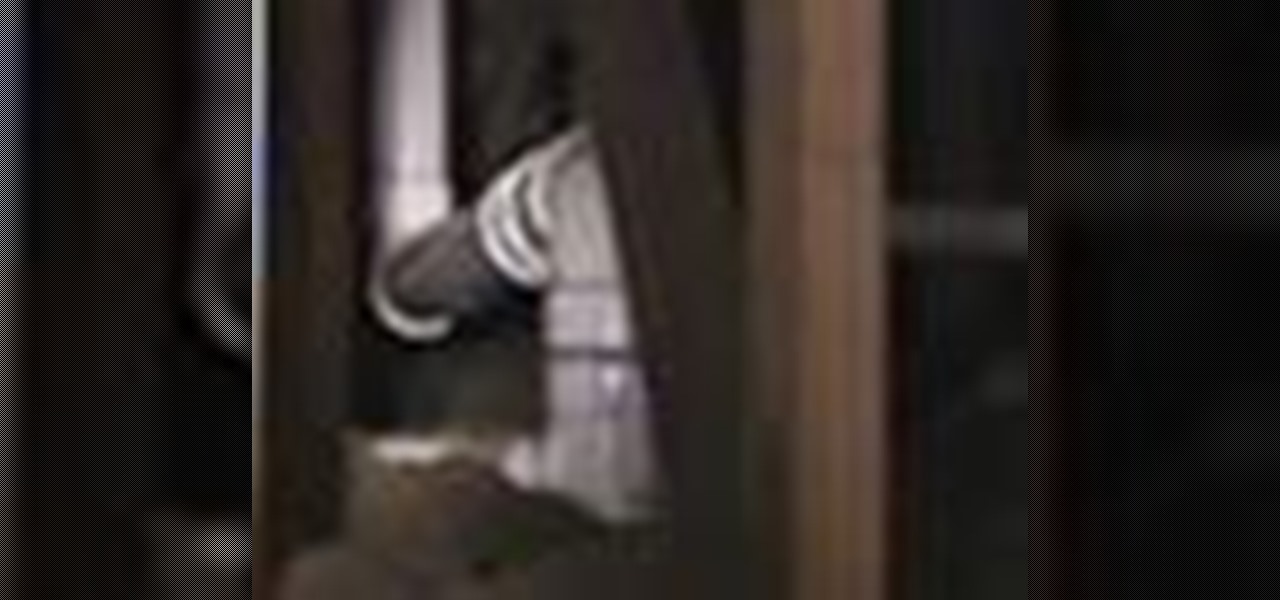
Bob Fenwick shows us how to diagnose and repair a gurgling vent for your house. You will need to find your vent pipes that go to your roof in order to complete this repair.

Have you ever broken the antenna off of your cell phone but did not want to buy another one? Here is a quick, cheap way to repair your antenna. This method also helps to improve bad reception on existing antennas.
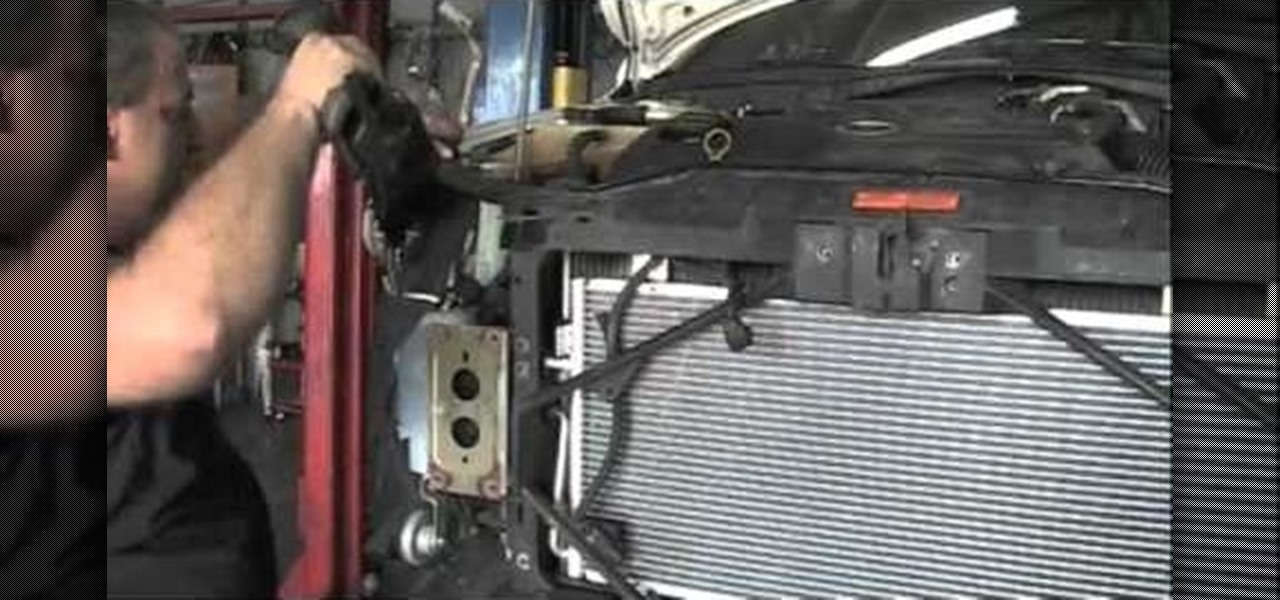
The Mazda 6 is a great little car, but if you like to work on your car yourself it can be a nightmare. It's bays were clearly not designed with ease of repair in mind. Watch this video to learn how to fix a broken air conditioning condenser in a Mazda 6, if you dare to try.

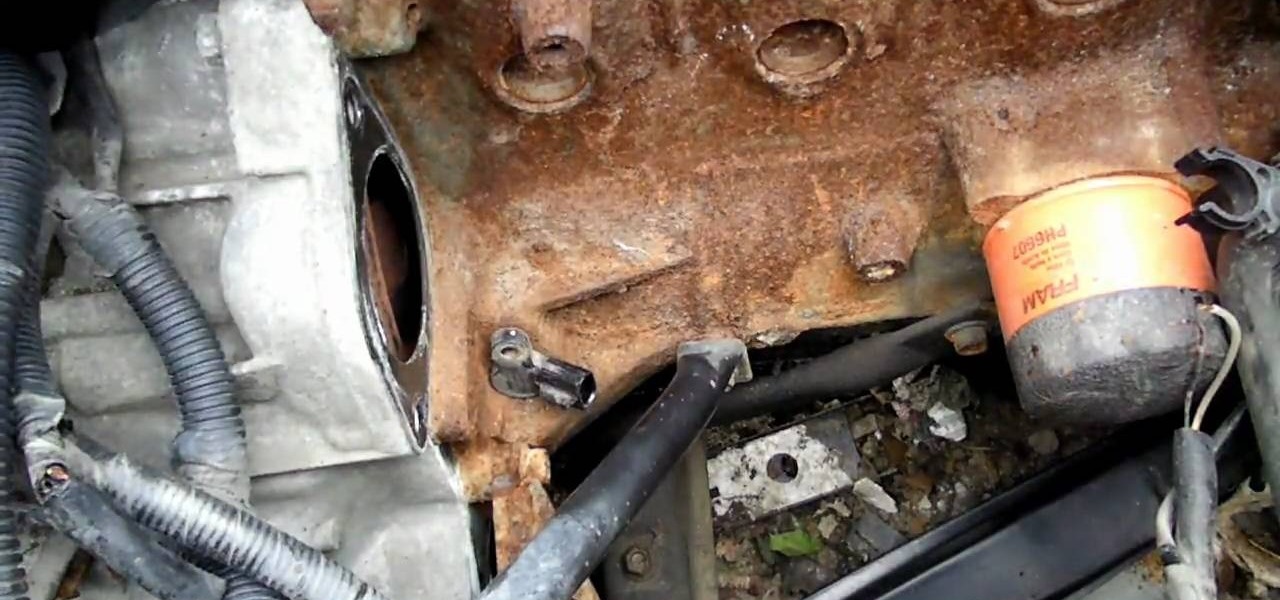
If you own a Nissan Sentra and know anything about working on cars, you've probably realized how blessed you are to own such an easy car to repair yourself. This handy video shows how to perform one piece of maintenance on the car quickly and easily, removing the crankshaft sensor. You'll need to do this if your sensor has corroded as the one in this video has.
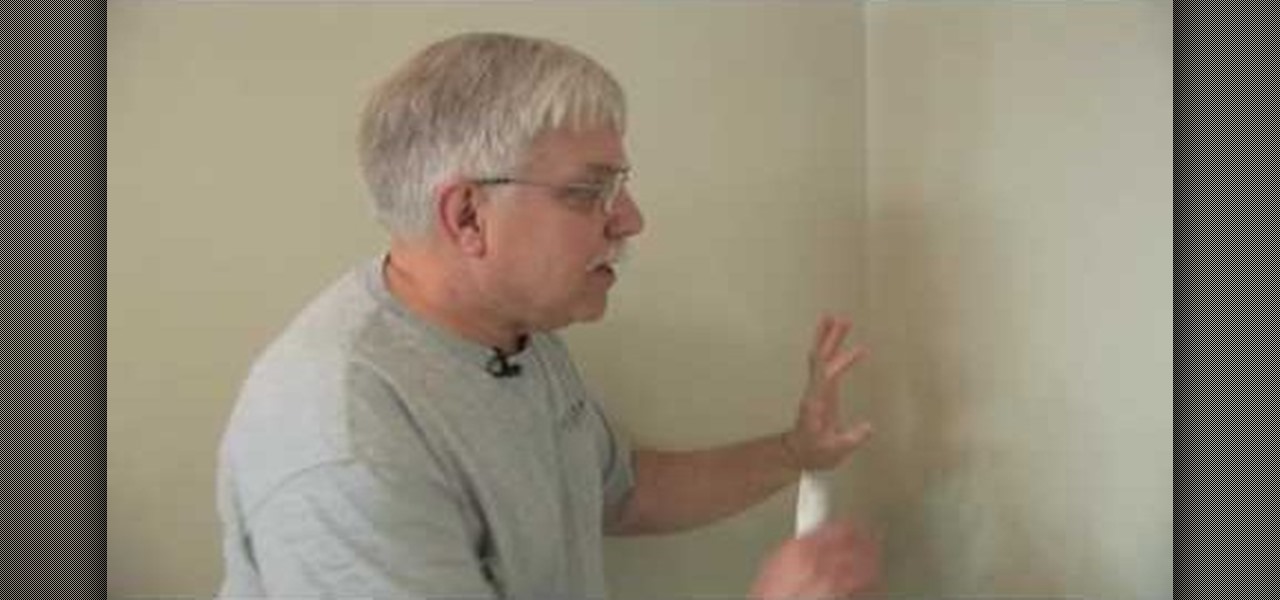
In this video, Tim Carter, of Ask the Builder, will show you a quick tip for how to remove drywall so you can demo a wall without damaging the walls around it. All you need is a razor knife. If you just take a minute to trim the seam along the wall, you can save yourself from having to repair a whole of expensive damage later.
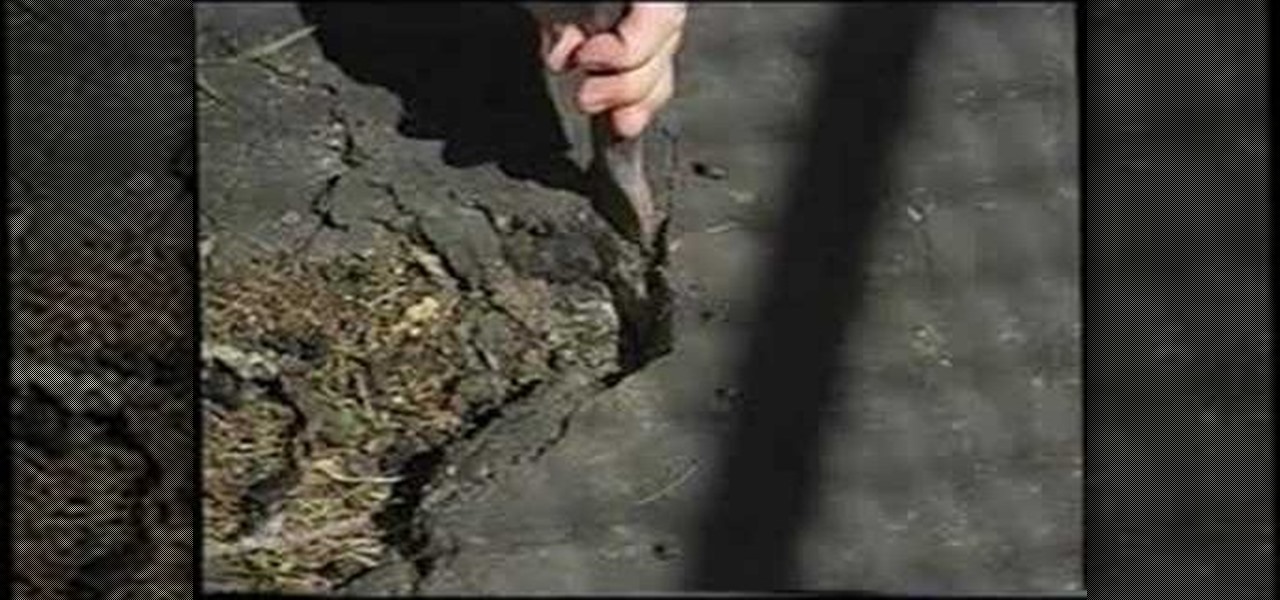
Tim Carter, of Ask the Builder, demonstrates a really easy way to patch a bad spot of asphalt road, sidewalk, or driveway on your home property. Your blacktop will thank you!
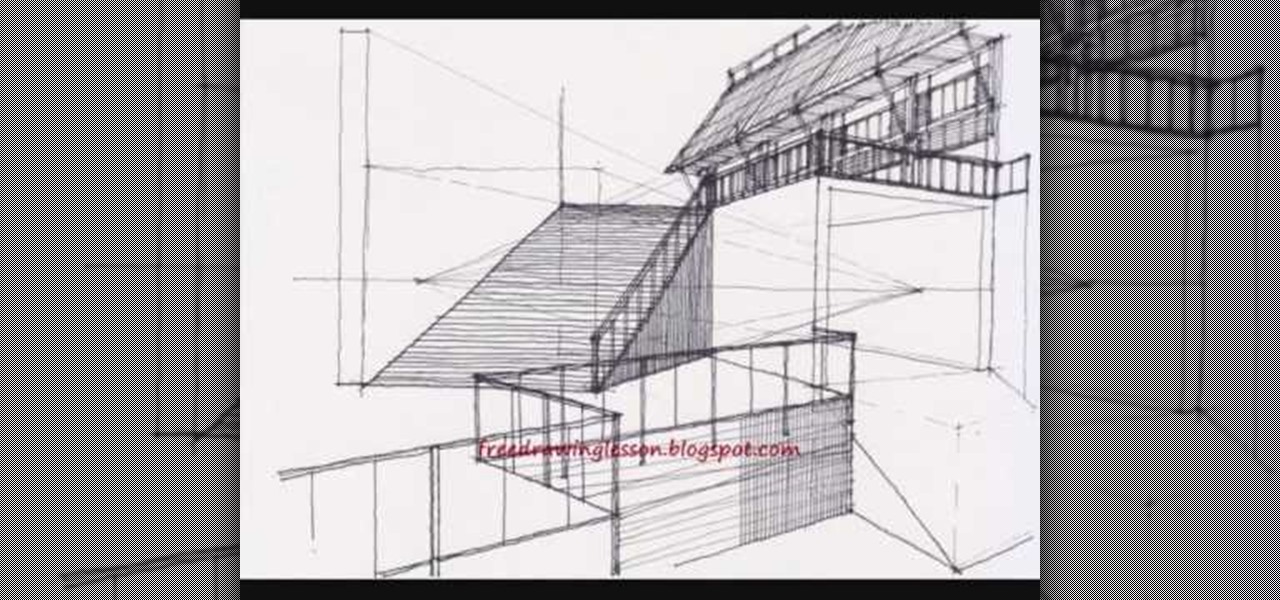
Complex levels are a lot less, well, complex than they sound when you pay attention to this helpful drawing tutorial. The definition of complex levels is basically creating a three dimensional quality to your work with multiple planes and sometimes ground levels.
This how to video shows how you can use a concrete repair epoxy to repair cracks or holes in your driveway or walkway. This tutorial is great for at home DIY projects.
In this plumbing repair video, we show you how to repair a broken flange which could cause sewer gas smell or water on your bathroom floor.
Tim Carter demonstrates how to repair ceramic tiles. This video explains that you have two options for ceramic tile repair--complete tile replacement or filling the cracks.
If you shatter your new Samsung Galaxy S8 display, then be prepared to pay a hefty repair fee for that bezel-less baby.
As a former repair tech, I've heard the same reasons over and over as to why people opt not to purchase phone insurance. Some cite the cost—why pay extra every month for insurance when you're careful with your phone? Deductibles are expensive, so why not just spend that money on a repair instead of getting a refurbished phone as a replacement?
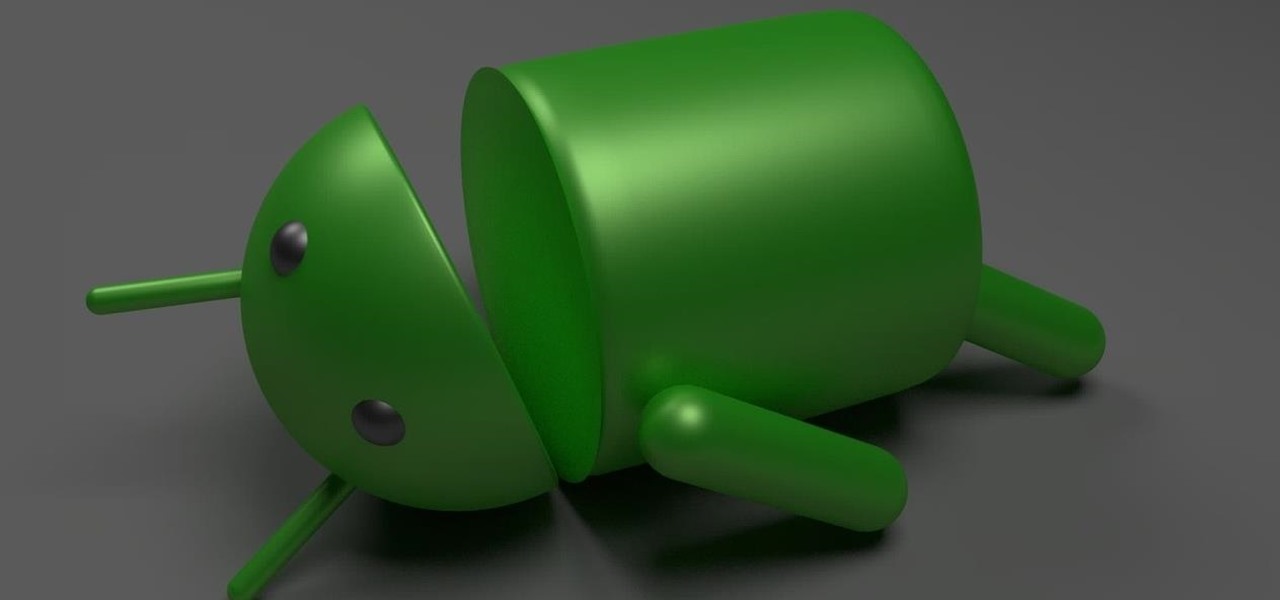
If you need to repair a broken component in an HTC My Touch mobile Android phone, take a look at this guide for a walkthrough of the teardown. The tutorial specifically focuses on repairing or replacing a glass digitizer that may have cracked or broken and needs to be fixed.
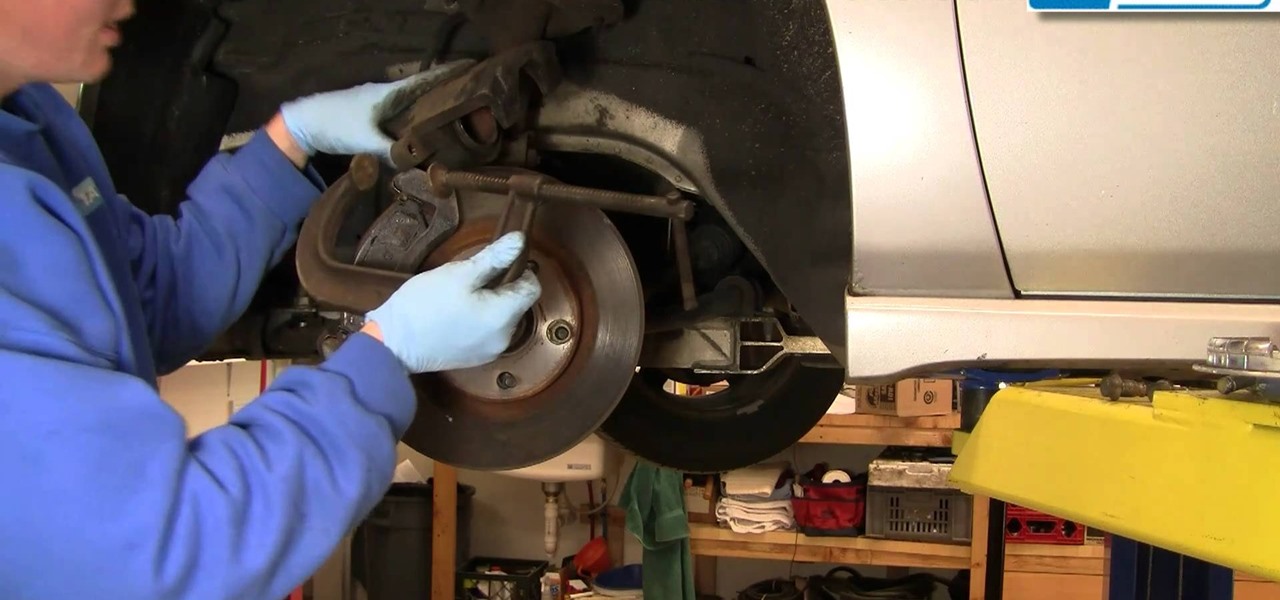
Keep your car safe for road use by maintaining the brakes. The brakes are the cars most essential safety feature, so don't put off a repair if it's needed. Do it yourself, by watching this video and learning how to replace the front disc brakes on a 2000-05 Chevy Impala.
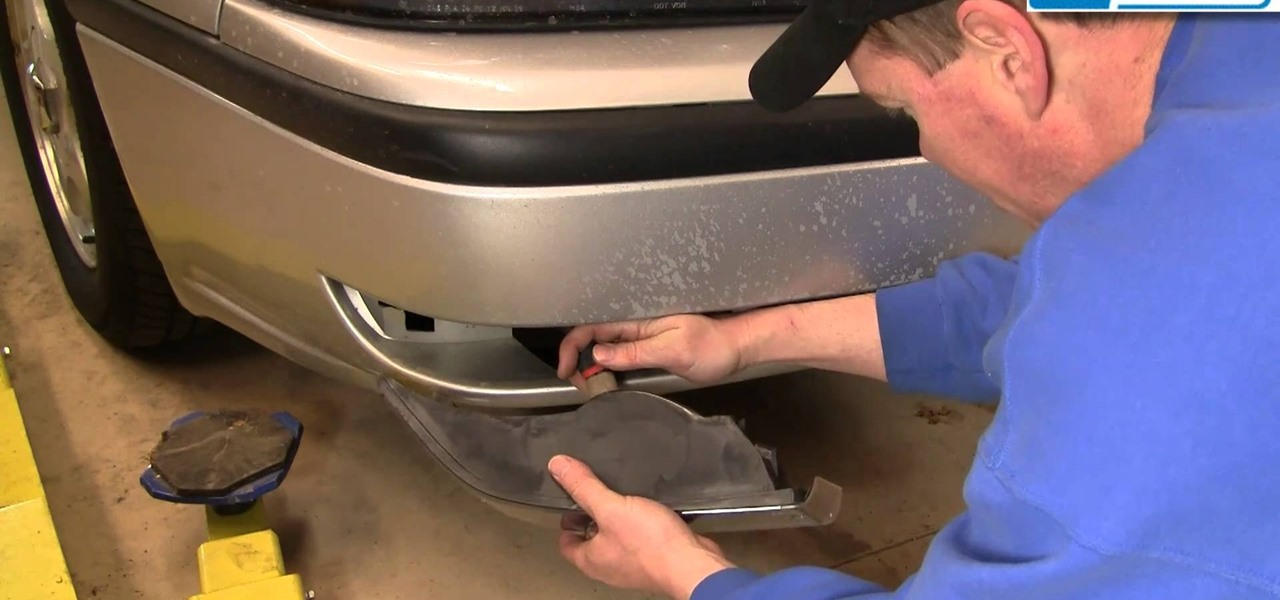
Visibility is an import part of safe driving. Make sure your car is prepared to handle even the thickest fog by replacing your fog light. Fog light bulbs burn out, the casings can be damaged, but don't let it slow you down. Repair it yourself!
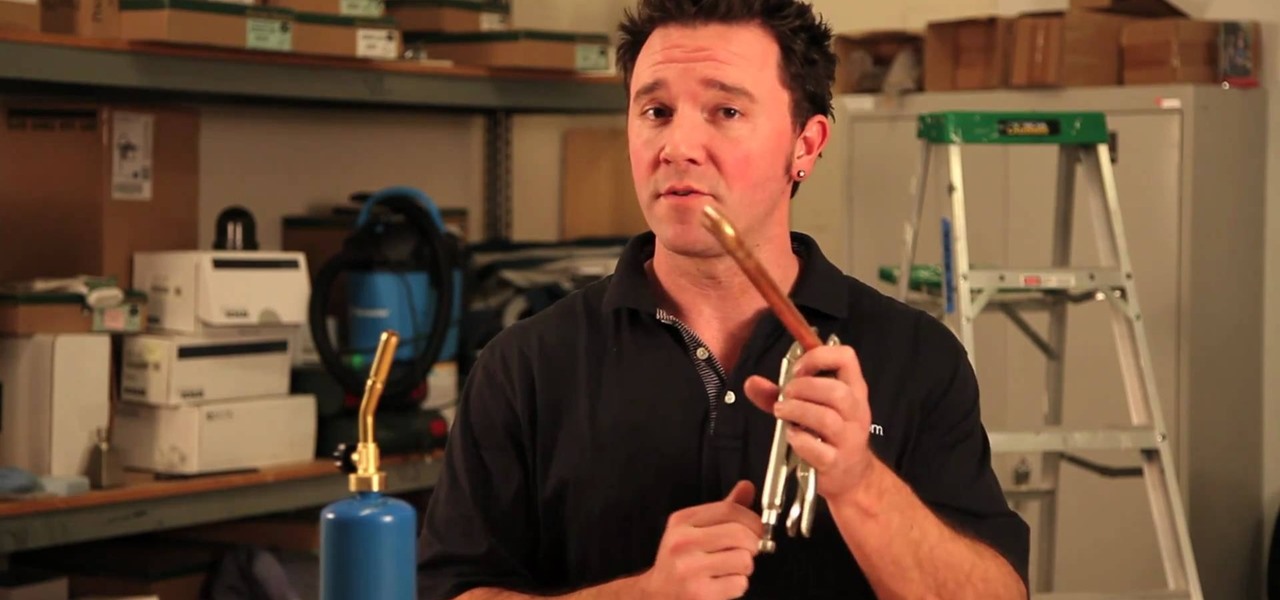
Take on the challenge of home plumbing repair- how else are you going to get an excuse to use a blowtorch? Watch this video to learn how to solder, or "sweat", copper pipe. Make simple plumbing repairs a breeze by learning the basics.
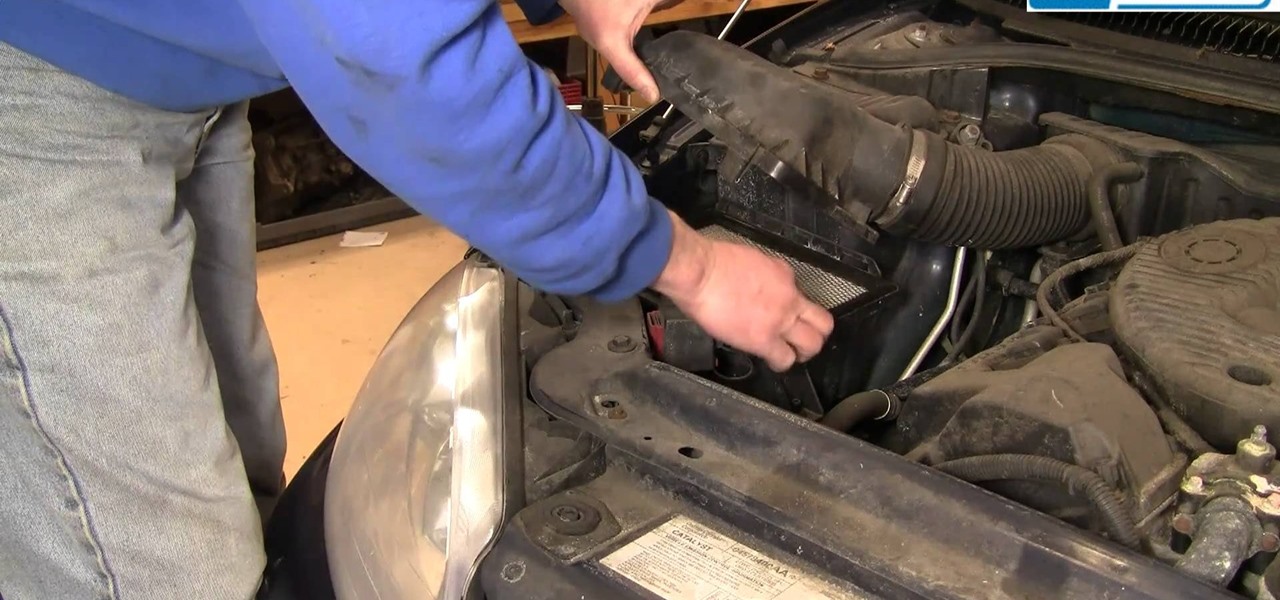
A clean air filter will keep your car running smoothly and efficiently. Replace the air filter yourself after watching this helpful video. Follow the simple instructions and you'll have taken the first step to becoming a master home mechanic. Don't be intimidated by auto repair!
Get under the hood and get your hands dirty with some home auto repair. This video will explain how you can remove and replace the radiator cooling fan in a 1998-2004 Dodge Intrepid. Once you've watched this do it yourself auto repair video you'll be ready to roll up your sleeves.
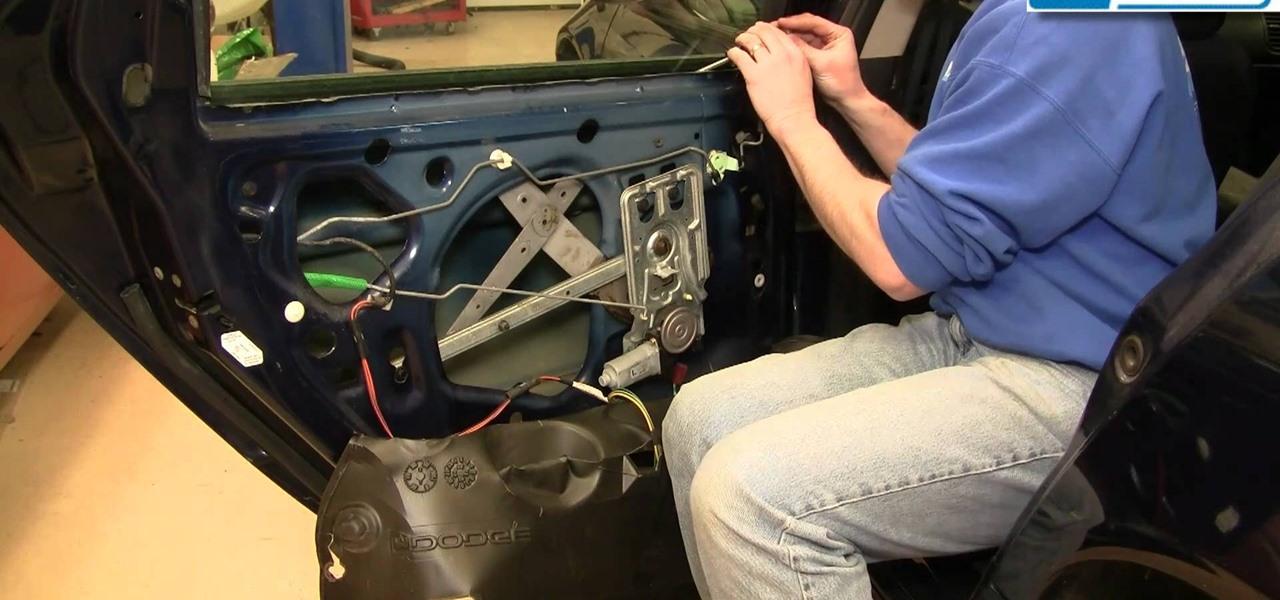
No one likes being trapped in the back seat of a car with a window that won't roll down. And no one likes to leave their car parked without the windows rolled up. If your rear windows are stuck, follow the instructions in this video and repair the rear window regulator on your 1998-2004 Dodge Intrepid.
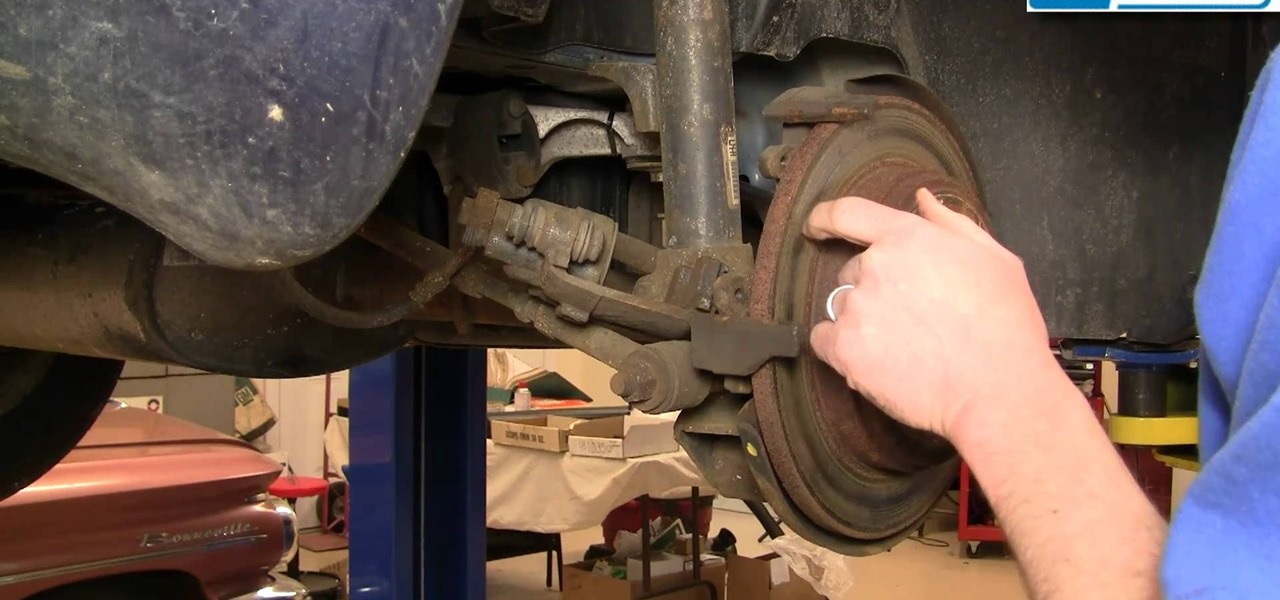
Good brakes are essential to safe driving. Keep your brakes in top condition by replacing the discs and shoes before they wear down. You can do this auto repair yourself by following the instructions in this video, which demonstartes the procedure on a 1998-2004 Dodge Intrepid.
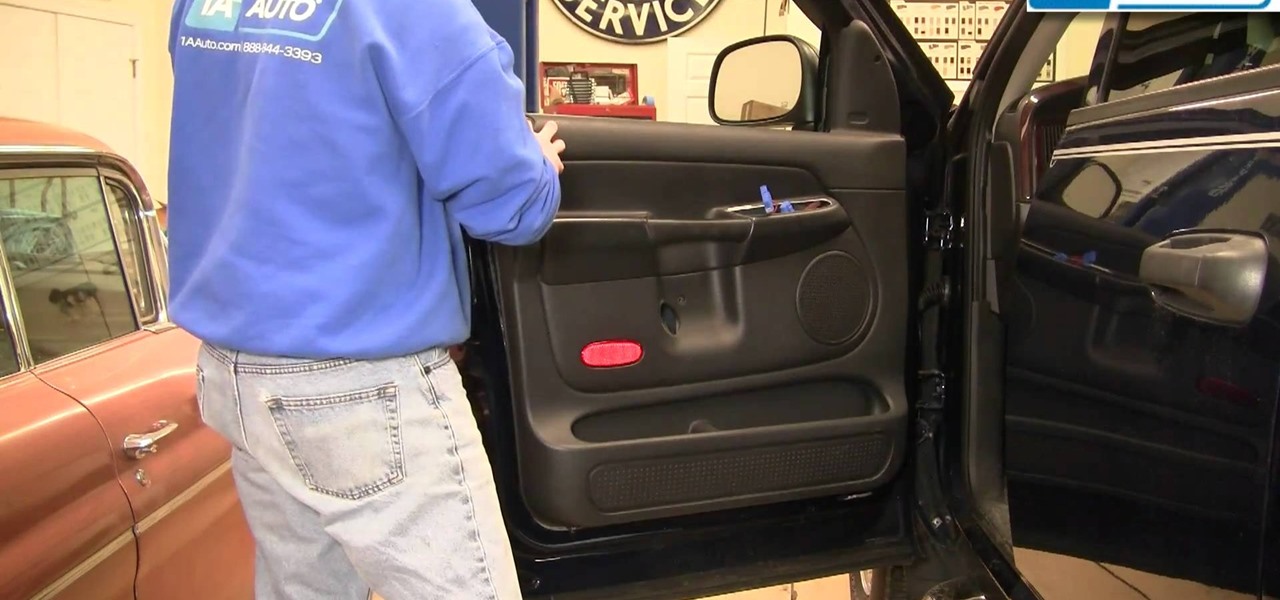
Replace your front door panel yourself following these step by step instructions. You will learn how to remove and install a front door panel on any 2002-08 Dodge Ram truck. This simple procedure is the first step to a number of other repairs.
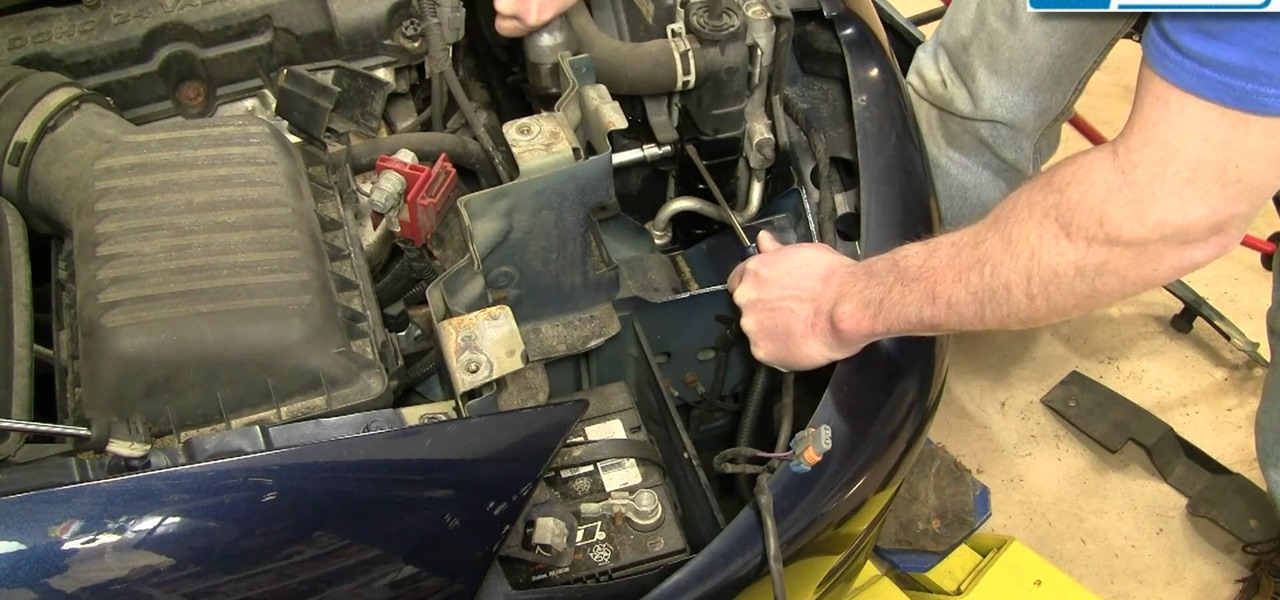
Replacing a car battery is one of the most useful auto repairs you can learn to do yourself. Being able to replace your car's battery can save you a lot of money. This video shows how to replace the battery on a 1998-2004 Dodge Intrepid.
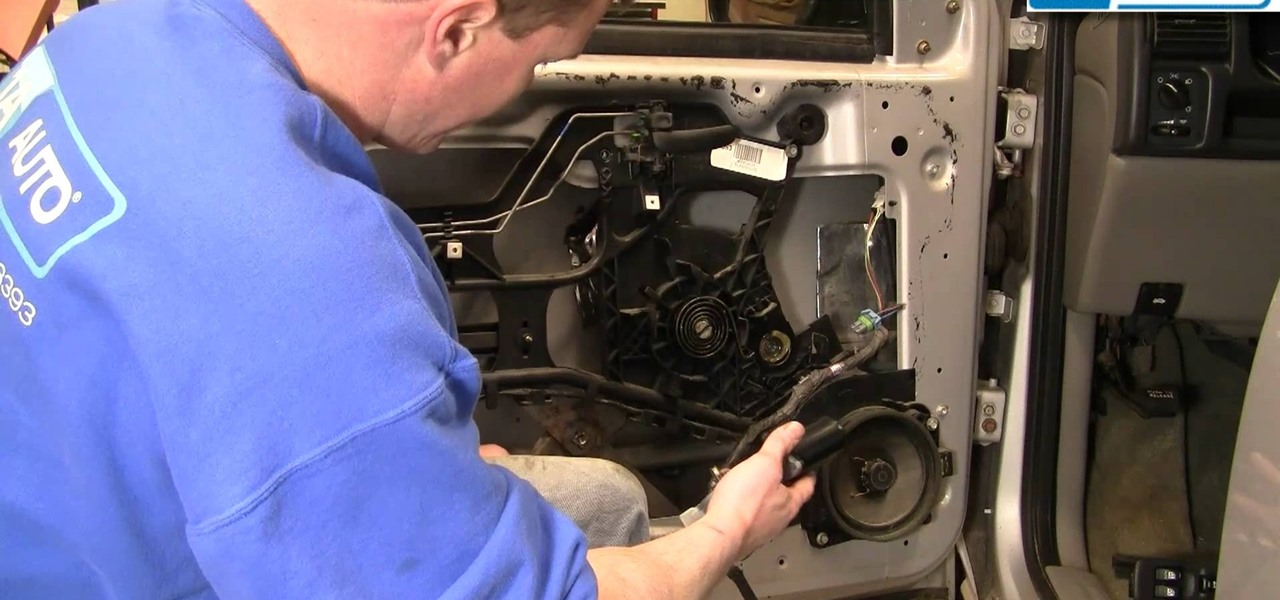
This video focuses specifically on the Chevy Venture or Pontiac Montana models of vans. If your power window motor is going out, or isn't working anymore, this video shows you how to fix it (if possible) or replace it (if it isn't).
Don't throw out your holey socks! You can use a technique called darning to repair them. You don't even need yarn - you can use embroidery floss or another sturdy thread to create the darn and extend the life of your socks.
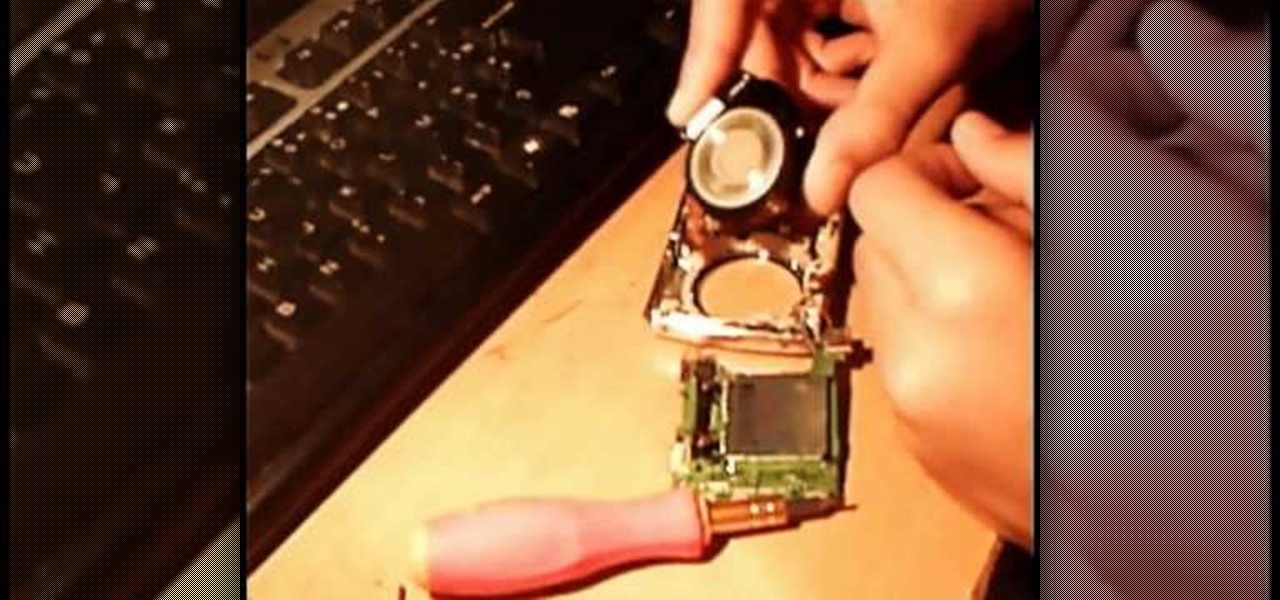
If you like to use your Nikon Coolpix S200 outdoors or in dirty places, you may have encountered this problem. If dirt, sand, or other particles get in your lens they can prevent it from opening, and thus prevent you from taking pictures. Watch this video for a guide to cleaning the lens and repairing the problem.
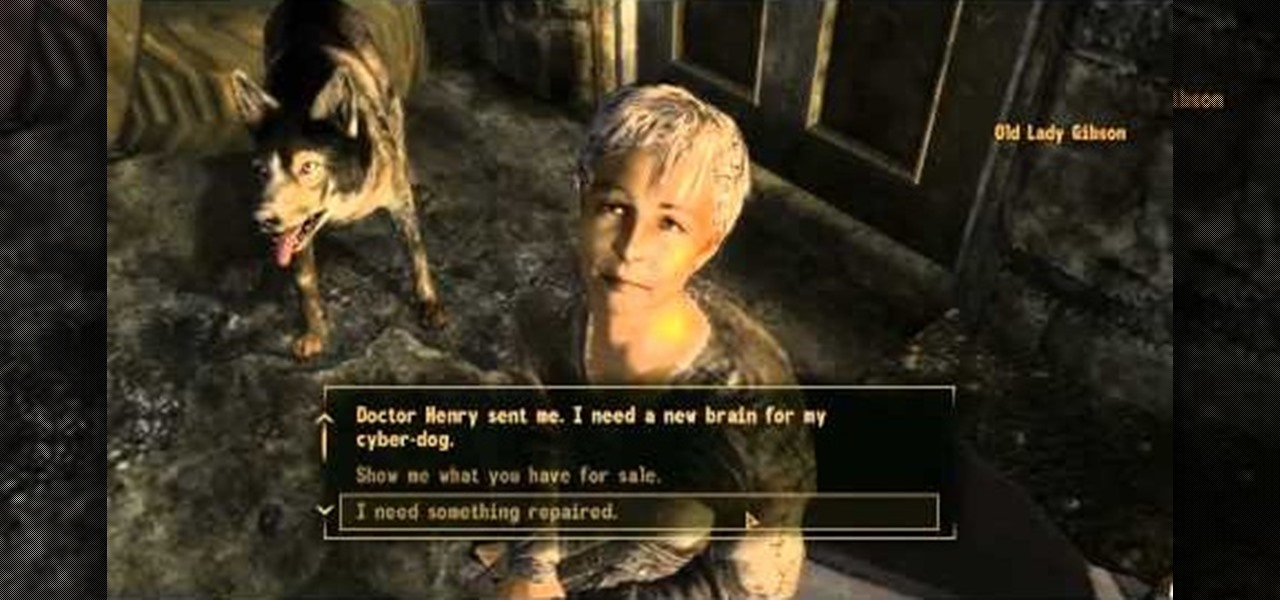
There are seven NPCs who are able to repair your gear in Fallout: New Vegas, and this video shows you where you can find all of them, in chronological order by quest. You can gain fame and infamy from some of them, depending on faction.
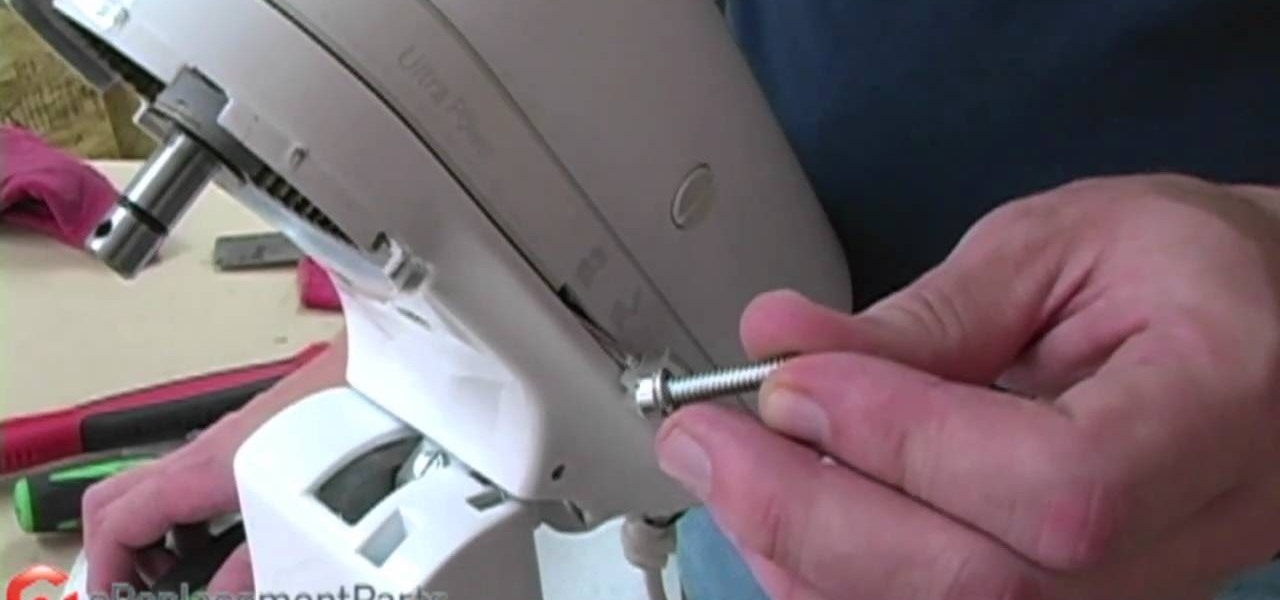
In this DIY guide from the folks at the eReplacementParts], we learn how to repair an oil leak on a KitchenAid stand mixer. It's easy! So easy, in fact, that this clip can present a complete overview of the technique in about two minutes. For all of the details, and to learn how to repair a leaky KitchenAid mixer, take a look.
In this automotive repair guide, we learn how to remove and replace an automatic transmission on a Dodge Neon car. For all of the gritty details, including step-by-step instructions, and to get started removing the tranny on your own Dodge Neon, watch this video tutorial.
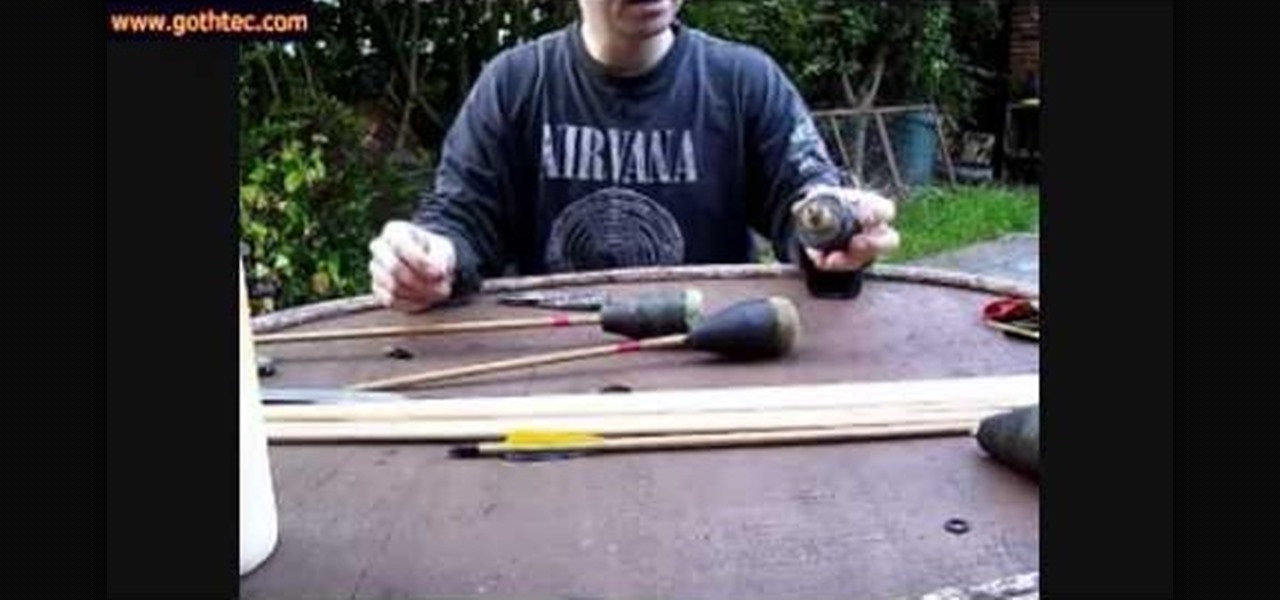
This tutorial shows you how you can take arrows which may be damaged, or just not up to spec, and repair or recondition them. The tutorial takes apart an arrow, which can give you some good ideas on how to construct them as well.
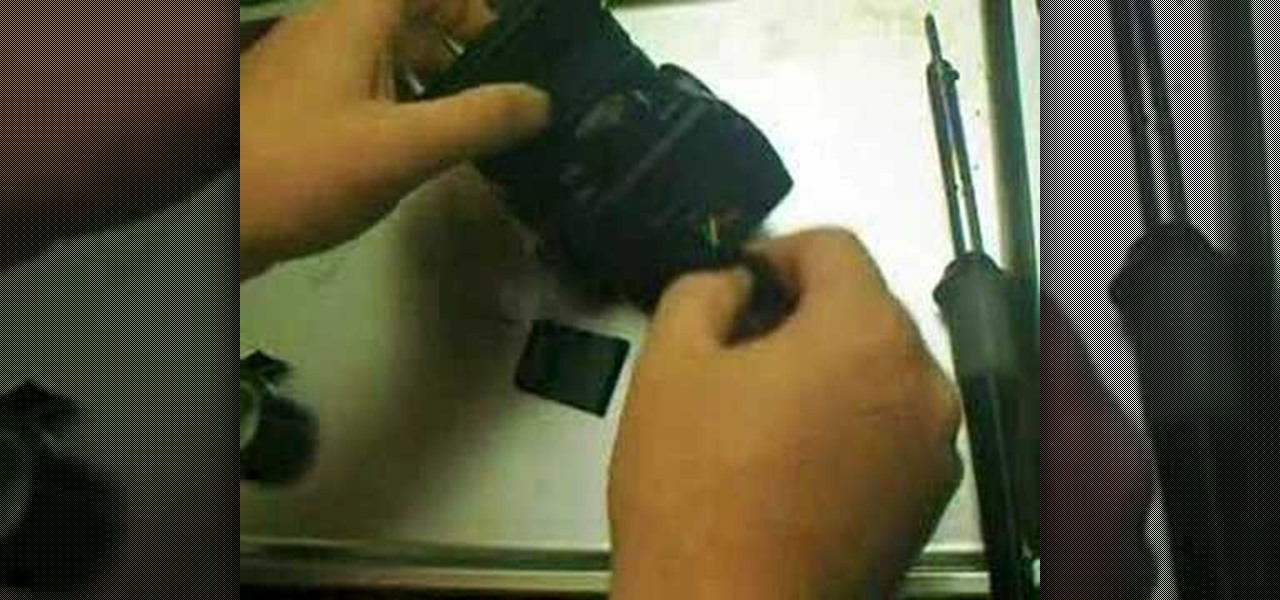
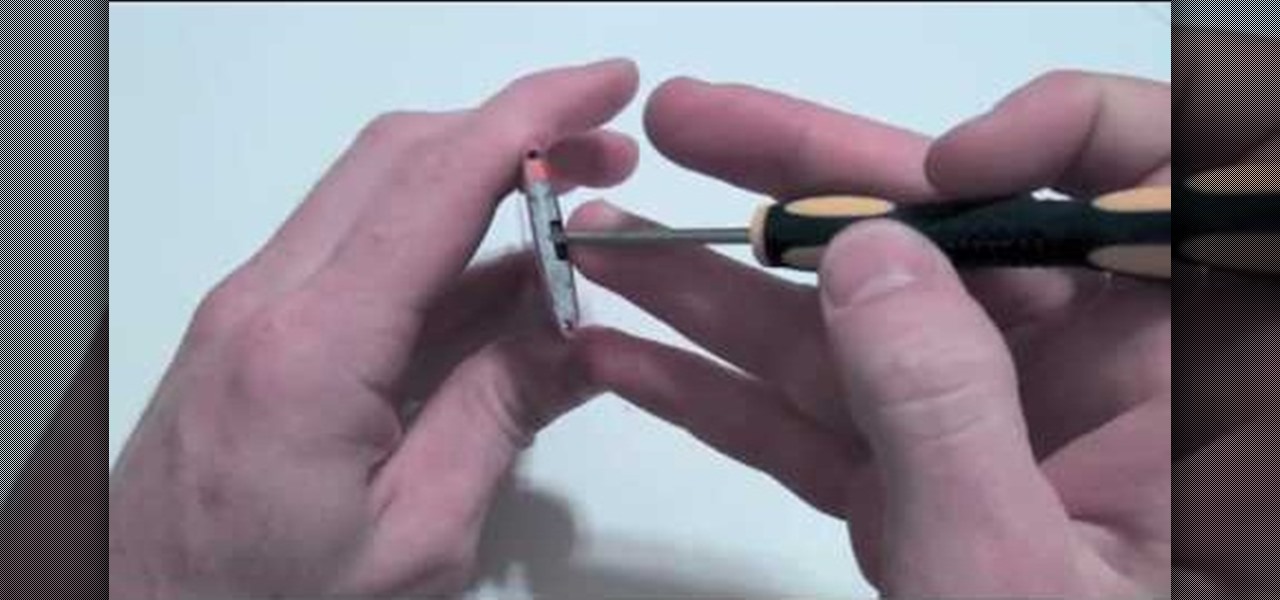
In this tutorial, we learn how to repair the Vivitar 285's Flash Foot. First, remove the flash foot using a soldering iron. Melt the solder just enough, don't ruin the wires or the backing. Now, set the iron down and then short the wires out, you will see the flash go off when you do this. Trim of the exposed wire from the end, then wrap a small amount of electrical tape around the wires. After this, you will repair the metal around where the wires were connected. Then, solder the wires back ...
Boxsprings make a bed much more comfortable, but when they get old they start to squeak obnoxiously. Watch this video to learn several easy ways that you can repair your box spring to return it to it's normal quietness and get your back to sleep.
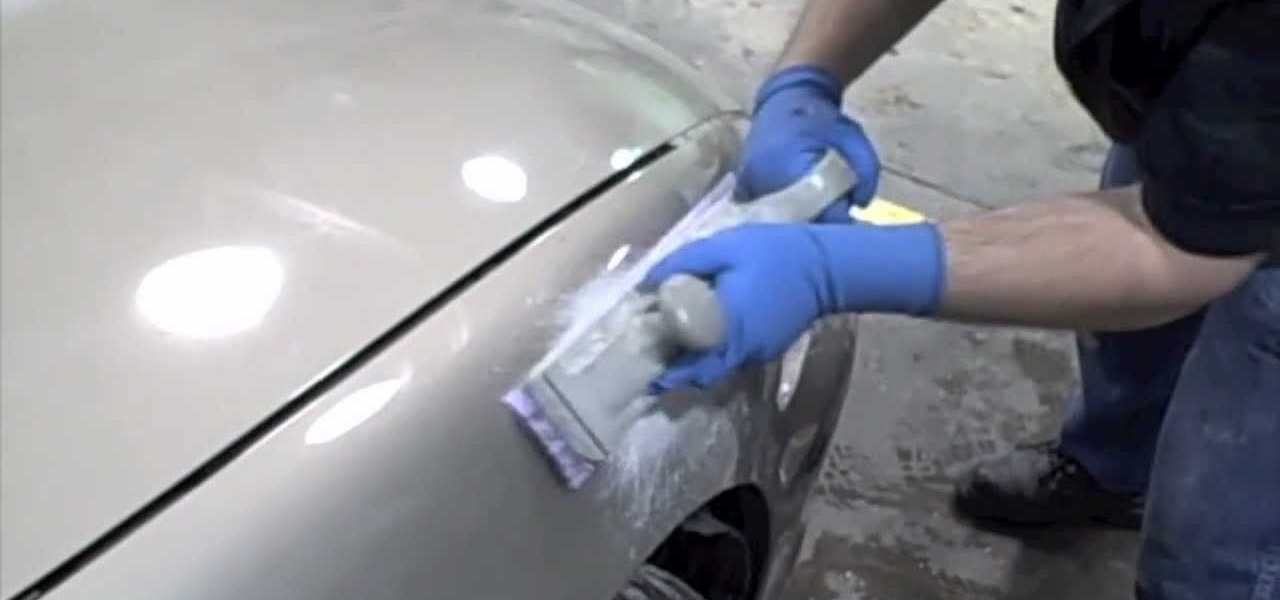
In this thorough 30 minute video tutorial, Donnie Smith shows you a method of repairing a minor dent on a car with body filler and also shows you how to block sand the filler. For the novice who wants to learn more about car maintenance, this is the perfect tutorial.
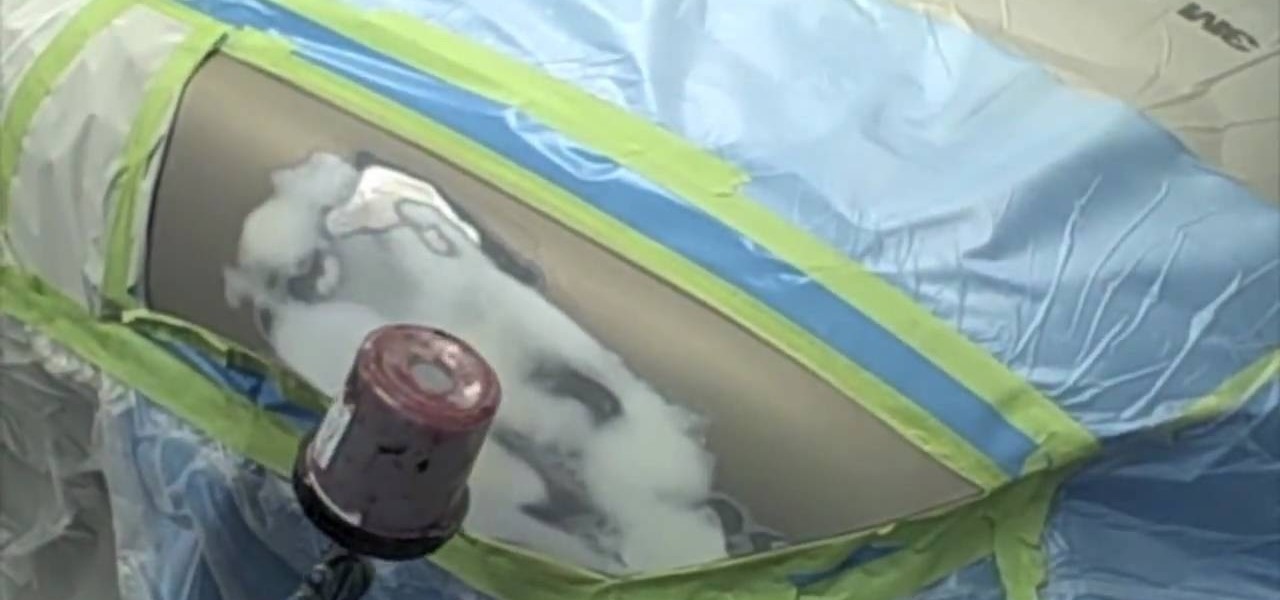
In this video, you are shown how to apply epoxy to your car area after it's been repaired. Epoxy is a great primer because of its advantages in adhesion and corrosion protection. You can apply one or two coats if you so desire. Watch this video and you'll learn all about the advantages of epoxy primer.
Doorbells are pretty simple machines, but somehow they still break all the time. They are pretty easy to fix usually, and this video will teach you how to figure out what part of your doorbell is broken and then repair it yourself.
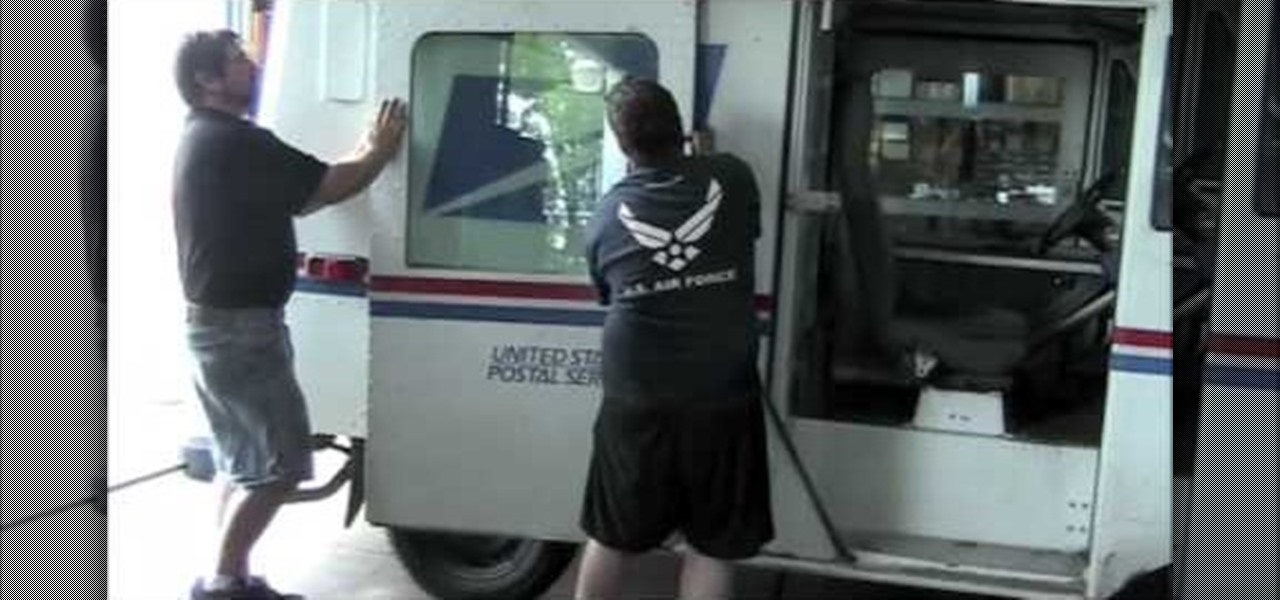
Unlike other automobiles, the LLV (Long Life Vehicle) postal truck is driven on the right side of the vehicle, not the left. This can complicate repairs for any mechanic if they're not familiar with these trucks which carry mail across the country by the United States Postal Service (USPS). One repair that isn't easy is replacing the windshield wiper pivots. Actually, the driver's side (right) wiper pivot is pretty easy, but the left side is quite a chore. If the one's you're working on are w...
In this tutorial, we learn how to repair an iPod Nano 4th Generation. First, remove the top and the bottom bezel from the device using a small and flat tool. When these are removed, switches will fall out, make sure to set these aside in a safe area. Now, remove the Philips screws that are in the top and the bottom of the device and set them aside. You will be able to take apart the top from the bottom now. The dock connector will be inside where the motherboard and circuits are at. Repair th...
A frequent repair on the Grumman Long Life Vehicle (LLV) is changing out the window regulator on the side door of the postal truck. The United States Postal Service (USPS) uses these trucks for mail delivery, so the window regulator goes through a lot of use. The first thing to do on this repair is take the door off. Watch the video to find out the whole procedure.