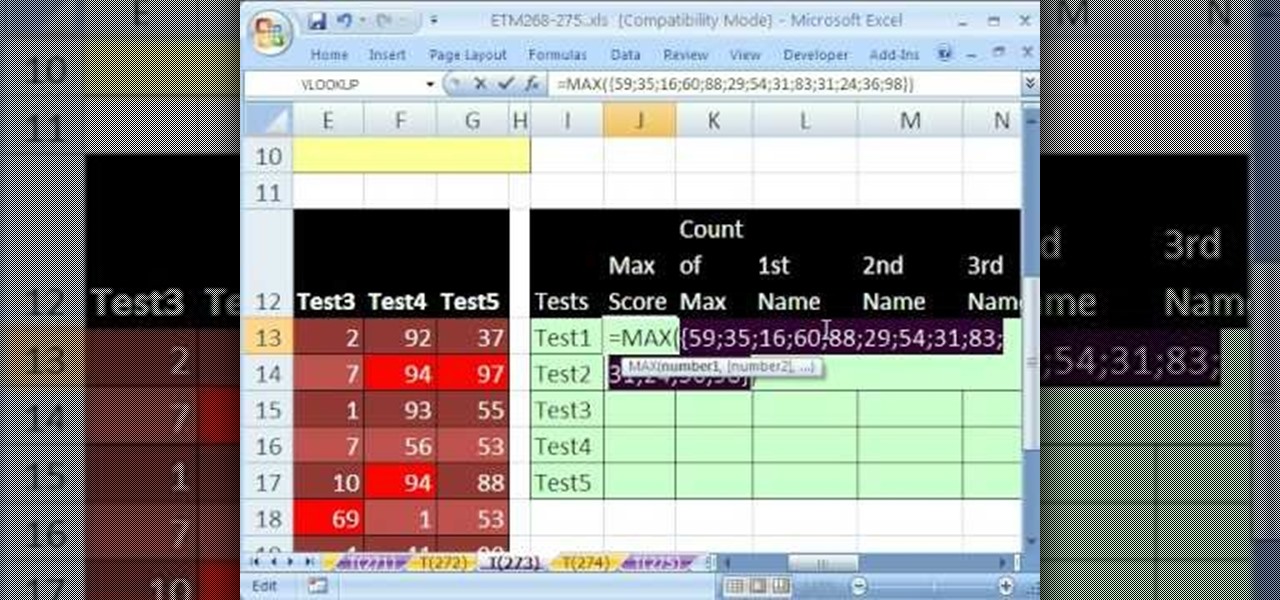
New to Microsoft Excel? Looking for a tip? How about a tip so mind-blowingly useful as to qualify as a magic trick? You're in luck. In this MS Excel tutorial from ExcelIsFun, the 159th installment in their series of digital spreadsheet magic tricks, you'll learn how to solve Duplicate VLOOKUP function problems with a COUNTIF formula that creates a column of unique values for the first column in the lookup table.

New to Excel? Looking for a tip? How about a tip so mind-blowingly useful as to qualify as a magic trick? You're in luck. In this Excel tutorial from ExcelIsFun, the 273rd installment in their series of digital spreadsheet magic tricks, you'll learn how to extract the top (i.e., max high) 5 values and their associated names from a column allowing for duplicates. This is accomplished with recourse to Excel's TRANSPOSE, COUNTIF, MAX, INDIRECT, IF, COLUMNS, INDEX, SMALL and ROW functions.

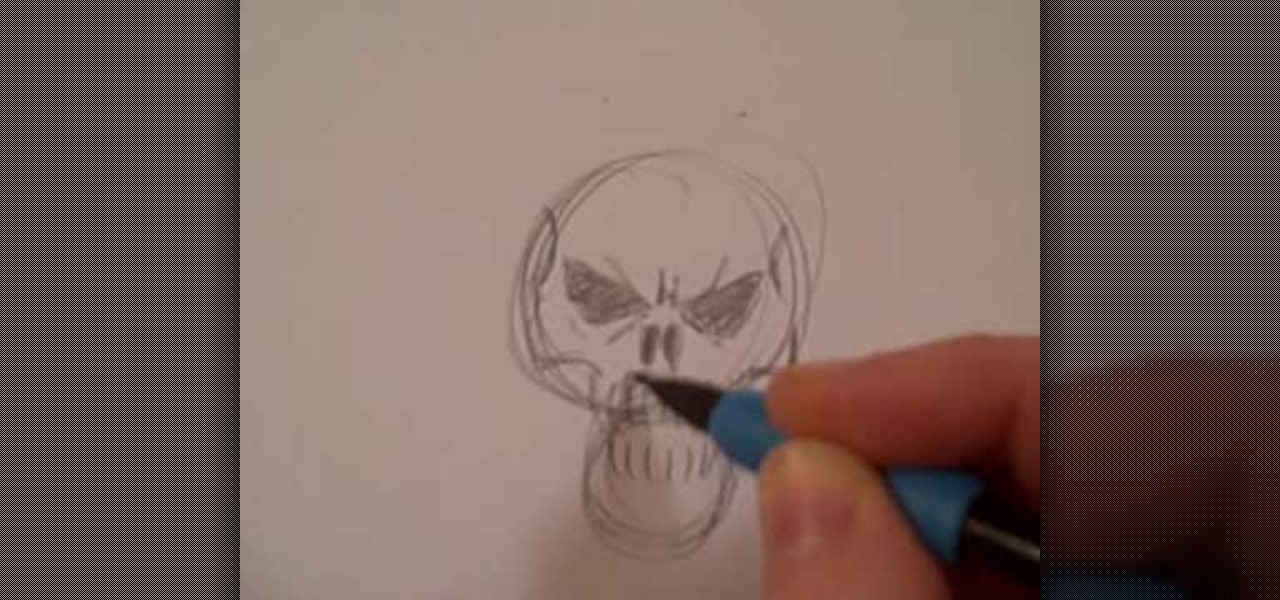
This short video shows how to draw a skull with a pencil. The video contains no spoken or written description of the process the artist in the video is going through, so to duplicate his drawing, you'll have to just watch and draw along. The artist starts the drawing by making two circles vertically, the lower circle being about half the size of the upper circle. He then adds the nostrils, eyes, and teeth, before going on to add some definition to the jaw area, making it look like a complete ...

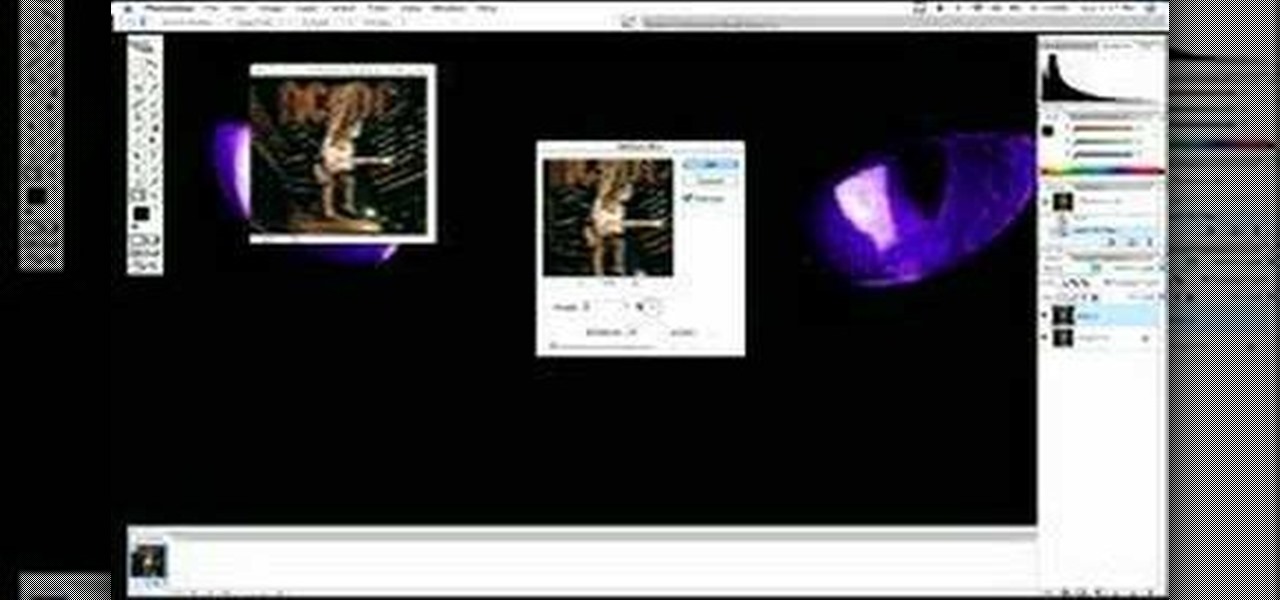
Adding motion to graphics using Photoshop can create an exciting and dynamic effects. Select a picture you want to add motion to. First, duplicate the background layer. Then under Filters, select blur, and then select Motion Blur. Then you set the angle of the Motion Blur. You can select any direction and also set the intensity of the blur by setting the distance setting. Then you will need select the eraser tool and select under Options select the brush. Chose a soft edge brush and erase ove...

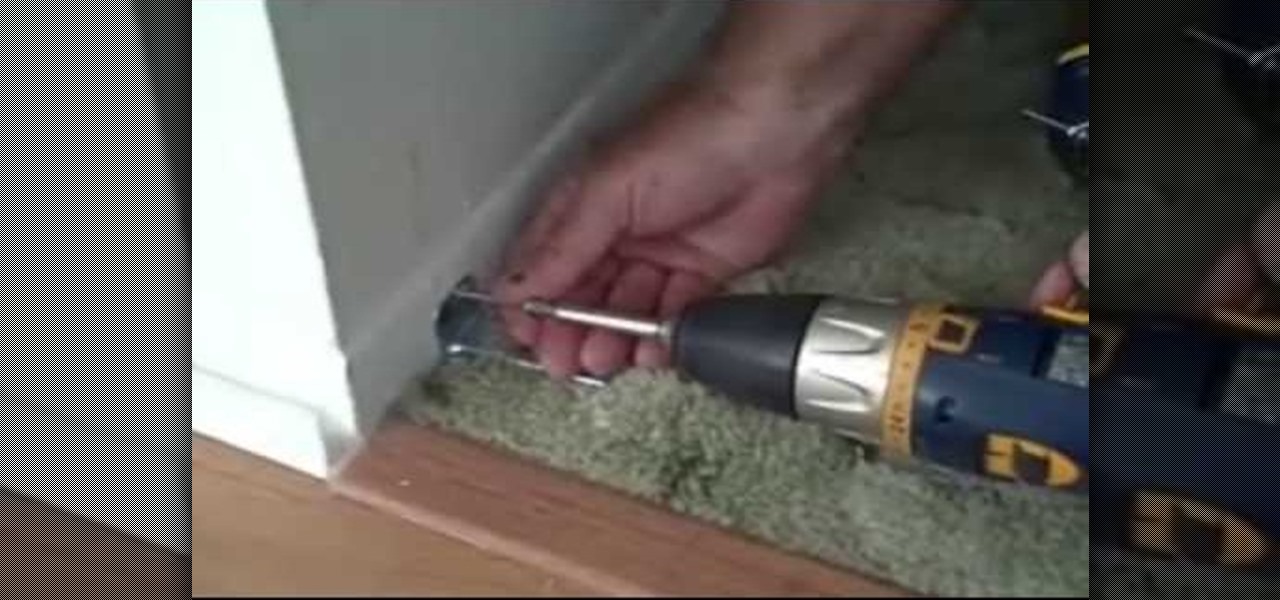
This video shows the method to install bifold closet doors. The doors are of two sizes. They include a thirty inch and a twenty four inch door. The video first demonstrates the installation of the thirty inch door. This is then repeated for the other door. The middle line of the upper part is drawn over the opening. The middle line is extrapolated to the sides to put the bottom support. The tracks are installed on the top. The floor bracket is fitted at the bottom. The top glides are installe...

To make some flowers of geranium plant, the flowers are colorful and beautiful. Put the branches together to the main branch in various designs. Merge three leaves together to form a new design. Now start placing all the leaves to the main branch if you want. You need to make a petal to form the flower. Arrange the bunch of flower in middle of your dining table allowing its fragrance in the entire room. We will put the flowers together .This is very important and necessary step. We will dupli...

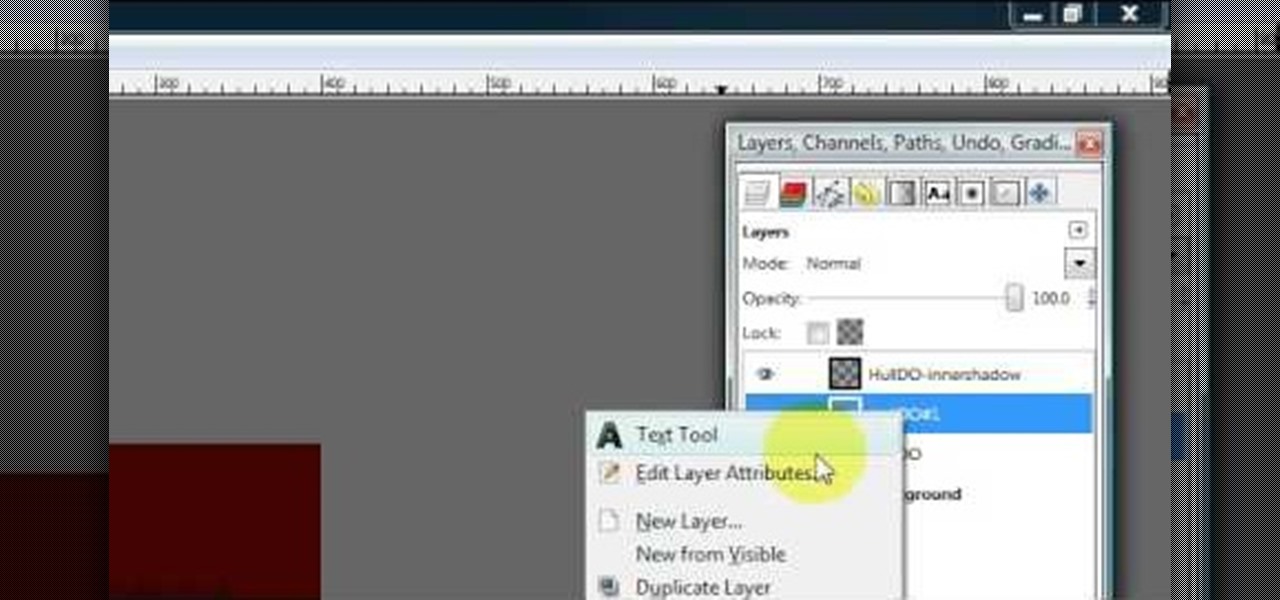
Hulldo teaches you how to create indented text in GIMP. First, create a new document of any size. Then use the text tool to write some words. Next, select that text and go to Script fu-layer effects-inner shadow. Once you've done this, duplicate the layer. You will now want to filter-blur-Gaussian blur. Apply that to your second layer. Now you can either merge the layers or leave them as they are. You can also play with the text settings, if you want a larger shadow, a bolder text and so on. ...

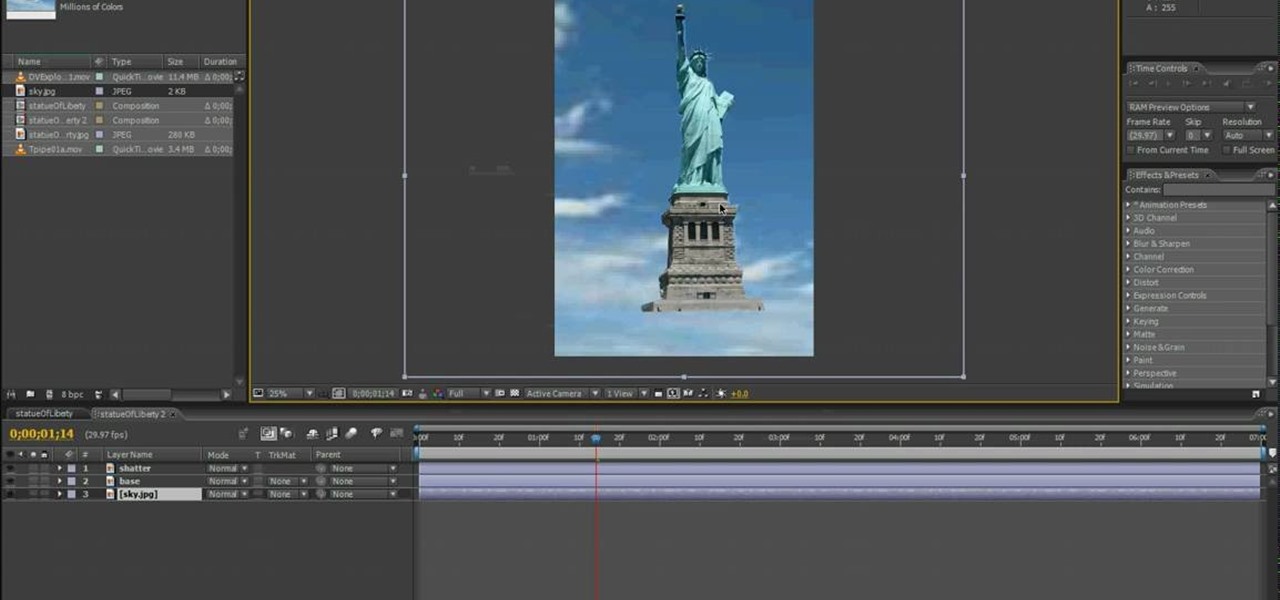
This video shows you how to create a building explosion (more specifically, the Statue of Liberty) in Adobe After Effects in less than ten minutes. The smoke and fire are downloaded separately, while the shattering of the statue is created in After Effects. First, duplicate the layers into what will and what will not explode, then create a mask around each one. Then, set the shatter effect to the exploding layer. Set the shape pattern to glass to make it more realistic. Also, you can raise th...

Hulldo teaches you how to create your own headlines in GIMP. You start off with a new file and paint that a light brown. Make a selection on the file and create a new layer on top. Color that layer black and add Gaussian blur. Put that layer beneath so it will make a shadow on your selection. Create the start of a gradient or simply a Grey layer on the bottom of the headline. Then add your text with black color. You can duplicate these layers, reside the selection and change the text. You are...

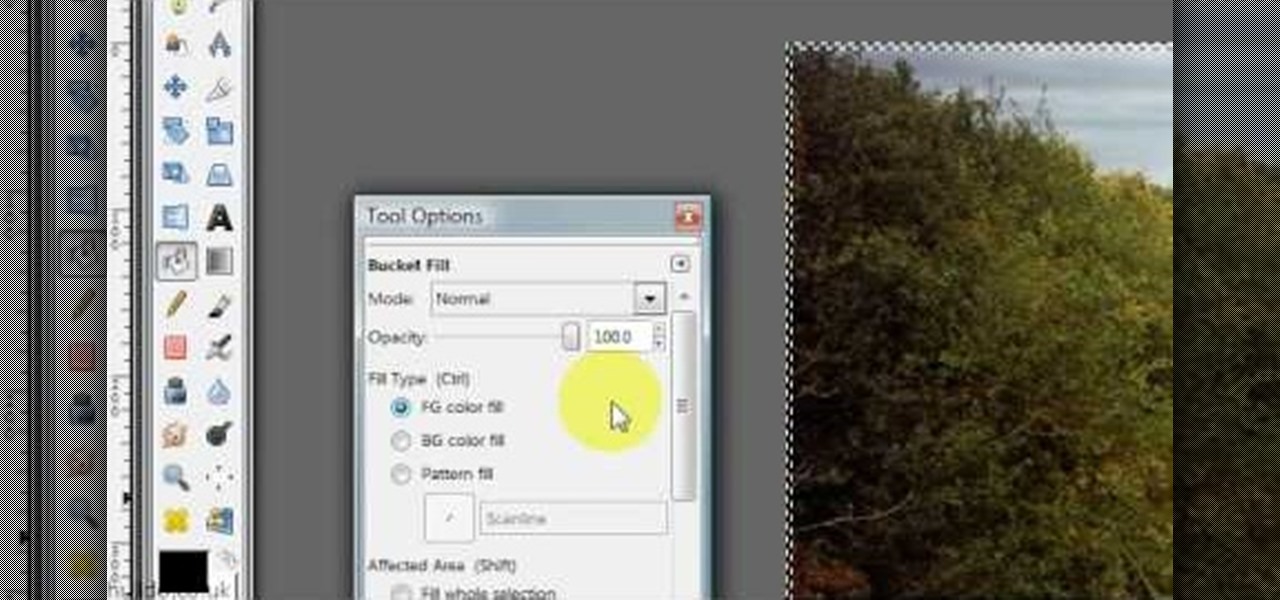
Hulldo teaches you how to give your images a widescreen border using GIMP. Open up a picture and the click new layer. Next go to select - border and make it 3 pixels. Go to tool options and use black for foreground fill. Select none and create a new layer. Go to view and make sure snap to canvas edges is ticked. Go to rectangle select tool and go to its menu. Then select 640x30 pixels. Fill that layer with black and select none. Duplicate this layer. You place this one on the bottom and you a...

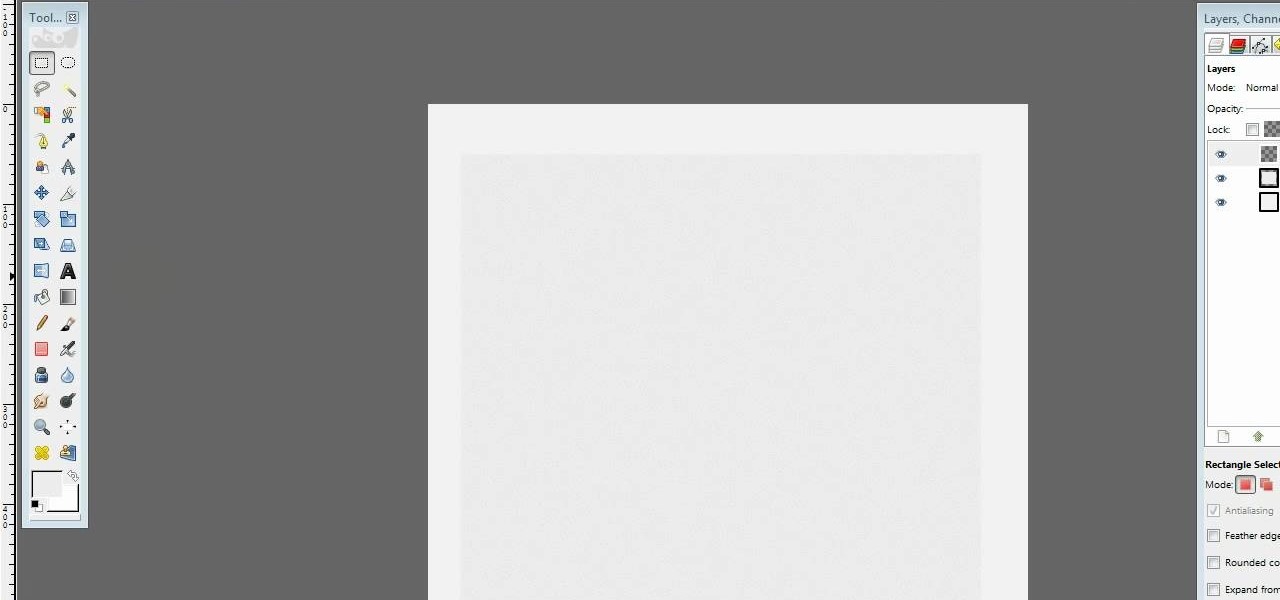
Hulldo teaches you how to draw lined paper in GIMP. First you create a new document and make it 600x600 pixels. Make the background a bluish grey. Create a rectangle in the middle of the document. Now you want to add a blue horizontal line. You will want to then duplicate that layer until you're at the bottom. You can add a stroke to the rectangle or use a shadow to make it look like it's on top of a regular piece of paper. You also have to leave some space at the top and bottom to mimic a re...

CathyDirector teaches you how to make someone fly using After Effects. You will need two clips: one with the background and one with the background and the person walking or running. To have the same type of footage, use a tripod for stabilization. Duplicate the second layer and go to frames and cut the frame in which the person is in the air jumping. Use the mask tool to create a contour of that person. Add radial blur at the time he is still close to the ground and some sound effects. Next,...

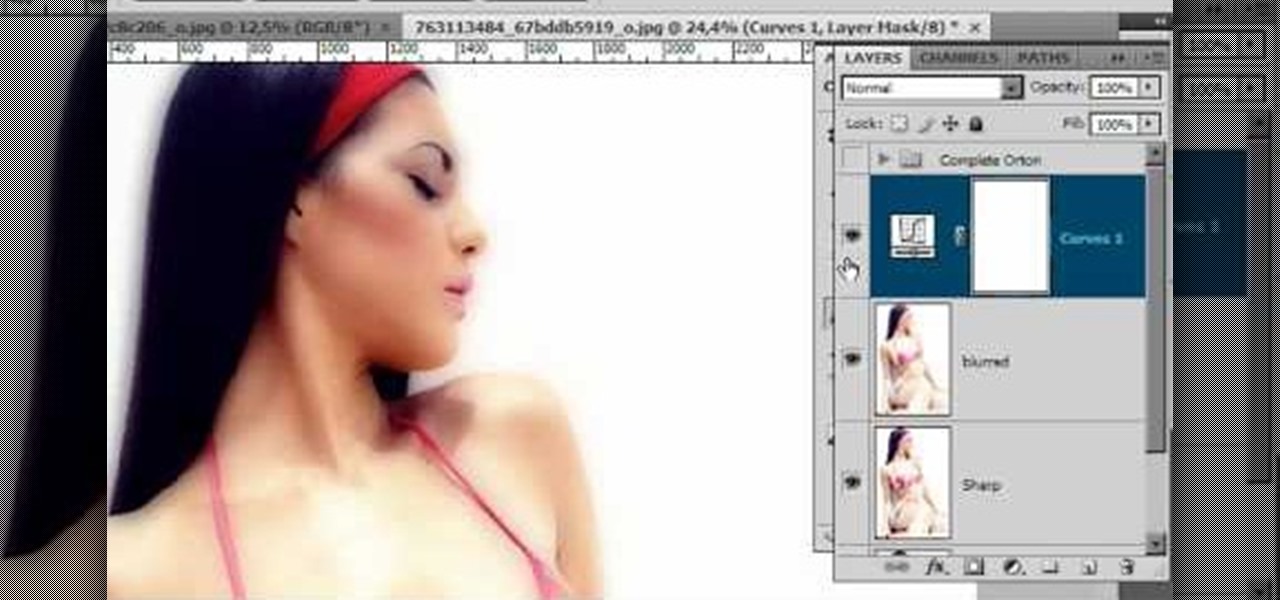
In this video tutorial, viewers learn how to create the Orton glow effect using Adobe Photoshop. The Orton glow effect is achieved by combining a sharp image with a duplicate that is deliberately blurred or softened. The overall result is often characterized as a dreamscape, diffusion, or softening glow. It is an effect used for landscapes and portraits. This video provides voice narration and step-by-step instructions for viewers to easily understand and follow along. This video will benefit...

In this tutorial CreativeIceDesigns shows you how to make really cool electricity text effect by using Photoshop. To do this you need to open Photoshop and create new document. Layer will be black. Go to Type tool and type the word which you want to give effect. Now duplicate the layer and hide one. After that go to filter, stylize and wind option. Give this effect from all side. Change the color and unhide the text layer. After watching this you will be also able to make electricity text eff...

The presenter beings the video by describing the screen cast program he is using to record the video. It is giving him some problems but he asks us to bear with him. The video then shows before and after images to demonstrate the effect. The effect is achieved by duplicating the eye color to another layer and then using layer blending options to achieve the desired brightness. The presenter has a website with many other Photoshop technique videos.

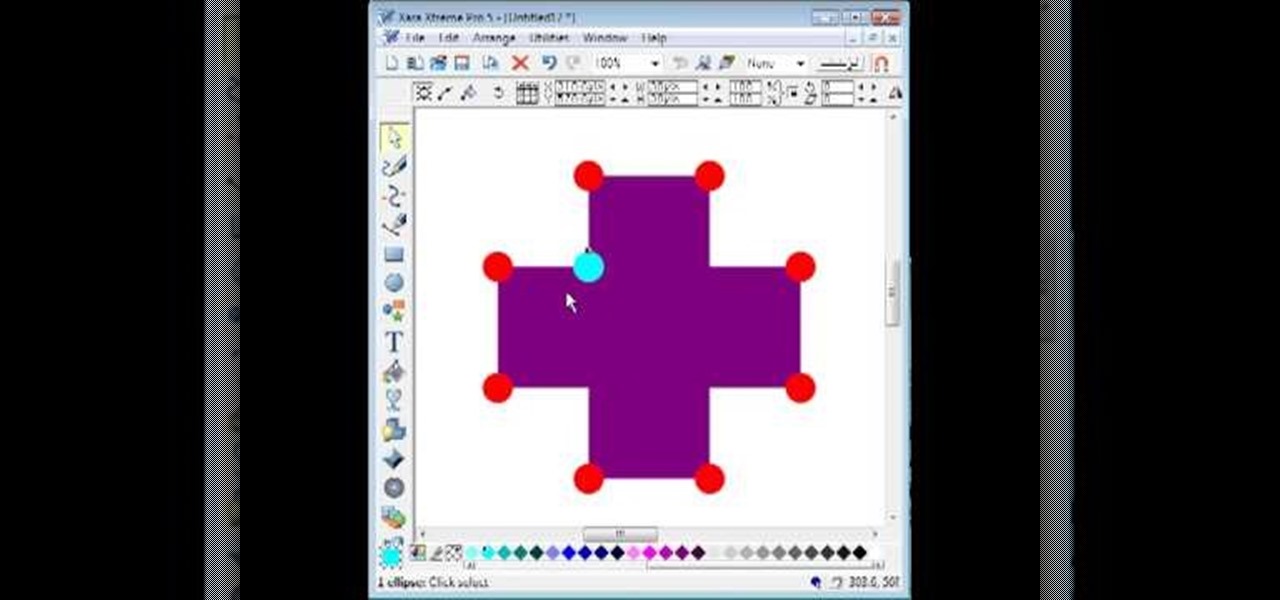
By utilizing the click and drag features of Xara Xtreme, users can take shapes and duplicate them for quick work (ctrl K). Further by identifying them by colors and other subsets, users can add or delete with just a button push, or (use the add shapes, subtract shapes options.) All this is done in the event for the sake of convenience; eliminating the tediousness of creating shapes one by one, and using them as plot points on a map to create projects within record times.

Do you want to learn how to create a comic book style cloud using Photoshop? Now you can with this video. First of all, create a blue colored layer. Next, create a few white shapes on this background. Now duplicated this layer. Go to the bottom layer and make it black. Go back to the top layer and move it a tiny bit so that the black shows. Combine the layers and now blur it. There you have it, a comic style cloud in under 3 minutes.

Blogger Chantal McCulligh offers advice on cutting your own side-swept bangs in this video. She shows you how to cut your own bangs in the mirror to achieve the side-swept layered look without having to buy fancy scissors for the task. This video shows the technique several times to fully demonstrate the trick with plain old craft scissors. Chantal makes it look easy and the results look great. Following her directions closely would result in anyone being able to duplicate her stylish look.

The character Alice Cullen from the Twilight series is the basis for the look in this how-to video. Use Mac Pink Couture Shadestick, Mac Da Bling, Mac Sunset B, Mac Mutany, Mac Bell Bottom Blue, Mac Stars N Rockets, Benefit liner in Royale, Wet N Wild Black Liquid Liner, Ardell Lashes in Romantic, Loreal Telescopic Mascara, Mac Pleasantry Blush, Mac Angel Lipstick, and Mac Sugarrimmed Dazzleglass to replicate this feminine look. Check out this video makeup application tutorial and learn how t...

While a lot of makeup how-to video creators stick to the high end cosmetics, Christine makes looks with brands across price points, from drug store to Dior. For this look, she created a prety and simple style to wear daily. Give this video makeup lesson a go and learn how to duplicate this fresh easy school makeup look.

This animation shows the various steps taken when creating an RTV mold. First, risers are put on the part to allow air to escape from the final mold. A thin film is attached to the part, which will act as a seam for the final mold. A box is built around the entire structure, and it is filled with silicone rubber. Once the rubber has cured, the box and risers are removed, the mold is opened at its seam, and the original part is removed. Any type of urethane can now be injected in the mold to c...

Craftsperson Ceal Pedersen, from Heirloom Puzzles, shows you how to make wooden jigsaw puzzles with her own creative touches, geared towards kids.

This video will walk you through the process of creating your very own icon to use for your email by using Adobe Photoshop. Photoshop is a great tool to use for a variety of purposes and in this instance can make the perfect icon in just minutes.

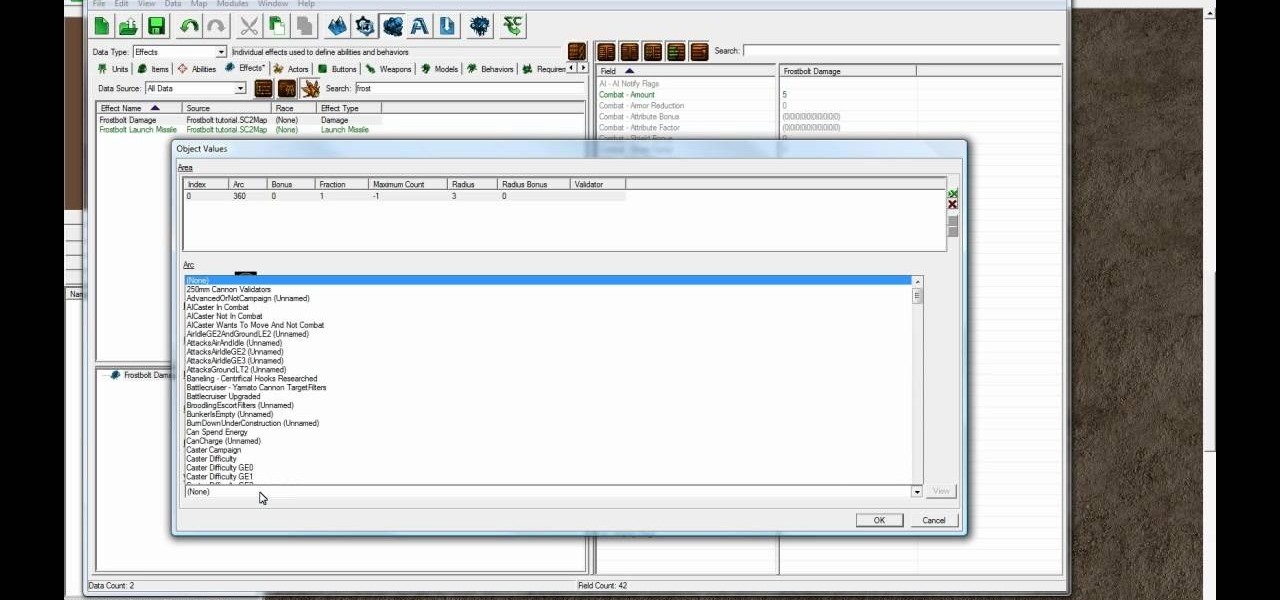
Make a frostbolt spell in the StarCraft II map editor which will both damage your enemy and slow them down. This tutorial goes into the map editor and shows you how to duplicate the frost bolt effect for your own map mods.

Having the same hobbies and interests is so overrated when it comes to relationship compatability. It's nice to have something in common with your significant other, but do you really want to be stuck for the rest of your life with a duplicate version of yourself? We'd get pretty bored and smothered quickly.

In this tutorial, we learn how to draw wings. To start, use line options to make curves that bend out and turn into a long and thin wing. You can copy and paste this wing so that all the different parts of the wing are the exact same. After this, use a free hand brush to draw curved lines onto the top of the wing outline. After this, start to add circles and other details to the wing. You can fill it in with color or add in more feathers where they would be on top of the wing. To finish, save...

Loose your birth certificate? Or, need to get a copy of someone else's, like your daughter or son? Don't fear. In this how-to video learn the steps needed to be taken in order to obtain an additional or duplicate copy of your birth certificate. Before you get started you will need basic information on the person and Internet or library access. Good luck!

Organizing contacts is a bitch, especially on the iPhone. Some contacts will have multiple entries, you can only delete contacts one by one, and certain types of contacts can't be deleted at all. If that isn't enough to make you pull your hair out, then I don't know what will.

Let's be honest for a second; we all have sensitive material on our phones that we wouldn't want anyone else to ever see. Maybe it's to protect ourselves or someone else, or maybe it's none of your business why I don't want you to see pictures of my bachelor party. Regardless, sometimes we need to keep things hidden and safe.

Change object colors via ActionScript in Flash 8

Learn how to remove braces with Photoshop. First find a photo with some visible teeth; you don’t want a picture with no visible teeth because you would need to redraw an entire set of teeth. Now select the first layer and duplicate it (command control J). Grab the patch tool from the toolbar and set it to "source". Zoom in on the teeth and make sure you are working on the new layer. Select around one part of the braces and drag it to a skin area. Now grab the clone tool and begin cloning the ...

Learn how to create a warm, grungy background in Photoshop. - Open up a brand new document at 1280 x 720.

What's better than having items in Terraria? How about having two of all your items in Terraria? This Terraria video guide will show you how you can duplicate items, from your own inventory or a friend's. Check out this Terraria guide.

This tutorial shows you how to take advantage of a glitch in the Minecraft game so you can easily and quickly duplicate your items. Don't worry about using Cheat Engine or INVedit, just follow this easy procedure for more inventory items!

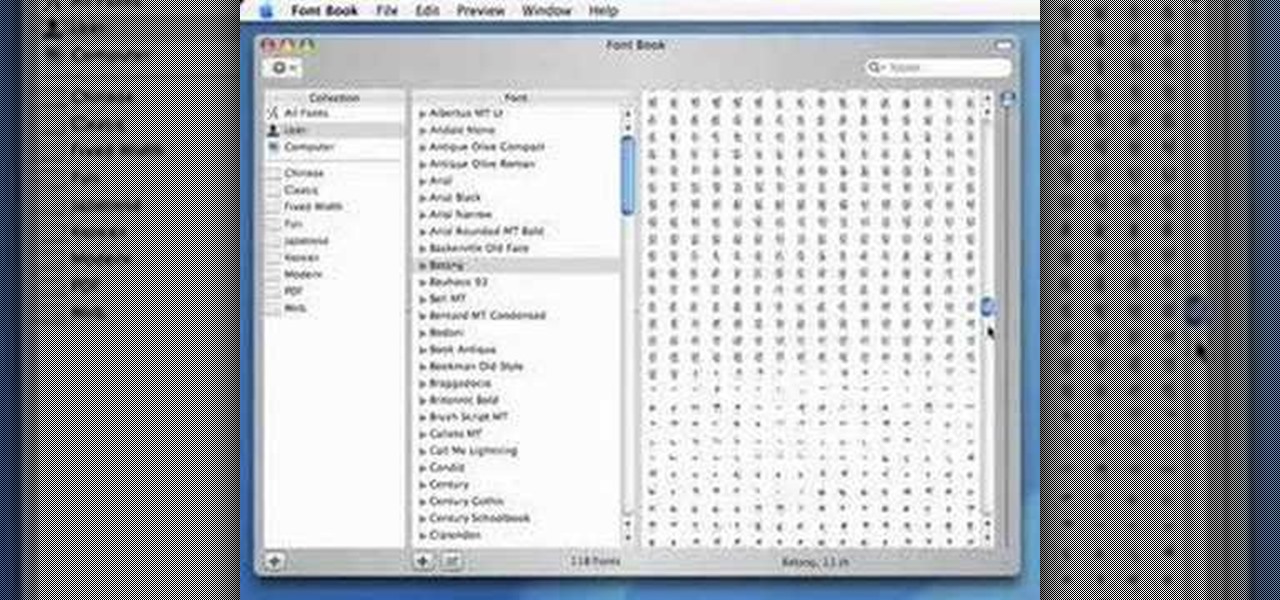
Apple Font book is a utility included with Mac OS X. Font Book is a utility for managing and maintaining your fonts on your Mac computer. It allows you to enable or disable fonts. It also helps you in creating font collections. Using it you can create libraries consisting of different collections and also validate font files for fonts or inconsistency. You can also remove duplicate fonts using it. The font book display consists of three columns. The collection column, the font column, and the...

Pixel Perfect is the "perfect" show to help you with your Photoshop skills. Be amazed and learn as master digital artist Bert Monroy takes a stylus and a digital pad and treats it as Monet and Picasso do with oil and canvas. Learn the tips and tricks you need to whip those digital pictures into shape with Adobe Photoshop and Illustrator. In this episode, Ben shows you how to create realistic reflections in Photoshop.

Pixel Perfect is the "perfect" show to help you with your Photoshop skills. Be amazed and learn as master digital artist Bert Monroy takes a stylus and a digital pad and treats it as Monet and Picasso do with oil and canvas. Learn the tips and tricks you need to whip those digital pictures into shape with Adobe Photoshop and Illustrator. In this episode, Ben shows you how to create fabrics in Photoshop.

Pixel Perfect is the "perfect" show to help you with your Photoshop skills. Be amazed and learn as master digital artist Bert Monroy takes a stylus and a digital pad and treats it as Monet and Picasso do with oil and canvas. Learn the tips and tricks you need to whip those digital pictures into shape with Adobe Photoshop and Illustrator. In this episode, Ben shows you how to build a sign in Photoshop with 3D lightbulbs.

Pixel Perfect is the "perfect" show to help you with your Photoshop skills. Be amazed and learn as master digital artist Bert Monroy takes a stylus and a digital pad and treats it as Monet and Picasso do with oil and canvas. Learn the tips and tricks you need to whip those digital pictures into shape with Adobe Photoshop and Illustrator. In this episode, Ben shows you how to build an Egyptian Pharaoh's room in Photoshop.

Check out this strength trick from Revision3, Brian Brushwood and Scam School. We're back with another dirty trick, designed to teach you how to FAKE your way into (almost) duplicating the feats of the world's strongest men.


