The Pin-Up Sweet Shoppe teaches how to do this cute hairstyle. Start by parting your hair down the middle and make an angled part from your ear to the back of your head. Tie all of your ponytails tightly. Combing your hair into a smooth, even ponytail, use a hair-tie the color of your hair. Clip your top ponytail to the top of your head. This will keep it out of the way while you make a second ponytail under it. You can also use a hair-tie to match whatever outfit you're wearing. Repeat on th...

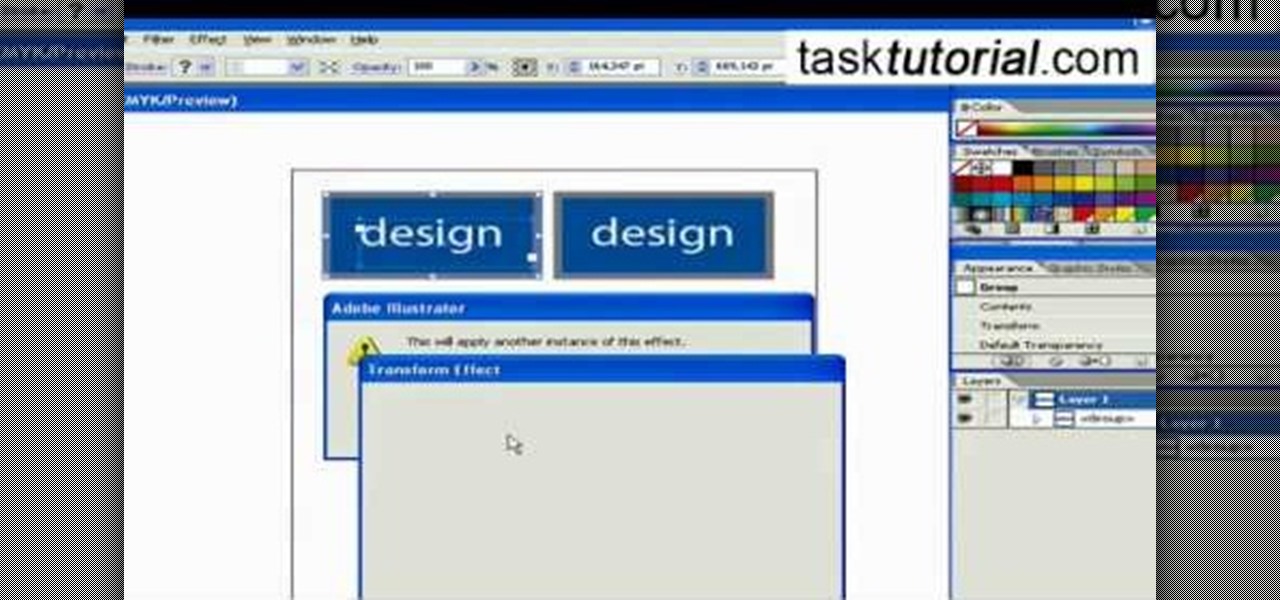
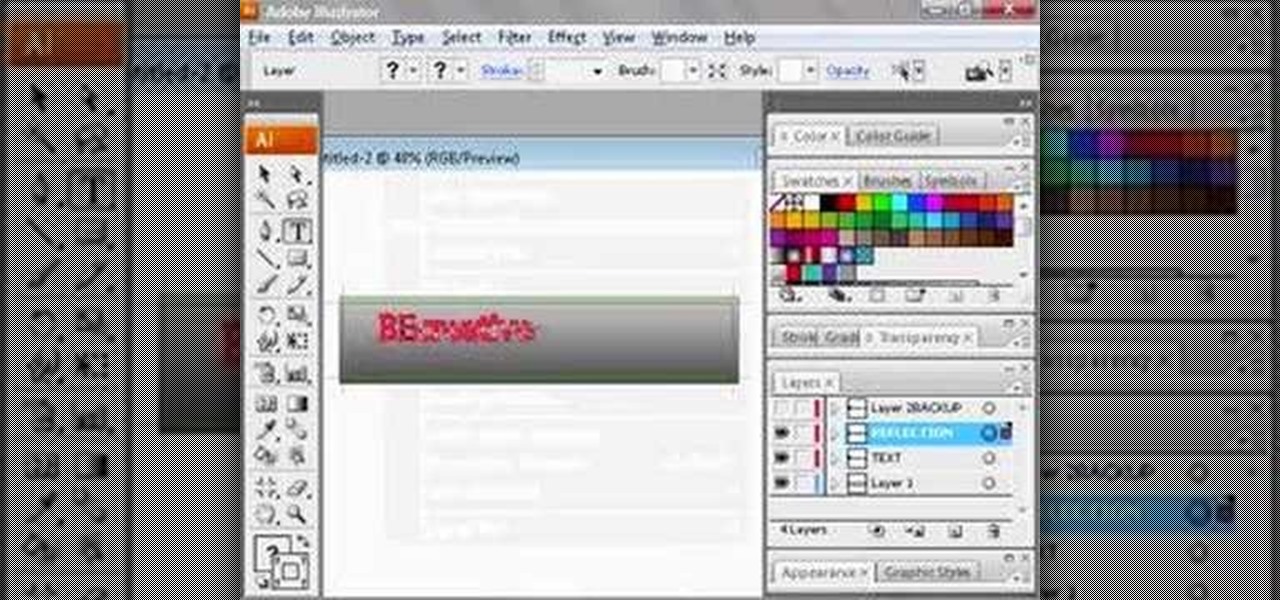
This video takes us through the procedure of creating a transform effect in Illustrator. First, choose a rectangular box and fill color in it. Input some text inside the box. The font and the color of the text can also be changed. Then position the text properly. Make a group of the shape and text. Now go to effect and choose transform. Transform is a very powerful effect which lets us create duplicates. Now select the number of copies, for example, one copy. Select preview. Now set the point...

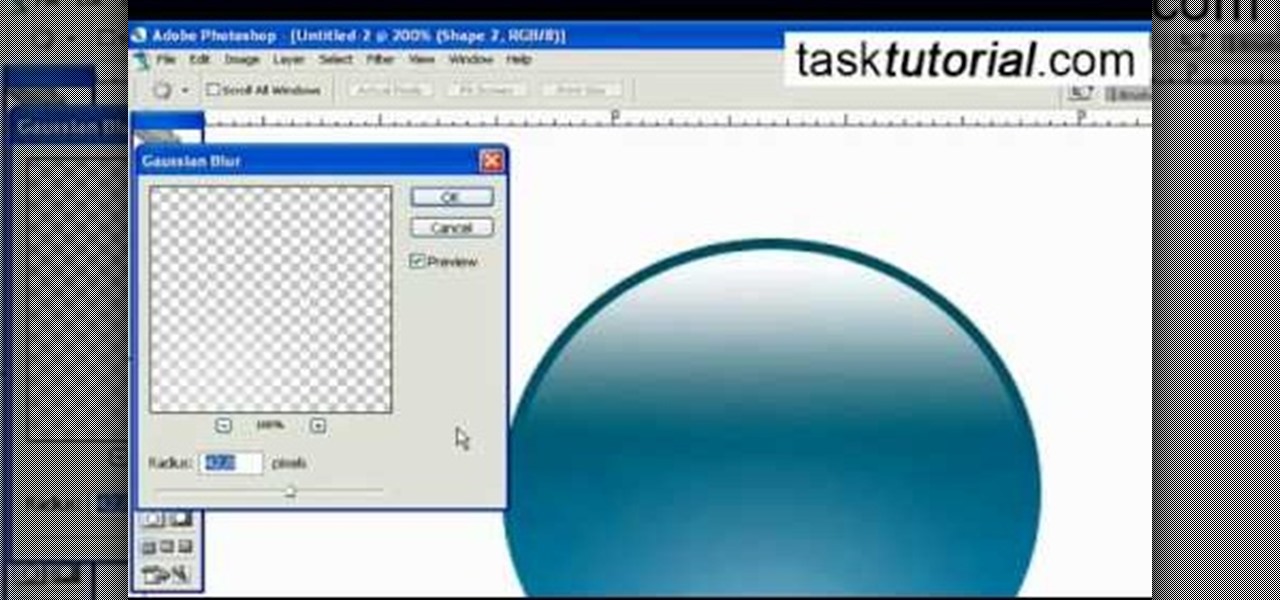
This video describes how to create an easy glossy button in Photoshop. This is done by "simpleretouch.com" website. First select the "Ellipse Tool" from the Photoshop tool bar and then drag it on the layer; it will give the ellipse shape in the layer. Select the "Blending options" from the "Layers" Menu by double click on the layer which is right below corner. From the blending options choose only the "Gradient Overlay" and in that we can choose color and its gradient as your wish. Now take a...

No better way to celebrate your love than with a face full of festive makeup. This Valentine's Vixen makeup look is great for going out on that special night, but can even be duplicated as pageant, recital, or any festive makeup. The cosmetic products used to create this look are from MAC, Barry M, Rimmel, and N.Y.C. Watch this video makeup application tutorial and learn how to do a flowers and hearts Valentine's decorative makeup look.

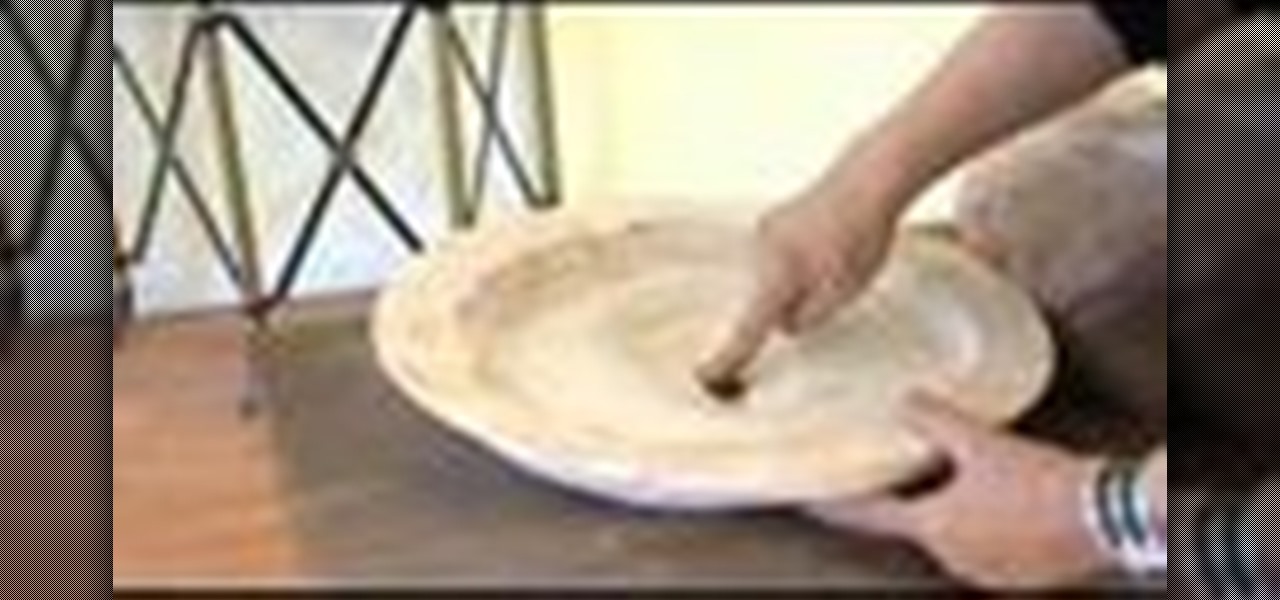
Mary Buckman describes how to create a cast clay sculpture from a press mold. Press molds can be used over and over again to duplicate a sculpture without going through the tedious process of actually sculpting it or without the artistic talent required to. Watch this video sculpting tutorial and learn how to use a press mold.

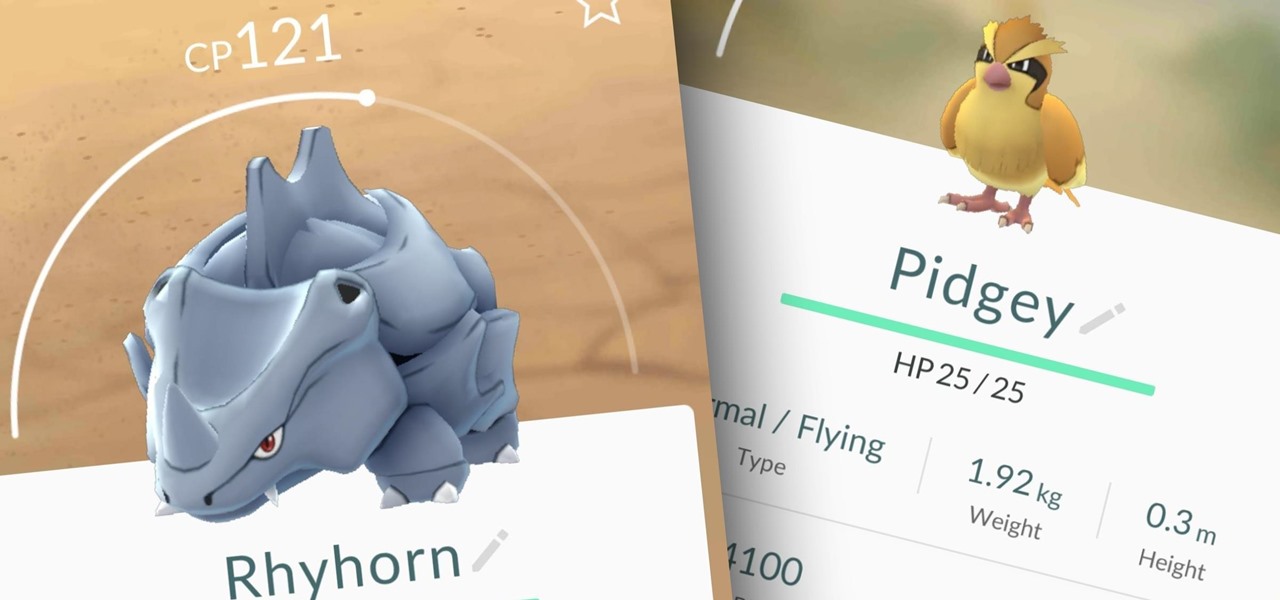
In Pokémon GO, having an in-depth understanding of your Pokémon's stats and abilities is crucially important to becoming a better player. Not all Pokémon are created equal; as such, it's critical that you look at each of your Pokémon—even duplicates—with a keen eye.

It's officially the holiday season, which means everyone will soon be traveling home to spend time with loved ones. And anyone who has any knowledge whatsoever of computers knows what else that means—family members left and right asking you to fix their various technical woes.

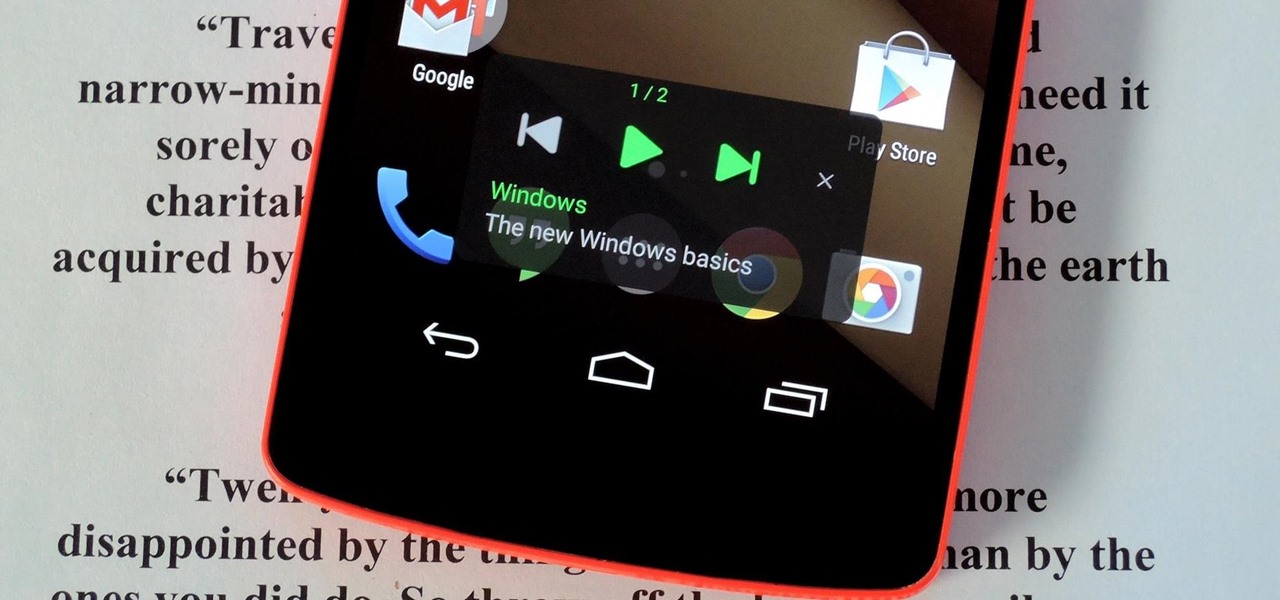
Nine times out of ten, when you pick up your Samsung Galaxy Note 2, you already know what app you're going to be using. If you only have Swipe to unlock enabled, finding that app is as easy as swiping and locating the app on your Home screen or in the app drawer.

This how to video shows you how to create wallpaper for your computer desktop. Open Photoshop and create a new file. Change the dimensions to the size of your desktop. Click okay and go to edit and fill. Choose color and select black. Click okay to fill the screen with black. Duplicate the layer. Once this is done, go to filter, render, and lens flare. Make sure the lens flare is in the center. Edit the settings to your liking. Click okay to add the effect on to the image. Go to filter, disto...

This is a video about creating a logo using adobe illustrator. First go to adobe illustrator and open the new document. Next if you want to make a logo in rectangular shape take the rectangular and drag it over in the new document. Next choose a color and fill it in the rectangular. Next go for new layer and click the button. Next insert the text what you want in that rectangular. Next increase the text size how much you want. Next if you want to change the color in between the text select th...

How to sync your iPod to more than one computer

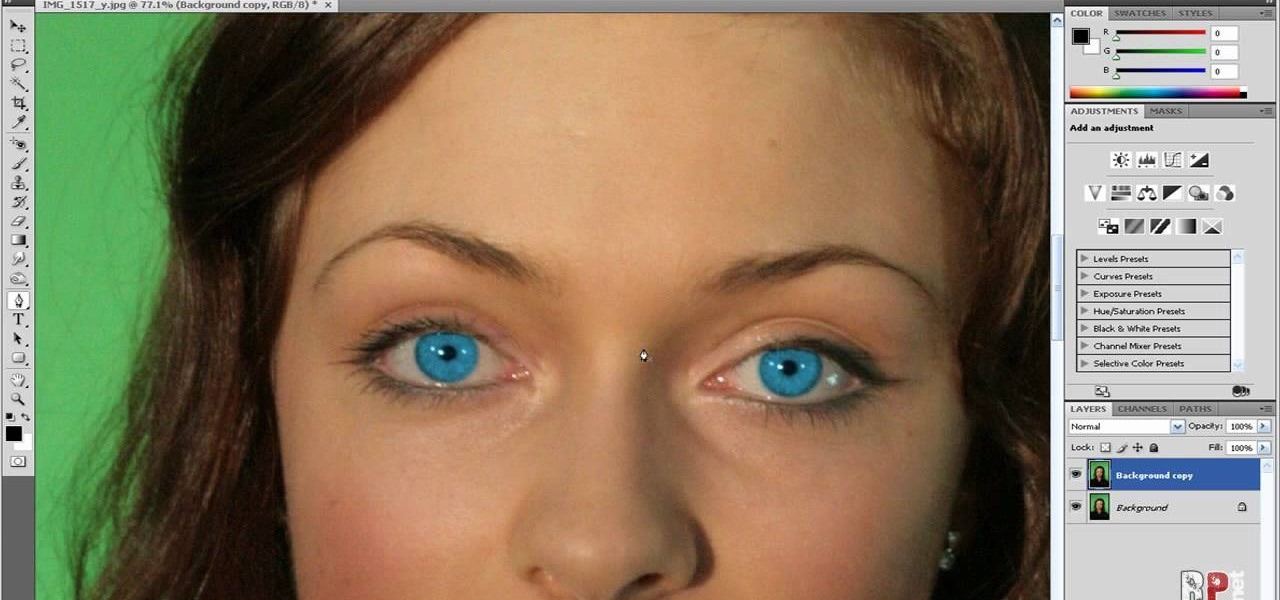
In this how-to video, you will learn how to change eye colors using Adobe Photoshop. First, open the image, Duplicate the background image. Zoom in to one of the eyes and select the pen tool. Set it to paths. Now, go around the iris of the eye. This does not have to be perfect. Click and drag to the other eye and select the other iris as well. Once these are both selected, right click into one of the selections and set the feather radius to about three pixels. Go to Image and Adjustments and ...

First of all open the image of Daniel Craig. Go to 'layer' and create a 'duplicate' the current layer. Then from top choose 'colors' then 'saturation'. Now click the 'r' from right side bar and also adjust up the 'hue' to 108 till he looks green. Now adjust the 'saturation' bar till 100 and then click 'ok'. Now go to 'filters' at top bar and then click 'distort' and then 'iwrap' filter. This shall open a new screen. Drag the image large. Now click 'move' and then 'deform radius’. This shall m...

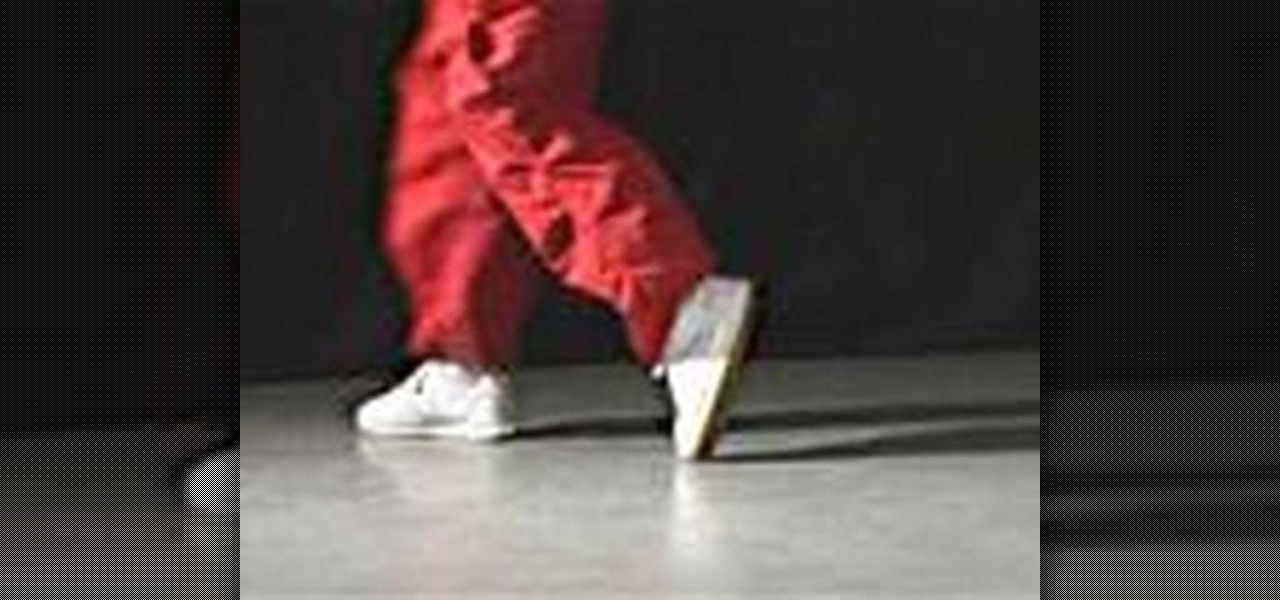
If you want to know how to do Michael Jackson's moonwalk, you should watch this. 1. Find a flat, smooth surface that won't provide an immense amount of friction and wear any comfortable clothes and trainers. 2. Stand with both feet flat on the ground. Lift your left leg into "L" position so that the toe of your right leg is pointed to the floor. 3. Learn how to balance your self. With your weight on your bent leg, slide back your left foot. Be sure to keep your left foot flat on the floor as ...

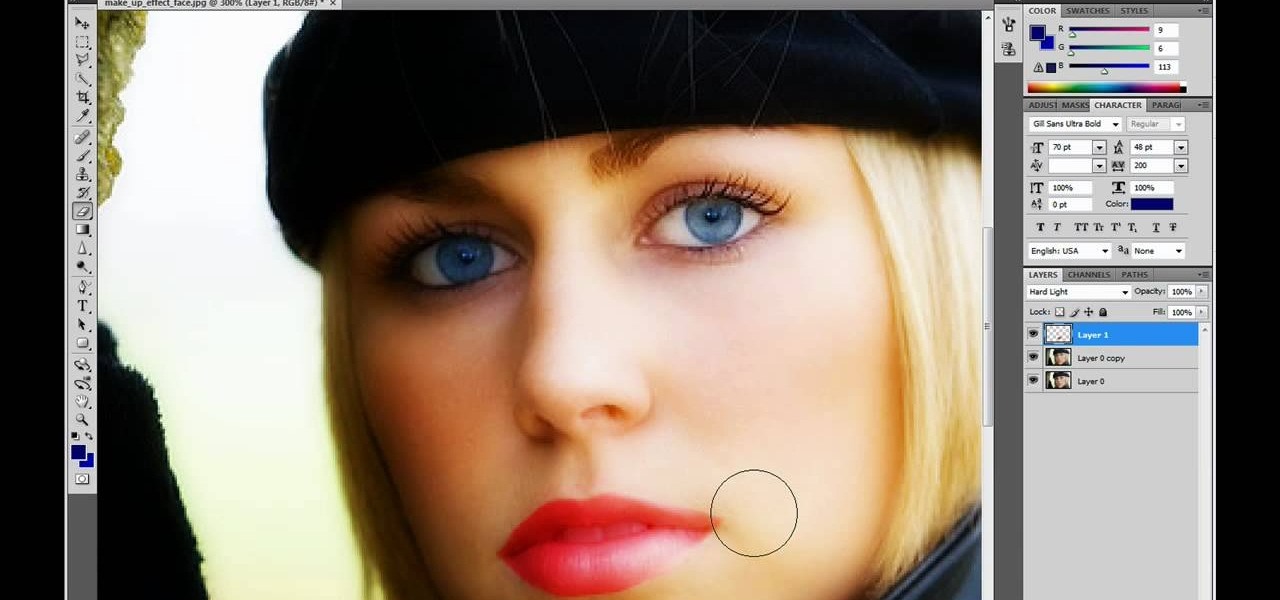
This video is describing how to retouch a photograph by using Photoshop CS4. The first step is to get a photo that you would like to edit, preferably of a person's face. Then make a new layer that duplicates the background, go to Gaussian blur, then go to hard light for your layer blending. Then draw lipstick on the model by using the polygon lasso tool and the hue/saturation tool. Then chase the hue and saturation to the correct color, then erase the edges that you accidently missed with you...

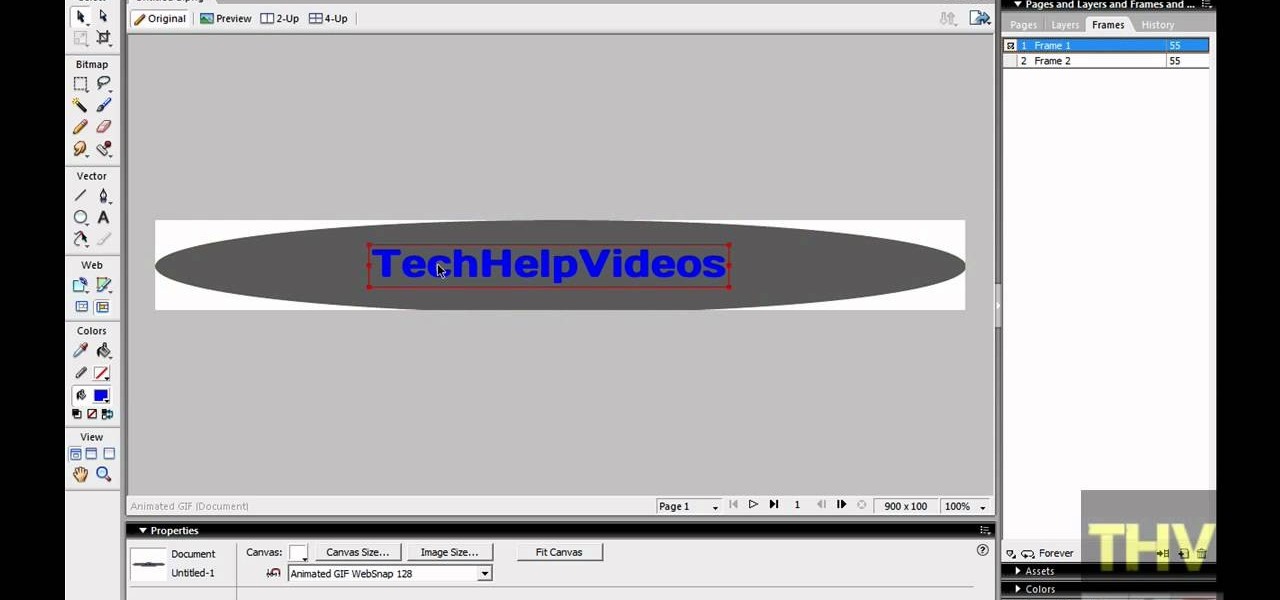
First of all open adobe Firework CS3/CS4. Open the 'file', then 'new' and set a banner with 'width' as 900, 'height' as 100 and ‘resolution’ set as 72. It shall open a banner for you on the screen. Now from the side bar underneath the vector, select the 'ellipse tool' and then drag the ellipse to fill in the whole banner as shown in the video. Now from the right side bar you have to expand the 'pages and layers'. Now select 'optimize and align' and select 'animated website 1. 2a’. Now minimiz...

The first thing that you want to do is in a new image, create a new transparent layer. Then you want to use the oval shape tool and check "fixed" so that it forms a perfect circle. Draw the circle, fill it with any color that you want, and then duplicate the layer. Use the move tool to move the new circle underneath the one you just created, leaving some room. Merge this layer with the one you originally copied it from, and repeat this step until you have as many circles as you want. Then you...

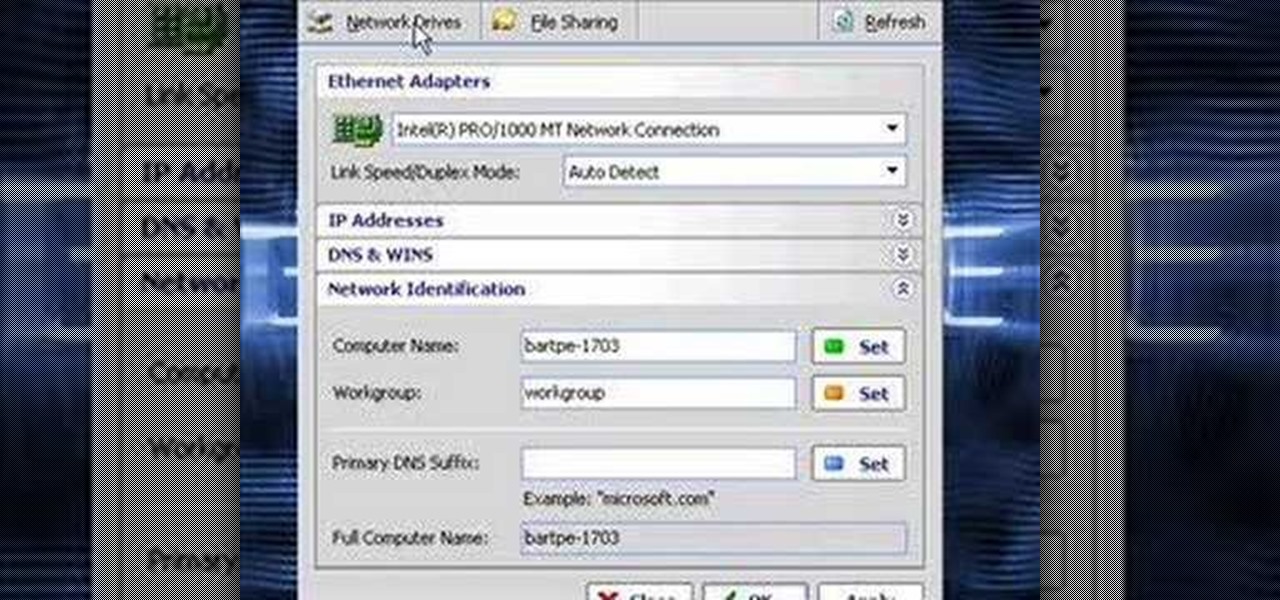
In this video the instructor shows how to clone computers across the Local Area Network using BartPE and Selfimage. To do this first we will have an original computer. Now create the image of the hard drive of the computer and share it on the network drive. Now, using that image from the shared folder you can start the clones of other computers by overriding their hard drive using this image of the main hard drive. Using this technique you can clone multiple computers which are the exact dupl...

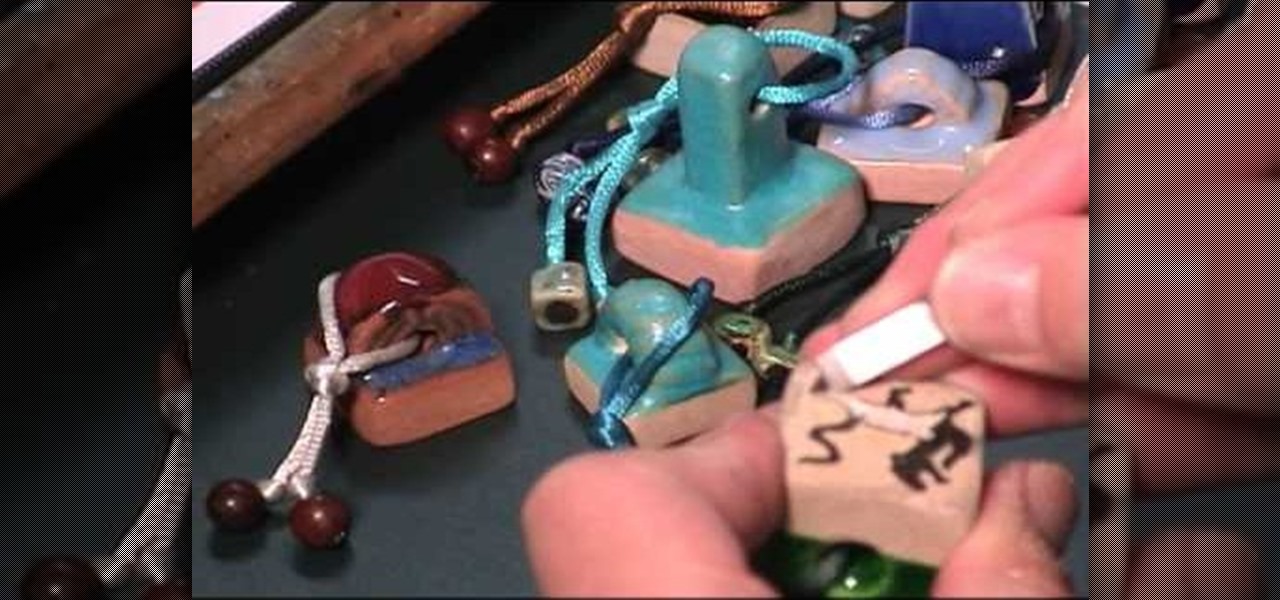
Henry Li from Blue Heron Arts shows how to carve a tiger design stamp onto a pottery seal for use with Chinese seal engraving. This technique shows how a pottery seal can be made without having to use a kiln. You will need a pen, pencil, marker, charcoal, knives, and soapstone. The first thing that needs to be done is to create a design. In this tutorial, Li uses a Hahn Dynasty tiger design, which must be flipped by using the computer. The charcoal is then used to duplicate the image onto the...

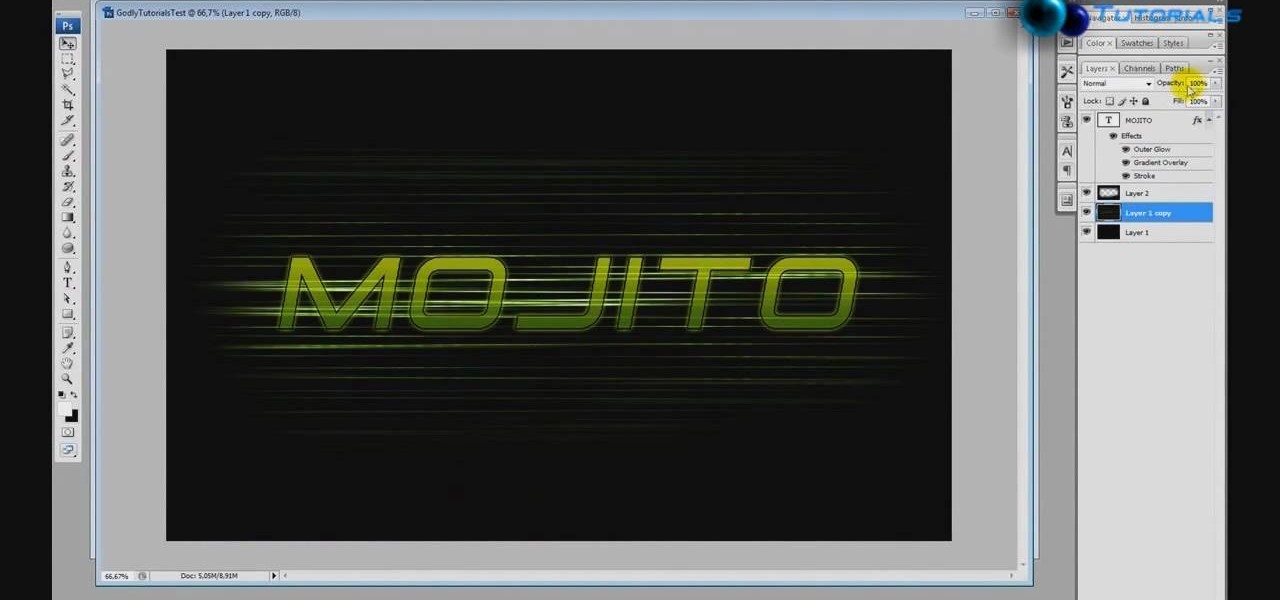
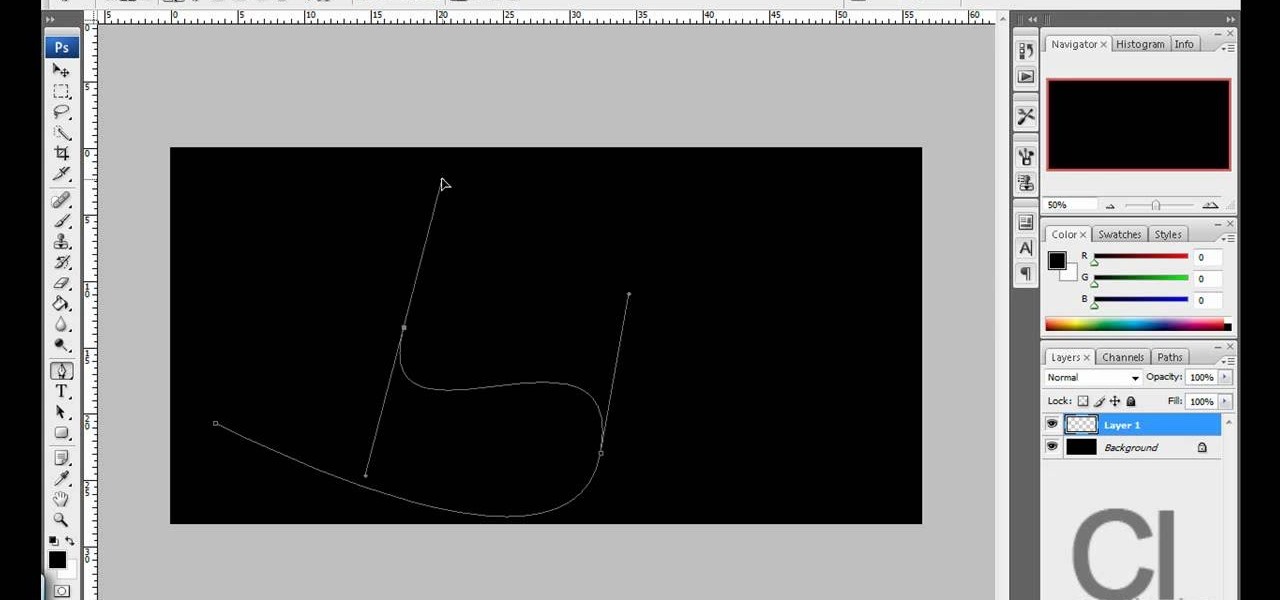
This is really cool, you can make these awesome neon glowing lines using your Adobe Photoshop. This is a fun way to make creative and colorful designs and it looks really neat without spending time working on detailed shapes.

Learn how to create a cell phone icon in Photoshop with this video tutorial. Draw a rectangle of radius 30 pixels by holding shift key. Right click on the toolbar and select Stroke button. It will open Layer Style dialog box. Set stroke color and set size to 2 pixels. Select Stop Color set little light red color and click on OK. Now, check on Inner Color option change size to 4 and Capacity value to about 60%. Now select Ellipse tool which will draw a ellipse and cover half of rectangle. Sele...

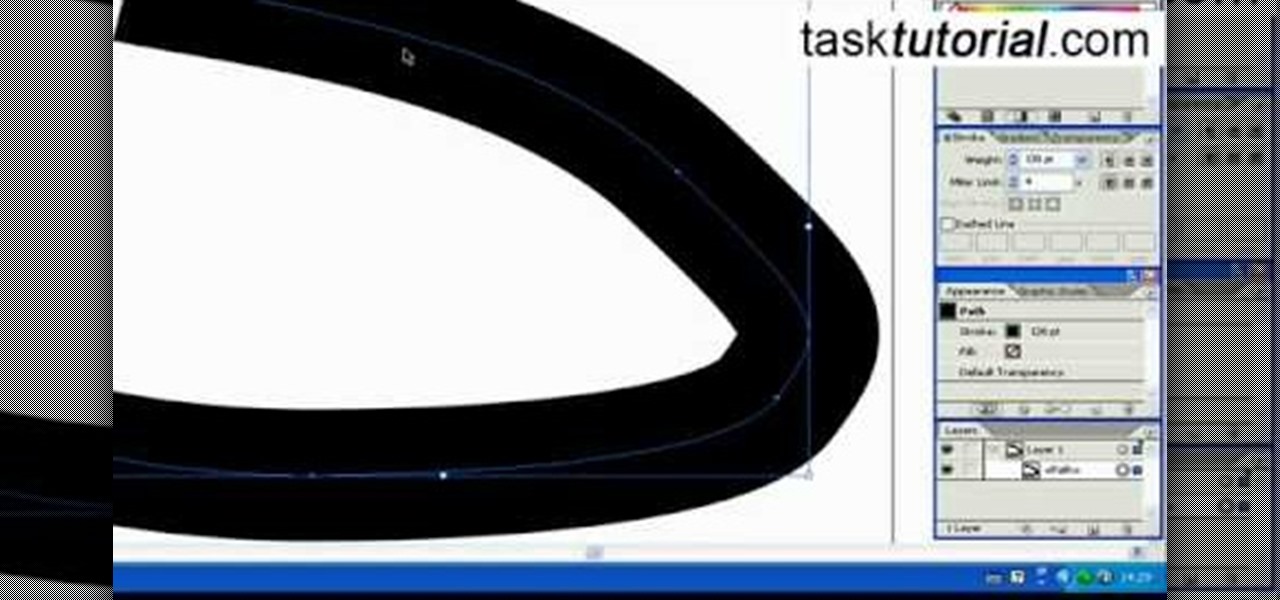
Illustrator denotes how to create a road. First select the pen and draw a path. Now go to stroke. It depend 130. Deselect dash line. Now move our path a little bit upper. Now select our path. Now duplicate of our path several times. Now turn off the new layers. Focus on our first path. Turn on the second path. Change the stroke weight value to 125 and change the color to gray. Now go to the next path. Select our path and change the stroke weight value to 115 and leave the black color. Now go ...

Learn how Christina Aguilera does her make up and how to duplicate it yourself in these free video clips on beauty and fashion.

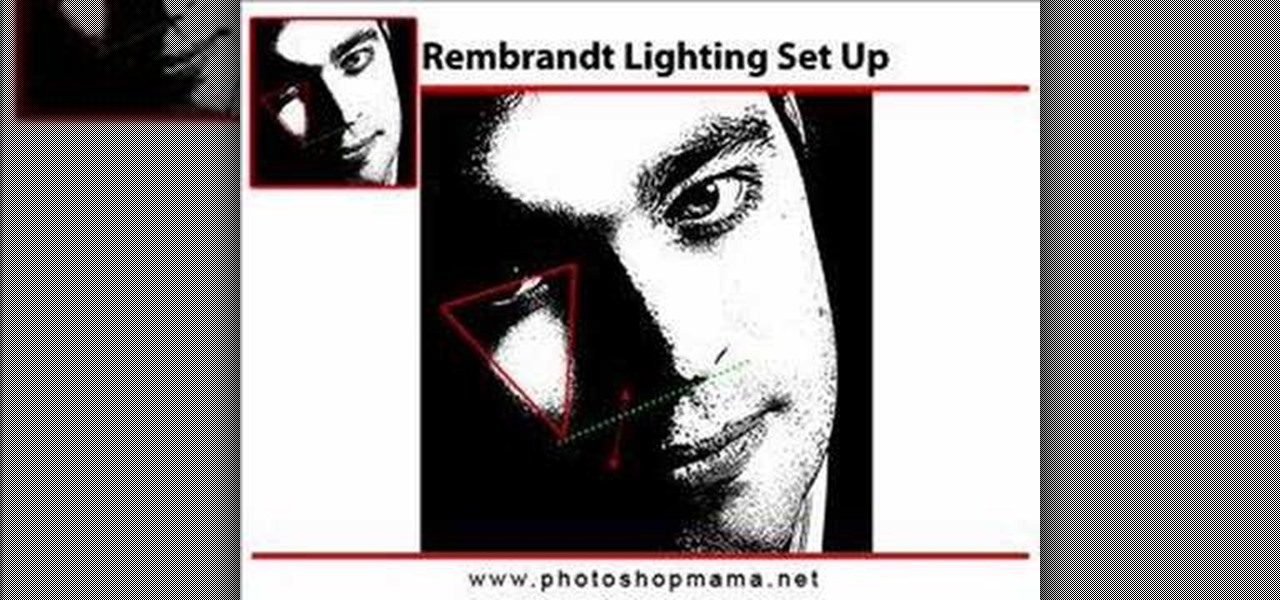
This Photoshop video series is going to explain how to create a chiaroscuro lighting effect on an image. This art form was made famous by the Italian artist Rembrandt. Part one covers the origin of terms and how to create chiaroscuro dramatic lighting. Part two has instructions for downloading the image, and some very basic workspace and preferences instructions for beginners. Part three covers Duplicate Image, File Info, File Size, Eyedropper Sample, Doc Status Bar, Panels/Palettes. Part fou...

Video: . Being one of the most popular DIY/maker projects around, Musical Floppy Drives are nothing new. However, myFloppyDriveOrchestra includes a few unique features, which separate it from the crowd.

Google's text-to-speech engine is getting pretty good these days. In a recent update, the computerized voice that reads on screen text (like Google Now search results) got an audio quality bump that brought its clarity up to its highest level yet. And with each update, that robotic voice becomes a bit more human.

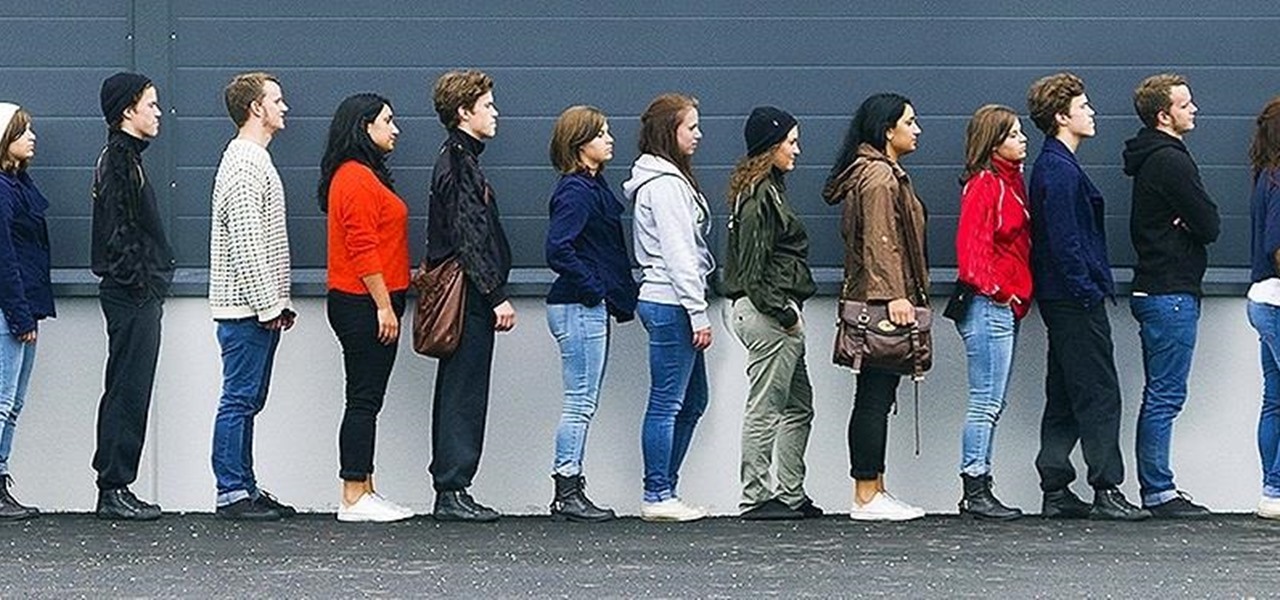
If there's one way to get a visceral response from someone, it's bringing up the DMV. Regardless of the reason, whether it's the long lines, disgruntled employees, or just general inefficiency, I have yet to meet a single person who doesn't mind the trip. Just look at all those happy faces.

Syncing your Google and Facebook friends to your smartphone gets your contacts list up-to-date quickly, so you'll never have a problem finding someone's number.

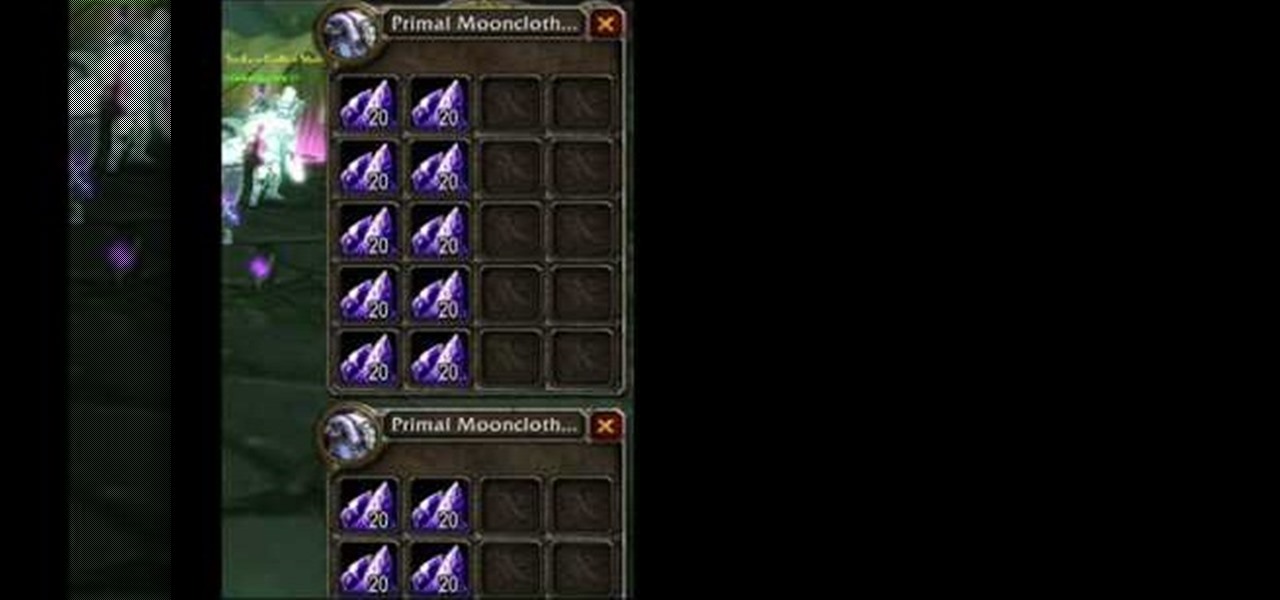
Hiddenstuff.com has great tips and tricks for the massive, multiplayer, online, role-playing game, World of Warcraft. Their guides and strategies for WoW are bound to help you out, outlining some of the most important tactics in the video game. This video tutorial will show you how to duplicate gold in World of Warcraft.

First we have to do is to create a new file with the size we want. Then we go to the layer tab in the left and duplicate the existing layer how many times we want (how many frames we want to have the GIF). After this we deselect all the layers by clicking on the eyes on left. Now we click again on one eye to select the layer we want to work with. Be sure to have only one layer selected. Then we can start "playing" with the images and create shapes, faces and so on with all the layers we had c...

While the concepts of molecule interaction, zero force and energy states might be a little beyond an elementary school science fair's scope, the basic idea of water's capabilities and naturally prepared access to animals and insects that rely on it as a habitat is certainly worth the time. Learn how to duplicate this natural phenomenon in this free video clip series with our expert Scott Thompson as he demonstrates the occurrence of water skin or skin tension, and shows you and your children ...

Although Apple's Animoji game is strong, as recently exampled by its Ariana Grande collaboration, Google isn't slacking either, unleashing a far more immersive music experience for smartphone users.

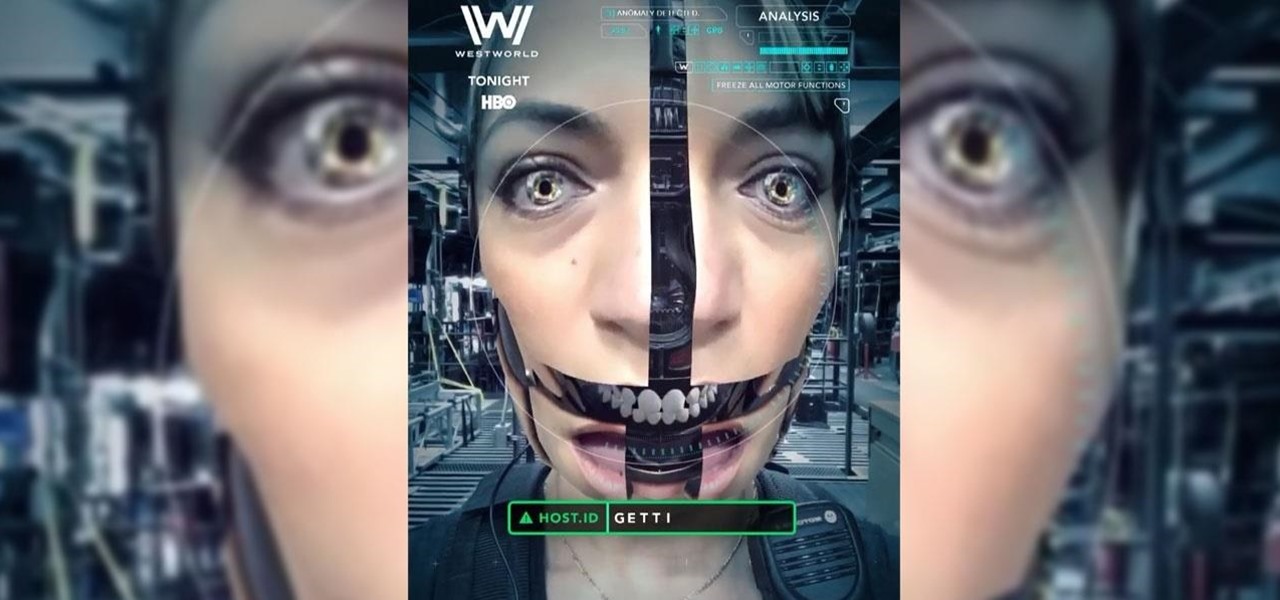
HBO is only a couple of episodes into the second season of Westworld, the television version of the classic science fiction movie about a robot resort gone awry, and the fan theories about the show are already reaching Season 1 levels of weirdness.

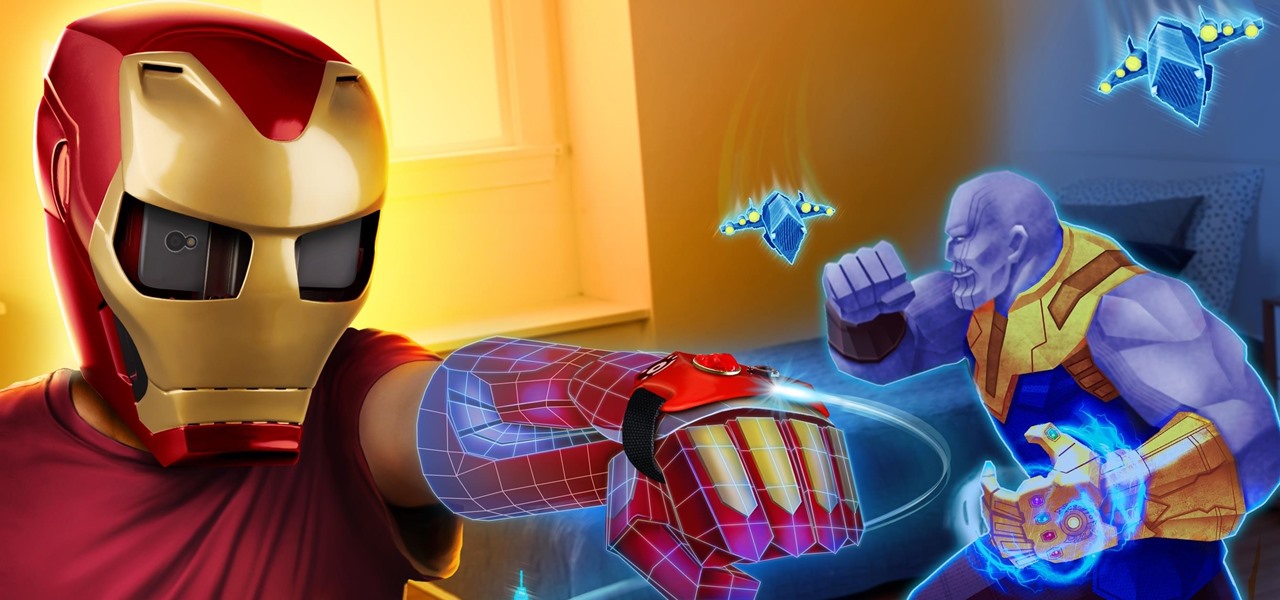
Soon, kids young and old aspiring to imitate Iron Man will only need to learn how to duplicate Tony Stark's snarky wit, because Hasbro will now supply the augmented reality helmet.

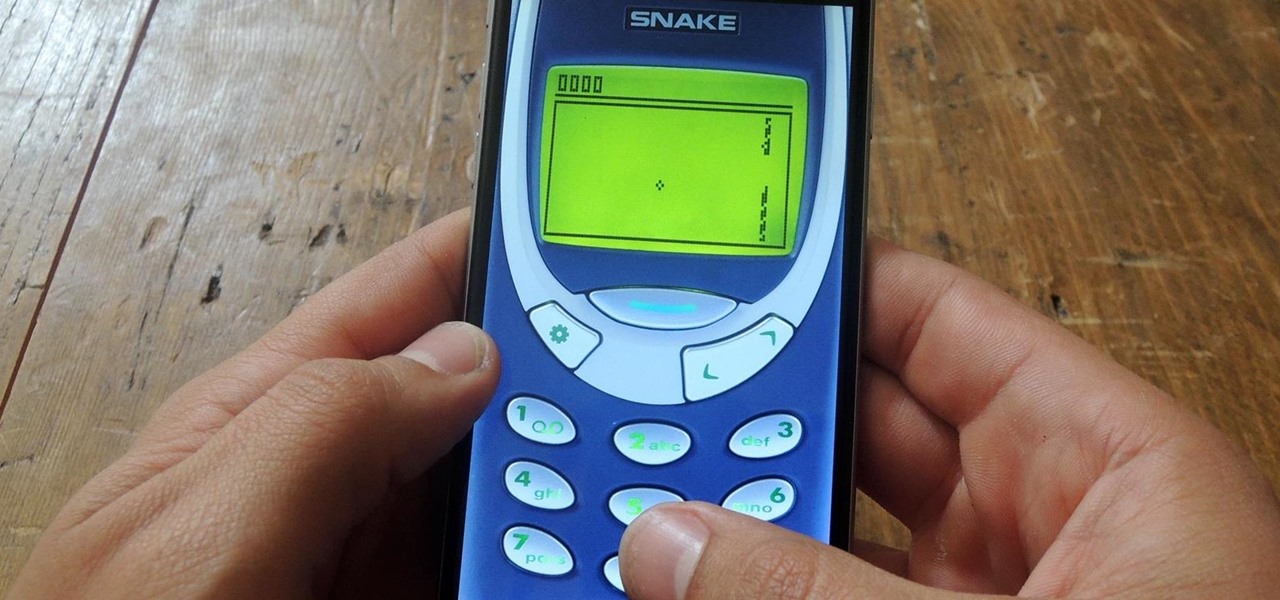
Aside from the fact that it was the only game available on my cell phone at the time, I was really good at Snake. I still occasionally play it on my smartphone, but I've never been able to duplicate the same level of achievement as I once did.

Whether it's for handling your business's social media account or just for personal reasons, like trolling an ex-girlfriend's page (not that I've ever done that) or posting on behalf of your pup, there are instances where having two different Facebook accounts on one device is simply easier than switching back and forth.

With the release of various new and updated Samsung Galaxy S6 apps and features, like Smart Switch, Smart Remote, and wallpapers, something that's a home screen staple for most Android users was still missing.

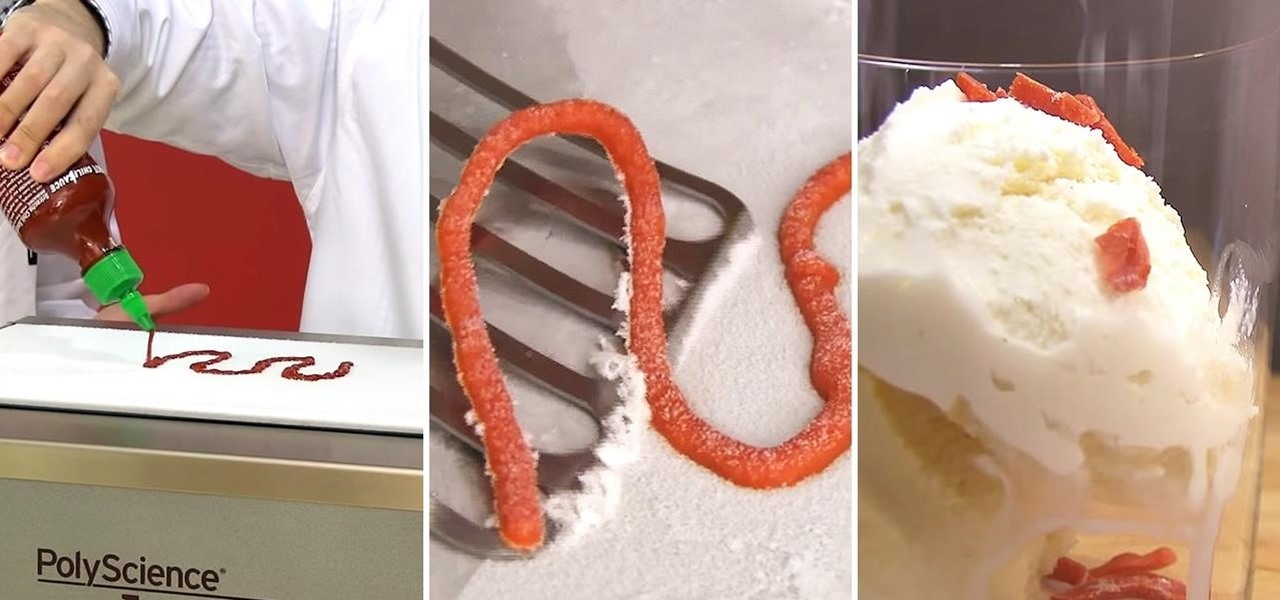
Essentially, the Anti-Griddle does exactly what its name promises: it turns things almost instantaneously cold when you drop them on its "grilling" surface. Unlike home methods of flash freezing, its staggeringly low temperatures (-30°F/-34.4°C) allows ingredients that normally can't be frozen—like oil or alcohol—to turn into solids in the wink of an eye. As you might imagine, this allows chefs to play with textures and tastes in a way that was previously unimaginable.

Your Mac's clipboard is great when you are just copying and pasting a phone number or address, but sometimes you end up having to re-copy the same thing over and over every day. To make those phrases a lot more easily accessible, the people over at Tiny Robot Software have released Pasteomatic. With this app, you will be able to use a hotkey to bring up a collection of your most commonly used text snippets and paste them into any text field or document.

Automator takes the work out of common repetitive tasks. I don't enjoy compressing videos for quick sharing or uploading to the web, so I created an Automator action to handle the process for me.


