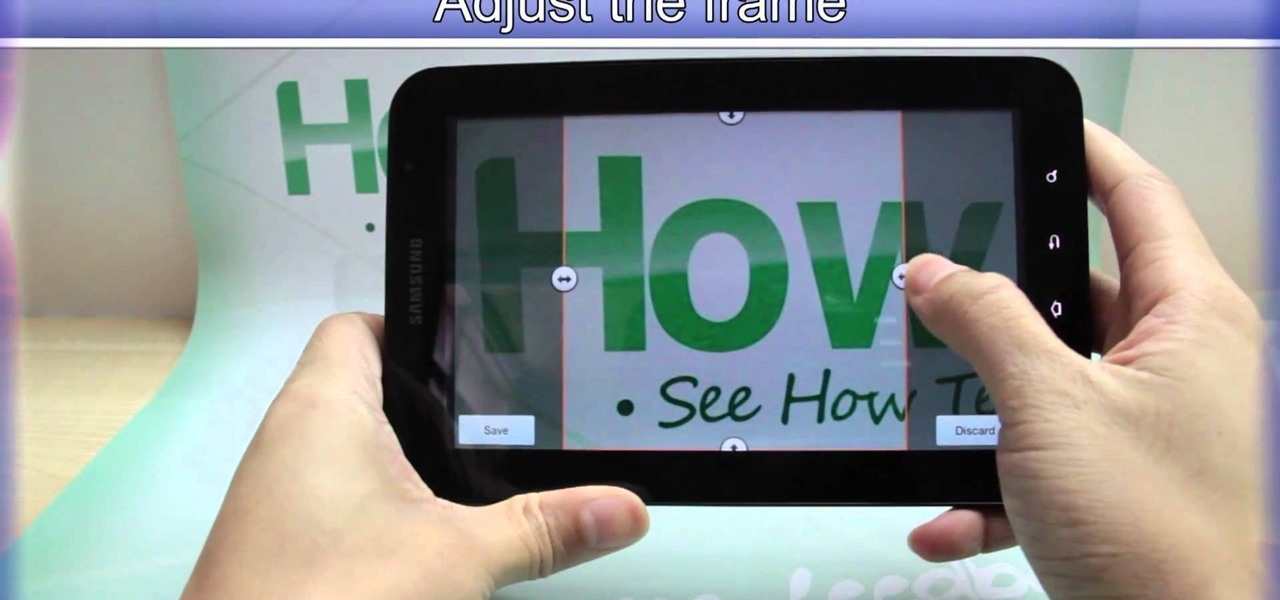
When you're searching for a contact to message, sometimes it's a little better to see a face than a name. But it's even better to have both! With the Android OS on the new Samsung Galaxy Tab, adding photos to your contacts is a breeze. Select APPLICATIONS < CONTACTS and select your preferred contact. Choose EDIT and tap the blank photo space in the upper left corner. Press TAKE PHOTO or ALBUM to add the picture. See how in this video.
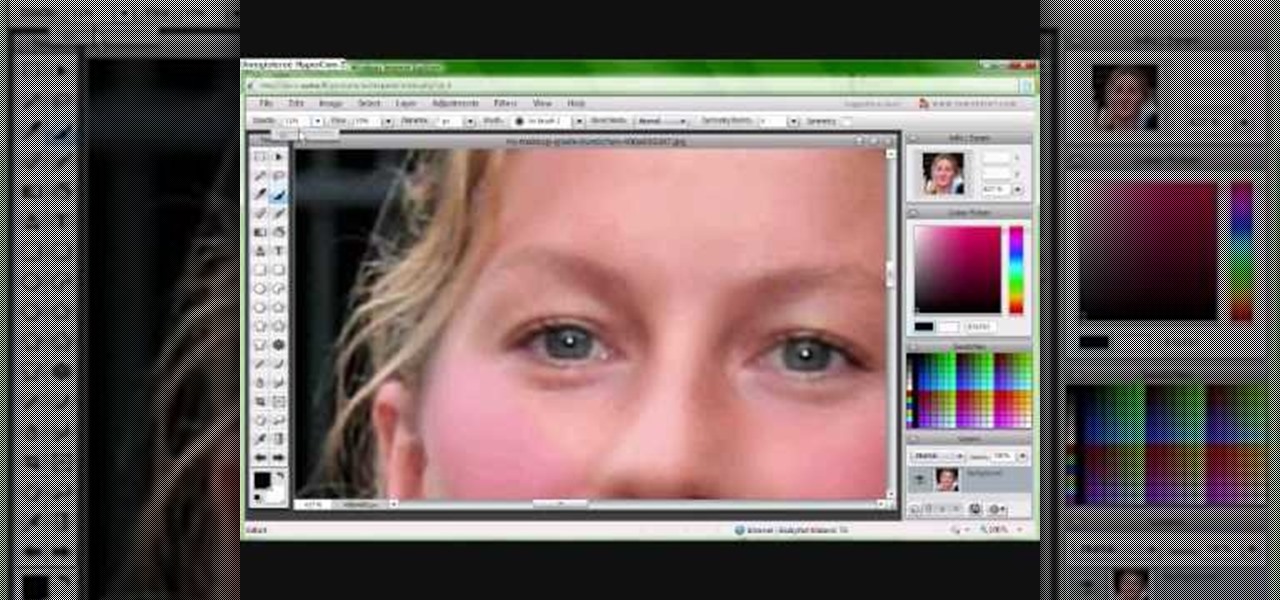
In this tutorial, we learn how to put makeup on photos with Sumo Paint. First, load your photo to this website and then open up the editing options. You will see a display of different colors on the right hand side that you can use to color the photo. On the left hand side are the tools you can use to do different effects to the pictures. Use the smaller drawing tools to apply makeup to the eyes on the photo and make different things appear. When you have finished the photo and adding on diff...

This video is basically a detailed round-up of the Samsung Omnia II i920 camera. All its features as well as the overall picture quality of the camera is shown in the video.
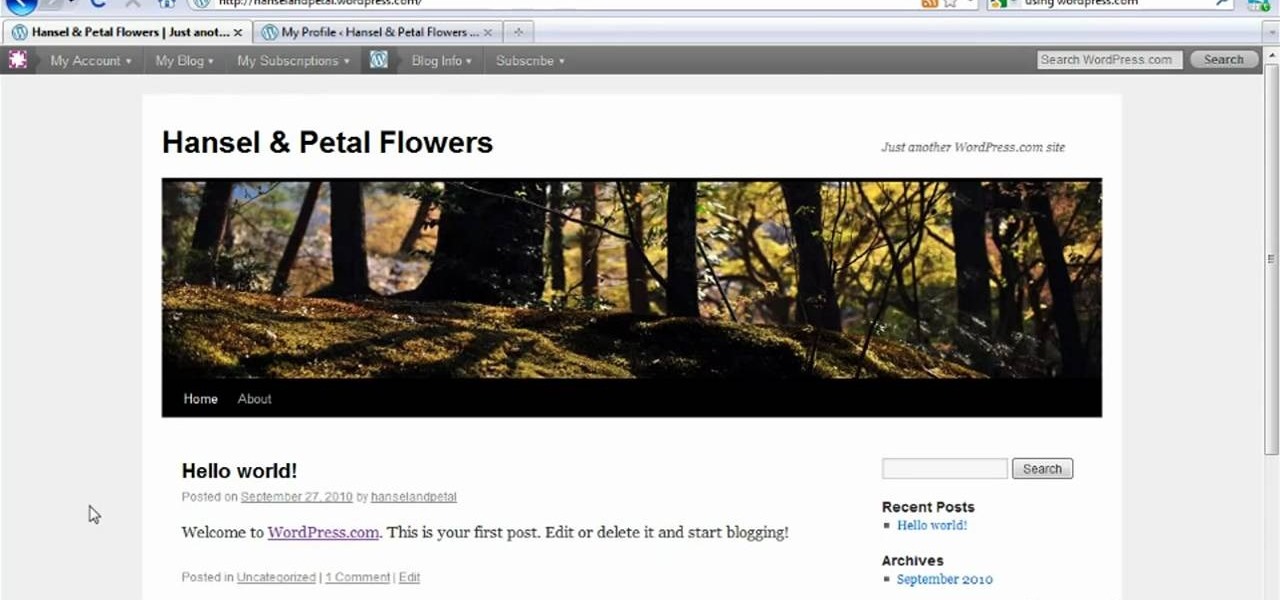
Learn how to make changes to your public profile on WordPress.com. Every version of WordPress brings with it new features, new functions and new ways of doing things. Fortunately, the very same technology that allows an open-source blog publishing application like WordPress to exist in the first place also makes it easy for its users to share information about the abovesaid things through videos like this one. Take a look.
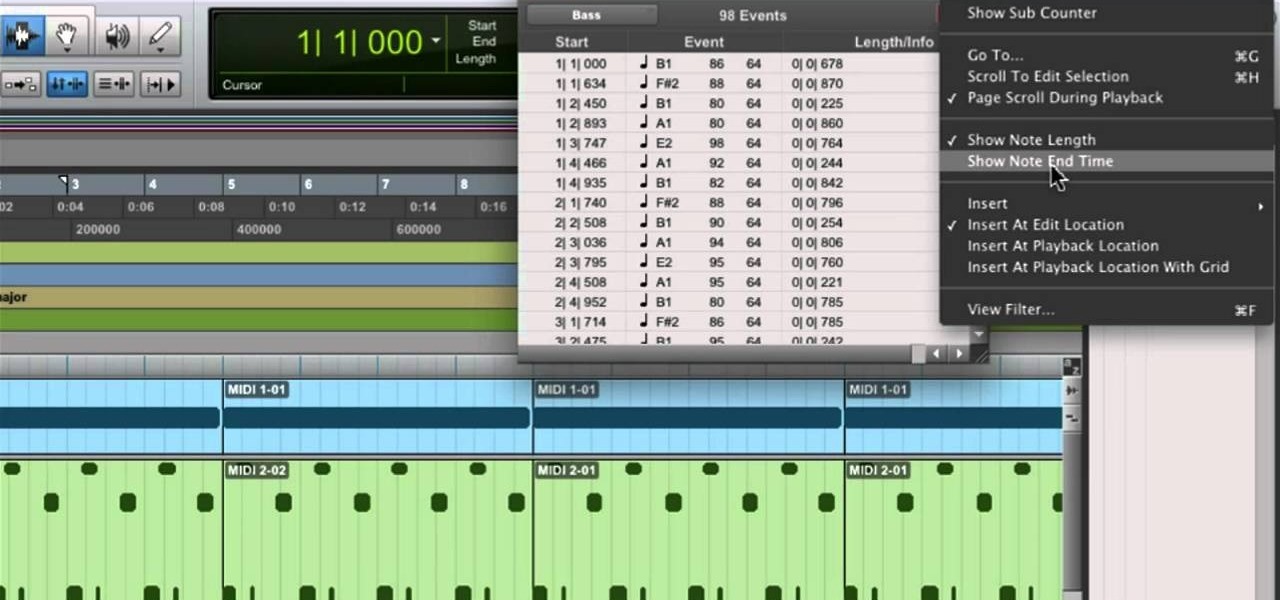
In need of a quick guide on how to use and make edits with the MIDI event list within Pro Tools 9? This free video software tutorial from Lynda presents a complete and thorough overview of the process. Whether you're new to Pro Tools or just new to Pro Tools 9, Avid's first native, software-only version of their popular Pro Tools DAW, you're sure to find much of value in this brief view.

In this tutorial, we learn how to use the world clock feature in Ubuntu. First, you will go to the upper right hand side of the screen and click on the calendar. From here, click where it says "locations". Then, click on where it says "edit and then click from the preferences where it asks for a location name. Then you can click on the time zone drop down menu and see the times of a ton of different places. Add these to your clock and then when you're finished, you can have the weather displa...

In this tutorial, we learn how to draw substitutions in Toon Boom Animate. When you are inside of the program, you will see the 'drawing substitution' preview window on the side of the screen. Create the animation how you like it, using different shapes, colors, etc. You can use the high camera map to see how it looks an make a mat to put around the stage. Once you're finished, save this to your computer and then extend out the timeline. To animate him, hit F5 and then drag out the length of ...

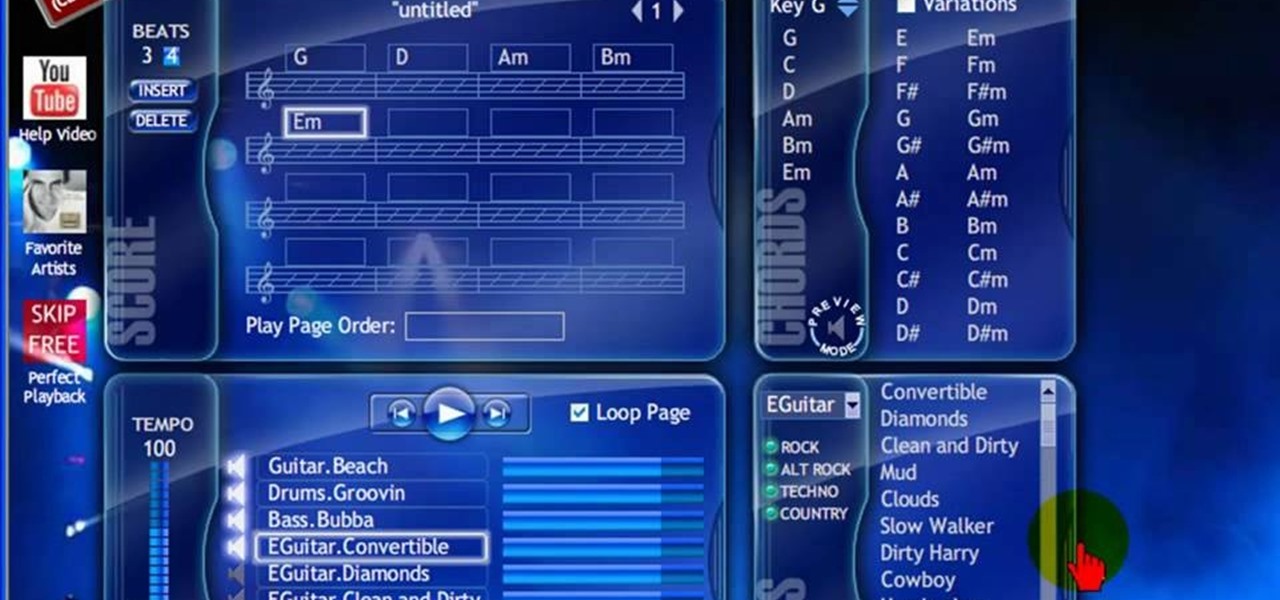
In this tutorial, we learn how to create music with JamStudio. First, open up JamStudio and then open up some beats onto the screen. After you do this, you can add in loops and then change the sound of the tempo. From here, you can add in chords and also change in the bass or piano sounds. There are a ton of different things you can edit and change in here. Play the audio as you make it to test out how it sounds. Once you get the right combination put together, save it! Have fun creating musi...

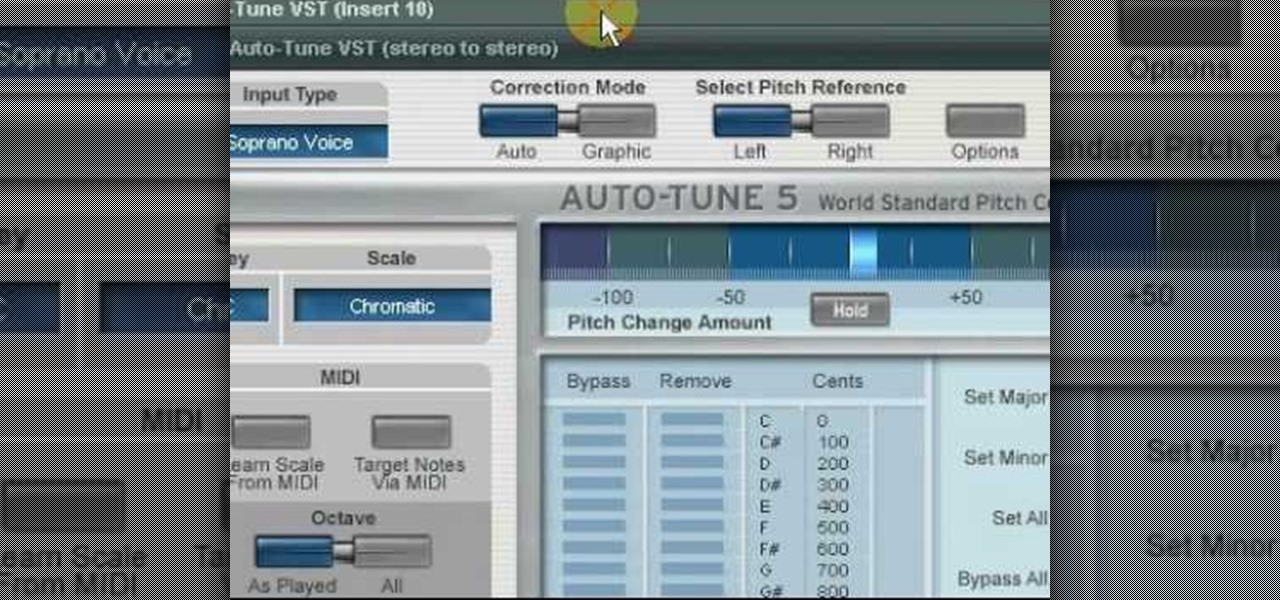
In this tutorial, we learn how to use vocal effects and Auto-Tune in Fruity Loops. First, load on your audio and then set it to a channel FX. Add in the effects that you want and then drag them into the right hand side column for the different effects. From here, you can use the mixer to add in different beats and tunes. Then, you can add reeverb to the audio and then change the settings for it how you would like it. Continue to edit the different effects as you continue to scroll through the...

In this tutorial, we learn how to create a progressive house synth in Reason 4.0. Start with the mixer and add use the combinator. Right click, then create a polysonic synthesizer. Bring it down to four and then click the "show programmer" button. Select one, two, and three and then make sure your octave is four. Bring up the octave on the second so it's five. For the third oscilator, make it analog and make it a sign wave. This octave will go down one so you get some bass. Go to the mixer an...

In this video, we learn how to make day into night & create giants with film tricks. When doing this, make sure you don't show the sky because it will be a dead give away. First, set the correct exposure and make it indoors so it's blue. Then, the shutter should be set around four and there should be clouds in the sun. Add some blue and saturate as much as you can. When you shoot, you will get the darkness that you need. If you want to show that it's still daytime and almost night, then make ...

This video tutorial is in the Education category which will show you how to calculate standard deviation with TI graphing calculator. First you got to enter the data in to the calculator. Go to stat and click on enter. This will edit a list. Now you type in these numbers: 50, 20, 33, 40 and 55. Then press stat and click on enter. This will bring up the 1-var stats page. Press the "2nd" button and L1, because all our data is in L1. Click on enter and you will get all the data that you will nee...

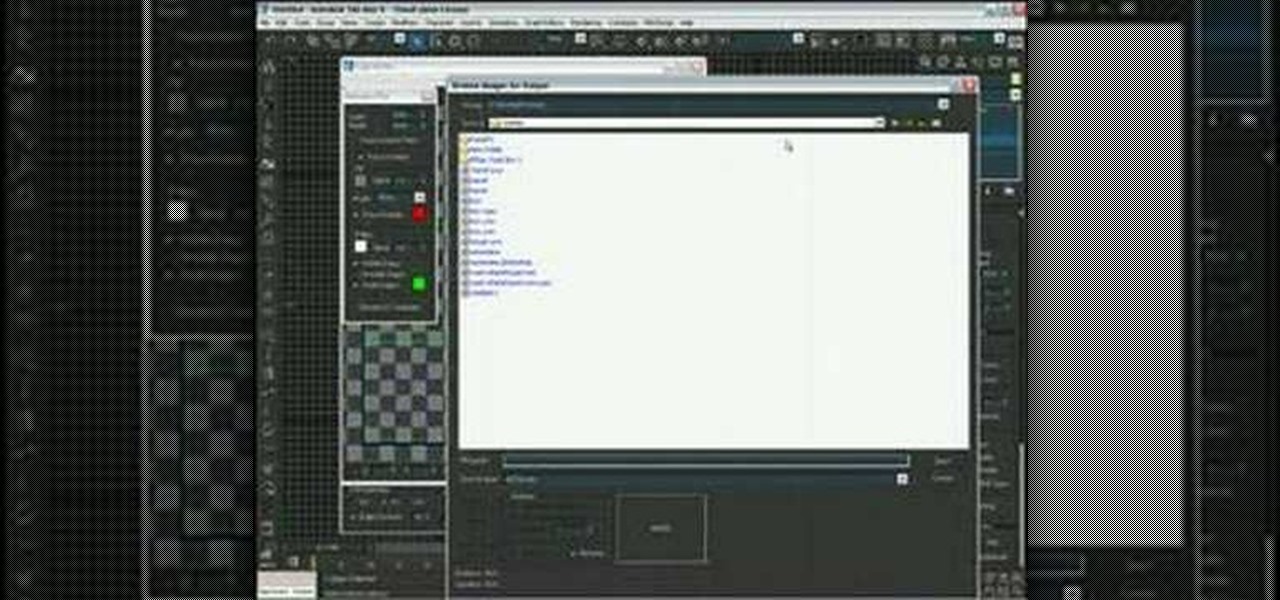
In this video, we learn how to apply normal maps in 3D Studio Max. First, go to the cylinder button and name it. Then, change the radius and height how you would like them. After this, select "extended primitives" from the drop down menu on the top. From here, enter in the diameter and sides for the round hose and then select the diameter of the cylinder. This will create a cylinder but with the look of a hose instead. Use the bottom toolbar to edit the sizes of the map and then save this whe...

This video tutorial is in the Electronics category which will show you how to unlock your iPhone 3G on jailbroken firmware 3.0. By unlocking your iPhone you can use any GSM Sim carrier in your phone. For example, if you have an AT&T iPhone and you put a ROGERS Sim card from Canada, your iPhone will not accept it because it is LOCKED at AT&T. This is a software to unlock iPhones. Before you can unlock, your iPhone must be jailbroken. Open Cydia and hit manage. Then hit sources. Now select edit...

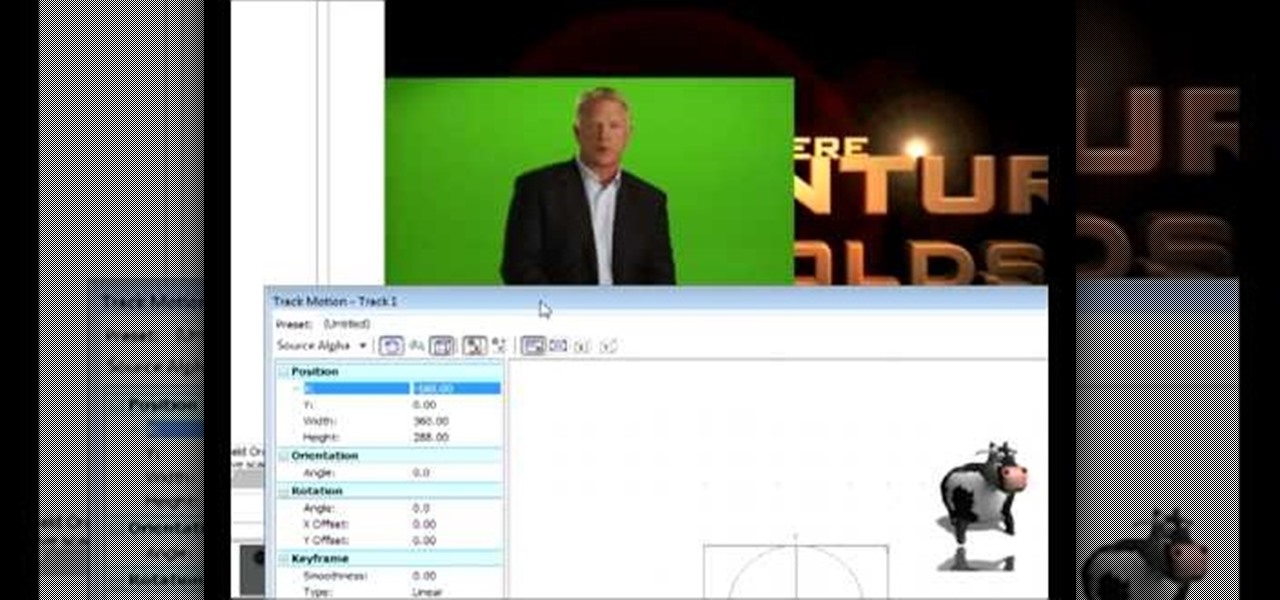
In this tutorial, we learn how to do a side by side video effect in Sony Vegas. First, open up Sony Vegas and open up a couple of clips to your time line. After this, make the two clips the same length by pressing down on the control key and moving them with the mouse. From here, return the videos to the start and then right click the track motion button. Reduce the width and the height to half of what they were before. Then, move the X position of one to -180 and the other to 180. Now both w...

In this tutorial, we learn how to optimize a PDF document in Adobe Acrobat 9 Pro. This will adjust the size of the PDF to better adjust your need and work flow. Fire, go to file and then go to properties, then you will be able to see what size the file is. If you would like to change this, go to the PDF Optimizer, which has an "audit space usage" button. From here, you can change the compatibility level and also change the compression and the color bitmap resolution. After you are done editin...

In this video, we learn how to use automation in Studio One. Controlling is a system you use to control the devices that control the software. Control link has a window on the song interface in the upper left hand corner. You can quickly move parameters as you edit the automation. Make sure you change it if it's for an instrument or an audio track. Add an automation track to the window, by clicking the "A" button that will give you sounds for the same instrument. This will avoid automation en...

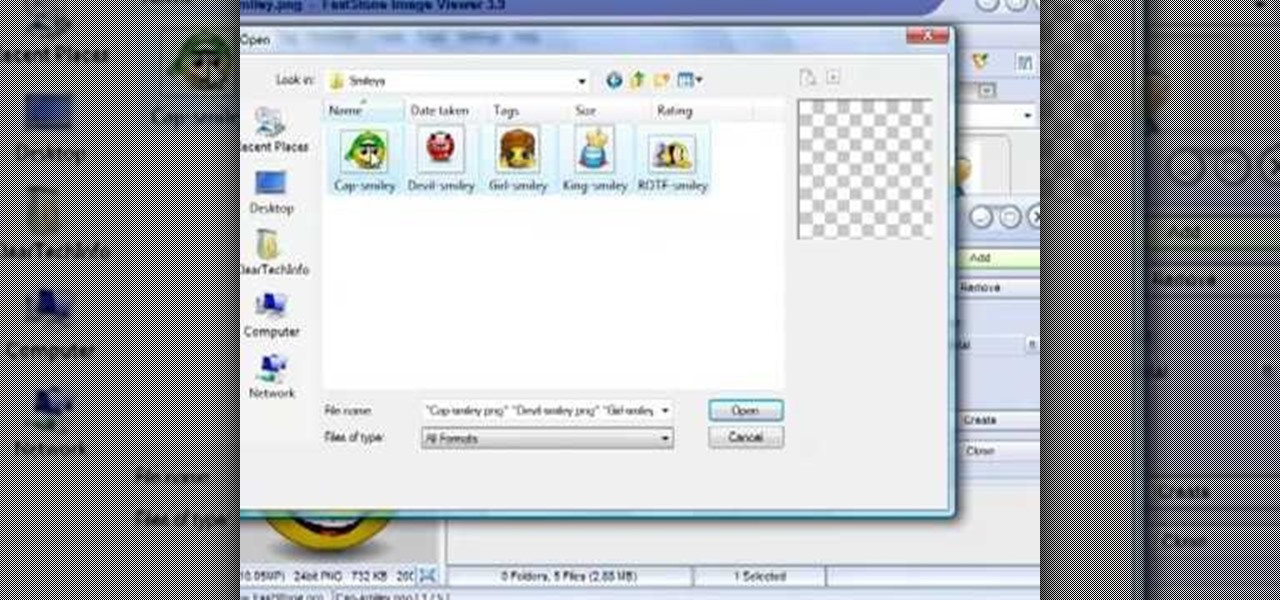
In this tutorial, we learn how to make an image strip using FastStone Image Viewer. First, open up the images that you want to have inside the strip. Then, open up Fastone Image viewer and find the location of the images. From here, go to "create", then "image strip builder". This will bring up the builder window where you can add in the images you want to see on the strip. When finished, click on the "create" button. Now, the strip will come up on your computer in a new image and you will be...

The Western film, once the end all be all of great American filmmaking, is now rare to behold at all at the movie theaters. Whereas in the old days directors made the films about true American gung-ho spirit and handsome, stoic John Wayne cowboys championing the greater good, these days the genre gets ruined by CGI and other absurd additions.

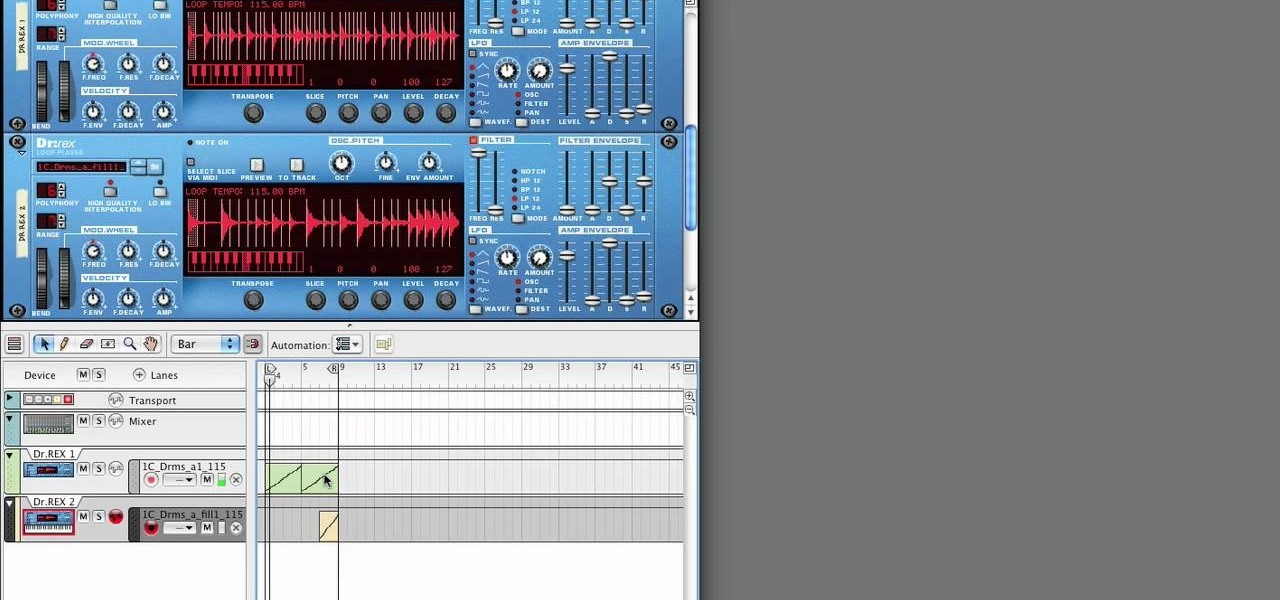
In this tutorial, we learn how to use Reason Soul School. First create a Doctor X loop layer. After this, browse for a loop and search through the different folders that contain loops. These will mimic different sounds depending on which one you want to use. Each category contains drums, bass, tempos, and more. Load the different sounds from the folders as you would like. Then, when you have your desired sounds, start to edit them and change how they sound. You can then add in new loops to th...

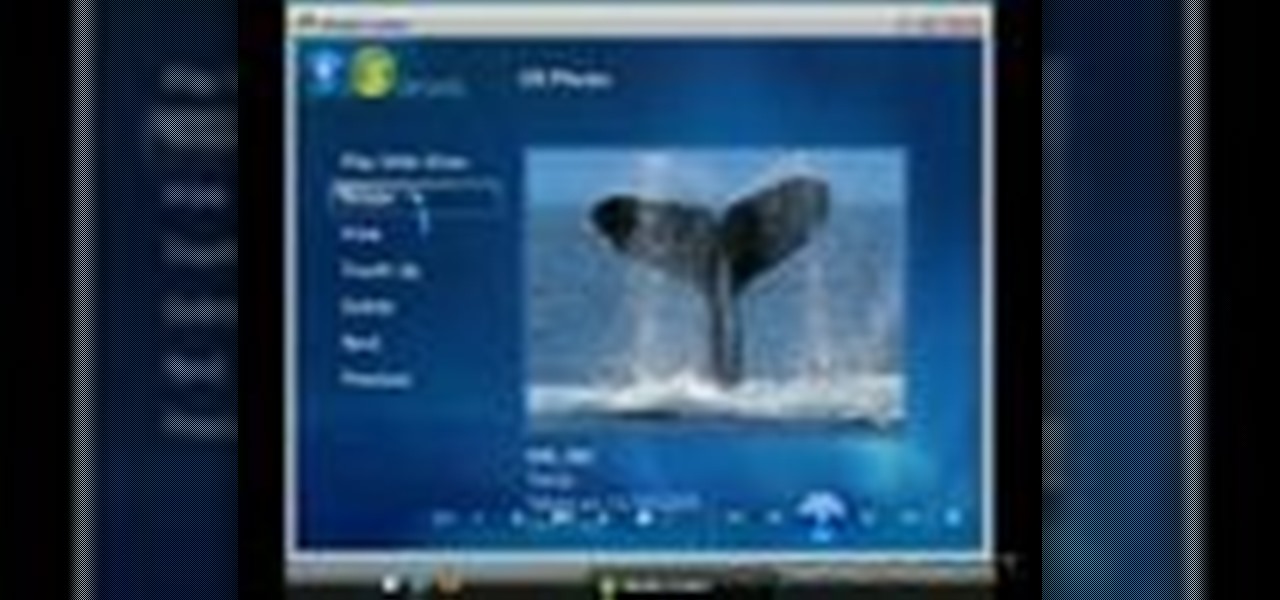
This video shows you what you can be done with digital photos in the Windows Vista Media Center. To access your digital pictures, just go to the Picture Library in Media Center, and see the many options available, such as Play Slide Show, Rotate, Print, Touch Up and Delete. Touch Up is probably the most useful function, to help you quickly edit your photos.

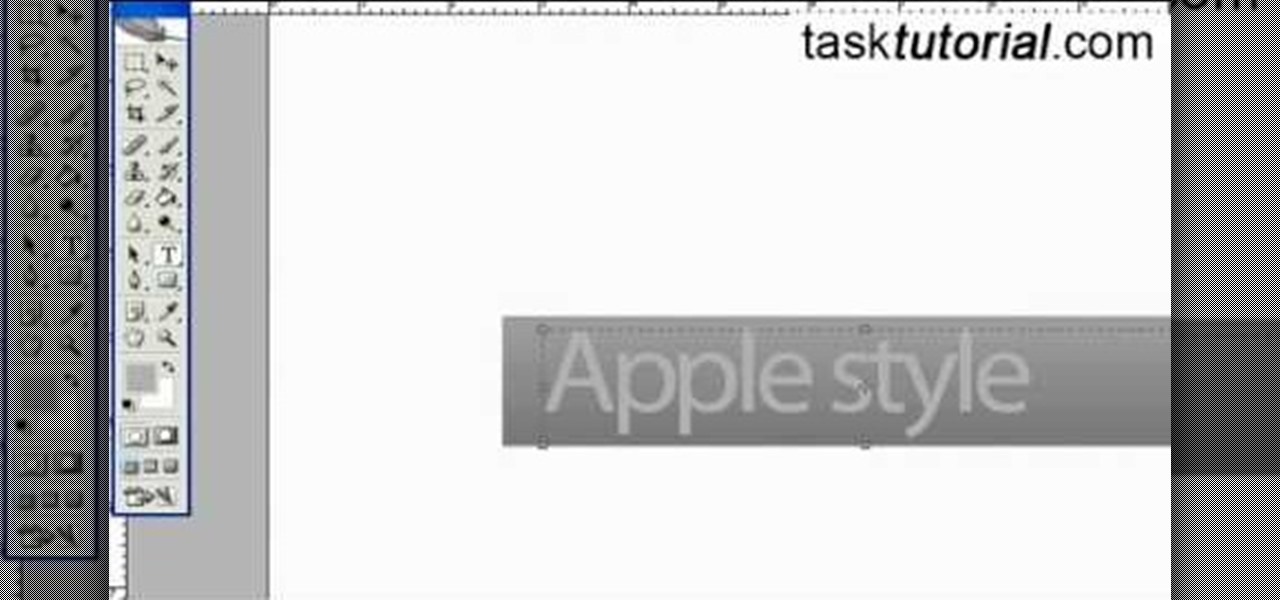
First select the rectangle tool and draw the bar. Now you have to open up the layer style and choose gradient overlay. Now you need to edit the colors as showing in the video and then go to drop shadow option, you have to change the opacity of it to 20%, distance to 2 and click ok. Now type "Apple style" in new layer as showing in the video, set the size of text to 72pt. Now open layer style for the text and choose color overlay and set its color to dark grey, go to drop shadow and choose nor...

In this video, we learn how to use the UVW unwrap function in 3D Studio Max. First, go to the UV modifier wrap and select all the faces. Once here, edit the parameters and then go to the mapping menu. After this, you will be able to change the object as you would like. After you are finished with this, save your object to your computer in a spot you won't forget it. You can create several different layers and change the colors as you prefer. You can completely customize your experience on thi...

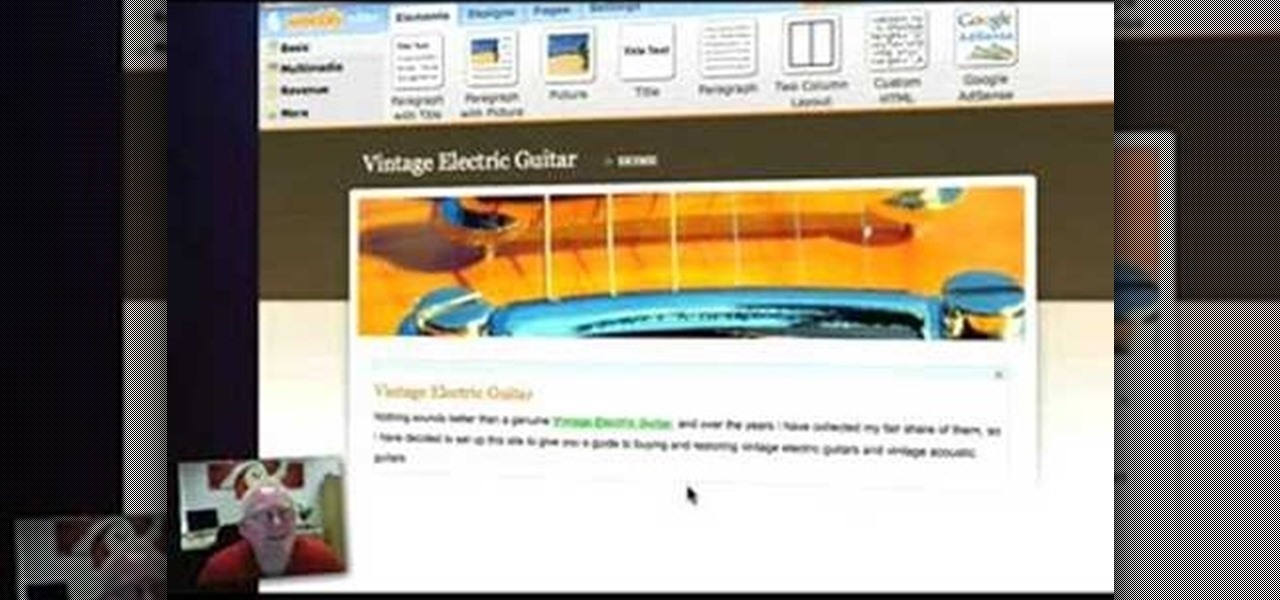
In this video, we learn how to set up a Weebly website. This can be used to build a complete site with multiple pages. First, go to Weebly and enter in your information under the sign up now text. Next, click the sign up button and enter in the Captcha phrase. After this, title your new site and continue on until you see the tabs at the top of the screen. Elements, designs, pages, and settings will all be listed. Go through the designs until you find one you like, then settle on that. Once yo...

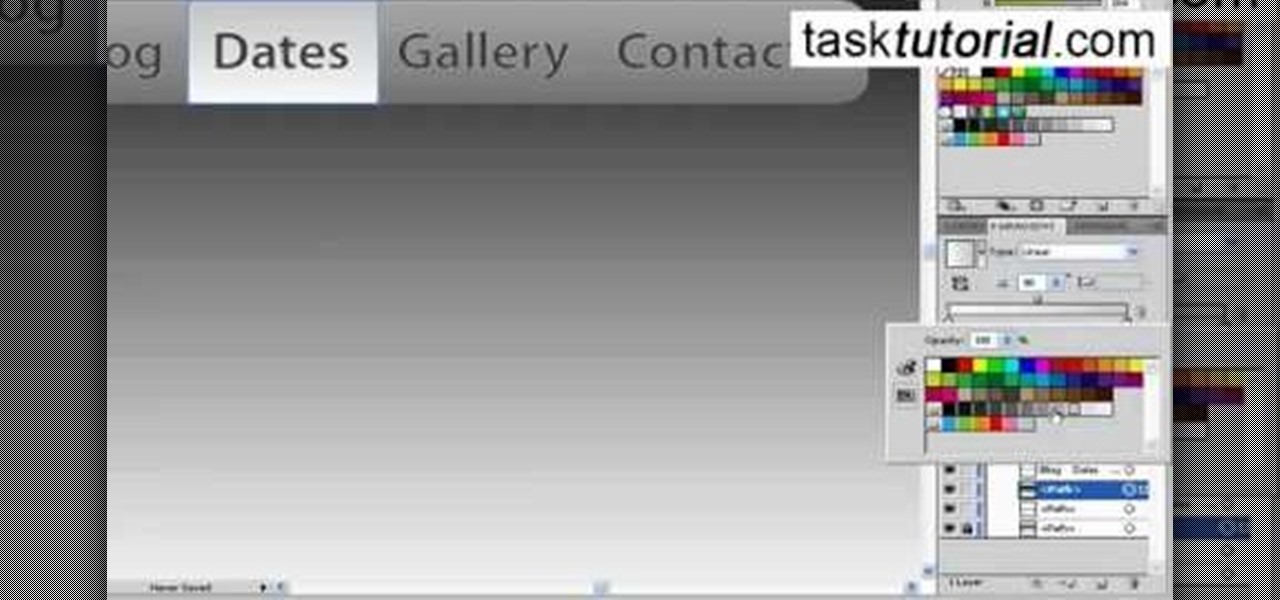
First thing you need to do this is to select rectangle tool and make a shape and select the gradient fill and change the angle of gradient to 90 degree. Now color and resize it as showing in the video. Now type your navigation texts like blog, contact, gallery etc. Now size your text for your rectangle shape. Now set the texts in the bar and resize your bar.

In this clip, you'll learn how to make use of the Type tool to create text when doing design work in Adobe Illustrator CS4 or CS5. Whether you're new to Adobe's popular vector graphics editing software or a seasoned professional just looking to better acquaint yourself with the program and its various features and filters, you're sure to be well served by this video tutorial. For more information, including detailed, step-by-step instructions, watch this free video guide.

How you can use paste special. So when you copy anything from a web browser inclusive pictures and when you paste it like in OpenOffice writer then you will see it is pasted as same as was in web browser but with some lines and some unwanted stuffs so if you don't want these things, you have to paste it special. So to this go to edit and choose paste special now there will be four options to choose like unformatted text, html format etc. so if you choose

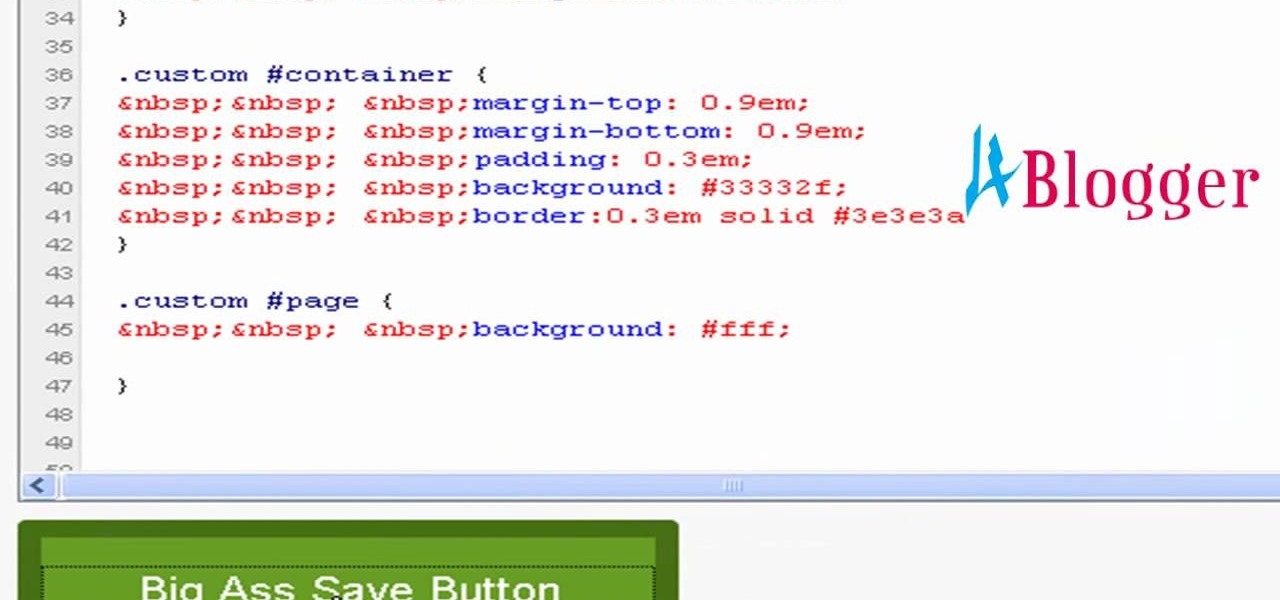
You can change thesis theme background color and size in Wordpress blog to do this first you need to go to your word press admin. And then you have to click custom file editor. There you will see the "Thesis custom file editor". Now you have to select custom.css in edit selected file menu. Now you will see there a code box. Here you will have to past the background changing code. The code is showing in the video you can type it and then copy and paste it in the place of the code box which is ...

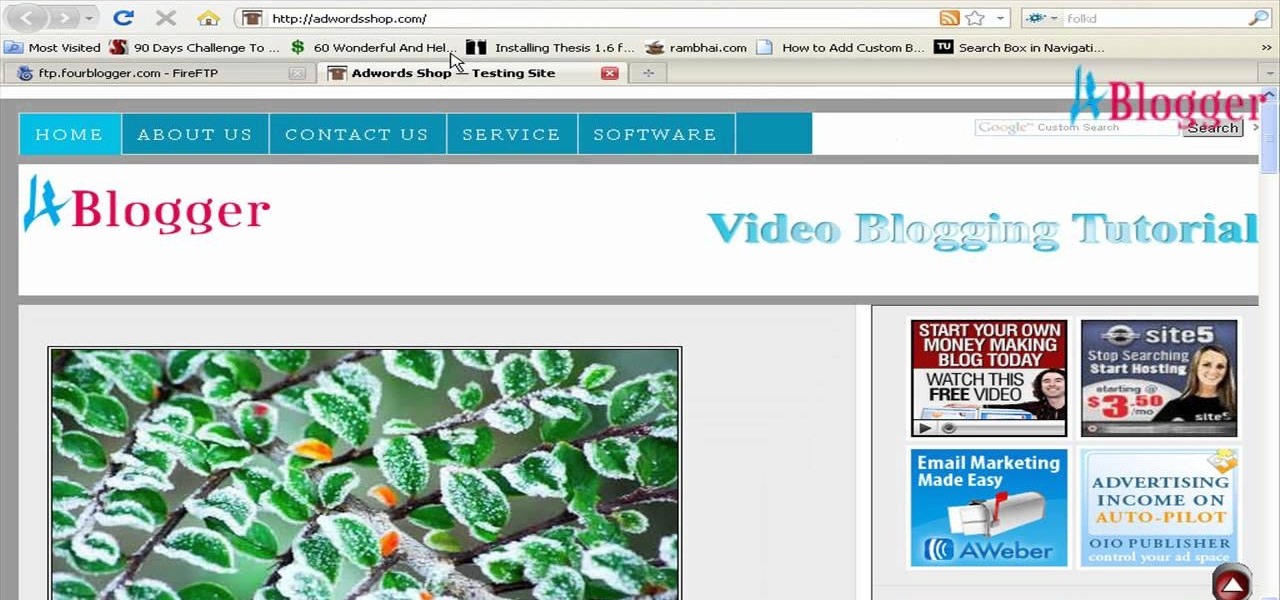
In this video, we learn how to add a feed burner count in Thesis navigation bar. First, go to the custom file editor, then click "custom_fuction.php" and then click "edit selected info". After this, you will get an error message. Now, go to your FTP and type in the path "/public_html/adwordsshop.com/wp-content/themes/thesis_16/lib.functions/launch.php". Once you do this, open launch.php, then copy the code from the website and paste it into the PHP site. Then, copy the entire thing and paste ...

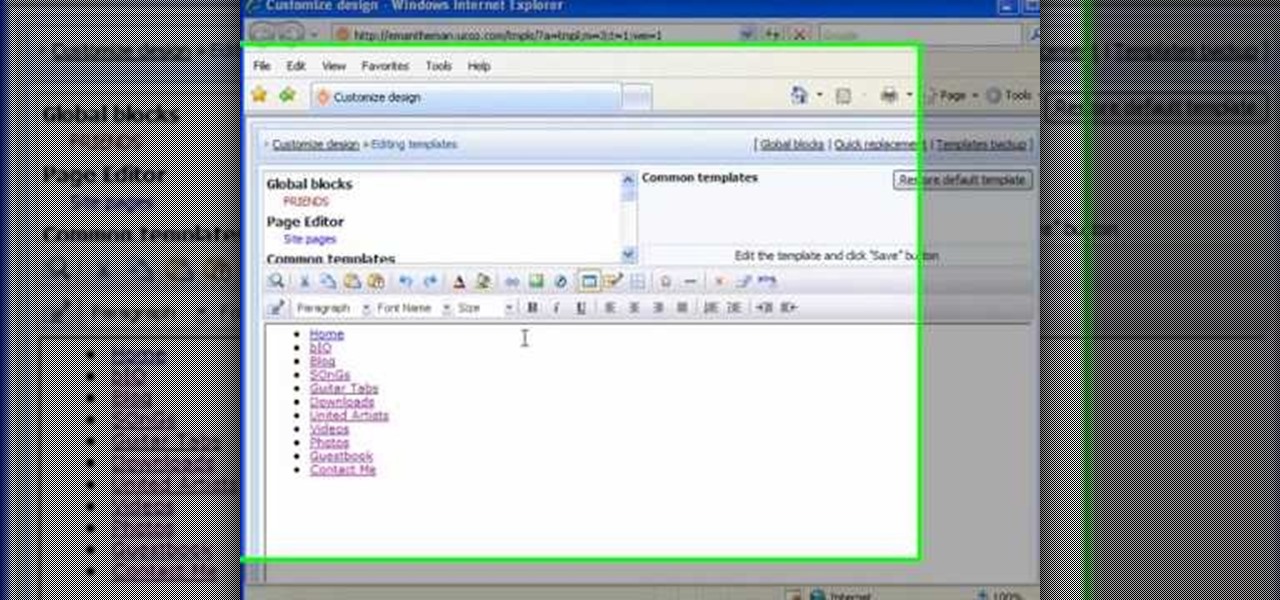
In this tutorial, we learn how to create a free website with uCoz. First, register an account at uCoz. After this, log into the site and add your page to the website by clicking "page editor" on the side toolbar. Next, click "add new page", then use the HTML editor and type in the page name at the top. After this, your page will be brought to the site and you can save it. Then, you use the website to edit your page and change different things on it. Add friends and links to your site to get y...

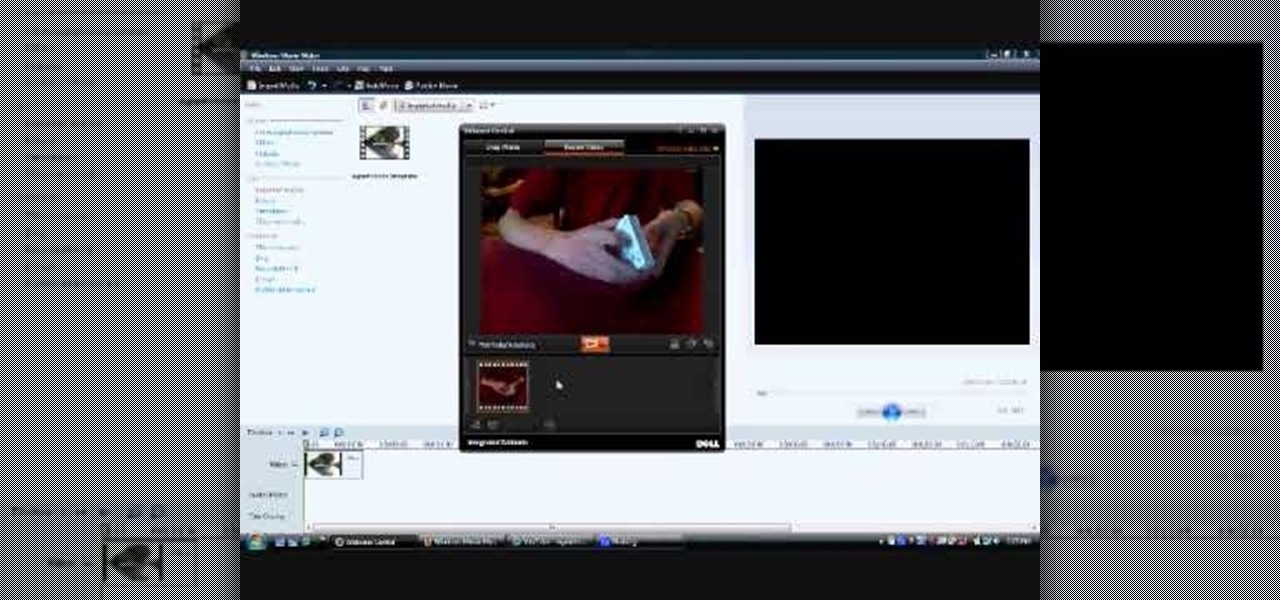
In order to make a card trick video, you will need the following: a YouTube account, Windows Movie Maker, Webcam Central, a computer, and your props.

Have you ever wanted to prank your friends by showing pictures of them naked? By learning these easy graphics editing techniques in Photoshop, you can quickly make people shirtless or nude in fake photos.

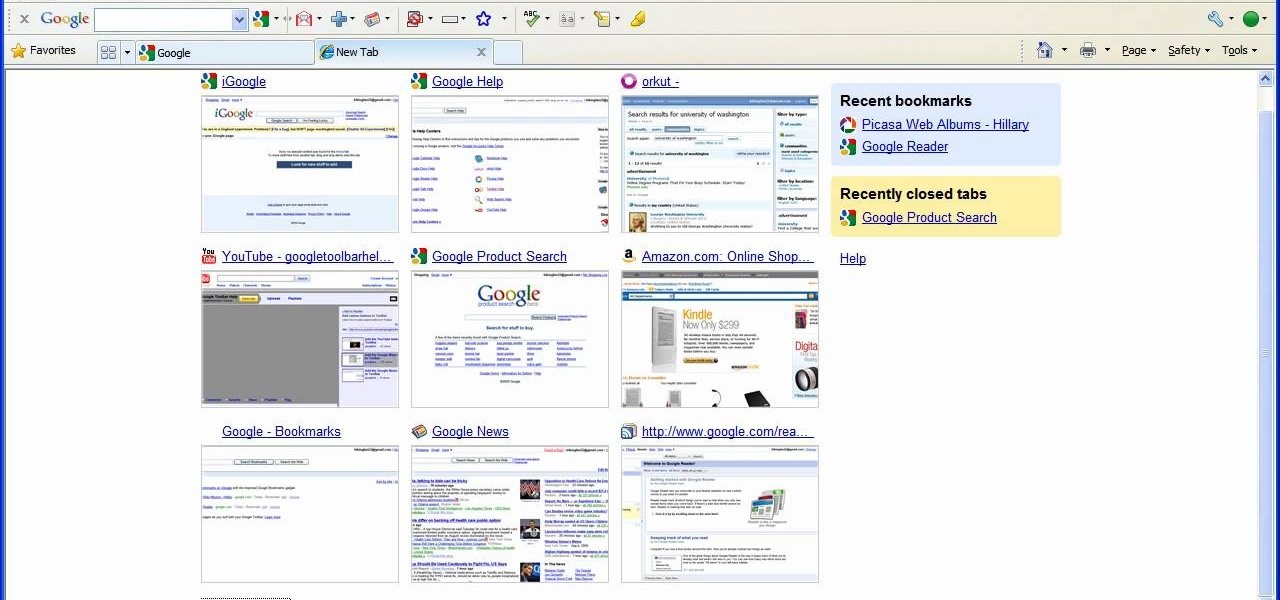
In this tutorial, we learn how to remove thumbnails from the Google new tab page. First, open a new tab and click the "edit thumbnails" link. Click the "x" icon to remove the thumbnail. Remember to click "done" to save your changes. This will come in handy when you have websites that are saved on your new tab page that you don't want to show up are you only visited once and don't plan on visiting again. After you do this, remember you can do this at any time that you want, to customize what w...

In this video tutorial, viewers learn how to make a PowerPoint video. This task is easy, simple and fast to do. Begin by creating the PowerPoint presentation and save it as a Graphics Integrated format. Then open the Windows Movie Maker program and click on Pictures under the Import menu. Select the presentation and click on Import. Now edit the video clips in the time line by adding transitions, effects, music and other enhancements. When finished, publish the video. This video will benefit ...

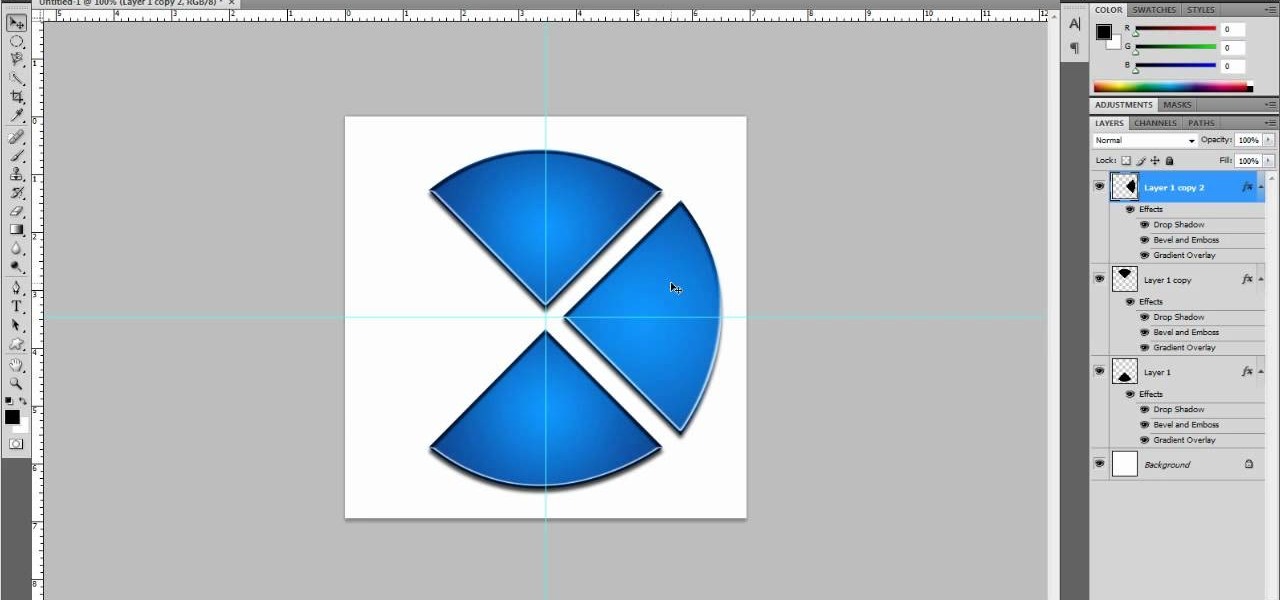
Looking for a guide on how to create a geometrical business logo in Photoshop CS5? This clip will teach you what you need to know. Whether you're new to Adobe's popular raster graphics editing software or a seasoned professional just looking to better acquaint yourself with the program and its various features and filters, you're sure to be well served by this video tutorial. For more information, including detailed, step-by-step instructions, watch this free video guide.

Want to know how to quickly create a reflection effect in Photoshop CS4 or CS5? This clip will teach you what you need to know. Whether you're new to Adobe's popular raster graphics editing software or a seasoned professional just looking to better acquaint yourself with the program and its various features and filters, you're sure to be well served by this video tutorial. For more information, including detailed, step-by-step instructions, watch this free video guide.

Want to know how to create multi-colored iris effect in Adobe Photoshop CS5? This clip will teach you what you need to know. Whether you're new to Adobe's popular raster graphics editing software or a seasoned professional just looking to better acquaint yourself with the program and its various features and filters, you're sure to be well served by this video tutorial. For more information, including detailed, step-by-step instructions, watch this free video guide.

Want to create a play button for a media player? With Adobe Illustrator, it's easy! This clip will teach you what you need to know. Whether you're new to Adobe's popular vector graphics editing software or a seasoned professional just looking to better acquaint yourself with the program and its various features and filters, you're sure to be well served by this video tutorial. For more information, including detailed, step-by-step instructions, watch this free video guide.

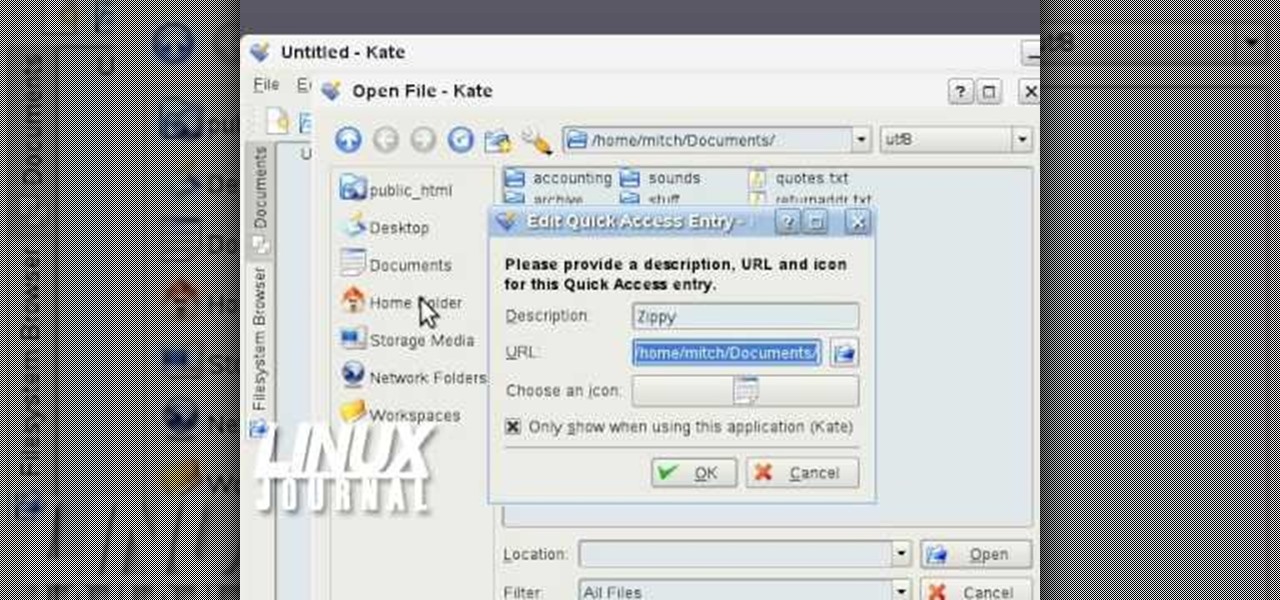
In this video tutorial, viewers learn how to add location shortcuts to KDE open file dialog. This task is very easy, fast and simple to do. Begin by opening the program. Then click on File and select Open. In the Open File window, right-click on the left side panel and select Add Entry. In the Edit Quick Access Entry window, type in the description, URL and select an icon. Finish by clicking OK. This video will benefit those viewers who use the KDE program, and would like to learn how to add ...

This tutorial will show you how to hide files on your computer using an image file. The first step is to get an image file and edit it with Microsoft Paint or Adobe Photoshop. The next step is to save the image file as a jpeg file. Now create a WinRaR archive file and copy the files that you want to hide in the archive. The next step is to open Command Prompt: Click the Start button and click Run. Now enter "cmd" and hit enter. Now just enter the same commands from the video and hit Enter. Fo...


