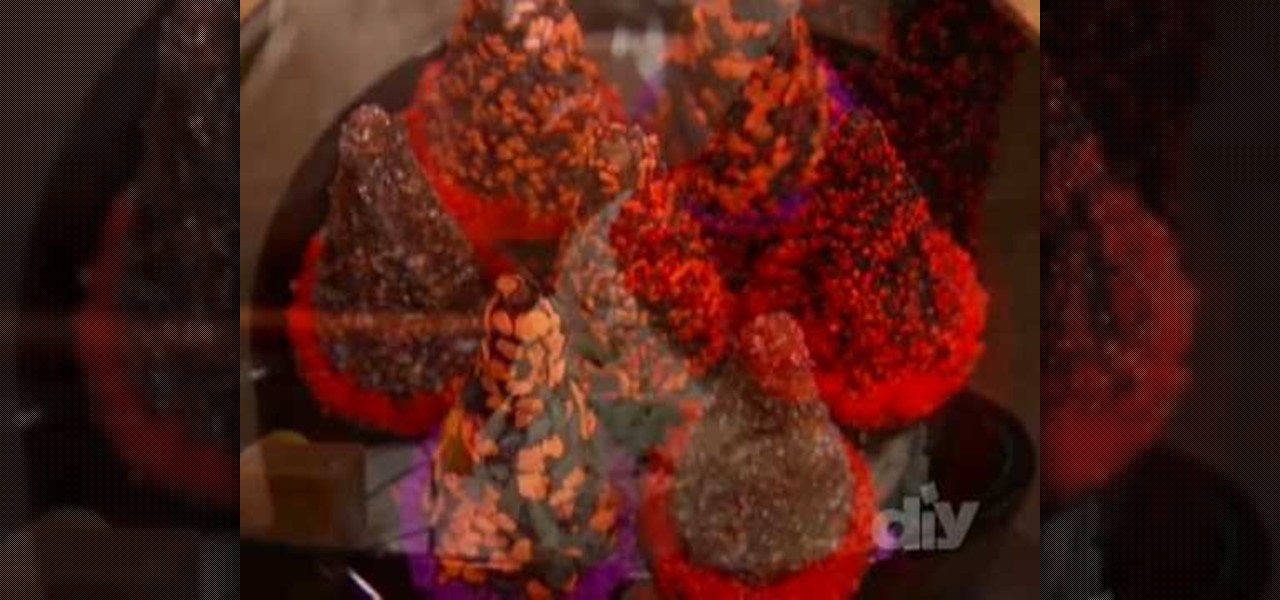
Want to create a delectable and decorative Xmas treat? You're in luck: This video will teach you how to make your very own truffle tree for Christmas. This is a chocolate cone that has truffles or chocolates attached to it by more chocolate. This confectionary treat makes a good party favor.
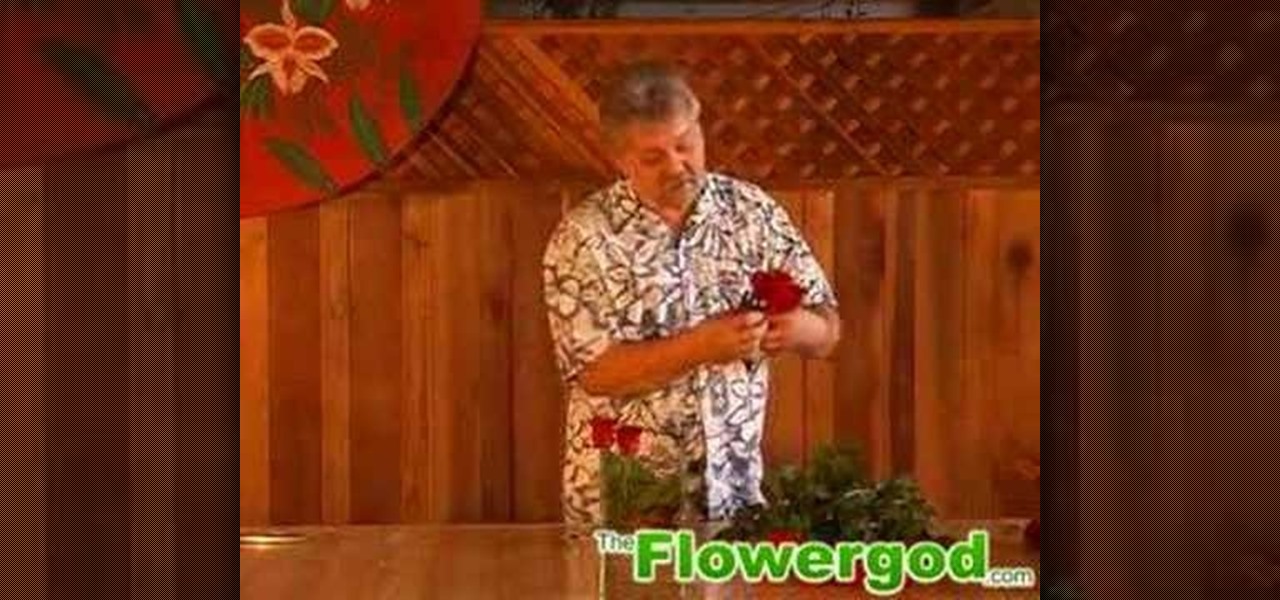
Are you looking for a simple floral design that will delight friends and family as a winter holiday centerpiece? Or perhaps you would like to do something a little more special with those dozen roses you bought as a romantic gesture? If so, look no further, because Jim Daniel, The Flower God, has a quick and easy floral arrangement to help make any occasion special! Useful tips such as including pine cones at the bottom of your vase to add more dimensions, as well as act as an anchor for the ...
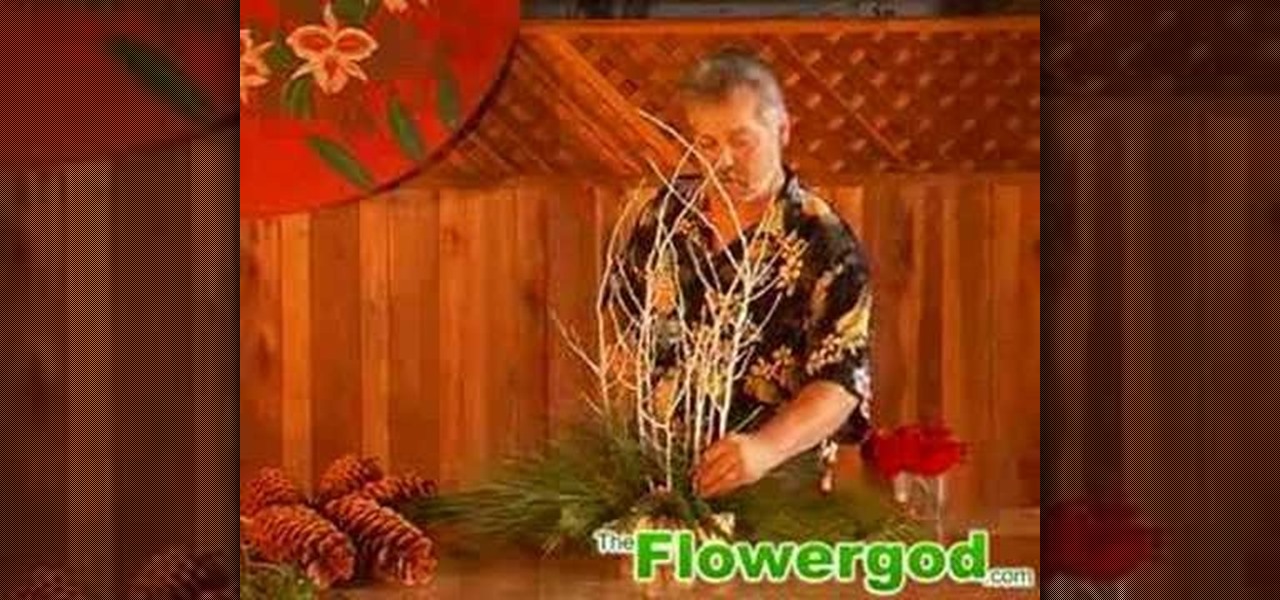
In this video the author describes how to design a centerpiece for your table with a holiday or winter type theme. The author uses different types of foliage including cedar, pine, sugar pine cones, roses, and twigs to accomplish this masterpiece. This is a step-by-step video and is easy to follow along with. The author starts with floral foam and explains the process from start to finish with enthusiasm and detail. The finished product would decorate a large table for a party or gathering an...
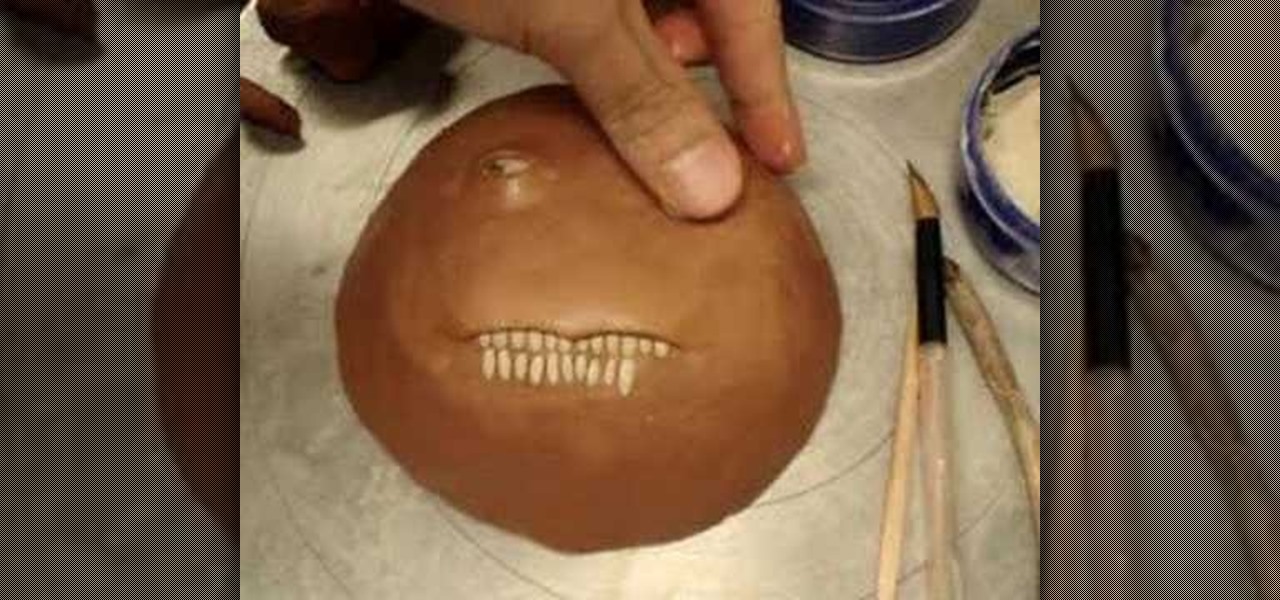
Check out these great videos to learn how to make a ceramic pinch mask. The second eye is made by using porcelain for the white of the eye and black-mountain for the pupil. The head itself is Maya red clay. They are all high-fire cone 10 clay. All the parts are plastic clay, fresh from the bag, thus eliminating the need to score and slip.
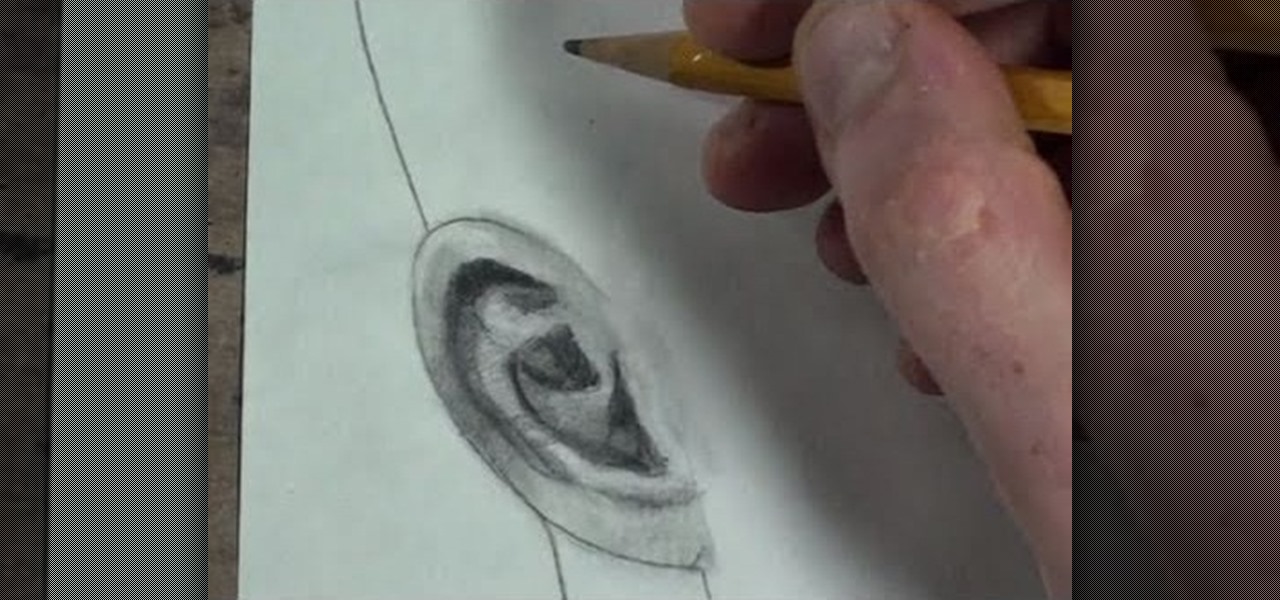
This drawing lesson from Merrill is split up into three parts, each one focusing on a different view on the human ear. If you've ever had trouble sketching the human ear in the past, these videos should clear things up for you. You'll learn the three most basic views— 1) 3/4 view, 2) side (profile) view and 3) front face view.
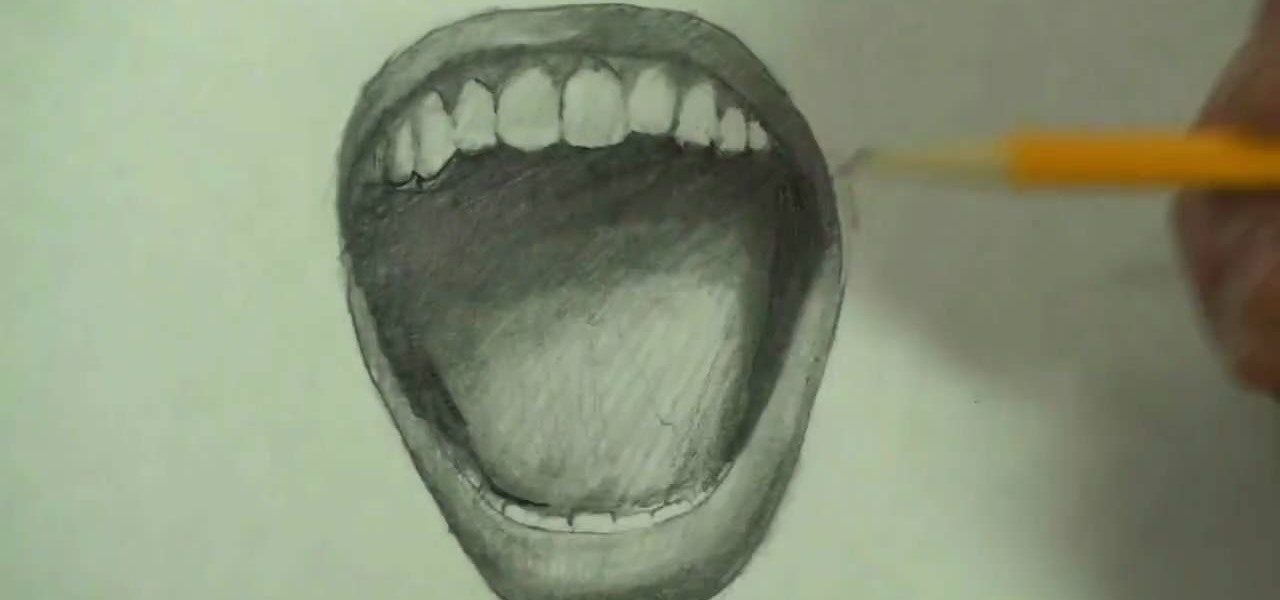
Watch this tutorial to learn how to draw a screaming angry mouth. Make sure to pause the video after each step and look at the screen every few seconds while you are drawing.

In this tutorial, we learn how to make an edible bird house with your kids. You will need: bird seed, 1/2 c flour, 2 tbsp corn meal, scissors, twine, paper plate, ice cream cones, 1 pint milk, raisins, peanut butter, nuts, and graham crackers. Now, poke three holes into your paper plate. Then, glue the milk carton onto it with the glue. From here, mix the flour with the peanut butter and then rub it on the crackers. After this, stick the crackers on the milk carton. From here, the kids can us...
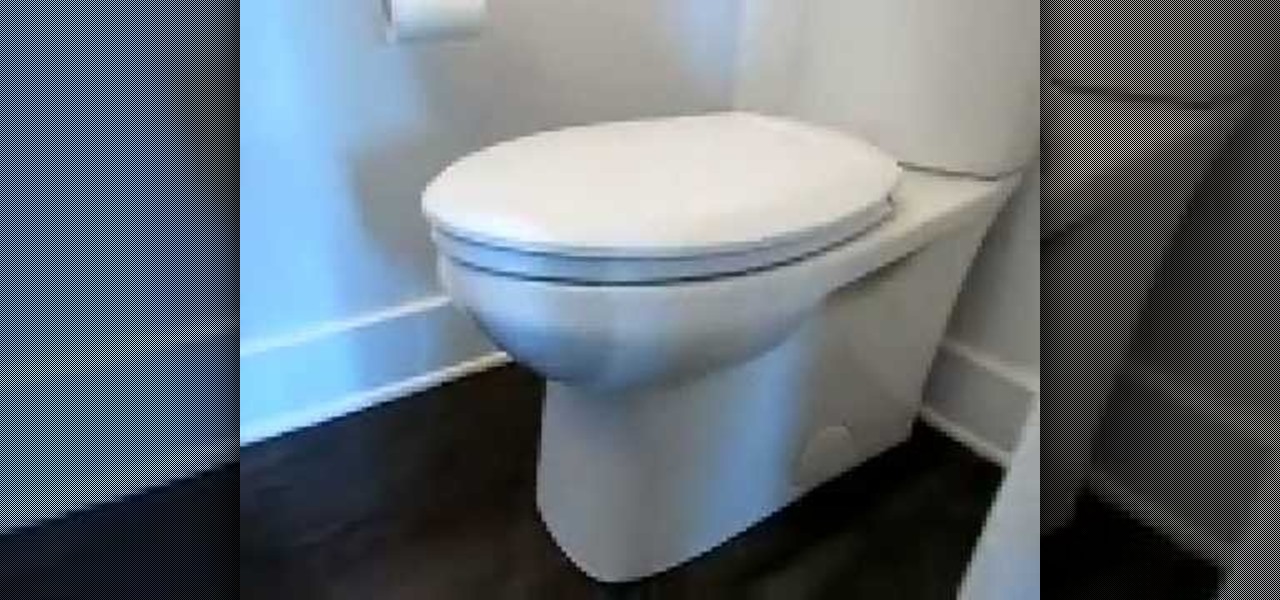
In this tutorial, we learn how to easily install a toilet seat. First, unscrew and remove your previous toilet seat. Next, take the two plastic bolts and remove the nuts and washers. Then, install these into the proper spots in the seat. Then, flip the seat back over and slide the nuts into the appropriate hole on the toilet. Then, take the rubber fittings and slip them on the underside of the bolt. The tip of the rubber cone should point up. When finished, you will take the plastic nuts and ...
In this video, we learn how to make an easy paper rose. First, punch out three flowers with a paper punch from your favorite color of paper. Then, add contact ink to the edges of the flowers along the petals. Next, you will cut out two of the petals from the flowers and then glue half of the leftover scraps. Make this into a cone and then do this on the other pieces of flowers. Bend out the petals and curl them, then glue all of the petals together. Once finished, add on a green stem and then...
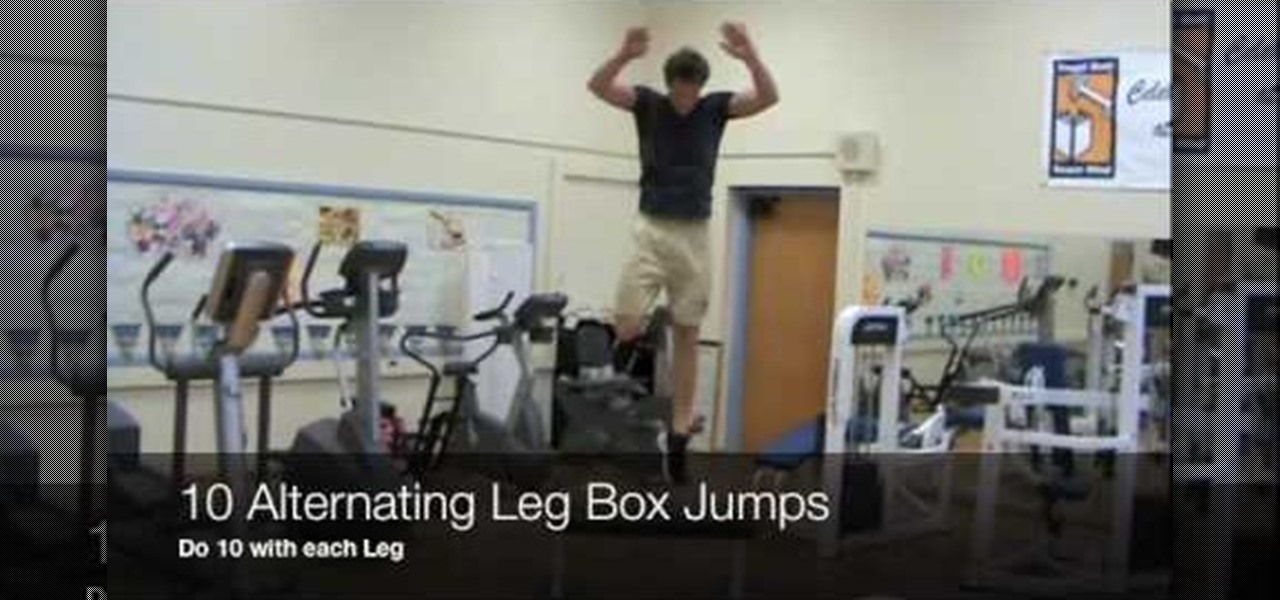
In this tutorial, we learn how to jump higher and run faster doing plyometric exercises. Start out with an alternating exercise that you will rotate through all of and get progressively stronger within 10 weeks. In week on, start out with 15 speed squats. Then you will have 30 seconds of recovery followed by 15 lunges with each leg for a total of 30 lunges. Take another 30 second break, then do 10 lateral cone hops, barely touching the ground. Another 30 second recovery after this, then do 10...
No self-respecting Halloween celebration would be complete without a fair share of caramel apples and witch-themed goodies for kids and adults alike to nom on.
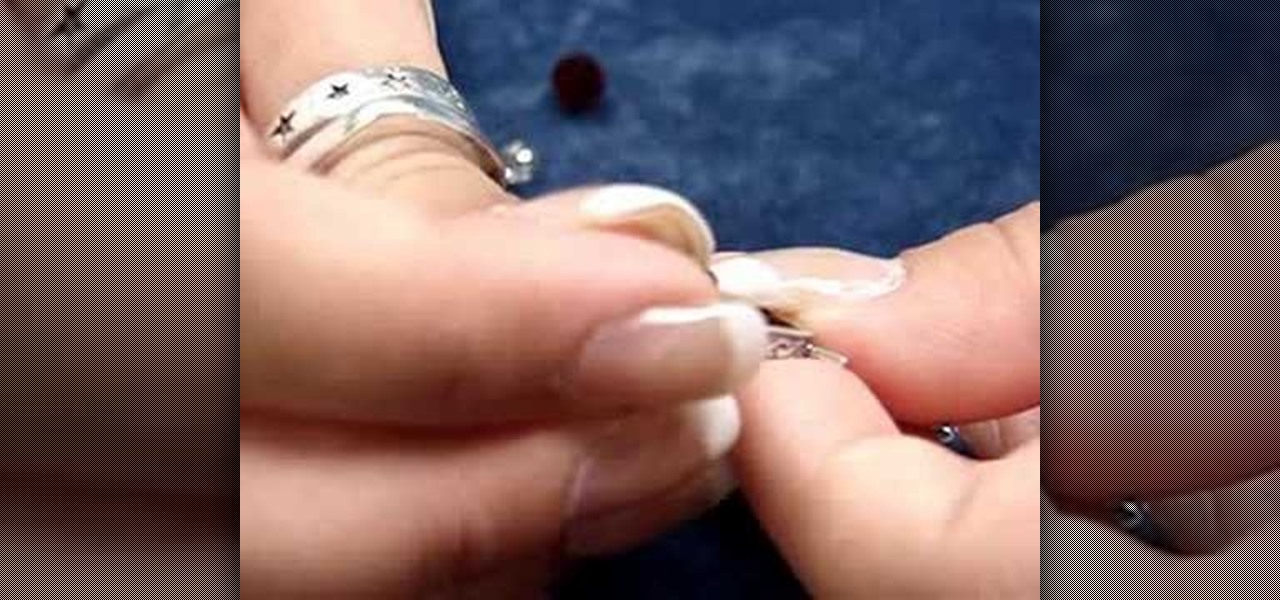
In order to make an adjustable cable necklace, you will need the following: 20 inch adjustable cable chain, a slide bead frame, 2 head pins, 8 mm bi-cone, 8 mm crystal, 2 6-mm round rondells, 2 7-mm jump rings, a pair of nipper tools, a pair of round nose pliers, and a pair of chain nose pliers.
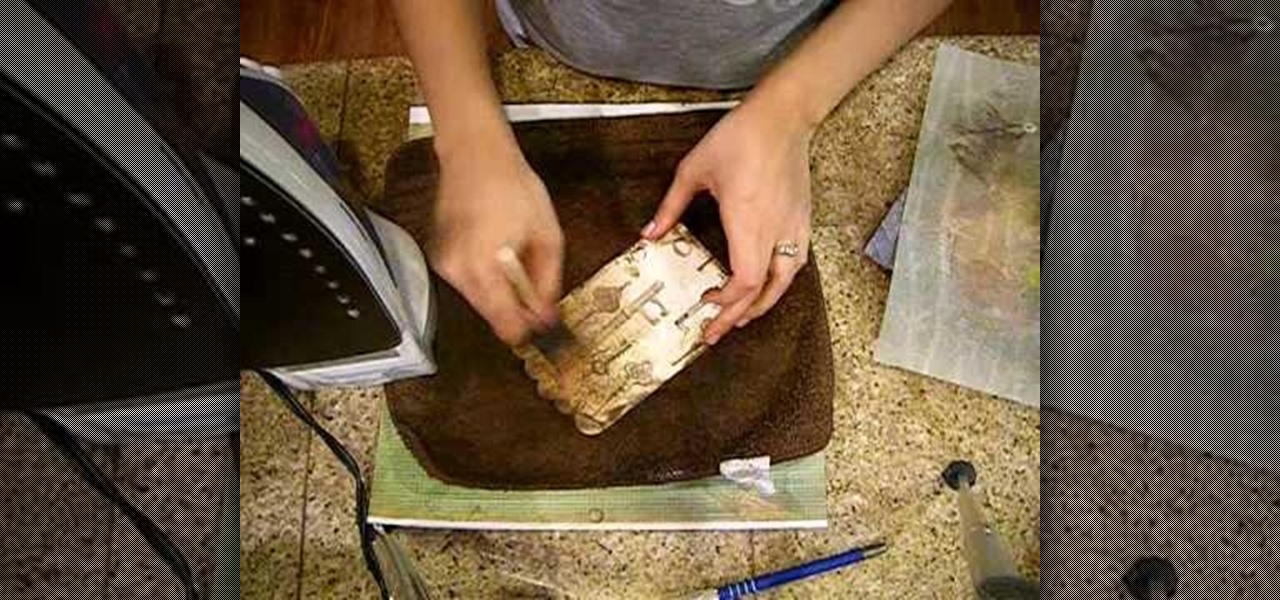
Crinkle top part and go over it with distress ink. Do edges front and back. Put extra ink on scallops. Spray with mustard seed and tattered jewels, olive vine and pine cone to add color. Place paper on pocket and iron on both sides. Spray with iridescent gold. Use brush to spread out. Iron again on both sides. This process makes it look aged. Take a film strip and spray with tattered leather. You want to use an iron when spraying grunge board with tattered jewels because it will make it seep ...
In this tutorial, we learn how to remove and install a free wheel. First, take out the skewer from the wheel. Then, take off the nut from the inside of the hub with a cone wrench. After this, go to the other side of the axle and loosen it up. Now place your free wheel tool onto the wheel. Firmly secure the free wheel tool onto the wheel until you're sure it won't come off, with any tools you have available. When you are finished, put your nuts and bolts back onto the axle, then use bicycle lu...
There are so many beautiful birds that fly around. This video shows you how to draw those birds to your yard by making a pinecone birdfeeder.
This video illustrate us how to draw a simple strawberry. Here is the procedure for the following: Step 1: First of all take a sheet of paper, pencil color and pencil.
This video demonstrates how to make a hexagon from a square paper. Fold a square paper into half horizontally. Fold this rectangle into half again forming a square one-quarter of the original size. Fold the open edge towards the center fold on either side forming a crease. Take the closed corner and fold towards the center crease. Open the center fold and fold it inwards. Fold the corner towards the diagonal edge on both sides, this forms a cone like structure with a paper edge at three-quart...
In this how to video, you will learn how to make an Evergreen wreath. You will need pine cuttings, craft wire, a frame, and decorations such as pine cones. Each cutting should be about 8 inches in length and have a firm section that will attach to the base. They should also be very bushy. Wrap the craft wire around the sturdiest part of the pine cutting. Keep adding and attaching pine cuttings over the previous cutting until you go around the entire frame. Once this is done, add the decoratio...
Brittany Black Rainbow demonstrates how to draw an emo boy. Begin with the back ground of hair, draw it like an inverted cone, assuming like one eye is covered by the hair. Draw the second eye and brows, and now draw the nose and mouth. Complete the face. Just draw the neck and the body with a round neck T – shirt with half sleeves and the hands. Now complete the hair. It’s like thorny bush, just draw all these lightly. Give black shade to the hair with pencil itself. Now darken every thing, ...
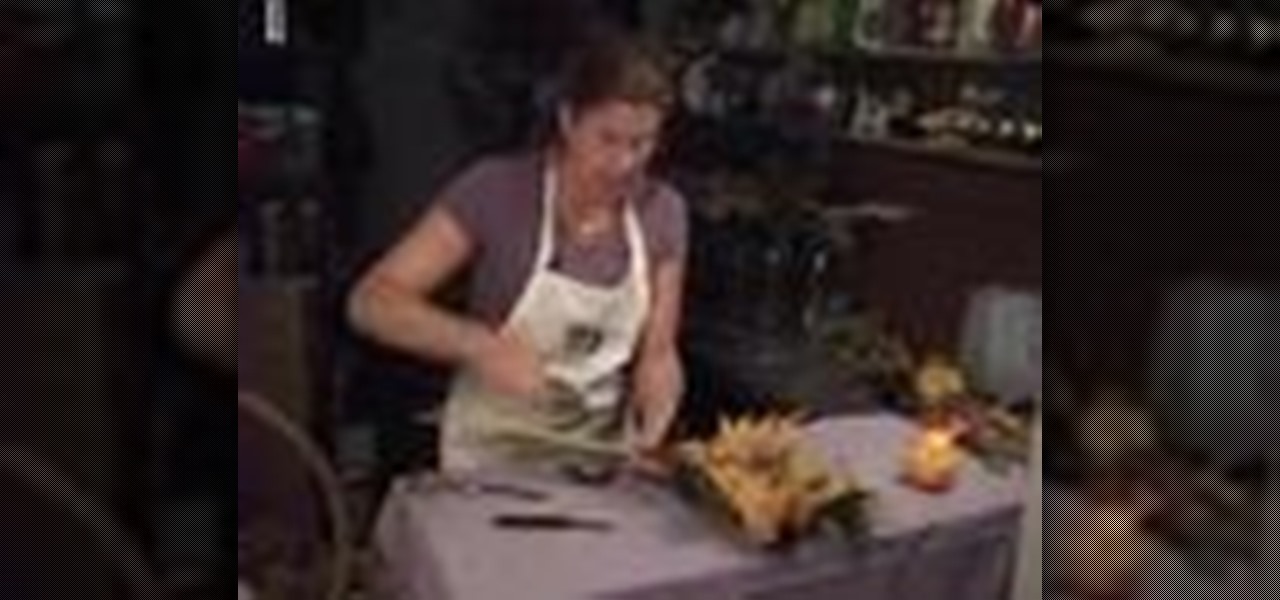
Grassvalleyflorist teaches you how to make a fall themed flower bouquet. For this you will need some fountain grass, autumn leaves, English laurel, redwood, oregano and another weed that looks good. Layer all of these together, on top of each other. You can also add some pine cones. Wire in the stems allows the whole thing to stay together. Use ribbons or florist wire. Cut the ends so that the bouquet is not very long. You can also make a bow out of a big piece of material or ribbon. The best...
Watch this informative video tutorial on how to create shaped photo collages with Shape Collage. Shape Collage is an automatic photo collage maker that creates collages in different shapes in just a couple seconds. You can create picture collages in the shape of a rectangle, heart, text, or logo, with just a few clicks of the mouse.
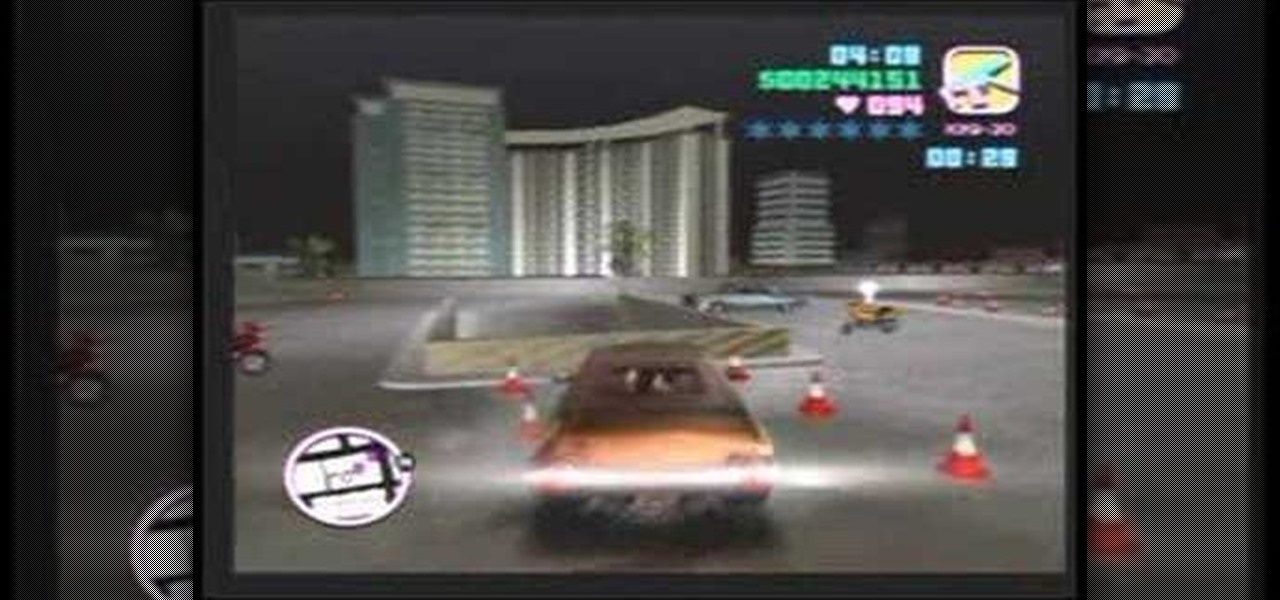
Video walkthrough guide for the side missions in Grand Theft Auto (GTA): Vice City for Playstation 2 (PS2) from gtamissions.com. Featuring Cone Crazy, Trial by Dirt, Test Track. Hotring, Bloodring, Dirtring, and Pizza Boy Mission.
You've had pumpkin bags and you've had ghost bags, now you can have a Halloween colored duct tape bag to collect candy in this year. This bag is fun to use and just as much fun to make. Plus, by adding some reflective tape your bag will help keep you safe.
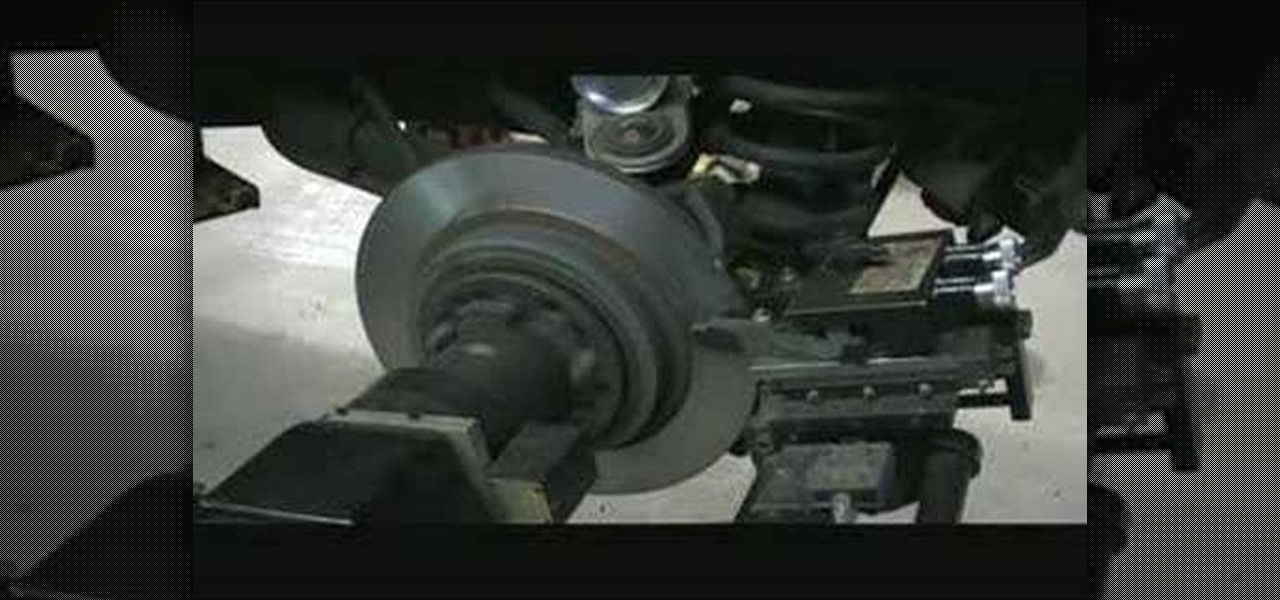
Before cutting the rotors select a centering cone that fits about halfway through the center hole of hub-less rotor or bearing spacer to center the rotor to the spindle. After select two identical clamps that fit the rotor without interfering with the machined surfaces of the rotor. Slide one clamp onto lathe shaft, open end out Slide spring, followed by centering cone. Slide on the rotor and outer clamp followed by the bushing, spacer, and nut. Tighten nut and Install damping strap. Adjust t...
Tasktutorial.com shows us how to create drag and drop functionality into a flash program. Start off by making a few shapes in flash and then add color to each of them, a different one for each shape in order to differentiate between them. After doing this select all the shapes by dragging the cursor over them, once done distribute the shapes into layers by going into the 'modify' drop-down button at the top, then timeline and there will be the option to distribute. Now we have to turn the sha...
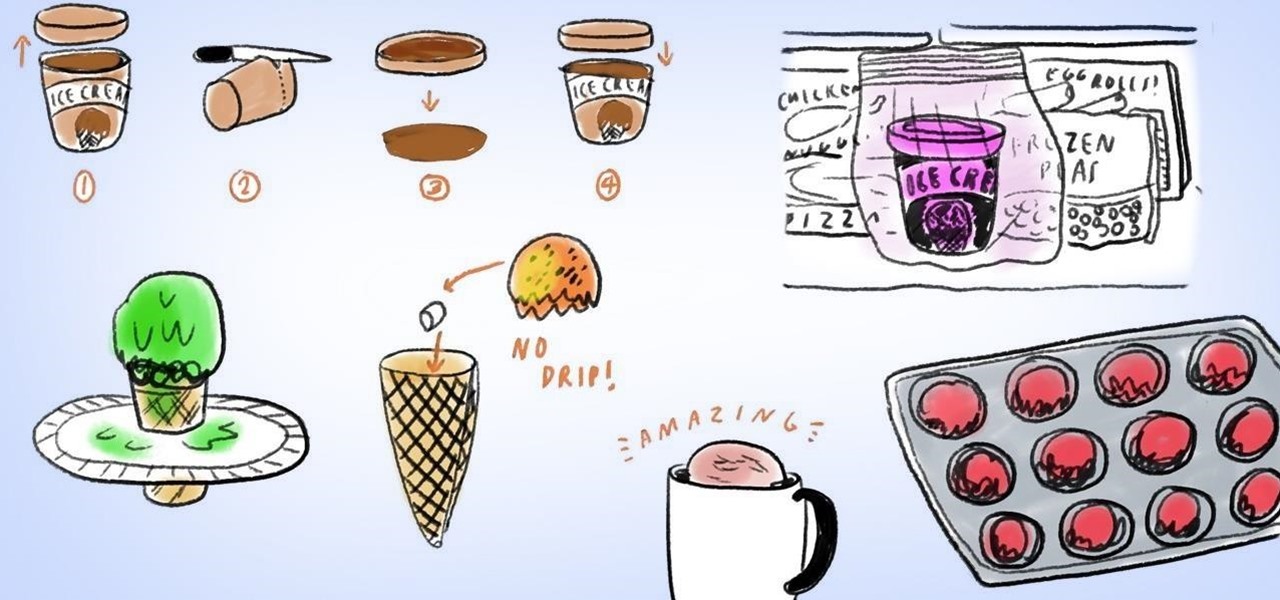
To prevent melted ice cream from leaking out of the pointy bottom of a cone, plug the hole up with a marshmallow before adding any ice cream on top. This will also give you a nice treat when you're almost finished, as the marshmallow will absorb some of the ice cream.
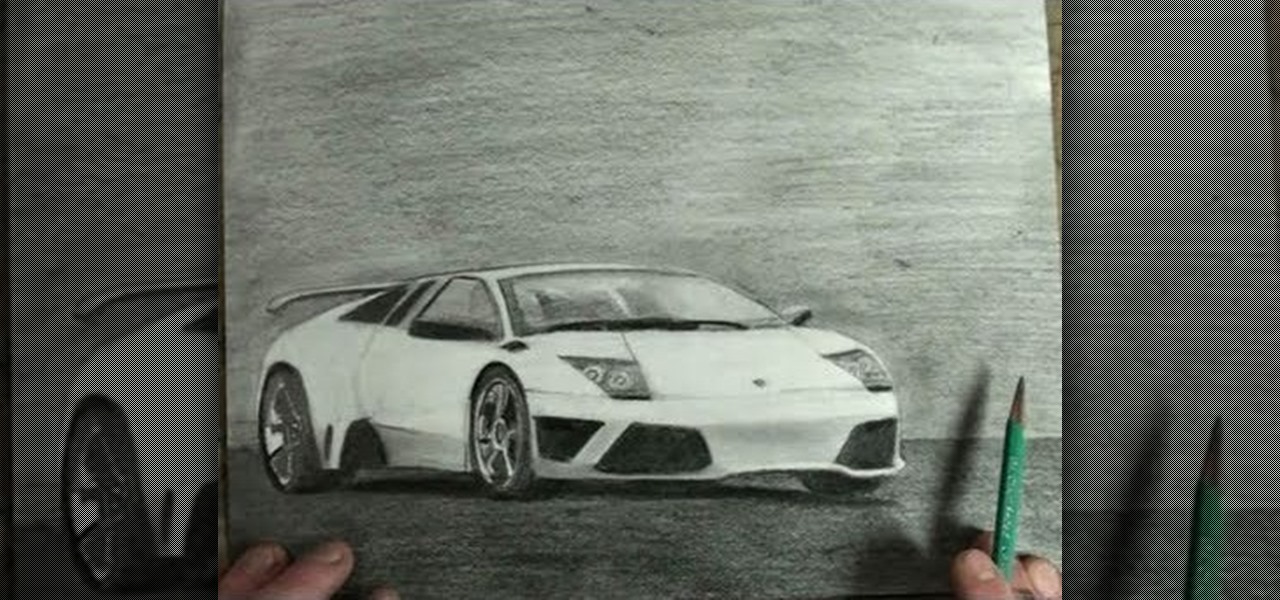
The Lamborghini Gallardo is a sports car that most auto enthusiasts can only dream about, and with its cost at over $200,000, it's literally a "dream car". But you can get one step closer to reality with this realistic and artistic drawing of the Gallardo sports car. Maybe you can sell your masterpiece sketch for $200K and finally get behind the wheels of this 2-doored beast. Follow along with Merrill K to replicate this Lamborghini model on paper. Pause the video when needed.
Looking for an easy way to create 3D shapes? Have Photoshop CS3 or later? Whether you're new to Adobe's popular image editing software or simply looking to pick up a few new tips and tricks, you're sure to benefit from this free video tutorial from TutVids. For more information, including step-by-step instructions on how to create your own custom three-dimensional shapes and how to create and apply textures, watch this graphic designer's guide.
Whether you're new to Adobe Photoshop or a seasoned graphic arts professional after a general overview of CS5's most vital new features, you're sure to be well served by this official video tutorial from the folks at Adobe TV. In it, you'll learn how to create, edit, and fill shapes intuitively, directly on your artwork, using the Illustrator CS5's new Shape Builder Tool.
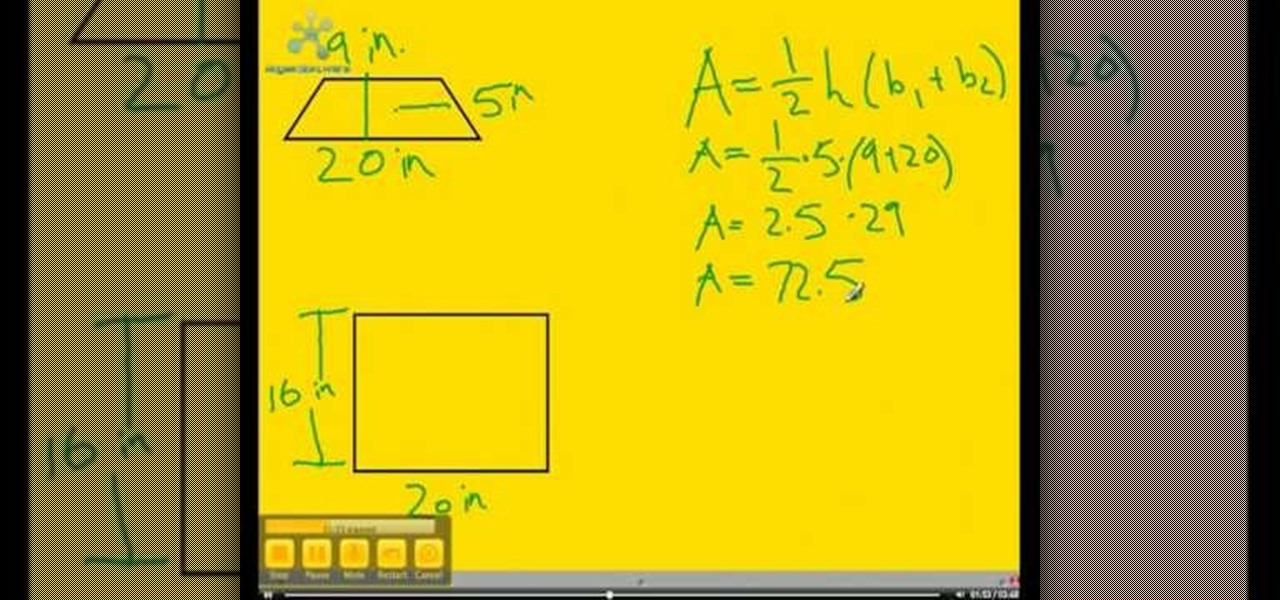
This video explains how to find the area of irregular shapes. Draw the shape on a grid or graph paper. This will help you divide your shape into pieces. Draw dotted lines to divide the shape into squares, rectangles or triangles. For instance, if you have an "L" shape, you can divide the shape into two rectangles. Be sure your shapes do not overlap. Calculate the area of each individual shape. The graph paper will help you determine the length and width of each shape. Add the resulting areas ...
Watch this video to learn how to calculate the area inside complex figures--shapes composed of multiple smaller, simpler shapes. The first step is to break the shape into its simpler component shapes. Then, using the information you have about the large shape, find all information you can about the smaller ones: base, height, etc. Next, find the areas of the smaller component shapes. Finally, add the areas of each of the component shapes together to find the area of the complex shape. Now you...
Watch this tutorial to learn how to draw Beyoncé Knowles. Make sure to pause the video after each step and look at the screen every few seconds while you are drawing.
Surfboard shaping can be a way to make your own surfboard before hitting the waves or a way to earn a few extra dollars at the beach. Learn how to shape a surfboard from a professional surfboard shaper in this free surfing video series.
The drawing tools in flash aren't always the most intuitive to newcomers. In this tutorial, Ralf will show you how to use the basic drawing tools in flash. You learn the difference between Merge Shapes and Drawn Objects, which are all shapes of the same look and feel with the exception that one can be more easily manipulated and the other. You'll learn how to use this selection and sub selection tools to select various objects on the flash stage. You also see how to use the oval and rectangle...
In this Microsoft Word tutorial the instructor shows how to add a drawing or a free form shape to a document. Using the canvas in the Microsoft Word 2007 can be very helpful in adding graphical content to your document. Adding shapes and special effects like shadows, 3D will give a rich look to the document. To do this open a document in Word 2007. In the tool bar go to the Insert tab and in that select the Shape button. Now you are presented with plenty of predefined auto shapes. First at th...
This simple video tutorial teaches you how to create an animation of basic shapes transforming from one shape to another when using Flash.
Cake pops are generally made in a circular shape from vanilla or chocolate cake, then dipped into chocolate or candy melts and sprinkled with adornments, but that doesn't mean you can't have some fun tweaking the shape a bit.
Just as not all face shapes were created the same, not all hairstyles were created equal. In fact, a gorgeous blunt-cut pixie do may look dazzling on your oval-faced friend, while it would make your round face look larger.
In this video tutorial, viewers learn how to create a tessellation. The materials required for this project are: index cards, scissors, pencil, large paper and coloring utensils. Begin by preparing a shape. Cut the index paper to a desired shape. Then place it on the right side of the large paper and tape it. Now trace the shape onto the large paper and continue transferring the shape until the page is filled. The shapes should fit together like a jigsaw puzzle. This video will benefit those ...
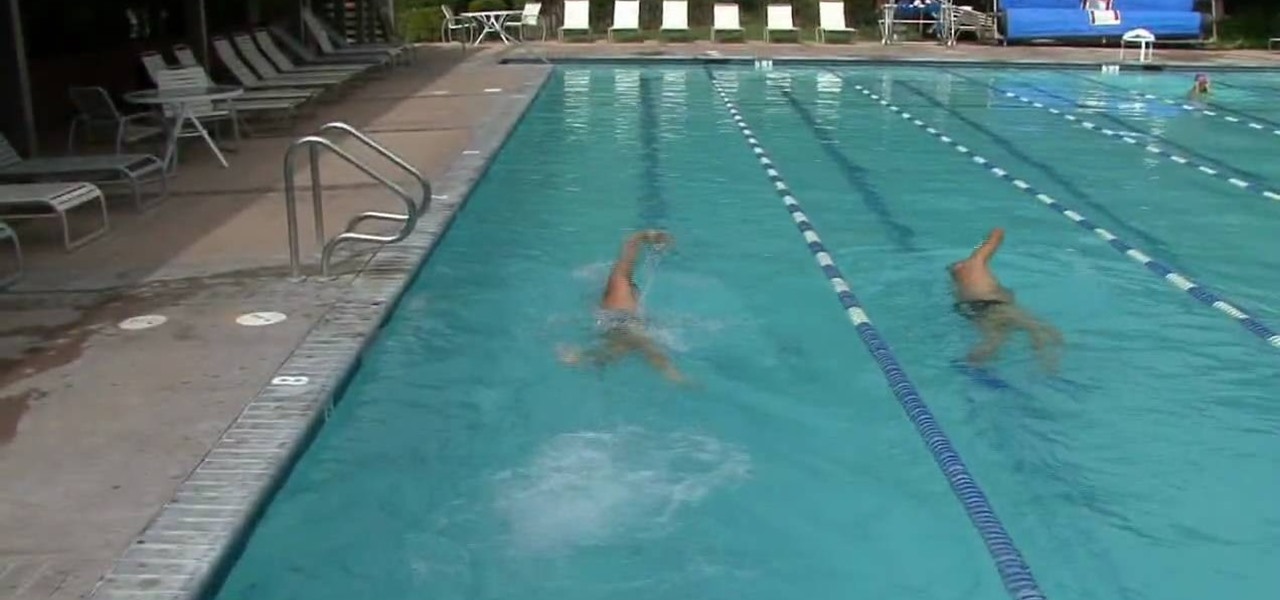
Get in shape and tone your body by getting in that pool for a swim! There's nothing better for your body than swimming and there are numerous techniques and avenues for the swimmer who wants to get in better shape. In this video, get expert tips and advice on how to get in shape with the help of swimming!