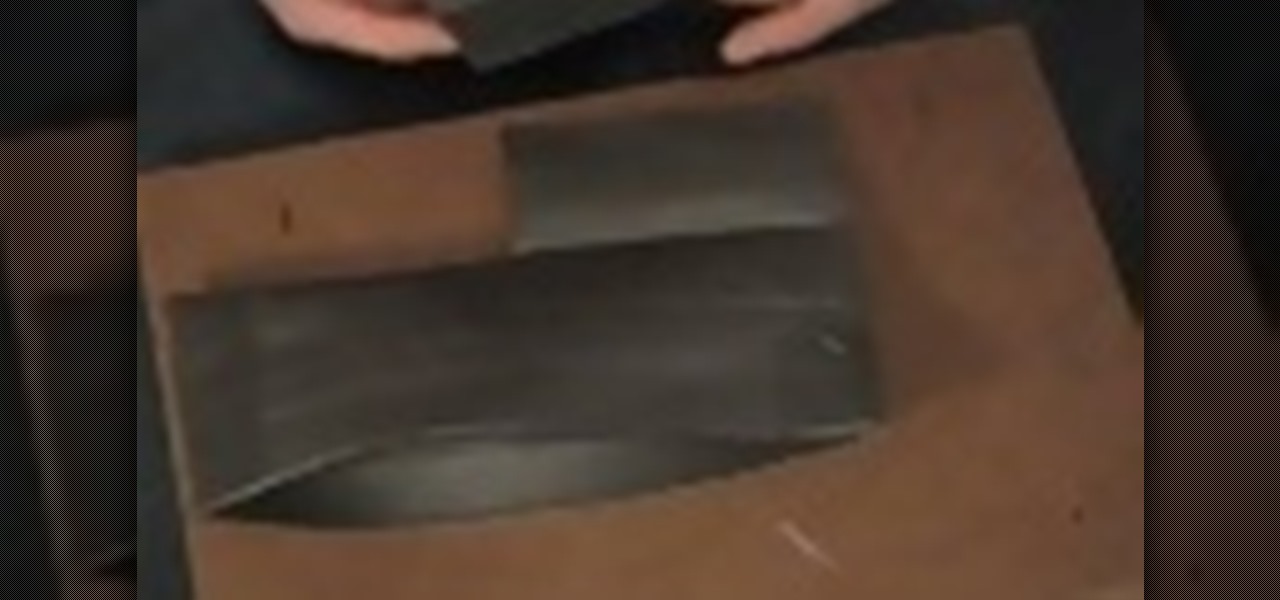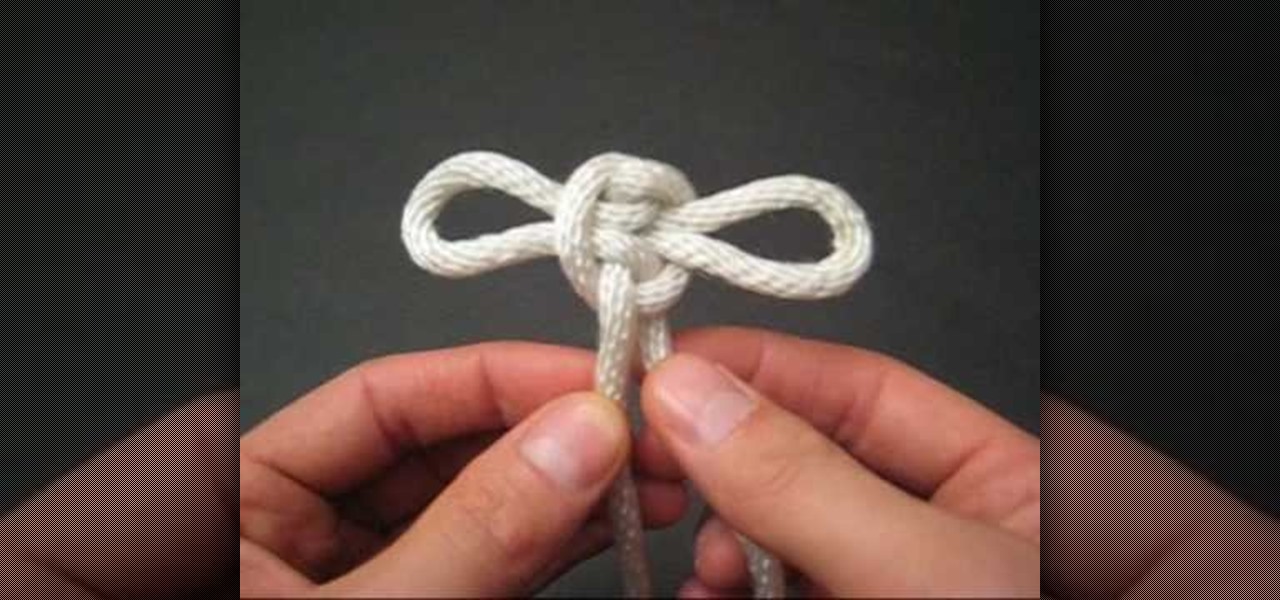
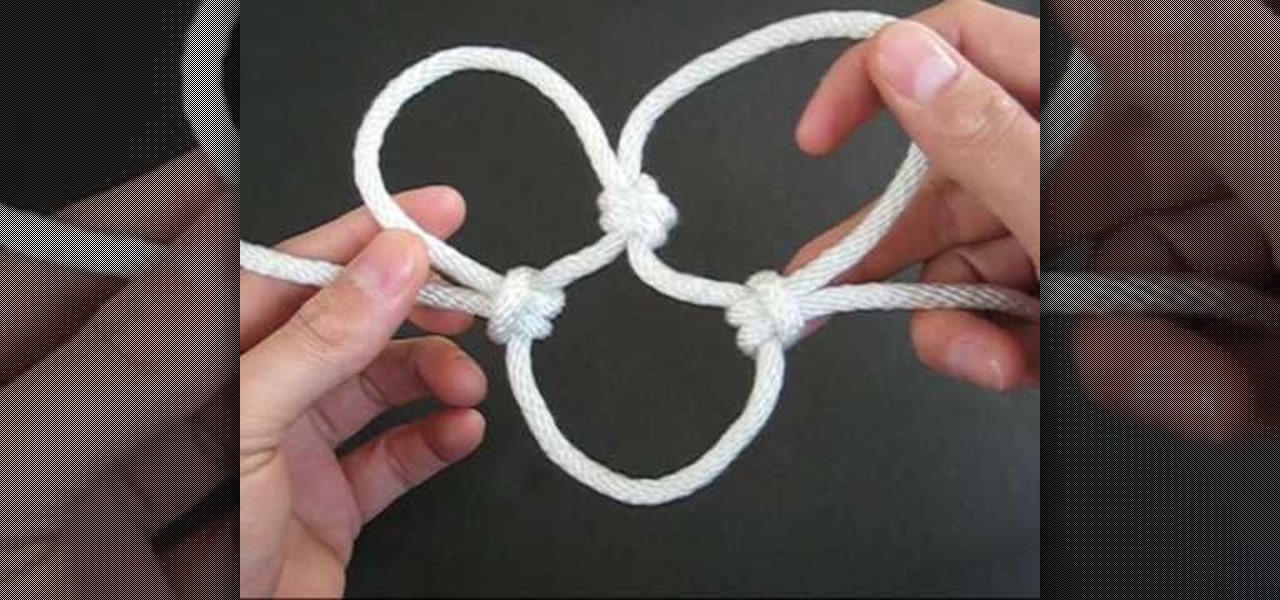
In this video, we learn how to tie a maedate knot. Start off by making a loop in the middle of the string followed by another loop placed next to it. Now, wrap these together in the middle and pull them out on the side. You will now have a shape that looks like a bow. Pull on both sides of the bow, where there will be two loops. You can pull on each of the loops if you want to back them larger. When you pull on the bottom strings, the loops will become smaller. After you do this, you will be ...

In this tutorial, we learn how to crochet a left hand radiant flower. First, make a slipknot, then chain four. After this, join the beginning chain and then chain three. Slip stitch through the center of the chain, then chain three and slip stitch again. Do this over again five times on your row. After this, continue making stitches until you have the shape of a flower. Add on green yarn to the back of the flower, by doing the same type of stitch. Work as many stitches as you would like. The ...
In this video, we learn how to tie the basic knot design of a cargo net. First, tie a double overhand knot on a rope bent into two. After this, make cow hitching on the first loop that you created. Next, make a second double overhand knot followed by cow hitching the second loop. After you do this, you will be able to size up for use! To make this, you must have some prior knowledge of how to tie different knots. If you don't, you won't know how to make the shapes. Use a picture as a referenc...
Whether they exist or not, people believe in the spiritual power of angels. That's why, if you walk into any Spencer's Gifts or novelty store, you'll always manage to find tiny wallet-sized "guardian angels." You apparently slip these in your wallet to feel guided and protected.
There's no excuse not to eat cupcakes. Except, of course the scary calorie count. But who thinks about calories anyway when his/her taste buds are having a mouthgasm from stuffing down a red velvet cupcake?
In this tutorial, we learn how to make a paper Christmas tree. Start out with a square piece of paper, then fold corner to corner and open it, then fold it on the opposite corners and open it. Now, turn it over and fold it side to side on both sides. Now, the paper will automatically fold into it's shape because of the creases you made. Now take each of the four flaps and flatten them out with your finger. After this, cut your trunk out of your tree at the bottom, then cut slits on the side o...

In this tutorial, we learn how to craft a duct tape wallet. First, tear out a 7 inch piece of duct tape and fold it so there is a sticky side just overlapping it. Next, tear out another piece of tape and fold it just over the sticky side of the other piece of tape. Continue to do this for around 10 pieces of tape, or until you have enough to make a decent sized wallet. When you reach the end, fold the bottom over itself, then cut off the sides and seal with another piece of tape. Then, measur...
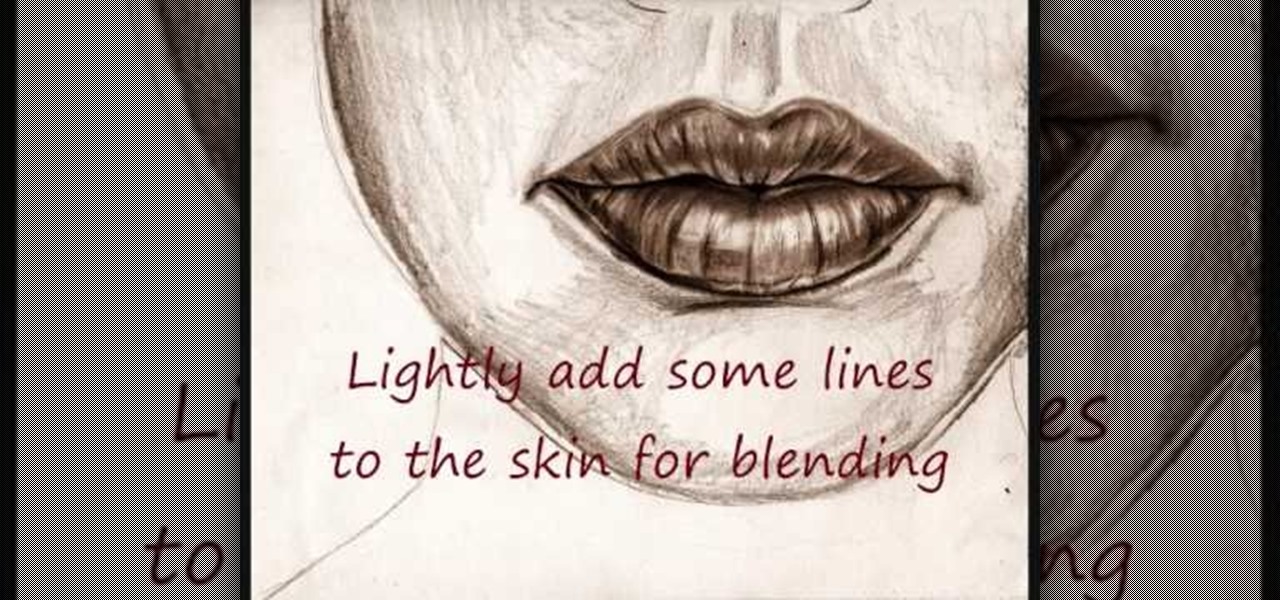
In this video tutorial, viewers learn how to draw lips. Begin by drawing a horizontal line for the mouth and draw a Mickey Mouse shape in between the line. Then sketch the upper lip with the 2 smaller circles on top and draw the lower lip with the large circle as guidelines. Now users may draw the rest of the face. Then darken and define the upper and lower lips. Now lightly sketch some lines on the lips to show depth. Then darken and shade the lips. This video will benefit those viewers who ...
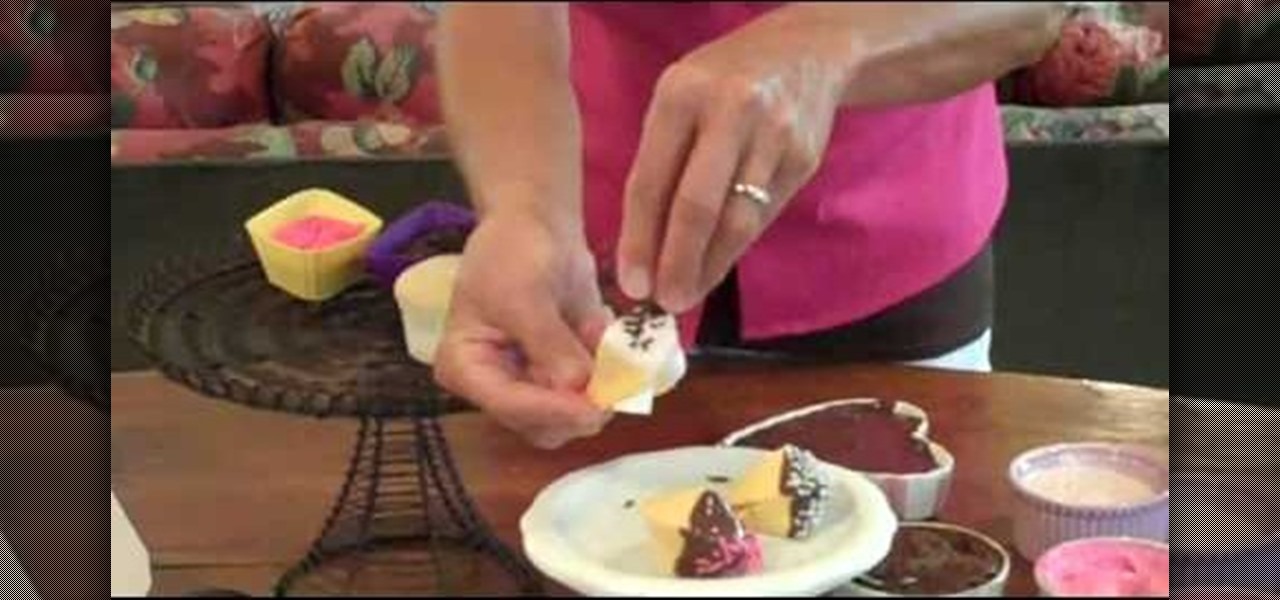
In this tutorial, we learn how to make tequila cake with edible puke. This is a great cake to make for a college graduation. You will make the bottle by using Rice Krispies that are shaped into the bottle. Place fondant over the bottle and color it into the right colors. Place a cake underneath the bottle of tequila, and then make the puke by coloring different types of icing. You can place pistachios inside the icing to make it look more like puke as well. Squeeze this icing onto the tequila...
Fortune cookies are fun little after-meal treats. It's always exciting cracking open revelations about our heart and souls as deemed fit by fortune tellers the Panda Express. Whether you believe in fortune cookies or not, they make very cute snacks and their shape can be transferred over to other realms of baking.
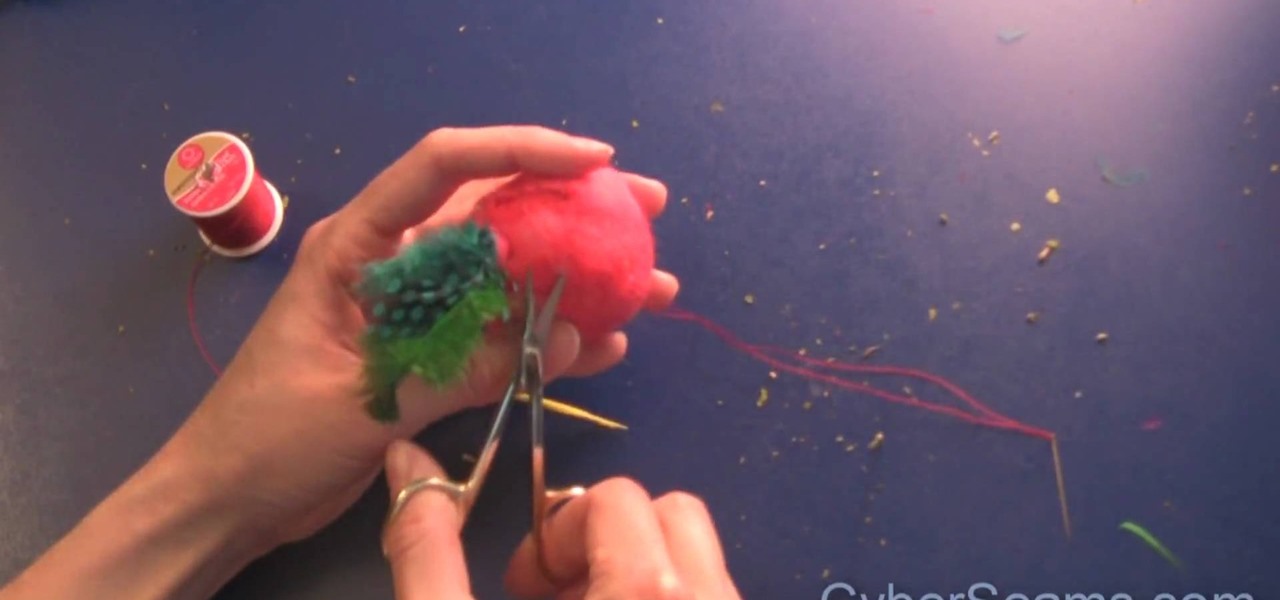
It's not easy being a cat. After all, sleeping twelve hours a day really takes its toll on your body after a while. Give your cat a break from her difficult day shift by crafting one of these adorable felted cat chew toys.
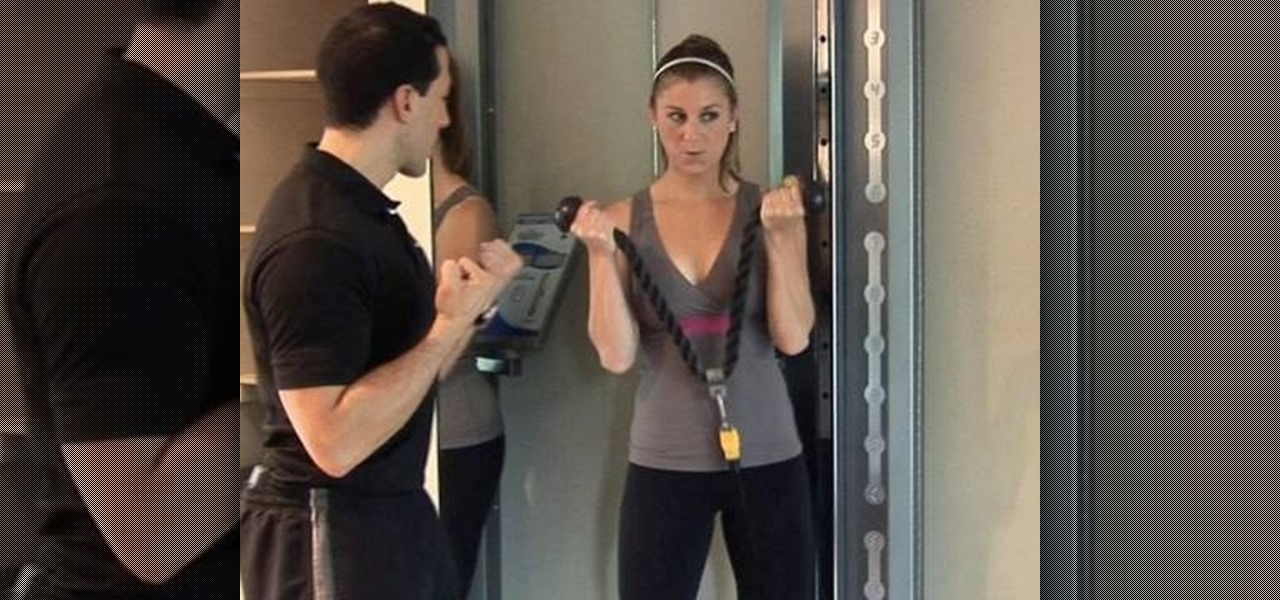
Looking to speed up your weight loss? Exercise moves that tone multiple muscle groups at the same time increase calorie burn and allow you to do much more work in less time. Exercises that work large muscles, like your glutes and triceps/biceps, are even more effective for fat loss.
This After Effects user's guide takes you from nothing to a finished broadcast slate in 24 minutes? Yes. Along the way, you'll learn about compound blur, shape layers, repeaters and more. Sounds like fun right? Then come on down! Whether you're new to Adobe's popular motion graphics and compositing software or a seasoned video professional just looking to better acquaint yourself with the program and its various features and filters, you're sure to be well served by this video tutorial. For m...
In this video tutorial, viewers learn how to fold an origami water bomb. Users will need a square paper. Begin by folding the paper in half both horizontally and vertically. Then fold the paper diagonally in half both ways. Now fold the edges into the middle to form an isosceles triangle. Then fold the edges to the middle to form a diamond shape. Fold all the tips to the middle and then fold all the corners to the middle. Finish by tucking the triangle edges into the pockets and blow up the p...
Too many pudgy couch potatoes think that exercise requires laborously long time commitments, weights, and dumbbells to do correctly. However, you don't need to commit much time at all to tone a certain area of the body or simply to stay in shape.
High waists and poofy balloon skirts are both two of the hottest fashion trends this season, seen on stars like Lauren Conrad and Jessica Simpson (yes, of the famous "Mom jean" snafu).
Learn to Use the Lathe Editor for lathe-machined objects in Swift 3D v6. A lathe machine operates by spinning an object really fast while it is held tightly at both ends. The lathe operator uses cutting tools and coolants on the side to shape the object. Whether you're new to Electric Rain's popular Flash-oriented 3D modeler or just looking to better acquaint yourself with the program, you're sure to find much of value from this free video software tutorial. For more information, including a ...
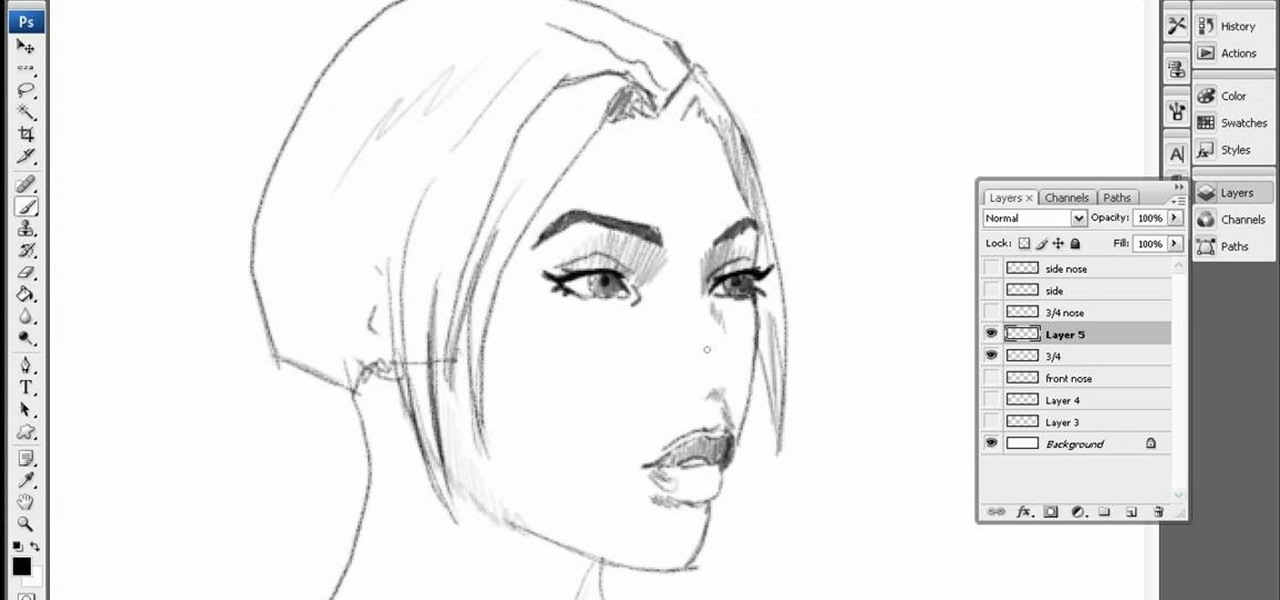
The nose is a focal point of someone's face. In this tutorial, learn how to master the art of the "comic book nose" so that your characters really come alive.
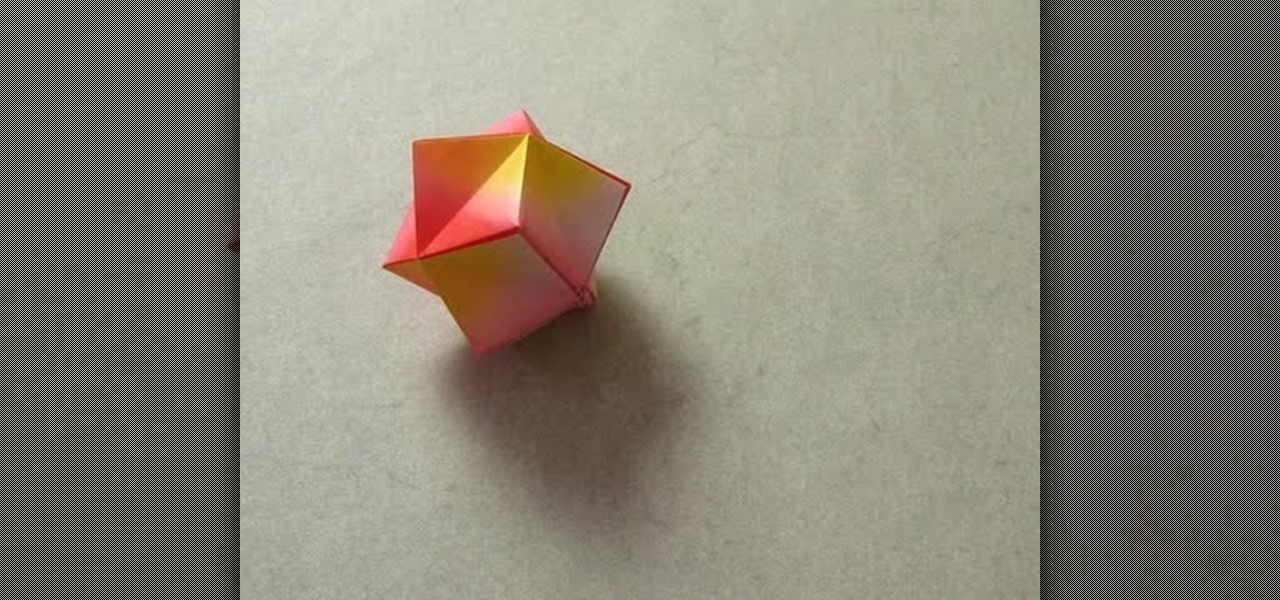
These adorable origami stellated octahedrons commonly provoke fits of jealousy within real stars, who envy their smooth folds and pretty peaks.
In this video tutorial, viewers learn how to make a tea bag fly with a home experiment. Viewers learn how to make a tea bag fly using convection. The materials required for this experiment are: tea bags, matches, tin foil and scissors. Begin by cutting the top of the tea bag and open it. Empty out the tea. The tea bag should be a cylinder shape. Place the tea bag on top of a piece of tinfoil and use your matches to light the top of the tea bag. This video will benefit those viewers who enjoy ...
In this how to video, you will learn how to make a hair bow. You will need a ribbon and a bobby pin. First, make a knot in the center of the ribbon. Next, pull it tight and make a bow shape in the ribbon. Make sure that it comes out evenly. if your ribbon is not double sided, one end may have no pattern. This means you have to twist it so that the printed side appears in the front. Next, take the bobby pin and slide one end through the loop in the middle. Make sure it is in the bottom area of...
The way to wear hijab shown in this demonstration with a simple wrap around the head, securing the hijab with bobby pins at the back of the neck. The ends of the hijab are pulled forward to the chest. Then a thin scarf in a contrasting color can be wrapped around and tied at the nape of the neck as well. A portion of the hijab is pulled forward over it and pinned over the ear. Then one of the ends is pulled under the chin to the opposite ear and pinned to the head. The other end is wrapped ar...
It's important to keep up your fitness regime year round. As tempting as it may be to abandon outdoor exercise like running in the wintertime, you can't give in to the cold.
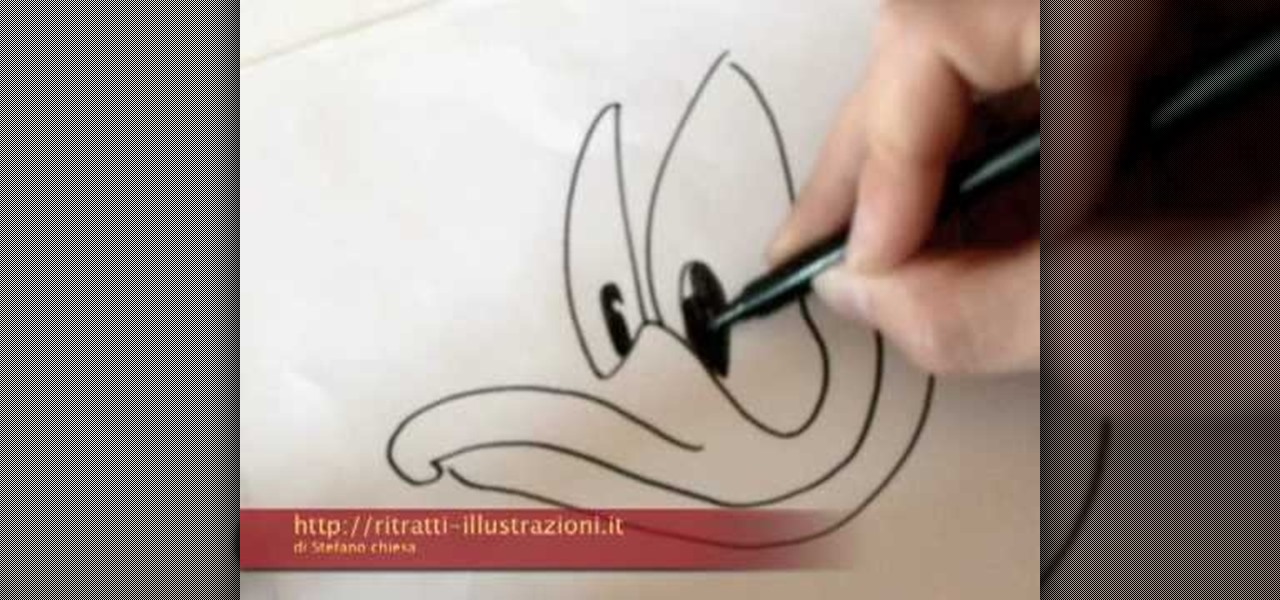
This video illustrate us how to draw Donald Duck. Here are the following steps: Step 1: First of all take sheet of paper, pencil and colors.
A fun way to display photos and artwork in your home is with homemade frames. Keep the crafty feeling of the art and make a colorful frame for display. This project can be done with kids of any age, and they will love helping to decorate their rooms or play areas. These frames are 8 pointed star shaped decorations that add a spark to any wall. All you need are popsicle sticks, glue and any paints or glitter you may want to add to your project. So, get messy and have fun..its time to start cra...
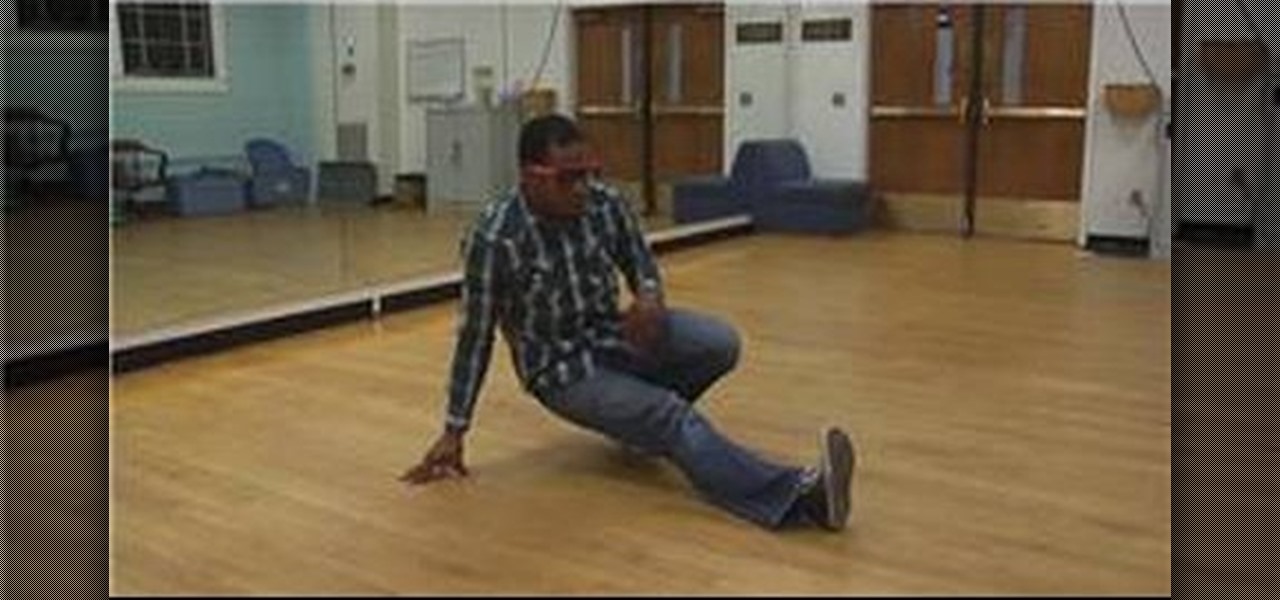
Want to learn how to break dance? In this video, learn the beginning-level three-step, a break dancing essential. In order to become a break-dancer, an individual needs to get into good shape through exercise, and he also needs to take dance classes. Learn more about becoming a break dancer here.
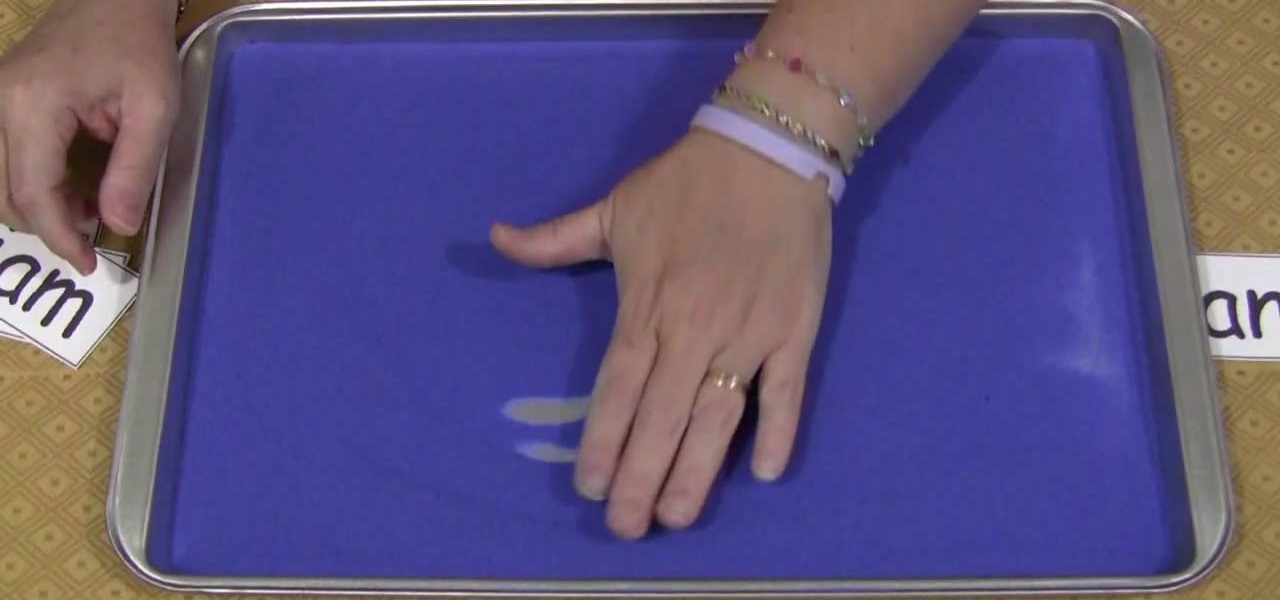
Shelley Lovett from Childcareland demonstrates sand writing as an early childhood learning activity. All you need for this activity is a baking sheet that is approx one inch deep and some sand. Colored sand makes it more fun for the kids. Shelley says the cheapest place she has found colored sand is at Wal-Mart, but it is also available at craft stores and perhaps even at Home Depot or Lowes. You spread a thin layer of the sand onto the baking sheet and try to make it pretty even. For very yo...
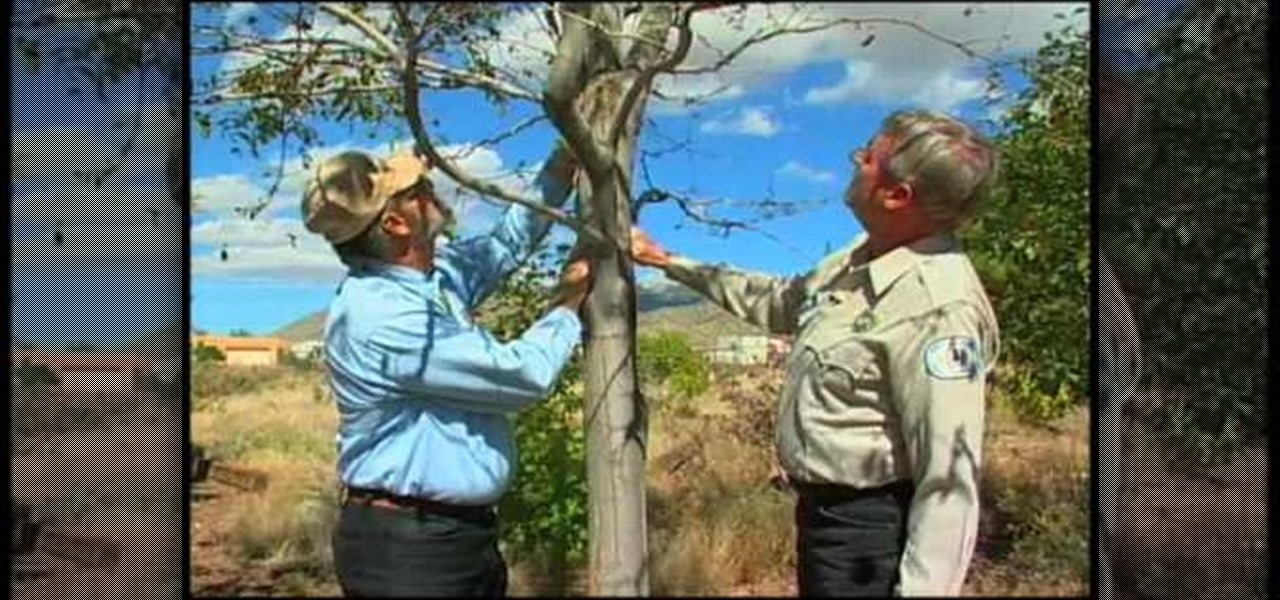
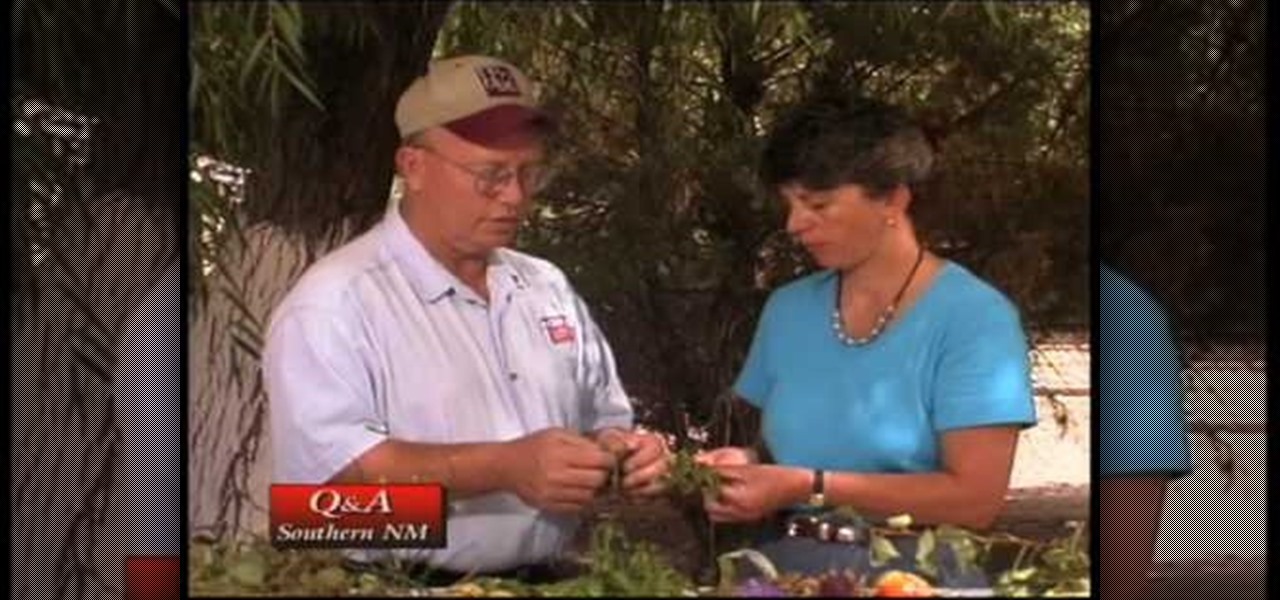
In this video, we learn how to identify common tree problems. If you use too much fertilizer you can find a burn scar that is left on the bark of the tree. You can avoid this by making sure fertilizer spikes are placed away from the tree. Tree splitting is also an obvious sign that a tree is in bad shape and needs to be cut and taken down. A common leaf problem is Pear Slug Damage. A great way to help this to use wood ash on the tree, which will kill the insects that cause this and it's safe ...
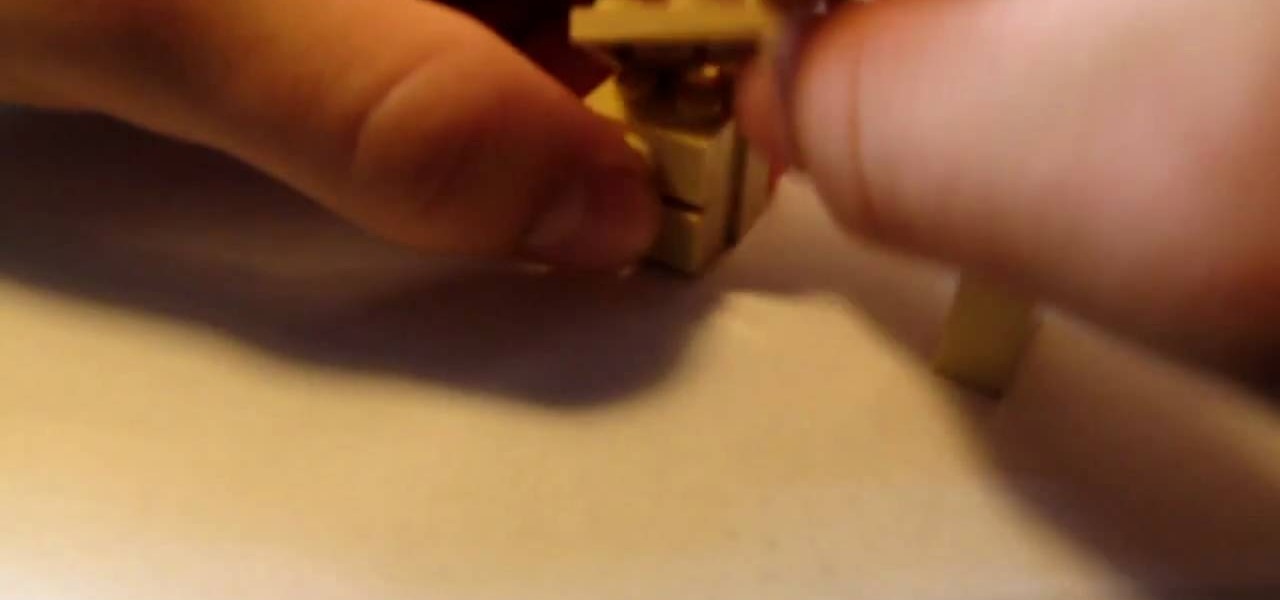
This video is about making a LEGO desk, which is used for placing computers. The video shows the first step by taking few pieces of wood and making into pieces. Then two of the pieces are placed one over the other and placed in the left side and the other single piece is placed on the right side. Another piece is placed on the top of the pieces placed in left and right positions. After everything is placed it gives the perfect shape of a computer desk and a toy computer is also placed on the ...
This video shows a demonstration of how to machine sew the binding of the quilt, especially the tricky corners. She starts with the binding already sewn onto the front of the quilt and points out how she made the corner like a little pocket. As she sews along the side and approaches the corner, she folds up the binding on the edge that's past the corner and pins it, so it keeps the corner in shape. Then she folds that entire edge up all the way to the corner, holds the corner down tightly wit...
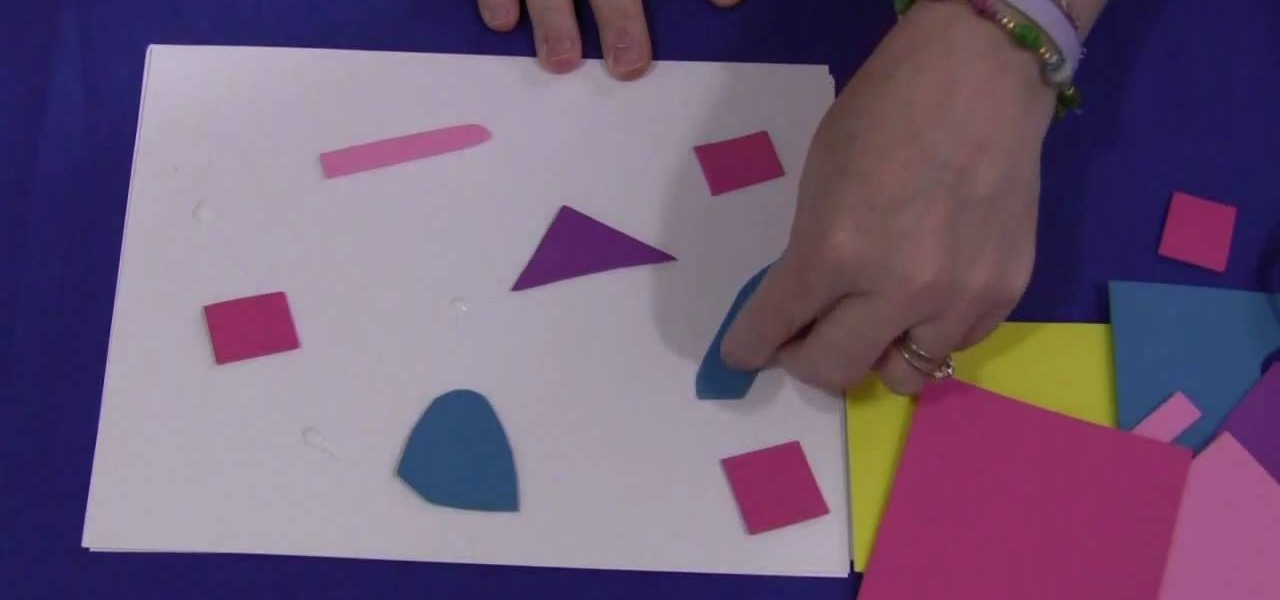
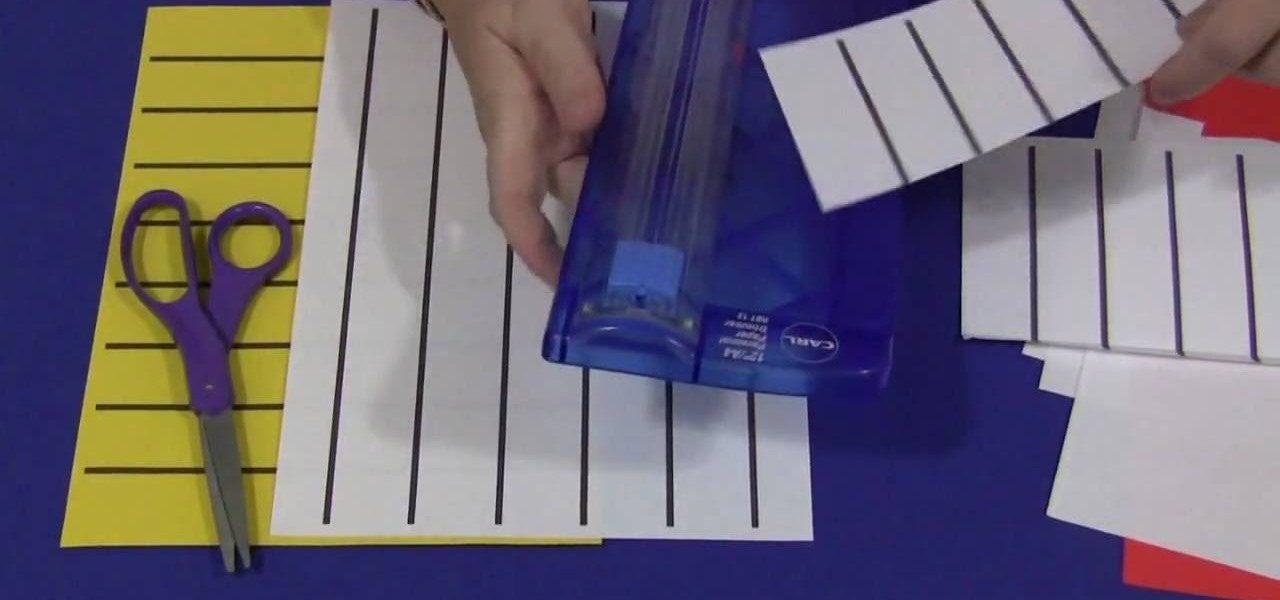
In this video tutorial, viewers learn how to make a foam collage. The materials required for this project are: card stock paper, several different colors of foam paper, scissors and glue. The project focuses on preschool, kindergarten, and elementary school crafts. Begin by cutting the pieces of paper foam into different shapes and sizes. Then simply apply glue on the pieces and stick it onto the card stock paper. Continue doing this to cover the entire sheet of card stock. This video will be...
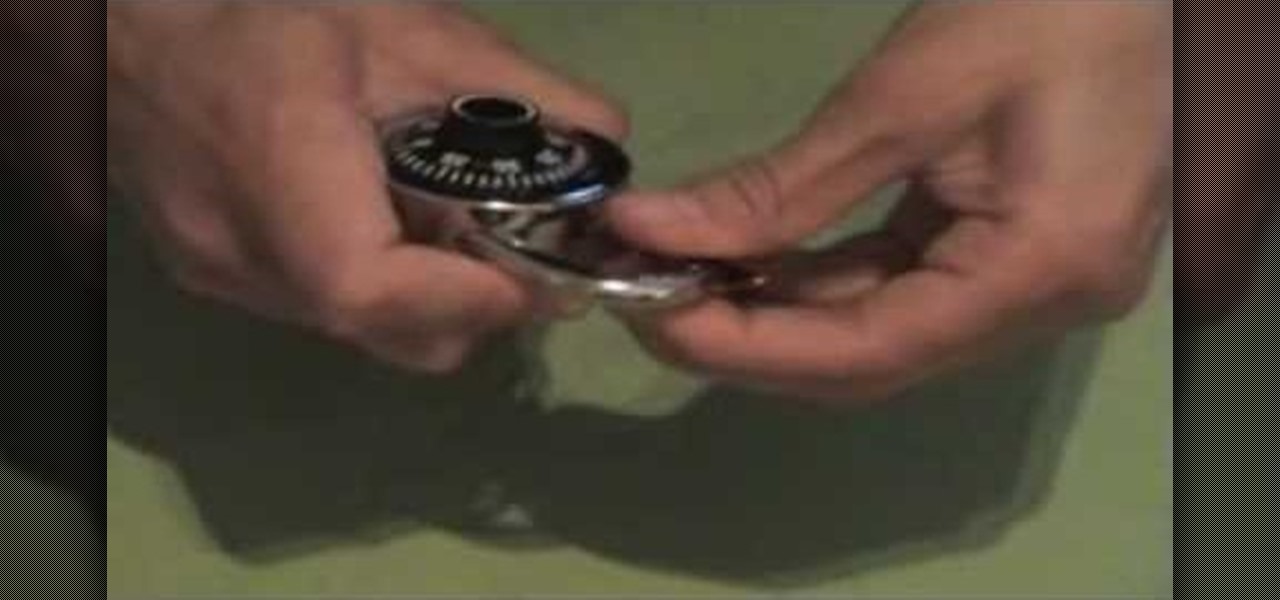
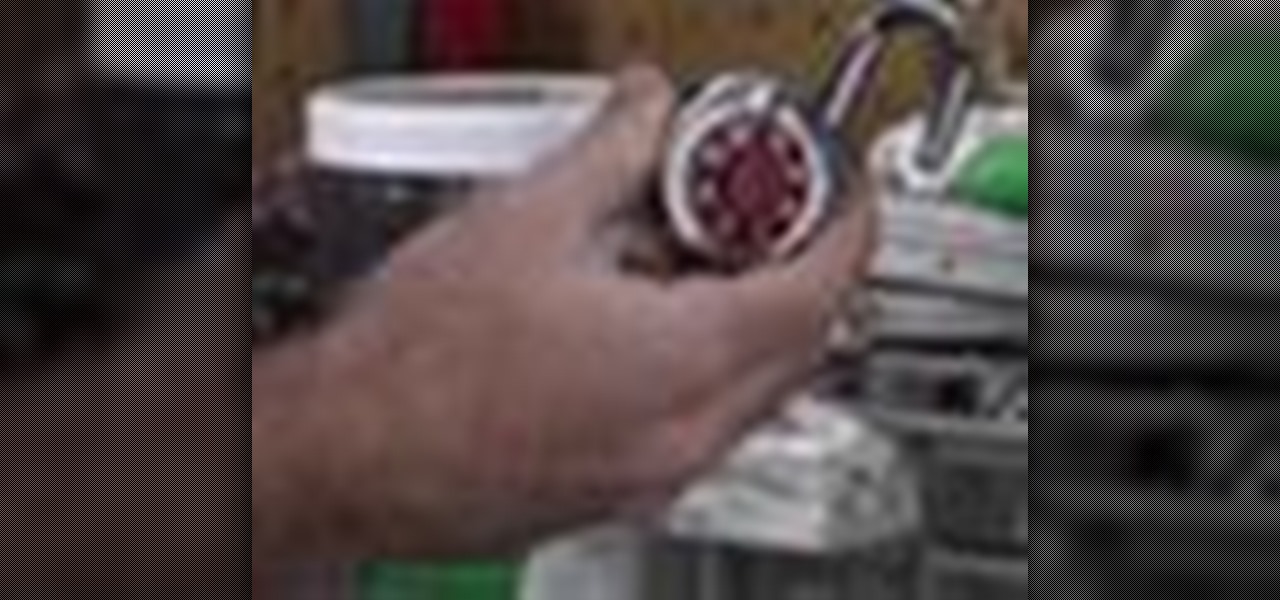
This is episode 3 of the series. You will learn how to hack a basic combination lock. Using some basic household items such as a can of soda, scissors and the lock. He demonstrates and takes you through 7 steps, such as cutting the top of the can off, cutting a rectangle size of the aluminum from the can, cut some lines and shapes into it, fold the tops inward and back. He then uses this contraption on the combination lock arm to slip the aluminum piece down into the lock to release the lock....
According to Shelley Lovett Pop Beads are a wonderful addition to any early learning environment. In this video Lovett starts by showing all of the different shapes, sizes and colors the Pop Beads come in. She also explains to the viewer where the beads can be purchased. Lovett then demonstrates how the unique construction of the beads makes it somewhat difficult to snap them together. Yet is it the required pinching and grasping that makes playing with Pop Beads so beneficial to developing a...
This video illustrate us how to identify problems with the rubber plant and the pomegranate. Here are the following steps:Step 1:First of all look whether both the plant leaves are in right shape that is they are not deformed, in case if it is then look for any bacterial or fungal infection.Step 2: Look whether there is any yellowing of the leaves. If so this may be due to over watering.Step 3: Look for whether there in any latex blocking in the rubber plant, if so then remove it or latex won...
Shelley Lovett has some tips for helping a young child learn how to use scissors. The first thing you need to do is make sure you have paper and child size scissors available for the child to use. A full sheet cut in half is usually more manageable for a young child to work with. Have the child take the paper and just make cuts into the paper however they feel comfortable. Using colored paper can make it more interesting for them. After that very beginning practice stage has been accomplished...
Did you lose your key or forget the combination to you lock? This tutorial is here to help you with tips on how to pick just about any combination or padlock without breaking them. All you need is a few household items and a bit of patience and you will be on your way!
Everyone wants to have a pretty young thing on their arm, but not everyone can get it. To secure perfect trophy wife of your dreams, you need to meet a few criteria. Check out this tutorial and learn the do's and don'ts of dating younger ladies.
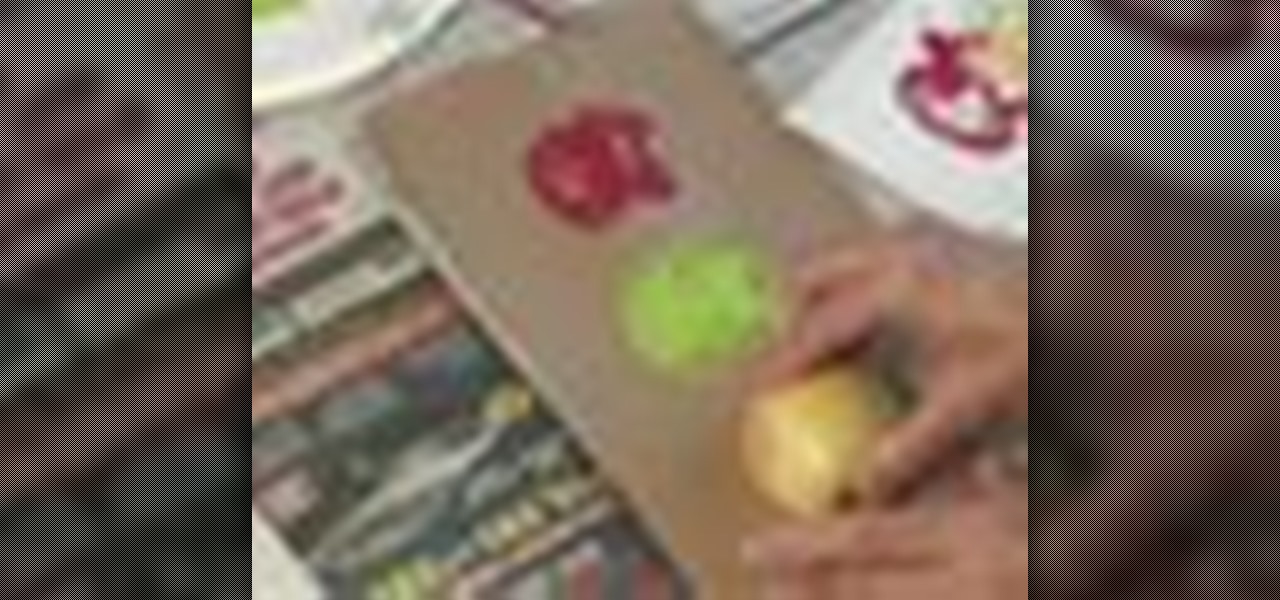
Here's a great craft project you can do with kids or in a classroom. You can use an apple half to stamp apple shapes onto everything from lunch bags to tote bags. This is an easy and cute project to do for the fall.
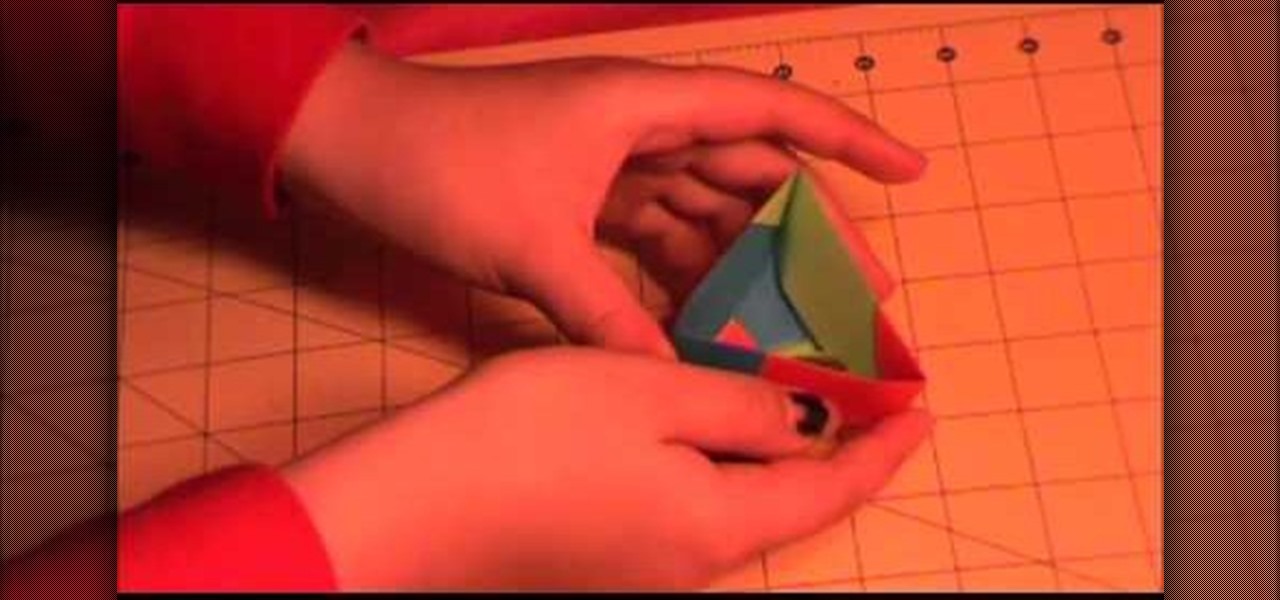
The Amazing Origami channel takes you through step by step instructions of how to build a triangle origami box in this video. Six pieces of origami paper, three different colors, are all the supplies you will need to make your very own box! First, separate the origami paper into two groups of three, all three colors should be in both groups. These groups will make the top and bottom of your box. The three pieces of paper used for the bottom will all use the same folding technique, this is als...
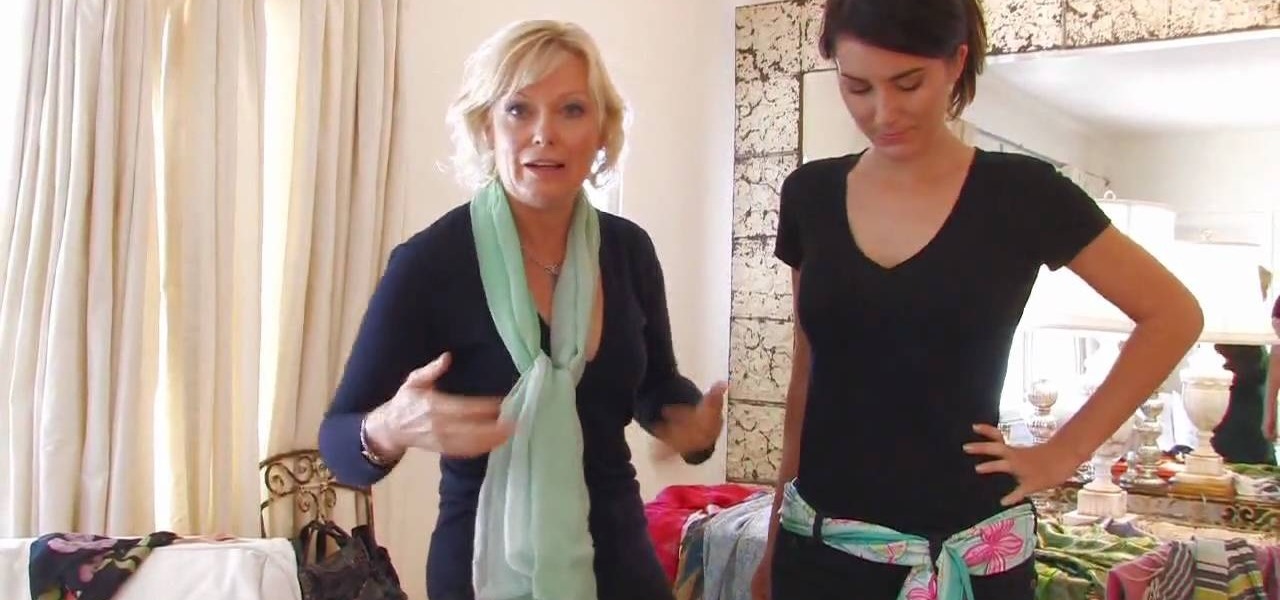
In this Modern Mom video, costume designer and fashion consultant Cate Adair shows how to wear a spring scarf. She shows how to use a long thin scarf as a belt. She threads the scarf through belt loops and tying it in a simple knot around the belt loop at the end. During the video, she discusses using fabric as a scarf, or changing the width of the scarf depending on body shape. Finally, she uses a large square scarf folded in half from corner to corner to tie a "sarong" style splash of color...