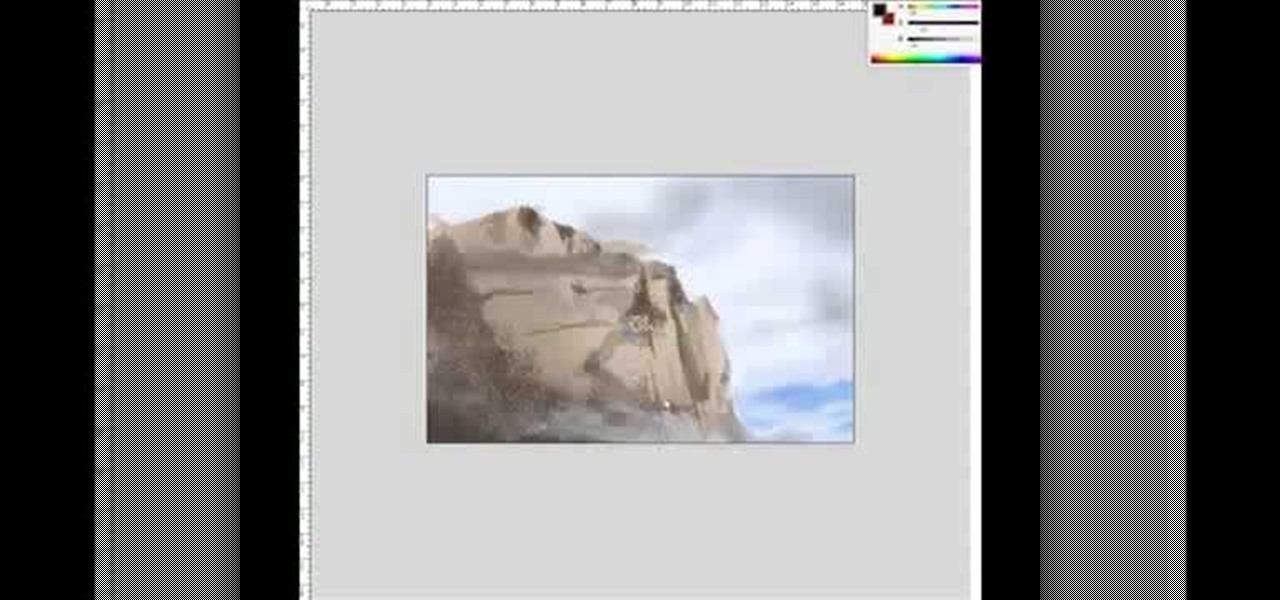
How to draw and paint rock cliff mountain environmental concept background. This landscape scene is created in a video demonstration using Photoshop. his step by step video shows you laying down the base color, blocking in shape for painting, assigning value and color composition, and refining detail for the final concept painting.
Now that the holiday season is right at our doorstep, you'll probably be doing a lot of blending, cutting, brining, and baking over the next two months. Which means it's more important than ever that all your kitchen utensils are in tip top shape.
What do you look forward to most during the holiday season? Sugar cookies sprinkled and iced into a cute snowman shape are always enjoyable, but for us it's all about the decorating. There's nothing quite like putting on Bing Crosby and affixing ornaments onto the tree while sipping hot cocoa.
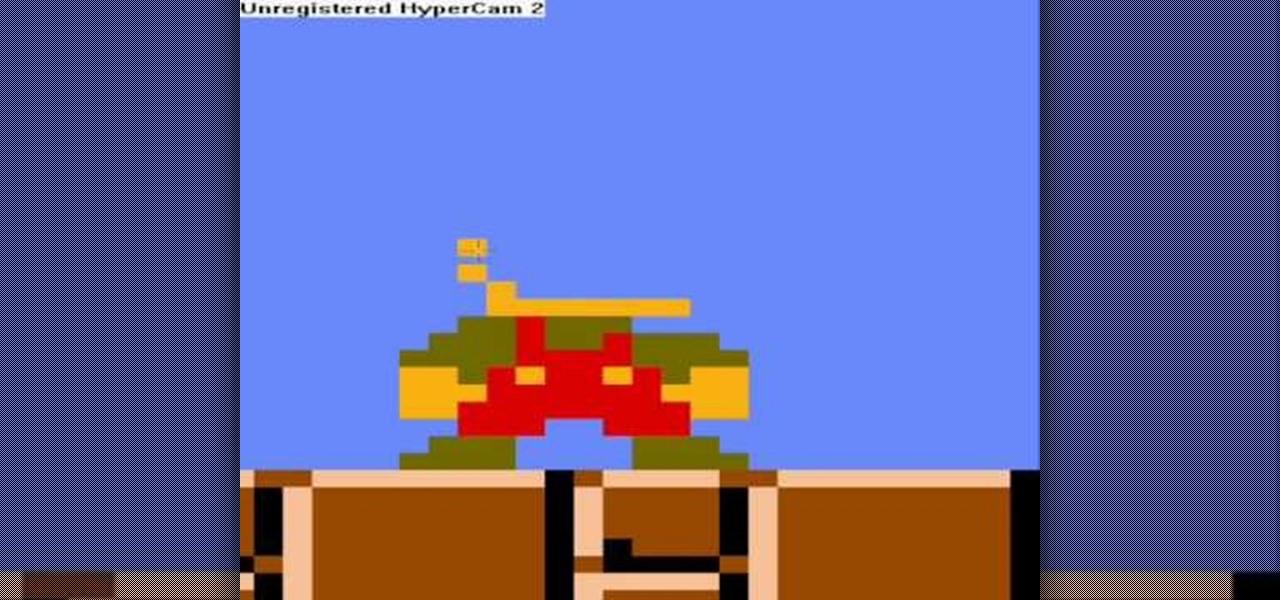
This video shows how to make the original 8-bit Mario using only pixels. The first step is to use three dark brown pixels to create a stair like shape for Mario's feet. The next step is to create his pants by making a 6x6 red square which is attached to the characters feet. The body and arms are created making the same sized red square out of pixels. The arms are made as various straight lines which are made up of about four pixels each. the last step is to make a 4x4 tan colored square for t...
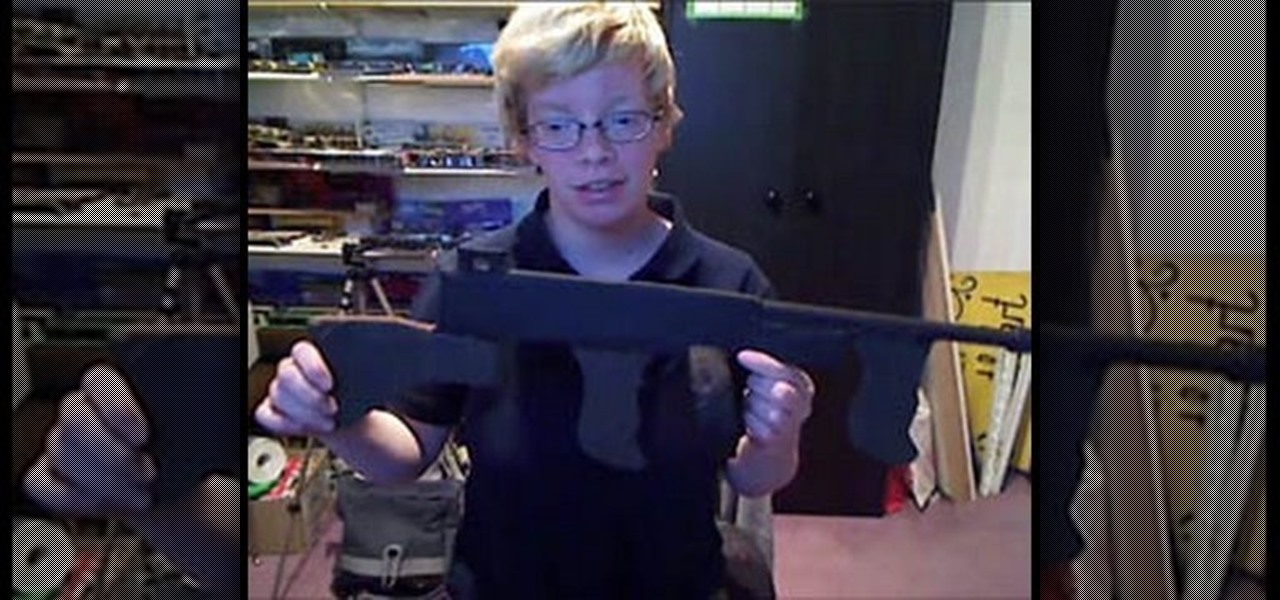
This video begins by showing the necessary tools needed to make a prop tommy gun out of a cardboard base. The first step is to trace a simple handle shape on the cardboard and repeat eight more times until you have eight exact copies of the handle. Then using an image of a tommy gun make an outline on the gun to cut in another piece of cardboard. You must cut and make eight more copies of the entire gun body to have the appropriate thickness for realism. The handle must be glued to the gun bo...
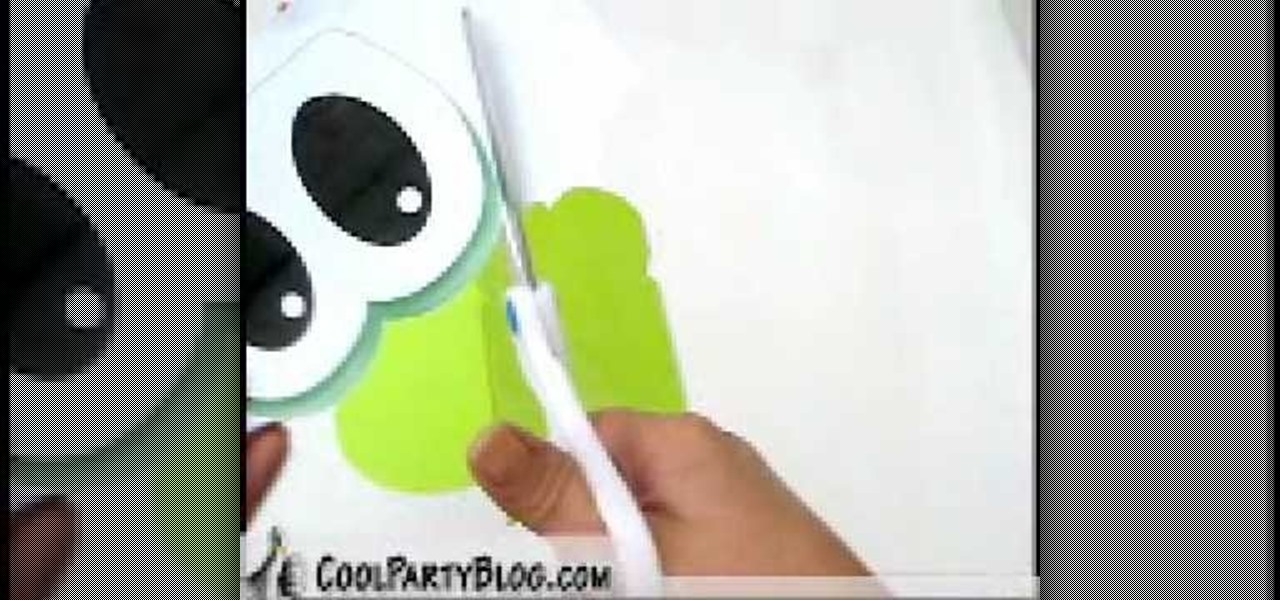
In this video, we learn how to create custom Yoshi loot bags. First, take some lime green paper bags and cut the top of them so they resemble the shape of Yoshi's eyes. After this, print out lots of Yoshi's eyes on a white piece of paper. Cut out the eyes from the paper and then put glue on the back of them. After this, glue the eyes onto the paper where they belong. When finished, let this dry and you will have a cute Yoshi bag to put little treats in! You can follow the template as well if ...

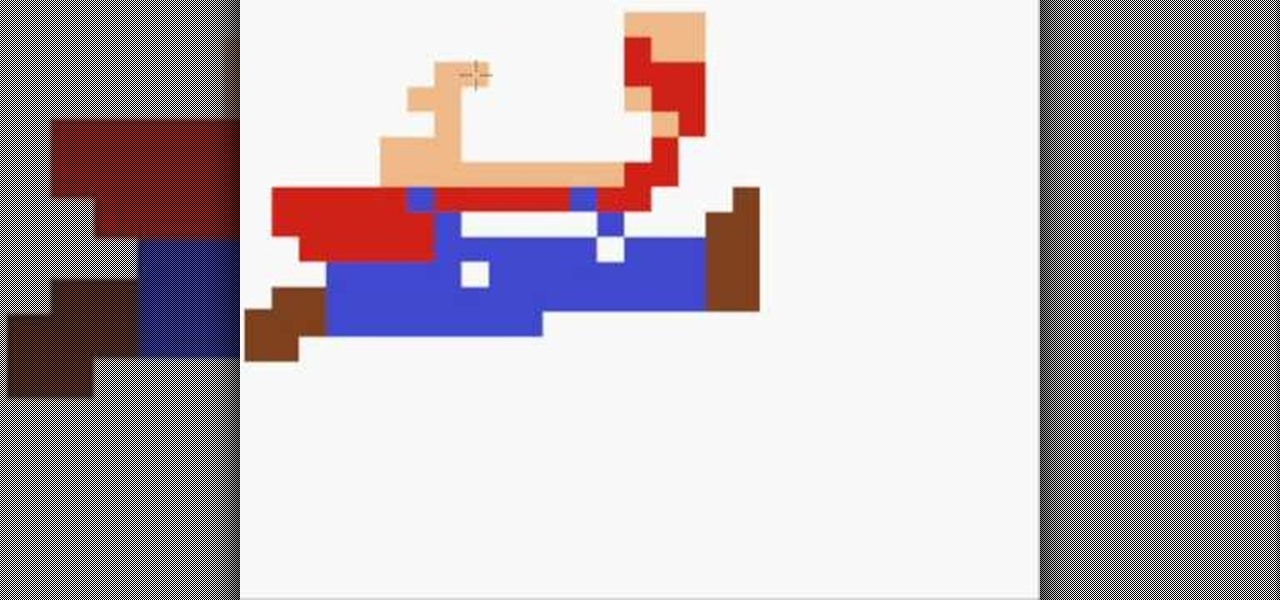
In this video, we learn how to draw an 8-bit Super Mario jumping. To start, you will use a square paint tool on your computer to create rectangles on the blank sheet. Use red, tan, brown, white, and blue to create the character. Use the square too to draw in the shape of Mario, making his legs spread apart to show he is jumping. Use white to create open space and make sure to show the edges of the squares to make the drawing more realistic. When finished, add in any additional details, then y...
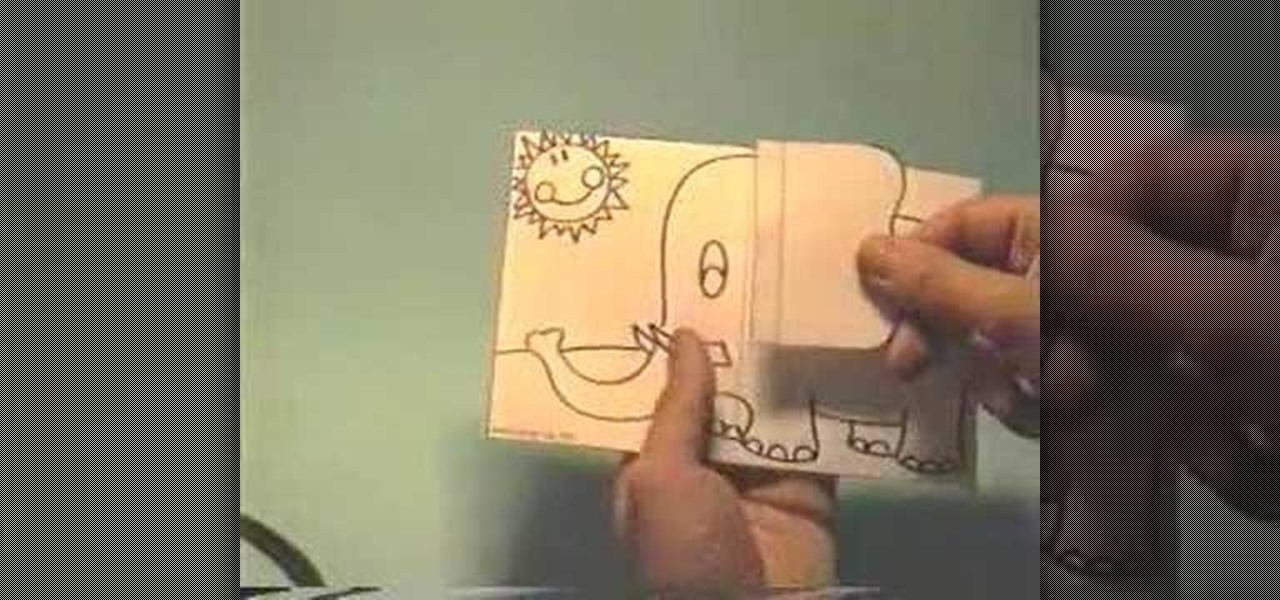
In this video we learn how to make an elephant pop-up card. First, draw a picture of an elephant on a 4x6 card. You can make this anyway that you want and put whatever other characters on it as well! After this, clip a small piece of paper into the shape of an ear. Then, glue the side of it and place it onto the elephant. The other half shouldn't be glued so it will flap up! Then, put this on the inside of a card and color it. When the person receives it, it will be a pop up card, enjoy!
In this tutorial, we learn how to draw the 8 bit Super Mario. First, use a ruler to make a rectangle on the bottom of the paper, then color it red. Make another one under that, larger than the first. Then, continue to make rectangles under each one, making the shape of Mario's face with just rectangles. Color in the rectangles with a tan color, red color, and burgundy color. Continue all the way down the page until you have created the character's entire body. When finished, color in the rect...
This video contains different techniques to draw Naruto Sage Mode. The first step is to draw the basic outline of the characters face along with the ears and nose. After completing the basic outline the eye outline and details are then placed. The Lips and nose are drawn third to finish the basic features of the character. Dark shading around the eyes must be completed to give Naruto sage mode more realism and detail. The hat is one of the last parts of the character created involving a simpl...
In this video, we learn how to make & decorate an American flag cake. To make the cake, you will need a cake pan that is in the shape of the flag. After you bake the cake and it has cooled off, then mix up red and blue frosting to go with the white. Use a pipe with frosting in it to start to pipe the different colors for the stripes onto the cake. Leave a small square where you can put the stars. Then, use a star pipe to place on the stars to the upper corner of the flag, then let it set and ...
In this tutorial, we learn how to make a Deadpool sword. To do this, you will need: a marker, scissors, hard plastic, cardboard, silver spray paint, duct tape, saw, electrical tape, sandpaper, and hot glue gun. First, cut the plastic into three thin knife shapes. Then, use sandpaper to smooth edges. Then, use the cardboard to create three layers of a rectangle. Make the corners round and then tape around them with duct tape. Put a hole in the middle and then put it into the plastic. Now, glue...
Sonic the hedgehog is the titular character of the media franchise of the same name which has spawned numerous games, animated movies, comics and TV series.
In this tutorial, we learn how to draw curvy steps using pens. To start, you will first draw a horizontal line with a point in it. From here, you will need to draw lines coming out of the point. These lines will act as your reference point for the different items in the drawing. Next, draw the steps using the reference points. The one at the bottom should be larger, getting smaller as you work your way up. Draw these using the triangle shape in sort of a wedge. Shade in the bottom area to cre...
In this tutorial, we learn how to draw hands in the anime style. When you are drawing hands, they have a square look to them. So, start out with that shape and then start to draw the fingers onto the hand. Indicate where the joints will be and then you can further elaborate with the fingers. Make sure you make the fingers the correct sizes. The pinkie should be away from the wrist, as well as the thumb. Use a line to help center all of the fingers and then draw them around this. When finished...
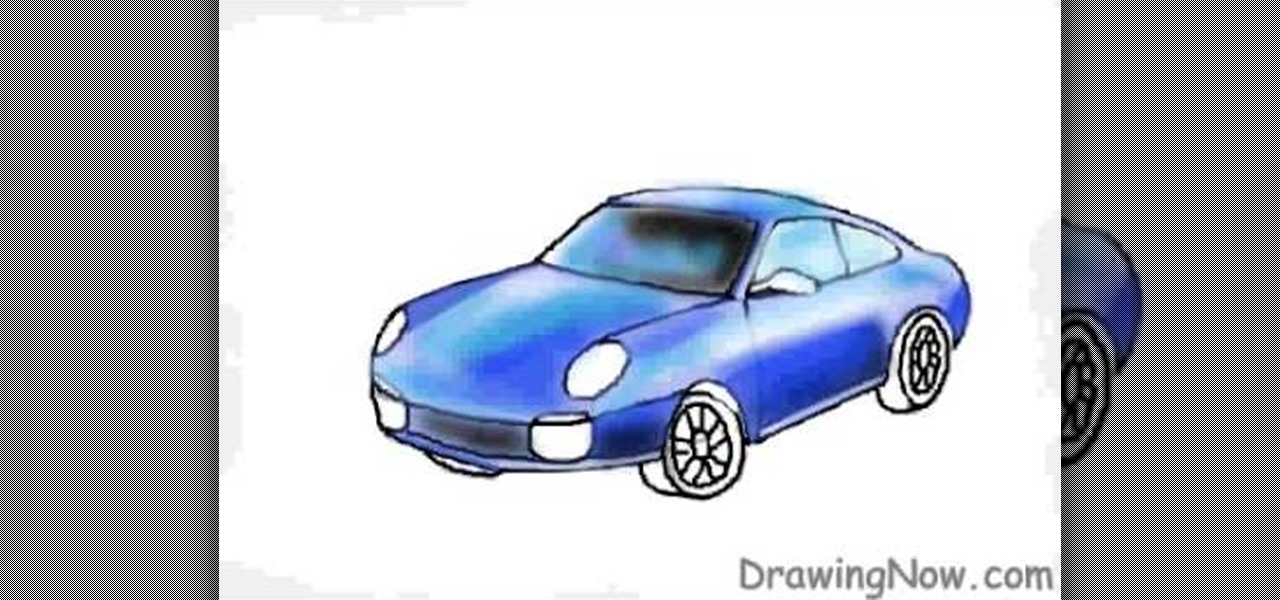
In this video, we learn how to draw a Porsche sports car. Start off by drawing an oval type of shape with lines to make the top of the car. Then, draw in the rest of the outline of the car and add on the wheels and the front of the vehicle as well. From here, you will start to add on the details to the front and sides of the car, as well as on the bottom. Use crosshatching and shading to make it appear realistic. Once the details are on this, use color to add a more in depth look to the car. ...
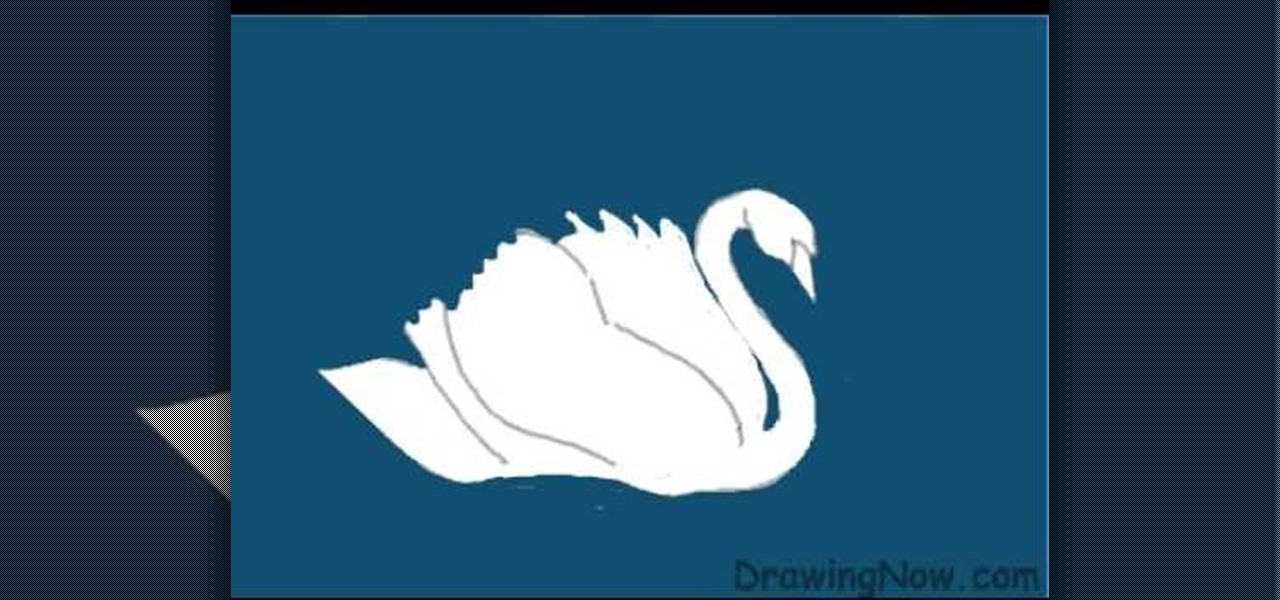
In this video, we learn how to draw a swan. First, draw the head and the neck, then draw an egg shape for the body. Next, draw in the wings for the swan and erase any background lines to make it look more realistic. From here, add in details to the face and make the beak more apparent. Then, you will color in the background and color the swan white, adding in lines for the feathers. After this, use white and grays to create a reflection underneath the swan. Then color the swan with light brow...
In this tutorial, we learn how to decorate a bronze beauty cake with fondant. Start off by coloring the cake with a light bronze or buttercream color. After you do this, you will need to mix up some medium brown colored icing and place it into a piping bag. When you do this, you will pipe this all around the sides of the cake. When you finish with this, you will color the fondant the same color brown and then roll it into a circled shape to make beautiful flowers. Lay these on the cake and th...
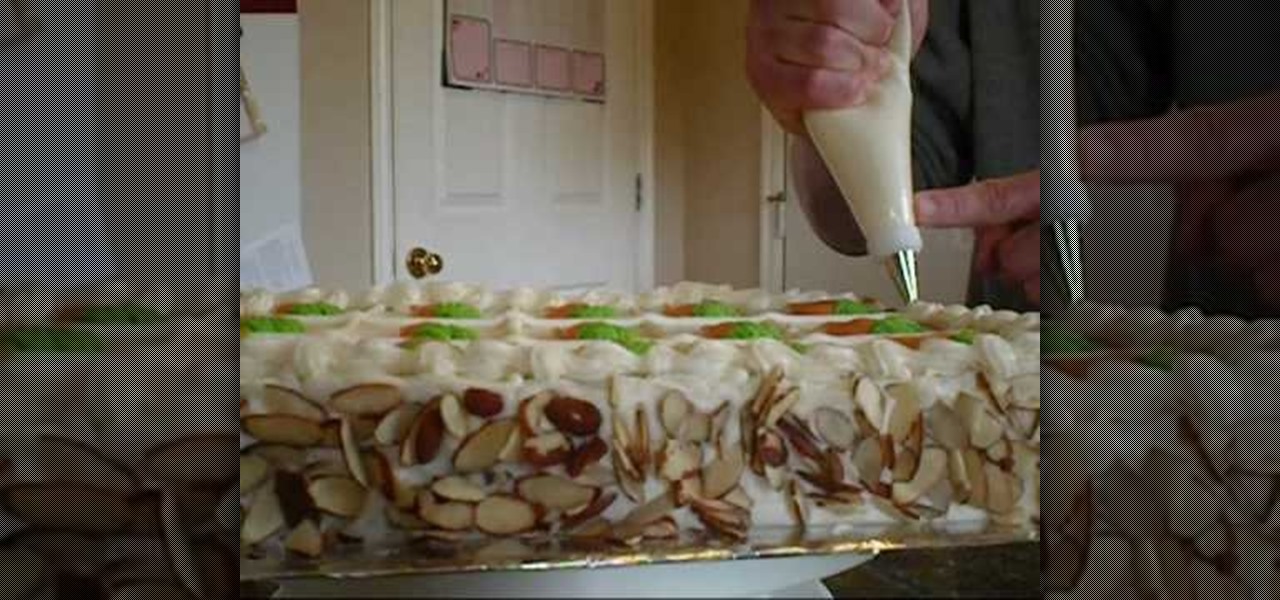
In this tutorial, we learn how to decorate a carrot cake. First, apply icing all over the top and the sides of the cake. After this, apply sliced pecans to the side of the cake using your hands to press them on. After this, use your icing to create squares in the cake to make equal size pieces. Then, use orange and green icing to create carrot shapes on all of the individual squares. Once you're finished making the carrots, you will be ready to cut this up and serve. If you want more icing, y...
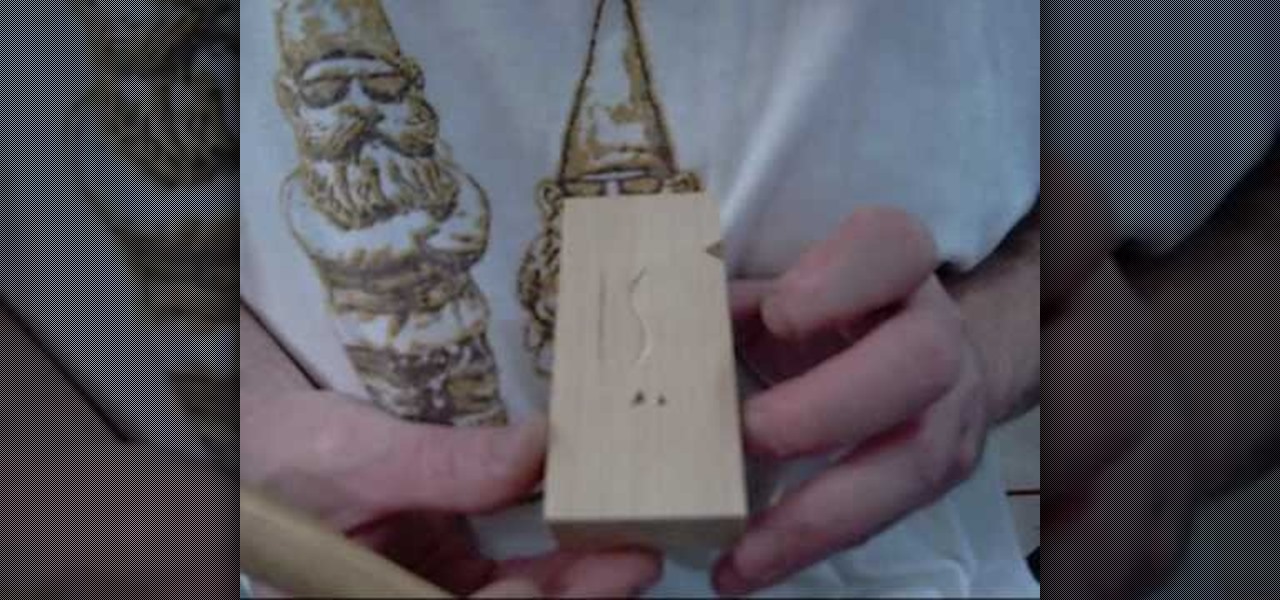
In this tutorial, we learn how to begin using a woodcarving knife. Before you go into the detail, you will want to make sure you have it carved right. The carving all starts in the block of the wood. There will be a couple initial cuts that you will do with a knife after marking the wood with a pencil. Do repetitive cuts to get the right shapes. Also do an 's' curve and hit the lines right. If you want to make this look like a v-tool then you just need to make it with your knife. Have fun and...
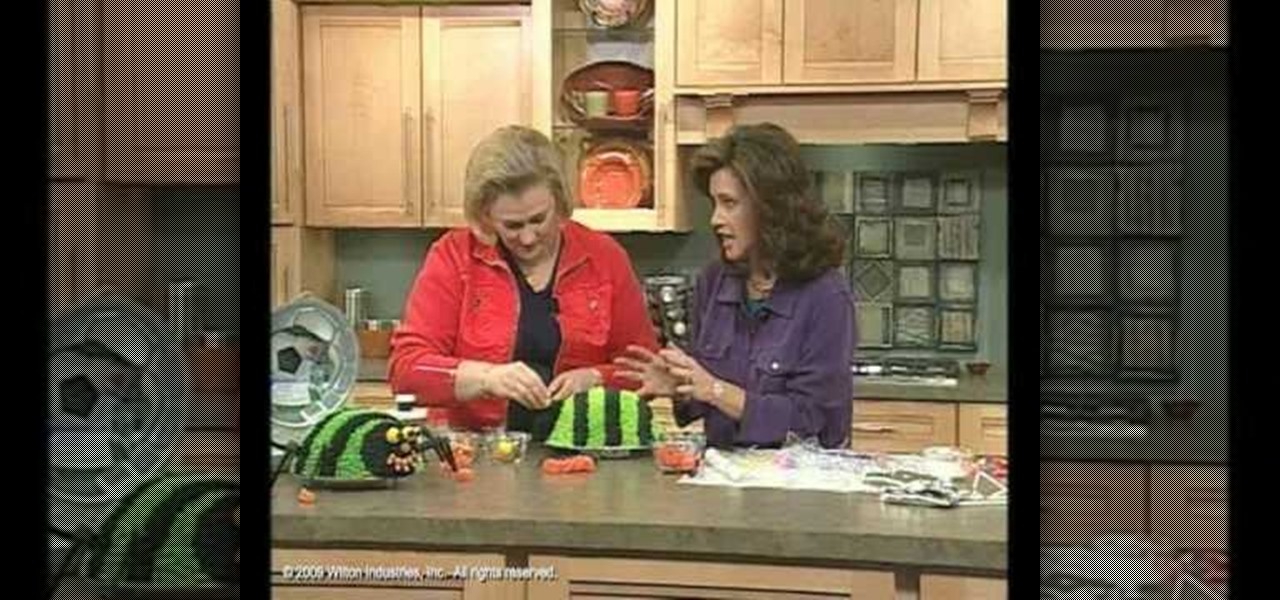
In this tutorial, we learn how to make and decorate a spider cake for Halloween. First, you will need to bake cupcakes and then use these to help shape the spider. After this, use green and black frosting in a tube to create a spiked look for a pattern of each all over the cake. After you finish decorating the spider with the frosting, use gum drops to decorate the eyes and use candy corn to make the teeth. Then, stick black licorice pieces on the sides to make the legs, with orange slice gum...
In this video, we learn how to draw Captain K'Nuckles. First, draw a cucumber type shape then draw a pirate hat on the top. From here, draw in the simple oval eyes and then draw in the nose. After this, draw in the mouth and the teeth, then shade in underneath the eyes. From here, draw in his arms and his fingers as well. Then draw and color in the clothes he's wearing and draw rectangles for his feet. After this, clean up any stray lines on the drawing and then add in shading to make the cha...
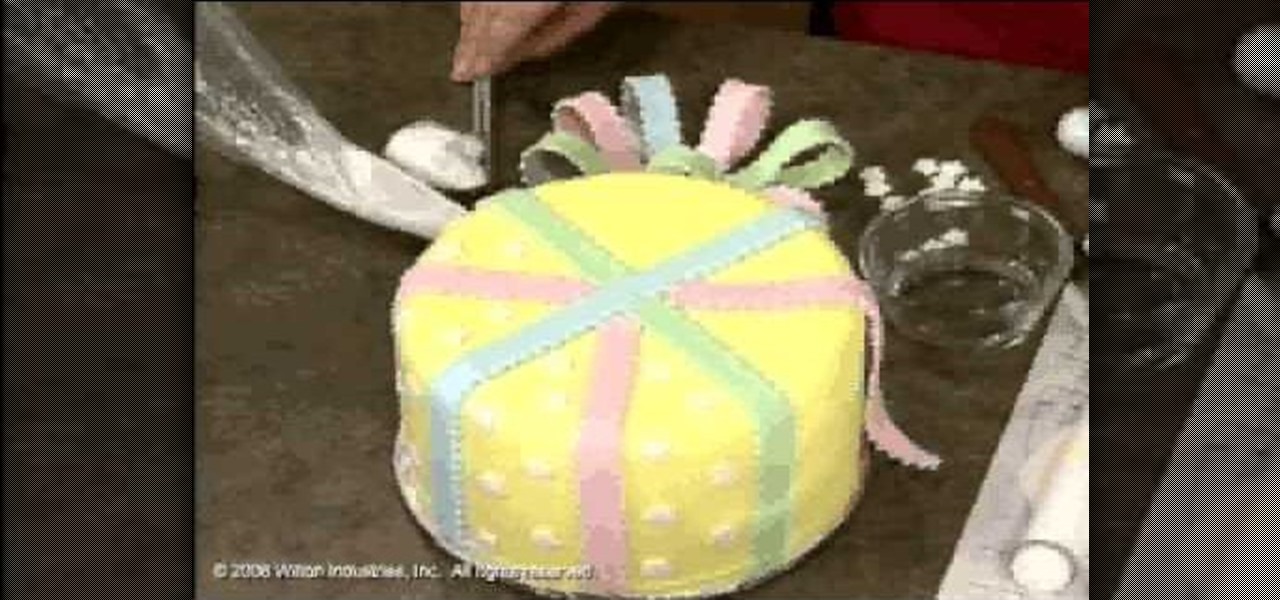
In this video, we learn how to use fondant when making & decorating cakes. Fondant is a dull type of sugar paste that you can form different shapes with and add colors to. When you add the color to the fondant, simply work it with your hands until the color runs all the way through and is smooth. Roll it out when finished, then you can apply it to the cake. To apply it, you will simply drape the fondant over the cake so it's hanging off on the sides. Then, flatten it out on the top and sides ...
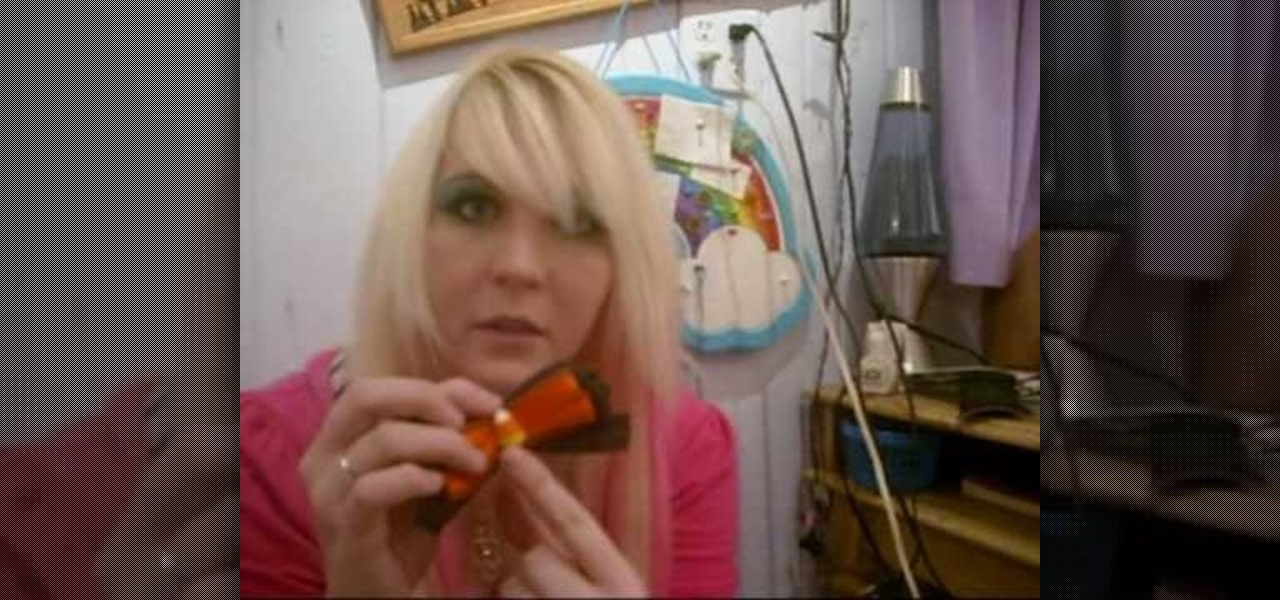
In this tutorial, we learn how to make cute little hair clips. These will add a fashion statement to any hair style and they are easy to create! To start, you will take some thin ribbon and bend it all together until it creates a large ribbon. After this, you will wrap it together in the center until it's a bow shape. From here, add in more colors or accessories. Then, use a hot glue gun to attach a clip to the base of it. Let this dry and then you can clip it into your hair! Make a lot of th...
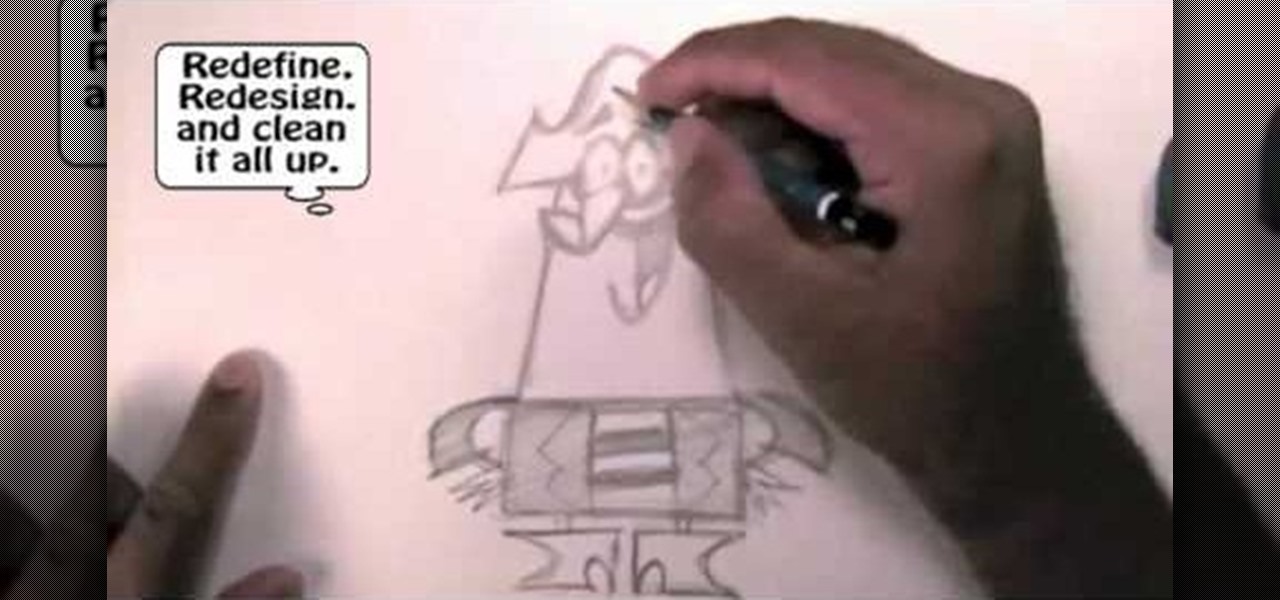
In this tutorial, we learn how to draw substitutions in Toon Boom Animate. When you are inside of the program, you will see the 'drawing substitution' preview window on the side of the screen. Create the animation how you like it, using different shapes, colors, etc. You can use the high camera map to see how it looks an make a mat to put around the stage. Once you're finished, save this to your computer and then extend out the timeline. To animate him, hit F5 and then drag out the length of ...
In this video, we learn how to make rock salt animals with your kids. You can use any kind of animal including a snake or alligator. To start, cut out the shape on a piece of white construction paper. After this, you will need to mix up some water color in a shallow dish. You can make this by mixing up water with some food coloring. Now, dissolve the rock salt into it and then let the child brush the mixture onto the top of the piece of paper. Let this dry overnight, then when finished it wil...
In this tutorial, we learn how to make a colorful paper turkey. For this, you will need: colored paper in red, orange, yellow, white, black, purple, and brown, a bag, scissors, and glue. Now, take the orange, purple, and yellow papers and cut out two teardrop shapes of each. Then glue them to the top of a brown paper bag. Then, cut out eyes using the black and white papers. Glue these onto the top of the bag to make the eyes, then use the brown to cut out the sides of the turkey, and glue on....
In this tutorial, we learn how to create a nice drawing composition. First, use your pencil to sketch a light outline of the still life objects that you're drawing. After this, you will add in lines on the side of them for their shadows, then shade the area in between the lines in. Next, you will darken up the sides of the shapes to make them appear more in-depth and make them look more real. Use your pencil to blur the pencil markings and make everything look more realistic. When finished, y...
In this video, we learn how to create a marbleized water look with icing. This is a colorful and eye catching way to put icing on a cake to make a memorable piece! First, spoon your icing into a small bowl and then make a rice cereal treat and shape it into a circle. To start to decorate this, you will pipe on green icing to the sides and front of the ball to make it look like a fish. Then, pipe some of the icing onto a flat surface with red confectioner's sugar. Once this is covered and hard...
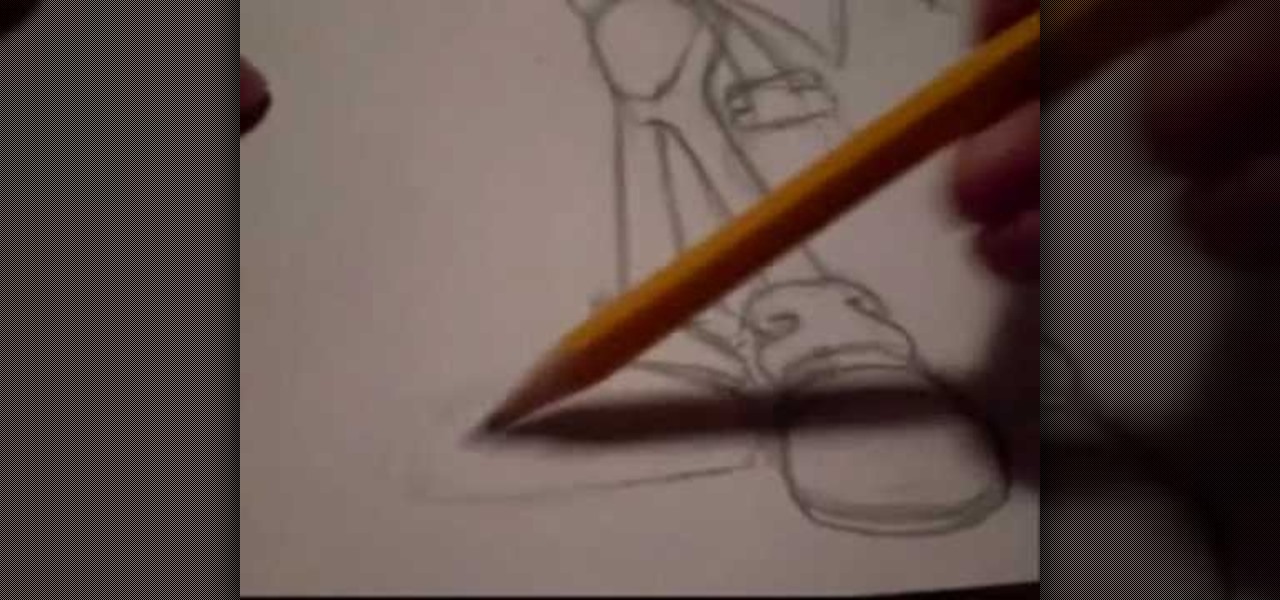
In this video we learn how to draw hands without references. First, draw the basic structure of the hand using a photo to make sure it's true to size. After this, draw on boxes and circles to create the wrist, hand, and the knuckles. Then, you will draw on straight lines for the bones in the thumb. After this, start to add details of the fingers and make out their basic shape. As you continue with details, erase any background lines and start to add lines in for wrinkles on the skin. Finish t...
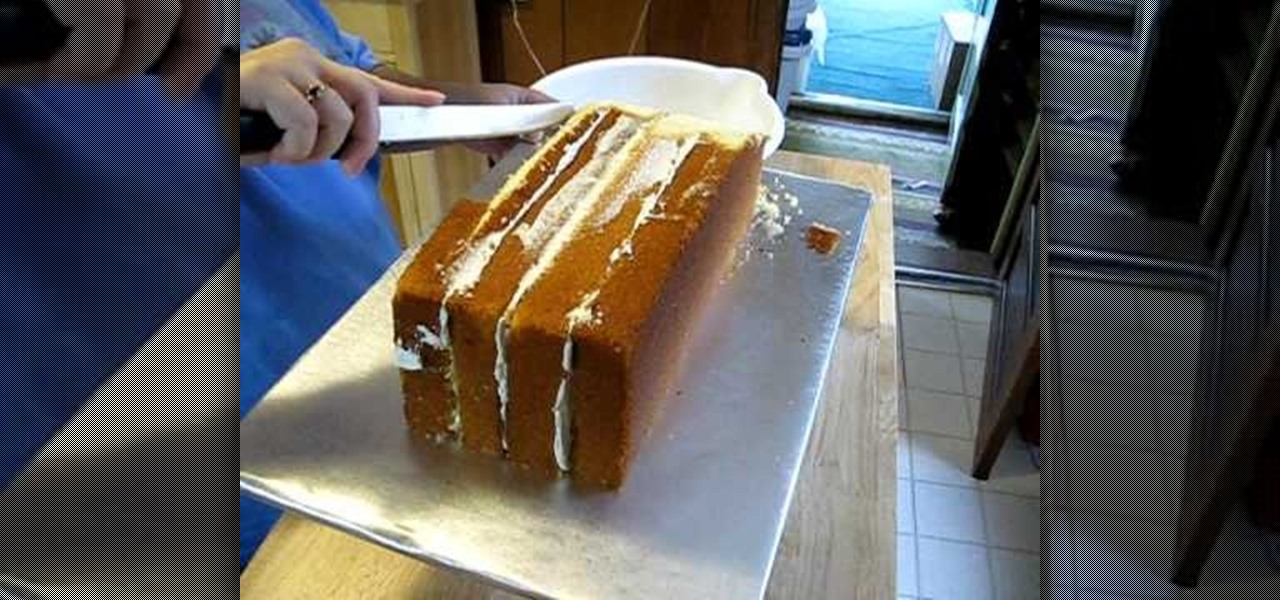
In this video, we learn how to make a VW beetle cake with buttercream. First, you will need to apply the buttercream icing onto the top of your cake and the sides. After this, you will pile on the other cakes to this with more icing inside of each layer. Then, you will start to cut the cake and it into the shape of the car that you want to make. Use an outline so you can follow it while you are making it so you know exactly how it is formed. Next, you will add in the parts for the wheels, the...
In this tutorial, we learn how to make a paper flower using napkins. First, roll the paper over to one side and then start to roll it up with the other side as well. As you do this, the napkin will start to roll into the shape of a rose. When finished, you will pull out the edges to create different lengths with the petals. After this, use a green napkin to create the stem of the flower, making a small leaf in the stem by ripping it. When finished, continue to make these to create a beautiful...
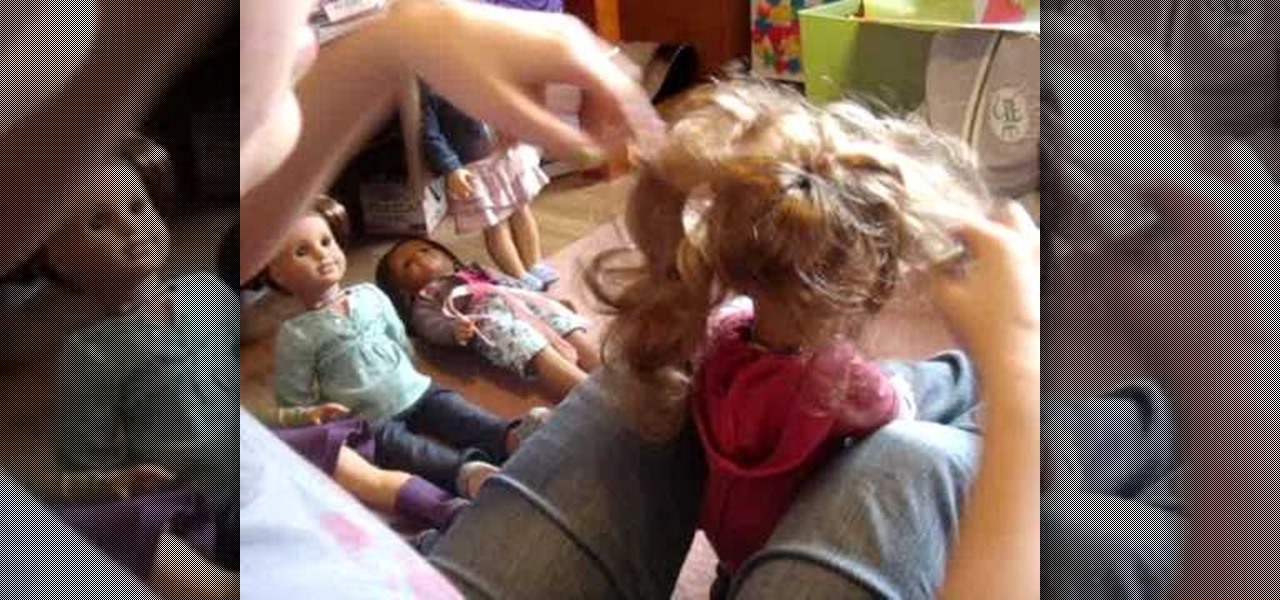
In this video, we learn how to do an adorable hairstyle on your American Girl doll. You will need: two ribbons and four rubber bands to do this. First, brush her hair all the way out so it's smooth. Then, part the hair into two sections on the left and the right. After this, tie the right side into a high ponytail and then tie the left side the same way. From here, you will shape a bun into the top of the hair band and then let the rest hang down. Next, you will tie a ribbon in each side into...
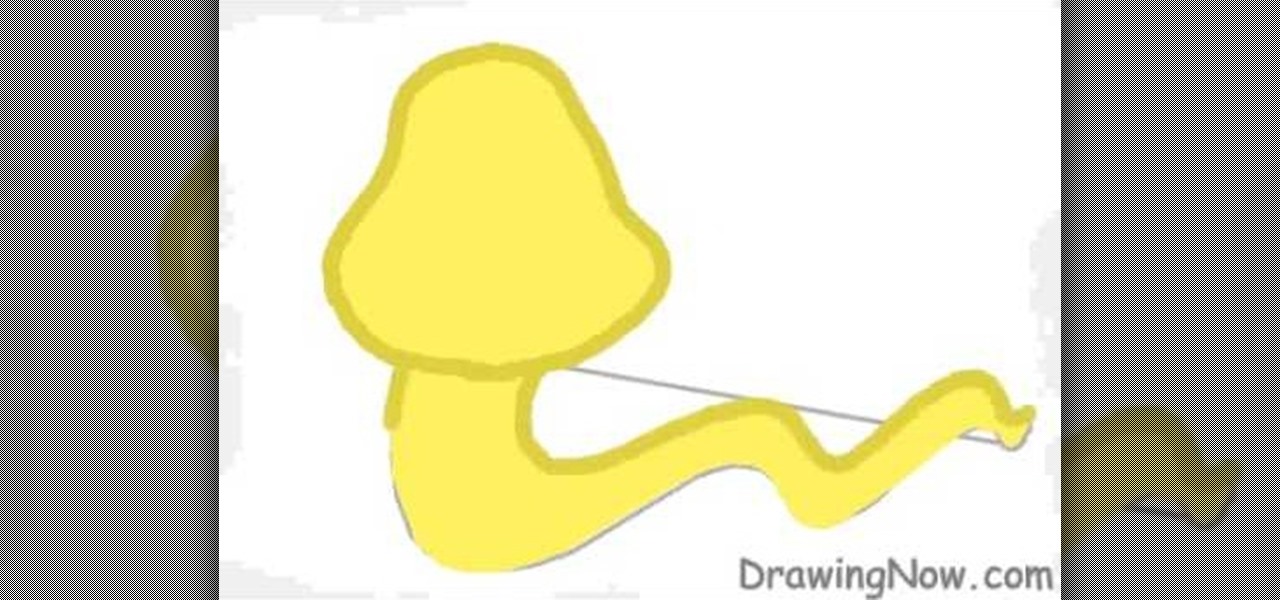
In this tutorial, we learn how to draw a cute snake. First, draw a bell shape for the head, then draw a thick squiggly line for the body of it. After this, color the snake yellow and then outline it with a dark green color. From here, add stripes to the snake in hot pink. Next, you will draw on the face to the snake. Make sure to give it a friendly smile and draw the stripes on the top of the head. Next, you will draw on the tongue, giving it a long one with two triangle edges. This will fini...
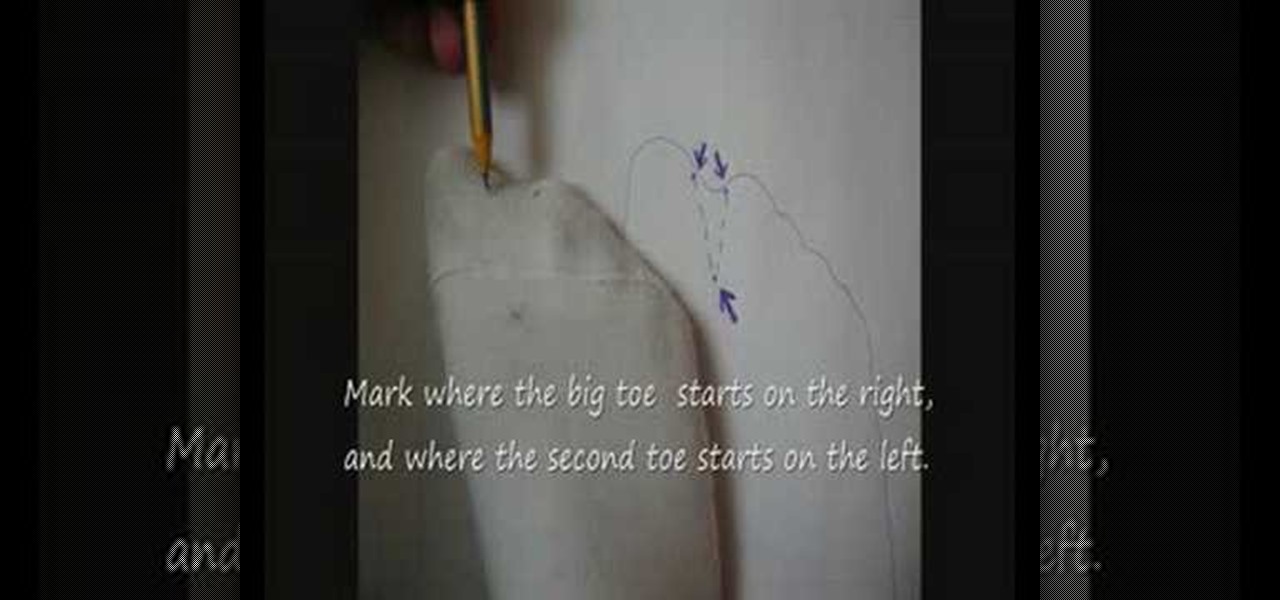
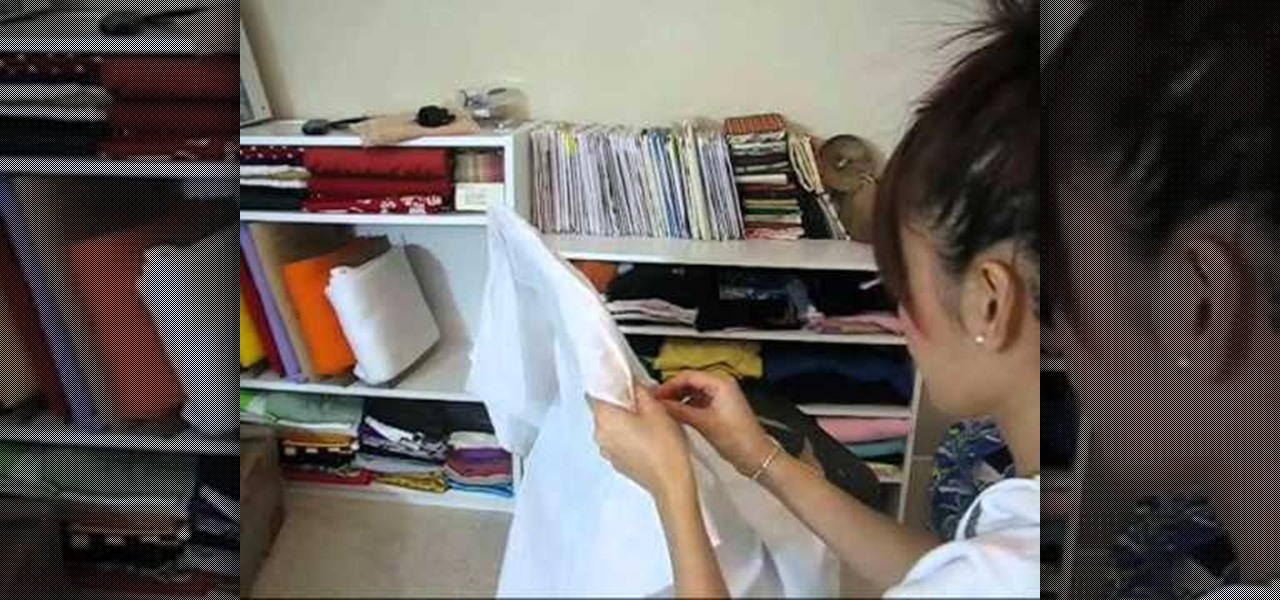
In this video, we learn how to make Tabi socks. You will need: pair of socks, thread, a needle, and scissors. First, you will turn the right sock inside out and put on your foot. Then, you will spread your big toe and second toe out as much as possible. From here, you will use a pencil to mark on the foot where you want to cut. Then, take the sock off and cut it out where you marked it. Take the needle and thread and sew along the shape that you cut out, to create separation between the toes....
In this tutorial, we learn how to pick up stitches along a curved edge. You can see the slope on your fabric that you can work with. If you slip the first stitch you can avoid this. First, slip the first stitch and then bind off the next stitch as usual. This will create a nice curve. To pick up stitches, you will use a circular needle and then poke it through the area in the last row. Find a 'v' shape and then push the needle through this. Pull through just like you are normally knitting and...
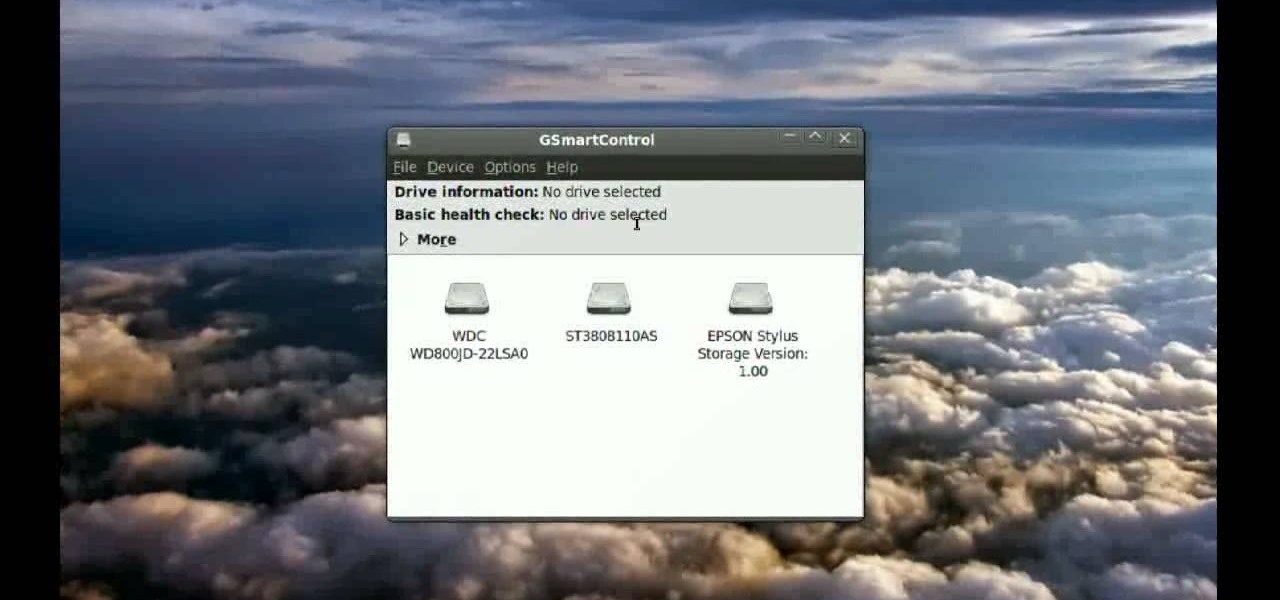
With this video, we learn how to tell if your hard drive is failing in Ubuntu Linux. If you have a failing hard drive, it will start making noises like clicking or grinding. If you hear these noises coming from your hard drive, you will need to get a new one before it fails completely and you lose all your data. You could have a failing hard drive but it doesn't make any noises. Hard drives come with a monitoring system so you can see what shape the hard drive is in. To see this, open up the ...
In this tutorial, we learn how to draw a skull. First, draw the letter c with flames inside of it. After this, draw a lightning shape next to that and then draw teeth on the bottom of it. From here, you will draw in the rest of the head to the left of the side. Add in details and lines to show the bones curving and the jaw bone. After this, draw in the teeth on the bottom of the mouth on the jaw line. To finish this up, you will use your pencil side to shade in the side of the skull and add i...
In this video, we learn how to build parachutes with household materials. You will need: a long string, Mylar, mesh, plastic, scissors, tape, and a weight. To get started, you will first cut your plastic or mesh into a circle or octagon shape. Then, take your string and cut it into several pieces. Then, tape the strings onto your material all around. After this, tie your weight to the strings so it's fully secured. Now, go to somewhere high and throw down your item! The parachute will help ke...
In this video, we learn how to make a cake American beauty rose. First, place your icing into a plastic bag and then place the tip inside of it. From here, you will twist the surface where you are putting your rose and let the icing roll into a round shape. After this, make additional rows of petals until you have the size of flower that you want to create. When finished, you will have a gorgeous rose on your cake or cupcakes! Add in green icing to make leaves on the side of the flower and yo...