In this tutorial, we learn how to make a fitted sleeve sloper with Don. First, graft a set in sleeve pattern. This will be based on a fitted bodice that is very close to the arm and high over the arm on the elbow. You will want to shape the shoulder to fit the contour of the body. You will put a series of darts into the fabric so it fits on the body perfectly. If you do a looser cut sleeve, you won't have to do this. After you make this, place it on your model and make sure the arm can move e...
In this tutorial, we learn how to make mini paper square boxes. First, grab a piece of paper and fold two ends in so they touch in the middle. After this, fold the bottom up so it covers the triangles and they meet at the middle. Crease the edges, then cut down the edges on both sides where the crease is. Next, fold the sides in so you have a shape that looks like a sword. After this, fold the sides up, then fold the other sides in. When finished, push the creases in and you will form a box, ...
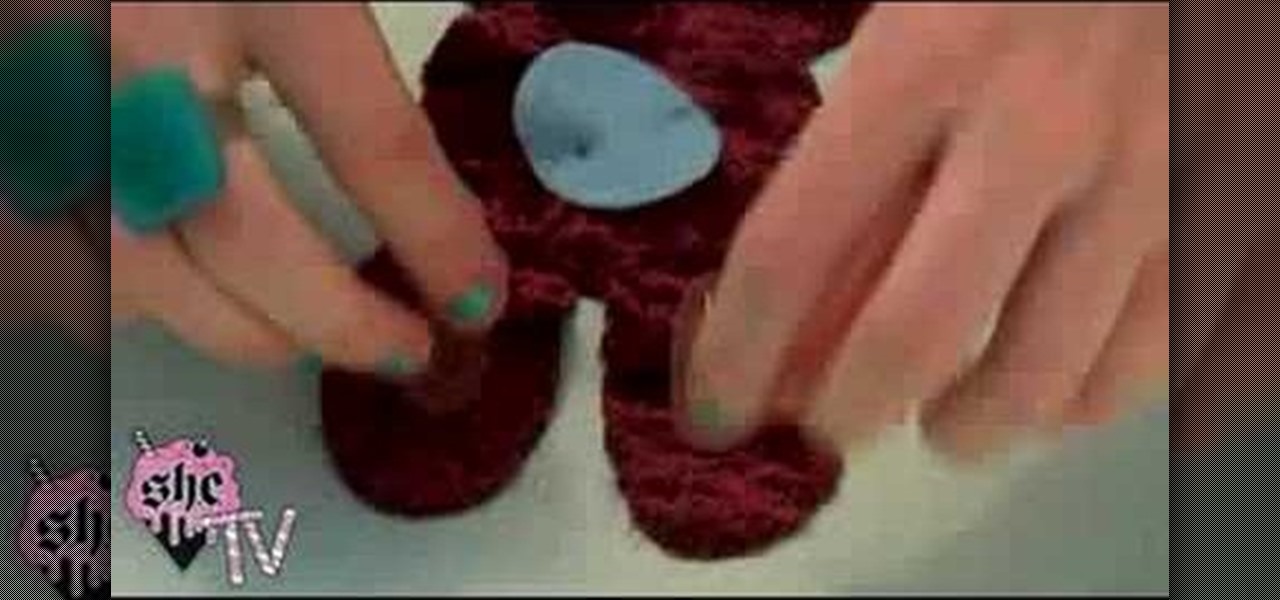
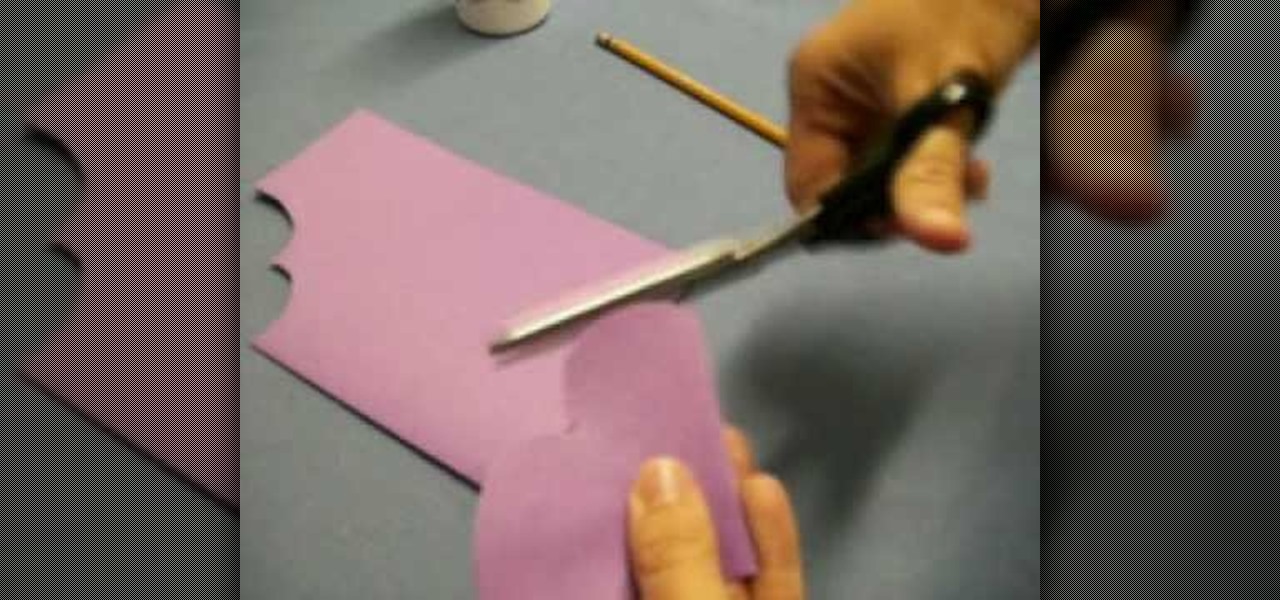
This video teaches us how to make a plush rabbit. Start off with a piece of fabric, then cut out the shape for the bunny out of this fabric to make two sides. After this, cut out the color for the eyes out of various other colored fabrics. When finished, sew the eyes onto the bunny and then sew both sides together. After this, fill the bunny with stuffing and then sew the entire thing together. When you are finished, you will have a small and cute plush rabbit that is not only made cheap but ...
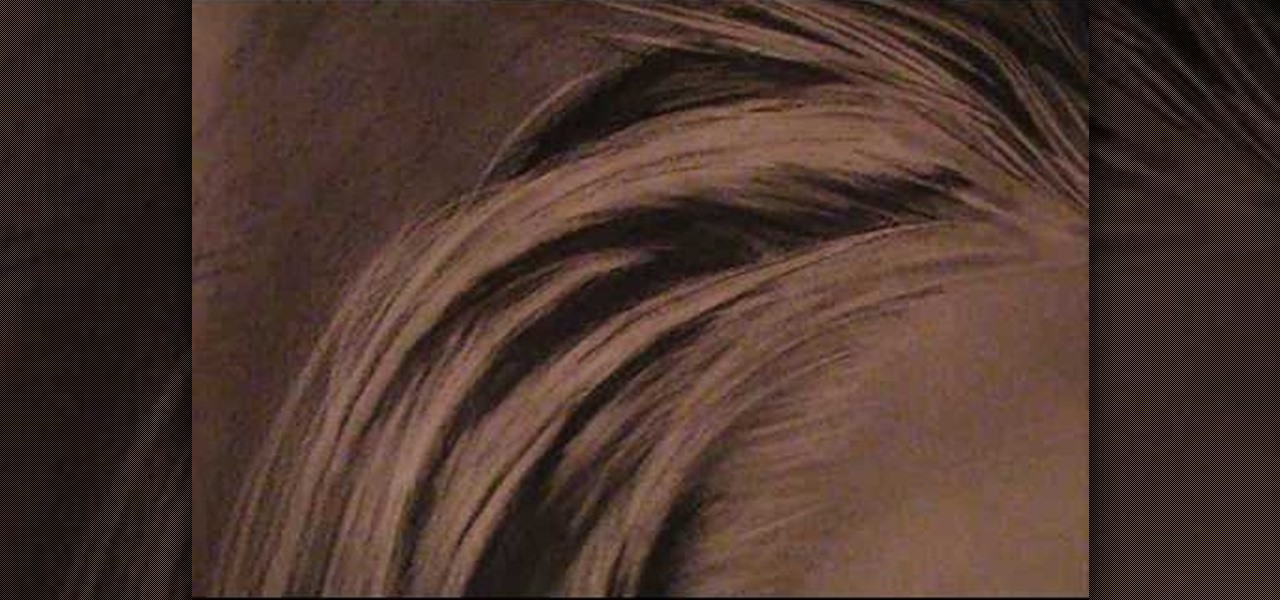
In this tutorial, we learn how to draw realistic hair. Start out with a rough outline and look where the hair is clustered together. Draw the clustered area first. Then, cross hatch over the entire surface of the area and blend in. Add hair to the forehead area, then use a darker pencil to form the shape of the hair. After you do the clusters, start to draw the hair that is separated from the rest. Keep looking at the picture you are drawing, then use an eraser to change the drawing to match ...

In this tutorial, we learn how to draw Ryo Bakura Yu Gi Oh style. Start off by drawing the head, making a pointy nose on the front of the face. Next, draw in the eyes making eyebrows in and pupils. Also draw in the shapes on the head, then start to draw in the hair. Make two sides of the hair pointy spikes on both sides. Start to draw the neck and shoulders going down to the very bottom of the paper. Place a collared shirt, then start to add in shading on the picture. Draw in lines, then add ...

In this tutorial, we learn how to draw a husky puppy. Start off by drawing the head, don't use a straight line at the top, make it look like it has hair. After this, continue and draw teeth and a tongue hanging out of the dog if you want it to look happy. Next, add ears to the top of the head and eyes to the face. Give the dog markings and pupils on the eyes. Then, add the nose on with a button shape at the top. Draw out the collar and chest of the dog, then add on the two front feet, the bel...

A trip to the movies simply isn't complete without a nice big tub of buttery popcorn. Salty and crunchy, it's the perfect complement to the much more sugary treats offered at movie theater concession stands, and tastes great when washed down with a can of Coke.
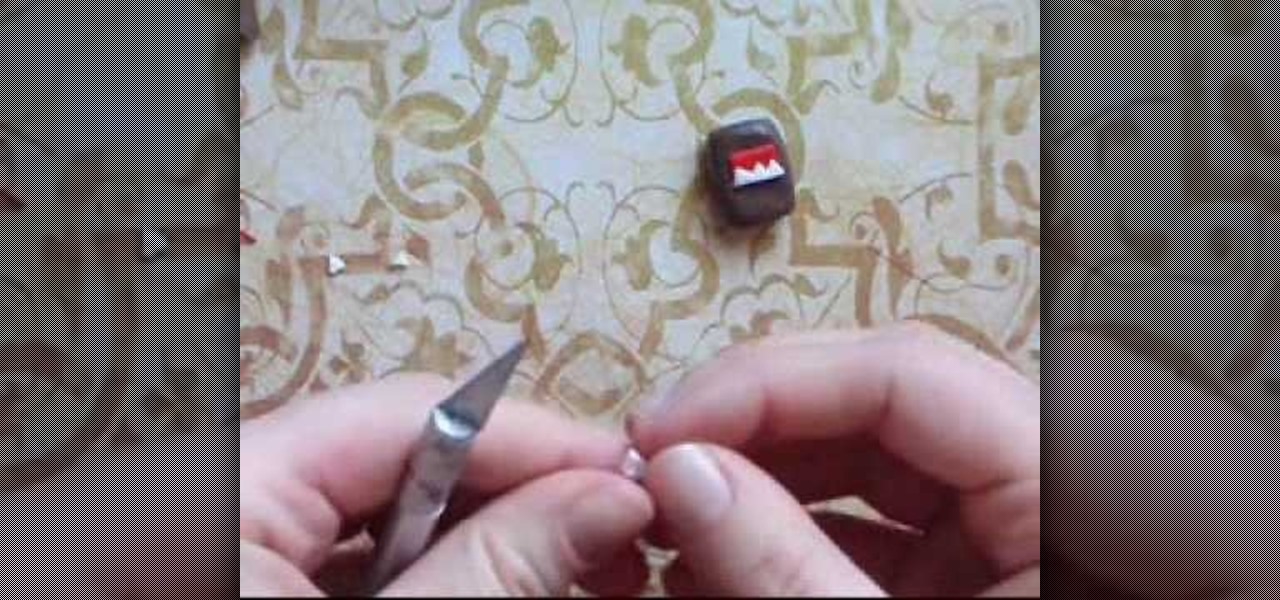
Domo Kun, also affectionately and poignantly known as Domo, is one well off Japanese cartoon character. While he's actually nothing more than Japanese TV show NHK's mascot, this rectangular shaped monster with a need for gobbling up yummy food has his own line of fan merchandise, including plushies, toys, t-shirts, notebooks, and really the list goes on and on. He's also the star of some stop-motion animation episodes by Tsuneo Goda.
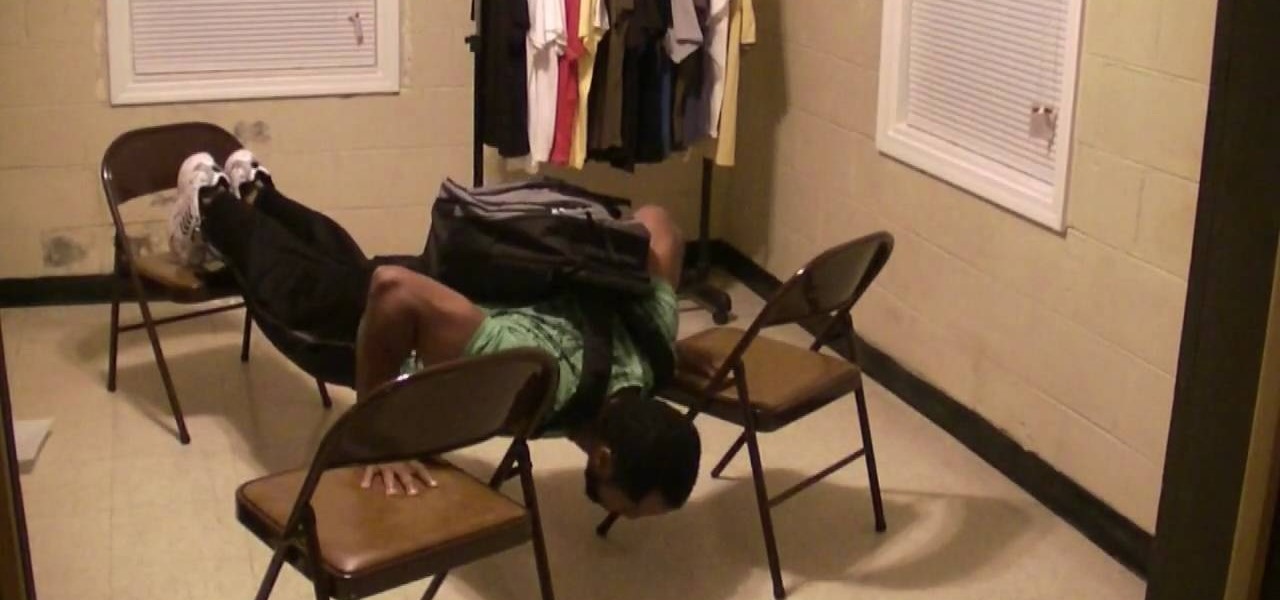
In this tutorial, we learn how to build chest muscles through chair push-ups. To begin, you will need to set up three chairs in a pyramid shape that will fit your body laying down. To begin, place both of your feet on one chair and then push each of your hands laying on a chair. After this, do as many push ups as you can. If you want a more challenging work out, you can wear a backpack that is filled with weights. You can also stay at the bottom for a couple seconds while you are doing the pu...
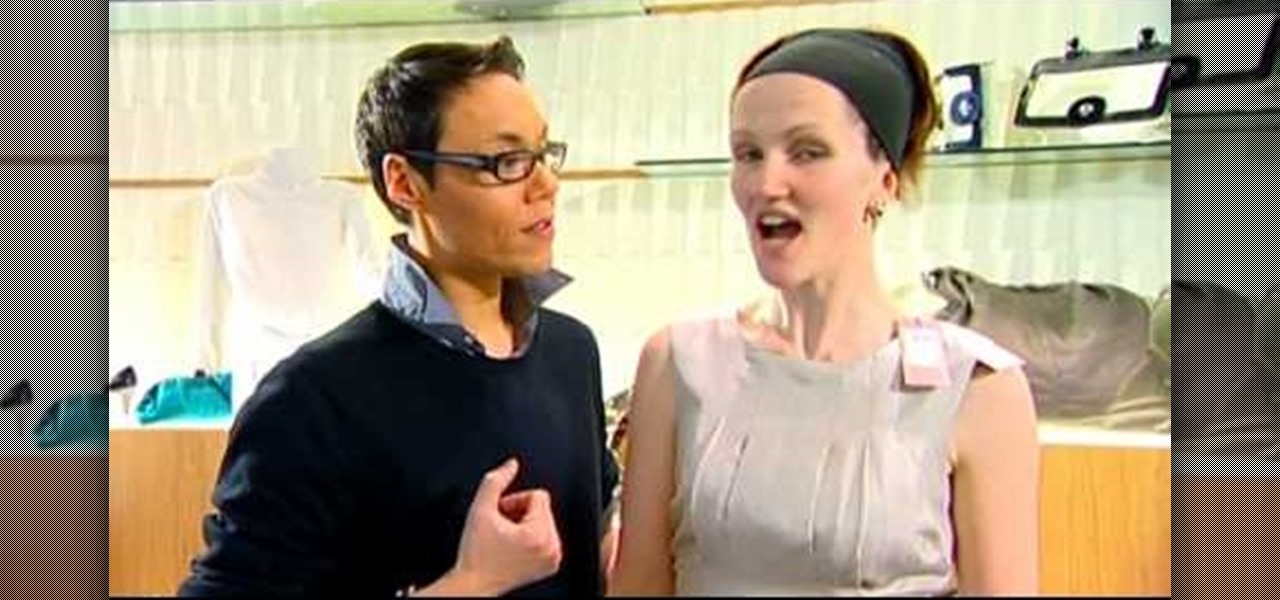
In this tutorial, we learn how to dress for a size 8 with thin frame. To start, go shopping and pick out clothing that has a bright pattern and color on it. Also, pick out clothes that are going to accentuate your beautiful figure and draw the eyes away from the breasts. Use pleats on the chest to make it look more full. Use a ribbon around the waist to create a beautiful shape and give the waist a smaller appearance. Wear dresses with tights to make the look more appropriate during the day. ...
In this tutorial, we learn how to make a left-hand crochet Valentine's puffy heart. You will need: a size G crochet hook and yarn. Start by working a chain of three then forming a loop and doing a chain one. After this, work 9 single crochets through the center of the ring. Next, do 18 single crochets making the first stitch on a single crochet. Keep doing 18 single crochets around the circle you have created. After this, make one single crochet for a total of 18. The edges will start to curl...
In this video, we learn how to carve a papaya flower design. To start, you will want to take a sharp object and outline the drawing you want to make. Carve this onto the papaya, then remove the skin as you are making different shapes. If you want to do a large flower design, carve layers into the papaya to make the flower look more realistic. Take time to carve the different petals, stems, and other details. This is a fun way to make something beautiful with your food, and can double as a cen...
In this video tutorial, viewers learn how to learn how tie a kerchief scarf. Begin by opening the square scarf and then fold the points together on opposing sides to create a triangle shape. Now place the triangle on your chest, with the pointed tip facing downwards and bring the end points around your neck. Users may choose to let the end points hang down loosely or tick them under for a more fuller look. For a more asymmetrical look, turn the scarf to one side. This video will benefit those...
In this tutorial, we learn how to create a loose wavy hairstyle using two curling irons. You will need a 1" curling iron and a 2" curling iron to do this look. To start, place the curling irons next to each other and weave your hair in between both of them, making a wave shape. Leave this in your hair for around 15 seconds, then shake the hair loose. When finished, your hair will come out wavy! To keep this look lasting, spray hair spray into it during or after you have curled your hair. Do t...
In this tutorial, we learn how to draw a sports logo. You will need: paper and a writing utensil to do this. Do a rough draft of the logo with a light pencil before beginning. When finished, draw a basic helmet shape with a Sharpie marker. Trace around the lines that you made and make sure to draw the face guard when you are finished with the helmet outline. Next, add on a grille to the mask and then add more detail to the helmet as it would look in real life. When you are finished, add color...
In this tutorial, we learn how to make a paper football for 1 dollar. First, grab your paper and fold it in half length wise. Next, make sure the crease is nice and clean, then fold it length wise once more. Now, fold one of the corners up into a triangle shape, marking the crease exact. Fold this up again and keep doing this until you get to the end. Once you reach the end, fold the other end in twice into the pocket you see. Crease this, then stand it upright and flick it with your other fi...
Lace yarn is not a very pretentious crafting medium. Lightweight and delicate, lace yarn is used by knitters to crochet lace patterns for scarves, berets, and other accessories. But turning lace yarn into said final creation is no easy walk in the park.
In this tutorial, we learn how to convert a halogen lamp into a makeshift ring light. Instead of pointing this light straight at the person you are photographing, you can use a ring light to make the halogen light less harsh. The prices for ring lights are very expensive, so making this yourself can save you a lot of money. First, go out and buy a round metal mesh object wherever you can find one. You will also need tin foil, a plastic cup, and wire cutters. First, set the metal bowl on top o...
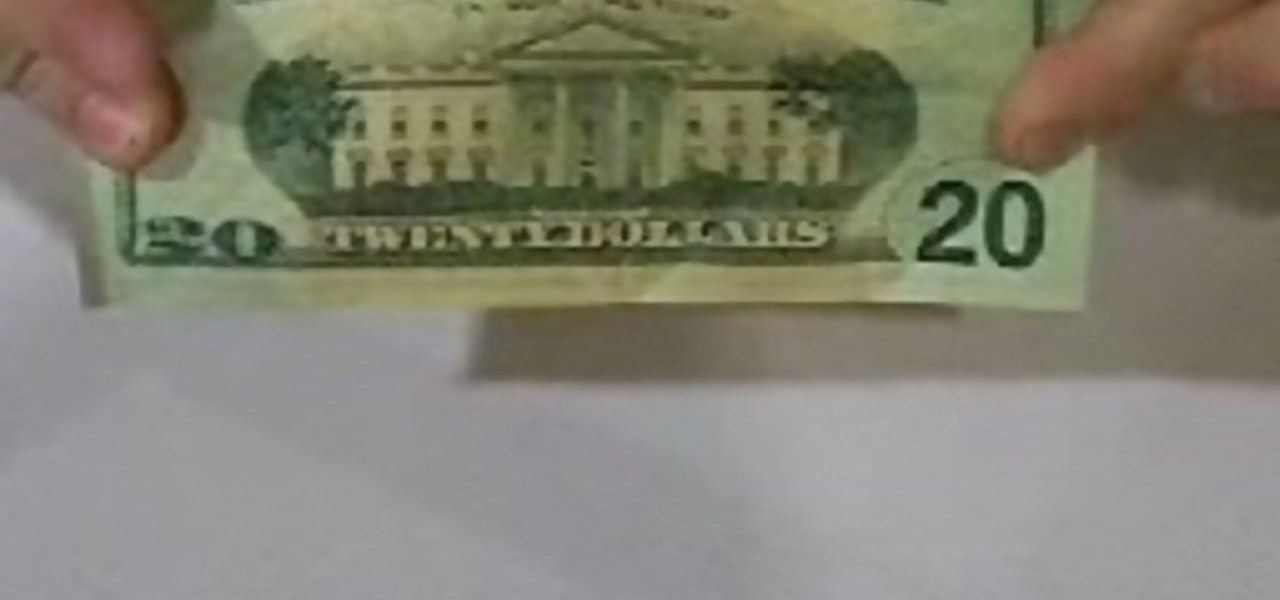
In this tutorial, we learn how to make a paper football with a $20 bill. First, take the bill and fold it in half length wise. Next, take the bill and fold one of the ends into a triangular shape. After this, fold the triangle over and keep doing this until you get to the end. When you reach the end, and tuck the flap on the end into the pocket you created. After this, you can hold the bill up with your fingers, and flick it with your other fingers. You can use any type of bill to make this, ...
In this tutorial, we learn how to increase your Wi-Fi signal with a coffee can. Materials you will need are : a knife, a coffee can, tape, USB Wi-Fi adapter, and marker. First, measure 1 inch from the bottom of the coffee can then trace your USB around that mark. Now, cut a hole in that shape in the can. Next, cover the hole with your tape. Next, hook your USB up to your cable adapter, and then place it in the coffee can. Now, plug your USB into your computer and you should have more signals ...
In this video tutorial, viewers learn how to draw the black Spider-man in Adobe Photo-shop. Begin by drawing the shape of Spider-man and then scan it. Now extract the ink from the white page. Then change the ink from black to white. Make the background black. Then fill the entire figure of the character in black color, using the pencil tool. Now create a blue layer over the entire image. Add white to the eyes and center spider symbol. Finish by adding details and a spider web in the backgroun...
In this tutorial, we learn how to make a heart bookmark. First, take a sheet of paper and fold it in half, folding the crease. Now, take a pencil and draw two heart humps from one edge to the next. After this, cut them out, leaving the fold together. Trim any edges that aren't round, then add glue to the edge of the heart, and fold it over and let it dry. You can now decorate this will markers and ribbons. To use as a bookmark place your page in the center of the heart. This is a great craft ...
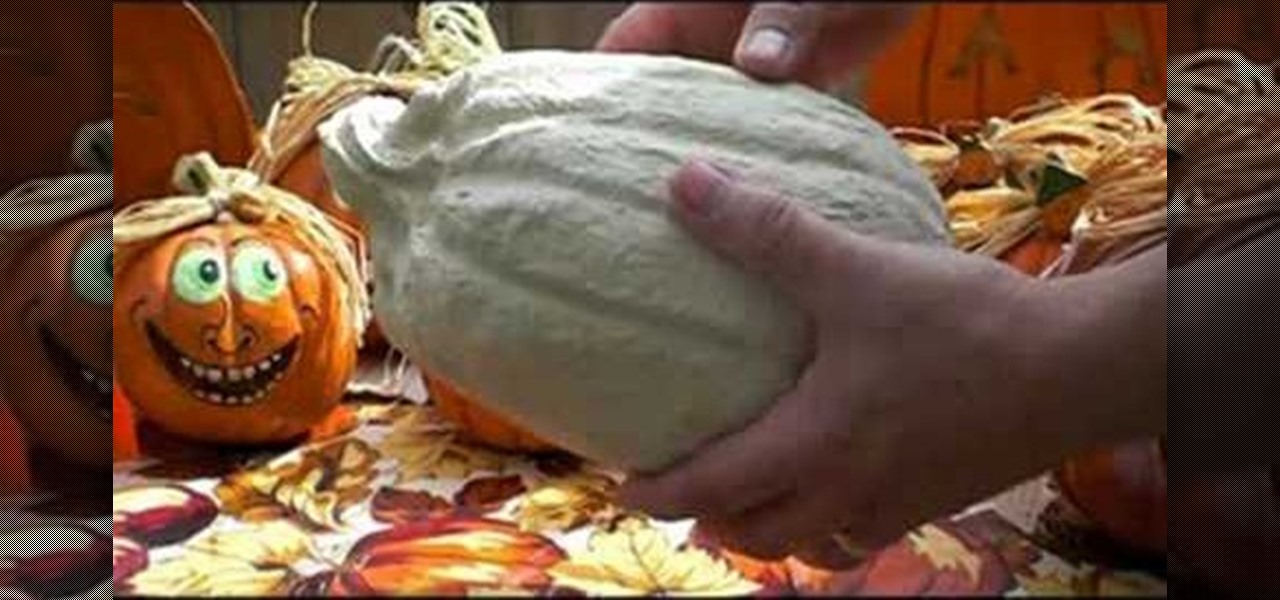
In this tutorial, we learn how to make paper mache Halloween pumpkins. You can purchase the pumpkin already made in the correct shape. When you are read to paint it, use orange pain and then a darker color in the creases to make it look realistic. You may need to smooth the pumpkin out before you paint, to make it easier to paint. Let the paint dry when finished, then add a gloss on. You can also paint on faces and different designs if you want to spice things up. You don't have to paint them...
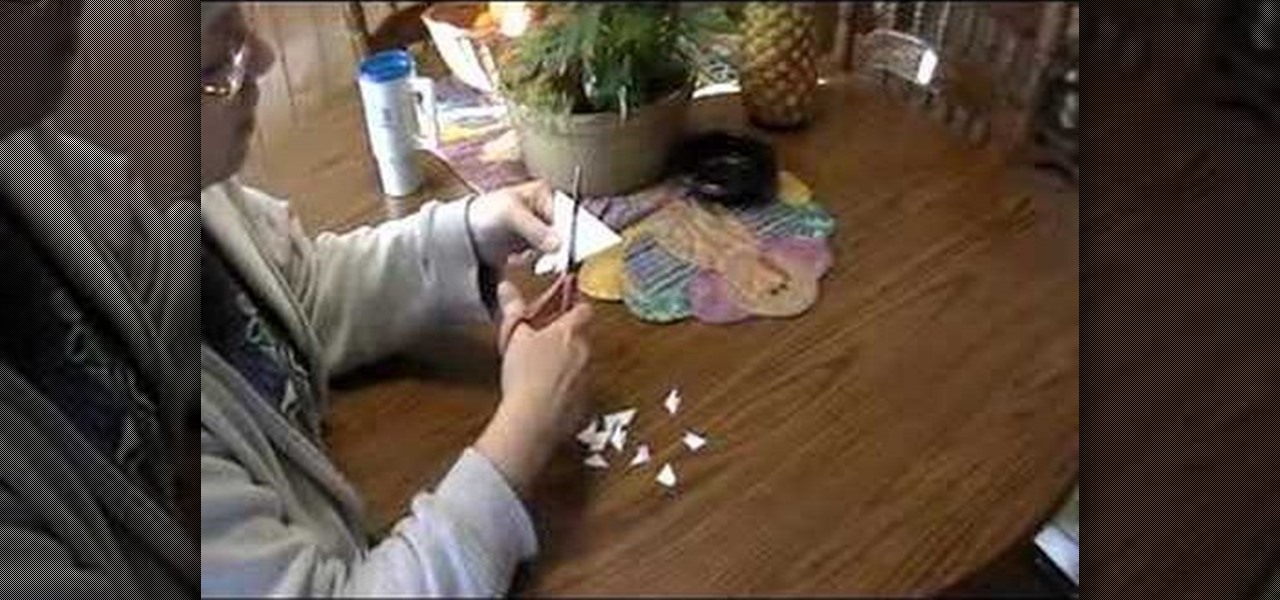
In this video tutorial, viewers learn how to make paper footballs. Begin by cutting a straight strip of paper. The wider the width, the larger the football will be. Then fold the edge into a right triangle shape and continue folding the strip in the right triangle pattern. Once you have reached the end of the strip, tear off the end at an angle and tuck it in the side of the football. This video also shows viewers how to play a game with the paper football. This video will benefit those viewe...
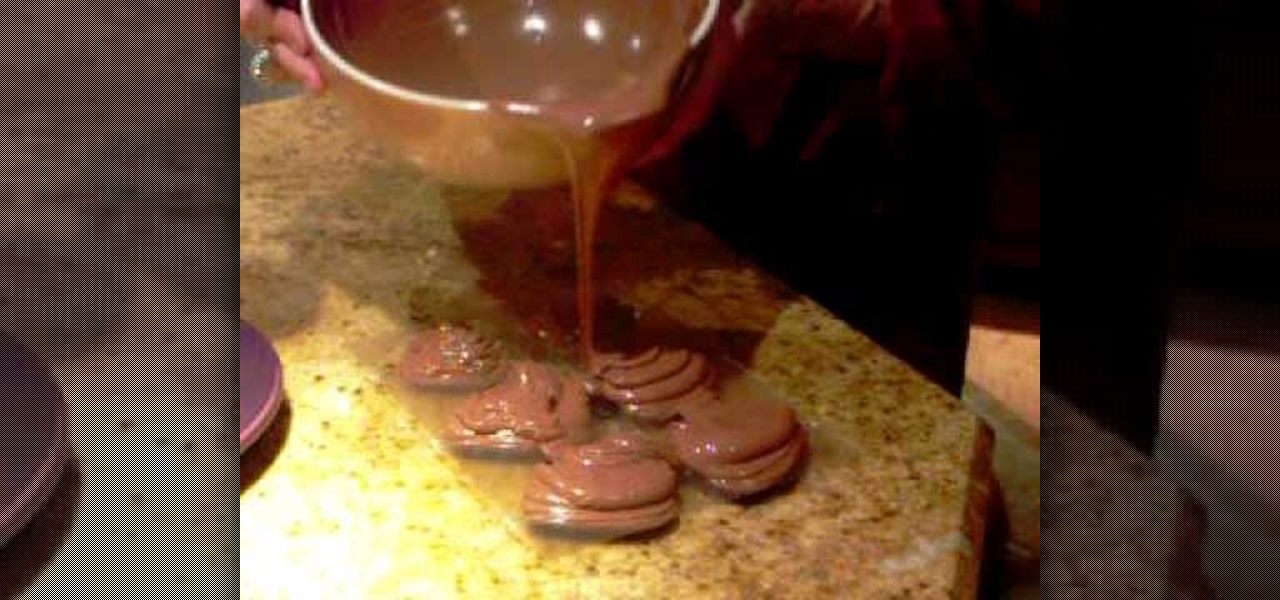
In this tutorial, we learn how to make chocolate hearts for Valentine's Day. You will need 1.5-2 lbs of chocolate and a mold with heart shapes in it and sucker inserts. You will also need sticks to insert into the chocolate. First, melt your chocolate in a large bowl with a spout. After this, pour the melted chocolate into the molds and then scrape excess chocolate back into the bowl. Next, insert the sticks into the molds and then place them in the fridge to let them sit overnight to get har...
In this tutorial, we learn how to straight pipe your small tractor engine. First, insert a one inch screw pipe to your exhaust, then connect pipes into it so it connects to the back of the vehicle. You will need to install several elbow pipes as well as longer straight pipes. The pipes should reach the end of your tractor out of the tires. Make sure it's secured tightly to the floor boards and screwed in on the bottom of the tractor. You can experiment with different types and shapes of pipes...
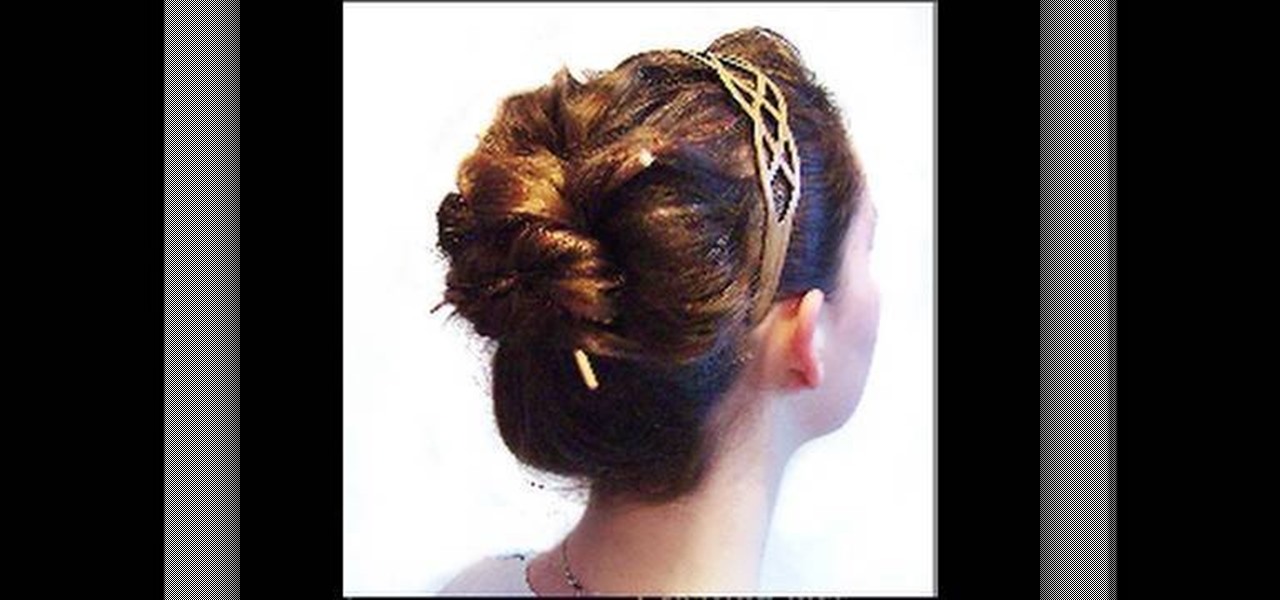
In this tutorial, we learn how to style your hair using chopsticks. To start, brush your hair and then combine it into a pony tail. Next, twist your hair and bring it into a bun shape on the back of your head. Now, grab a chop stick and weave it through your hair going in and out of different spots. Make sure you have a strong hold so the hair stays in place. Next, grab the other chop stick and push it straight down diagonally, then attach a bottom piece of hair through it so it stays. When f...
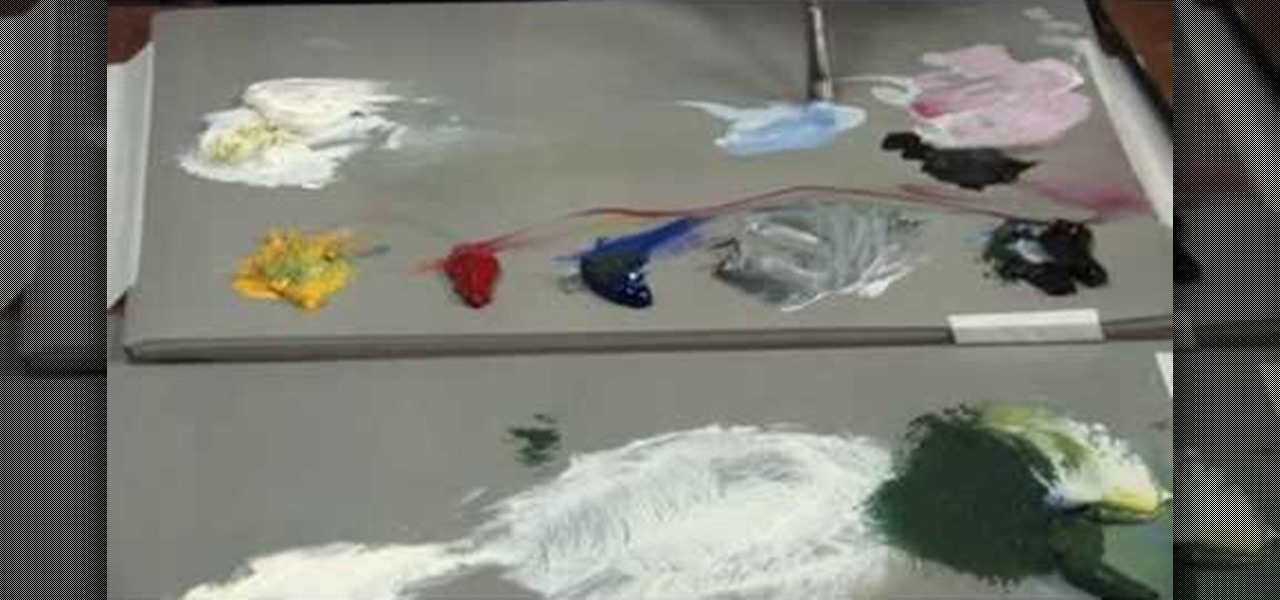
Wilson Bickford teaches us how to paint believable rocks in this tutorial. To begin, you will first start with an easel and several paints. Wet your small paint brush with a mixture of brown and black and paint a rock shape on the paper. You will do this by drawing many lumps and bumps to make it look like a natural rock. Use white paint on the side of the rock to give it a light glare where the sun would naturally hit it. To finish the rock, paint on browns to it, to add a dirt color and mak...
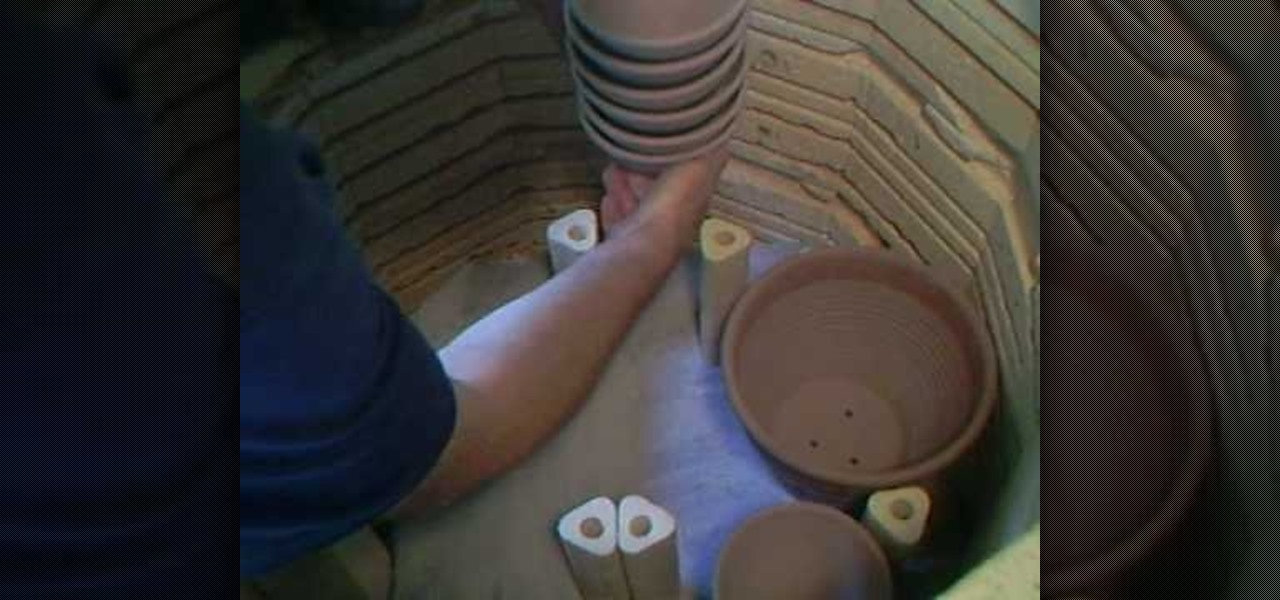
Are you a budding potter who's looking for a skilled tutor but can't afford taking pricey classes every week? Then watch this kiln conversion tutorial by master potter Simon Leach.
You know how in art class one of the main principles of drawing realistically is shading an object to establish its shape and contours? The same idea applies to makeup application. While our faces have natural dimension and contours, their hills and valleys can be further emphasized with strategic contouring via highlighters and bronzers.
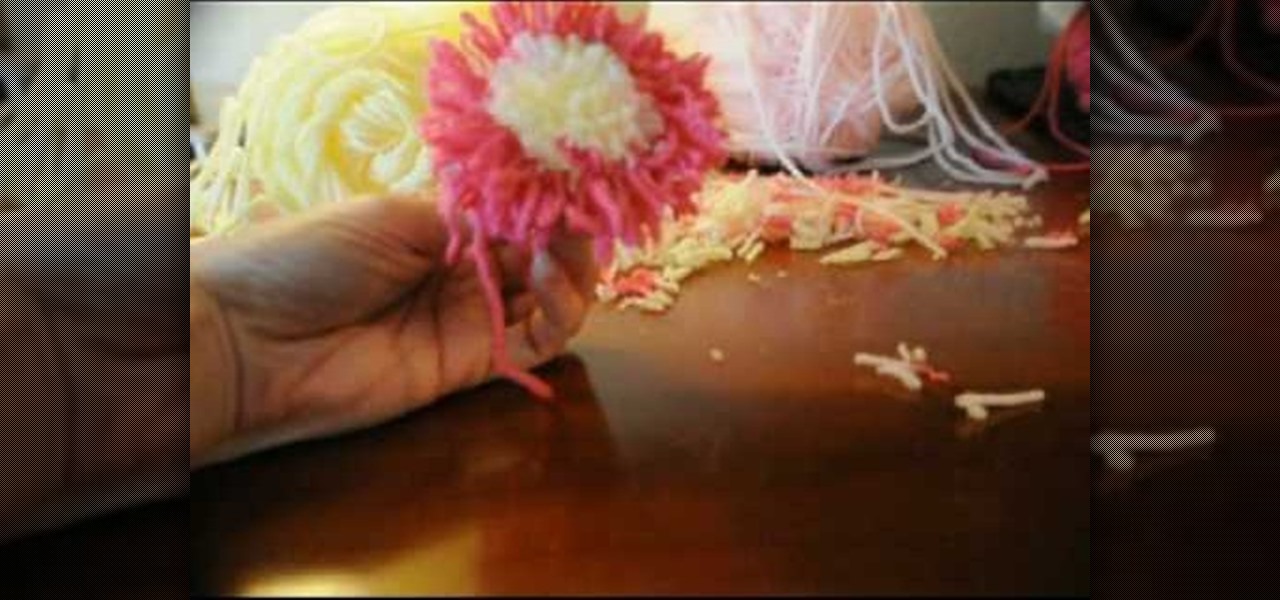
Tracey shows us how to crochet an easy pom pom flower in this tutorial. First, wrap your yarn around four fingers several times, and then wrap another color around as well. Last, wrap one last color on top of the middle color still wrapping around your fingers. Now pull the yarn off your fingers and tie a piece of yarn down the center of the wrapped yarn. Pull this as tight as you can and make as many knots as possible with this piece of yarn. Now cut your loops open with scissors through the...
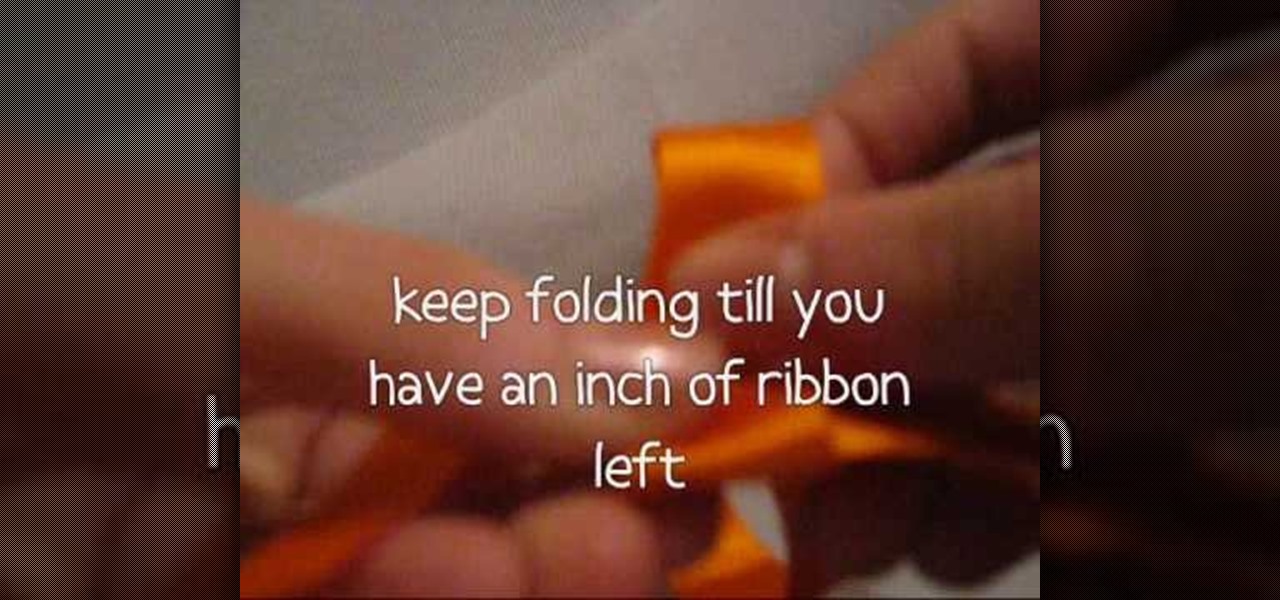
In this video tutorial, viewers learn how to make a ribbon rose. Users will need approximately 60 cm of 16 mm of satin ribbon. Begin by folding your ribbon in half and then pinch fold the end. Now fold the front half sideways and pinch it in place. Then turn it over and fold the ribbon to the opposite side. Keep folding until there is only about 1 inch of ribbon left. Users should end up with a pile of little folds. Pinch the two ends together and let go of the pile. As you pinch the ends tog...
In order to make trendy hair bows for your hair, you will need the following: ribbon, scissors, a hot glue gun, and hair clips or bobby pins.
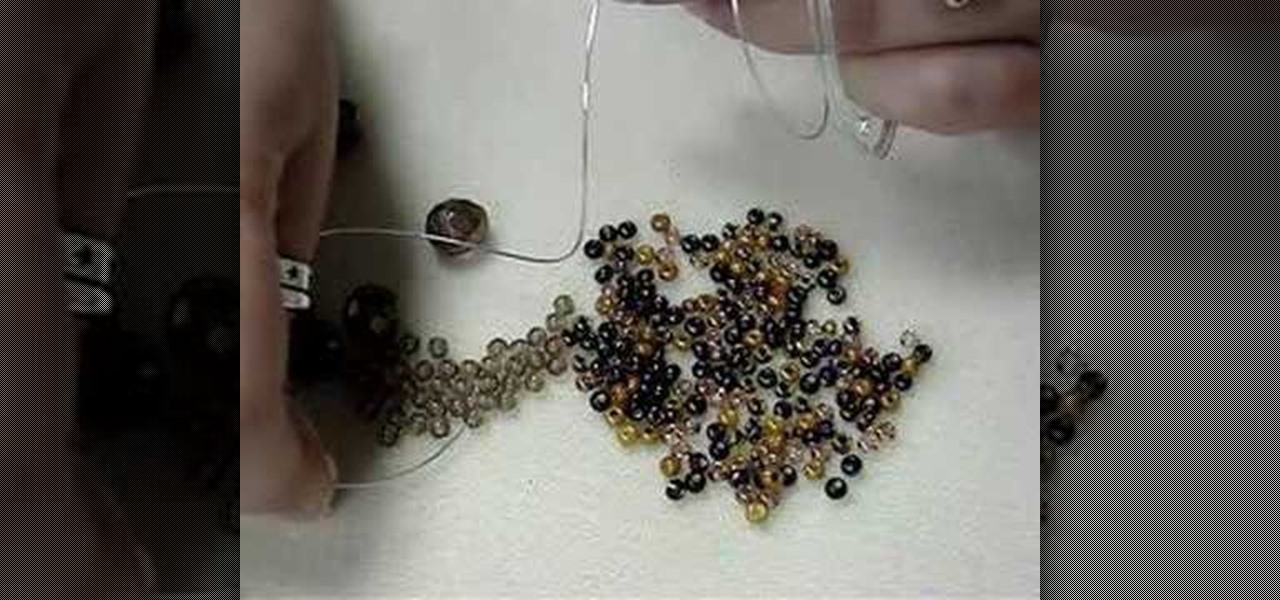
Jewelry making is a fine art, with some jewelers devoting their entire lifetimes to learning how to perfect beading, wiring, sautering, and arranging. But that doesn't mean you can't make a beautiful bracelet if you're a jewelry making beginner!
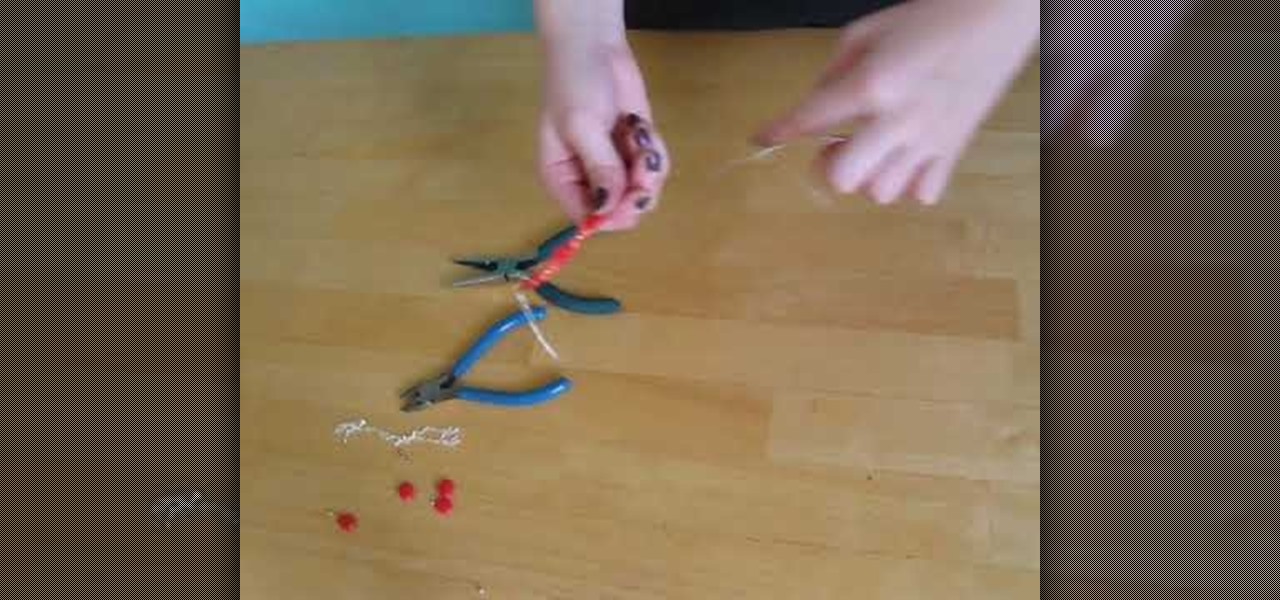
Missa teaches us how to create a claspless lariat necklace in this video. First, cut your wire so it's 20 inches long and then make a loop on one of the ends, and attach a chain to it. Now put on the end bead and attach the chain to the metal wire. Now make a loop around the end where the bead is. Now take pliers and clamp the wire on the end down. You can now take wire cutter and cut an inch down on the chain and cut it off. You can now apply your favorite beads to the wire, and any pendants...
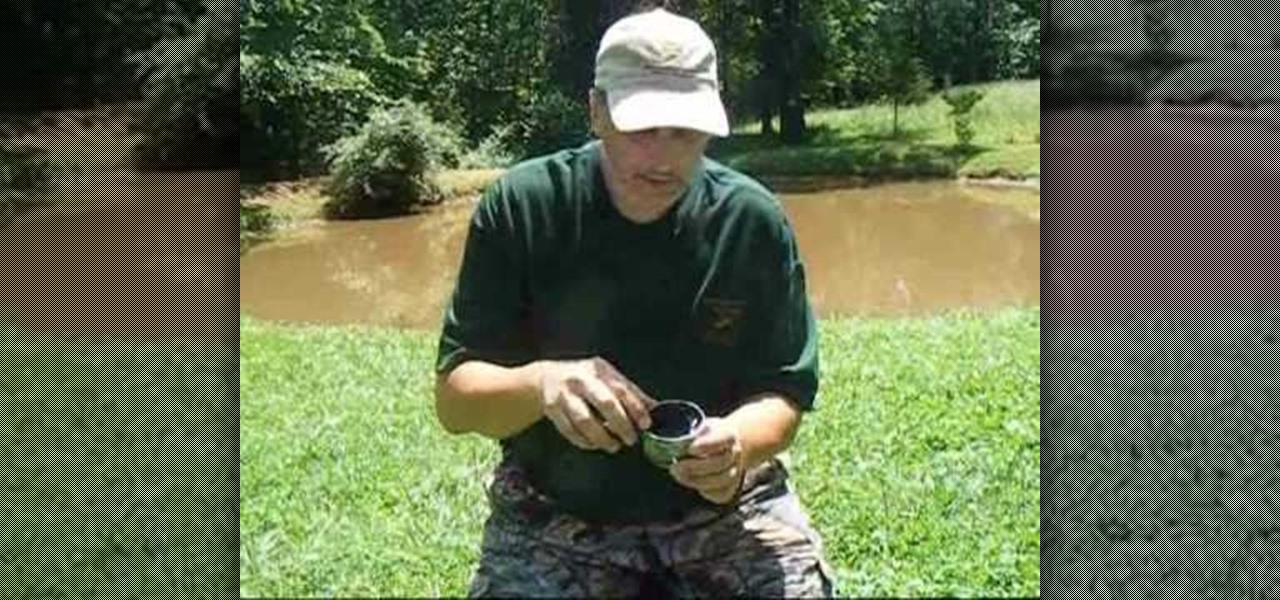
In this video tutorial, viewers learn how to make a tinder carrier that will keep the tinder dry. To make a tinder carrier, users can simply by a small cheap tin can. Then cut an X-shape in the side of the can to allow you to burn and blow on the winder. Now place the tinder in the can. The tin can can be used to store the tinder for dryness, and conduct fire with the tinder. This video will benefit those viewers who are planning to camp, and would like to learn how to make a tinder carrier t...
In this tutorial, we learn how to fold a Christmas tree. First, start with a square paper and fold it in half, then open it and fold it corner to corner. Open the paper again, the turn it over and fold it side to side. Open it once more and fold again side to side. The paper will not automatically fall into the shaped creases and you will have four flaps. Take your finger inside and flatten all the flaps. You should have four flaps on each side and then you can cut the bottom to form a trunk ...
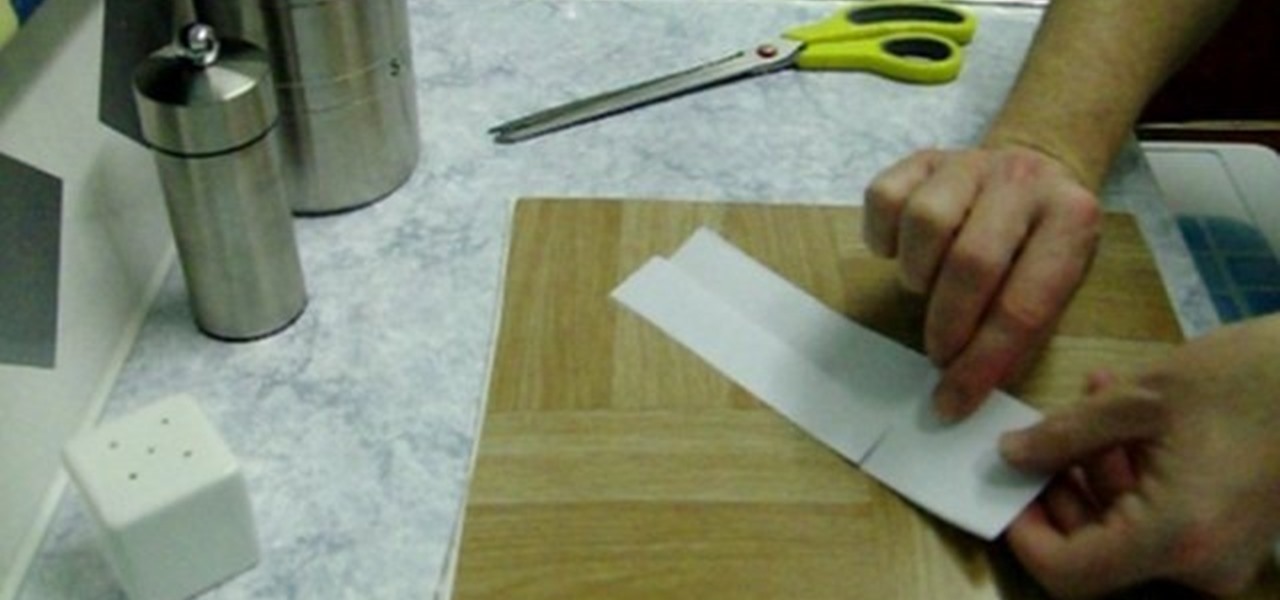
In this video tutorial, viewers learn how to make a spinning paper helicopter. Begin by cutting a piece of paper into a long, thin strip. Then make a vertical cut halfway down the paper strip and 2 semi cuts horizontally above the vertical cut. Now make a 3 way fold on the top square shape of the strip. Then fold one long flap of the strip forward and the other strip backwards. This video will benefit those viewers who are interested in folding origami, and would like to learn how to make a s...
Mario shows us how to do freestyle soccer trips in this tutorial. One great trick to learn is to balance the soccer ball on your head from kicking it up in the air. This will require a lot of practice, but if you keep at it you will be able to walk around and even sit down with the soccer ball balanced on your head. The next trick you can do is called the rainbow, where you kick it into the air and catch it with your foot, so it makes a rainbow shape. You can also get up to an expert level wh...
In this video tutorial, viewers learn how to make a basic balloon laser sword. Users will need a tube balloon with approximately a 3 finger tail. Begin by twisting a 2 finger bubble and then turn it into a pinch twist. Now make a second finger bubble and turn it into a pinch twist as well. Measure the size of the handle and then twist it at that point. Now create another 3 finger bubble with a pinch twist for the top of the handle. Pull the blade part in between the 3 pinch twist and straight...