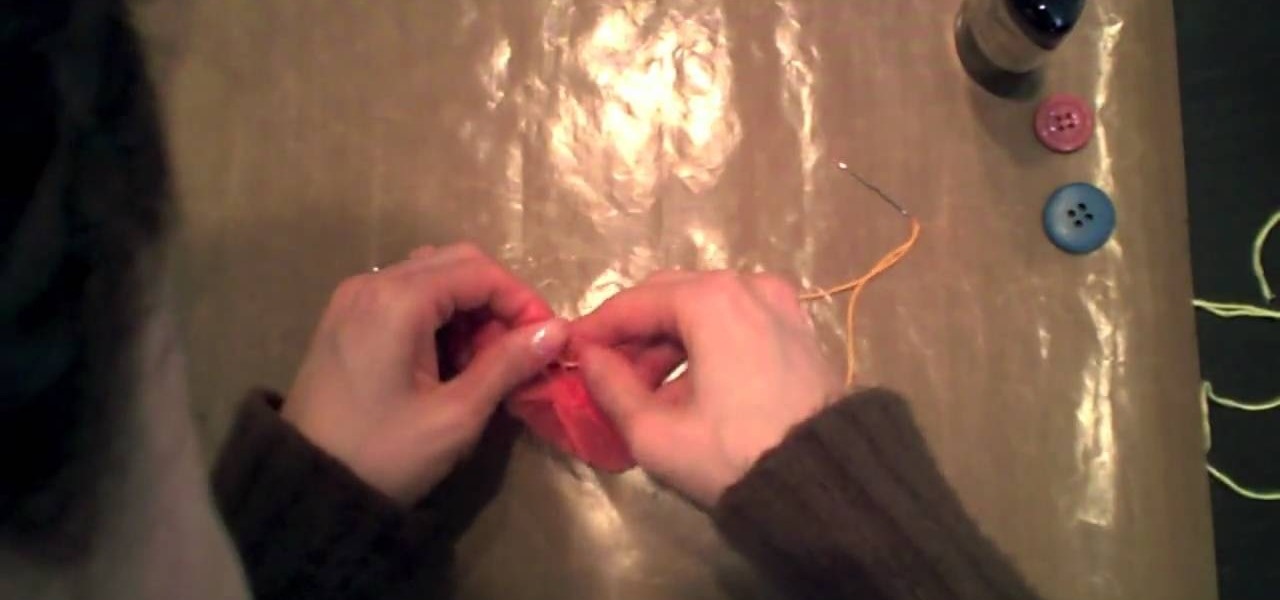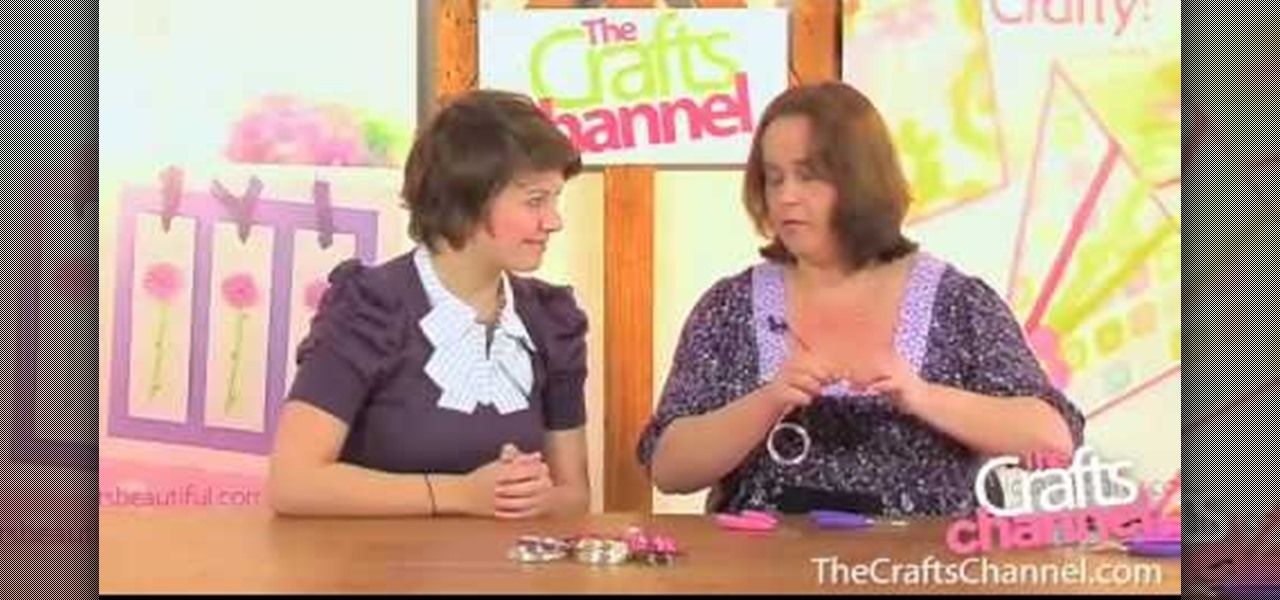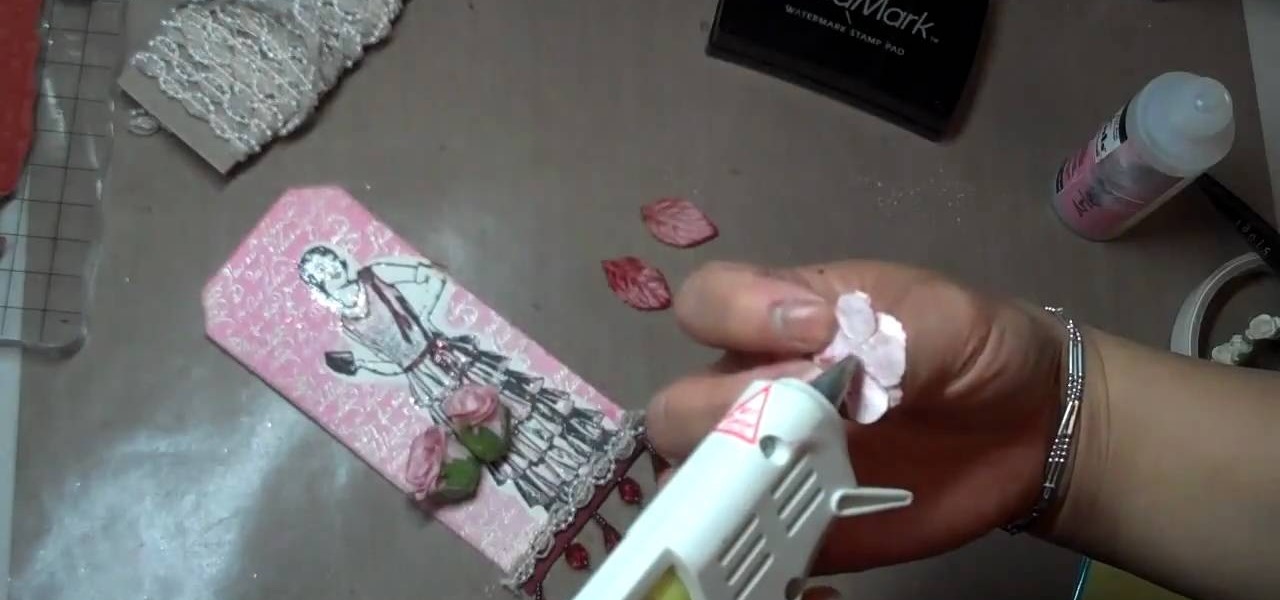
Mybutterflykisses12 shows viewers how to make a vintage lady tag! First, You will need a stampof a vintage lady and some cardstock. Dab your stamp with black ink and stamp it onto card stock that is shaped like a tag. Next, you can stamp on vanilla script above the figure. Next, apply clear embossing powder to the tag and then heat this with a heating gun so it can set. Next, place an opaque stamped image of the same woman over the original on the tag. Cover the stamped image before you apply...

First of all you have to start with the bungee band pony tail at behind. You can use the brush on your back hair to make it appear bigger. Use your brush on the underneath of the back hair to make it appear wider and it should appear to have a body. Pick small locks at the back and brush it outwards so that it looks that you have more hair than actual. After this you have to gather all the hair at behind. Now you have to wind it and bring it all towards your head. Now use a hair pin to grip y...

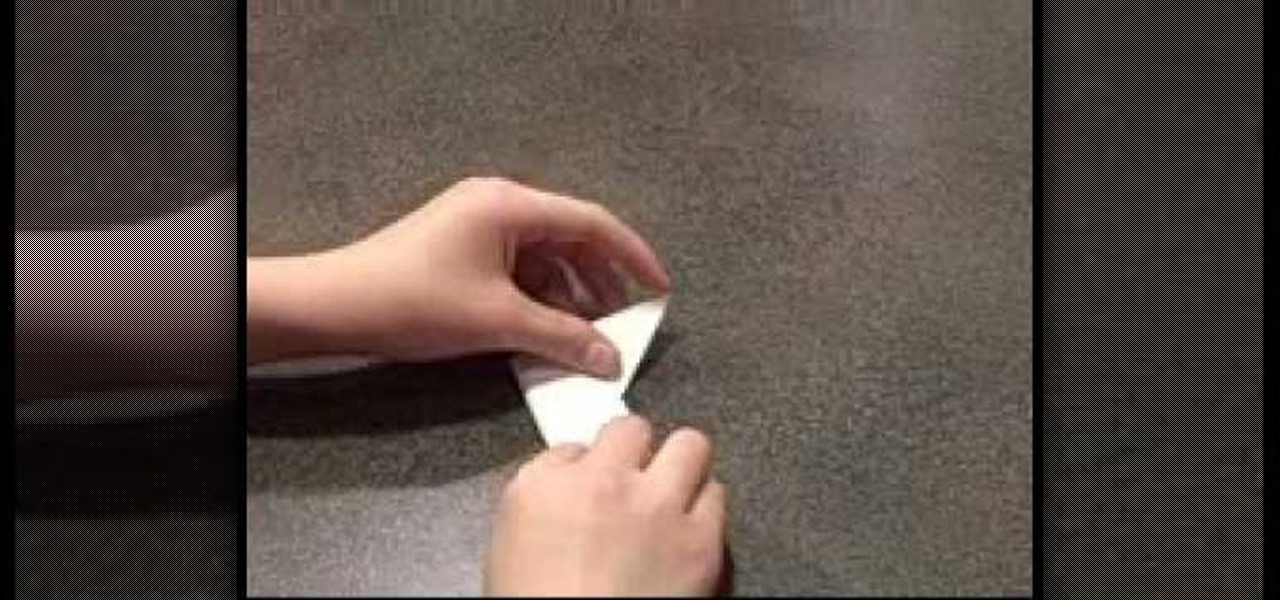
This video is a demonstration of how to make a winged heart design with folded paper. Start with a square piece of paper and fold it in half. Unfold it and fold it in half again, and unfold it. Using the creases as a guide, fold one edge up to the crease. Turn it over and fold the corners of the folded edge down toward the middle crease. Turn it over and fold the large edges inward toward the crease and unfold them. Lift that side up, forming a pocket underneath. Fold the sides inward inside ...
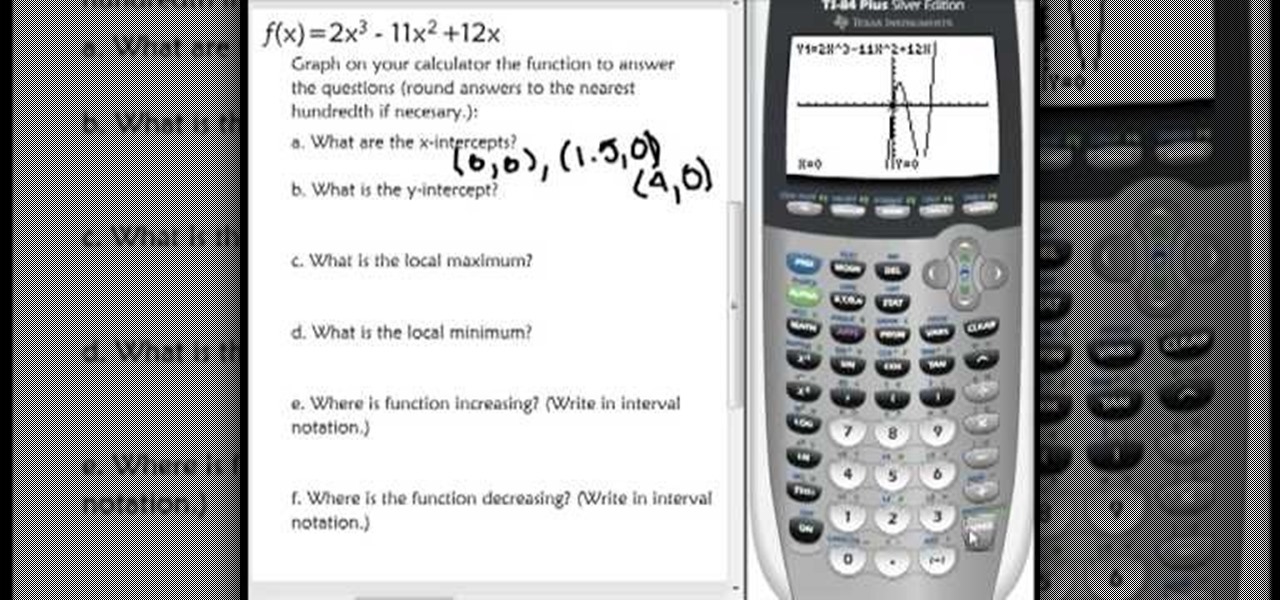
In this video the teacher shows us how to use a TI-84 plus graphing calculator to graph a function, adjust the view window, and determine the values of several types of critical points on the graph such as x-intercept, y-intercept, local maximums, and local minimums. After entering the function in the Y= editor she presses the ZOOM button and selects Z-Standard this adjusts the view window to a range of -10 to 10 on both axis. To find each of the critical points requested the teacher uses the...
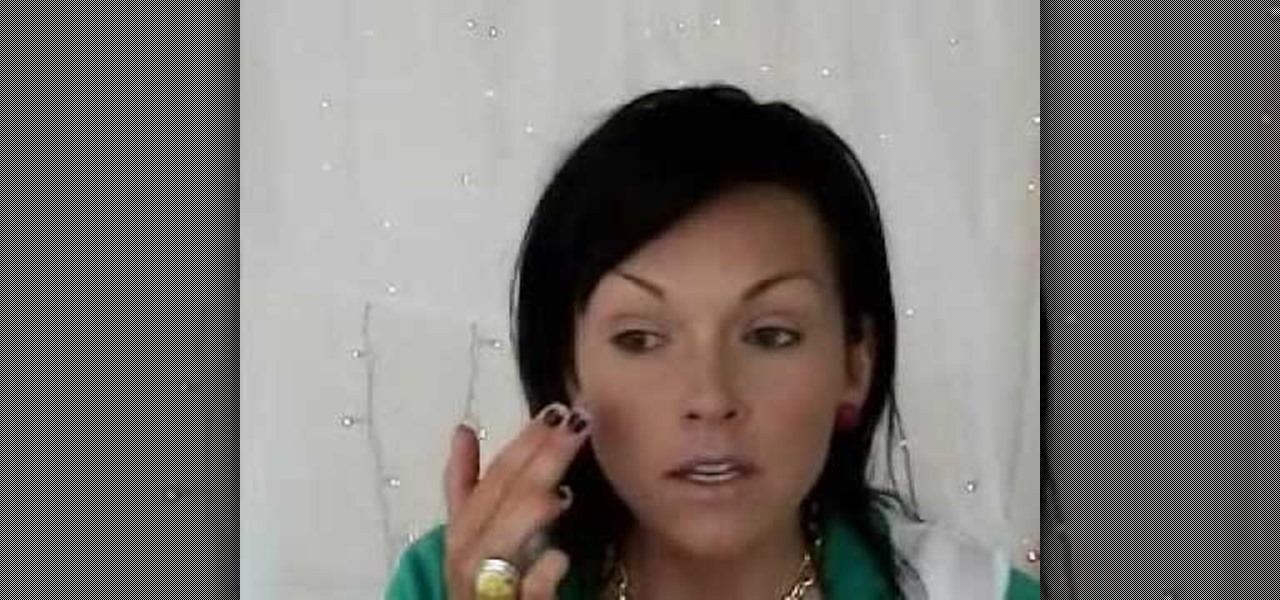
Ever wonder how to get a flawless face? Kandee Johnson shows you how. After cleansing your face or getting out of the shower, use St. Tropez bronzer and then moisturize. After moisturizing, apply foundation using fingertips. Kandee uses Lauren Mercier Moisturizing Foundation in Golden Beige. Make sure to apply to eyelids so you won't see veins or redness. The next step is to use concealer. Kandee uses Lauren Mercier Two - Tone concealer. Use the Lighter color underneath the eyebrow and then a...
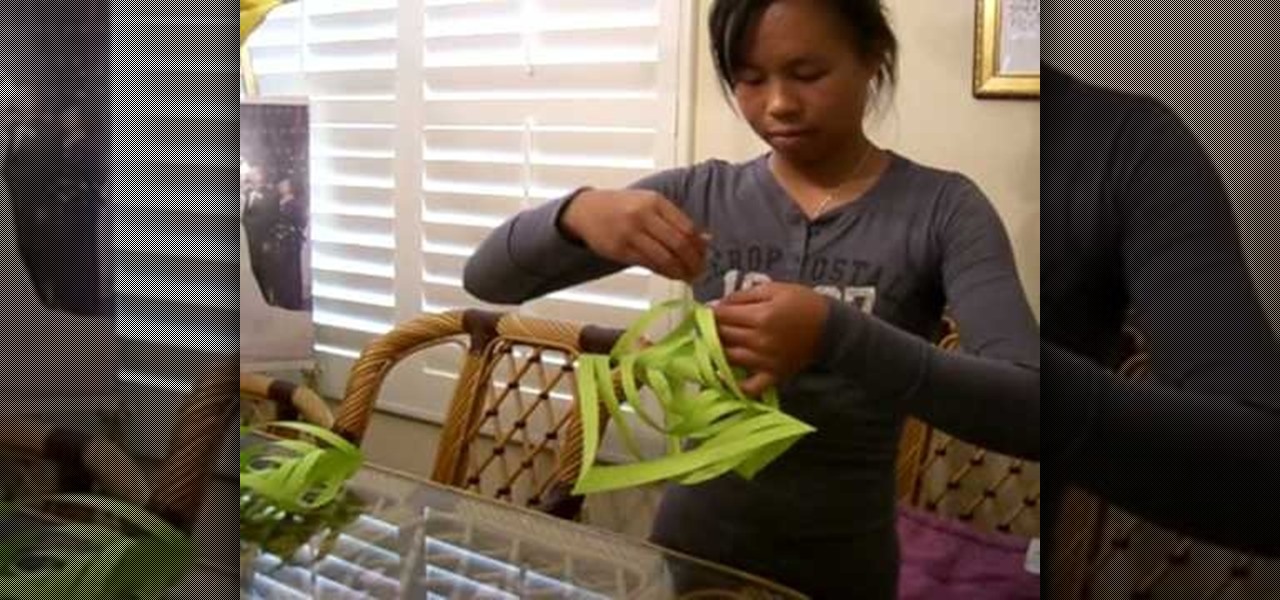
Here is an easy way to make a beautiful parol. All that you need is colorful papers, scissors, tape, stapler pin. Now take five sheets. Cross fold it and tear the extra paper, so that a perfect square is formed. Do it for all the five sheets. Now fold it cross wise, and again fold it in the same manner, so a triangle shaped paper is formed. Cut the papers cross wise and not on the edges. Care should be taken that it is not fully cut. Then open the paper, several sheets are formed now. Join op...

This video is about how to make flowers from recycled dryer sheets. Since the dryer sheets have already passed through the dryer it will be wrinkled but it does not matter. Cut the dryer sheets into strips 1 inch wide approximately and need not be uniform. Take a button and place the edges of the3 strips in such a way that it takes the shape of the flower and the other edge collects at the button holes. You may color the dryer sheets with dye like Ranger perfect pal mixed with water and spray...
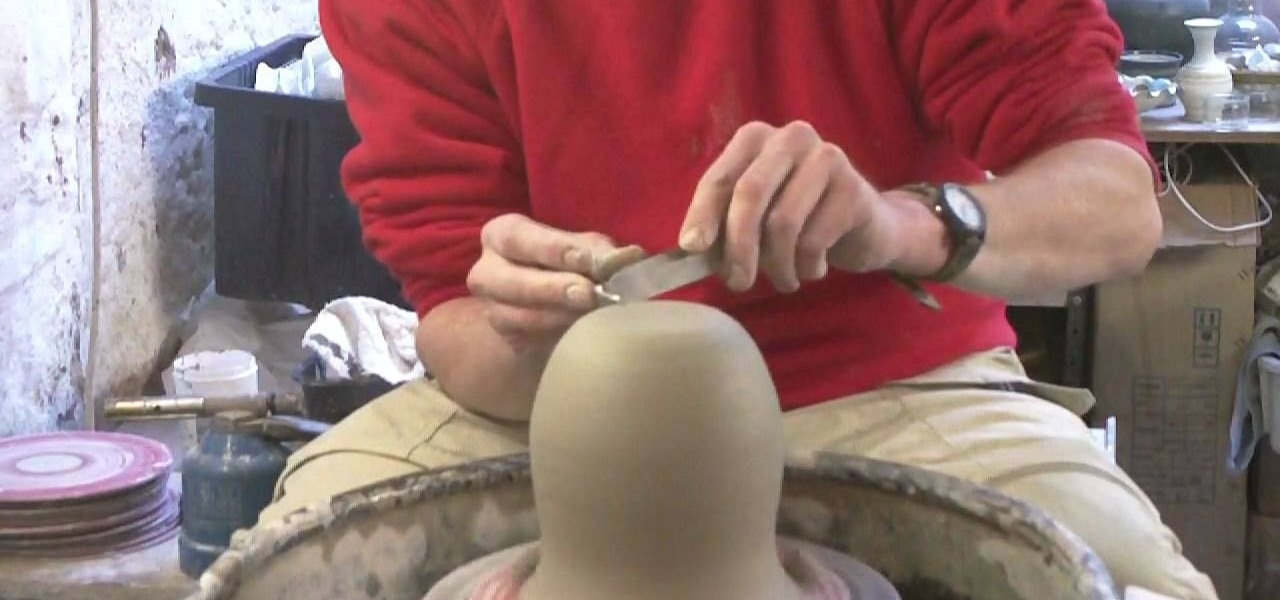
IngletonPottery demonstrates how to create a giant clay pottery novelty goblet in less than eight minutes in this video. The goblet can be used as a decorative piece or it can be used to drink from. The choices are endless for this giant piece of art. The giant goblet begins as a big blob of clay. A portion of the clay is wet and the spinning table begins. While the clay is wet it is placed on the spinning table and then the molding process begins. To mold the clay requires concentration and ...
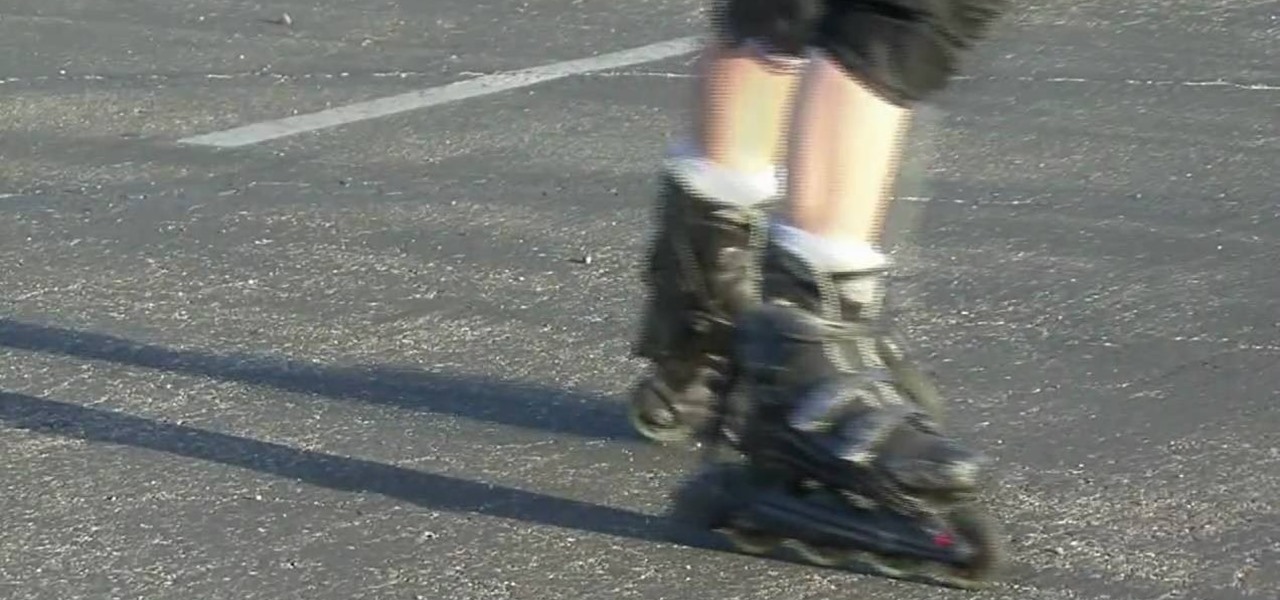
Learning to skate is one thing, but learning to stop is just as important. In this tutorial Patrick Eaves will walk you through the three different methods of stopping on your inline skates. The first method is the "snow plow". This method is recommended for beginners and only at slow rates of speed. To stop, slowly point your toes towards each other until you come to a rest. The second method is the "heel stops". On the back of one of your skates, usually the right, is a brake pad. When you ...
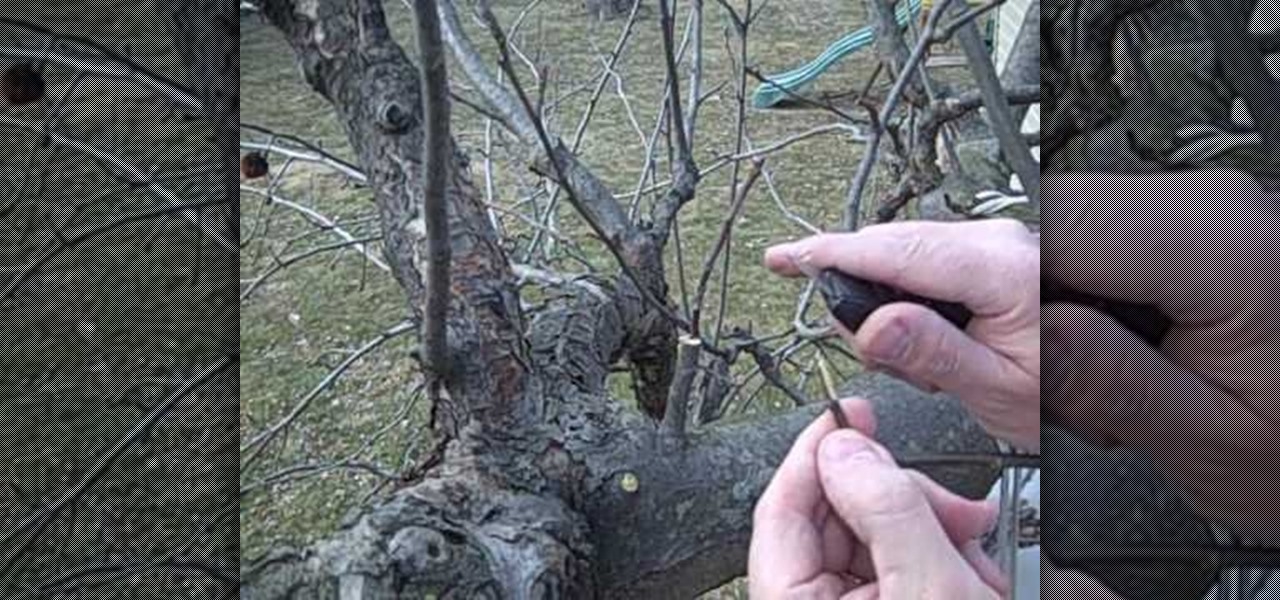
Cityslipper shows you how he uses the cleft grafting method to make a less appealing green apple tree produce better tasting red apples. 10-12 inches long scion wood is collected from the good apple tree while it is dormant. Care is taken not to let the twigs dry out. Selected scions should not have spurs rather they should have leaf buds that lay flat against the twig. A good host twig on a healthy-looking branch should be selected. A clean cut should be made with the fine teeth of a grafing...
First of all you need roll of wire around 1 or 1.25 millimeter thick. Now take the roll of wire and using a round nose pliers bend the wire about 5 cm. now take a flat nose pliers and the hold the ends and bend it round to make a hook. Now taper off the end and then straighten the wire. This shall be the top portion of your pin. Now take round nose pliers and then wrap it in a complete circle and then repeat it two more times. This shall produce three loops and you can also adjust the length ...
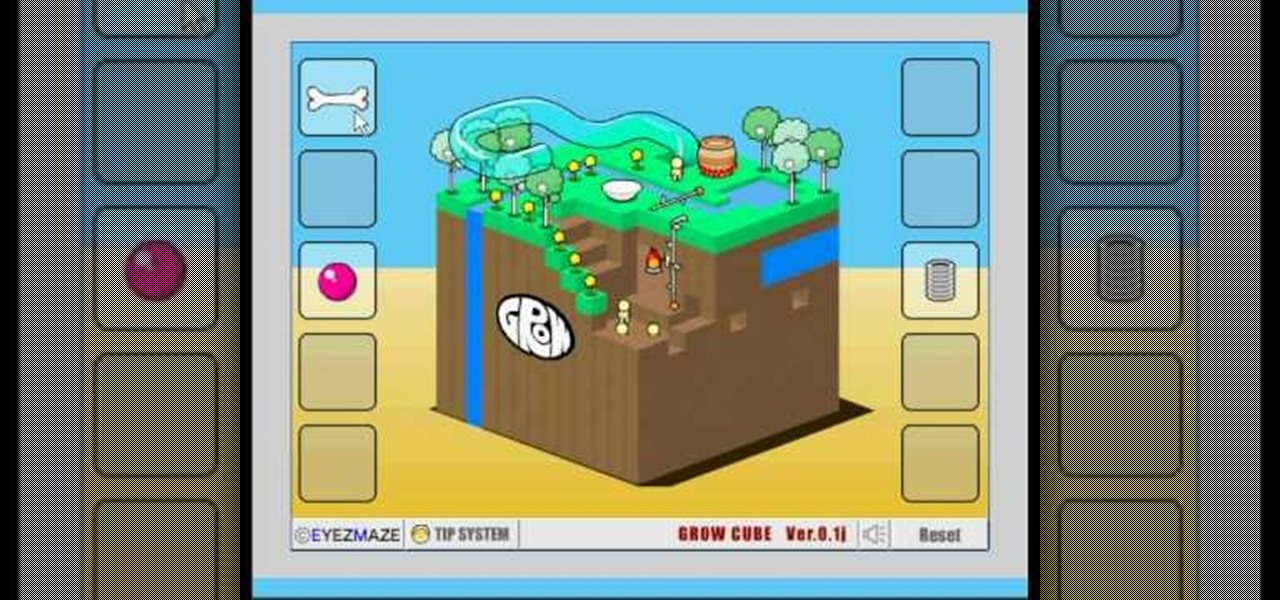
ejayejay05 shows viewers how they can beat the Grow Cube web game! First, you need to click on the person icon that is down at the right of the screen. Next, click the blue water icon that creates a pool. Now click the shapes icon with the small dots. Now you'll be a few levels up. Next, click on the clear blue cylinder icon and let the little figure work. Next, click on the fire icon and your levels should continue to increase. Your next step is to click the white bowl icon on the left of th...
This video is a Microsoft Word 2007 tutorial on working with pictures. To insert a picture in your document, click on Insert and select Picture, then find the picture, select and insert it. To resize the picture without distorting it, click and hold on the corner circles. You can adjust Brightness and Contrast by using the various choices within these settings. The Recolor setting gives you a number of options for changing the coloring of the picture, such as sepia, black and white, or graysc...
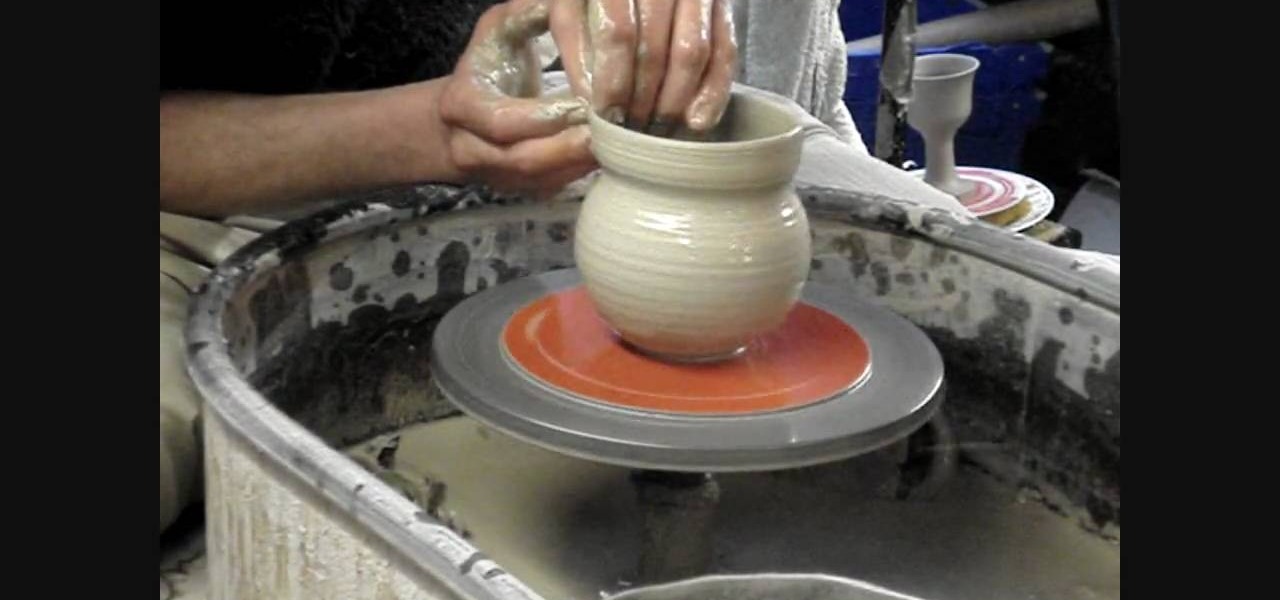
This video demonstrates how to throw a simple clay pot: a flattened salt holder. In order to throw this simple clay pottery piece, you will need: clay, a pottery wheel, and water.
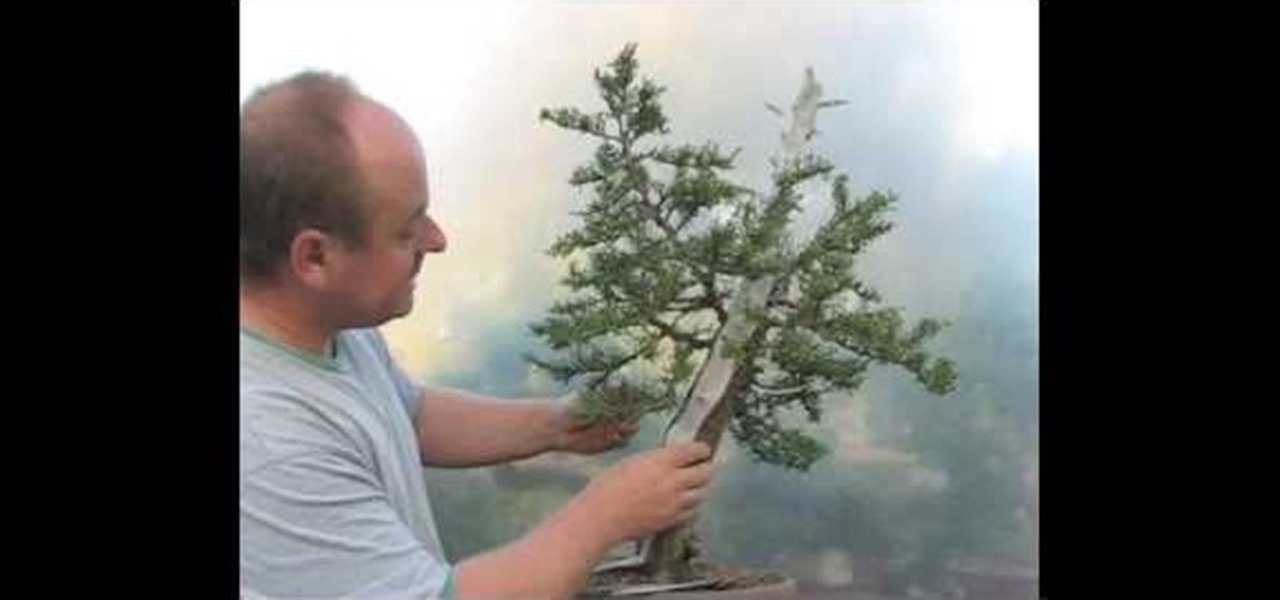
First of all you have to need a bonsai and scissors. In the type of the tree shown in the tutorial which is a fifteen year old, once you have got the branch structure established then you can prune the leaves over it. Start from the bottom branch chop of the leaves that are out of symmetry with your scissors. Cut from the outside to the inside. Now move towards the upper branches. Chop off extra new branches which are coming out from the main branches. Reduce the leaves in a fine length all a...
Decorate a Cardboard Sun Mirror- Acrylic Painting Project- Art and Craft
Kandee Johnson demonstrates pinup girl make (similar to Betty Paige or Dita von Teese). You’ll need an angle brush, a fluffy brush, black liquid liner, black pencil liner, nude and pink / peach eyeshadow, black eyeshadow, false eyelashes and bright red lipstick. Start with prepared skin. Then take the light pink eye shadow and apply all over the eyelid. Deposit the most eyeshadow under the eyebrow arch. Then take an eyeshadow with some brown or tan in it to put in the crease of the eyelid to ...
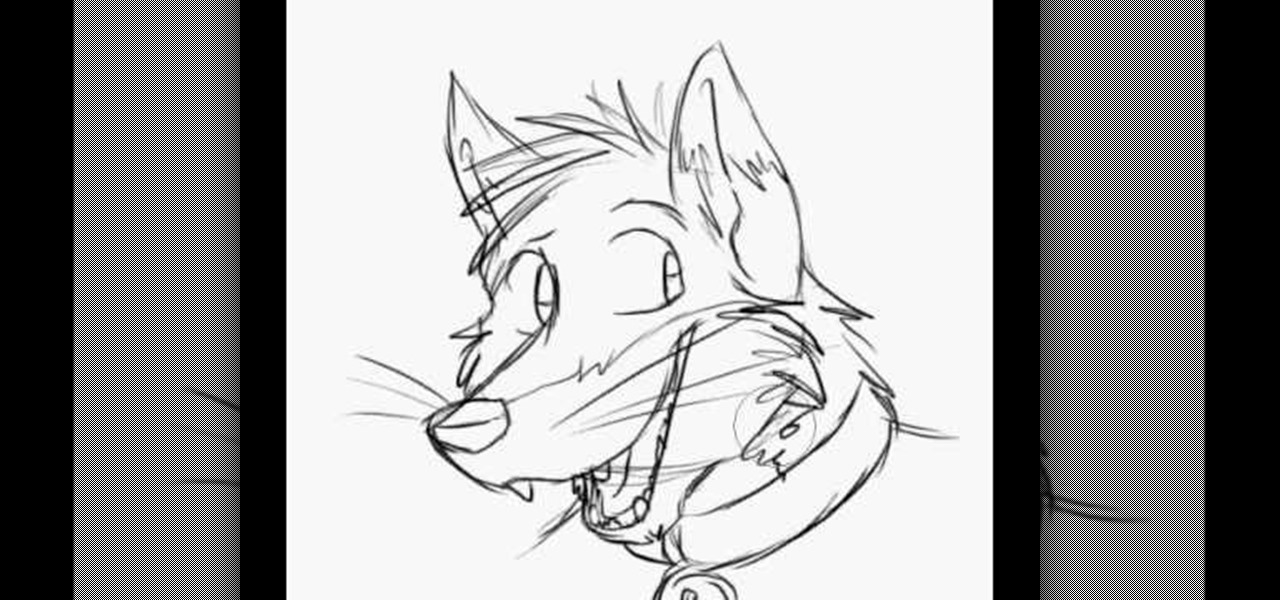
Here is an easy way to draw a cartoon fox. First draw a imperfect circle which is similar to face. Then draw ears which is curve shaped, sharp at its edges. Then draw its mouth part. The upper jaw must be bigger than the lower one. Now move to the eye part joining from the mouth part. Draw teeth and to make more attractable draw whiskers on each side. Draw an attractive belt in the neck side and in order to look real, draw hair portion on the head part and also on the side edges. Now erase th...
Graham Potter of Kaizen Bonsai shows Bonsai beginners how to make interesting trees from relatively available materials. He first details the history of the specific tree he will be working on. He points out that this specific specimen has small, compact foliage, branches that support itself, craggy bark, and a nice taper in the trunk. He begins to shape the tree by cutting the small amounts of foliage that are dead or weak as well as the foliage grows beneath the branches. He then uses hand ...
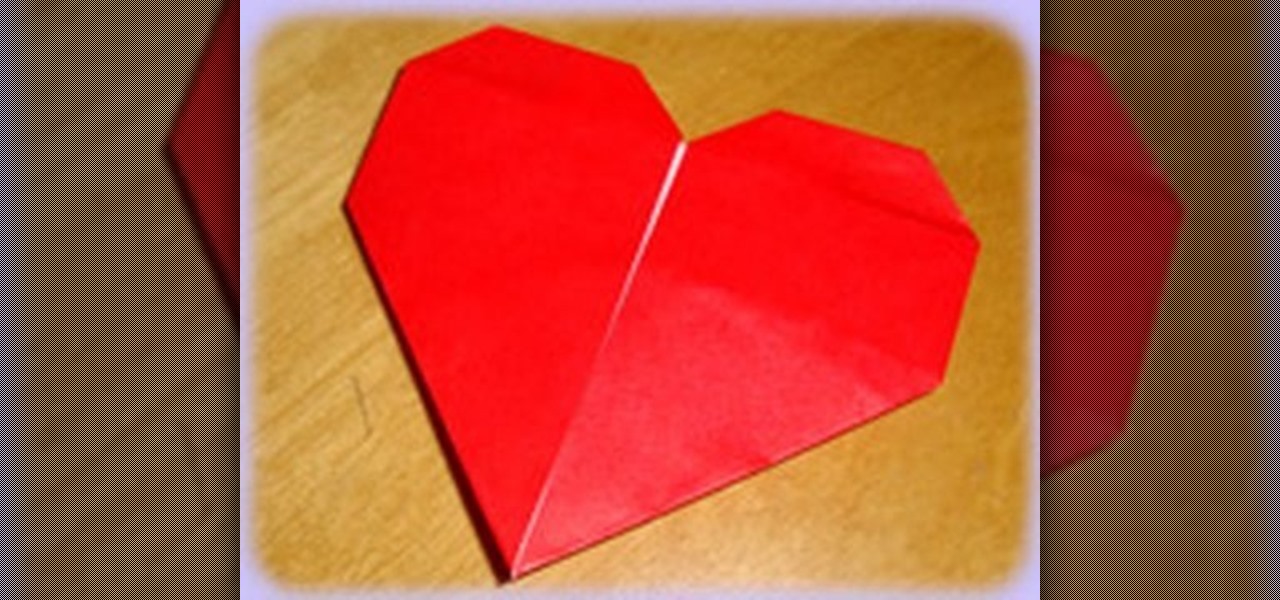
This video shows us how to fold a simple origami heart. Firstly a piece of paper is taken and is cut in the form of a square and then it is folded into half to form a rectangle. Then it is properly creased and then using a knife it is cut into two halves. Then one of the pieces which are in the form of a square is taken and is folded vertically to form a thinner rectangle. It is creased and then unfolded and then the paper is folded horizontally to form a square and it is creased and then unf...
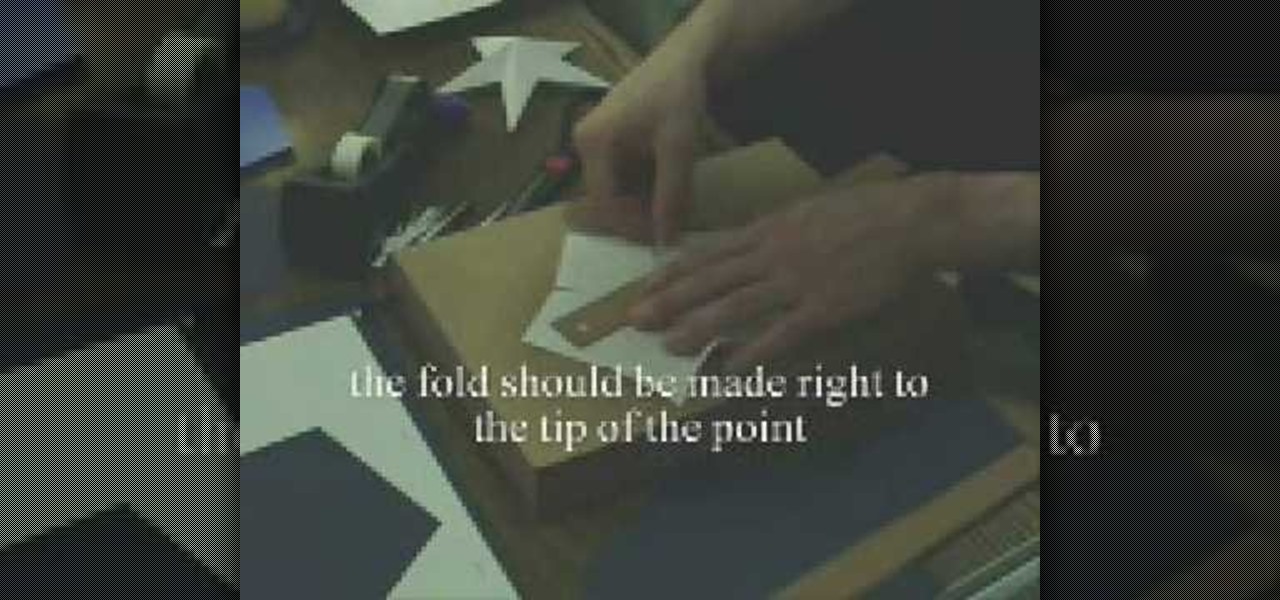
This video shows how to make a 3D five point paper star. First cut a pentagon using a sharp flat blade and a ruler. Folding halfway between each two corners to the opposite corner. These folds are the points of the star. Make a mark half-way between the edge of the paper and the center point created by the folds. Using the ruler and X-acto knife, cut straight along the fold from the mark to the edge. Cut two small triangles off of each side 1/4" up from the middle of the edge, cut a line stra...
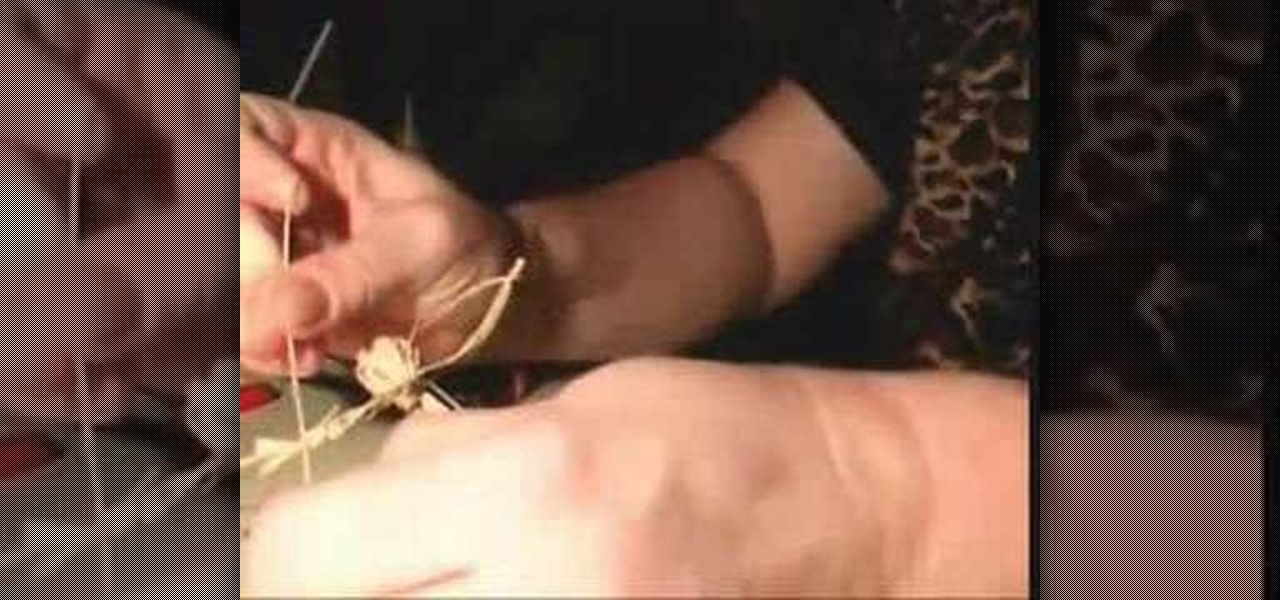
This learning how to make a raffia angel. Once completed they can be used for gifts or a decoration on a Christmas tree. Supplies needed are: pipe cleaner, glue sticks/glue gun, scissors, wire cutters, pliers and embellishments. Wrap raffia around twice. Tie off, and leave some string to hang the angel. Cut a small part of the bottom until the ends are even. Gather a few strands on either side and braid them to make the arms. Tie these off with a piece of raffia. Put a dot of hot glue in the ...
Carving a bonsai tree can be an interesting and rewarding experience. One may think that the tree would be injured in this process, however the process can actually strengthen the health of the tree. The first step when carving a bonsai is to reduce the height of the tree to about one meter. The necessary tools required consist of: a high speed grinder, a rotary cutter, and a weasel. The rotary cutter is good for removing large amounts of wood. Before beginning to cut the tree look at the tre...
Start with a faint outline of the leopards head which is an oval shape and is body which is connected to the head, then add the outlines of the legs ears and tail. In the oval draw the proper perspective lines for the face of the leopard. Now draw the outline of the tree or branch the leopard is laying on. Begin to darken the outlines, drawing with proper perspective, while adding the outlines for facial features. Add your shading depending on your light source then begin to erase the faint l...
Ian shows us how to draw Yoshi from the Mario Brothers video games. First, you draw three quarters of a circle, for the snout. Next, on the top right edge of the circle, before the opening you've left, you draw two ovals on top of it for the eyes. Next, finish out the circle (snout) by connecting the bottom end with back of the farthest-right eye, using a outward-bulging line. Draw a smile at the bottom of the circle, then fill in the eyes with a black oval in the bottom right corners of both...
Ever wondered how to clean those dust clad coin? It is hard to clean the coins all at a time. This how-to-do video gives an easy way to clean those stubborn clad on the coins. An old tumbler would accommodate this task. An old tumbler can be bought from eBay. The tumbler consists of two tumbling barrels connected to a small motor. The tumbling barrels are connected to a motor through a rubber belt. Fill the tumbling barrels with water and tumbling medium. Add Gravel or Pebbles from aquarium, ...
In this how-to video, you will learn how to create an X Hunter paper airplane. First, fold your paper in half vertically. Unfold the paper and fold the two sides to the fold in the middle. Fold the top into a triangle. Unfold it and do the same for the other side. Unfold the paper and flip the paper. Fold the top down. Flip the paper and make two wings on both sides. Fold the top into a triangle. Push the sides to make the top part come up. Fold the tip into a diamond shape. Fold the sides of...
This video demonstrates how to create an origami ninja star. Prepare a square shaped piece of paper. Lay it down on a table or on a flat surface. Fold the paper right across the middle in a vertical orientation. Fold it once more in the same manner as the first fold, now creating a more slender vertically standing rectangle. Fold the upper portion of the origami diagonally forming a small triangle on top of the rectangle. Do the same on the bottom portion of the origami. Fold the upper portio...
This video tells us the method to make a hair bow from a duct tape. You will need a duct tape, scissors and a bobby pin for this purpose. First take a sufficient length of duct tape. Fold it along the breath so that the sticky sides stick to one another. Now we get a duct tape in the shape of a rectangle. Fold the duct tape along its length. This forms a crease at the middle of the duct tape. Fold each half of duct tape along the length to the crease at the middle. This forms two creases at t...
Basic bust drawing : Starting with the standard ball and crossed lines for the face. The artist fleshes out the chin before moving onto the eyes, giving them the general feel of the face. The nose and mouth follow suite. The tribal marking on the characters face are added next and shaded darkly.
Create a loaded hot dog perfect for any dollhouse kitchen! Learn to create a hot dog topped with ketchup, mustard, sauerkraut, cheese, onions, and relish all out of polymer clay! First start the onions out of translucent clay. Roll it out in the pasta machine and cut off little strips and bake them. For cheese take strips of orange clay and cut them at an angle. Do this same technique for the relish, the sauerkraut, mustard and ketchup. To create the hot dog roll out a brown colored piece of ...
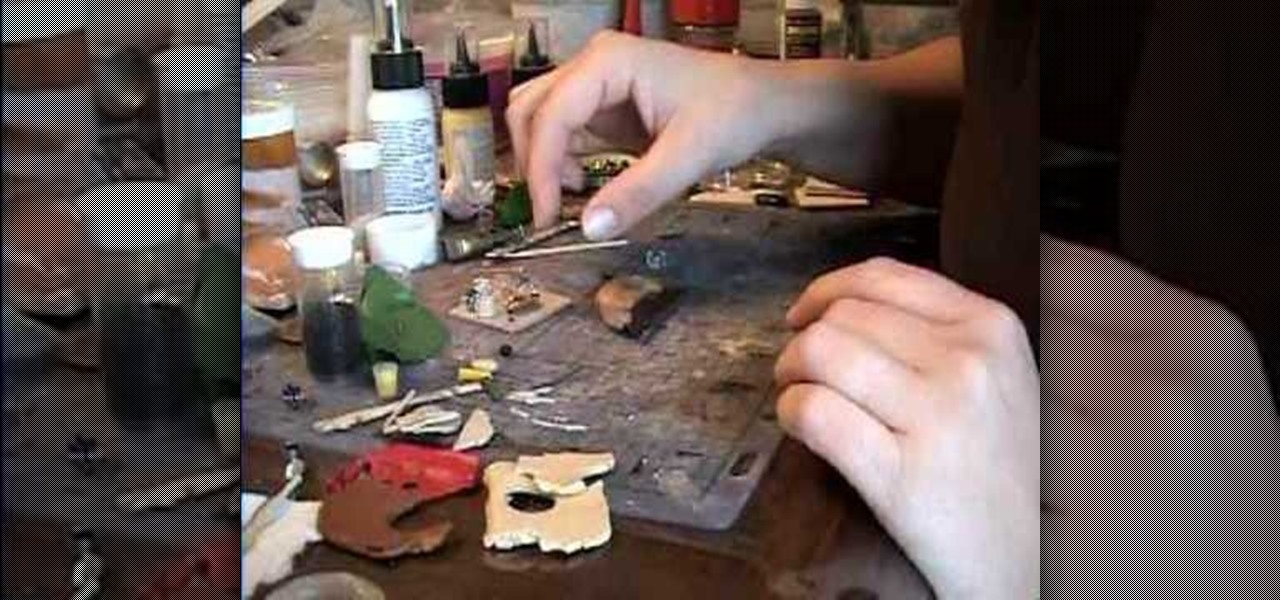
To begin you need to have a metal hollow tube made up of a strip which is around one inch wide and about two inch in length and has been bended round. Now take some clay and put it inside this hollow tube on a table. Press it with your finger. Take a glass tube with lid and use it to press the clay down to form a pot with this clay. Now remove the both the glass tube and the metal tube. Put the clay pot again back over the lid of the glass tube and press with your fingers. You have to press s...
This art and craft video shows you how to create a bunny head out of polymer clay. You start it by creating a round ball for the bunny head. You can then make it into a bead by using a small screwdriver (if you wish it to be a bead). You then take some additional clay and shape it into flat ears, fold them over to make them look floppy and attach them onto the round ball (head). The presenter then shows you how to add eyes, by pressing beads onto the face of the bunny using a needle. You can ...
This video shows how to make paper roses. Start with several die cut flowers, preferably with six petals. Take one and slit it so that you can fold one of the petals over the other one and glue them so that they are overlapping. Take another die cut flower and cut one petal completely out, again folding the two edge petals and gluing them together so that they are overlapping. Do another flower the same way but cutting out two petals. In the final product each of these will overlap each other...
In this video we learn how to make a poppet. A poppet is generally used to give protection, healing to the ones we love. It may be our cat, aunt, home, or whatever we like to do it for. Here in this video we make a poppet for an animal. So the requirements are color shields, scissors, lavender and roots (for protection), citrine. Citrine helps in cleansing. Draw the shape of the animal we require on a cloth of two stacks and cut it using scissors. Use the thread to attach the edges. Leave a s...
Garden of Imagination shows viewers how to make realistic looking bread loaves for a dollhouse. First, you need a beige ball of clay or a color that looks like that of bread. Take your ball of clay and warm it up in your hand. Lay it on your table. With the center of your palm, press the ball of clay down. This will give you a nice bread shape. Now, take a twisted wire and make a tic tac toe board on your bread to act as creased. Use rolled up tin foil to give the bread texture. Now, use chal...
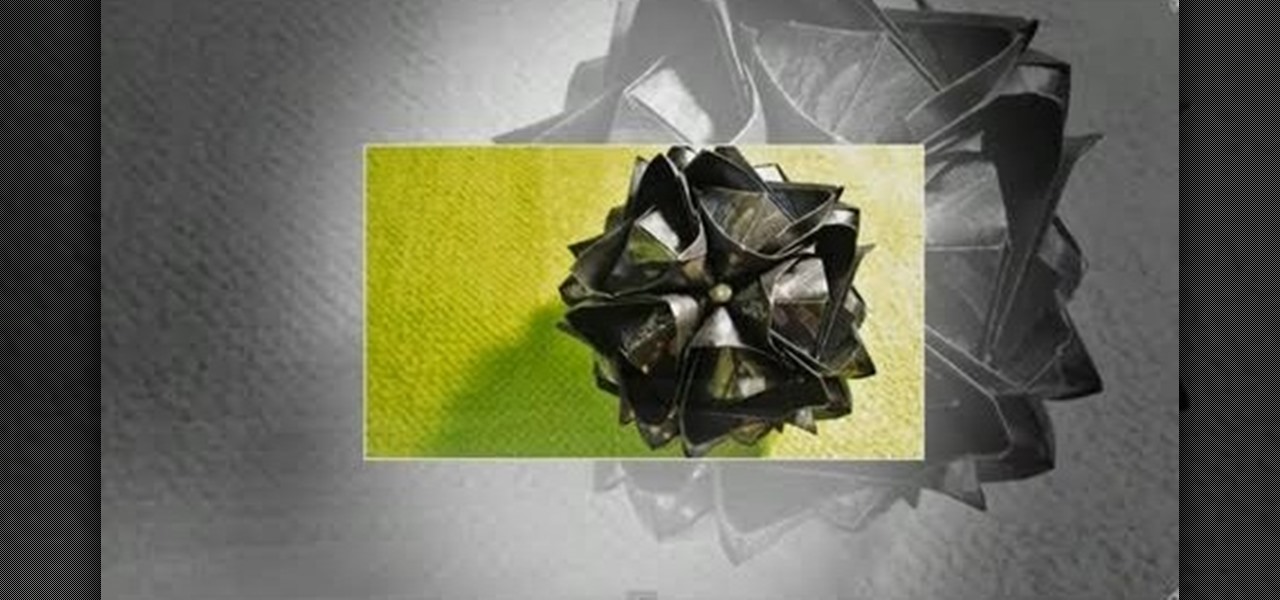
This video tutorial demonstrates how to fold a Bluten Kusudama. For this we have start with an eight by eight cm piece of paper. Fold it into half. Fold the half into another half so as to make the paper into four equal parts. Now fold this into half creating a cube. Now open the paper we can see that there are eight equal parts. Again fold the paper from one corner to the first vertical fold. The first vertical fold will meet the center fold, creating an oblique. Now fold in the same way in ...
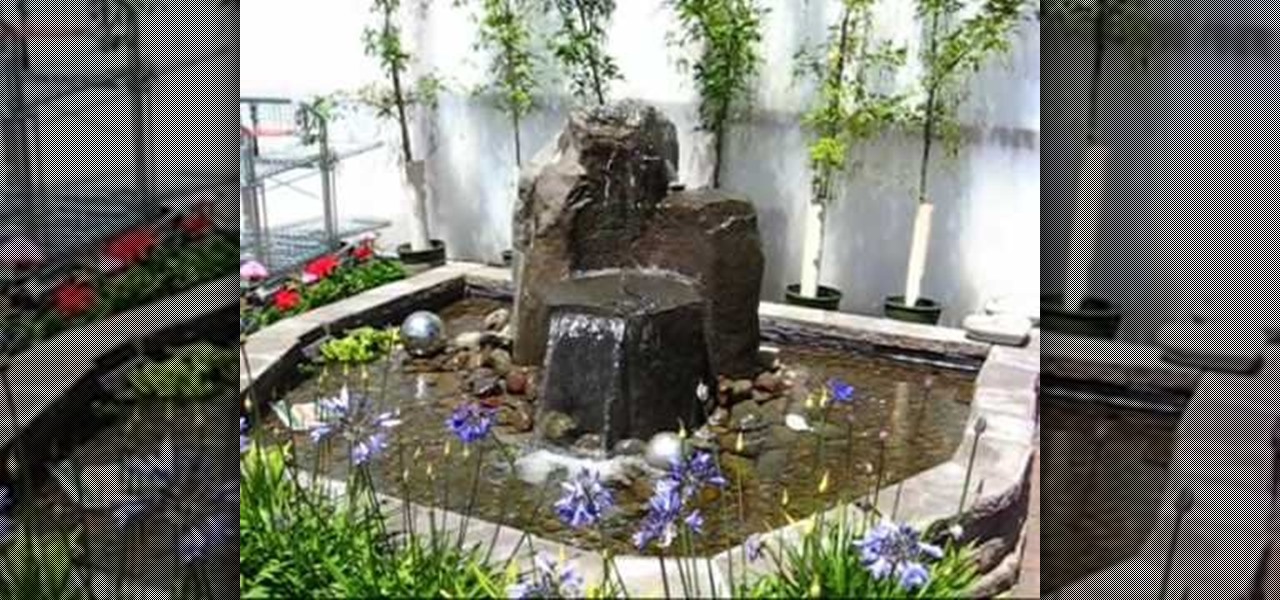
The procedure was adopted to build a waterfall in Oregon Coast Garden Center, Wald-port. 1. A level pad was cut to arrange the first row of blocks
The video shows you how to make three simple flowers. First, draw a circle. Draw petals around it. Remember to make a little big petals. Then make a stem. Draw a leaf on it. Color the petals with red and the inner circle with orange. Color the leaf using a dark green color. First style flower is ready.
Mark Nelson shows how to make a very simple ring using a squiggle technique in this video tutorial. You will need 6 inches of 16 gauge silver wire (or whatever type of wire you want to use). You will also need 6 inches of copper wire (16 gauge), which will act as the template. Take the ring sizer and bend the copper wire to make whatever size ring you need. Use clippers to create the template. Use pliers to straighten out this template. Place this template in the middle of your silver wire ma...