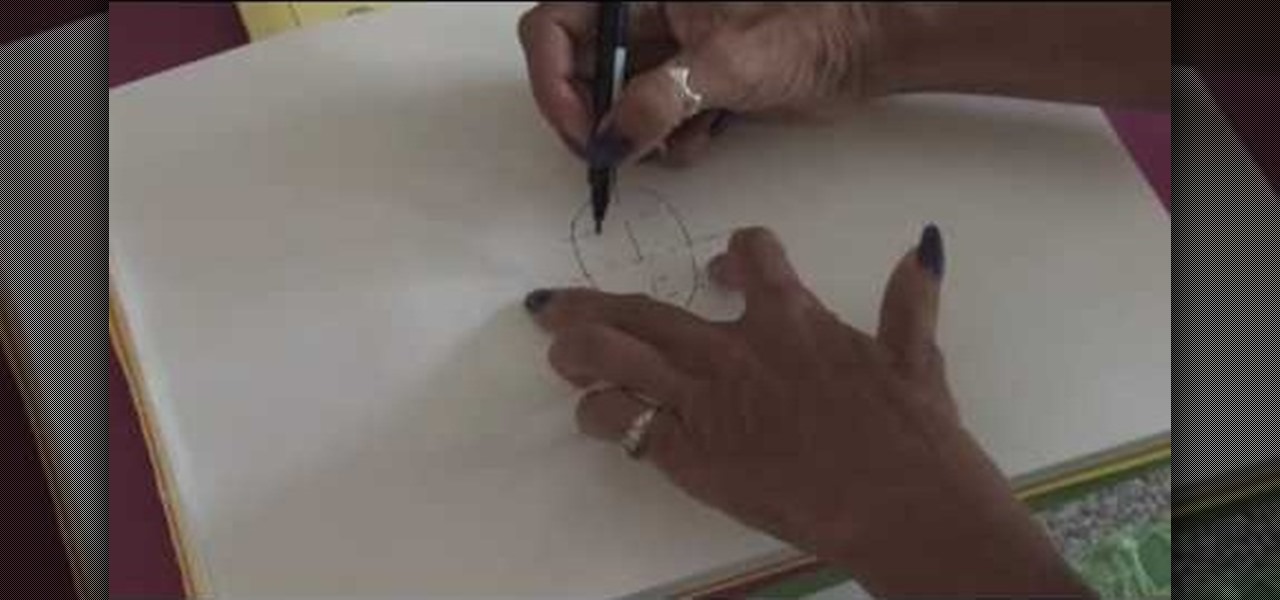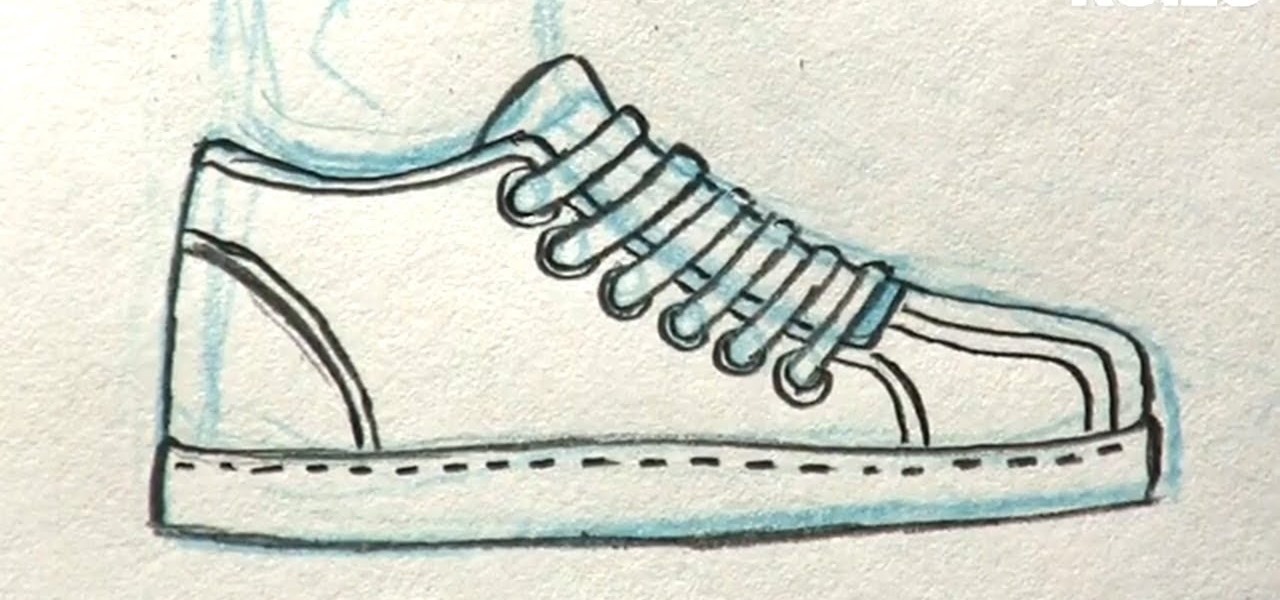
In this tutorial, we learn how to draw manga shoes. First, you want to sketch the basic shape of the foot. On top of this, you will draw a rough shoe shape with a different colored pencil. Next, draw in the details of where the laces are going to go, and where the lip of the shoe will be. Also draw in the soles and any other details you feel you need. Switch over to a black pencil to draw in darker details and add in shading throughout the drawing. When you are done, sign your name by your dr...
In this tutorial, we learn how to make cloth flowers. Start out by grabbing several different strips of fabric and folding it into a shape that makes a flower. After you do this, place a needle into the fabric so it doesn't come unraveled. After this, start to twist the fabric and then thread the needle through the strip. Now, pull the fabric up and it will scrunch up into a flower shape. Now, wrap this around a stick with a piece of fabric on it, that will become the middle of the flower. Wh...
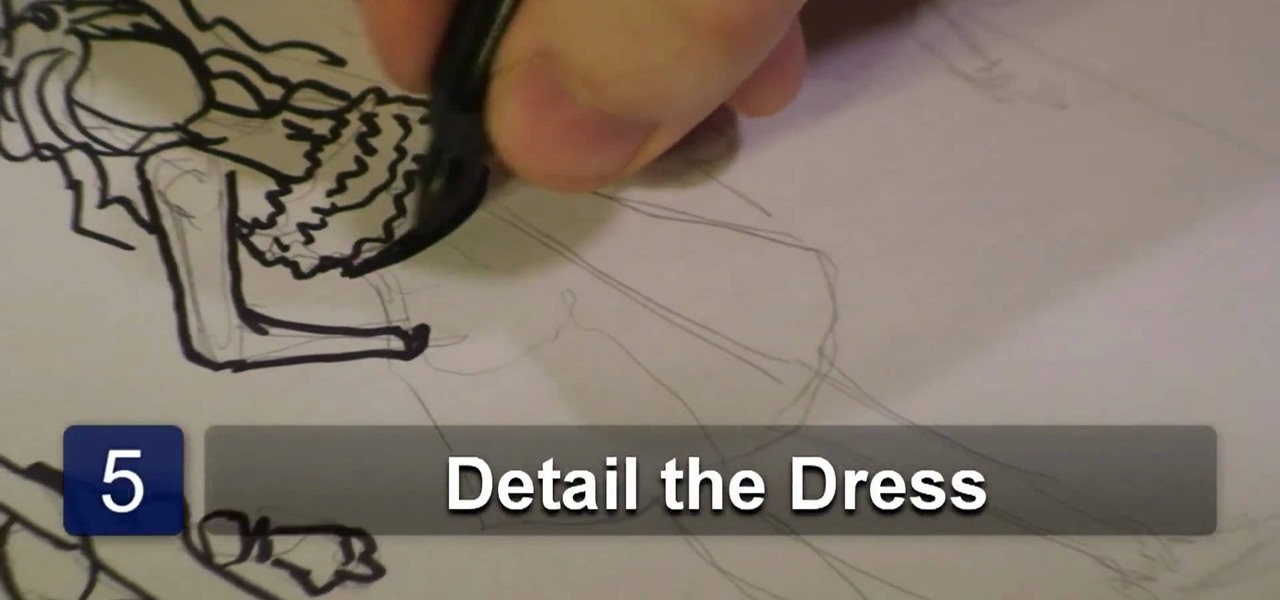
In this tutorial, we learn how to draw a variety of prom dresses. First, you will need to start out by drawing the dresses on different body shapes. Make dresses that are long, short, and knee-length. After this, use a marker to draw the outline of the body and the dress, then start to add in the pleats and the dress details. Add on scarves and other items to the different types of dresses, then continue doing this for the different types of dresses and body shapes. When you are done, draw in...
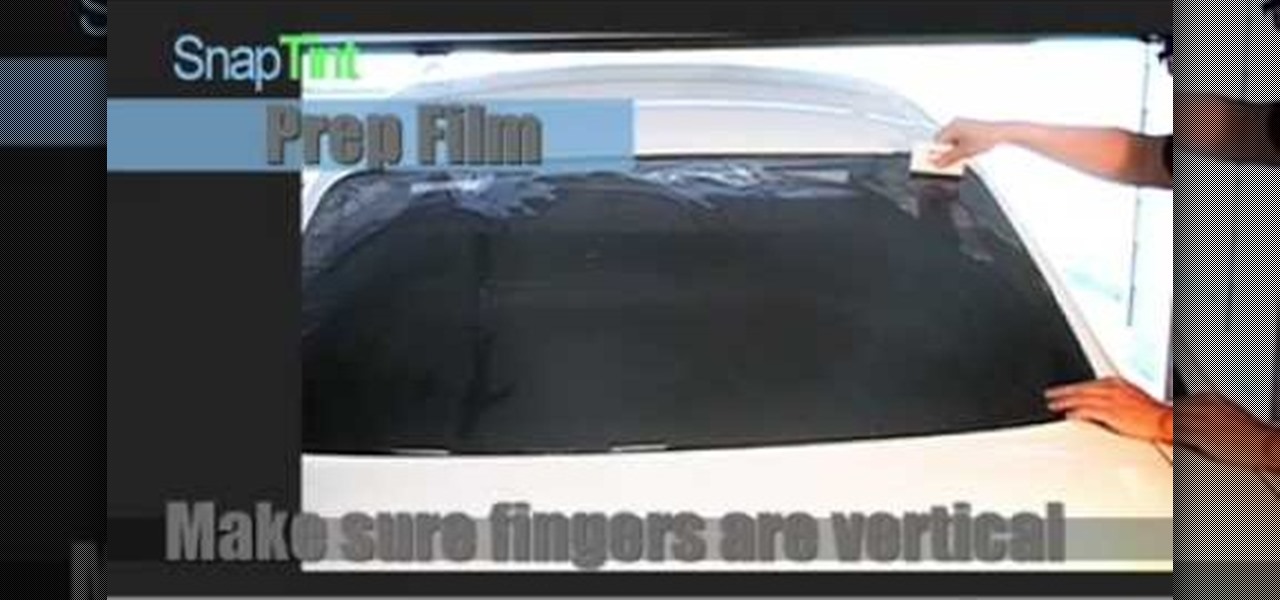
In this video, we learn to heat shrink a rear window tint. First, prep your window using soapy water. Next, rinse with car with a soapy cloth and spread on the lather. After this, let it dry and cut the film around the pattern. Next, create an anchor by dampening in an 'h' shape. Next, lay the window film down with the liner side up. Anchor the film onto the window along the 'h' shape. Make sure your fingers are vertical, then heat the film until the lines react. Then, smooth on with the hand...
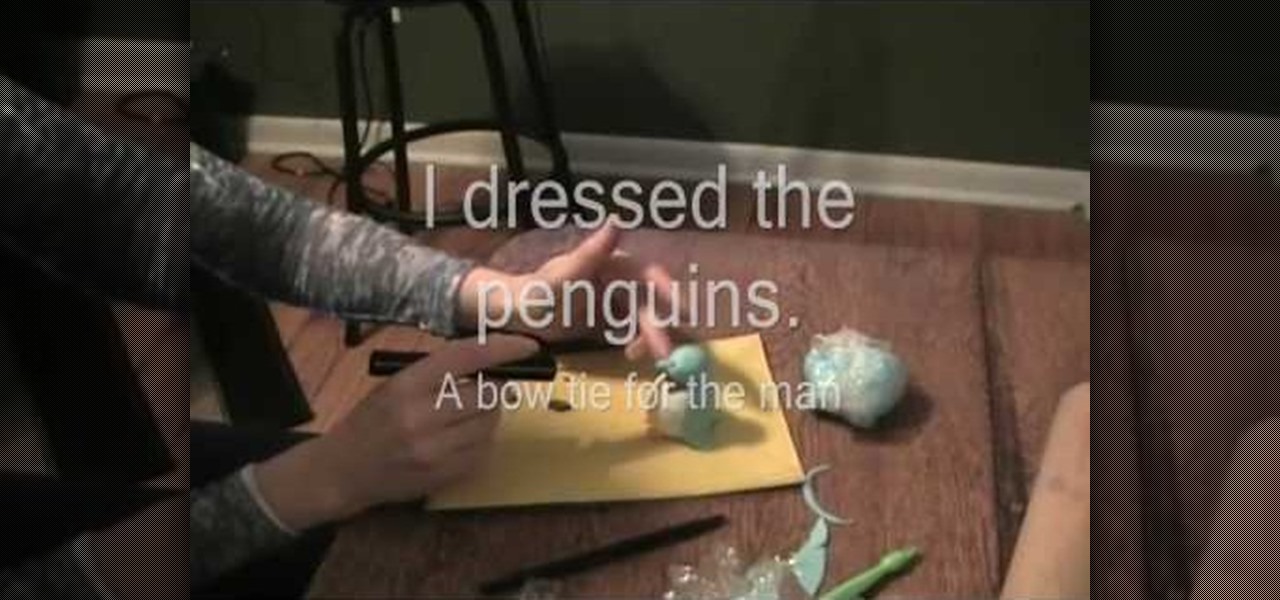
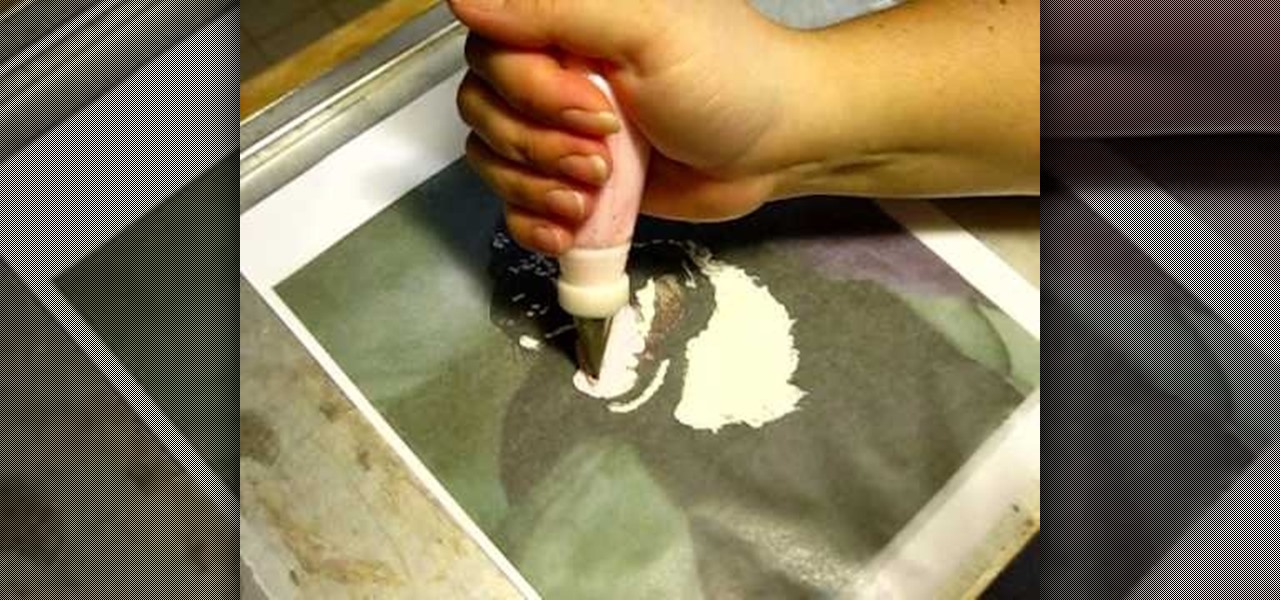
In this tutorial, we learn how to make an igloo and penguin cake. For this, you will start with colored fondant or colored gum paste. Next, you will shape your gum paste into the bodies of the little penguins. After this, make sure you make all the shapes for their eyes and beaks, as well as their feet. When you are finished with this, you can start your cake. To make it look like an igloo, you will place large marshmallows that have been cut up on top of it, then use coloring to make it look...
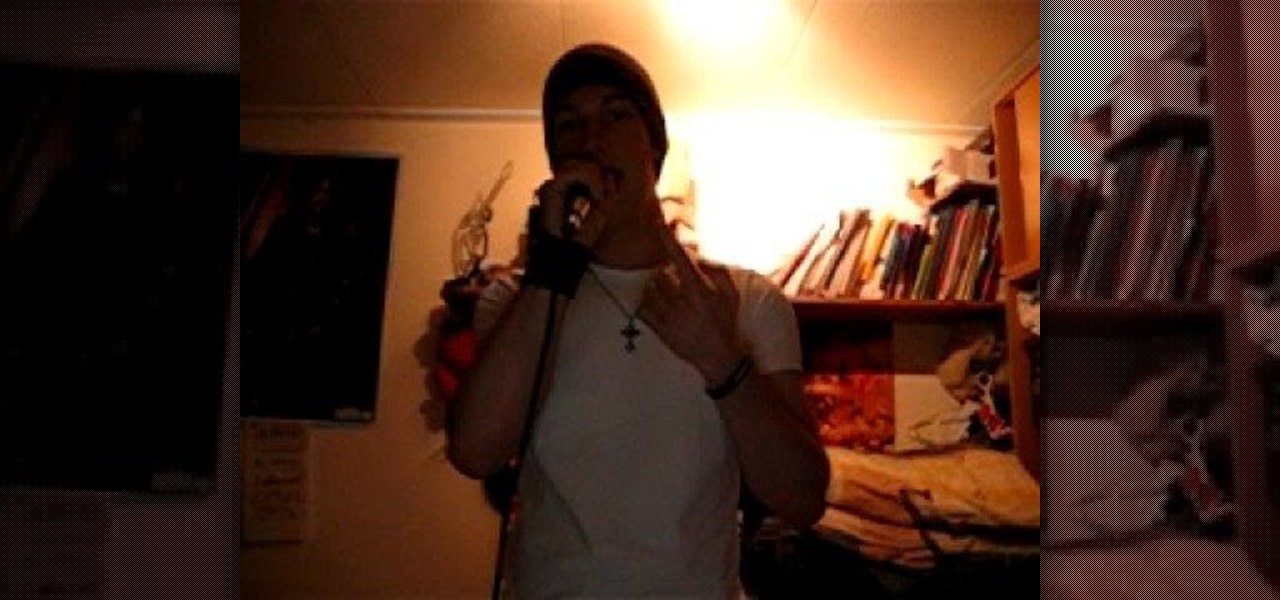
In this video, we learn how to do deep screams in metal singing. You will take a high note and add to it by pushing your throat. This is like doing the vocal fry method. After you keep practicing, this will become a guttural scream. Put your tongue on the roof of your mouth and shape your mouth into a fish shape. Let the air flow steadily and the noise will come out really deep and out of your guts. This may take you several days or weeks to do, but don't give up easily! Once you get the scre...

Everything is so much cuter - and tastier - in edible form. Take dogs, for instance. Whether you miniaturize them to top a cupcake or make them out of buttercream to top your cake, they becomes instruments of decoration and pleasure once they get adapted to cakes.

In this video tutorial, viewers learn how to draw Obi-Wan from Star Wars. Begin by drawing a circle for the head and rectangular shape for the jaw. Then draw a line 1/3 way across the circle. Draw the eyes on the line and the nose just underneath the line. Now draw 2 lines from the ends of the eyes to the rectangular shape. Use those lines as a guide to draw the length of the mouth. Then add the ears, eyebrows and beard. Now lightly draw the hair. Finish by coloring and shading the image. Thi...

In this tutorial, we learn how to make a paper football. First, take a piece of copy paper and fold 1/3 of the paper and crease it. Next, do this again until you reach the top of the paper, you should have three folds in total. Next, fold one side into a triangle shape, and then keep folding in until you get to the bottom of the paper. Once you reach the bottom, fold the excess paper into the pouch that you created when folding the triangle in. You will end up with a triangle shape. Now, you ...

In this tutorial, we learn how to make a bikini bottom. First, measure the widest part of your bottom area, then write this number down. Next, place your fabric where the measurement device just was, then mark where you want your underwear to fit. Mark this spot, then measure the lines out on the fabric. After this, use a pen or marker to mark the underwear shape. After this, cut out the shape of the underwear and pin all sides together. Now, sew the sides of the bottoms together, then flip t...

In this tutorial, we learn how to make a perfect paper football. First, fold the paper in half, length wise. Next, fold it again the same way and fold the crease. Now, rip a small section of the top part and discard. Now, fold the paper in the middle to make a sort of "l" shape. Then fold again so you have an arrow. Now, fold all the parts together so you have a diamond shape, then tuck the end arrow into the pouch you created to have an even smaller triangle. When finished, hold the paper wi...

In this tutorial, we learn how to make a paper cigarette from a cigarette foil. First, fold a piece of foil length wise, then flatten out the creases. After this, unfold the paper and tear it in half. Now, fold half of it in half again to make the stem of the flower and twist the top. Use the other half of the foil to make blossoms and flower petals. When you are finished shaping these, attach to the stem of the flower and shape more to make the flower look more realistic. Attach more leaves ...

In this tutorial, we learn how to prune trees and shrubs in your garden. If you want to have a natural looking appearance to your plants, make sure you prune them often! A lot of plants will grow out of shape quickly, so make sure you trim them often. Don't square them off on top so your plant doesn't look fake and un-natural. To begin, you will want to take your tallest branches off first, from the bottom of the tree. Keep doing this until the very tall branches have been removed and you are...

In this tutorial, we learn how to make a paper flower using paper scraps. To make this, you will need: 3 pieces of small pink scrap paper, 1 piece of small green scrap paper, 1/16" brad, adhesive, hole punch, ink, and a sponge. First, you will draw one different size circle on the 3 sheets of pink paper. Next, draw leaves onto the green scrap paper. Now, start tearing the shapes out of the paper leaving no pencil showing. Crumple the paper up several times, then get your ink and put it on you...

In this video, we learn how to groom men's eyebrows with Aaron Marino. You will need: high quality tweezers, small scissors, fine tooth comb, and a pencil. First, use the pencil and place along the inside and outside of your eye to know where your eyebrow should start and stop. Now, take your tweezers and pluck the middle of your eyebrows, as well as the outside and underneath of the eyebrow. Next, take the comb and brush against the grain. Trim the hairs that come up at the top, making sure ...

In this Arts & Crafts video tutorial you will learn how to make a growing flower pot card. First you make a flower out of a tea bag. Then cut out a piece of paper in the shape of a flower pot. Now take a couple of sheets of 8x4 card of the same color. Score one card in half and fold it. From the other card cut out a piece equal to the size of an A5 card, which is 14.85 x 10 cms. Now glue the flower pot shaped paper on to this card. Now cut a long strip of the card, 30 x 3 cms and fold it in h...

In this tutorial, we learn how to do a feather stitch while embroidering. To begin, you want to place your finger right next to where you are sewing so you are making a loop shape and helping guide your needle as you are doing this. You will want to chain the loops together, making the thread look like feathers as you continue. There should be no lines that are straight, all should be looped by placing the needle in between each circle and pulling it into the loop shape. When you are finished...

In this video tutorial, viewers learn how to make a stencil. The materials needed for this project are: contact paper, scissors and a pencil. Begin by drawing the design, shape letter or number on the contact paper. Make sure to draw the stencil on the back of the paper and make it reversed. When finished drawing, carefully cut out the design. To use it, simply peel off the invisible paper and place it onto the surface of the artwork. Then trace over it. This video will benefit those viewers ...

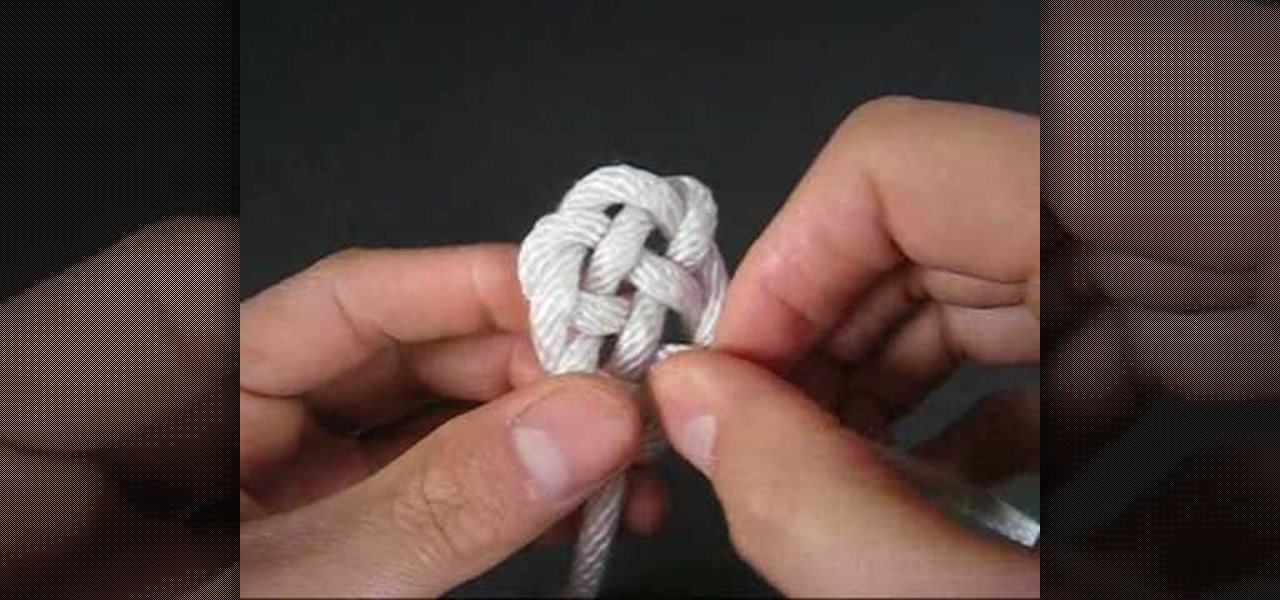
In order to create a Key Hole Weave Knot, you will need: rope or twine. Begin by making a loop. Then, make a second loop next to it. Cross the loops, placing one on top of the other. Weave a free end through the loops. Next, weave the other free end through the loop. Pull them both through carefully. Next, you'll need to shape your knot, by making sure that the spacing is even.

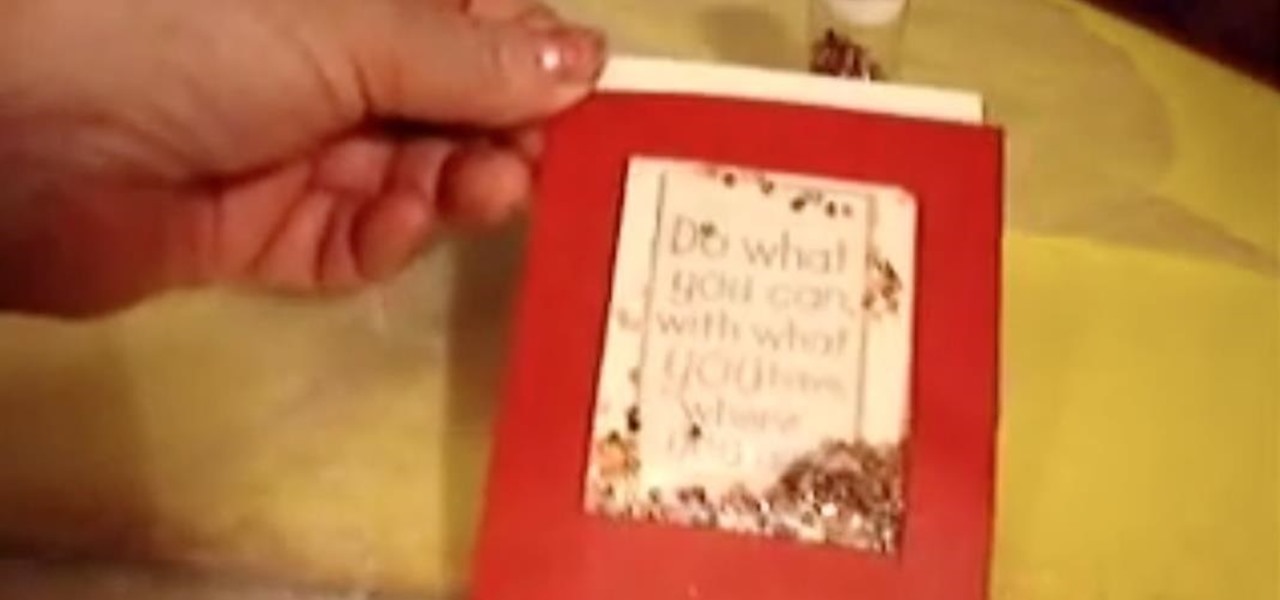
In this tutorial, we learn how to make a scrapbook shaker box at home. You will need: square card stock shape, another square card stock shape with a hole in the middle, and a piece of acrylic. First, place the acrylic along the piece of card stock with a hole on it and glue them down together on all four sides. Next, attach a journal entry to the center of the other card stock square. Now, line adhesive to the acrylic piece on three sides and stick the card stock to the adhesive. You can now...

In this tutorial, we learn how to make a paper snowflake. First, take a copy paper and fold a quarter of it over to the other edge. Next, cut off the excess paper so you have a triangle shape. Now, fold a corner to the next corner, and repeat so you have another triangle. You can now cut corners off so they are even and you have a rounded snowflake. Then, cut a triangle starting from your edge points that you just created. Now cut slits a quarter inch apart into the middle of the paper all th...

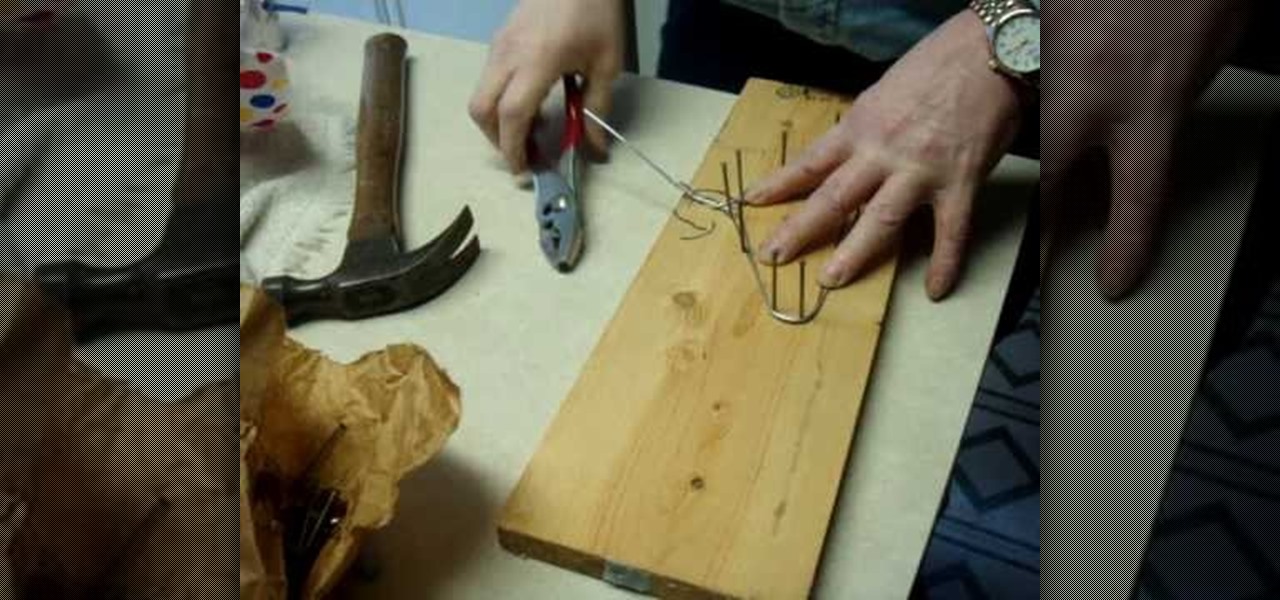
In order to make your own hangers for your American Girl Dolls' clothes, you will need the following: wood, nails, a hammer, a marker, one American Doll hanger (to be used as a pattern), 14 gauge wire, pliers, and wire cutters.

In this video, we learn how to make gnocchi with Chef Avram Wiseman. This recipe first starts off with 2 lbs of Idaho potatoes and add in 2 egg yolks after they are riced. Next add in some pepper and a couple pinches of flour and salt. Mix everything together until it's well combined and in 1 cup of flour. Now, dust your cutting board with the dough and knead the dough on the cutting board. Now, flatten out the dough and cut into gnocchi shapes and place into the freezer until the shape is ha...

Draw a persons face with this lesson by a professional artist. Start with a basic oval shape. Draw a light guideline through the middle of the face, then a cross line where the eyes might go. Then, draw a line for the nose and mouth. This will leave your drawling divided in three sections. Next, you begin the eyes. Draw oval shapes on the eye line. Then, draw the circles for the middle of the eyes. Then draw in the brows. Next, begin drawing the nose then the mouth. Now you're ready to draw t...

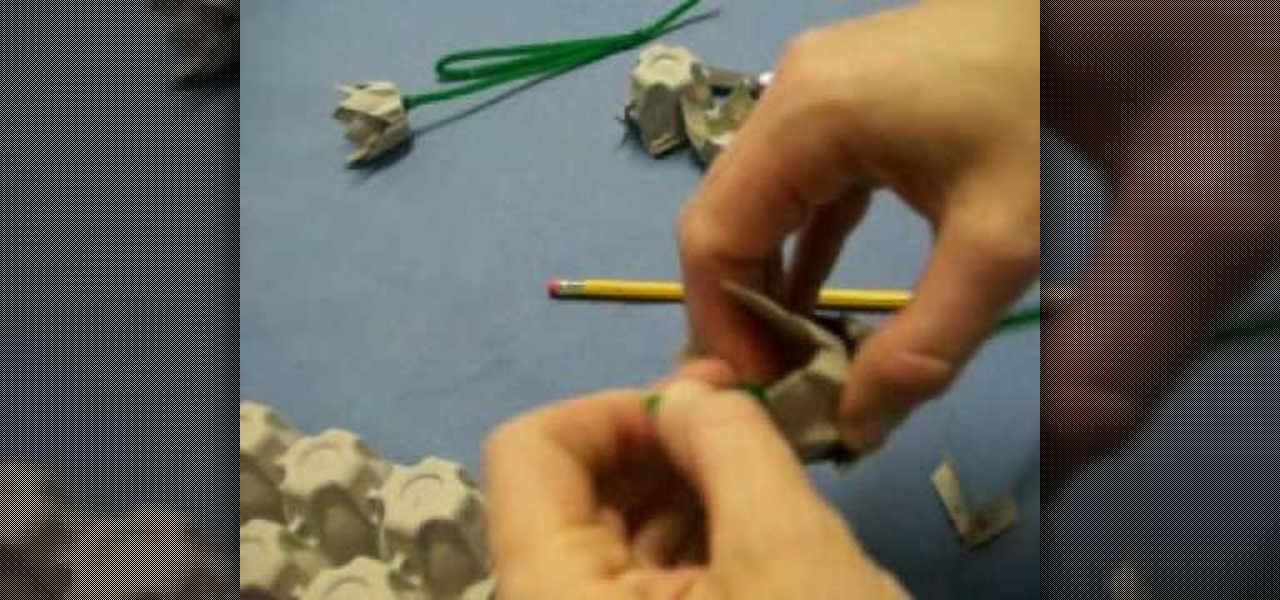
In this Arts & Crafts video tutorial you will learn how to make an egg carton tulip. Cut out two cups from an egg carton. Then cut petals into the cups by cutting out triangular shapes. Make four petals on each cup. Then with a pencil, poke two holes on the bottom of one cup opposite each other in line with the two lowest points of the petals. Do a similar thing on the other cup but, in line with the two highest points of the petals. Then take a pipe cleaner and pass it through one hole of on...

In this video tutorial, viewers learn how to fold a pocket square into the winged puff and rolled puff. For the winged puff, begin by folding the pocket square diagonally in half to form a isosceles triangle. Then fold the two edges towards the middle to form a diamond shape. Now fold the two outer points into the center and fold the bottom flap up, creating a pentagon shape. For the rolled puff, cup the pocket square in one hand, then roll the top of the pocket square downwards with the othe...

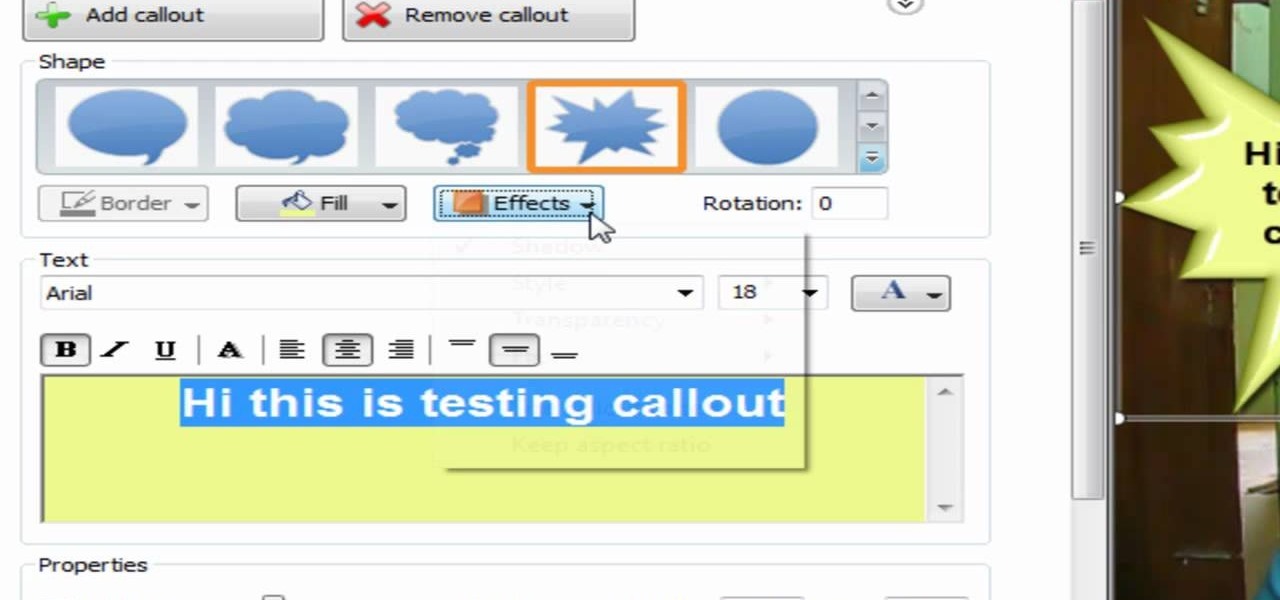
There's cool features in Camtasia 7, including a zoom option for video and a little thing called "Callouts". Zooming is pretty self-explanatory, but what are callouts? There cool shapes, like arrows or explosions, that you can add to your video to bring attention to something. You can also write text inside the shapes for whatever reason needed. This video will show you how to use the zoom and callouts feature, and will show you how to add the text you need.

Eyebrows are an important part of your face. They really define your eyes and even your cheeks! If you are having trouble with your brows, check out this tutorial. In it, you will learn how to shape and fill in your eyebrows so that they stand out and make an impact. If you have sparse brows or are just looking for a bit of definition, take the advice offered in this tutorial and stand out.

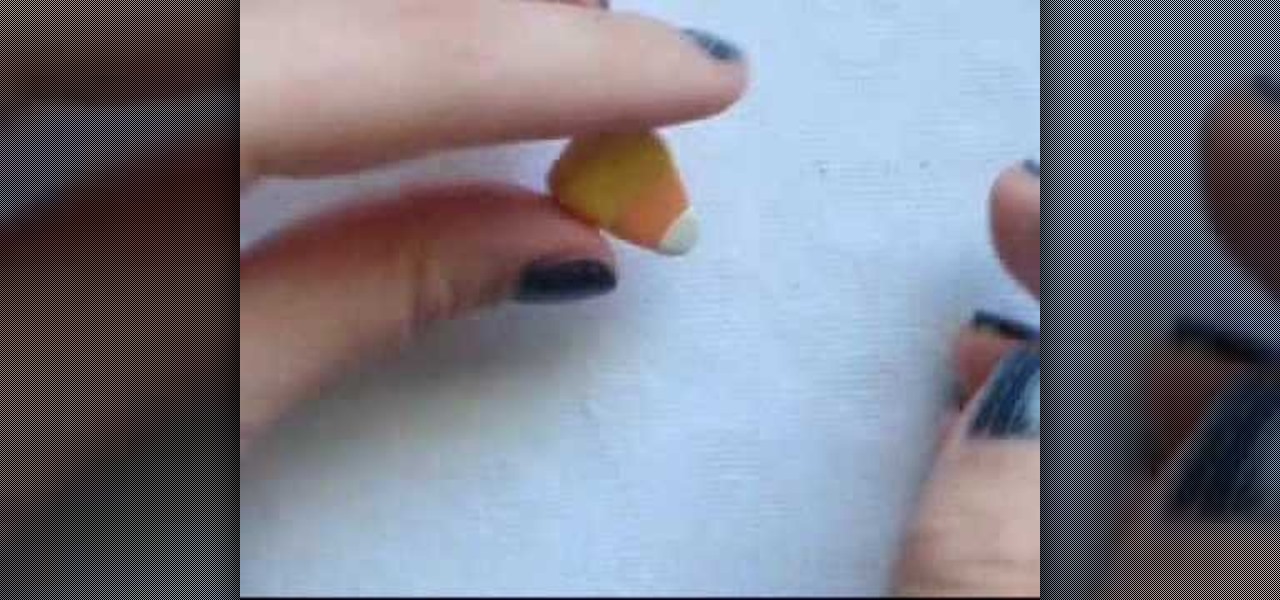
In this video tutorial, viewers learn how to make candy corn out of polymer clay. Users will need yellow, orange and white polymer clay. The yellow is the largest, the orange is the medium and the white is the smallest. Begin by rolling each of the clay into balls and stack them on each other like an ice cream cone. Then flatten it and press on the sides to inflate and square it. Make the top part the widest (yellow) and make the bottom the most narrow (white). It should be in a shape of a tr...

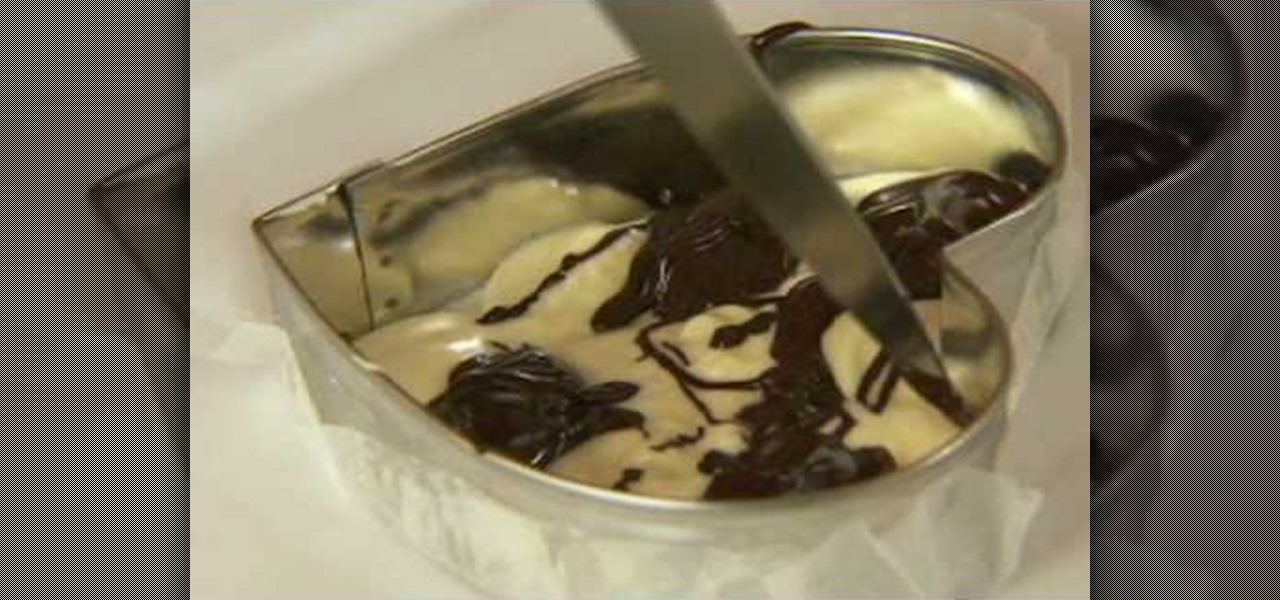
In this video tutorial, viewers learn how to make swirled chocolate heart cake decorations. Users will need a heart shape cookie cutter. Brush some oil inside the cookie cutter and some butter one the outside. Then press on some wax paper on the outside of the cookie cutter to create mold. Now pour in some melted white chocolate and fill in the heart shape. Now add the chocolate. Using the sharp point of a knife, swirl it around the chocolate to create a swirl design. Place the cake into the ...

In this video tutorial, viewers learn how to tie a double handkerchief for tuxedos. Begin with 2 triangle handkerchiefs and fold one over the other. Over lap the triangle to form one mixed triangle handkerchief. There are 2 ways to fold. The first ways is to take a corner and fold it up. Then flip it over and fold a corner down to form a square shape. The second way is to roll in the tow corners to create a cone shape. Put a card inside the fold and hold it together with a pin. This video wil...

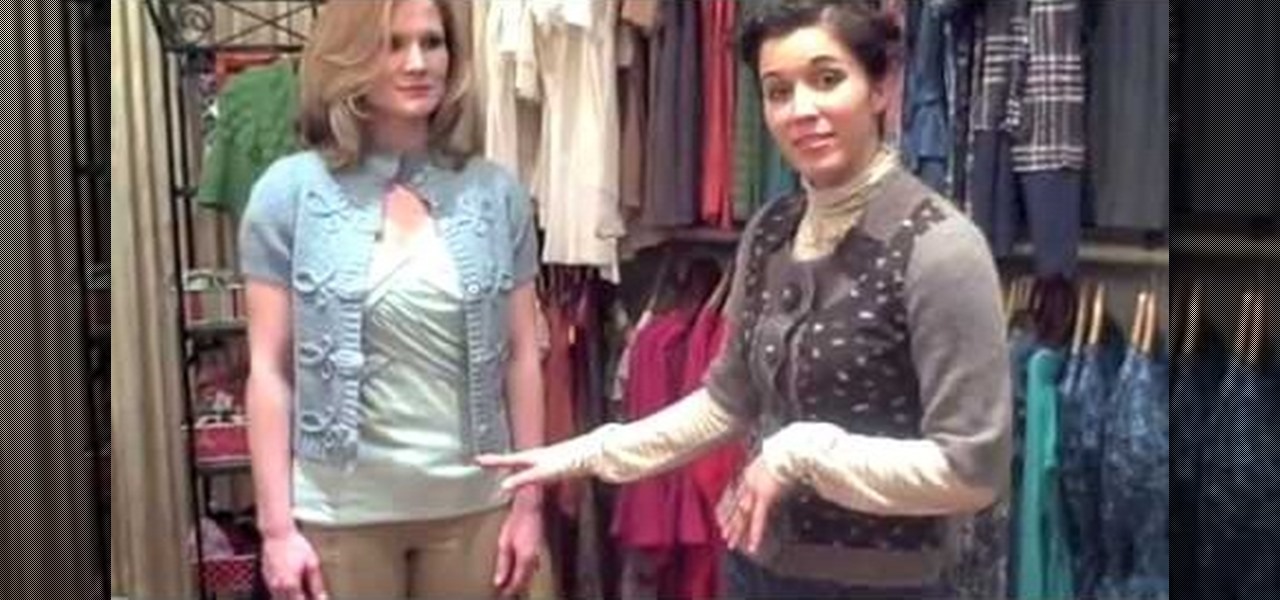
In this how-to video, you will learn how get a perfect fit for an hour glass body shape. This means the bust and hip width are the same. This means you have to find the right clothes. A mid rise trouser, simple top, and cardigan will work with this type. As for dresses, many types work well for this shape. A one piece works especially well with an hour glass figure. A belt can also help emphasize the waist. A jersey dress are also perfect for this figure, as it is the same size on the top as ...

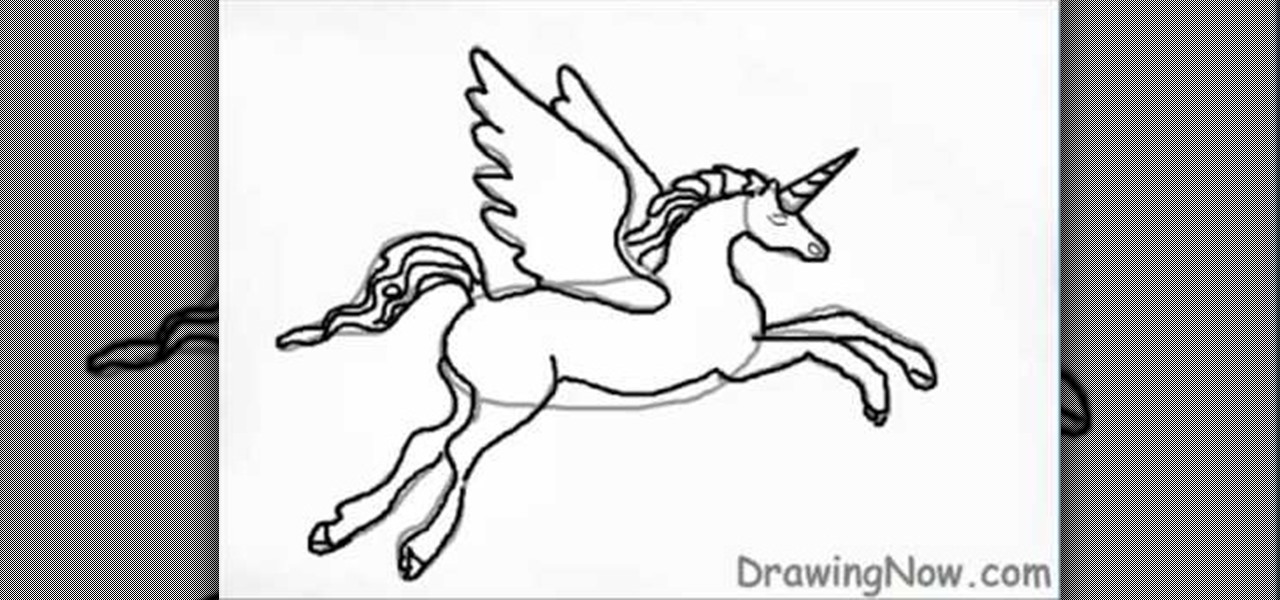
This video illustrates how to draw a fantasy unicorn. Here are the following steps: Step 1: First of all take a sheet of paper and pencil and start drawing the head in a cone shape with the cone having round edge ,this cone represents the head.

This video is about how to apply glitter dust. So the first step that you will have to do is to add two to three drops of activator in the glitter dust which helps stick the glitters on the eyelids. Then the next step is to carefully pat the glitter on the eyelid. Just slowly spread the glitters all over the eyelid and remember to follow the eye shape. Then the next thing that you will have to do is to apply the same process in the other eye. Carefully apply the glitter dust on the eyelid fol...

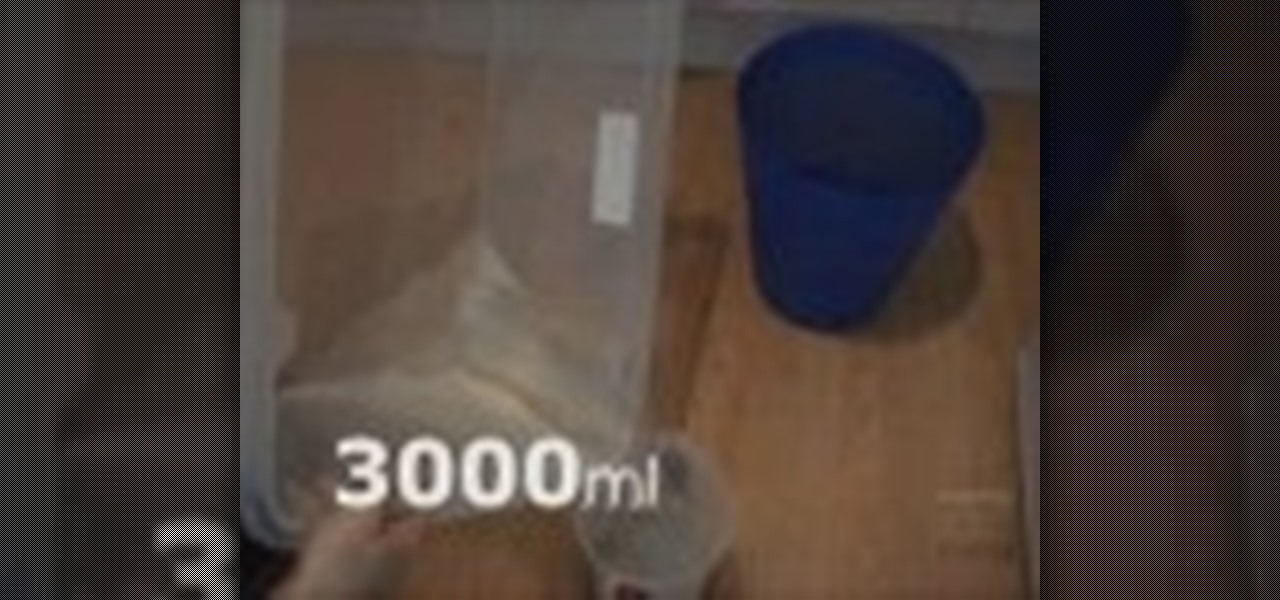
Here we will demonstrate how to measure the volume of a balloon. A balloon is not a straight edged polygon shape, usually, so the mathematical equations get that much harder, on the flip side, it may be a spherical or ovalish shape, but measurements with math alone are detrimental due to the uneven sizes of the balloon. Here is how to do it properly. You will need a bucket, preferably, to hold water, a larger container than your original bucket, and a measuring container. Place the bucket ins...

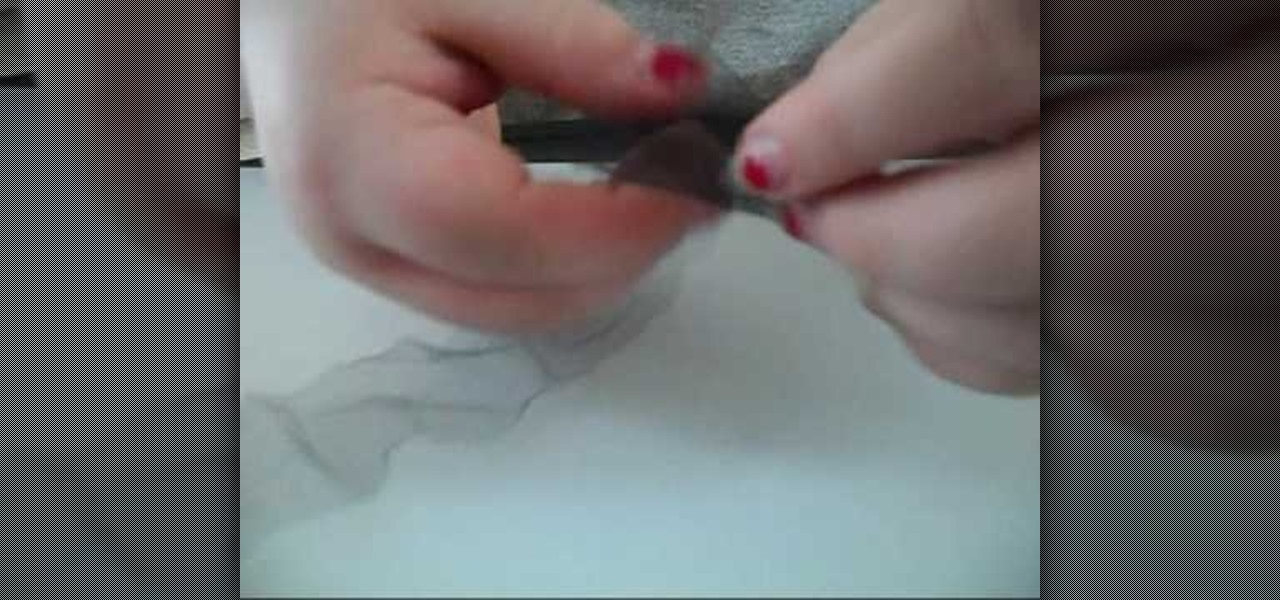
This is a video tutorial describing how to construct a mini loofah for your dollhouse. The first step is to gather your supplies. You will need a needle, scissors, thread, and tulle. The tulle and the thread should be the same color. Next your tulle should be cut to be 1.5 feet long. Then bunch up the tulle so that it is small and compact just like a loofah. Next you should thread your needle. Next sew the tulle so that it stays in the shape that you would like it to be in. Finally cut off al...

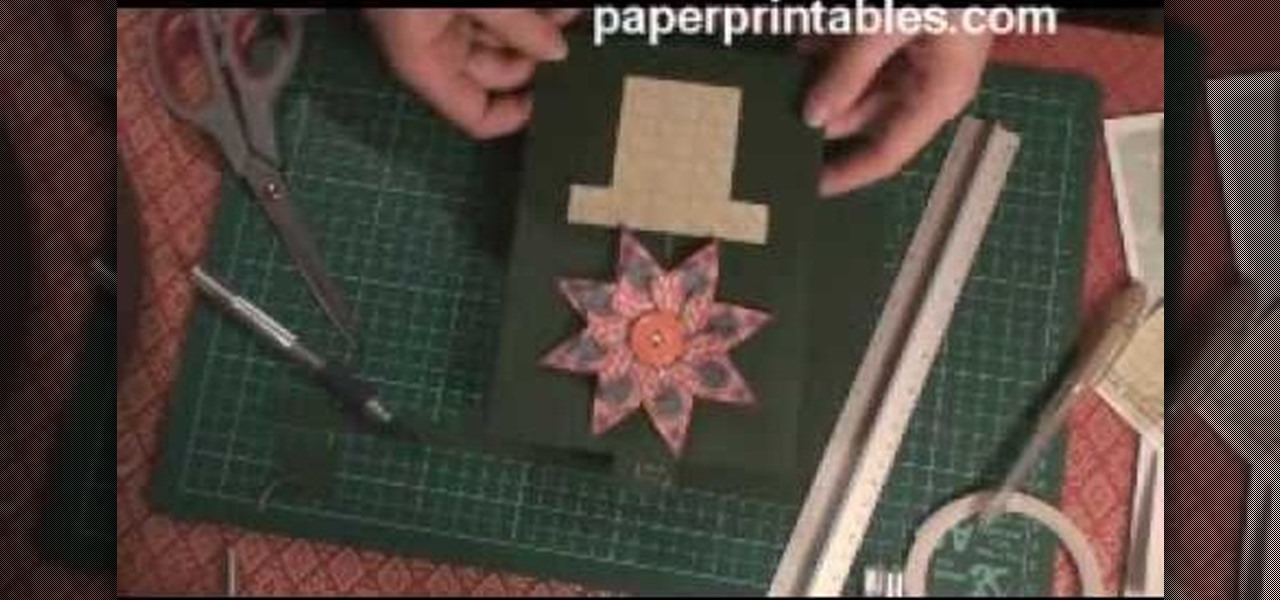
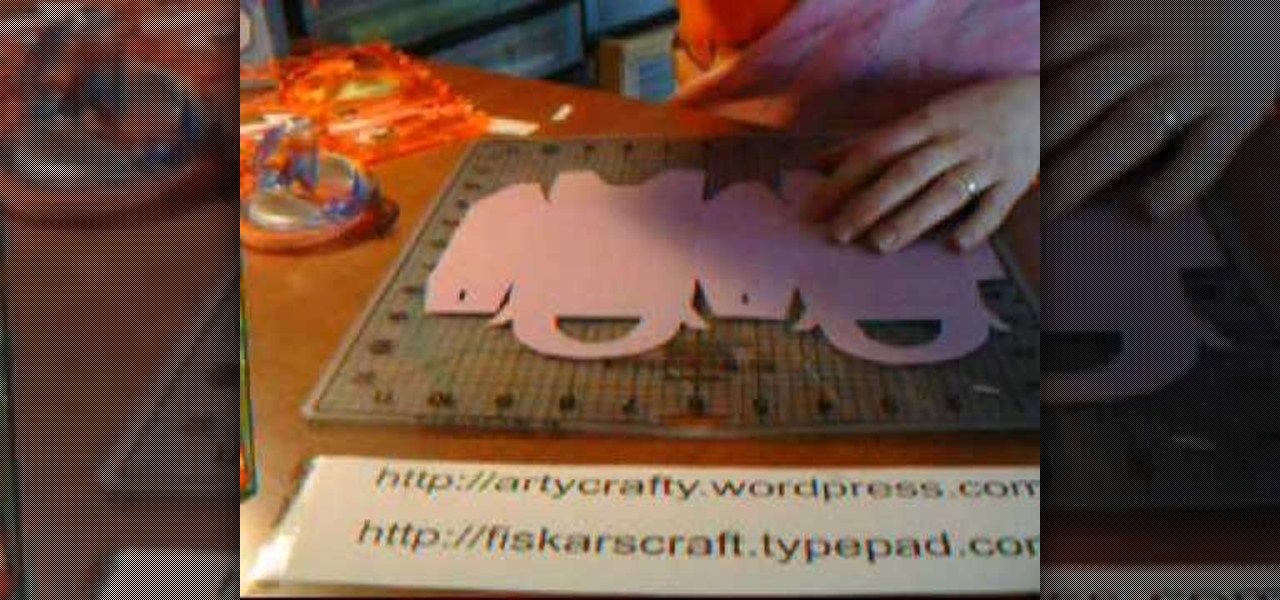
In this Arts & Crafts video tutorial you will learn how to make handmade treat boxes. Materials needed for this project are trimmer with scoring blade, PDF template, cardstock, scissors, Fiskars fingertip craft knife, Fiskars templates, Fiskars ultra shape Xpress, decorative scissors and embellishments. Download the PDF template from http://artycrafty.wordpress.com, print it out on a cardstock on the non-decorative side and cut out the shape along the thick line. Then score along the dotted l...

This video is about how to dress to flatter your body type. Curvy body types look good with vertical stripes and clothing that accentuates the waist. High-waisted and belted bottoms and over-sized accessories work well for this body type. Pear body shapes look good in structured clothing. Form fitting tops work well with a smaller bust, making "pears" look slimmer. Cinching in the waist is also flattering for pear body shapes. For athletic body types look good in skinny jeans to show off thei...

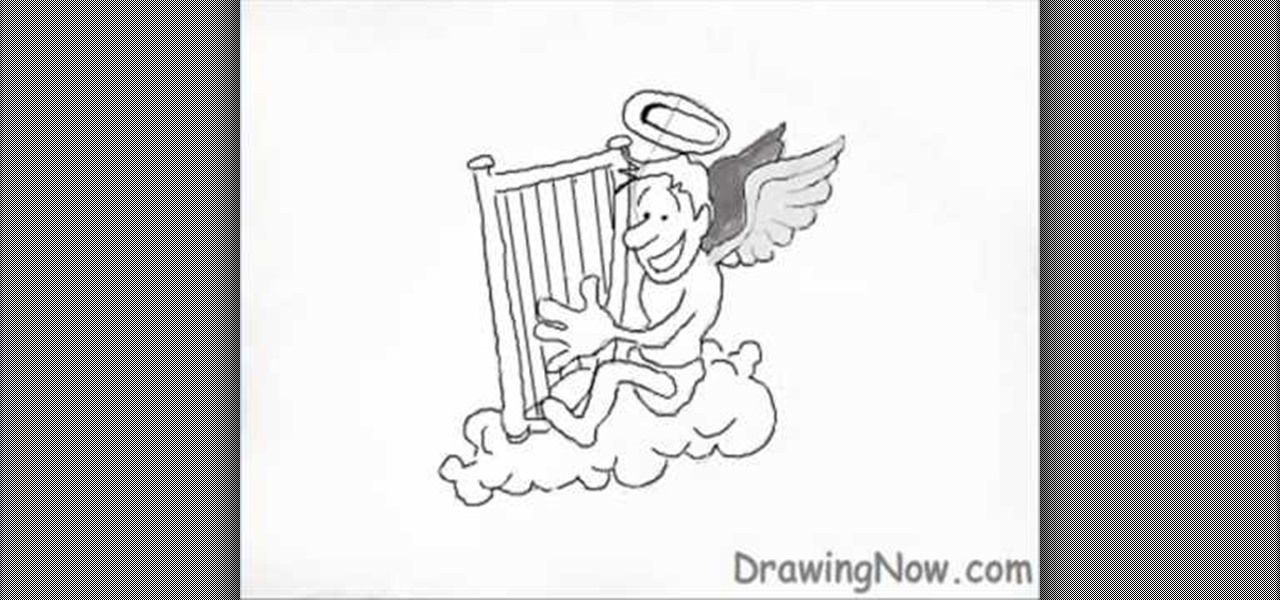
Three circles are drawn ontop of each other and a foot and a hand is added to the left side of the bottom and middle circles respectively; with the foot in a running motion. A rectangular shape is added in a way that the hand grasps it. A cloud is added below the forming person, so that he sits on it. Wings, a crown, a nose, an ear, hair, eyebrows, eye and a mouth with a smile are created in and above the first circle. The middle circle is traced onwards to the hand, to create the back,chest ...

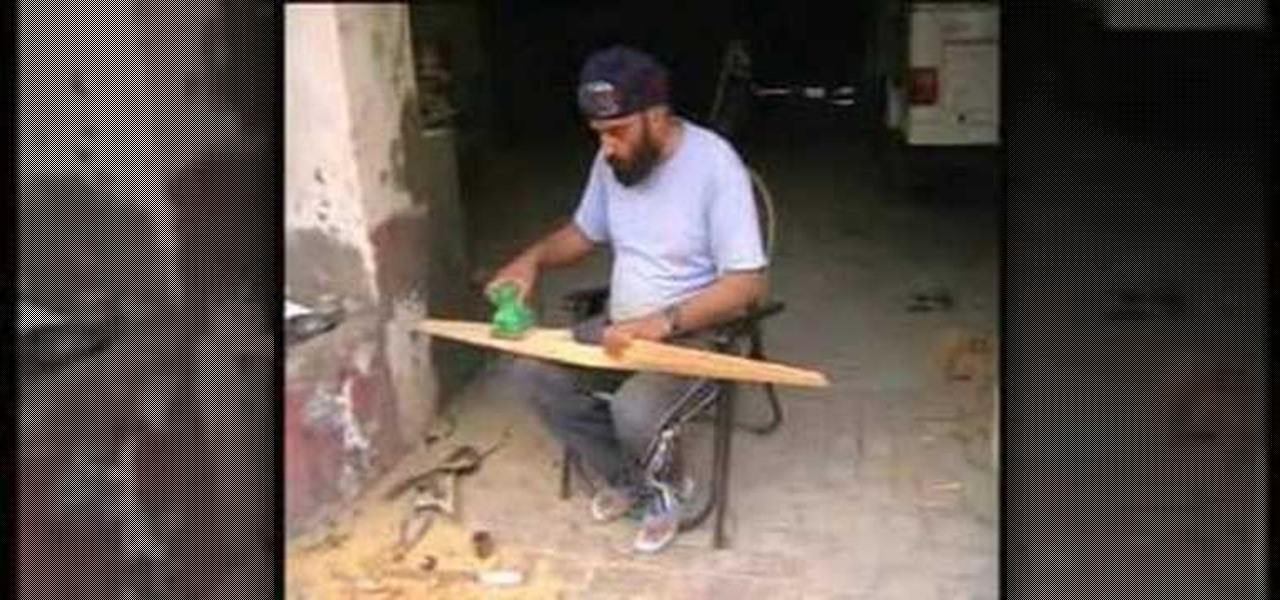
To carve a wooden propeller first join six pieces of wood together to form a block. Mark the outline of the propeller on the block in pencil. Use a hand chisel and hammer to form the rough shape of the propeller. Once the rough shape is complete use a motorized hand grinder and then a motorized hand held sander to make the propeller smooth. After the sanding is complete you will need to finish it off with a coat of polish. Finally, you will need to balance the motor before fitting it into pla...


