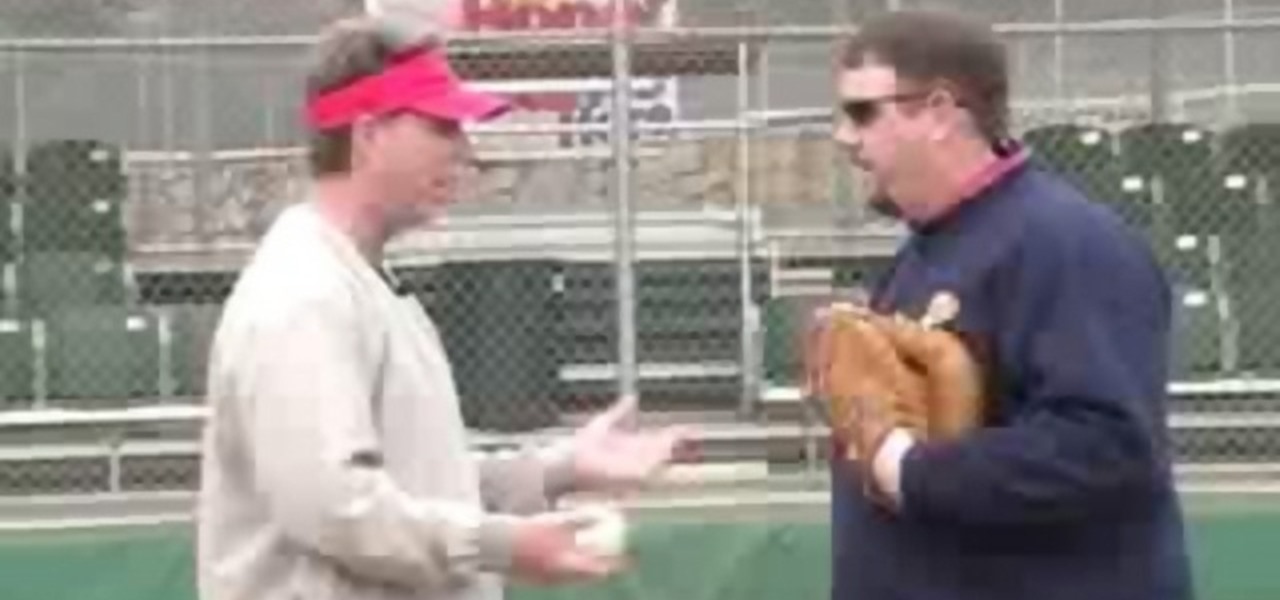
In this tutorial, we learn how to throw a change-up in baseball little league. To do a circle throw, you will use your three fingers to make a circle on the baseball, and pitch it and just throw it like you're throwing a fast ball. Teach your child how to change speeds while throwing, so they are a good pitcher in baseball and think about what they are doing before they throw the ball. The more you stick the ball into the palm, the softer the ball will be. The close to the fingertips the ball...
In this Fine Art video tutorial you will learn how to draw with basic shapes and apply them. The four basic shapes are spheres, cubes, cylinders and cones. A sphere is a three dimensional circle. On paper it will look flat without shading. Make sure you practice all kinds of circles. A cube is a three dimensional square. You can make a basic cube by drawing two squares and then join the corners. Cylinders are tubes or pipes. Draw two ellipses and join them by lines. If you are just starting o...
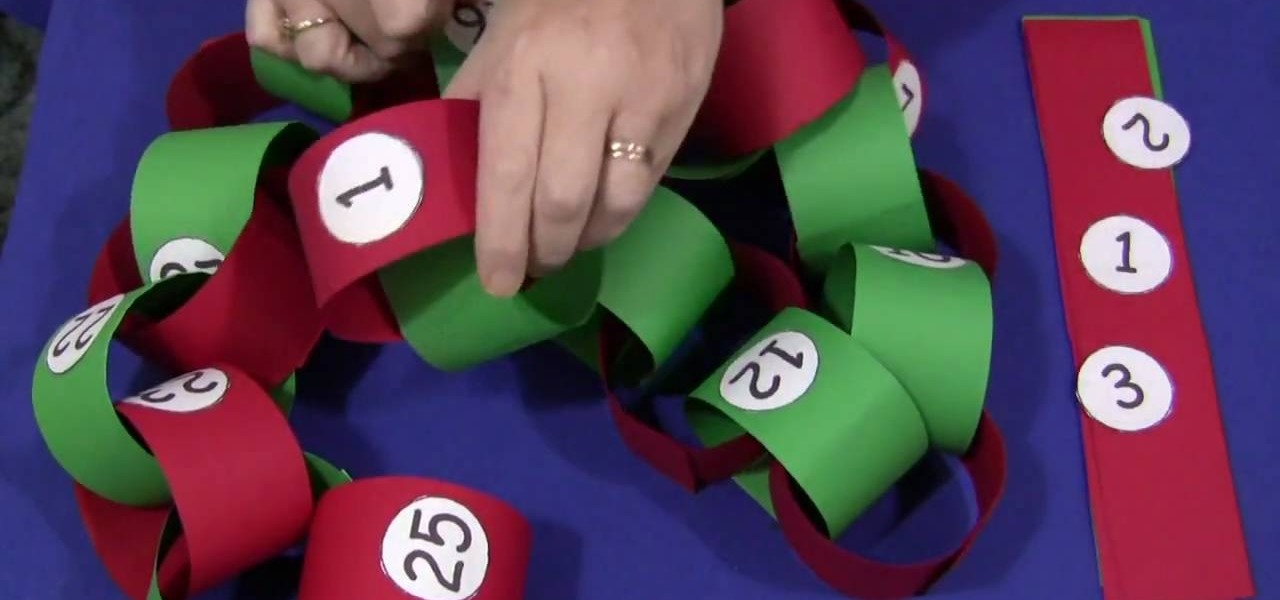
In this video tutorial, viewers learn how to make a Christmas countdown chain. The materials required for this craft are: construction paper, paper cut into small circles, glue and marker (optional). Begin by cutting the green and red construction paper into even strips. Users may choose to write out the numbers or print them out onto paper. Then cut out the numbers into small circles and glue them in the middle of the strips. Alternate the color of the strips each day. Then put the edges of ...
A good place to start when you want to learn how to find a midpoint of a line is a circle. Take the diameter of a circle, for instance if the coordinates of the starting point are (1,6) and the coordinates for the ending point are (11,6). The midpoint of a line is the exact central point where a line through these two points would meet. Now the value of y is a constant one as the line runs parallel to the x-axis, the value of x changes by 10, the half of which is 5, this is not the midpoint t...

In this Software video tutorial you will learn how to make a book cover in Photoshop. Go to file -> new. Give it a name, set width 900, height 1200 and resolution 300 and click OK. You can change these settings if you like. Go to your paint bucket tool and paint the background black. Then go to layer -> new ->new layer -> OK. Now select the elliptical marquee tool and holding ‘shift’ drag from the top left hand corner and make a circle. Go to your paint bucket tool and paint the circle with a...
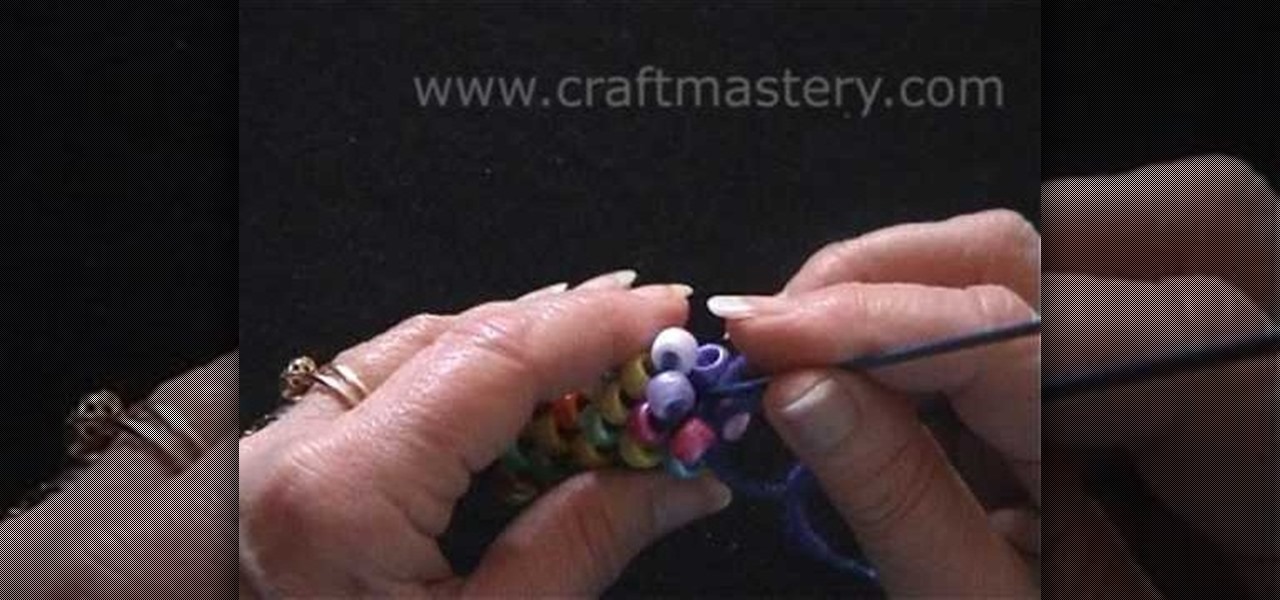
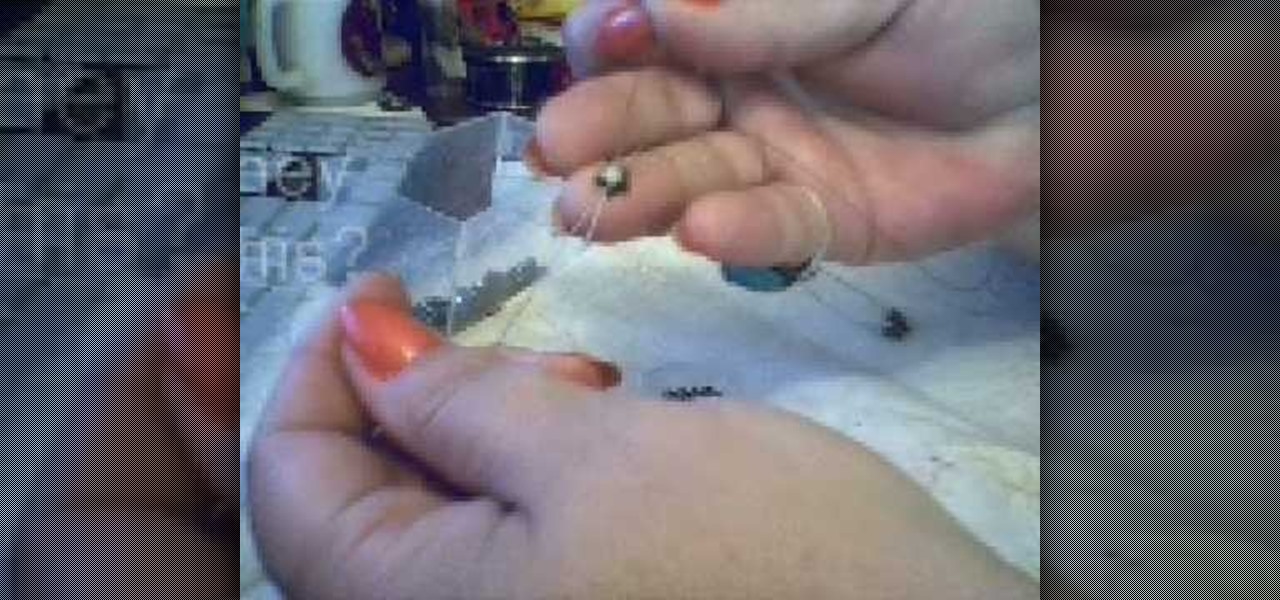
For anyone interested in learning a new jewelry technique, this video tutorial shows how to crochet a bead rope necklace. You can use large pony beads like the video tutorial, or use much smaller beads. The pony beads are suggested for beginners so that you can see what you are doing. To begin, thread all of the beads you will use onto your yarn. You can alternate colors or place them onto the string at random. Both techniques will yield two different effects. Begin with six chains slip stitc...

This video will teach you how to create a basic logo in Photoshop CS3. In order to create a logo you need to follow this simple steps: 1. Go to File -> New and create a new document with the width and height 500 px. Set the RGB Color and the background transparent. 2. Fill the background with a black color. 3. Create a new layer and create a perfect circle. 4. Select Blending Options and Gradient and use a light red color to fill the circle. Add the text and use some effects for it. The video...
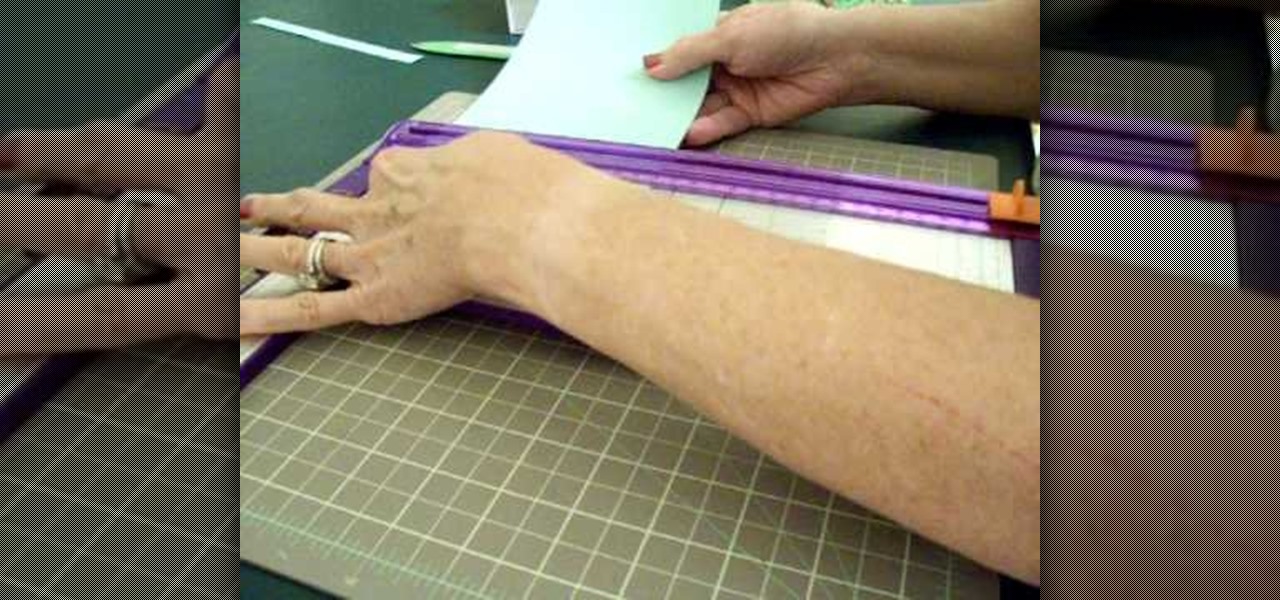
Once you get started with the concept of "stair step" cards - it is hard to stop! It would be fun to try a double set of stairs, add another row for five letter words and cut letters into the bridging circles. Cut the extra panels for the front and emboss them with the Divine Swirls 'Cuttlebug' folder. Then use the Stardust 'Stickles' on the swirls to really make them pop! The extra letters from the name cutout were perfect for the envelope. Emboss the envelope with the Birthday Candle 'Cuttl...
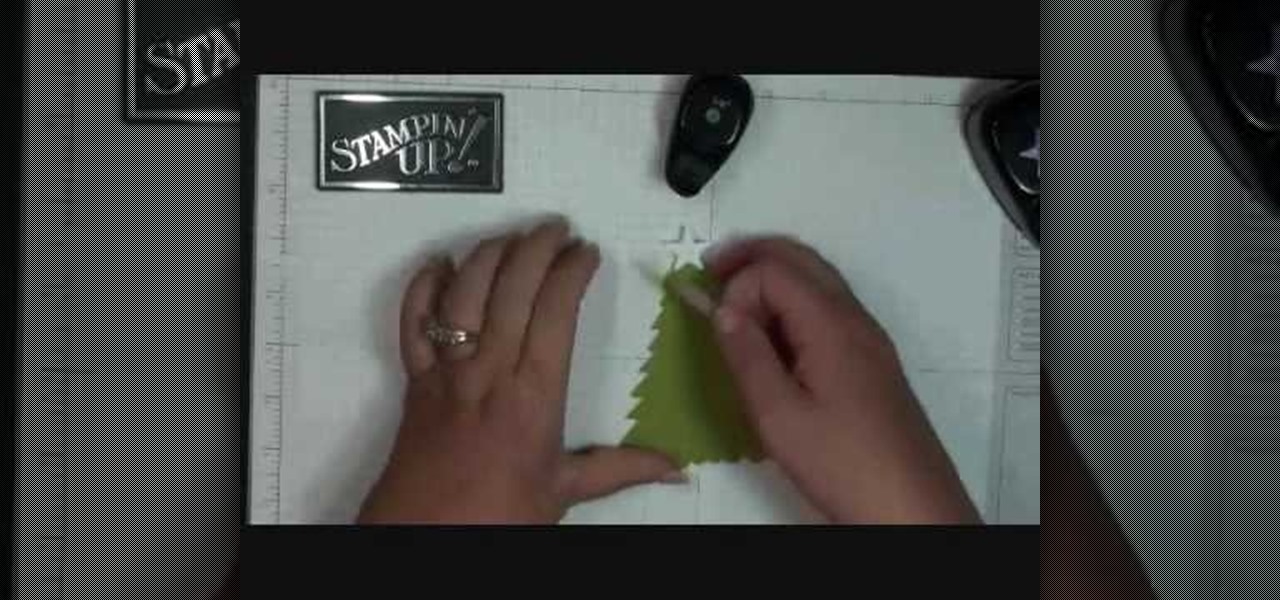
Dawn from "Stampin' Up" shows how to make an adorable Christmas card. She uses cardstock and several shapes to create this cute Christmas tree. A scallop circle hole-punch makes this craft a breeze - you could easily make enough of these cards for everyone on your list. A triangular base and six or seven scallop punches cut into quarters are all that is needed for the body of the tree. A star punch and some small circle punches bring this little tree to life. Your friends and family will want...
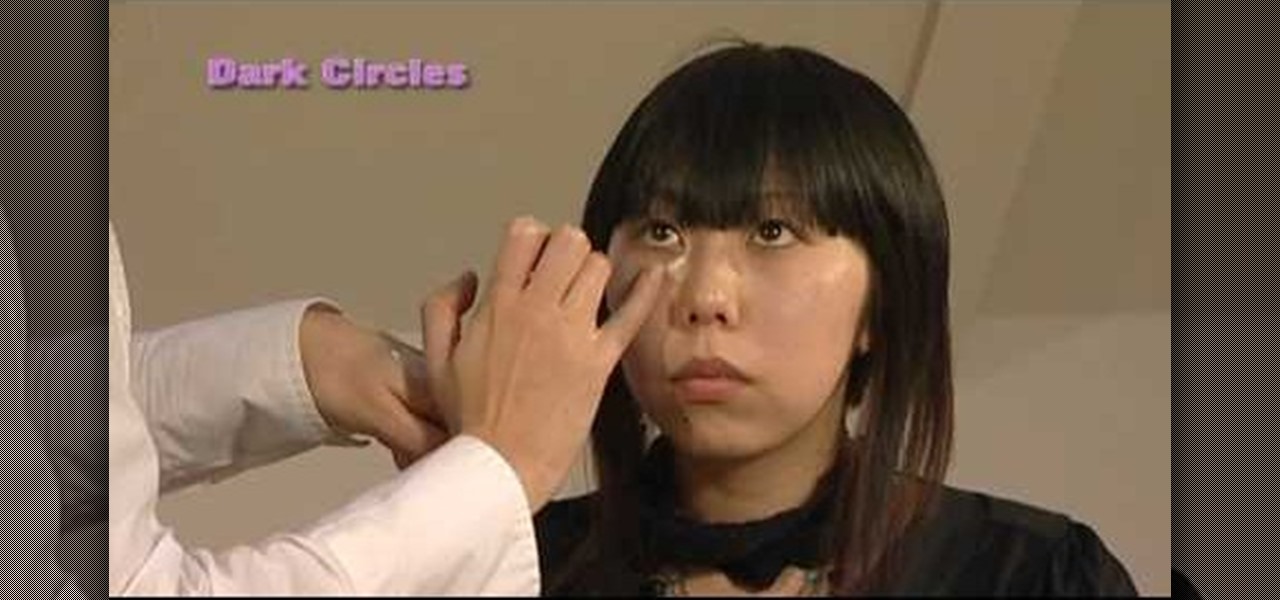
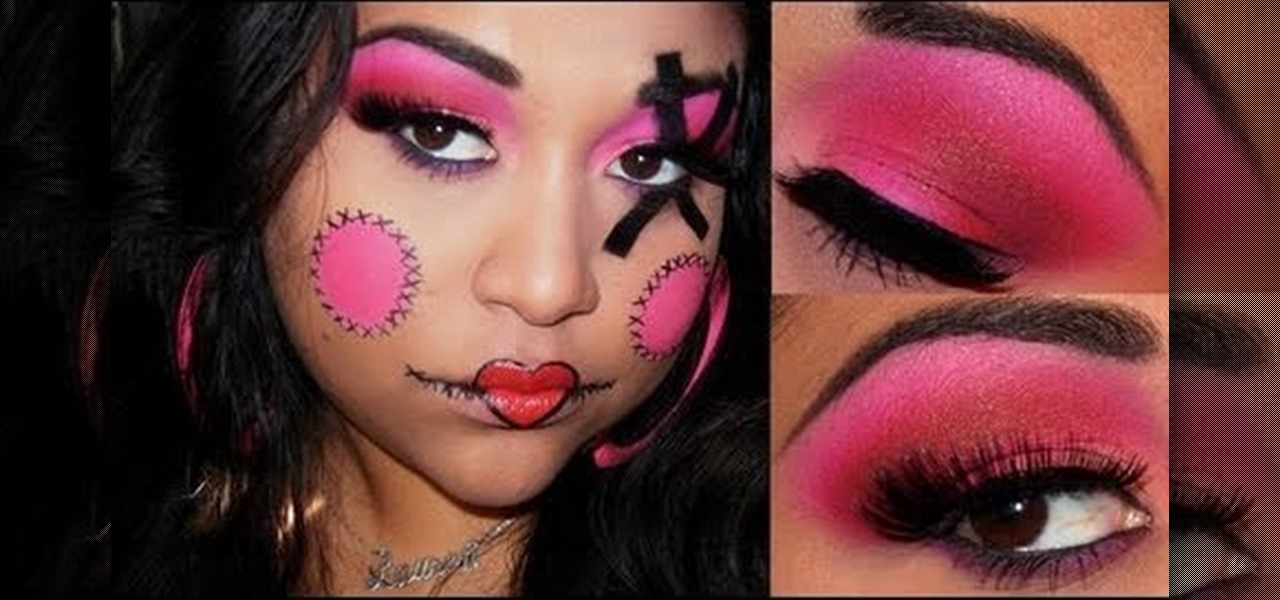
To cover up those dark eye circles invest in a good concealer that is lightweight and of premium texture. You will want to look for a shade that is peachy or pink in tone. Take some of the concealer and dot it onto the dark line only and then blend it in with your finger. Most people also have a red patch at the outer corner of the eye. Covering this with concealer will give the eyes an immediate lift. Applying some concealer is much better than applying a lot of makeup.
Learn how to draw Gastly, the Pokemon. 1. Start by drawing a circle. 2. Add a smiling mouth. 3. Draw half circles for the eyes with little lines for the pupils. 4. Add two little "V"s for teeth/fangs. 5. Add a flame behind him. 6. Add shading.
This is an instructional video on dancing the Tango, specifically the footwork. This elegant dance instructional goes over the Rulo Loco embellishments. A tiny circle with your free foot as pivot during a forward ocho. Coordination of the foot circling and the hips flipping as your change direction is key. (I made this name up, so don't try to ask anyone else what the 'rulo loco' is. They will think YOU are loco!)
Watch this in-depth video tutorial on how to animate LEGOs for stop motion animated brickfilms. This is a detailed peek behind the scenes of stop-motion animation from the director of the "Circle Circle Dot Dot" music video, Blunty3000.
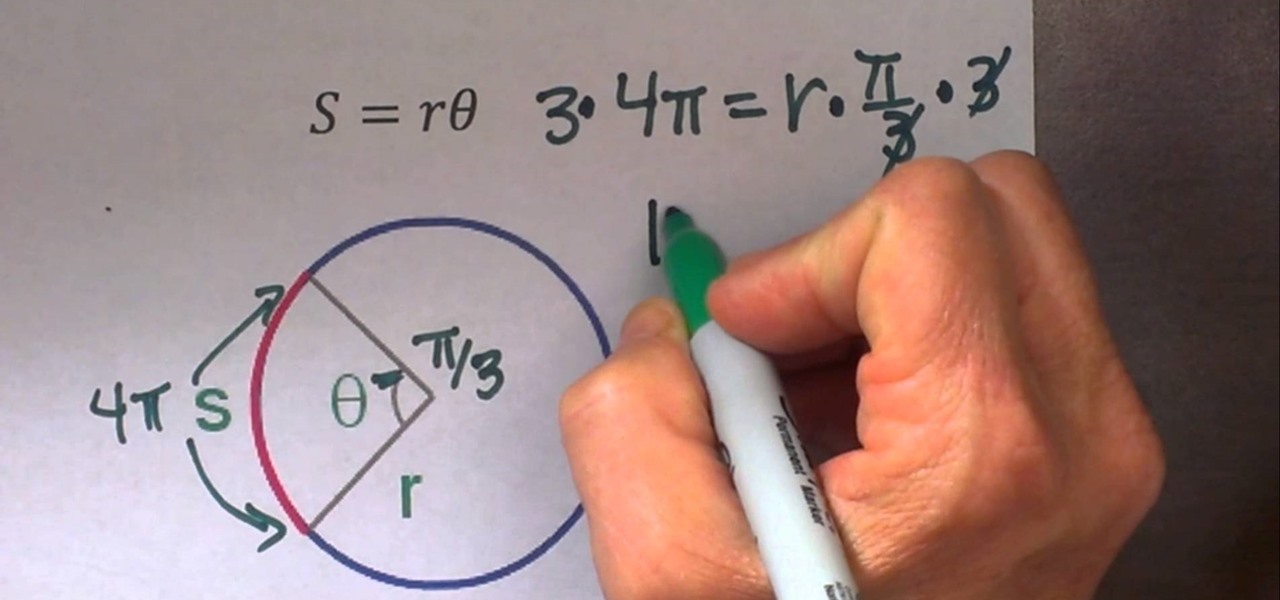
The video provides two example problems for finding the radius of a circle given the arc length. Problem one finds the radius given radians, and the second problem uses degrees.
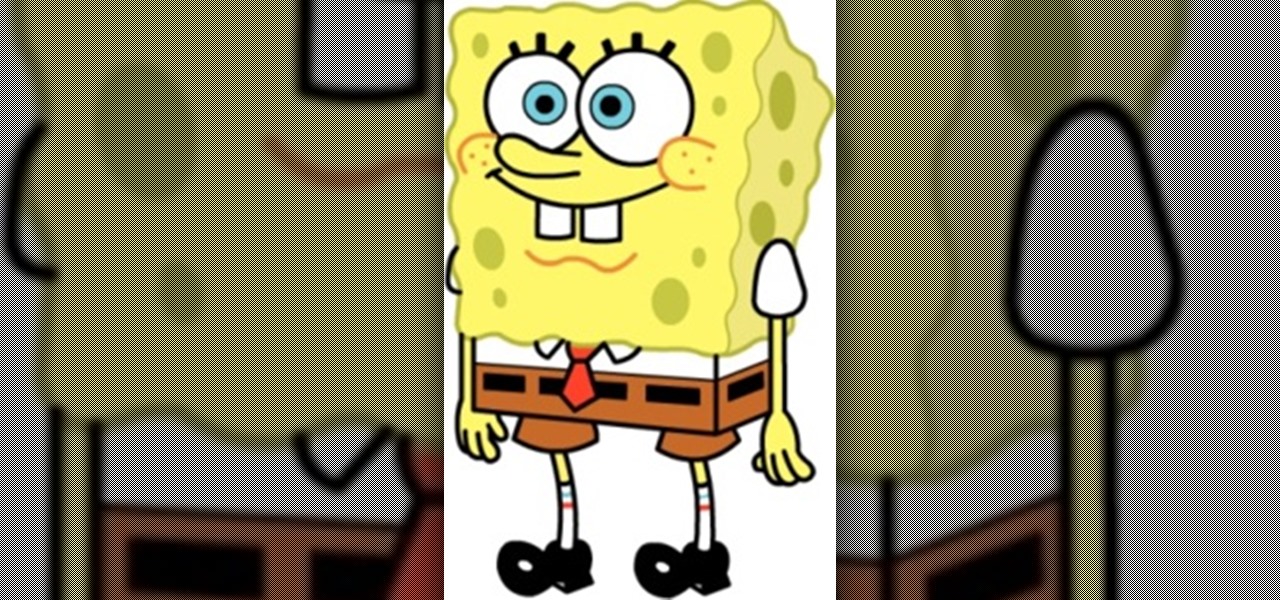
Today we're going to draw Spongebob! He's going to be facing forward, so even beginners should find drawing this guy to be a piece of cake! 1) Begin by sketching out a rectangle with a broader top and a narrow bottom, make sure it's not too skinny though. This will be the base of Spongebob's body.
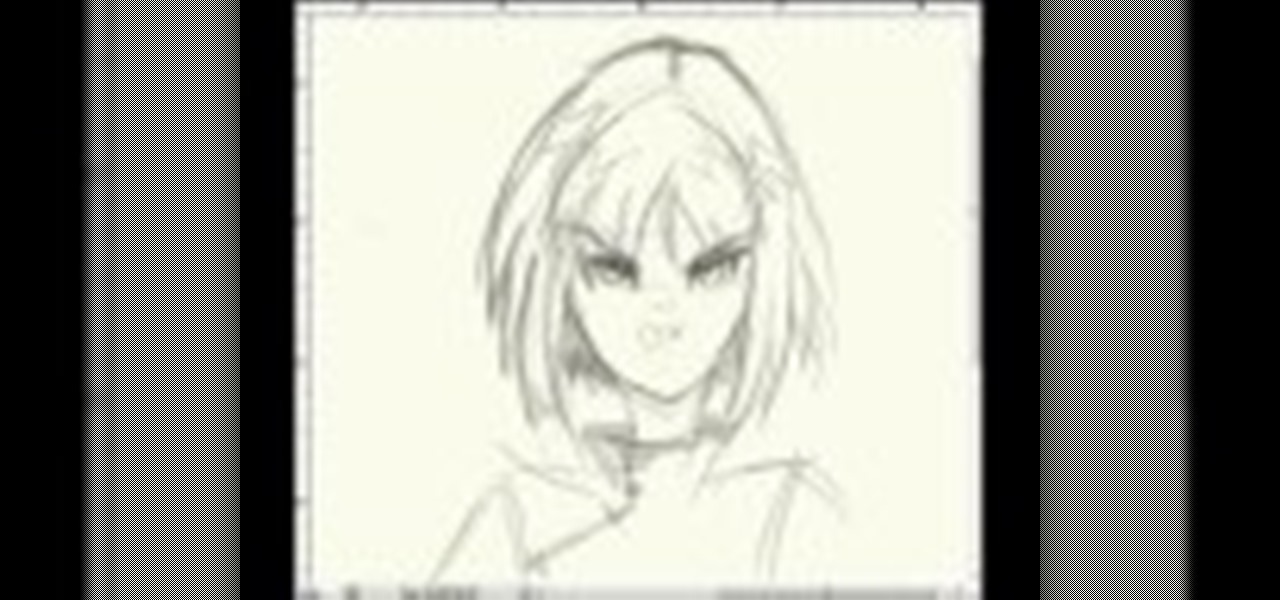
Callowlily is an urban artist who creates drawings of women who are society types with a dark edge. So you'll typically see her depict beauty queens with vampire fangs and blood splattered all over her dress. While these girls are more messed up than straightlaced beautiful, they do make great artistic inspirations.
In this video, we learn how to change hair color in Photoshop CS3 and CS4. First, open up your image and zoom in on the hair. From here, you will click on the selection tool with a circle to select your image. Now, make sure this is the perfect size for the entire image. Right click and make sure it's sized out right. Now, select the hair and a red marker will appear. Select the whole surface of the hair, and as you get to the short hair use a smaller circle tool, don't worry about the smalle...
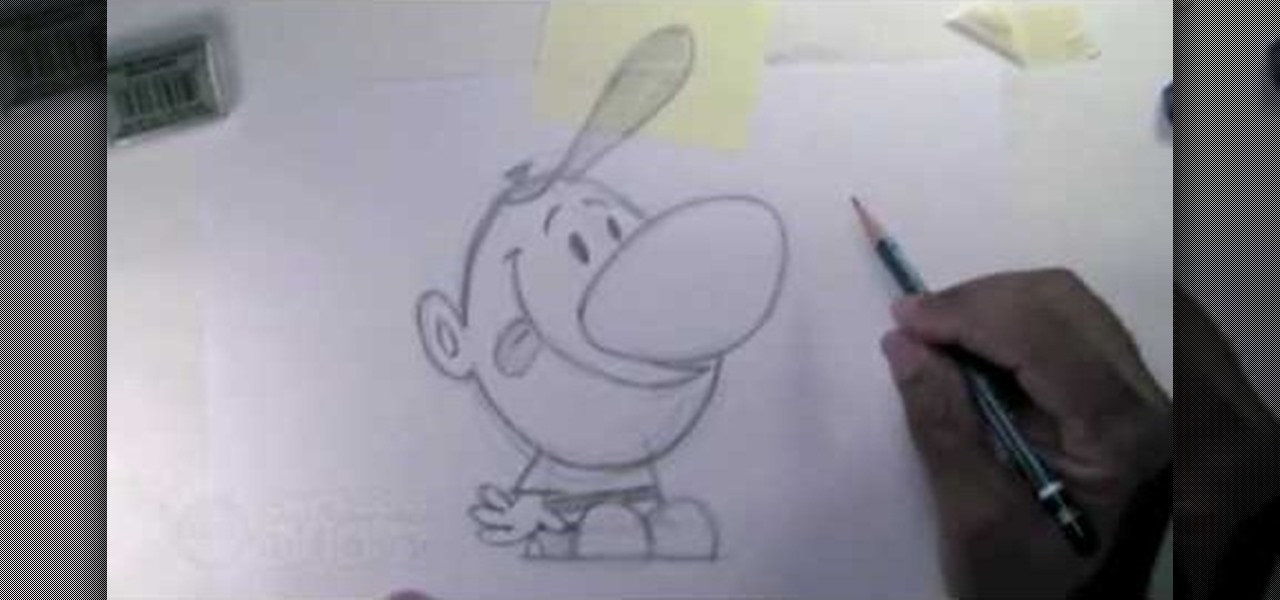
In this video, we learn how to draw Billy from The Grim Adventures of Billy & Mandy. Start out by drawing the egg shaped head with a pencil. From here, sketch on the body by using a block shape then draw the shoes as simple half circles. The arms and hands will be hanging to the sides. Now, draw on the huge nose in the middle of the circle. Attach the mouth to this and draw it all the way up near the eyes, which are simple dots. The brows are simple slashes. After this, add in the minor detai...
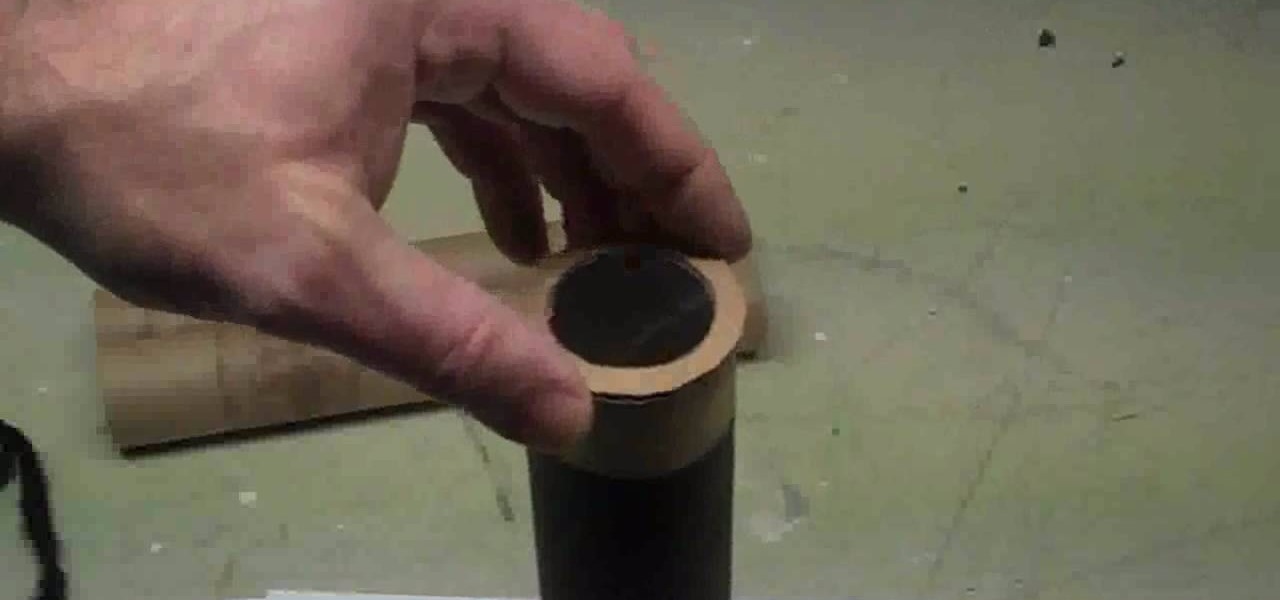
In this tutorial, we learn how to make a small, easy, functional telescope. First, glue a lens in place with glue underneath a piece of cardboard with a circle cut in it. Then, cut this into a circle and tape it to a paper towel holder. Then, you can wrap this in some paper mache around the cardboard. Then, wait for this to dry and spray paint it with gold and black paint. When finished, you will have a functional telescope ready to go and use! This is cheap and a fun project to make with chi...
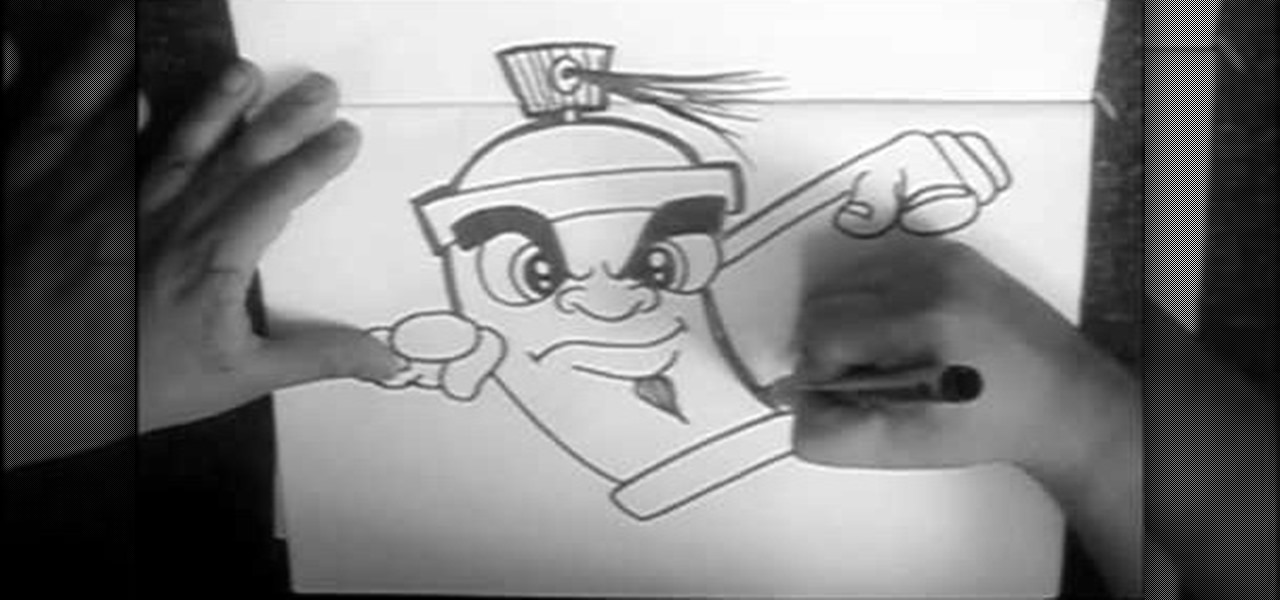
In this tutorial, we learn how to draw a cartoon spray can. Start off by drawing a round circle for the eyes, then fill in the pupil and draw the eyebrow above it. After this, draw in the nose and then draw the other eye opposite to the first. From here, draw in the mouth and the goatee on the face. Then, draw in the top, which will be a rectangle with a half circle on top of it. From here, draw a hand on the right side pointing straight out, then draw a top to the spray can showing the spray...
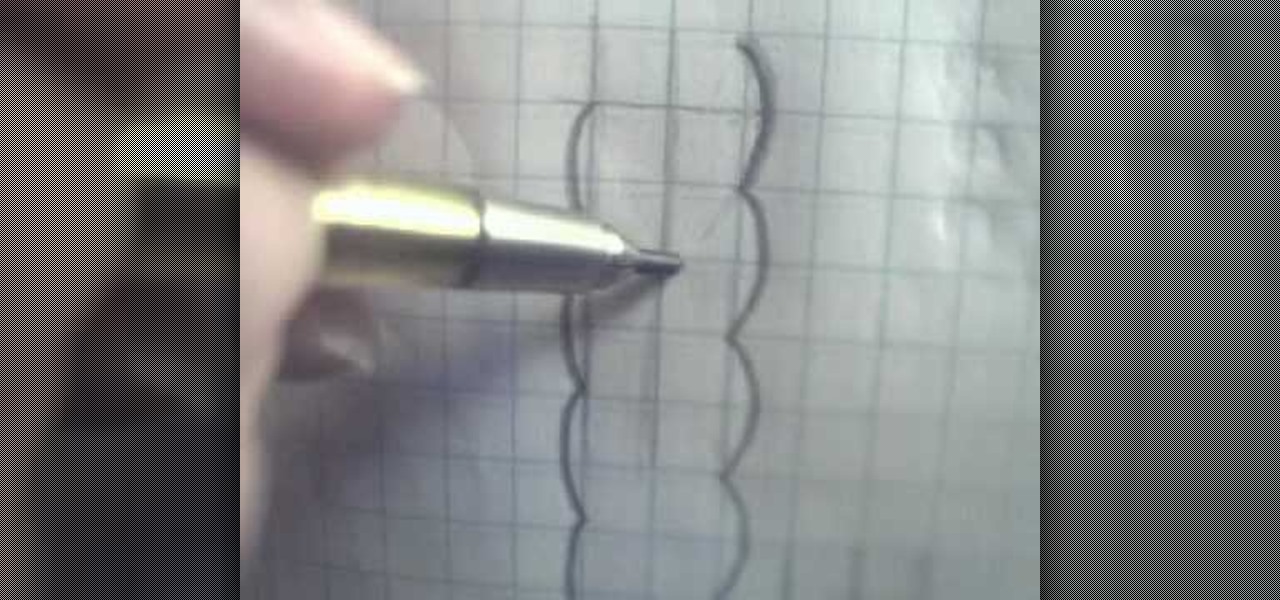
In this tutorial, we learn how to draw braided hair. Start off using grid paper and a pencil to practice. Then, draw two lines parallel together and draw a line in between each of those. From here, draw on a circle around these and continue the pattern all the way down until you reach the end of the lines. Then, draw a line in the center where the circles meet and start to shade in the area to the right, creating a line coming out of it from the left. Practice doing this to get a better idea ...
In this video, we learn how to draw an eye step by step. First, draw the curve of the eye on the top and on the bottom. Then, draw in the pupil of the eye and the inner corner of the eye. Use a light touch with the pencil to make the circle in the middle of the eye. Then, draw around it with a bolder line. After this, draw the crease above the eye, then draw shading to show where the crease line is. Next, fill in the pupil and add in a circle to make the eye appear glossy or that light is hit...
In this video, we learn how to draw a graffiti spray can. Start out by drawing the top of the can with the nozzle on the very top. Use a half circle with a thick line under it to make the top. Next, draw the rest of the can creating a face on the side of the can with a mouth, nose, ears, and eyes. Then, draw in the bottom of the can using a circle shape and filling it on black so it looks sealed. Add in some lines to show the can spraying, then write in graffiti letters underneath to finish!
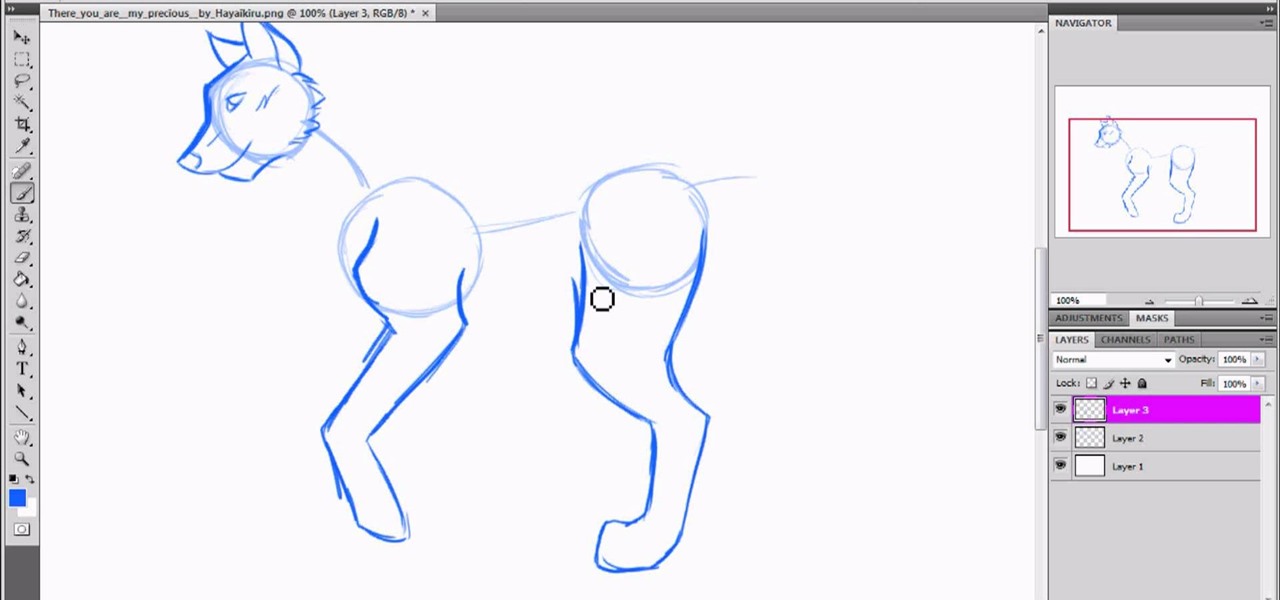
In this tutorial, we learn how to draw a wolf with basic guidelines. First, draw in circles from where the main sections of the wolf is. Now, draw a line connecting all of these and draw in the details of the face. Now, draw the back legs starting with the front leg and then the back leg. After this, draw in the stomach and the main part of the body. Erase the circles and background lines, then draw in the hair of the wolf and the stomach. Create a tail on the back, then add in the ears and t...
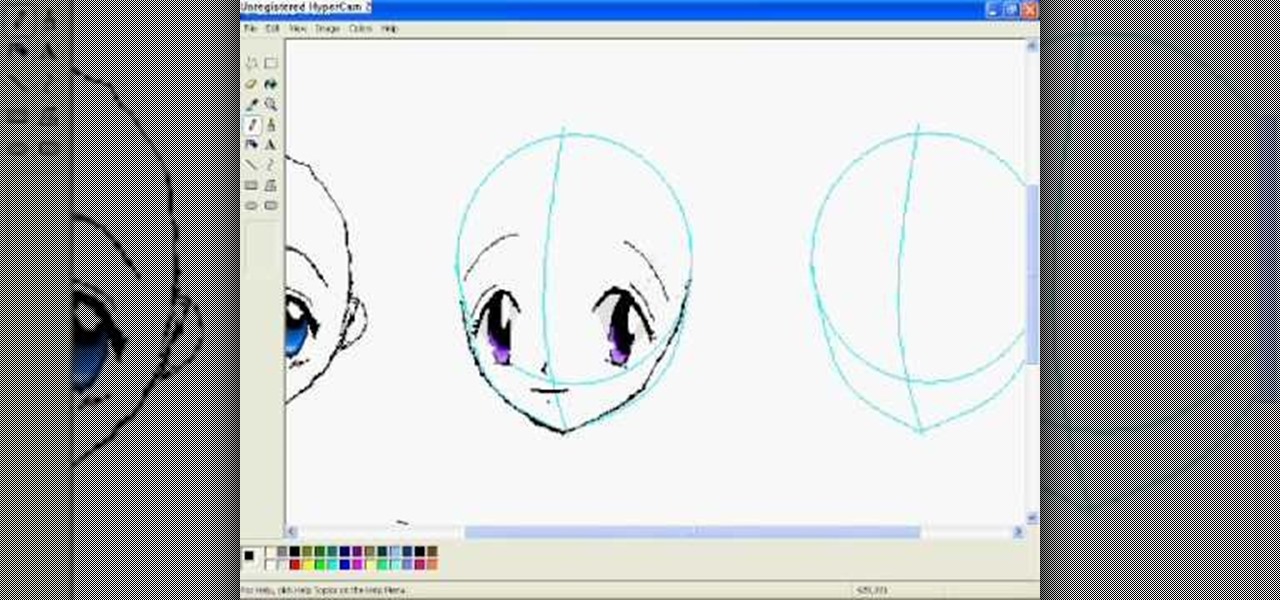
In this video, we learn how to draw anime eyes in MS Paint. First, draw the round circle for the head and draw a line in the middle for reference of where the eyes will go. To draw large eyes, draw two round circles and then a small pupil at the top. Color the pupils in black and color the rest any color you'd like. For female eyes, make the pupils much larger and add in eyelashes on the eyelids. Shade in underneath the lids and add white to show they are glossy. These are both great looks fo...
In this tutorial, we learn how to draw Orochimaru. Start with drawing a circle for the head, then draw lines crossing the circle to use as a measurement of where the features of the face will be. After this, draw in the eyes, nose, nostrils, mouth, and eyebrows. Next, draw in the neck and the shoulders for the body. Once finished with this, draw in the hair surrounding the face, then erase the back lines from the drawing because you won't need them any longer. To finish, add in details to the...
In this tutorial, we learn how to draw manga bodies. Start out by drawing circles for the body. These circles will start at the head, then go to the shoulders, arms, stomach, hips, knees, and ankles. After you do this, draw lines to connect them all together and make out the basic shape of the body. Now star to use a bolder line to create the realistic outline of the body. When you're finished with this, you will be able to do the fun part. You can fill in these spaces with color and lines to...
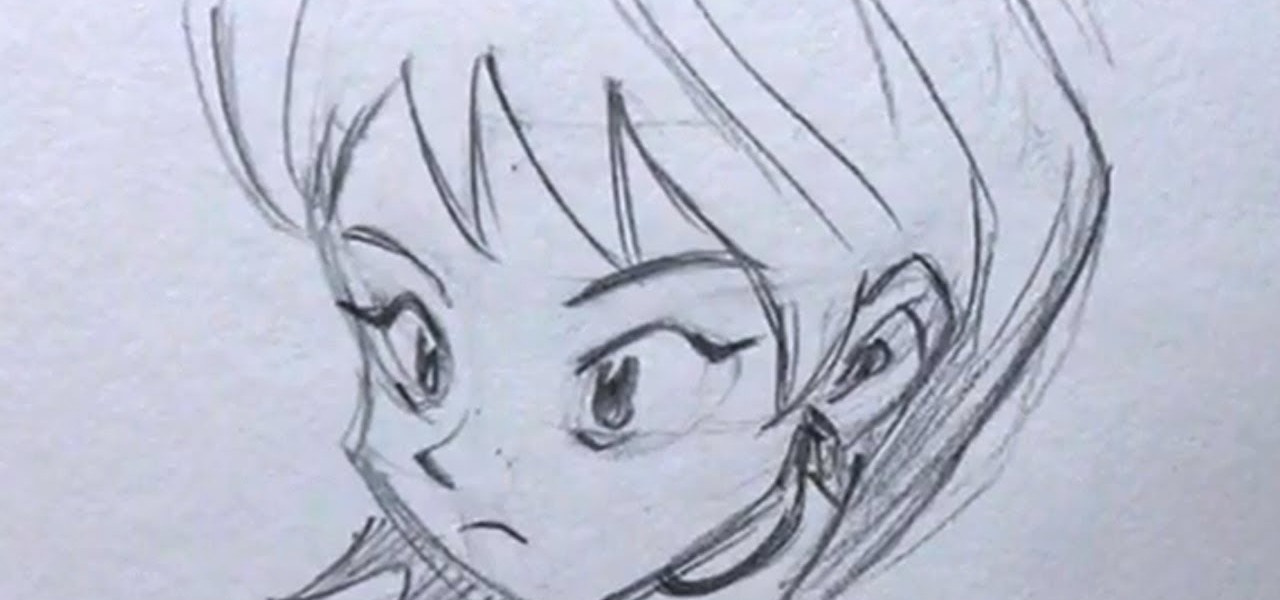
In this tutorial, we learn how to draw manga faces 3/4 view tilted down. You will start with a circle for the head, but you will make the chin go off to the side slightly. Next, you will draw a horizontal and vertical intersecting line off to the side of the face where the chin is. Next, draw in the circles for the eyes, then draw in the brow line. The brow line should be lower than normal. Once you have all the guidelines set up, add in the ear and start to draw in the details of the face. W...
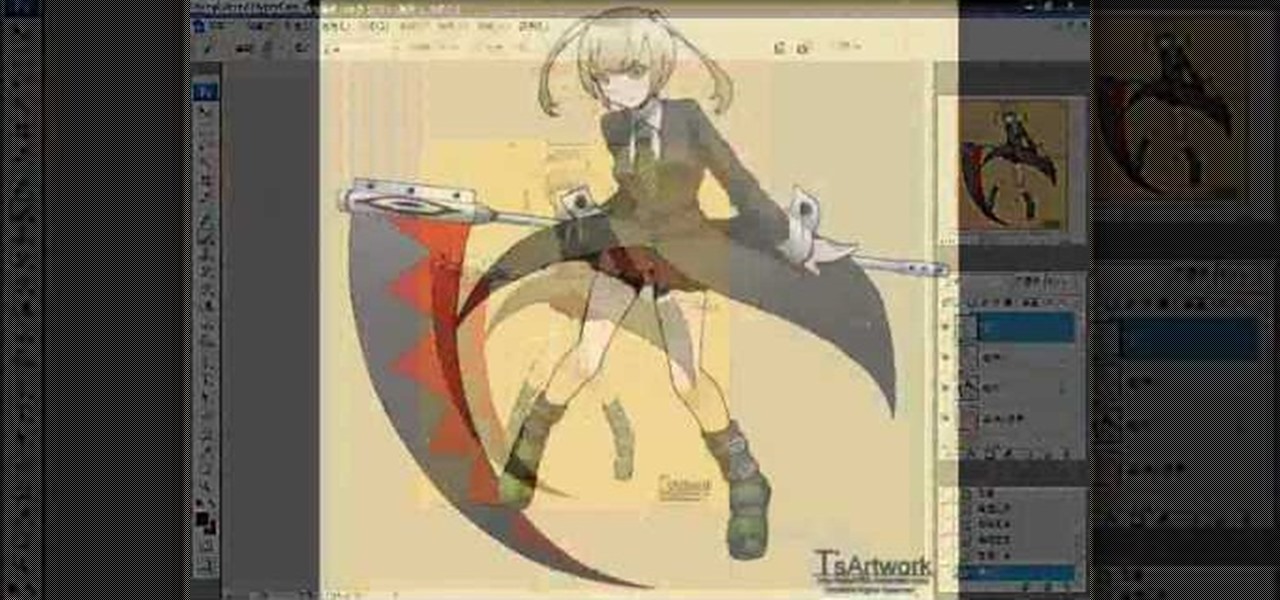
In this tutorial, we learn how to draw Karin 2. Start out with a circle for the head, then draw in your reference line so you can align the different features of the face. After this, draw in circles where the joints of the body would be for the upper body, then draw around this using bold lines. Once you are finished with this, draw in the rest of the arms and create clothing on the body as well. Next, you will need to draw in the features of the eyes as you would like, then add in the detai...
In this tutorial, we learn how to draw manga facial expressions. To draw an angry face, you will draw a circle for the head with a point for the chin. Then, you will draw in a slight frown for the mouth and half circles for the eyes. Then, draw in slanted eyebrows above the eyes to make the character look angry. Add in highlights around the face to make the expression larger. Then, add in lines around the face to show it being crunched up and the person being angry. You can also make the mout...
In this tutorial, we learn how to draw Rock Lee. First draw a circle for the head, making a chin underneath and using lines to reference where the facial features will go. After this, draw eyes that are slightly aligned to the left hand side of the face. The right eye should be larger than the left, both off center. Then, draw two dots for the nose and a "u" shape for the mouth. After this, draw a larger circle around the head and then draw in angry eyebrows above the eyes. Start to erase the...
In this tutorial, we learn how to draw Train Heartnet. Start off by drawing a circle for his head, then lines in the head for reference of where the features will go. Next, draw a stick for the body and draw circles where the shoulders and wrists would be. After this, draw in the neck and the upper body. Draw in the clothes after this, adding in as much detail as you would like. Make sure to add in shading and lines to make the clothes look more realistic. Next, you will need to draw in the f...
In this tutorial, we learn how to draw Tohru Honda. Start out by drawing a circle for the head, then lines on the face to reference where the facial features go. After this, draw a stick for the body alone with a neck. Draw in circles where the shoulders go, then start drawing around that to create the body. Draw on the school uniform for her, then draw on the ear and additional details for the uniform. After this, draw on the bangs and the hair, then add on the bows to the hair. Then, draw o...
In this tutorial, we learn how to draw Misty from PokŽmon. Start by drawing the basic shape of the head, a circle with lines inside of it to use as reference lines. After this, draw on ears to the side of the face and then draw in the cheeks. Now, draw a stick figure for the body and then draw in circles to create the other lines for the body. Then, draw the back of the neck and start to fill in details. Erase any background lines as you continue to draw. Make sure to add in details and facia...
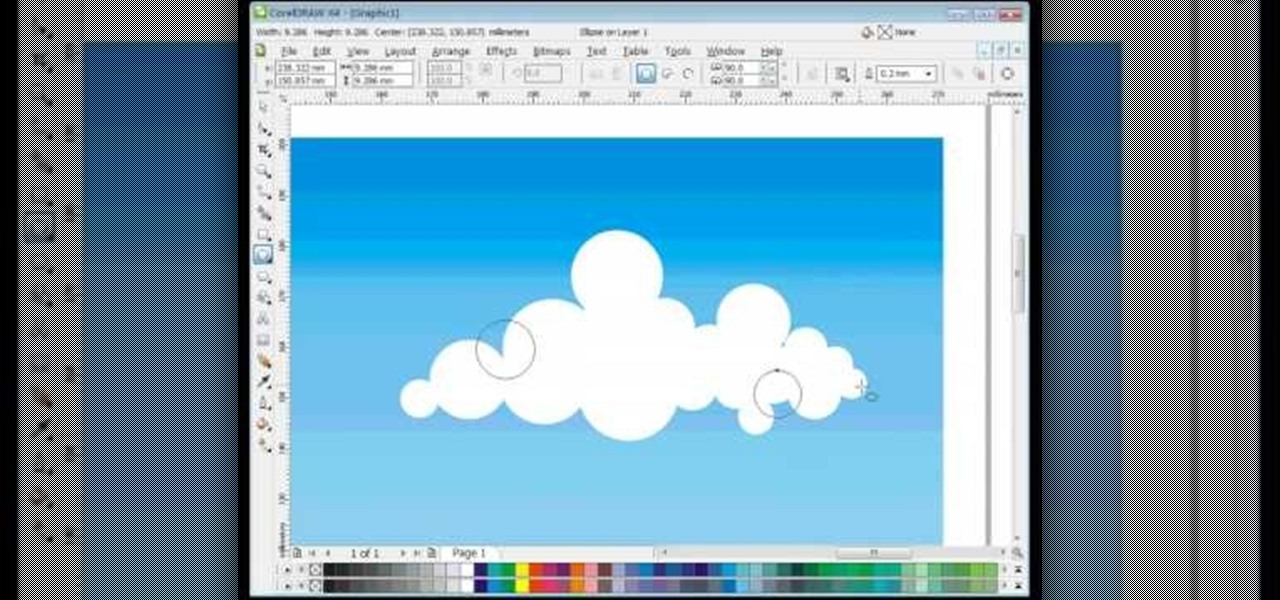
In this video, we learn how to draw vector clouds in CorelDraw X4. First, open the program and make a circle using "ctrl+shift". Make these circles touching and overlapping each other on the top of the page. After this, select all and then weld it. Next, press "ctrl+k" to break the curves apart, then erase the parts inside of the clouds. When this is done, select all, then copy and paste for additional clouds. Trim the bottom to make the clouds sit on a mountain or straight edge, then you are...
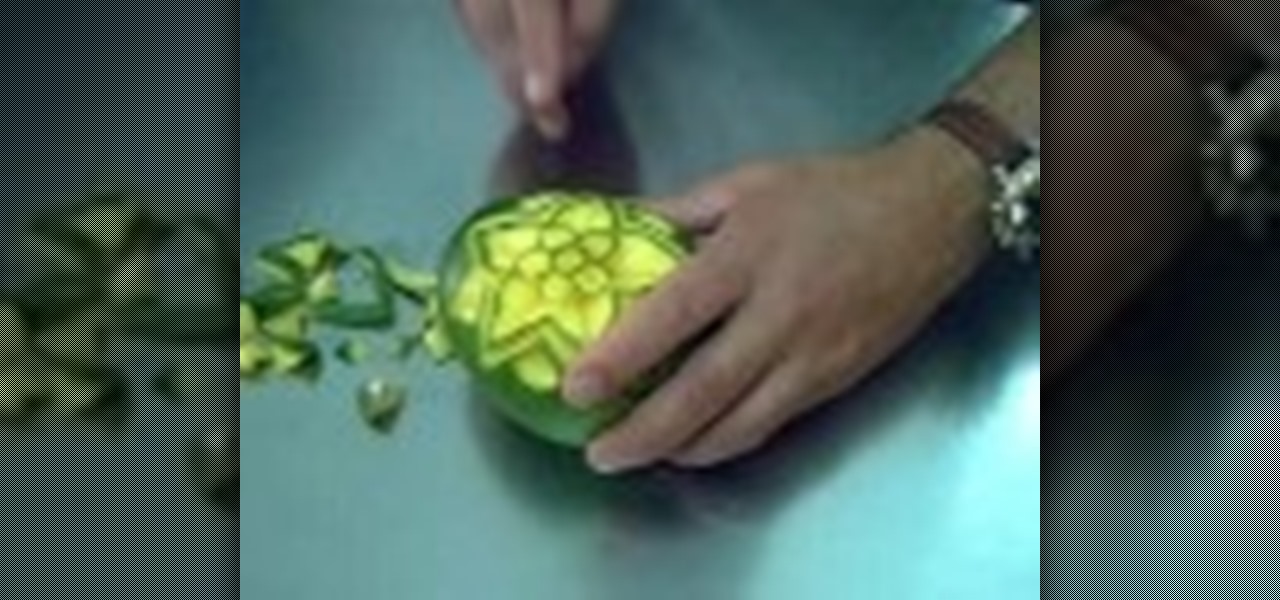
In this video, we learn how to carve a mango creatively. First, cut small circle in the middle of the side on the mango. Next, cut out circles around the middle to make a cute flower shape! Make sure you take the middle peel out so you can see the yellow of the mango show through. Carve in leaves on the side where the petals are. Continue to carve a smaller line to make the image look shadowed. Use your own talents to make this all your own and be as creative as you'd like to be. When finishe...
Make a hematite bead ring
In this video, we learn how to draw a cartoon brontosaurus. First, draw a large hump that is a half circle, then draw a line on the other end of this. After this, draw a tail on the other end of the hump and then go down and draw the feet on the bottom. Continue going and draw up the neck and make a circle for the head. Draw in a large eye on the head and make a smile on it. Next, draw soft spikes on the back of the dinosaur and color it in if you prefer, then enjoy your cute drawing!
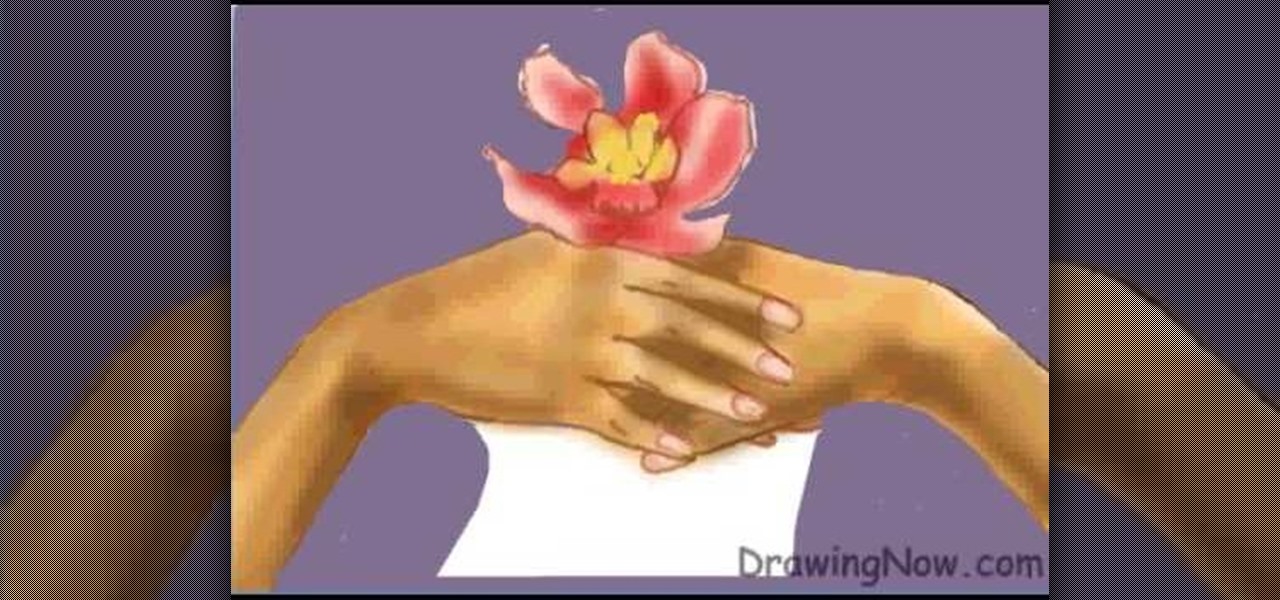
In this video, we learn how to draw two clasping hands. Start off by drawing the two hands holding each others hand. Next, draw a circle above the hands like they are holding something. After this, draw a large flower on the circle and then start to erase the base lines from the drawing. Draw in the fingernails on the picture, then color in the skin color on the nail. Color the flower any color that you would like, then draw in the background to any color you prefer. Shade the wrist of the ar...
In this tutorial, we learn how to draw an eye in GIMP. First, open up the GIMP software and set up a circle, then color it dark blue. Next, add in light to the middle of the eye, so it looks like a light is shining onto it. After this, make a small circle in the middle of the eye, coloring it black. When done with this, create a new layer and then add brightness to the pupil of the eye. Continue to play around with the contrast and colors of the eye, so it looks more realistic and life like. ...