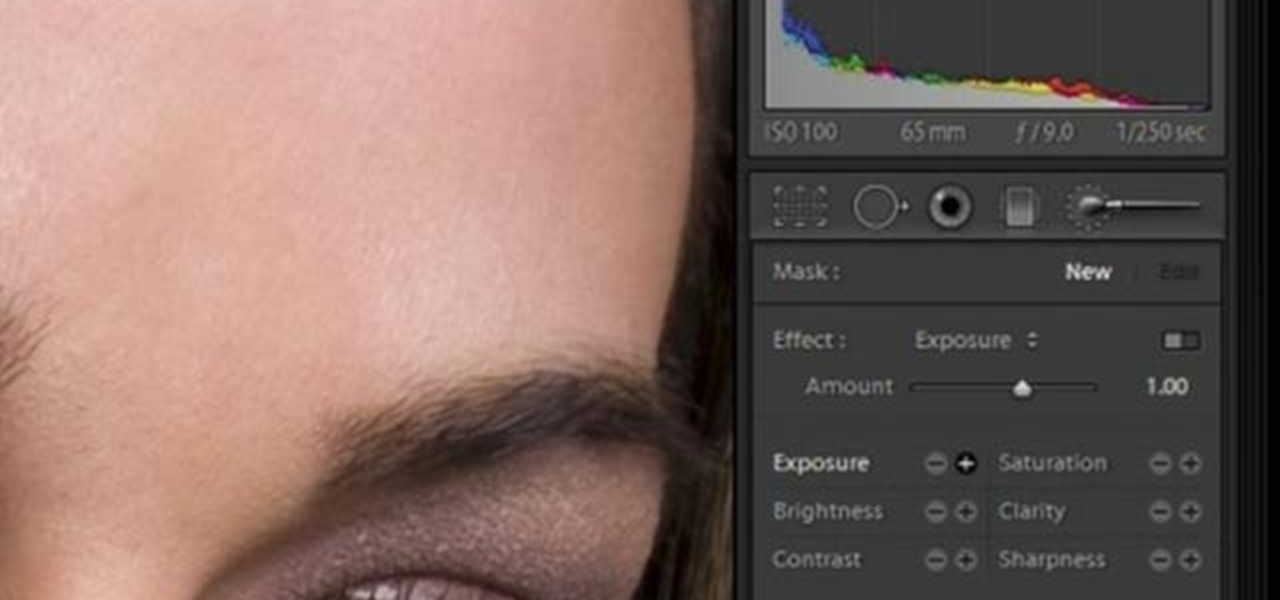
In this software video tutorial you will learn how to soften skin feature in Lightroom 2 in Yanik's Photo School. Select a photo and zoom in to the skin area. Click on the adjustment brush, or ctrl K. Here you can adjust 7 features; exposure, brightness, contrast, saturation, clarity, sharpness and color. But, if you click on the other 'exposure' dropdown menu, you will get these 7 options and additionally a 'soften skin' option. Click on 'soften skin' and it gives you the options to add nega...

In this video tutorial, viewers learn how to paint sand. Users will need a palette knife and paint brush. The colors needed for the sand are: iron oxide, pure white, burnt umber and burnt salmon. Collect all 4 colors on the palette knife and apply it lightly onto the canvas. If it is too dark, add some more white paint. Then use a paint brush to smooth out the edges and blend the sand together. This video will benefit those viewers who are interested in art and painting, and would like to lea...
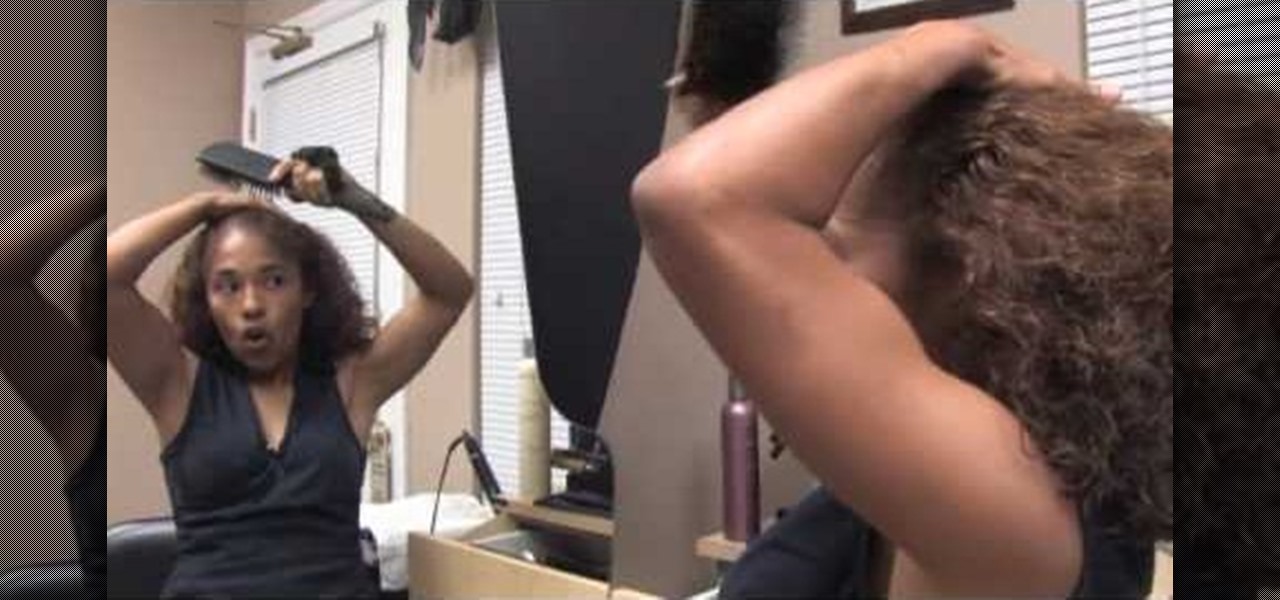
In this tutorial, we learn how to make a high pony tail for curly hair with Liz Muller. First, wet both sides of the hair and put gel into it. Now, push the front of the hair back with a brush, avoiding brushing a lot so you don't have frizz. Make sure it's straight, then push the back of the hair up. Combine all of your hair together until you have it high on your head. If your hair starts to get curly in the front again, just release your hair and try again. You can always add more gel if y...
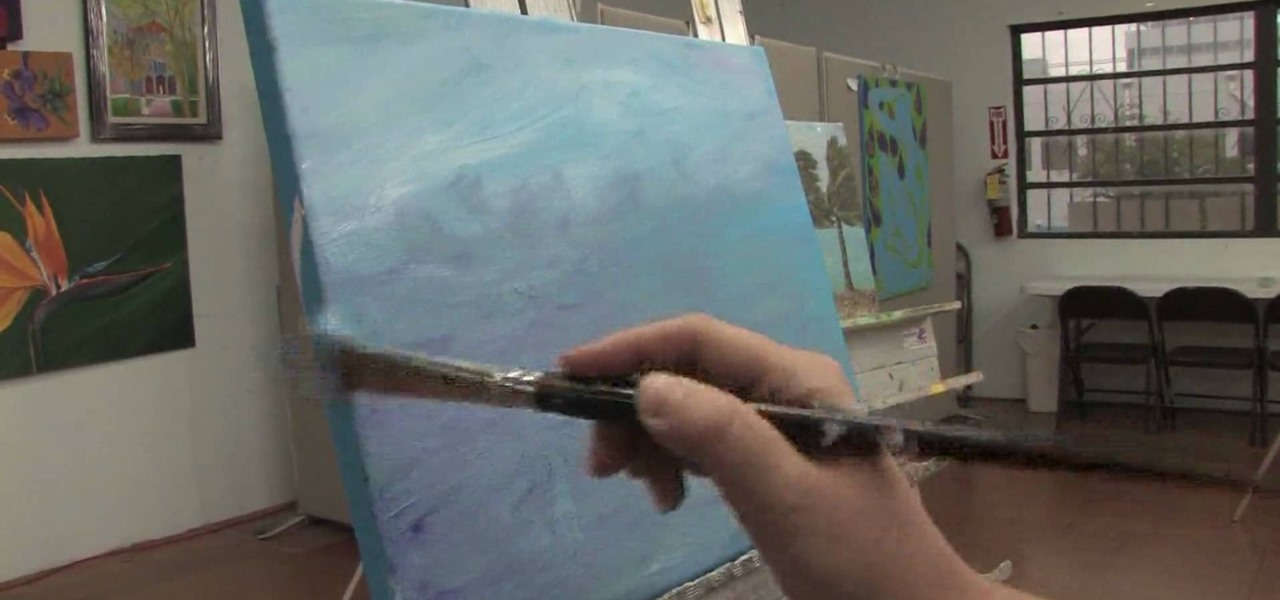
In this Fine Art video tutorial you will learn how to paint an ocean in your composition from Angeline-Marie Martinez, a professional artist. She shows one of the ways of painting an ocean in this clip. Her canvas is already painted with a back ground of the sky on top and water at the bottom. Her palette has a lot of colors like light and dark shades of blue, green and white. Take some white paint on the brush and pick up some of the other colors as well and paint on the canvas. The waves of...

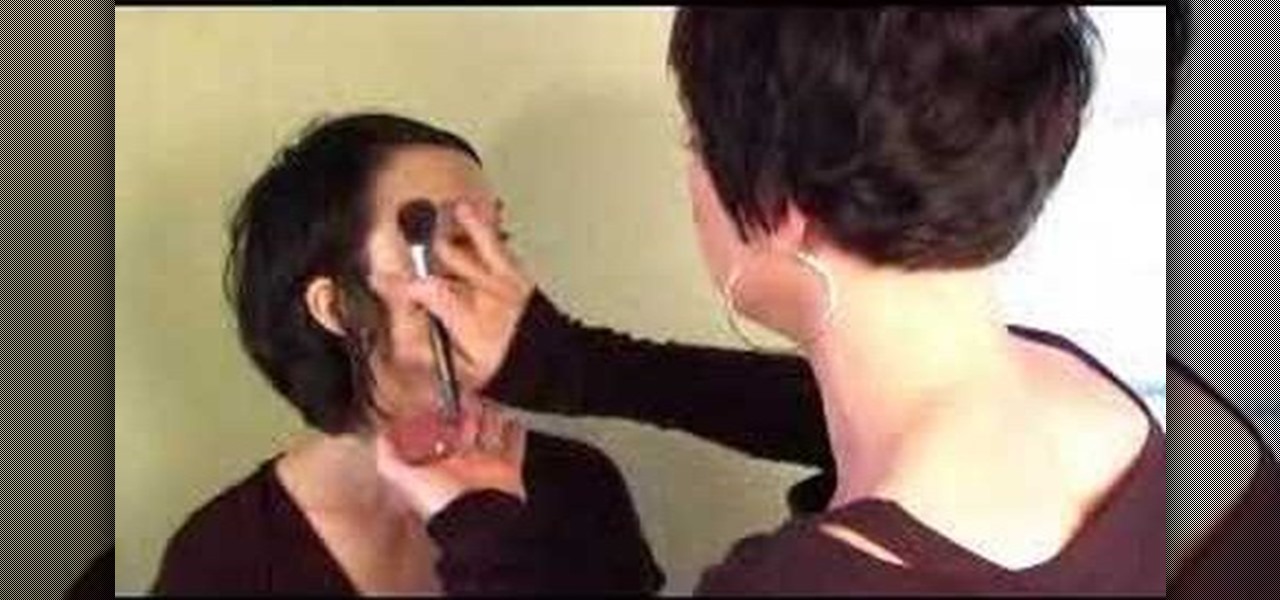
Shading, whether it's for eyeshadow, blush, or bronzer, is one of the indispensible makeup skills you'll be using for the rest of your makeup doing career.
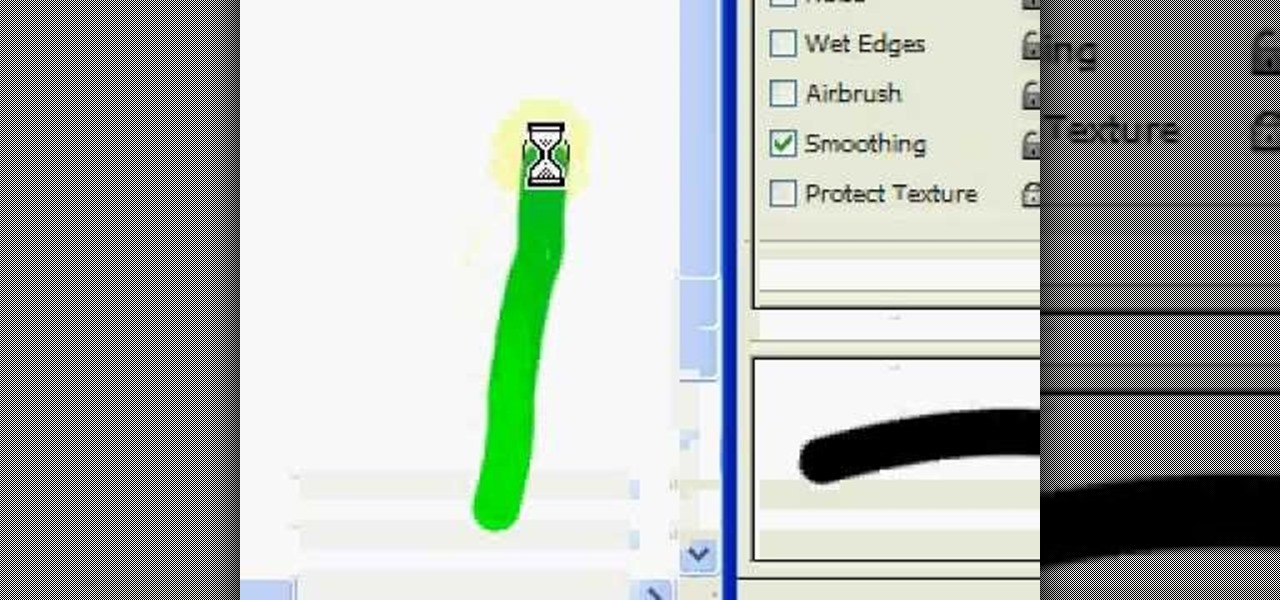
See how to set up the brushes in Photoshop to take full advantage of the pressure sensitivity of a Wacom Tablet – the Graphire, Intuos and the new Bamboo. It's an easy thing to do. It's so easy, in fact, that this guide can present a complete, step-by-step overview of the process in just over two minutes' time. For more information, and to get started taking full advantage of your own Wacom tablet, take a look!

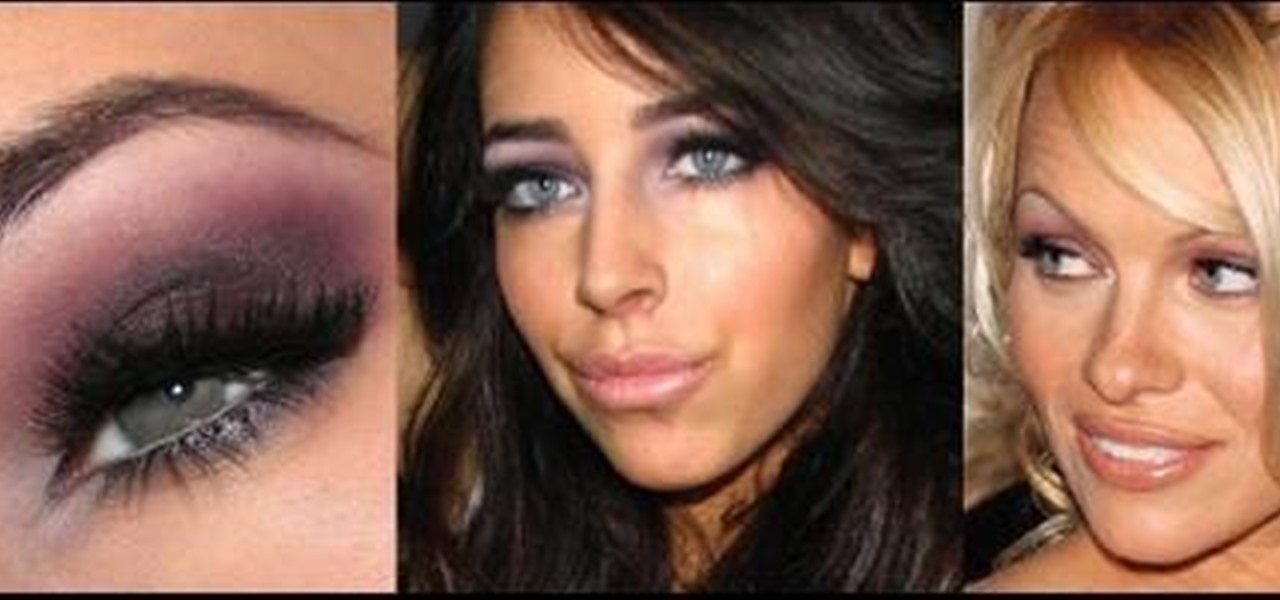
"Baywatch" babe Pamela Anderson is famous for big, sultry smokey eyes and plush, nude lips. In this tutorial you'll learn how to achieve an utterly gorgeous purple-based smokey eye that's perfect for a night out club hopping with your posse. It's a beautiful makeup look that'll get you noticed even if, like Pamela Anderson, you live in a town full of A-listers.

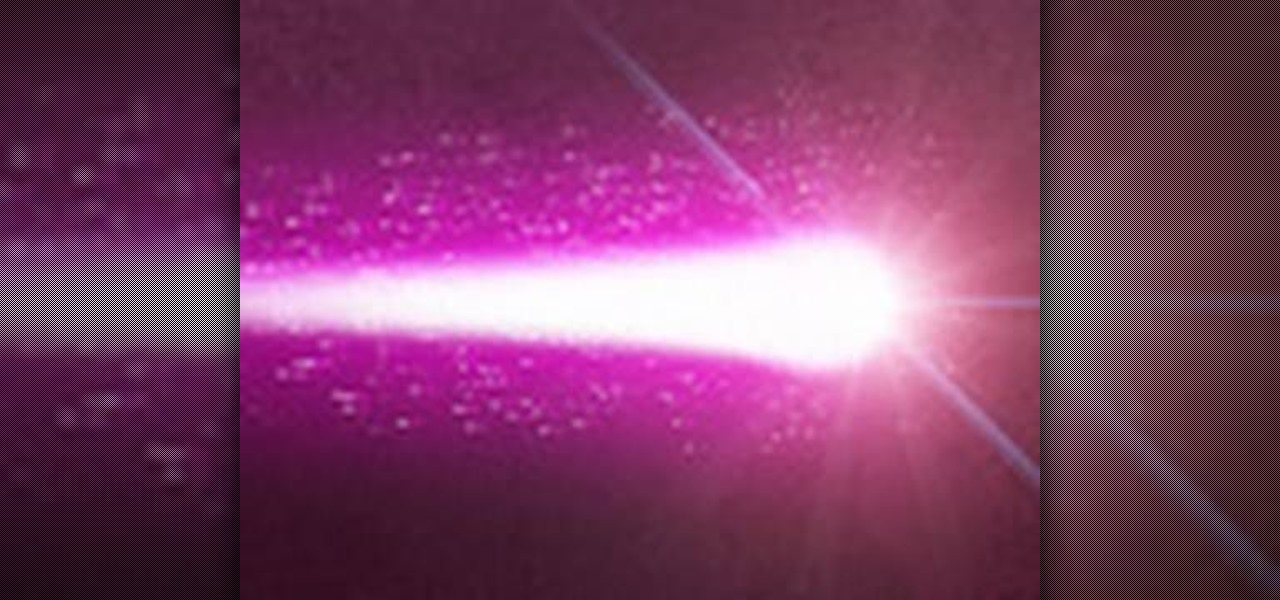
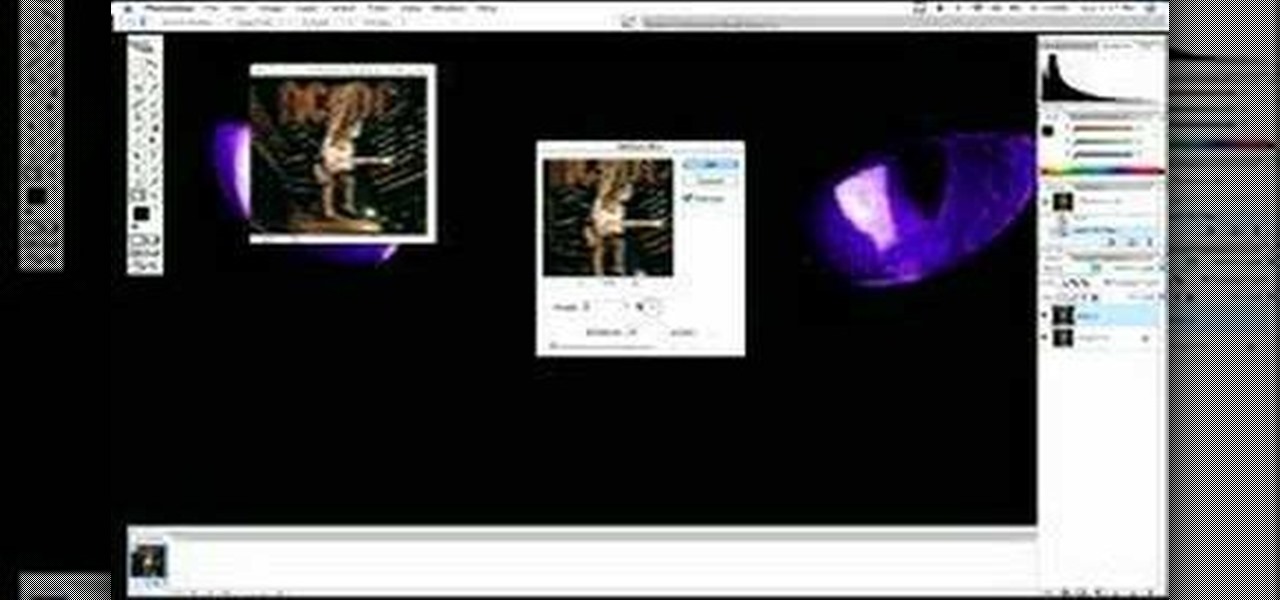
There aren't any words in the silent instructional tutorial video, but if you watch carefully, you'll learn the exact steps necessary to create a phenomenal looking shooting star or comment with nice looking special effects that are achievable in Photoshop. First you'll select a circular region with the selection tool, then you fill it with white. Next you'll use brush settings to create a brush stroke that straight and fades over time to create the comet's tail. Then you'll use Photoshop's l...

In this video, we learn how to cover up dark circles and blemishes using foundation. Start off by applying an eye cream underneath your eyes, which will make a base and remove puffy-ness. Next, you will need to apply your favorite concealer in your color over where you applied your eye cream. Go ahead and apply this foundation wherever you have blemishes, using a makeup tool. Now grab your favorite foundation and brush, and brush the foundation on your face making an even coat to cover and re...

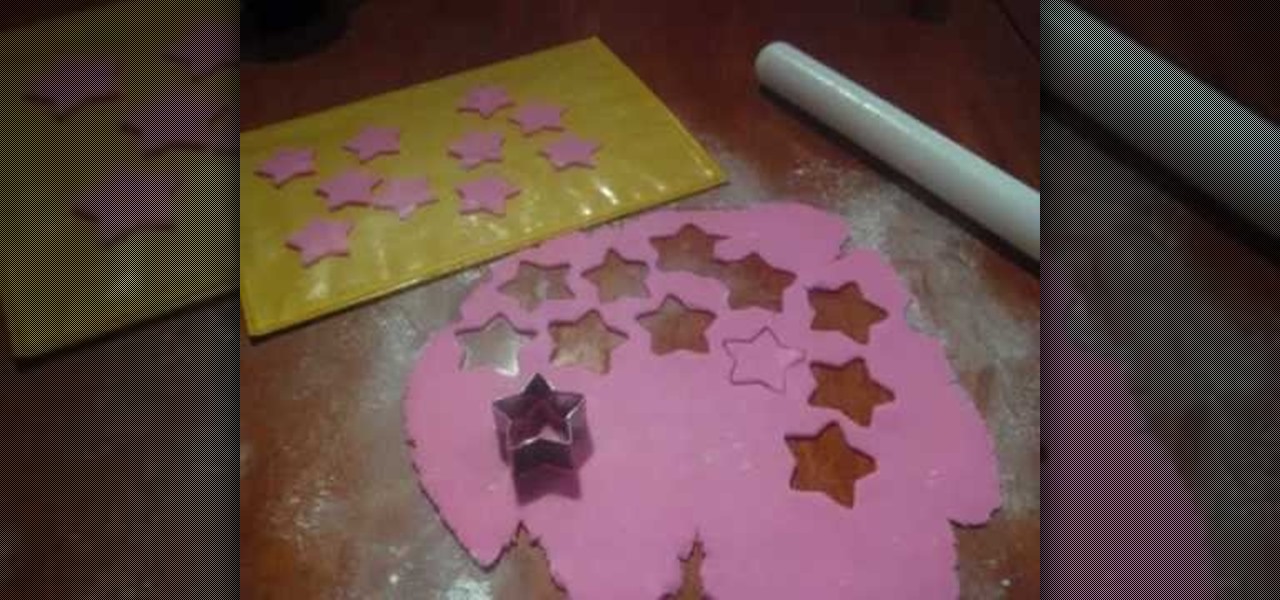
In order to make Shooting Stars for Cakes made from Fondant Icing, you will need the following ingredients and supplies: fondant cookie cutters, wire cutters, gumpaste, a pastry brush, icing spatula, glue (or gumpaste with water), a paint brush, a fondant rolling pin, powdered sugar, floral wire, and a cookie sheet lined with wax paper.

This video illustrate us how to paint new plaster. Here are the following steps: step 1: First of all take white cement, oil bound paint, fevicol and paint brush.

In this video, we learn how to put eyeshadow onto a picture using PhotoShop. First, open up the program and open your picture. Click on layer then new the click layer again.On the new layer put as blend mode "multiply". Make the opacity 50% and choose a color. Then select the brush that is the right size for your picture. Next, you will be able to brush the mouse over the eyelid and put eyeshadow onto the lid of the eye. You can change the intensity of the eyeshadow by changing the opacity hi...

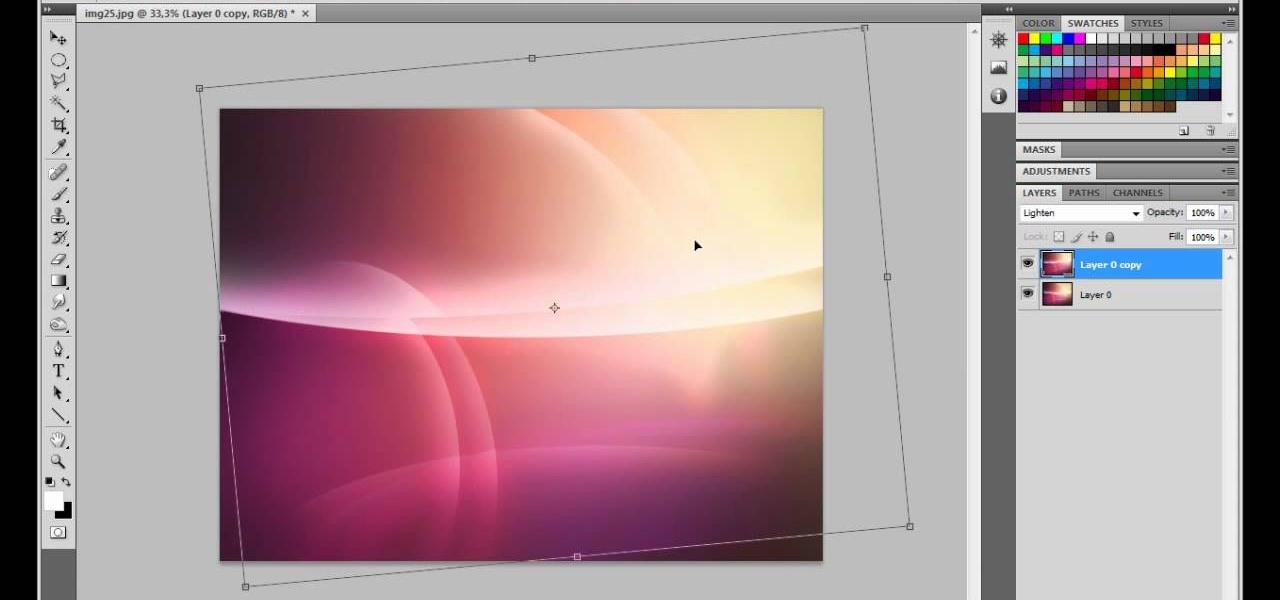
This is a video tutorial that is showing its audience how to make a glossy Vista wallpaper in the program Photoshop. The first step is to open Photoshop. Photoshop is a very large program so it might take a few minutes to open fully. The second step is to go to file open and open up your wallpaper folder that is on your computer. Choose one of the images and click okay. Then you should select different parts of the wallpaper that you chose and use the elliptical tool and the paint brush tool ...

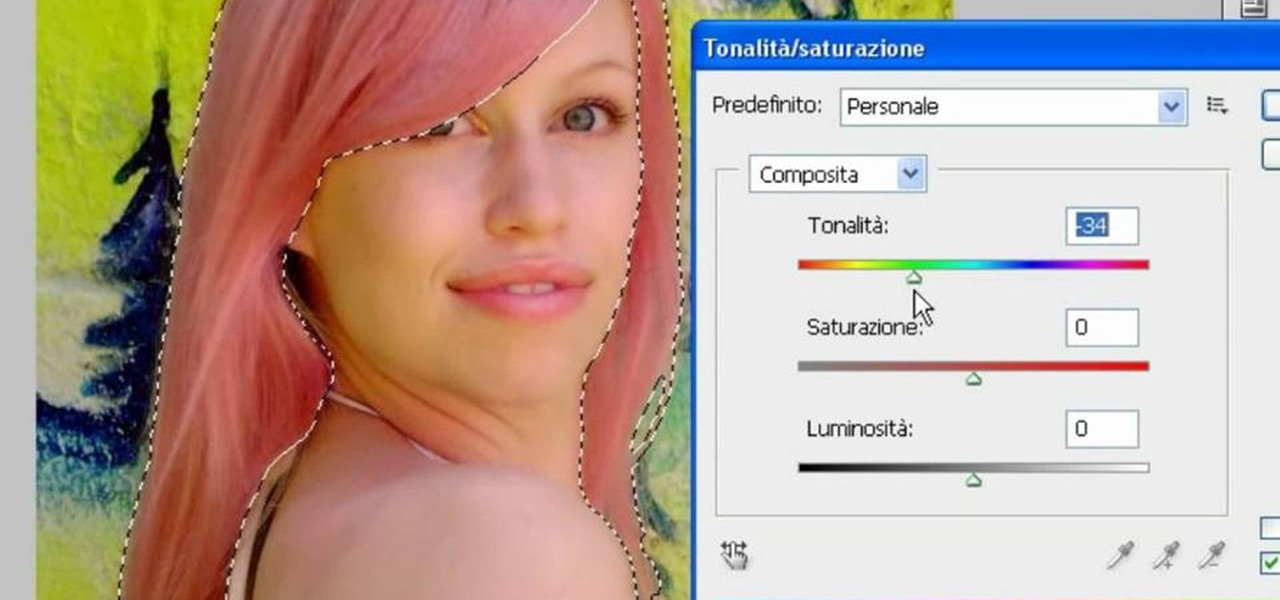
In this video, we learn how to use PhotoShop to change hair color.. First, select the mask tool inside PhotoShop. Now, zoom in on your picture and brush the hair that you want to change the color of. Zooming in and using smaller or bigger brushes will help you be more precise. After this, zoom out and press on the mask tool to create your selection. Then, select the marquee tool and right click and choose "inverse selects". Now, click on "image", "regulations", then "tonality/saturation". Now...

In this how to video, you will learn how to remove acne with Photoshop. First, open the image you want to edit in Photoshop. Go to the left column and select the healing brush. Next, set the brush size and find a part of the image that is clear. Hold alt and click. Next, start clicking on the areas that you want to remove. As you can see, the spots are replaced with the color that you chose earlier. Keep on doing this until the image has been completely healed. This video shows you just how e...

Hayley P. shows her viewers how to apply makeup with a foundation brush to reduce the appearance of dark circles around the eyes. If you follow her instructions, you will reduce the appearance of dark circles and you will look more awake.

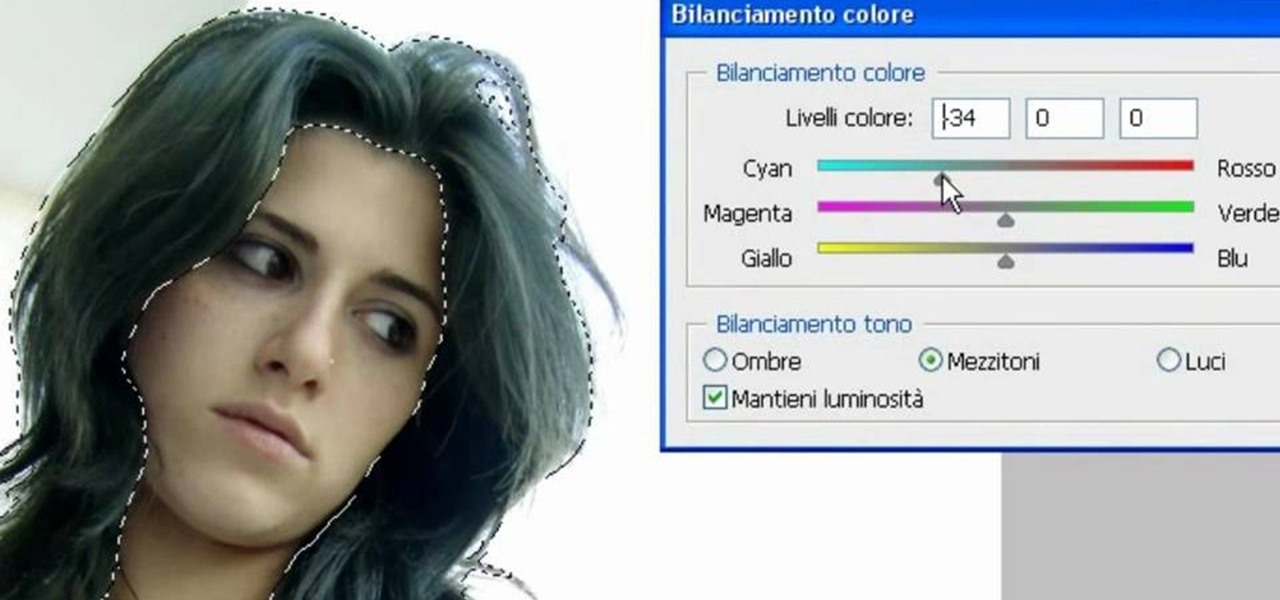
In this video, we learn how to change the color of dark hair in PhotoShop. First you will want to open up PhotoShop and open up the picture you want to change, zooming in so you can see the hair up close. Next, open up the mask tool, then use the brush to color the hair. This will only highlight the hair to change the color in the future. Use different sized brushes when you need to. Once you've done this, click on the mask tool to create the selection. Now, select the marquee tool and click ...

Use three tools to create a simple ponytail. Use a hairbrush, a bobby pin, and a bungee band holder for this look. Using a bungee band instead of a standard ponytail holder eliminates some of the issues typically caused by pulling hair through ponytail holders. Start by using a bristled brush to brush the hair to one location on the head. Secure one hook of the bungee band in the ponytail and wrap the tail around the rest of the hair. Wrap it around again, and secure the other bungee band hoo...

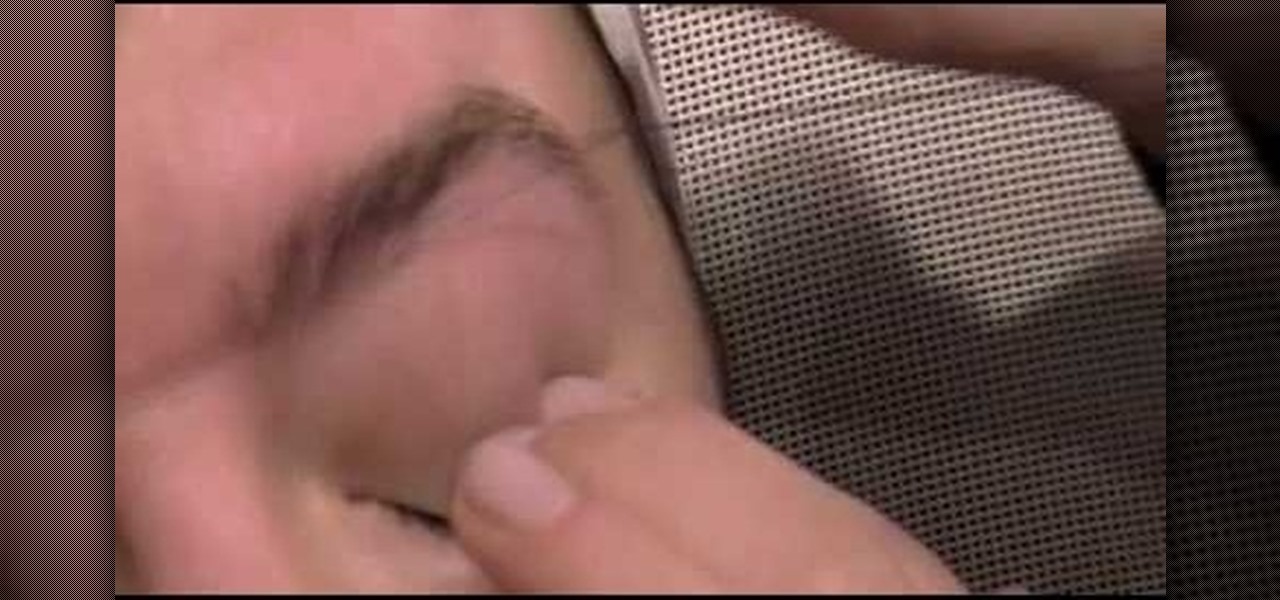
This video demonstrates the new technique of threading, an alternative to waxing, shaving or electrolysis. Threading uses two threads to pluck unwanted hairs in a fast and painless manner. First the technician will follow the natural arch of your eyebrow removing any stray hairs above the arch. Holding your eyelid slightly taught will allow the technician to remove any unwanted overgrowth underneath your arch, as well as between the eyebrows. Threading is also used to remove unsightly hairs f...

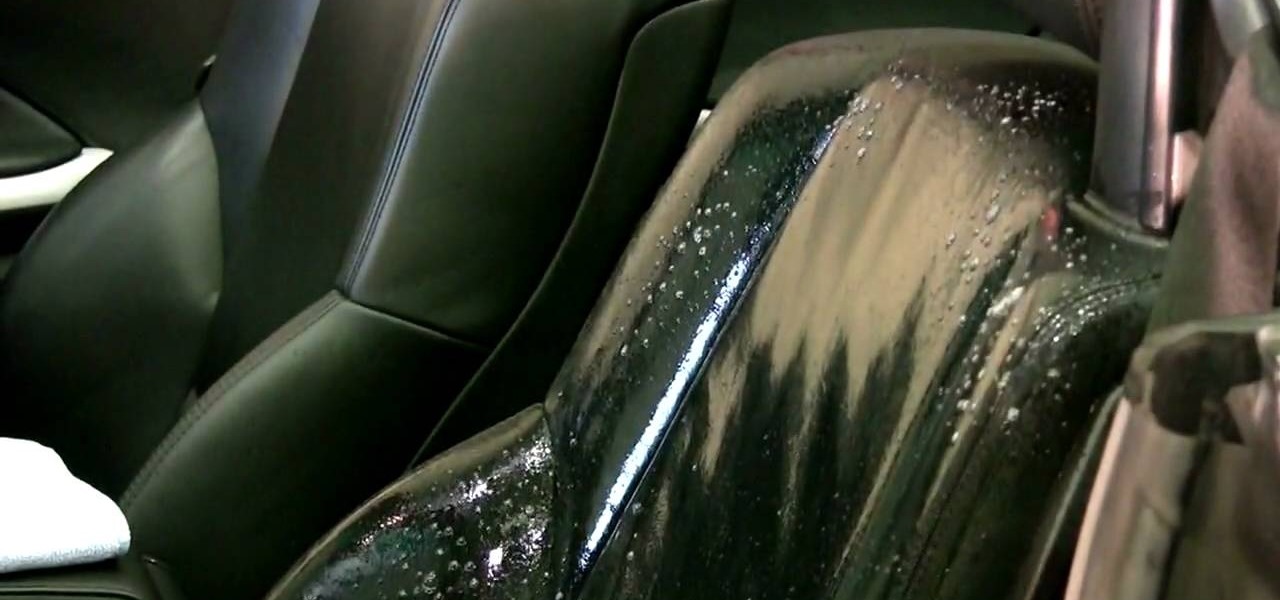
In this tutorial, Car Care Products shows us how to clean and condition leather car interior. For this you will need leather shampoo, a soft bristle brush, a clean soft microfiber clothe and leather conditioner. First, take your leather shampoo and spray it onto your seat. Then, take your soft bristle brush and work the shampoo into your seat, make sure to get into crevices and on the side panel. Now, wipe the solution off with your clothe, making sure you don't leave wet spots. Finally, appl...

This video teaches you how to achieve an eye catching stained glass nail art effect without attending a nail salon. To achieve the striking effect, one needs between 4-7 nail polish colors, and a fine lined nail art nail polish in black. Beginning with the base color, one applies the desired outlines for the "panes" using the nail art brush. Once that is dry and you are satisfied with the outlines, you can begin applying your desired colors to the "panes" achieving the effect of pieces of sta...

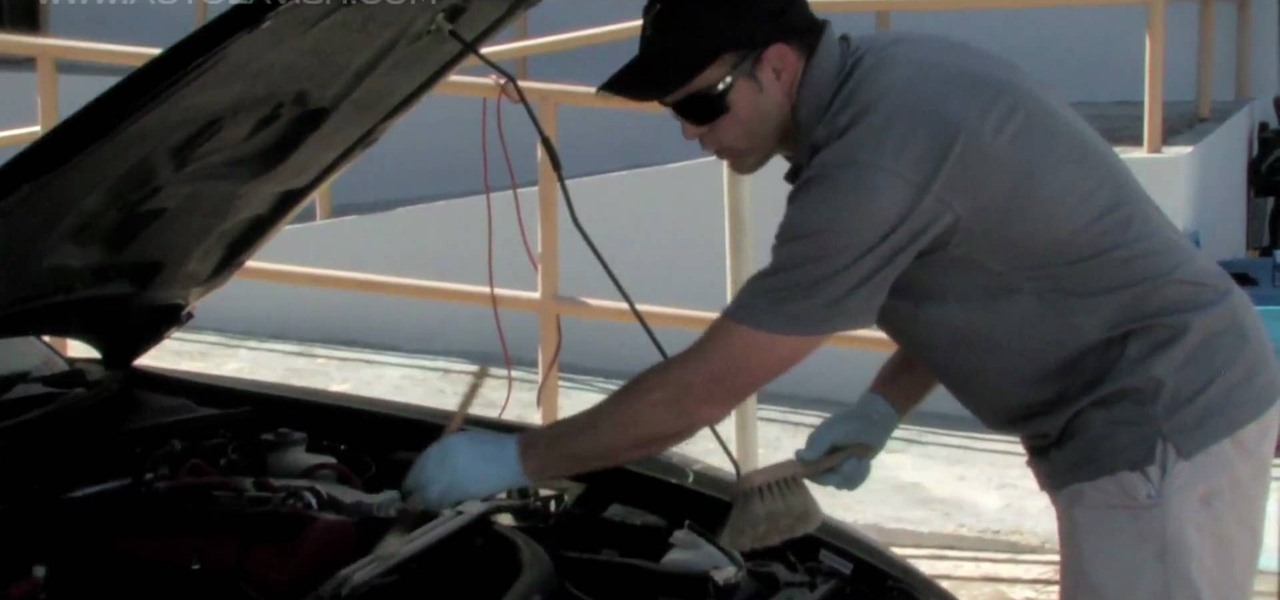
This video tutorial in Autos, Motorcycles & Planes category will show you how to wash your car's engine bay. Open the hood and check the temperature by touching with your hand and a thermometer. If it is cool enough you can proceed. Look over the engine bay to see if there is any area that needs more attention. Then spray the cleaning solution and use brushes for cleaning the areas that you can reach. Softer brush for areas that are painted and hard one for powder coated surfaces. Then use wa...

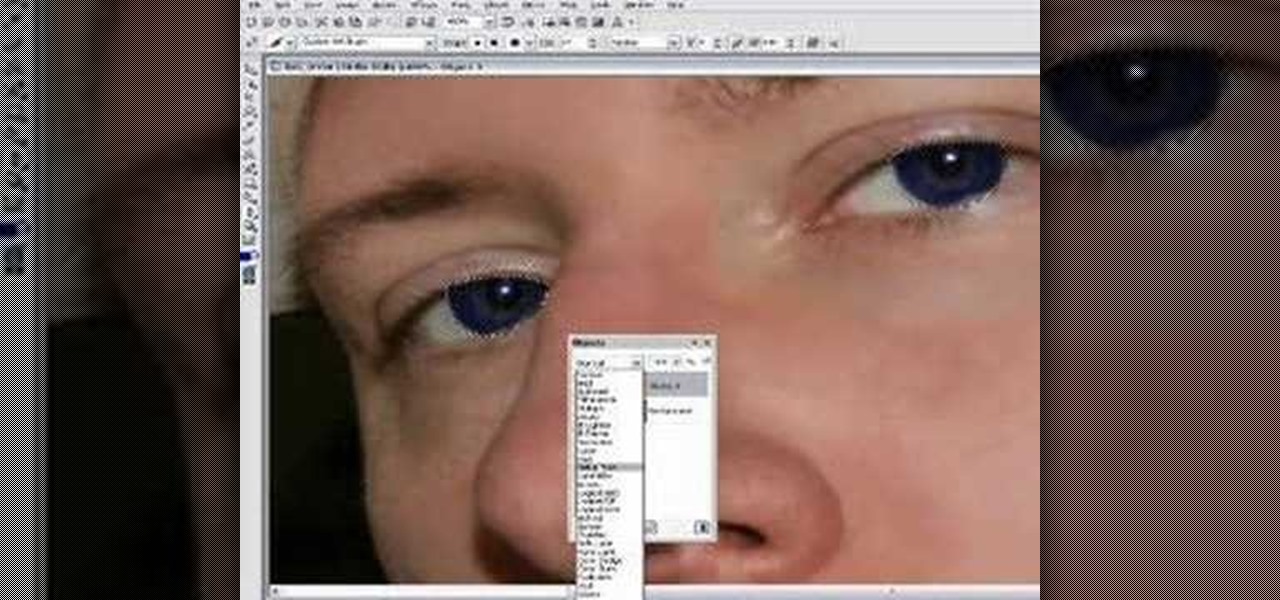
In this Software video tutorial you are going to learn how to change eye color in Corel Photo Paint X3 with masking. Select your picture and the 1st thing you will do is to create a mask around the eyes. Select the standard paint brush tool. Adjust the picture so that it is large enough and both the eyes are visible. Now press Alt and hold down to select the entire eye. Do the same for the other eye also. Then go to subtractive mode and fix the outer edges of the iris of the eyes. Now select ...

In this how-to video, you will learn how to groom your dog. Grooming is important for any kind of dog. It is important to find a groomer if you cannot do it yourself. Hair under the arms should be trimmed, otherwise it will become dread locked. It is also important to brush your dog's teeth on a regular basis. You can feed your dog with a brand that is good for teeth care. Purchase and use a brush specially designed for dogs. This will help keep your dog's hair from becoming matted. Teach you...

How to remove acrylic nails with a soak

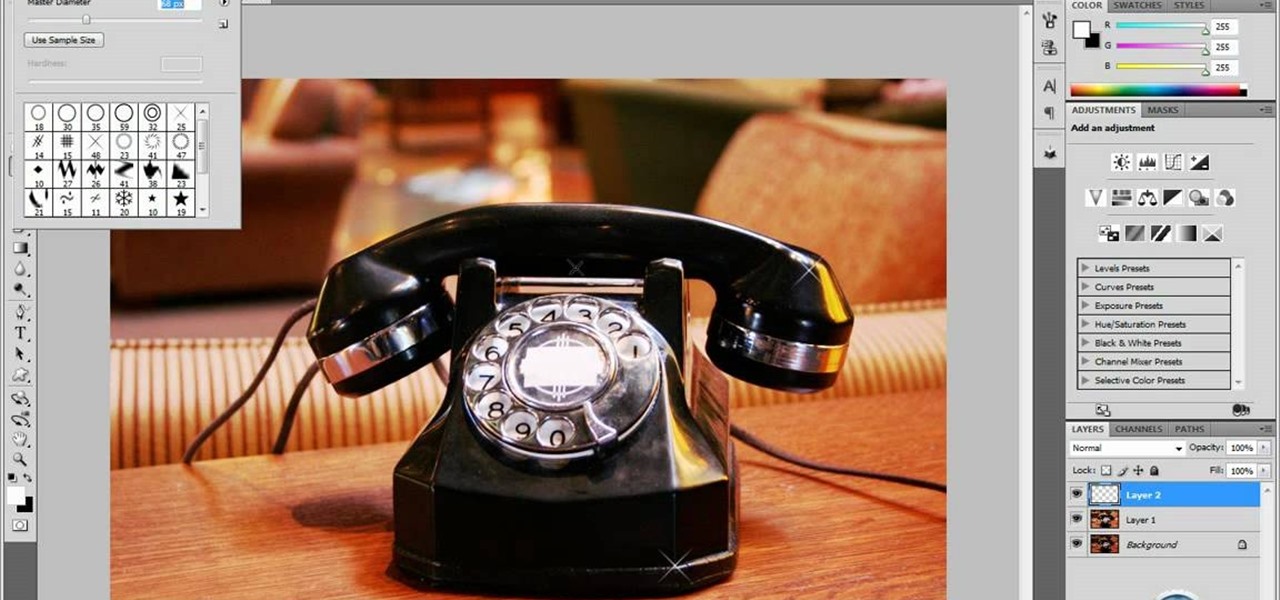
In this tutorial video, YouTube user "inteltuts" discusses ways to use Photoshop CS4 to help make better looking product pictures, as a way to attract costumers to your online products. Using a black telephone as an example, he first shows how the opacity, linear dodge, and brush tools can help make a product image look shiner, sleeker and brighter. He goes onto create what he calls "glints", which are subtle reflections and areas of sparkling light that he places across the image. Lastly, he...

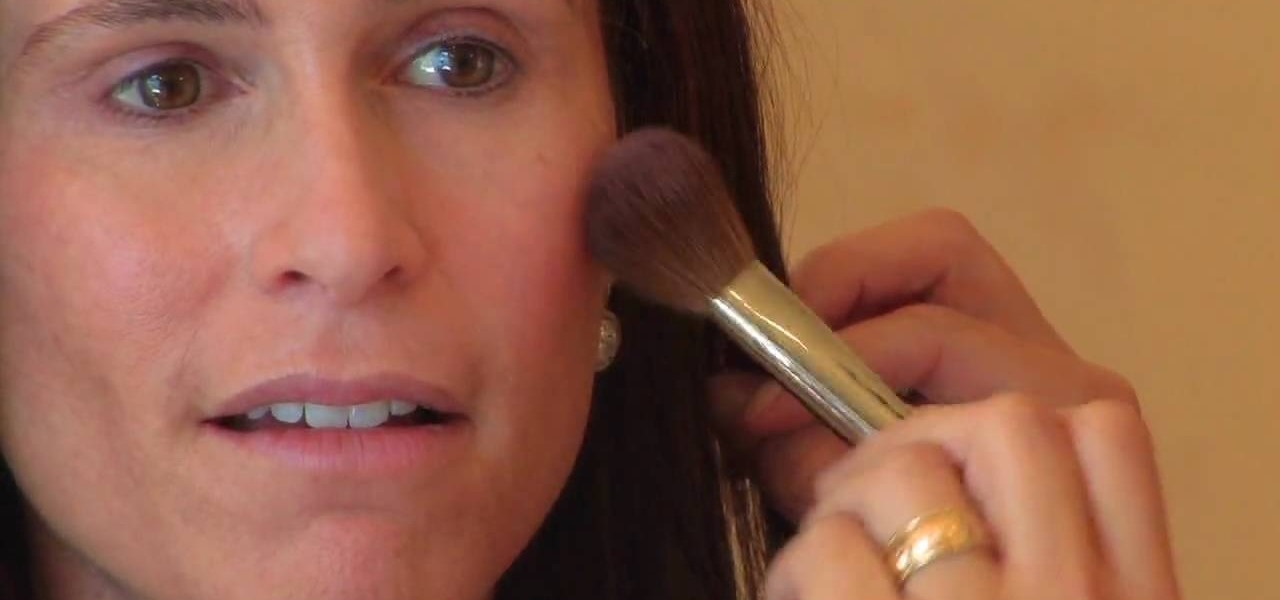
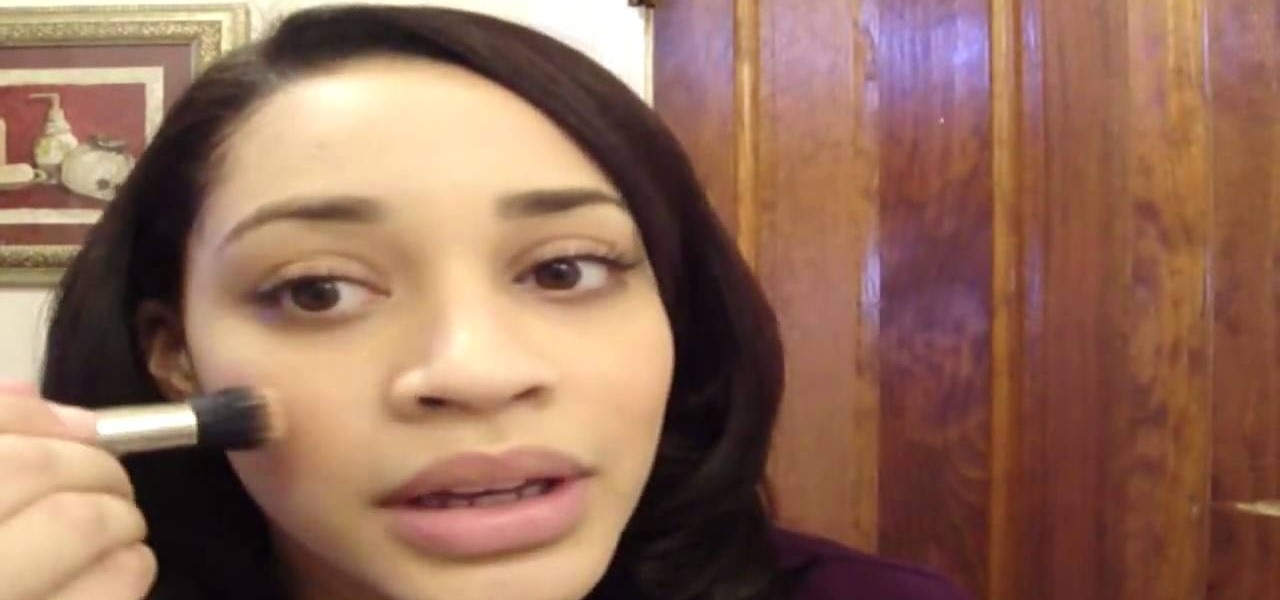
In this video tutorial, viewers learn how to apply blush on the face for a natural look. Begin by selecting the color that you want. Now take the brush and dab the brush to get some powder on the tip. Then lightly tap it to remove any excess powder. Begin on the apple of the cheek as you bring down small strokes. Apply the blush with a circular motion. Do this lightly and hold back any hair that is near the face. This video will benefit those viewers who are interested in beauty and fashion, ...

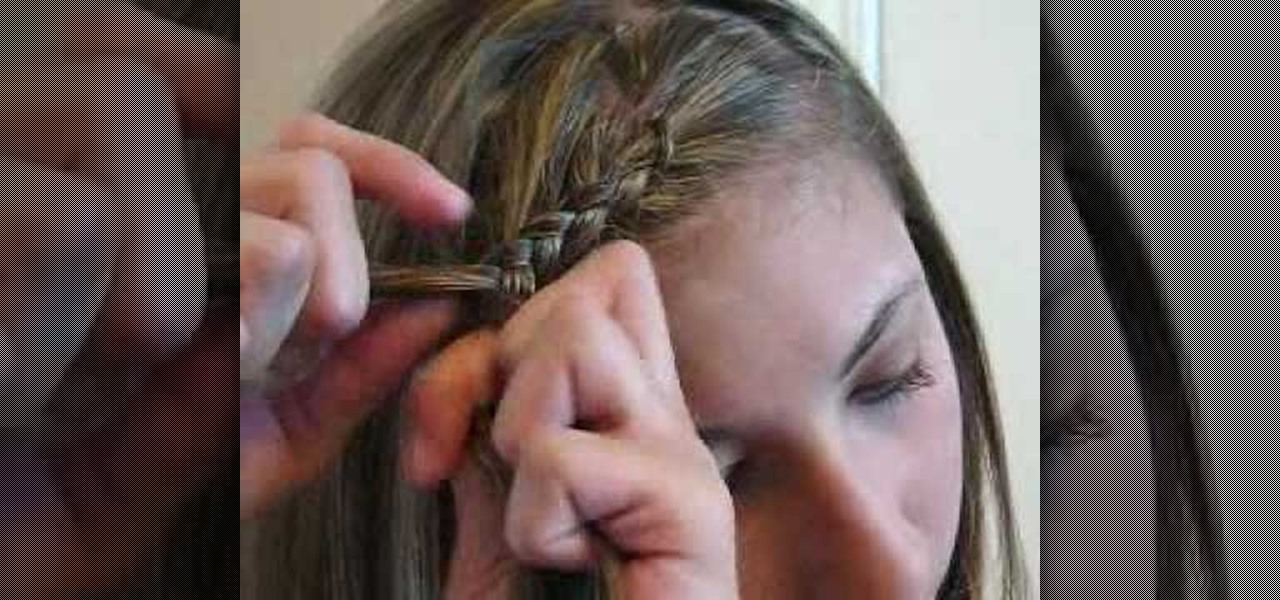
Megan aka Maybabytumbler, shows in this video how to braid bangs just like television celebrities have been seen sporting. She starts by showing us the right tools for the job: a flat, plastic bristled hairbrush and several bobby pins. Once we have the proper tools, Megan instructs us to brush all our bangs to one side and gather a small chunk of hair from the very top of the part. She separates the chunk into three sections and braids each piece under the last forming the braid knots. As she...

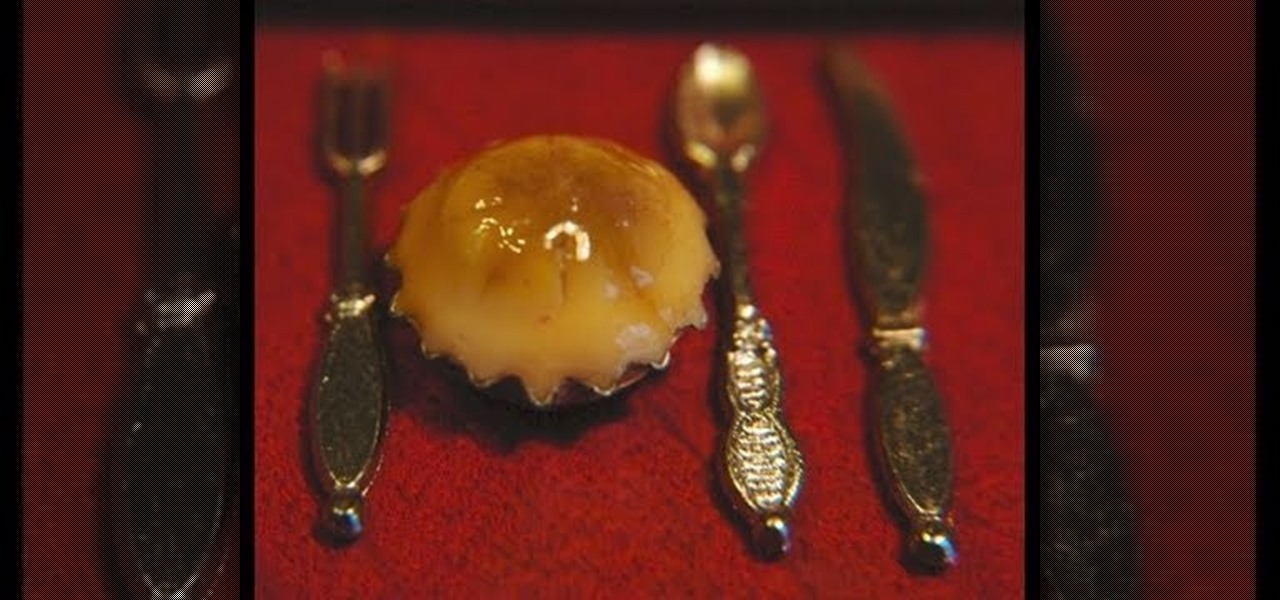
Garden of Imagination demonstrates how to make miniature polymer clay pot pies. Find miniature bottle caps in the scrap booking section of the craft store. You can use a regular sized bottle cap to make a big pie. Roll a piece of ecru clay into a ball and mold it into the bottle cap. Round the top to give it a pot pie shape. Use a small blade to create seared lines into the pie top. Brush mustard yellow pastel to tint the top of the pie. Brush a brown pastel accent on the top of the pie. Bake...

It is a demonstration of a cream blush with a # 130. We will be using a steela convertible collar and a color called camellia which is #1 and is used mostly as a blush which nice and bronzy. You firstly stamp the brush onto the blush and then lightly tap the brush onto your hand first so as to ensure you won't have too much of blush on your face.

The first step in making burritos for a dollhouse is to take some off white clay and roll it as thin as you can get it. After that, take a small circle using a small circular cutter of some sort. Next, make the "beans" with translucent liquid sculpting clay and some red clay by mixing the two ingredients together. Take a toothpick and apply this mixture in a line down the center. Now take one side of the circle and fold in just past the bean mixture. Now fold the side flaps over and roll the ...

This video is about how to make facial masks. So to do this, just follow these simple steps. Things you'll need:

Scott Todd demonstrates waxing a snowboard, which is basic maintenance that assures good speed for a snowboarder. He starts by applying a thick, even layer of wax on the base of the snowboard using an old iron to melt it down. He sweeps the board with the iron to spread out the wax.

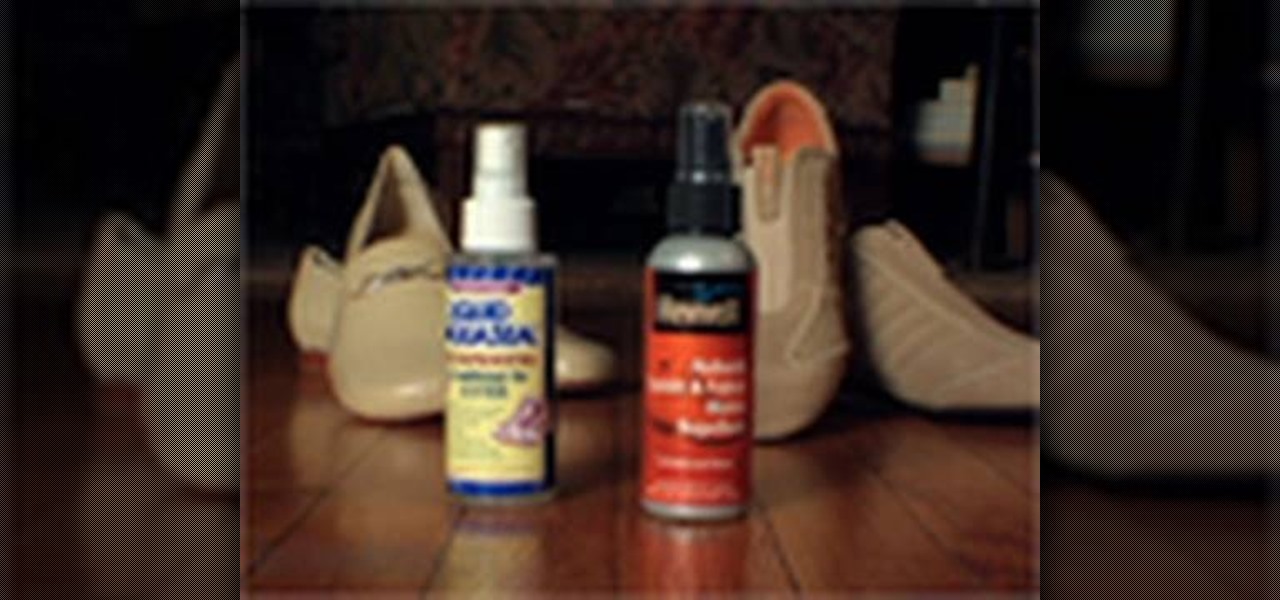
Good Housekeeping shows you how to save your shoes and delicate garments from exposure to rain and mud. If you get mud on your suede shoes, wait until the mud completely dries, then brush the dried mud off with a soft brush. Remaining stains can be safely removed with the delicate side on an emery board.

In this video from youngbodymind Lisa G shows us how to make yourself look younger in just 5 minutes. First start with a primer. This keeps your makeup on throughout the day. She uses a brush to apply it. Then she applies a foundation as a hydrator. It also evens out the discoloration she has which makes her looks younger. Then she applies a bit of blush. A cream blush works and she also applies it to the eyelids for some color. Then she applies a little pop of color to the lips making her lo...

Adding motion to graphics using Photoshop can create an exciting and dynamic effects. Select a picture you want to add motion to. First, duplicate the background layer. Then under Filters, select blur, and then select Motion Blur. Then you set the angle of the Motion Blur. You can select any direction and also set the intensity of the blur by setting the distance setting. Then you will need select the eraser tool and select under Options select the brush. Chose a soft edge brush and erase ove...

Learn how to draw a flower in MS Paint in this video tutorial from Shannon. In the first step, you will need to draw a circle with the shape tool. To create the petals, you will need to draw additional circles surrounding the first circle. Use the paint brush tool in green to create the stem and leaves, which you will draw free-hand. Using the bucket tool, fill in the leaves and the petals of the flower. Shannon also shows in this video how to draw a bird next to the flower with the paint bru...

First, prep the nails. Apply the white tips to the end of your nail. Use a nail clipper to clip the edges and a nail file to round the edges so they are not pointy. Next, apply primer to the bed of the nail. Then apply white acrylic with a brush to the tips that you put on earlier. Use the brush to make sure it fits the shape you want. Next, apply nail polish on the nail bed until it is the same height as the acrylic. File the edges down again if needed. Coat with transparent pink mix (a mixt...

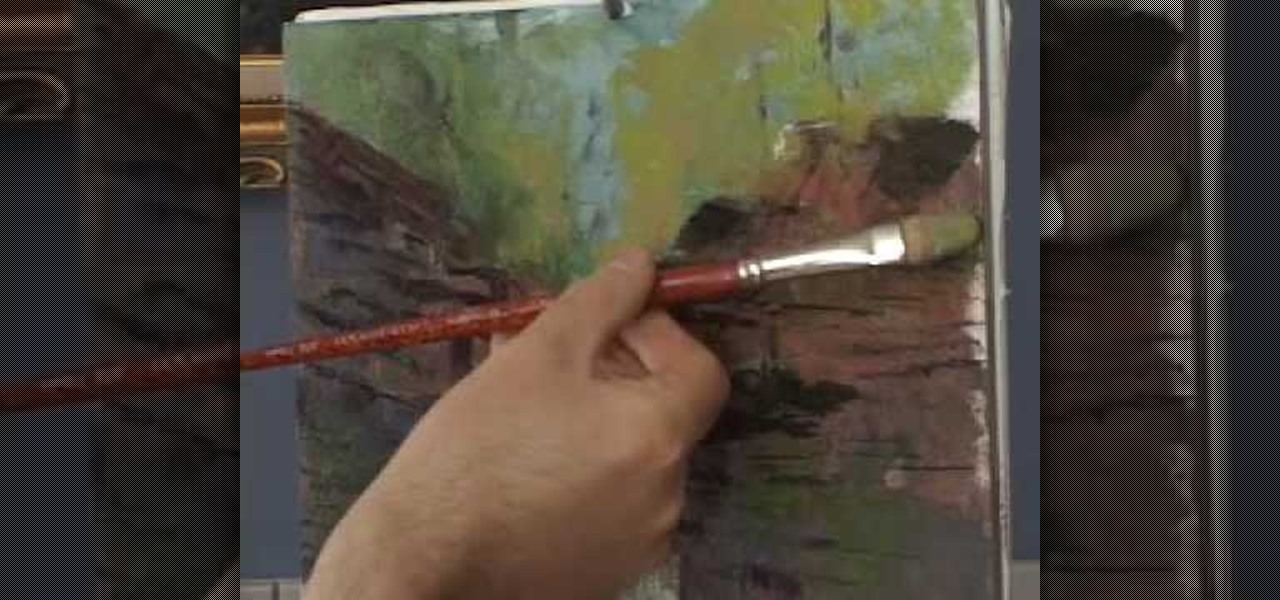
When painting the foliage make sure that you use a dry brush technique and that you use this to break up the harsh rock formations that you have created by simply pressing the brush down against the rock formation. Make sure that you don't segregate the areas in the painting. Make sure that you blend the areas together to make the picture complete. You want to take the warm, more contrasting areas and use them to break up the harsher style of the rest of the picture. You want to layer the col...

This video demonstrates how to style short hair and get volume. If you have side bangs, part them around and up from the arch of the eyebrow. Make sure you have a blow-dryer and a large round brush, as well as a hair serum, and clips. Rub a quarter size amount of the serum on the ends of your hair, trying to avoid the roots. Put mousse on the hair roots near the top of your hair where the volume will matter the most. Section your hair off at the top and begin blow-drying by lifting the hair u...


