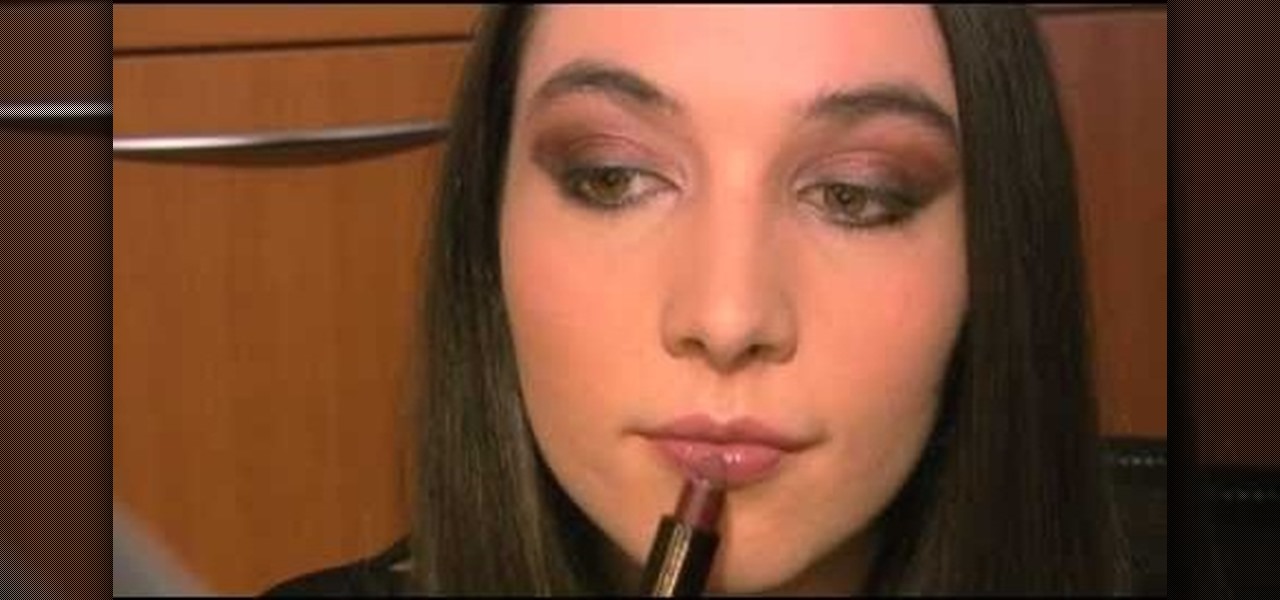
If you are dedicated Warhammer painter, you know that you need a small, but extremely tidy workspace. Watch this instructional video for tips on setting up pallets, choosing brushes and painting mediums. Expand the limits of traditional Warhammer paints by mixing colors and using alternative brands.
Jordan explains how to make a nice abstract image using only filters and no brushing in Photoshop. Let your artistic side come out (even if you aren't the best painter) just by playing with Photoshop filters and making cool abstract images.
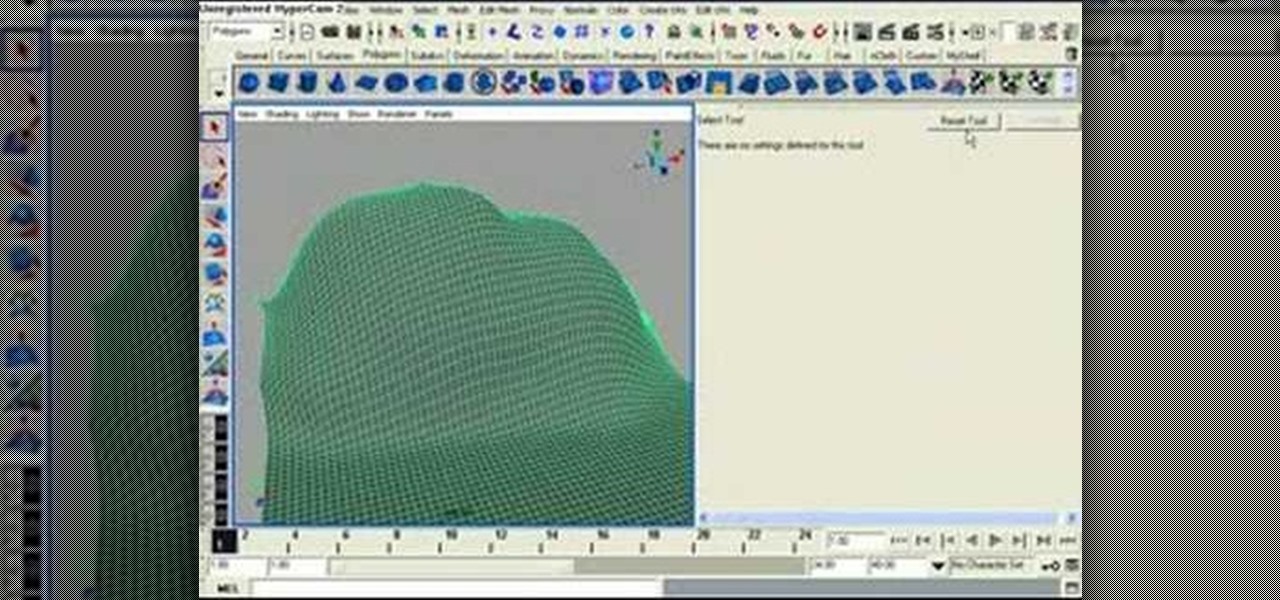
In this software tutorial you will learn how to sculpt geometry using the sculpt geometry tool in Maya. The sculpt geometry tool is like a paint brush that allows you to paint the surface of an object in 3D. It is best used for creating terrains and other organic geometry. This tutorial will cover all the basics of learning to sculpt geometry in Maya.

All you need for a quick new look is a handful of run-of-the-mill bobby pins. You will however need medium to long hair, a brush or comb, styling gel or mousse, a ponytail holder, as well as those bobby pins. This video hair-styling tutorial shows how to create three simple updo hairstyles.
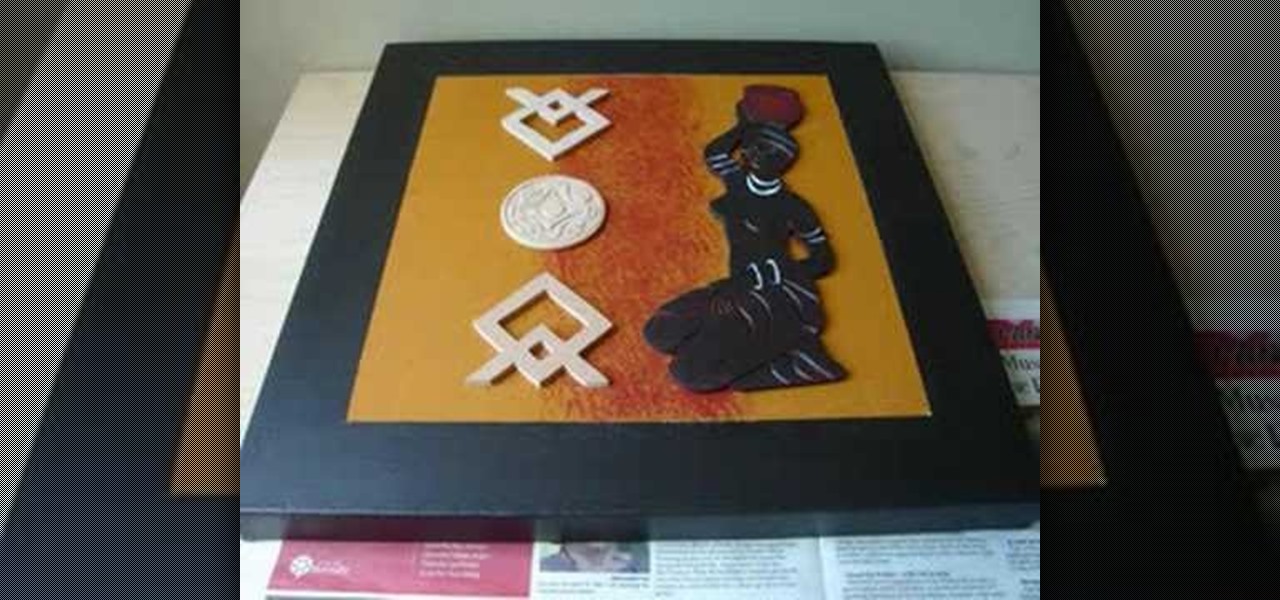
This video crafting tutorial gives step by step directions for making an African inspired wall hanging. You will need a canvas, a brush, paints, MDF figurines, and copper paint. This home design project can be customized to suit the color scheme of your interior, and will add a little international flavor to your decor. Watch this instructional video and learn how to paint an African inspired wall hanging.
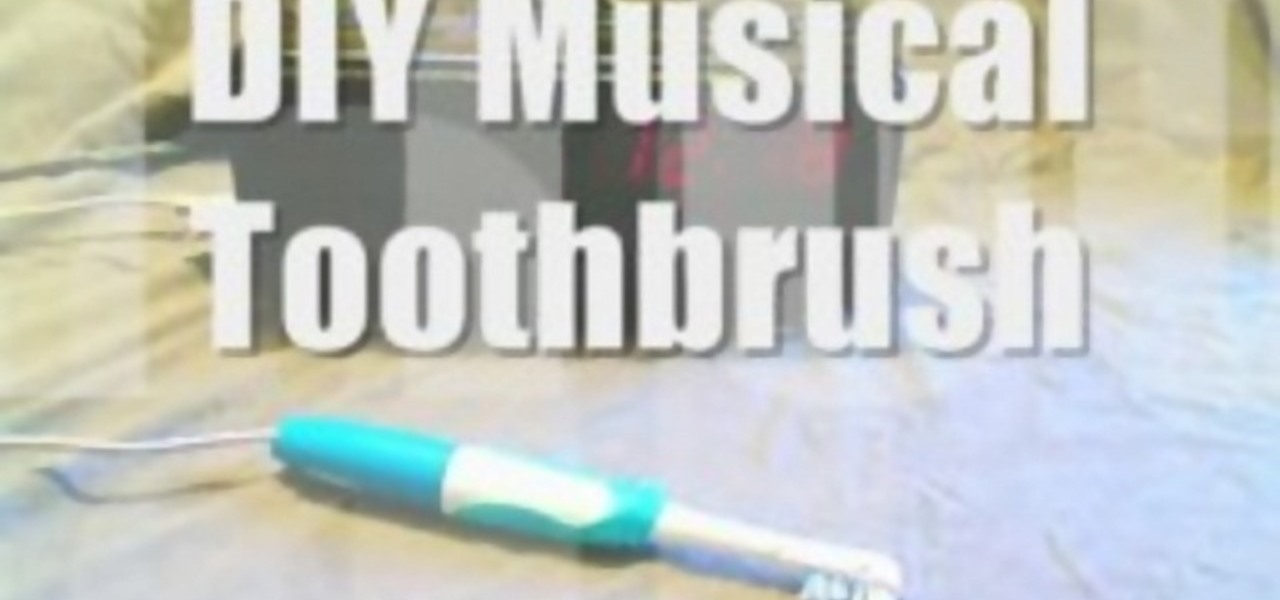
This tutorial video will show you how to modify an electric toothbrush so that it will play the radio through your skull while you brush your teeth. This handy device is similar to the store bought models but you could hook it up to any audio source (For example: ipod, mp3 player, radio).

If you've come home from a long day of work, you might just want to sculpt in Pixologic's Zbrush 3.1 3D sculpting software. So sculpt out of clay to practice the Zbrush 3D modeling program, don't work on Zspheres or an entire model, practice on sculpting. If you plan on being a good 3D digital animator, then practice, practice, practice. This video will show you how to work in the interface, use brushes, and sculpt a squirkle, yes a squirkle.

Can't afford a real electric toothbrush? Have one too many vibrating dildos lying around the house? Well, just tape your toothbrush to one of those suckers and start brushing!

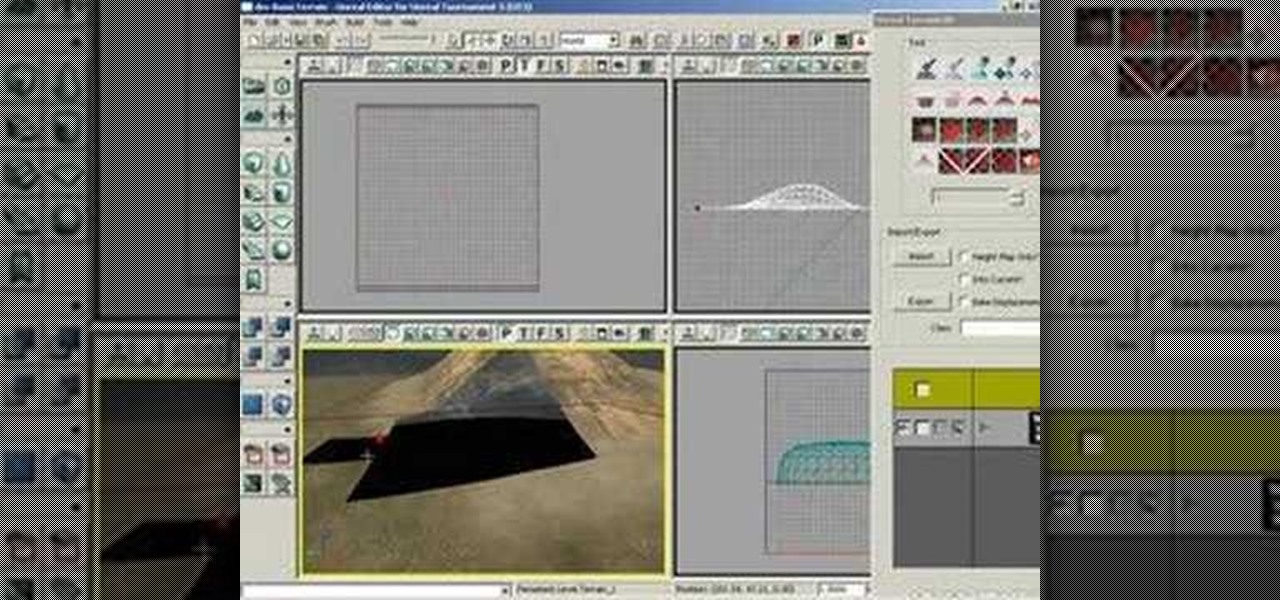
This tutorial shows you how to create holes in a terrain surface in Unreal Tournament 3. This is helpful for creating caves, pits and bunkers etc. You will be using the visibility brush.

Do you have dirty paint brushes? Sponges? Watch this informative video to learn the benefits of an ultrasonic cleaner.

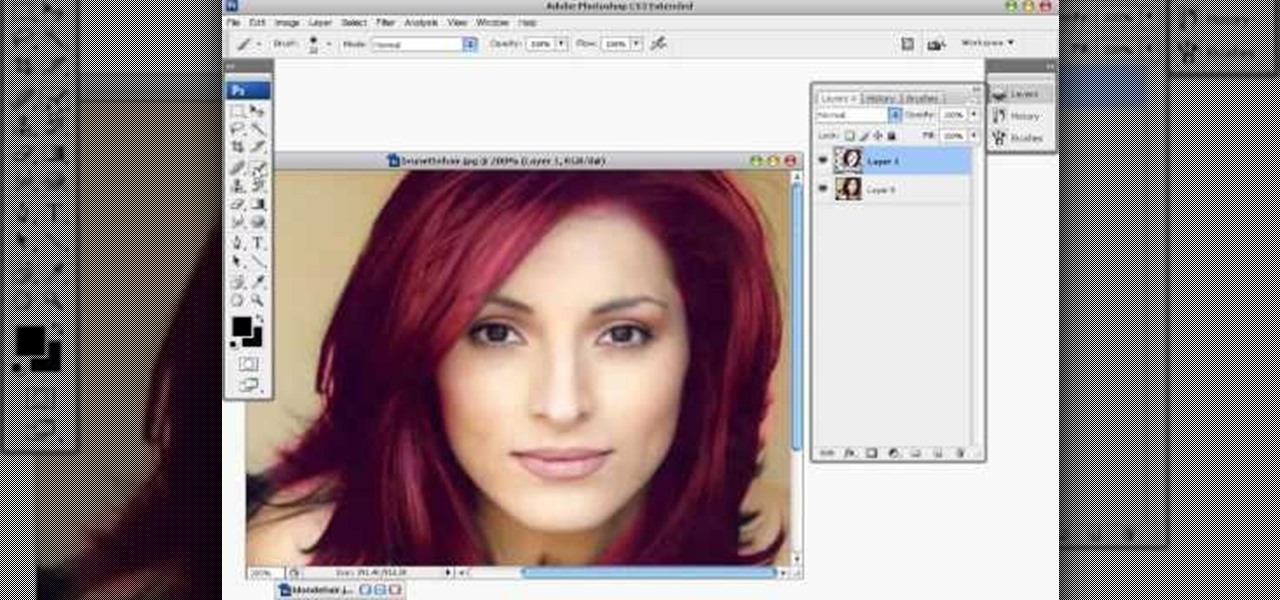
This tutorial teaches you how to change the eye/hair color of someone using the quick mask feature of photoshop.

Watch to learn how to say the names of beauty devices, such as a hair dryer, a straightener, and an electric toothbrush, in French.

This tutorial shows you two examples of how to improve a dark or low-light photo. This video covers the auto Enhance feature, retouch brush tool, Effects menu (Edge Blur) and the Adjust menu (Reduce Noise).

In this tutorial, learn how to quickly and easily reduce red eye from your photographs, using iPhoto '08. You'll learn to use the Red-Eye Removal brush, and adjust it to just the size you need.

Painting a color on an image might be a painstaking task for a Photoshop beginner. The good news is you don't have to rely on the brush tool to do the job. In this video tutorial you will learn to replace one color with another using the Replace Color dialogue within Photoshop.

In this video, Justin Seeley shows how to use a Wacom tablet to create photo collages in Photoshop CS3 Extended. He shows how to blend photographs together using the Wacom pen to create a print ad type image. He shows how to increase the size of the brush, change the opacity, blend the image, and lightly paint into the image to control the amount of the fade.

A bathroom is only as clean as its toilet. Keep yours disinfected and smelling fresh by following these easy tips. You will need a pair of rubber gloves, cleaning sponge, toilet bowl brush, powder or liquid toilet cleaner and a disinfectant spray. Be sure you have good ventilation when working with household cleaners.

A good stain and varnish can add shine and luster to any piece of wood furniture. Check out these simple steps for staining wood. You will need a painter drop cloth, 2 or 3 1 inch foam brushes, fine grit sandpaper, tack cloth, couple of towels or rags, oil base wood stain and oil base satin varnish.

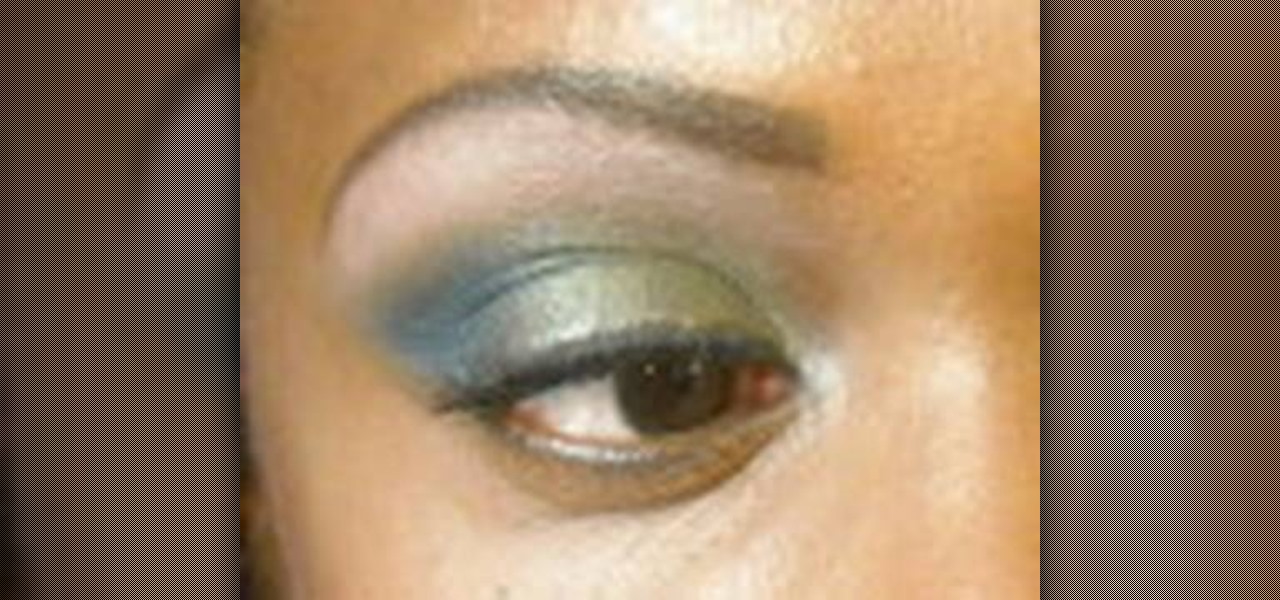
This video demonstrates how to create an ocean inspired makeup look. Apply primer to the eyes, first, as a base. Darken the base with a dark neutral powder. Brush it on with a eye shadow brush. Add a little green eye shadow to the inner 1/3 of the upper lid. Use a violet blue eye shadow to fill in the rest of the lid. Add a lighter blue to the middle 2/3 of the eyelid. Add your neutral brow bone color to fill in the upper 1/3 of the eye. Brush a little blue eyeliner underneath the eye.

Jennisse shows how to do your nails ‘Fruit Style’, using acrylic glitter, in this tutorial. She begins by taking the natural shine away and bowing the nails down. A few coats of acid-free protein primer are then applied onto the nail beds. Next, some bright green acrylic glitter is taken onto a small brush and applied side to side, at the point where nail grows beyond the finger line. The nail is turned over to create a smile line. Then a thin coat of yellow glitter is added next, halfway beh...

Panacea talks about creating Cheryl Cole's "Fight for this Love" look. Using L'Oreal's Glam Bronze in split combo, apply the brown shade with a large brush over the eye and out to the temple towards the hairline and around to the cheekbones. Apply a white primer on your eyelid, going a little way out past the crease of the eye and blend it out, also applying a bit of the primer under the eye. Brush a silvery-brown eyeshadow over the primer blending the color out with a blending brush until th...

Learn the right way of Applying Eye Shadow using a sponge tip applicator, as shown in this video. Begin by applying a little eye primer over the eye lids, to ensure the make up stays longer. Spread it evenly using a brush or your finger tips. Always take a light shade (Bisque by MAC used in this video) of an eye shadow first onto a sponge tip applicator. Dust off the excess. Press and dab the color over the brow area. Blend it in to soften the edges. Next, choose any two dark shades, which ma...

Learn how to get Kim Kardashian's Pussycat Doll makeup look. - Take MAC's Metal X which is a cream metallic eye shadow and apply it with your finger all over the lid up to the crease.

To do a different kind of smoky burgundy eyes look using Mac (or whatever you may have) start with a eyeliner base. It would be recommended to use a secondary base. To blend use a 217 brush up to the crease going back and forth. To get intensity on lash line get close to the lashes. It doesn't need to be neat because it will later be smudged. Using a 219 brush work it into the lashes and blend it out. Whip the brush off to fade the liner out. Using a 239 then take your burgundy and work it up...

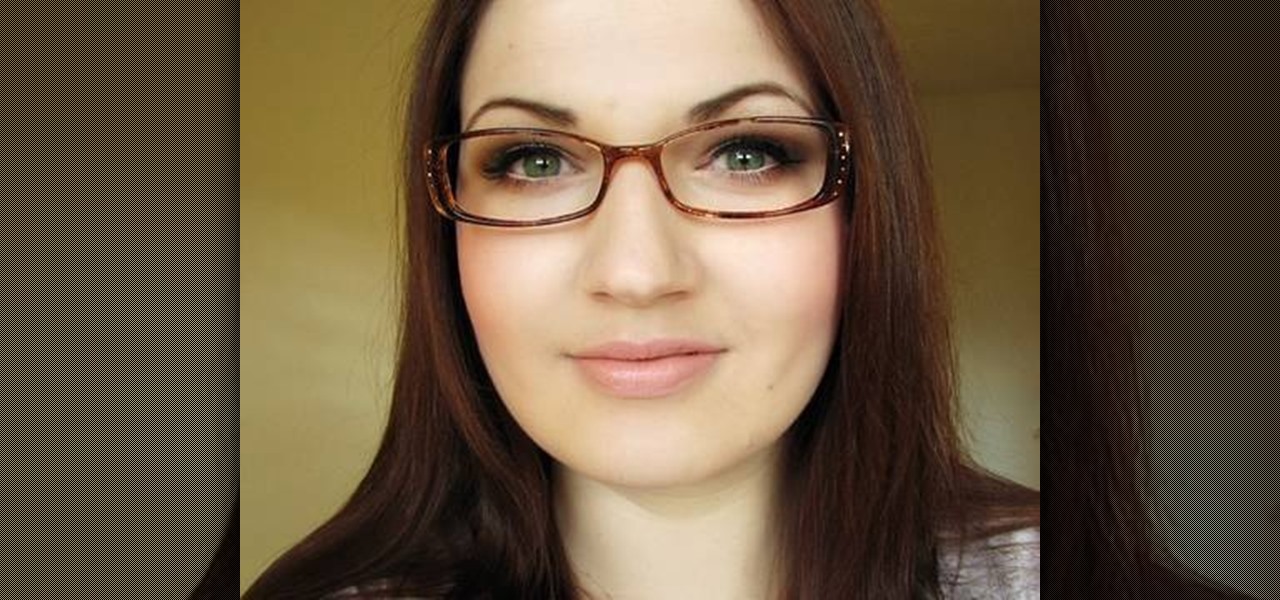
The makeup artist Julia presents this tutorial in partnership with VSP vision care in order to demonstrate makeup tips for people wearing glasses or contact lens.

Miss Jessica Harlow provides a step-by-step tutorial on makeup application to get a perfect smoky eye inspired by rocker Taylor Momsen.

Who said brushing your teeth can't be fun? It certainly isn't Kolibree, a company that's introducing the world to the first augmented reality toothbrush for kids at this week's CES tech conference in Las Vegas.

Google just unveiled it's biggest search product in recent memory, except this time the search giant is looking to take over the world of virtual objects.

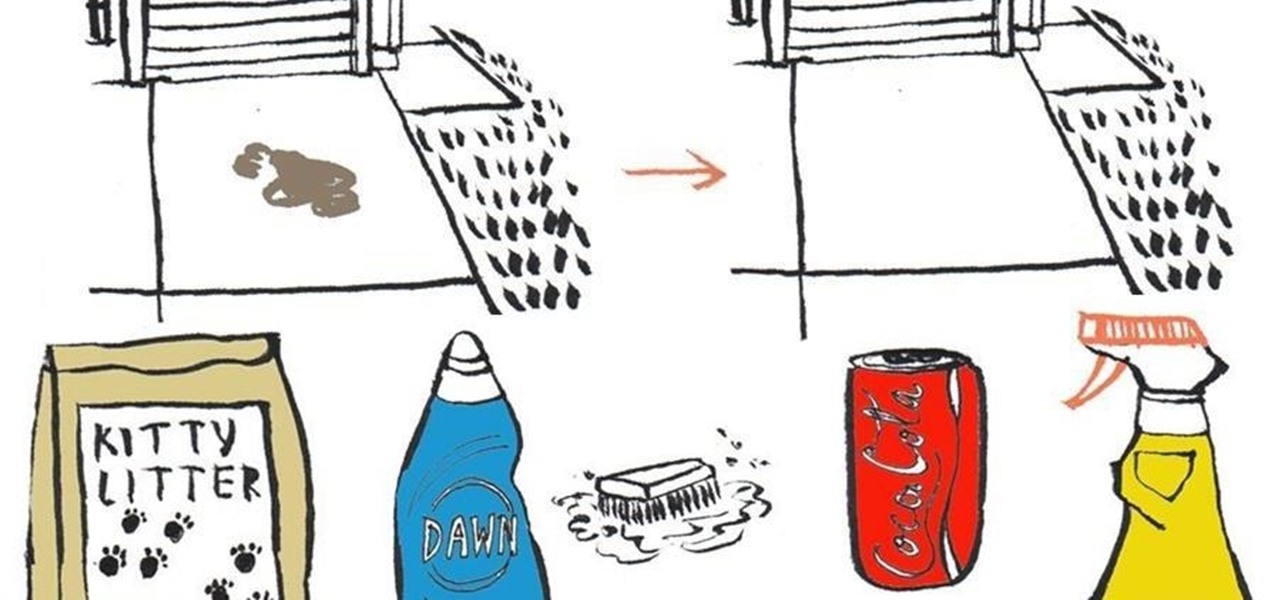
If you have an oil stain on your asphalt driveway, wipe up the excess oil with an absorbent cloth or mop it up, then act quickly using the common household items below to make sure that it doesn't become a permanent eyesore or a headache to clean up later.

Photobombing, the act of covert sabotage on a photographer and unsuspecting subject, can be a terror. This malicious and disingenuous art form has steadily grown since it first received significant coverage in 2009.

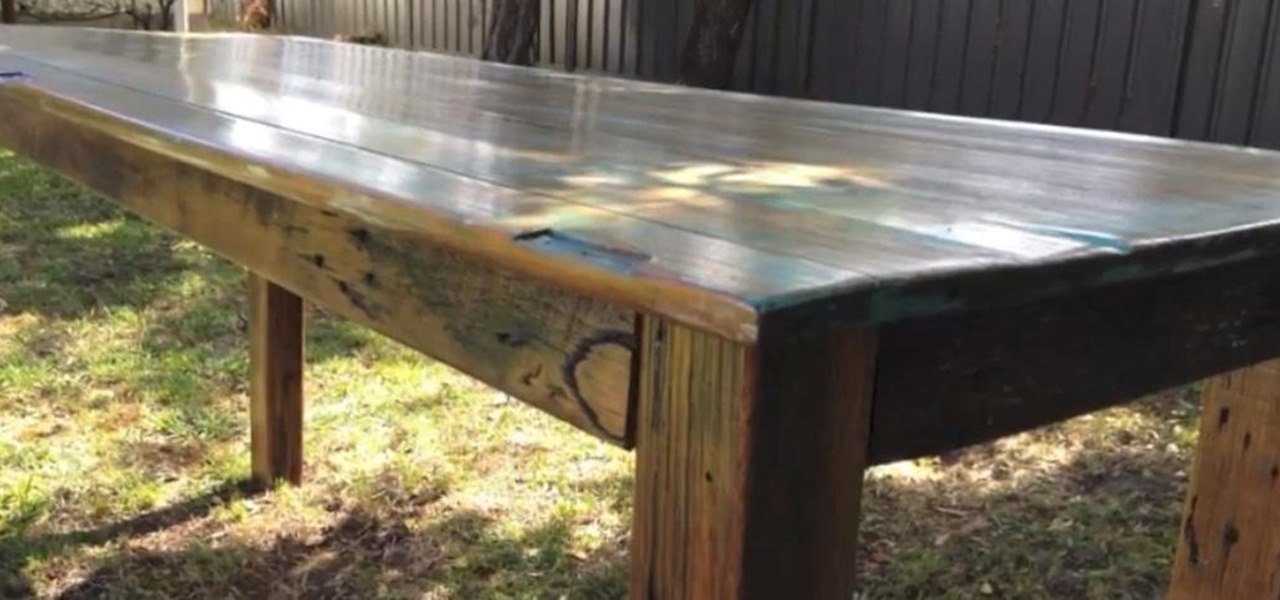
These three videos will show you how to build a rustic, distressed kitchen table. I'll be walking you through the process of selecting some recycled timber from a junk pile, and with a little care and some simple joinery techniques, transform that waste timber into a distressed timber kitchen or dining table. In fact, you could use the table for whatever you wanted really.

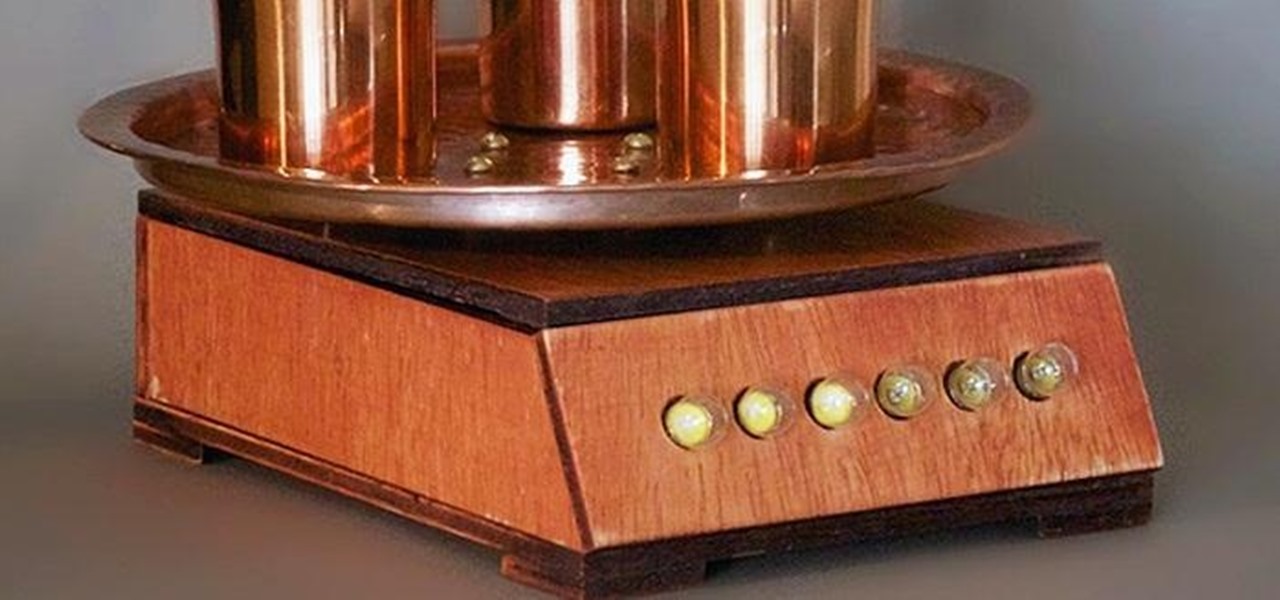
If you're a steampunk enthusiast looking to give your bathroom an extra kick, this just might be the project for you. This stylish and functional "vintage" toothbrush timer knows when you've grabbed your toothbrush, and will visually count down two minutes before alerting you when you've brushed long enough. All you'll need to put one together yourself is a microcontroller (the designer used a ATmega328p), a weight sensor, light bulbs, brass cups and a tray, an alarm clock's chime, and some w...

In this video, we learn how to create a realistic looking cut using cinema makeup. Start out by using silicone putty on the face to help make the cut on the face look more real than ever. Use brushes and a spatula to help mix colors together and apply to your face flawlessly. Also make sure you have fake blood with you so you can apply to the face to make look more realistic. After you have let the silicone dry, start to apply the red, dark red, and black colors onto it and blend to create a ...

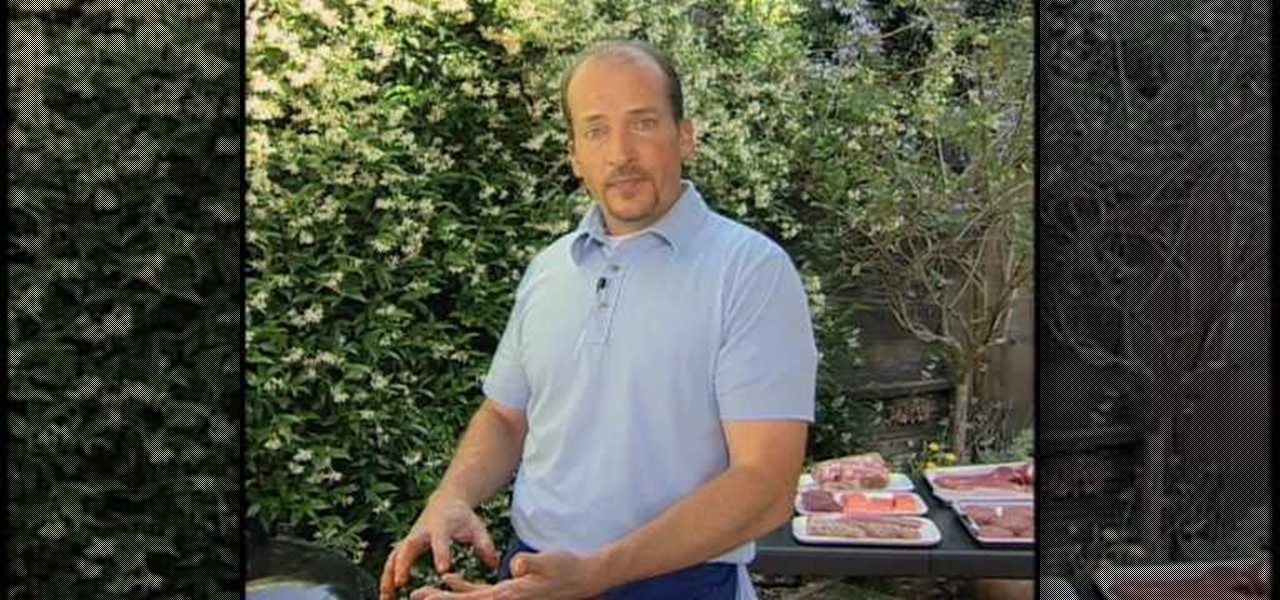
Chris Lilly grills chicken in this video. First, grab your whole chicken and brush olive oil onto the entire chicken. Now, place a dry rub of different spices onto the outside of the chicken as well as on the inside. When you are finished seasoning, grill the chicken at 300 degrees for around two hours. If you don't have a rotisserie, grab a can of beer and place it into the chicken, then sit it on the grill and cook it until the chicken is finished. You can also cook the chicken while cut in...

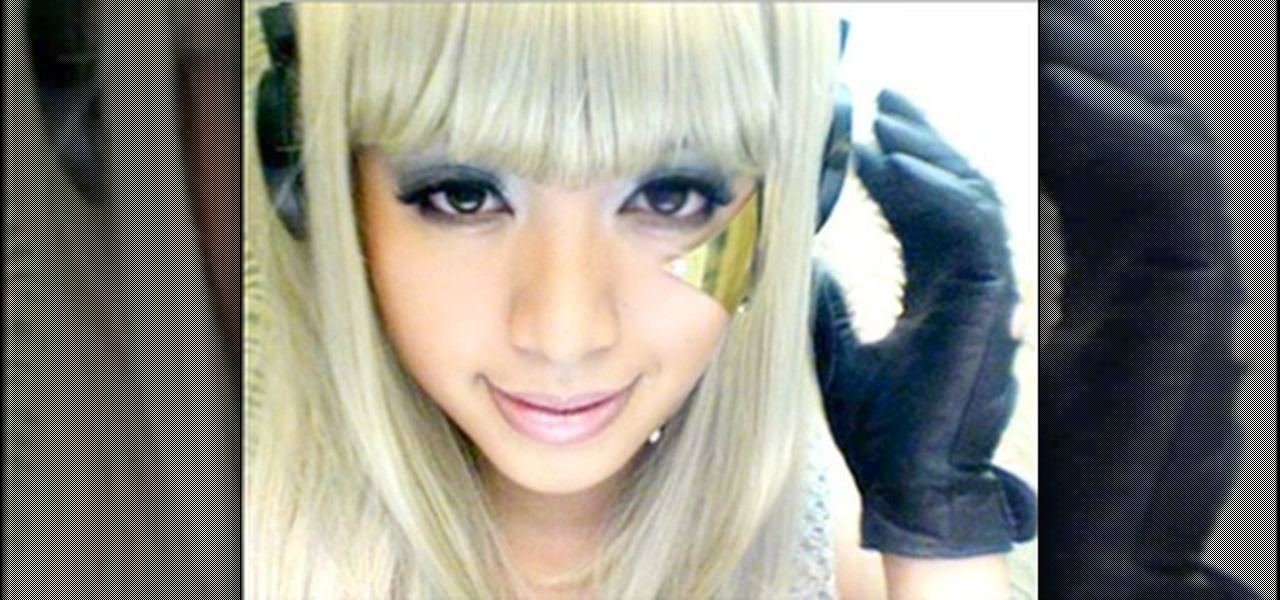
Michelle Phan replicates the entire Lady Gaga Poker Face look: hair, accessories and makeup! You don't need the blonde wig or anything, they're just for fun. The gloves are sick though! Love them. This look is great for prom, clubbing and other glamorous occasions.

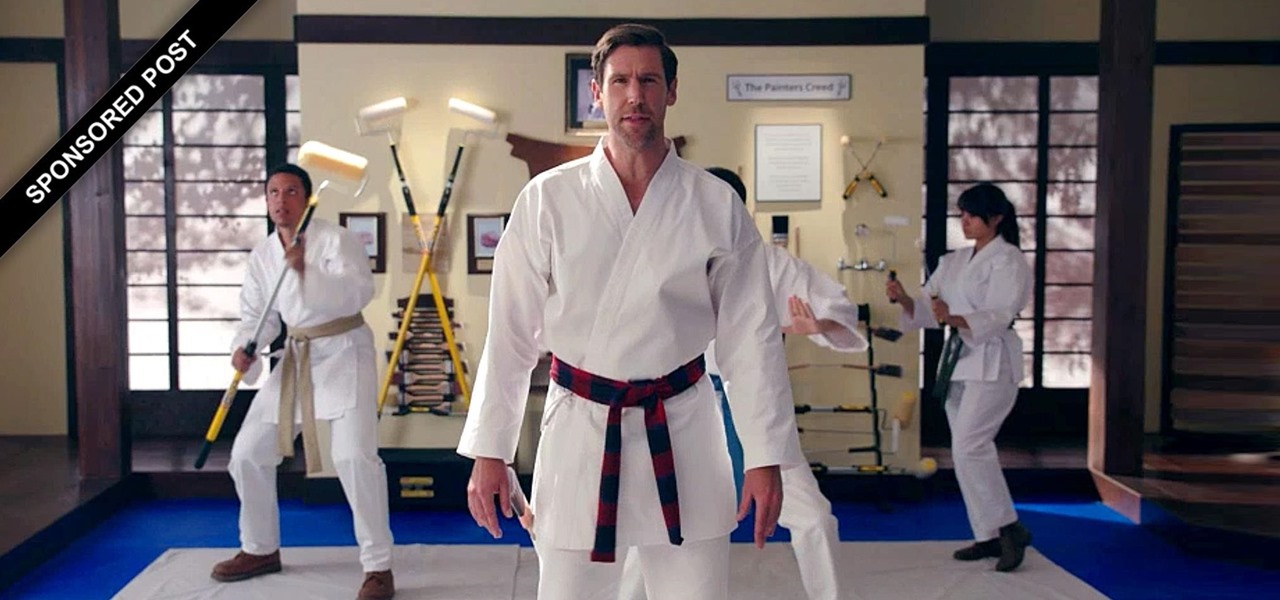
Brought to you by Purdy Paints The art of painting requires excellent tools. And with so many options on the market, it can be hard to find a brand that works for you and your DIY project. That's where Purdy comes in.

If you're a dedicated Instagrammer, you're probably well aware of the humblebrag hashtag #NoFilter, which expresses to other users that your photo is just so damn awesome that it looks like you added filters to it, even though you really didn't.

During the fall, warm and comforting colors like brown, red, and sienna abound. Embrace the natural richness and beauty of fall by incorporating these colors into your next makeup look.

In this tutorial, we learn how to create a Halloween leopard or cheetah face with makeup. Start by applying a white foundation to the face with a brush. After this, brush in a darker color right underneath the nostril and darken up the eyebrows. Apply a darker color on the sides of the chin, on the bridge of the nose, and on the corners of the forehead. Then, shape the sides of your face and start to blend this in, creating the face of a cheetah. Take your time when blending in, creating shad...

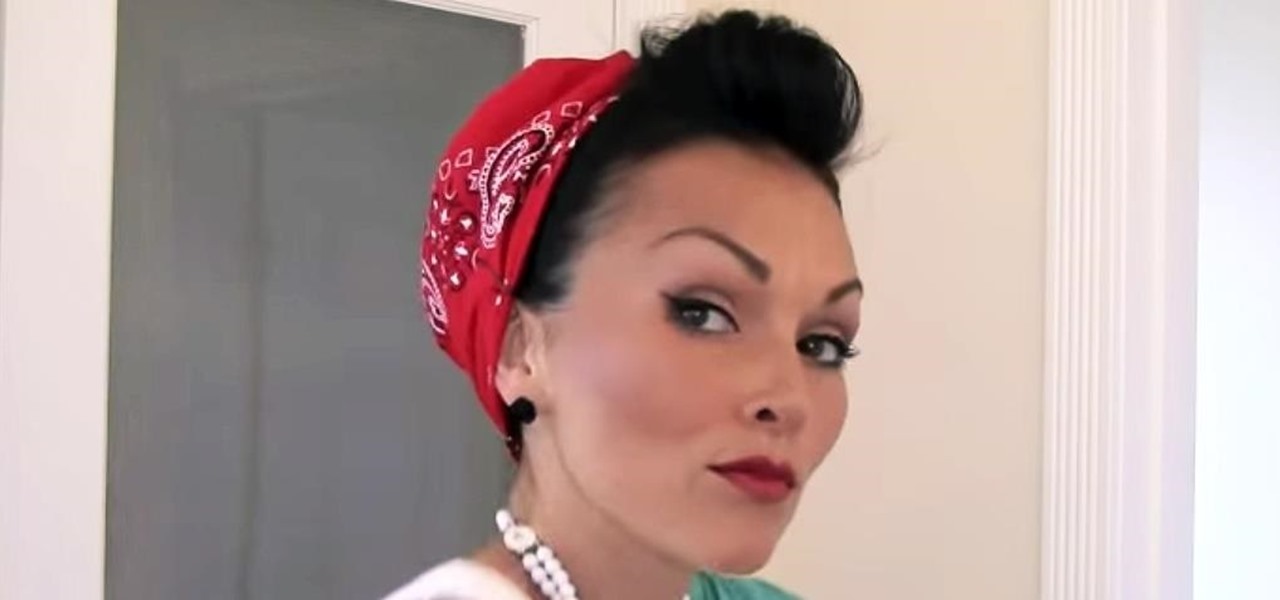
In order to create a pin-up Rosy the Riveter look with a bandana, you will need the following: hairspray, bobby pins, round brush, wax or smoothing cream, a bandana, and a curling iron. Once you've got all of that, follow along with Kandee Johnson's video guide below.


